
This is a basic guide on How to Start a new game in Diplomacy is Not an Option, especially in the Endless game mode on the highest difficulty called Feat of Resistance. Here you will learn the build order and basic combat, along with how to kite enemy units, how much production of each resource will you need, what buildings to upgrade, what does tech research help with, where to set up defensive walls and gates as well as how to use magical powers to inflict the most damage on enemy attack waves.
Explanation
Welcome to a How to Start guide on Diplomacy is Not an Option. I will explain to you how to make a good start which will let you have plenty of resources and soldiers very quickly.
The aim here is for you to learn the correct build order for the first few days of gameplay, how to clear enemy camps and kite enemy units with your melee one, and shoot them up full of arrows with your ranged ones.
Also, to help you figure out how much production of each resource you need, what buildings to upgrade, where to set up defensive walls and gates as well as how to use magical powers to inflict the most damage on enemy attack waves.
This gameplay is from the Endless game mode at the highest difficulty called Feat of Resistance and I will combine a few playthroughs to be able to show you different situations.
For a video version check out this video:
Game Difficulty Differences
On the lower difficulty the only differences are that you will have an actual catapult unit to help you destroy enemy camps faster and some more starting resources and workers. If you play on these difficulty levels all you have to change from this guide is to add more lumber mills at the start.
Build Order – Day 1
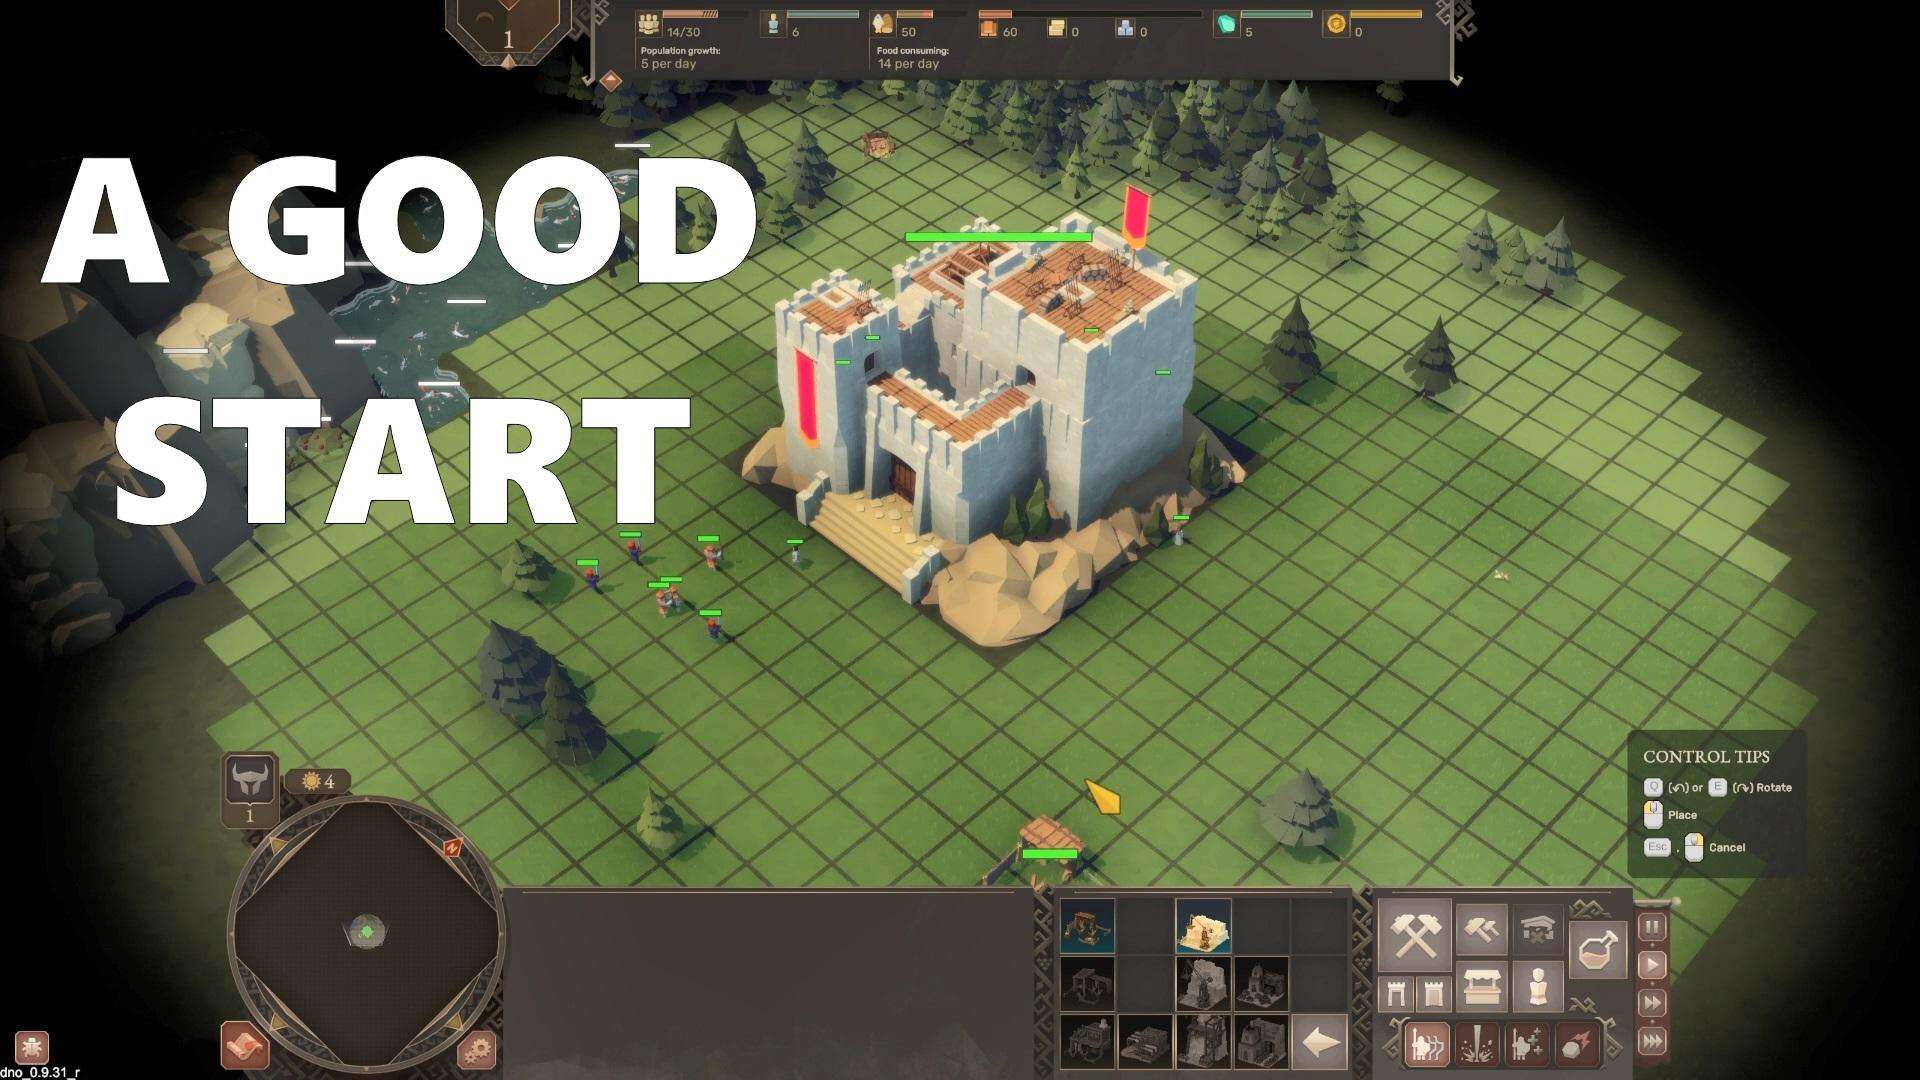
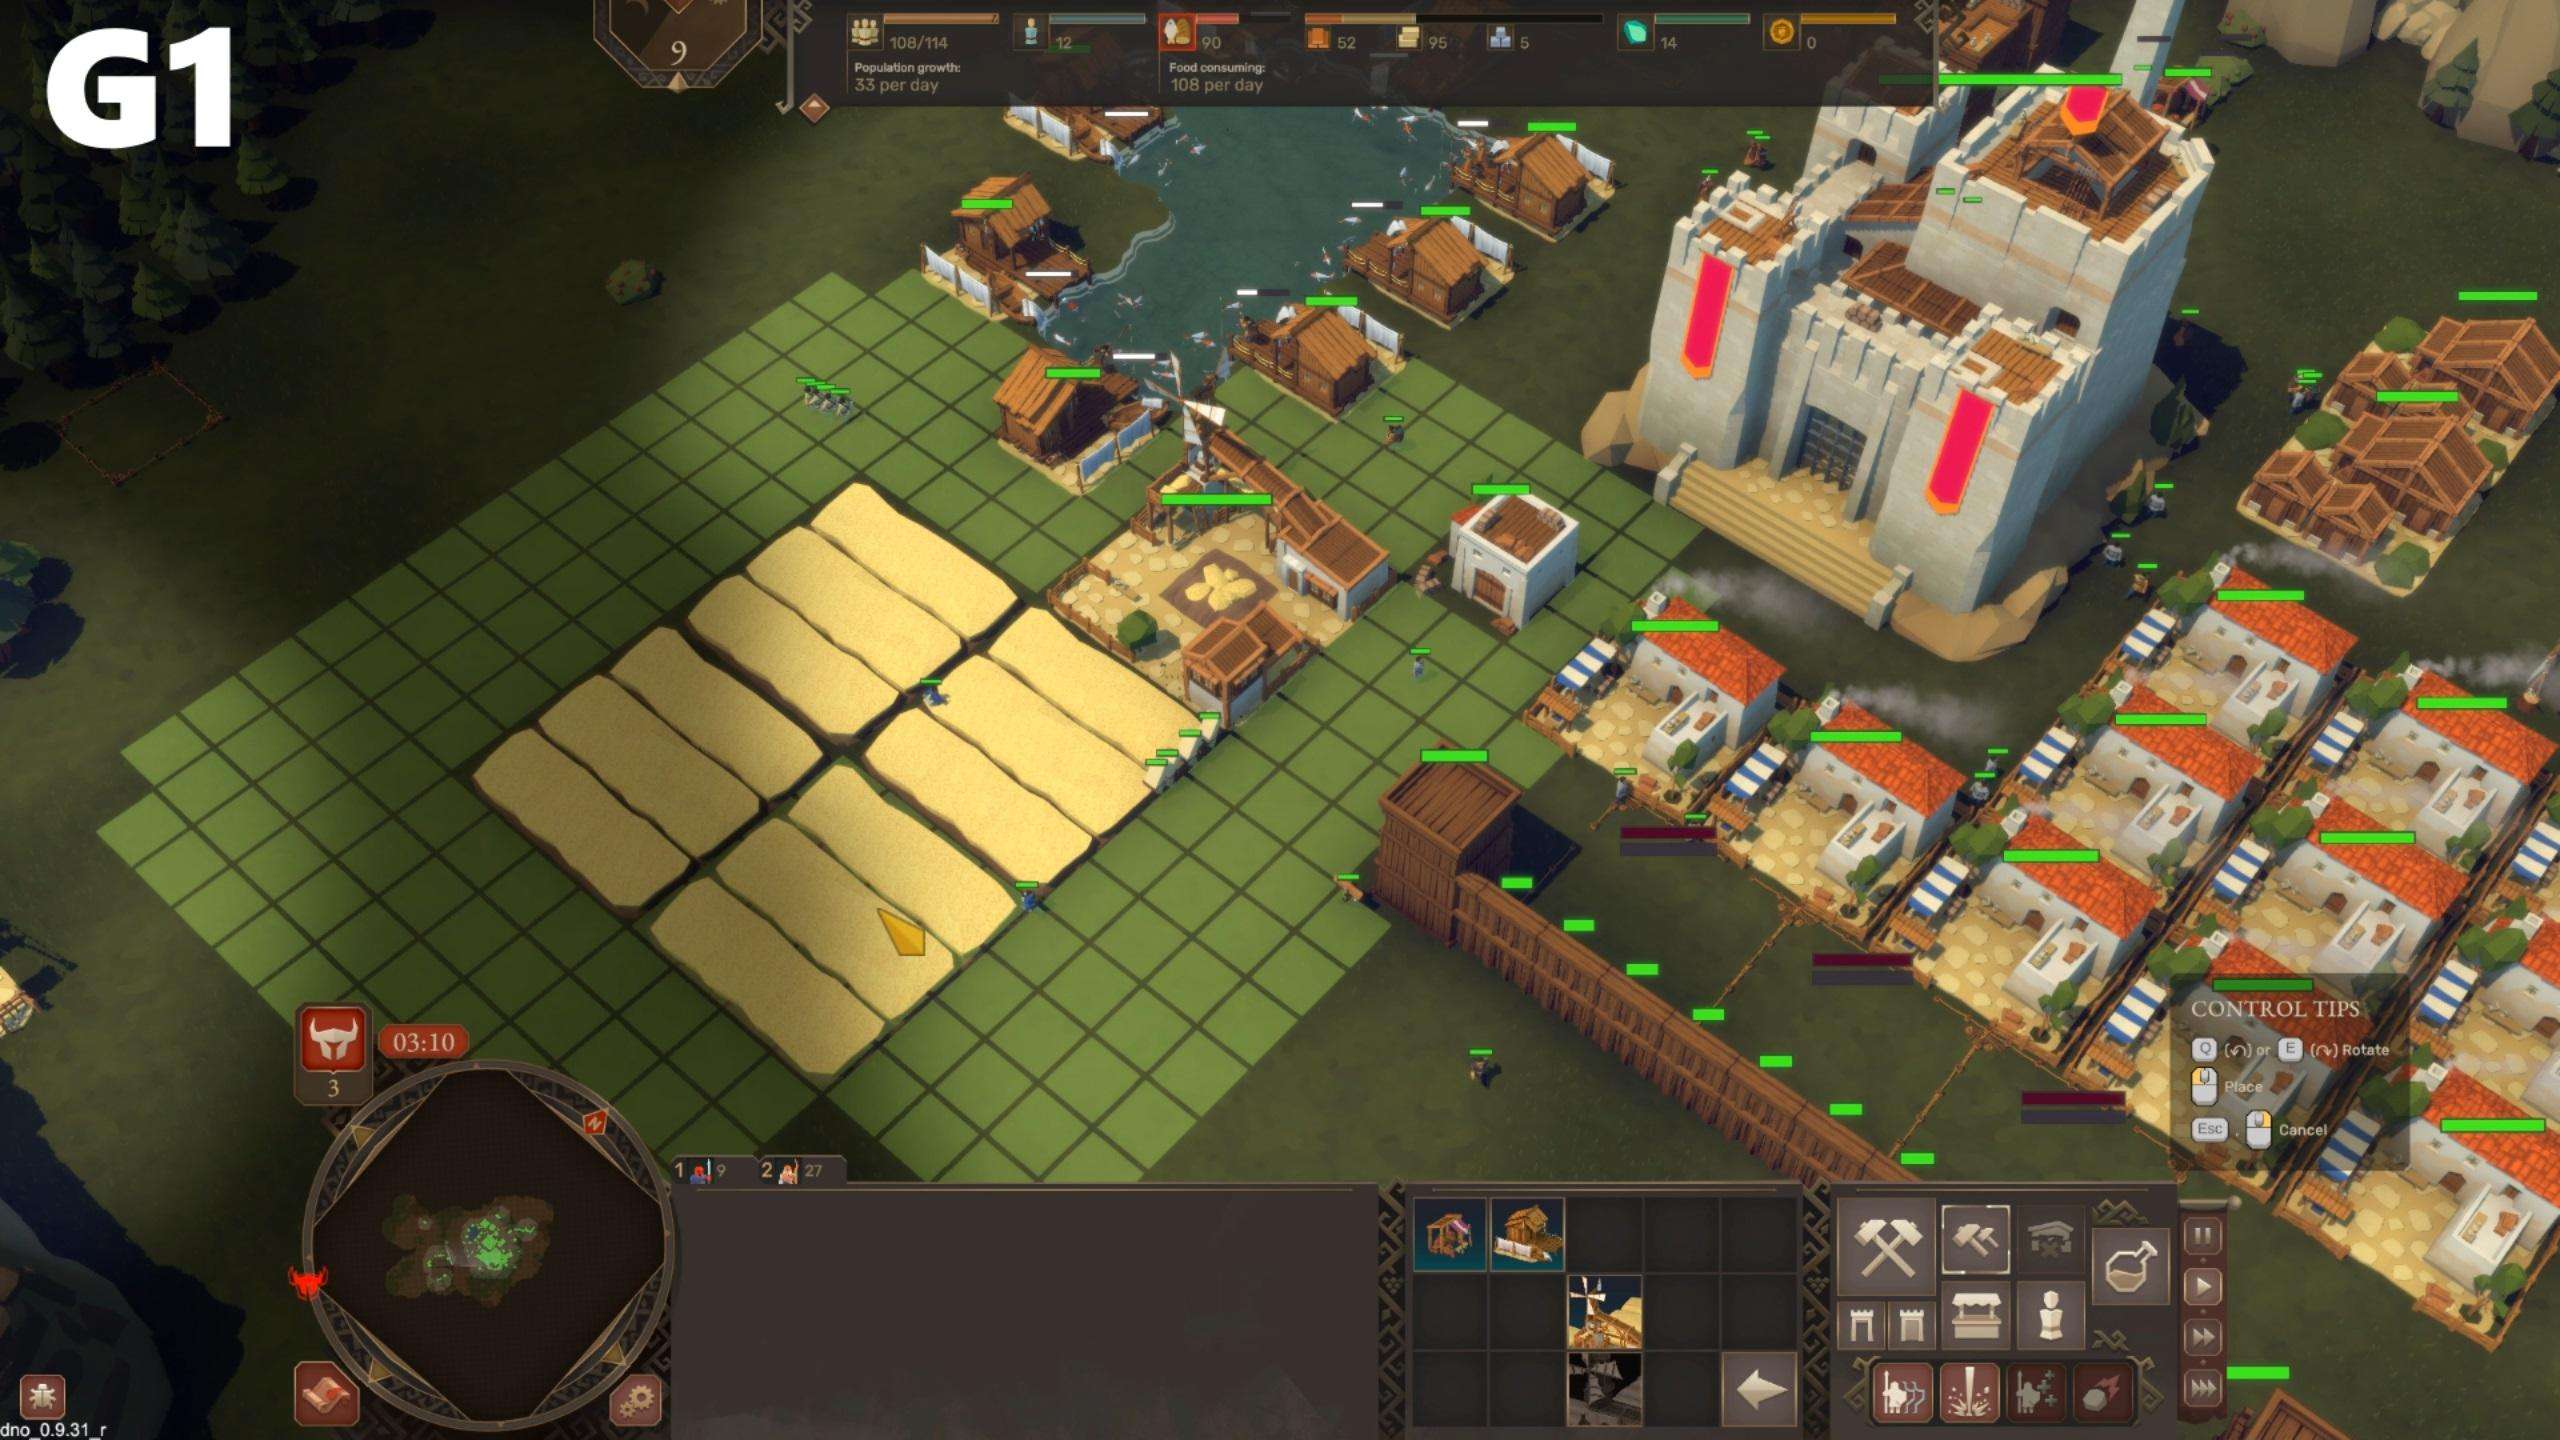
Let us begin on Day 1. Each time, on the same difficulty level, you will start with the same setup, but on a different procedurally generated map. On Feat of Resistance you start with 3 swordsmen, 3 archers, 6 free workers, 50 food and 60 wood.
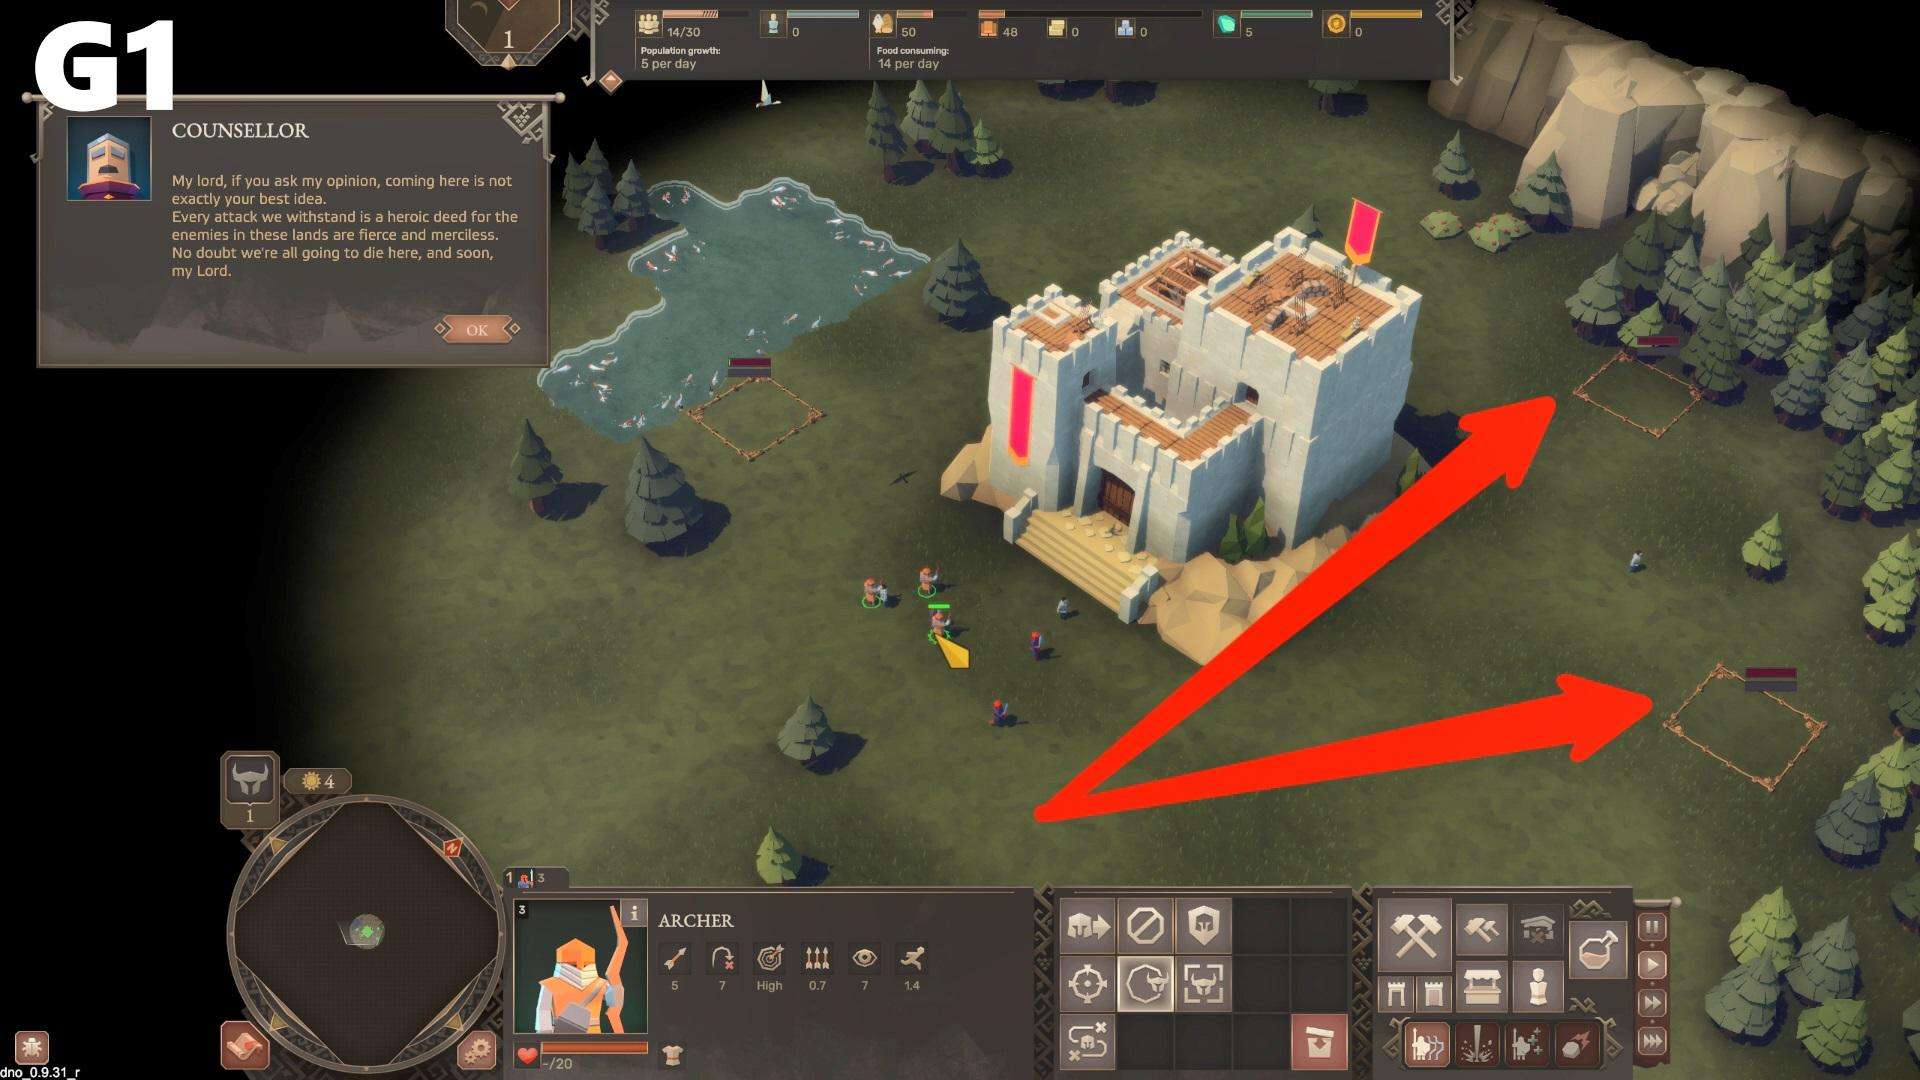
First you want to construct two lumber mills at the closest forests and preferably on the same one because enemy rebels might already be hiding on the other side of the fog of war and you don’t want to have to clear two different forests at the same time.
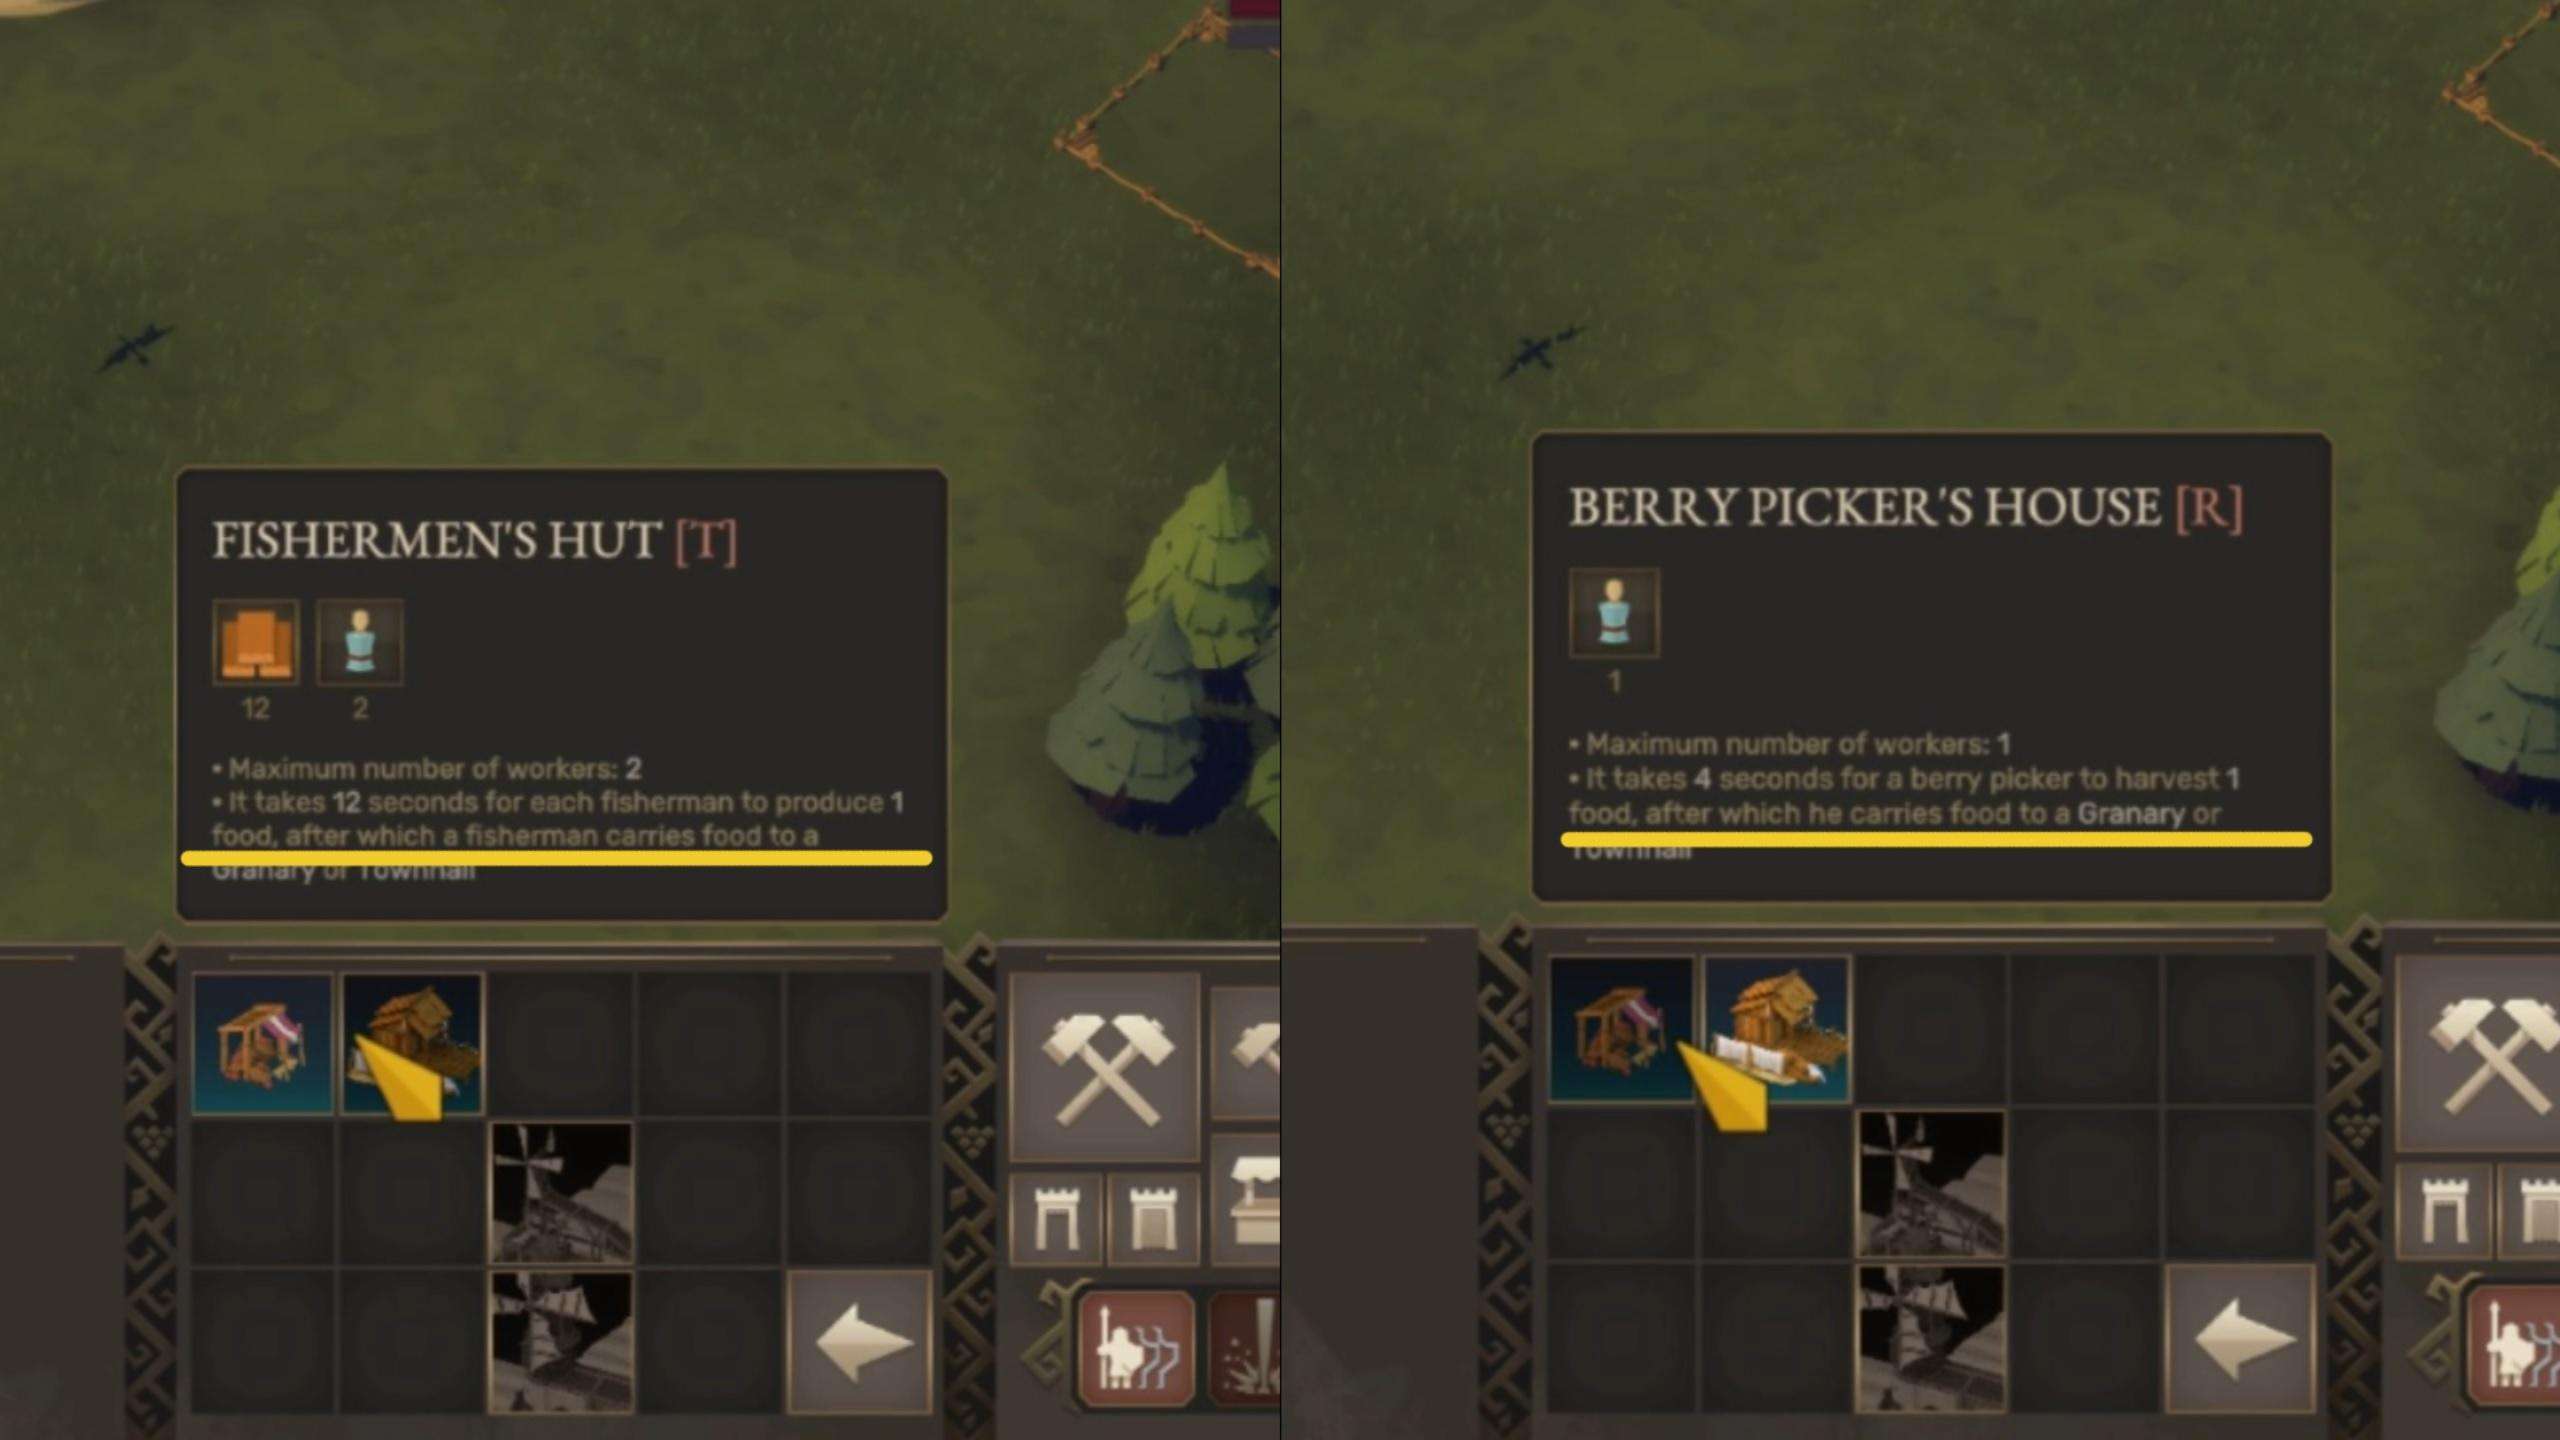
As for food production you don’t need much at the start. You can build either a fisherman’s hunt or a berry picker’s house depending on your preference and what resources you have close to your keep.
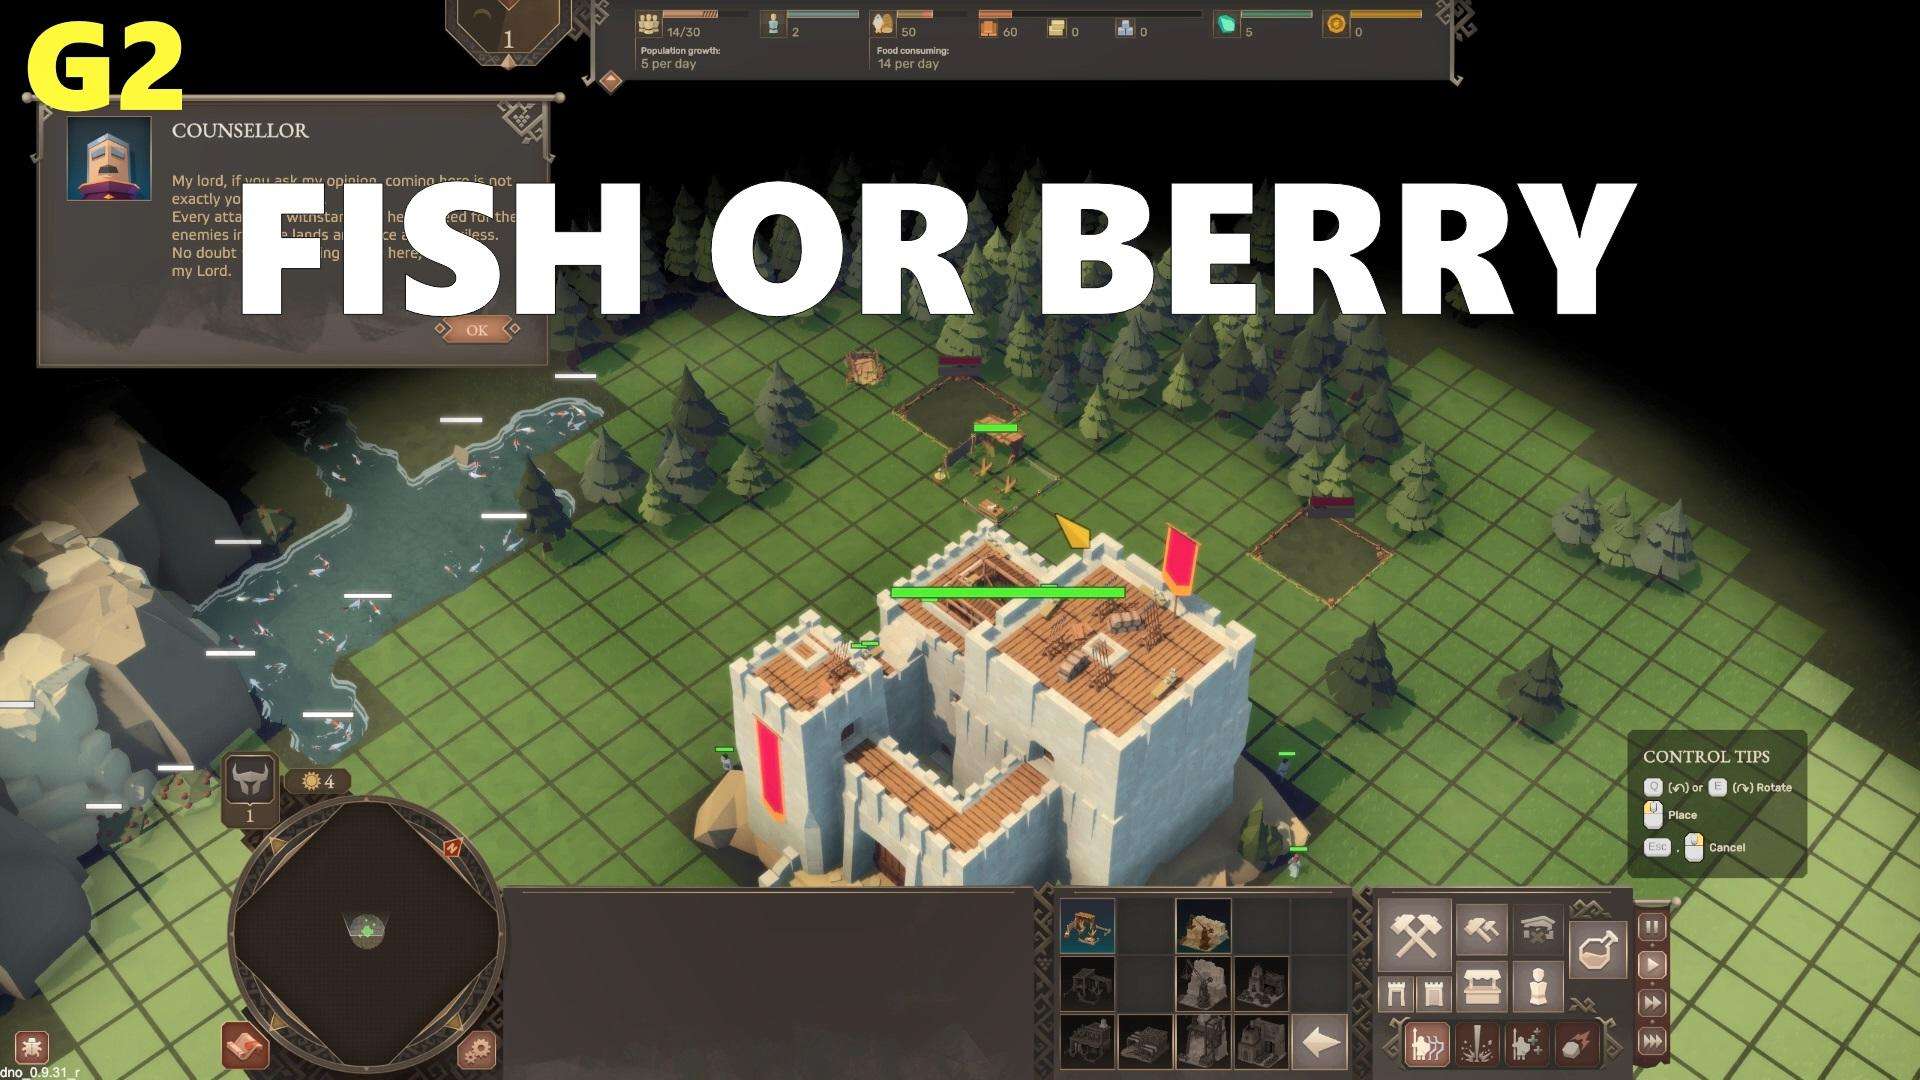
The main difference between these is that the fisherman produces food 3 times slower but there are two workers and their fish are always at the same spot, while the berry picker is only one worker and once he exhausts the closest berry bush he has to travel to others in range wasting a lot of production time.
Resources & Tech – Day 1
With these three buildings queued up for construction, or four, five if you are playing on the lower difficulty settings, and have added an additional lumber mill, you will need to scout the map for resource carts.
These can hold wood, stone, food and iron. Your aim is to find and collect as many of these as you can with your soldiers at the start to give your economy a leg up. In the meantime, open up the research tree and send the rest of your wood on Advanced Toolkits tech to speed up building and repair of structures.

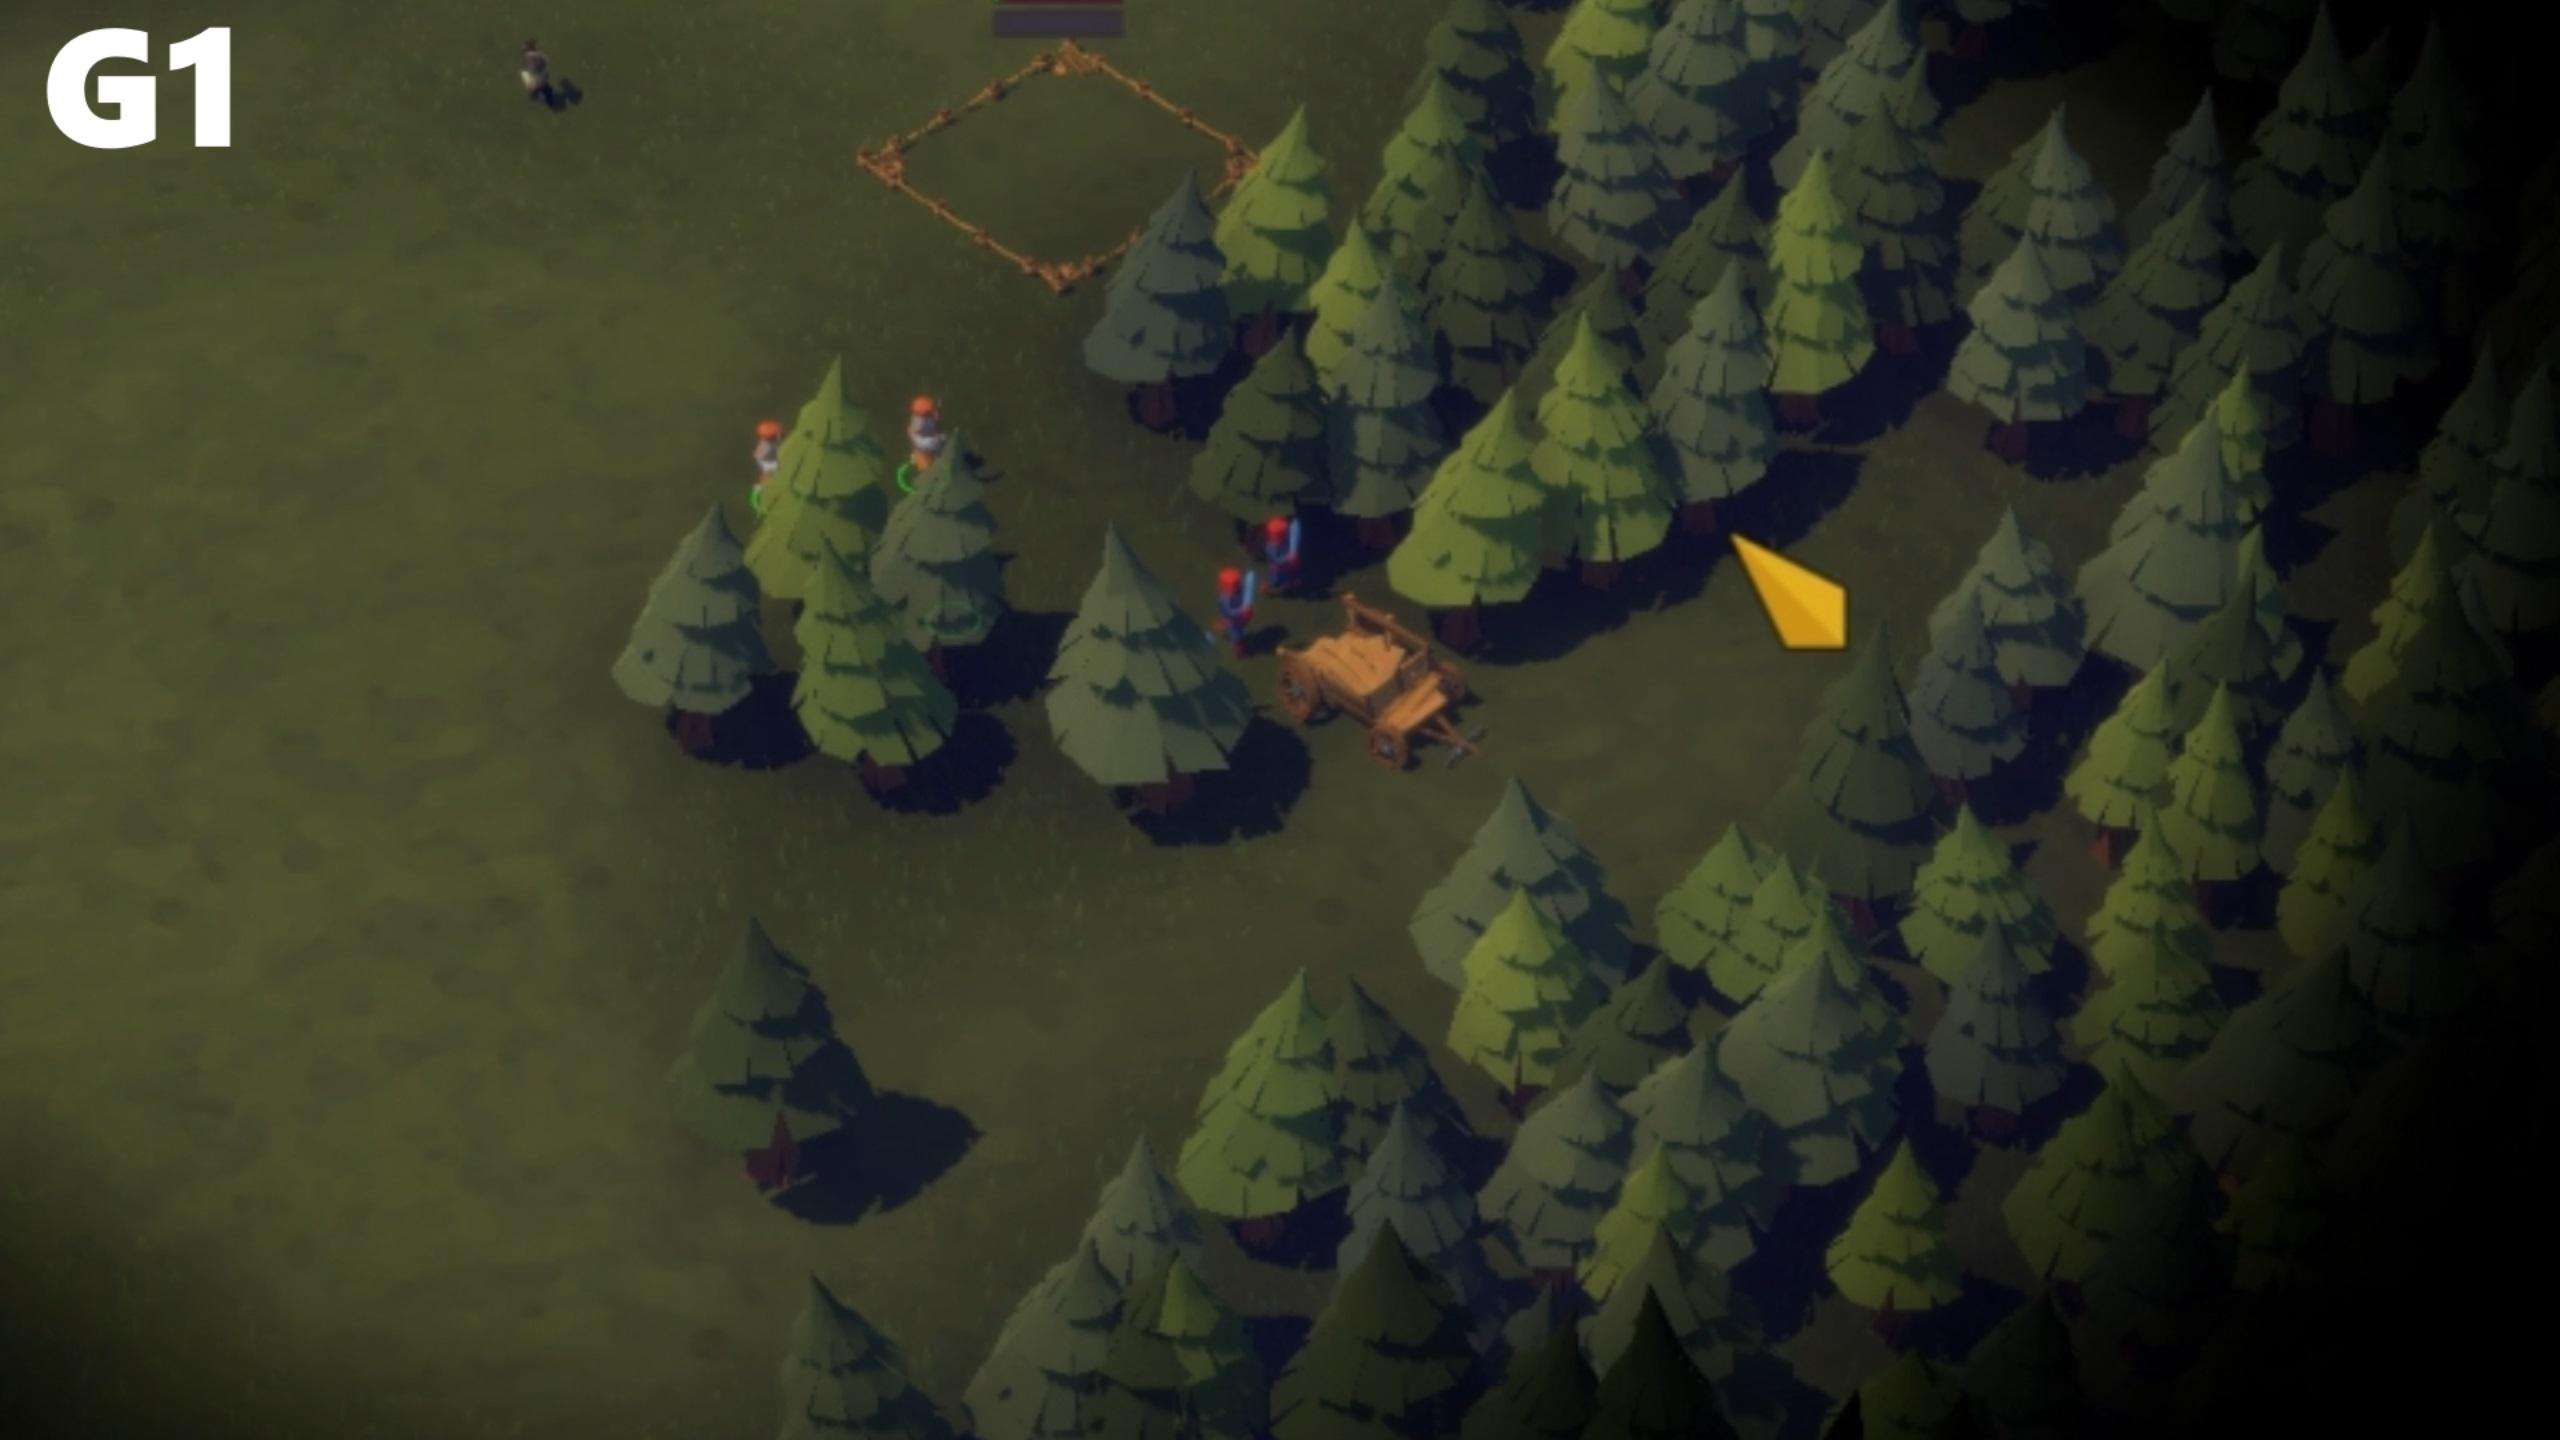
And now you have to do two things. Send your soldiers out to find the closest deposits of stone which can be mined and clear that area of enemy rebels.

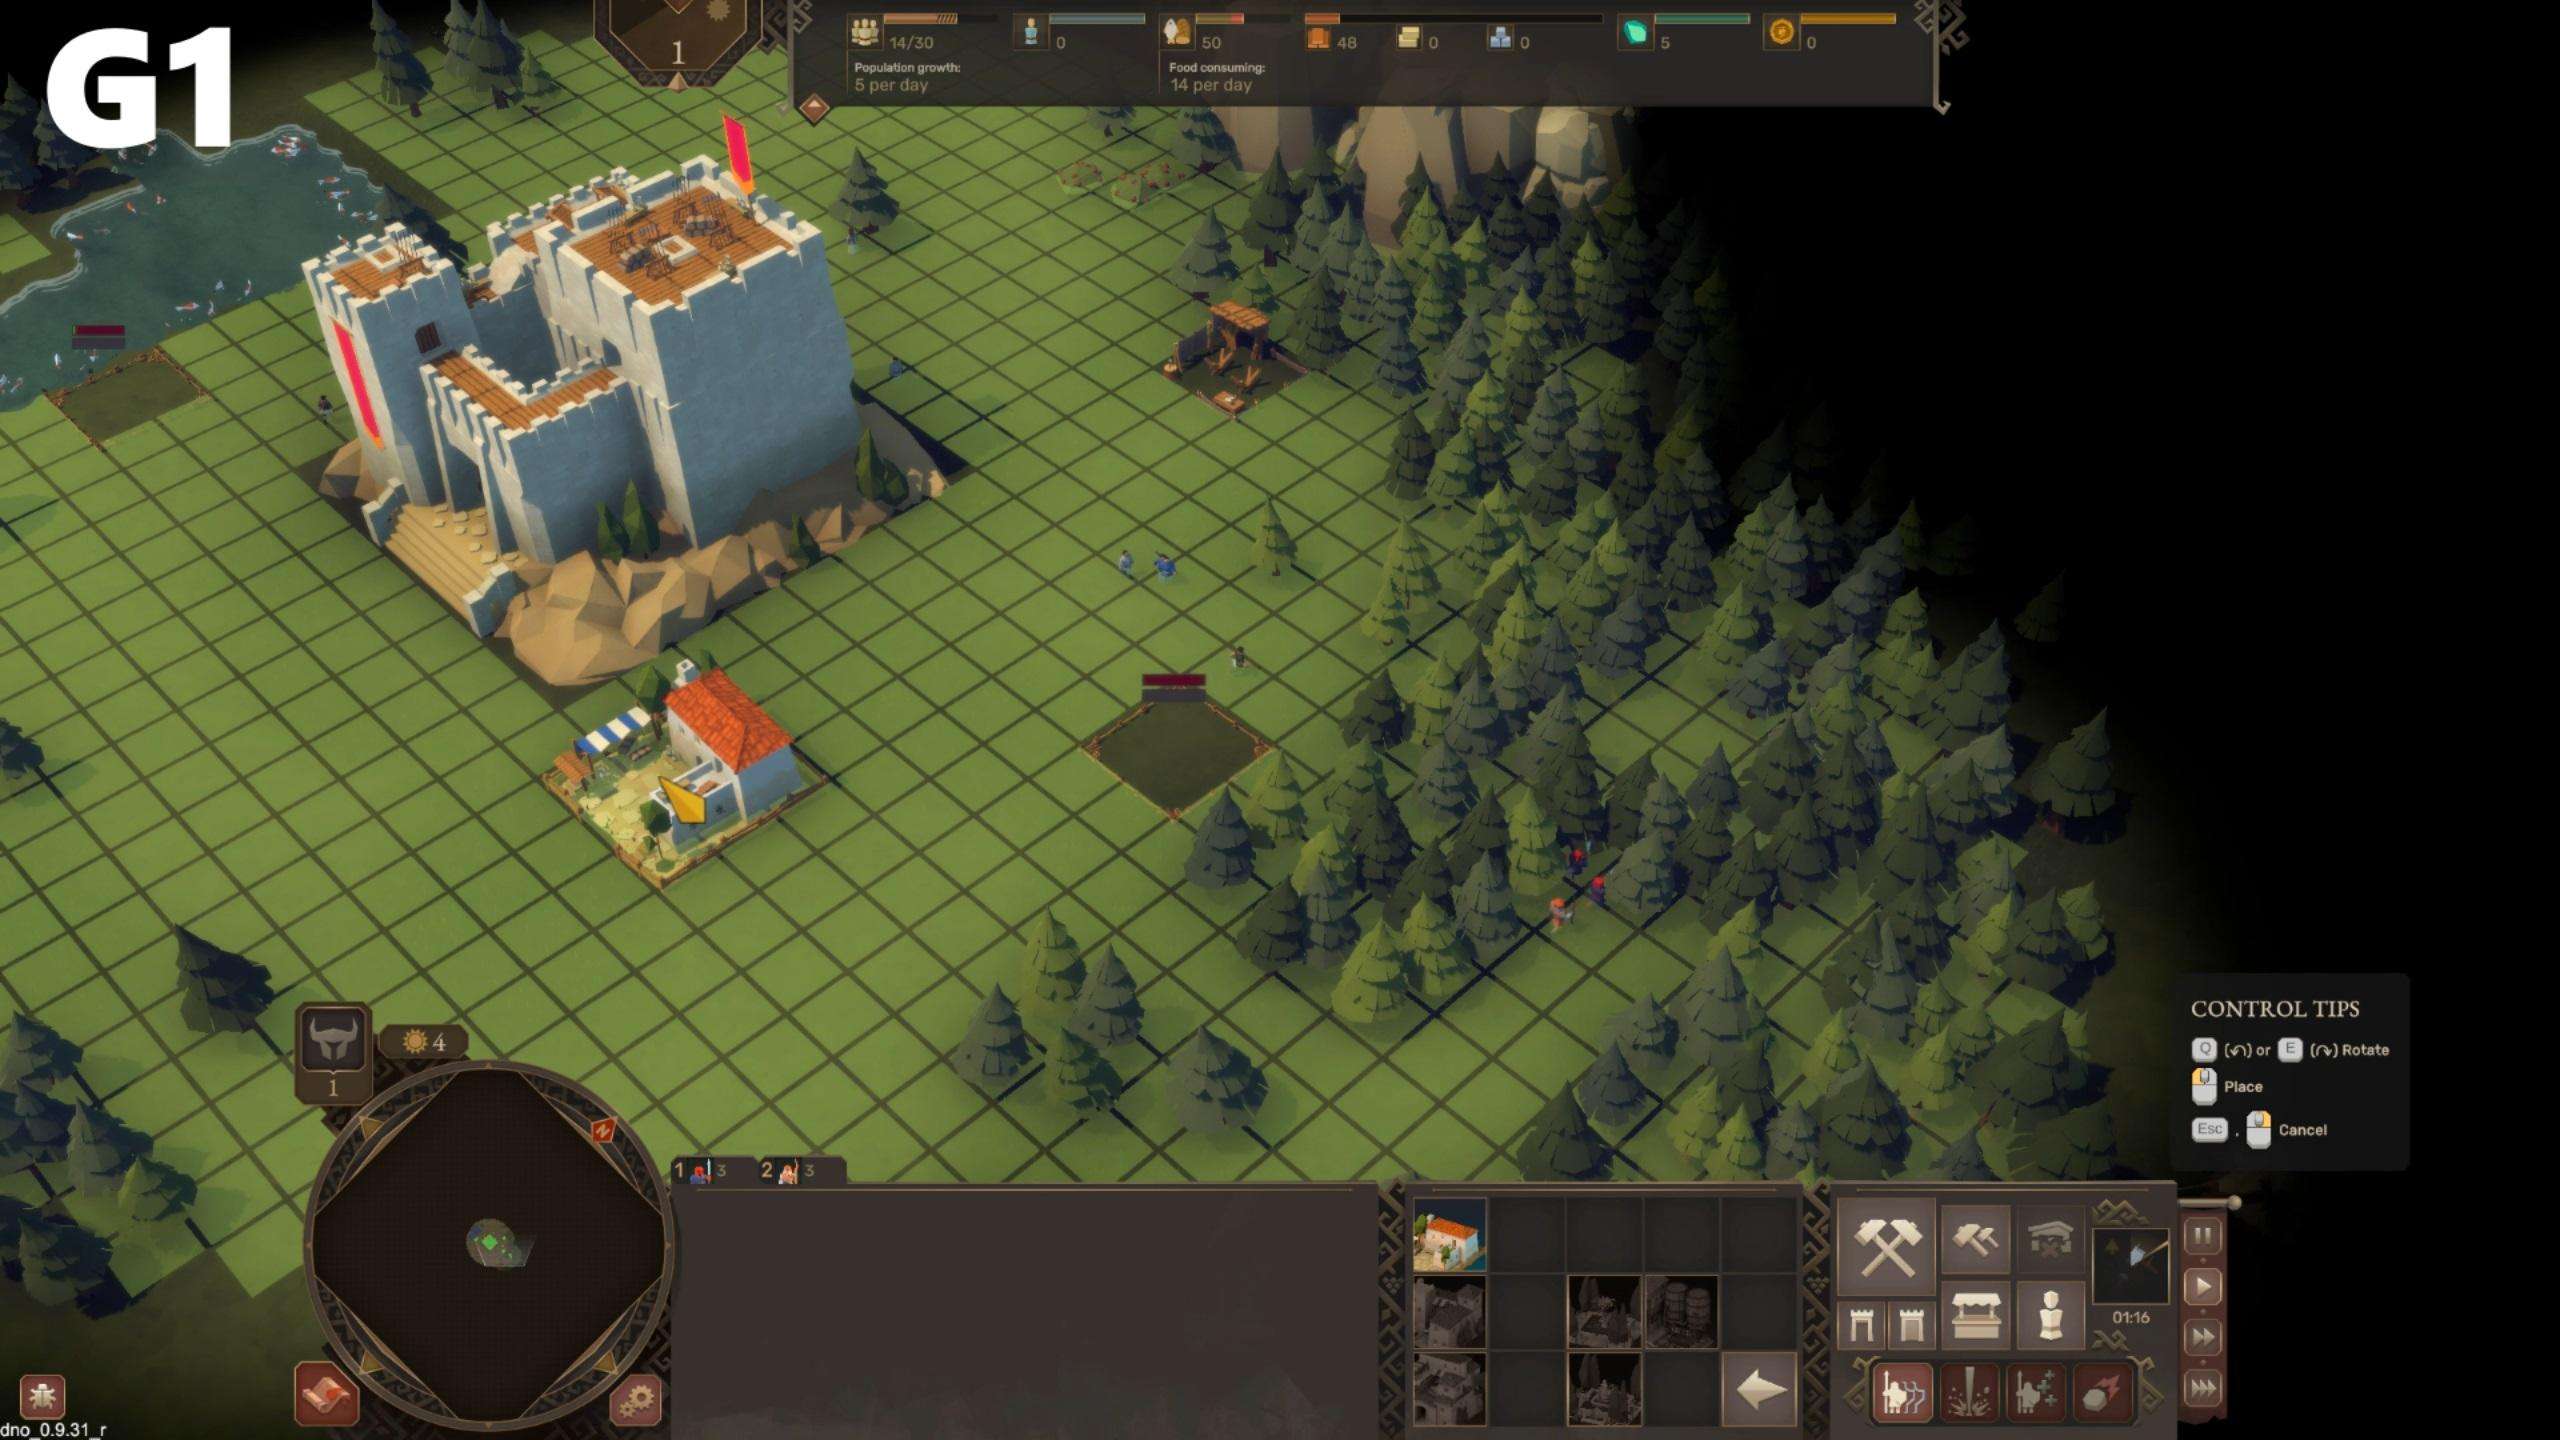
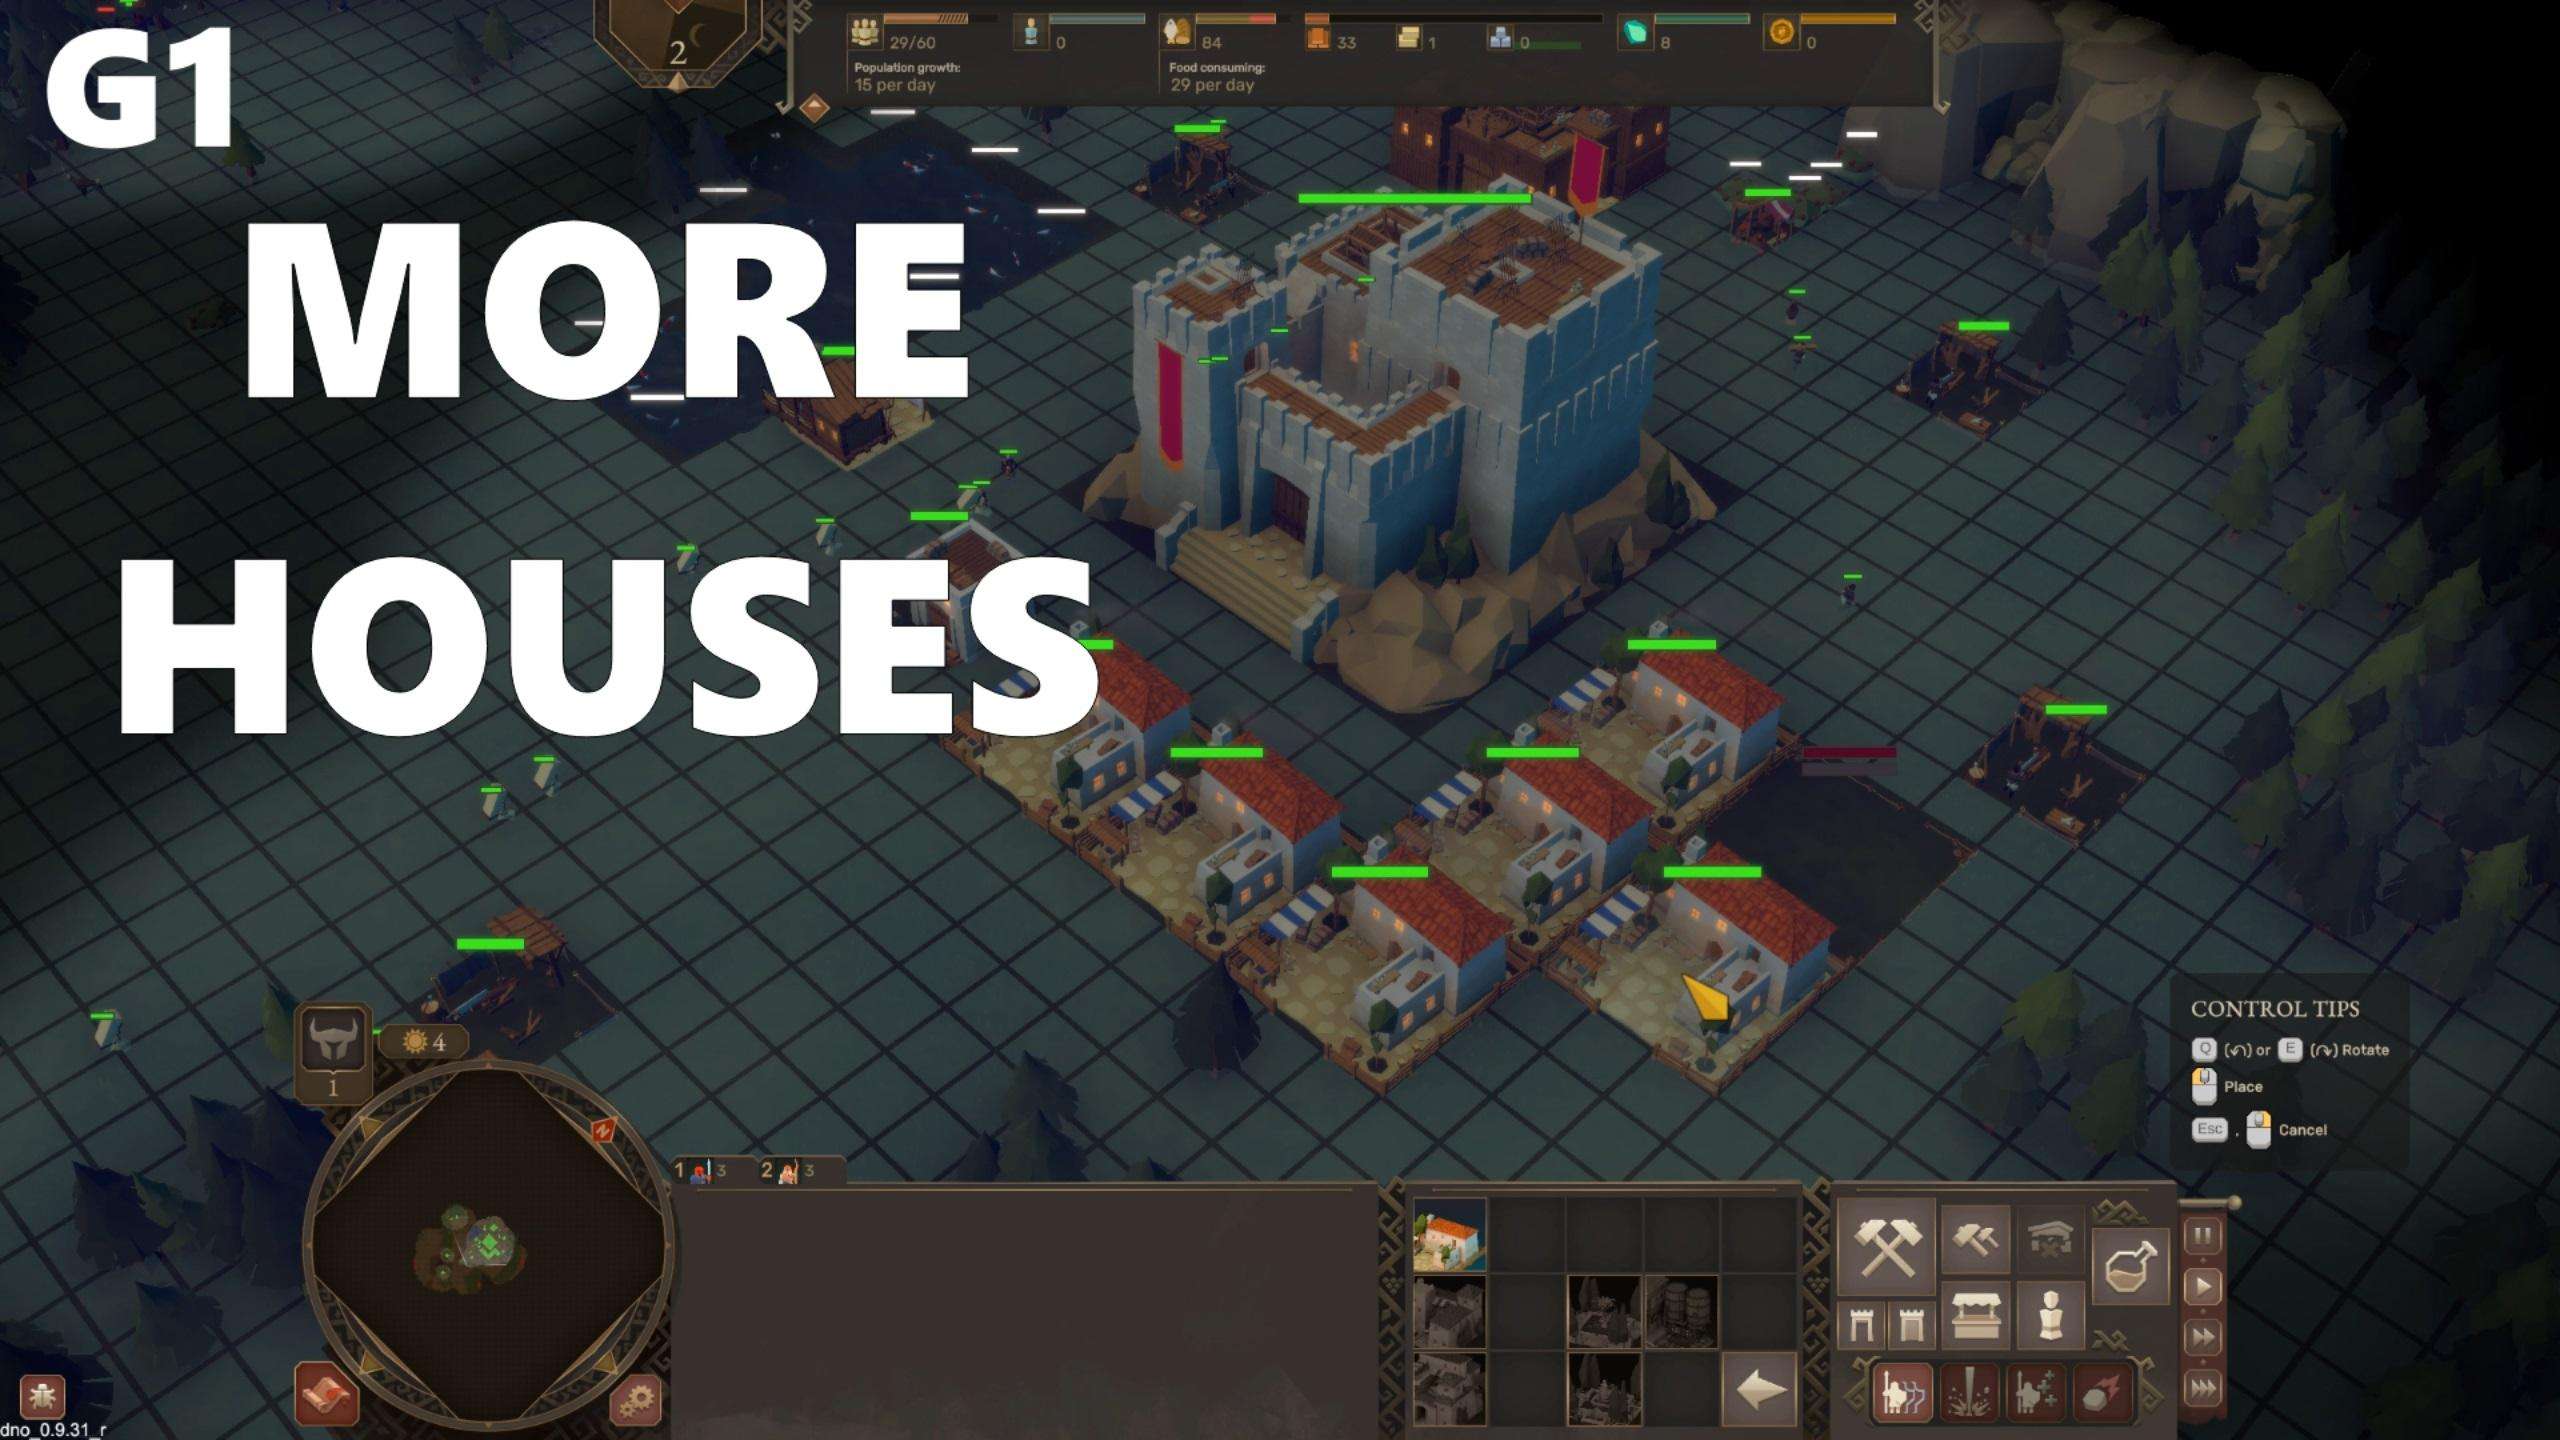
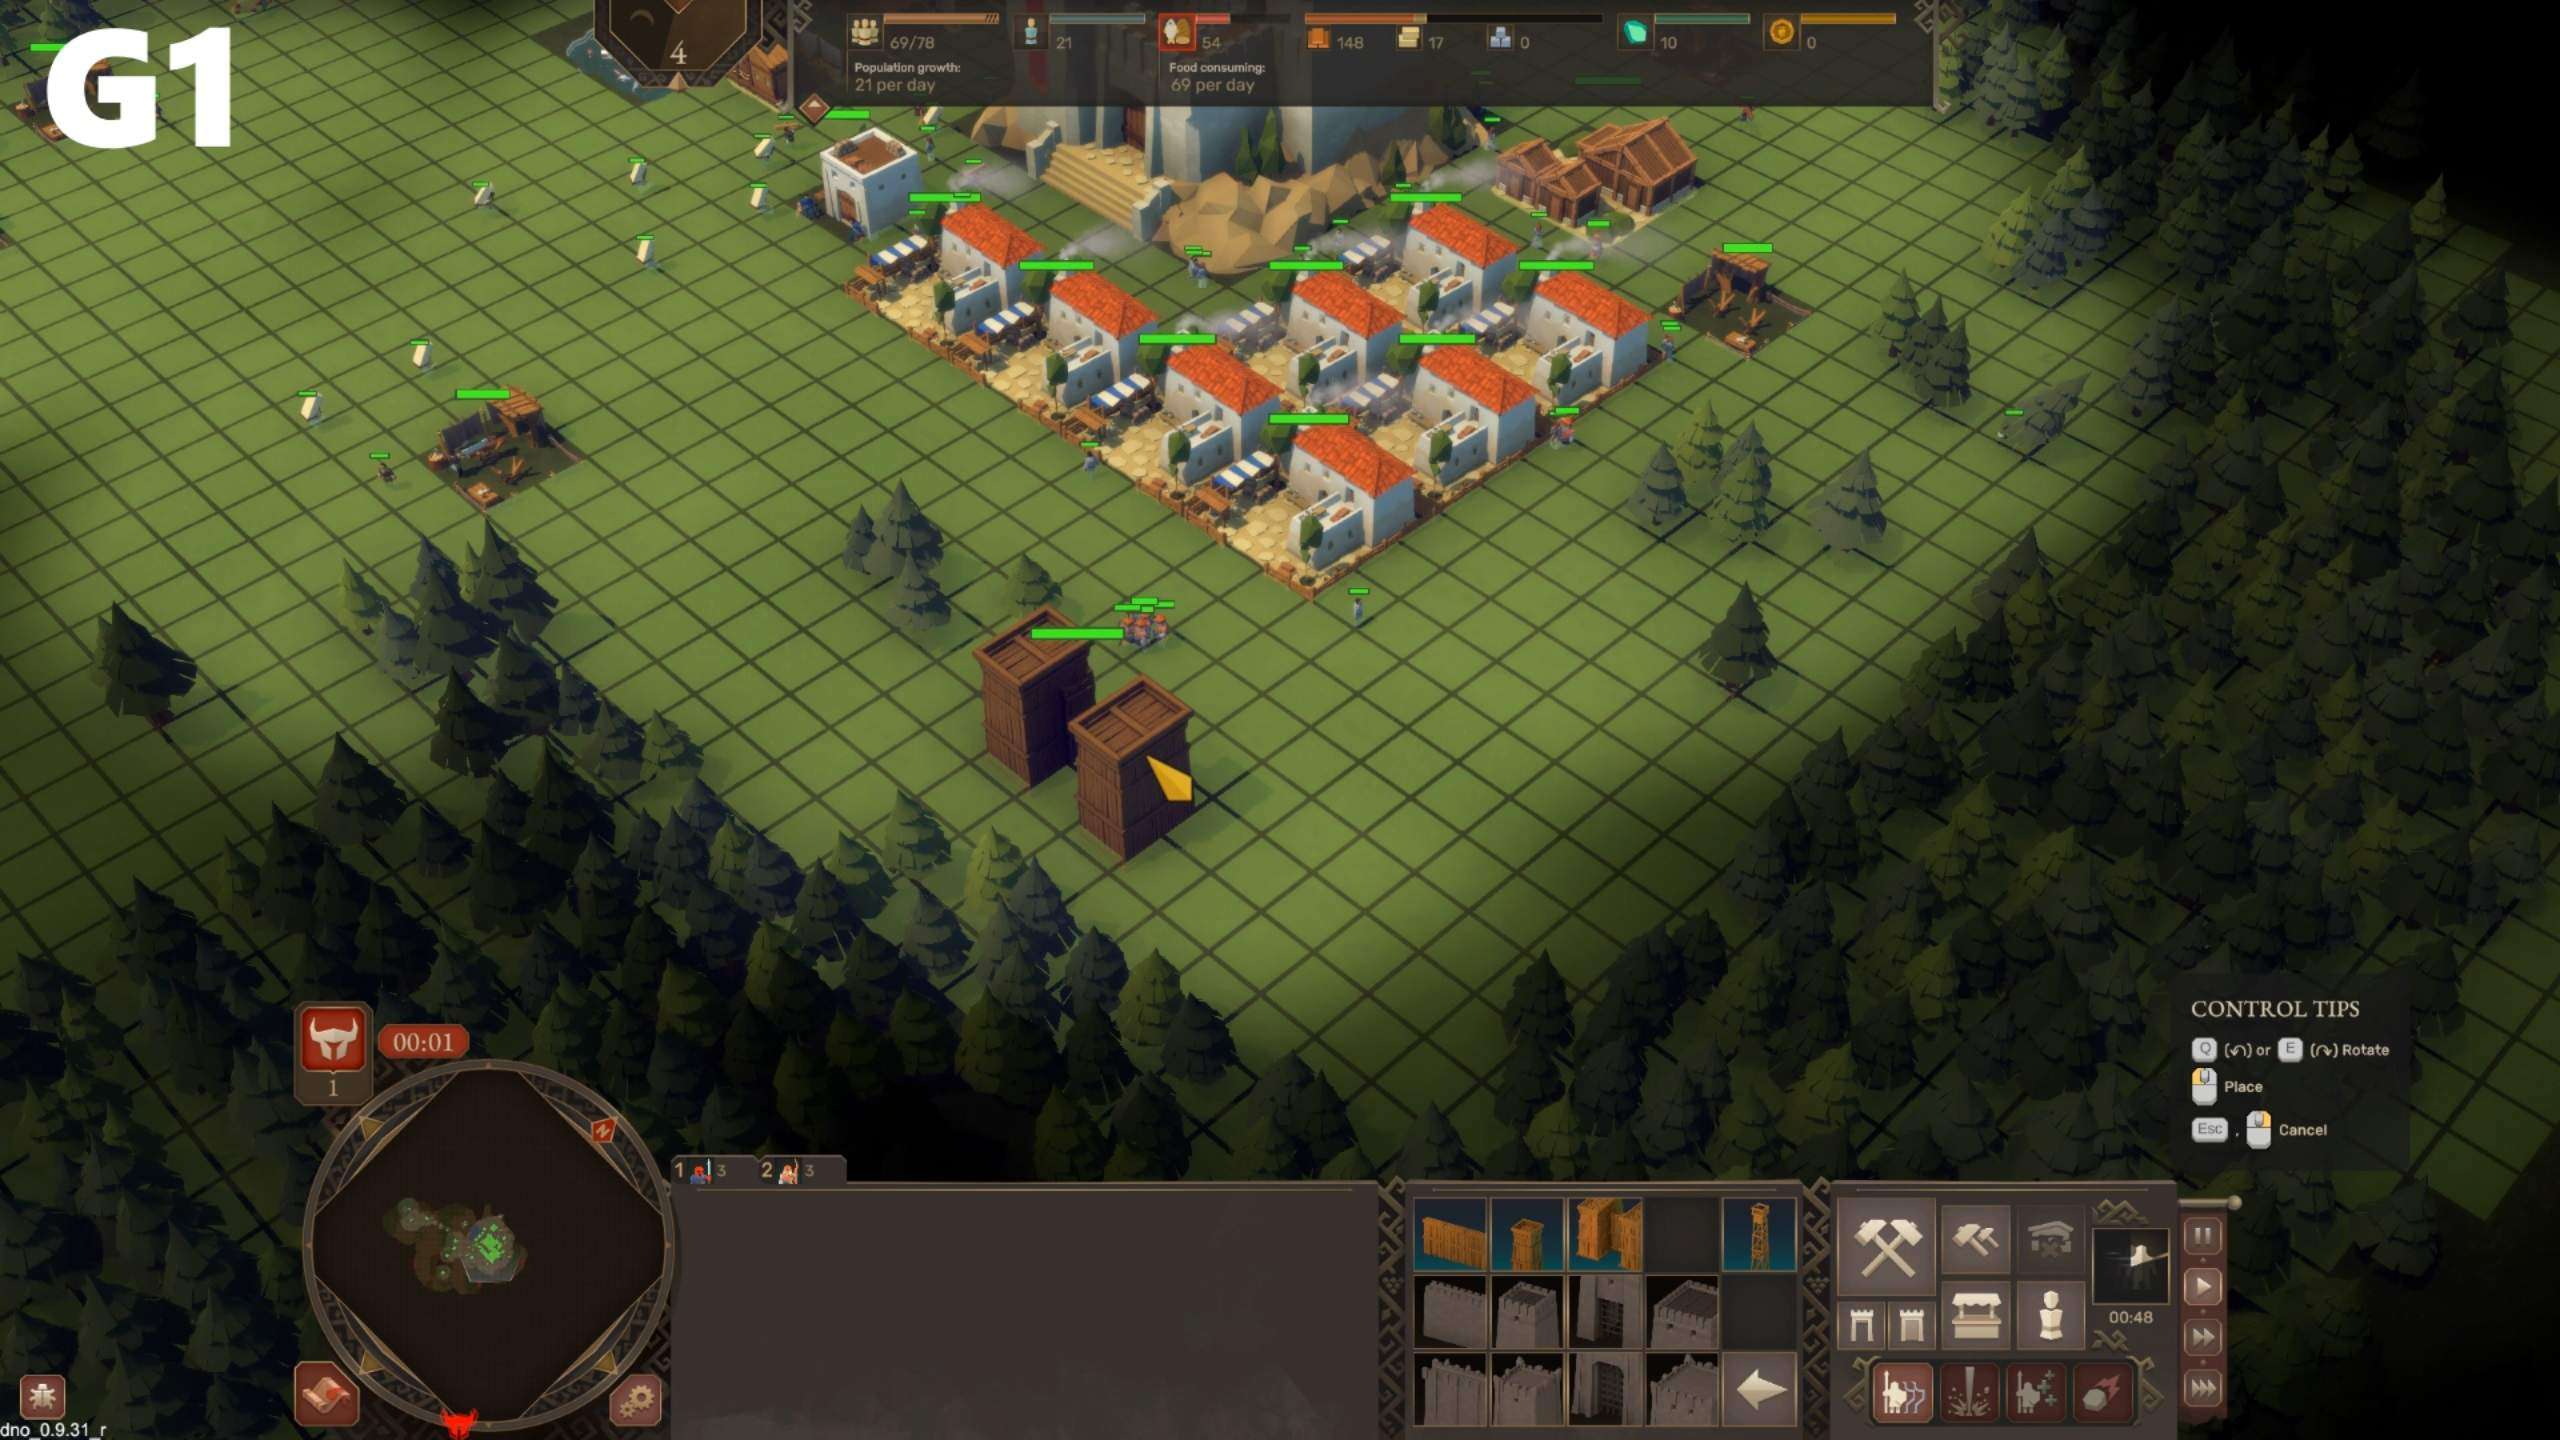
While adding as many houses next to your castle as you currently have resources for. Ideally you want to start day 2 with 4 newly constructed houses as that will get you many new workers.
As for the search for stone you want to find mountains which have white deposits but which are not guarded by a mass of rebels.
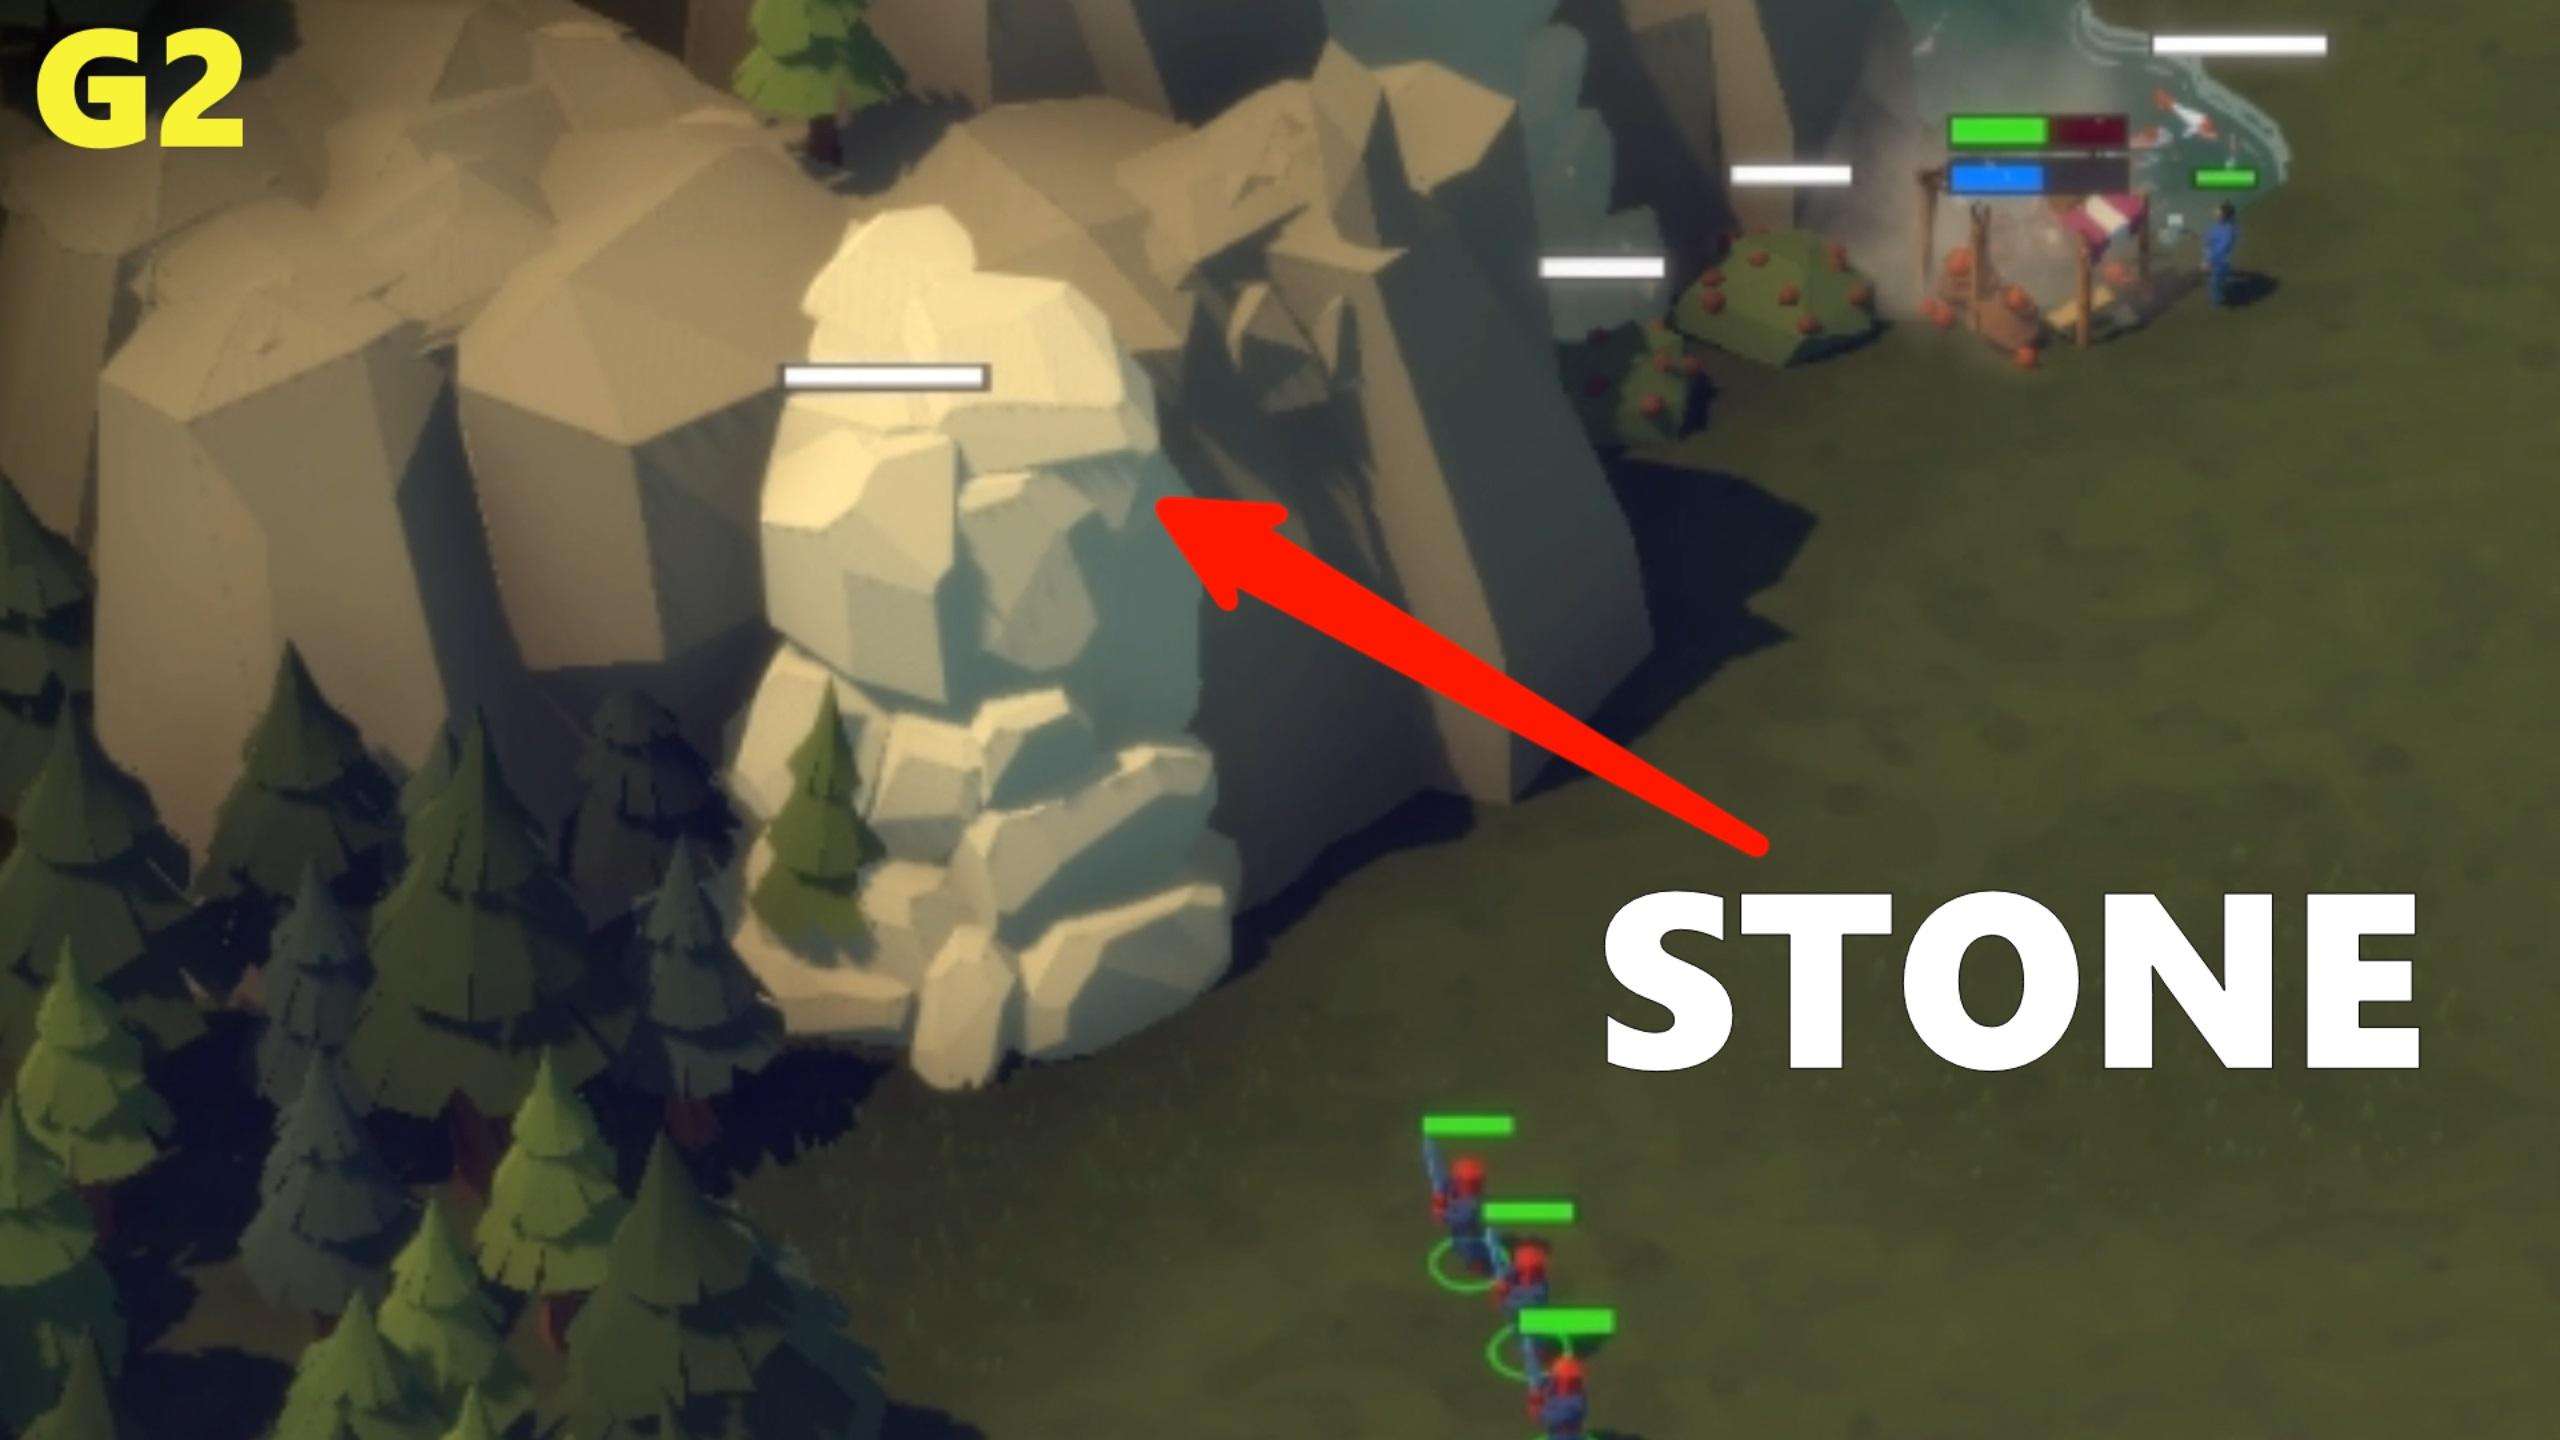
If you find their camps with only a few soldiers there, attack them and destroy their camps to clear that area. If you run into a mass of them, go find a less defended stone deposit.
Each time you tear down a rebel camp you will find loot inside it. At the start these are soul crystals and you want to collect as many as you can as you will need these to use magic spells against enemy waves.

If you are lucky to find a cart of stone, use those resources to build a granary next to your food production buildings to speed up collection and have a high stockpile capacity for food. If you find more wood on the other hand, build additional houses next to your town’s keep.

Unit Combat – Night 1
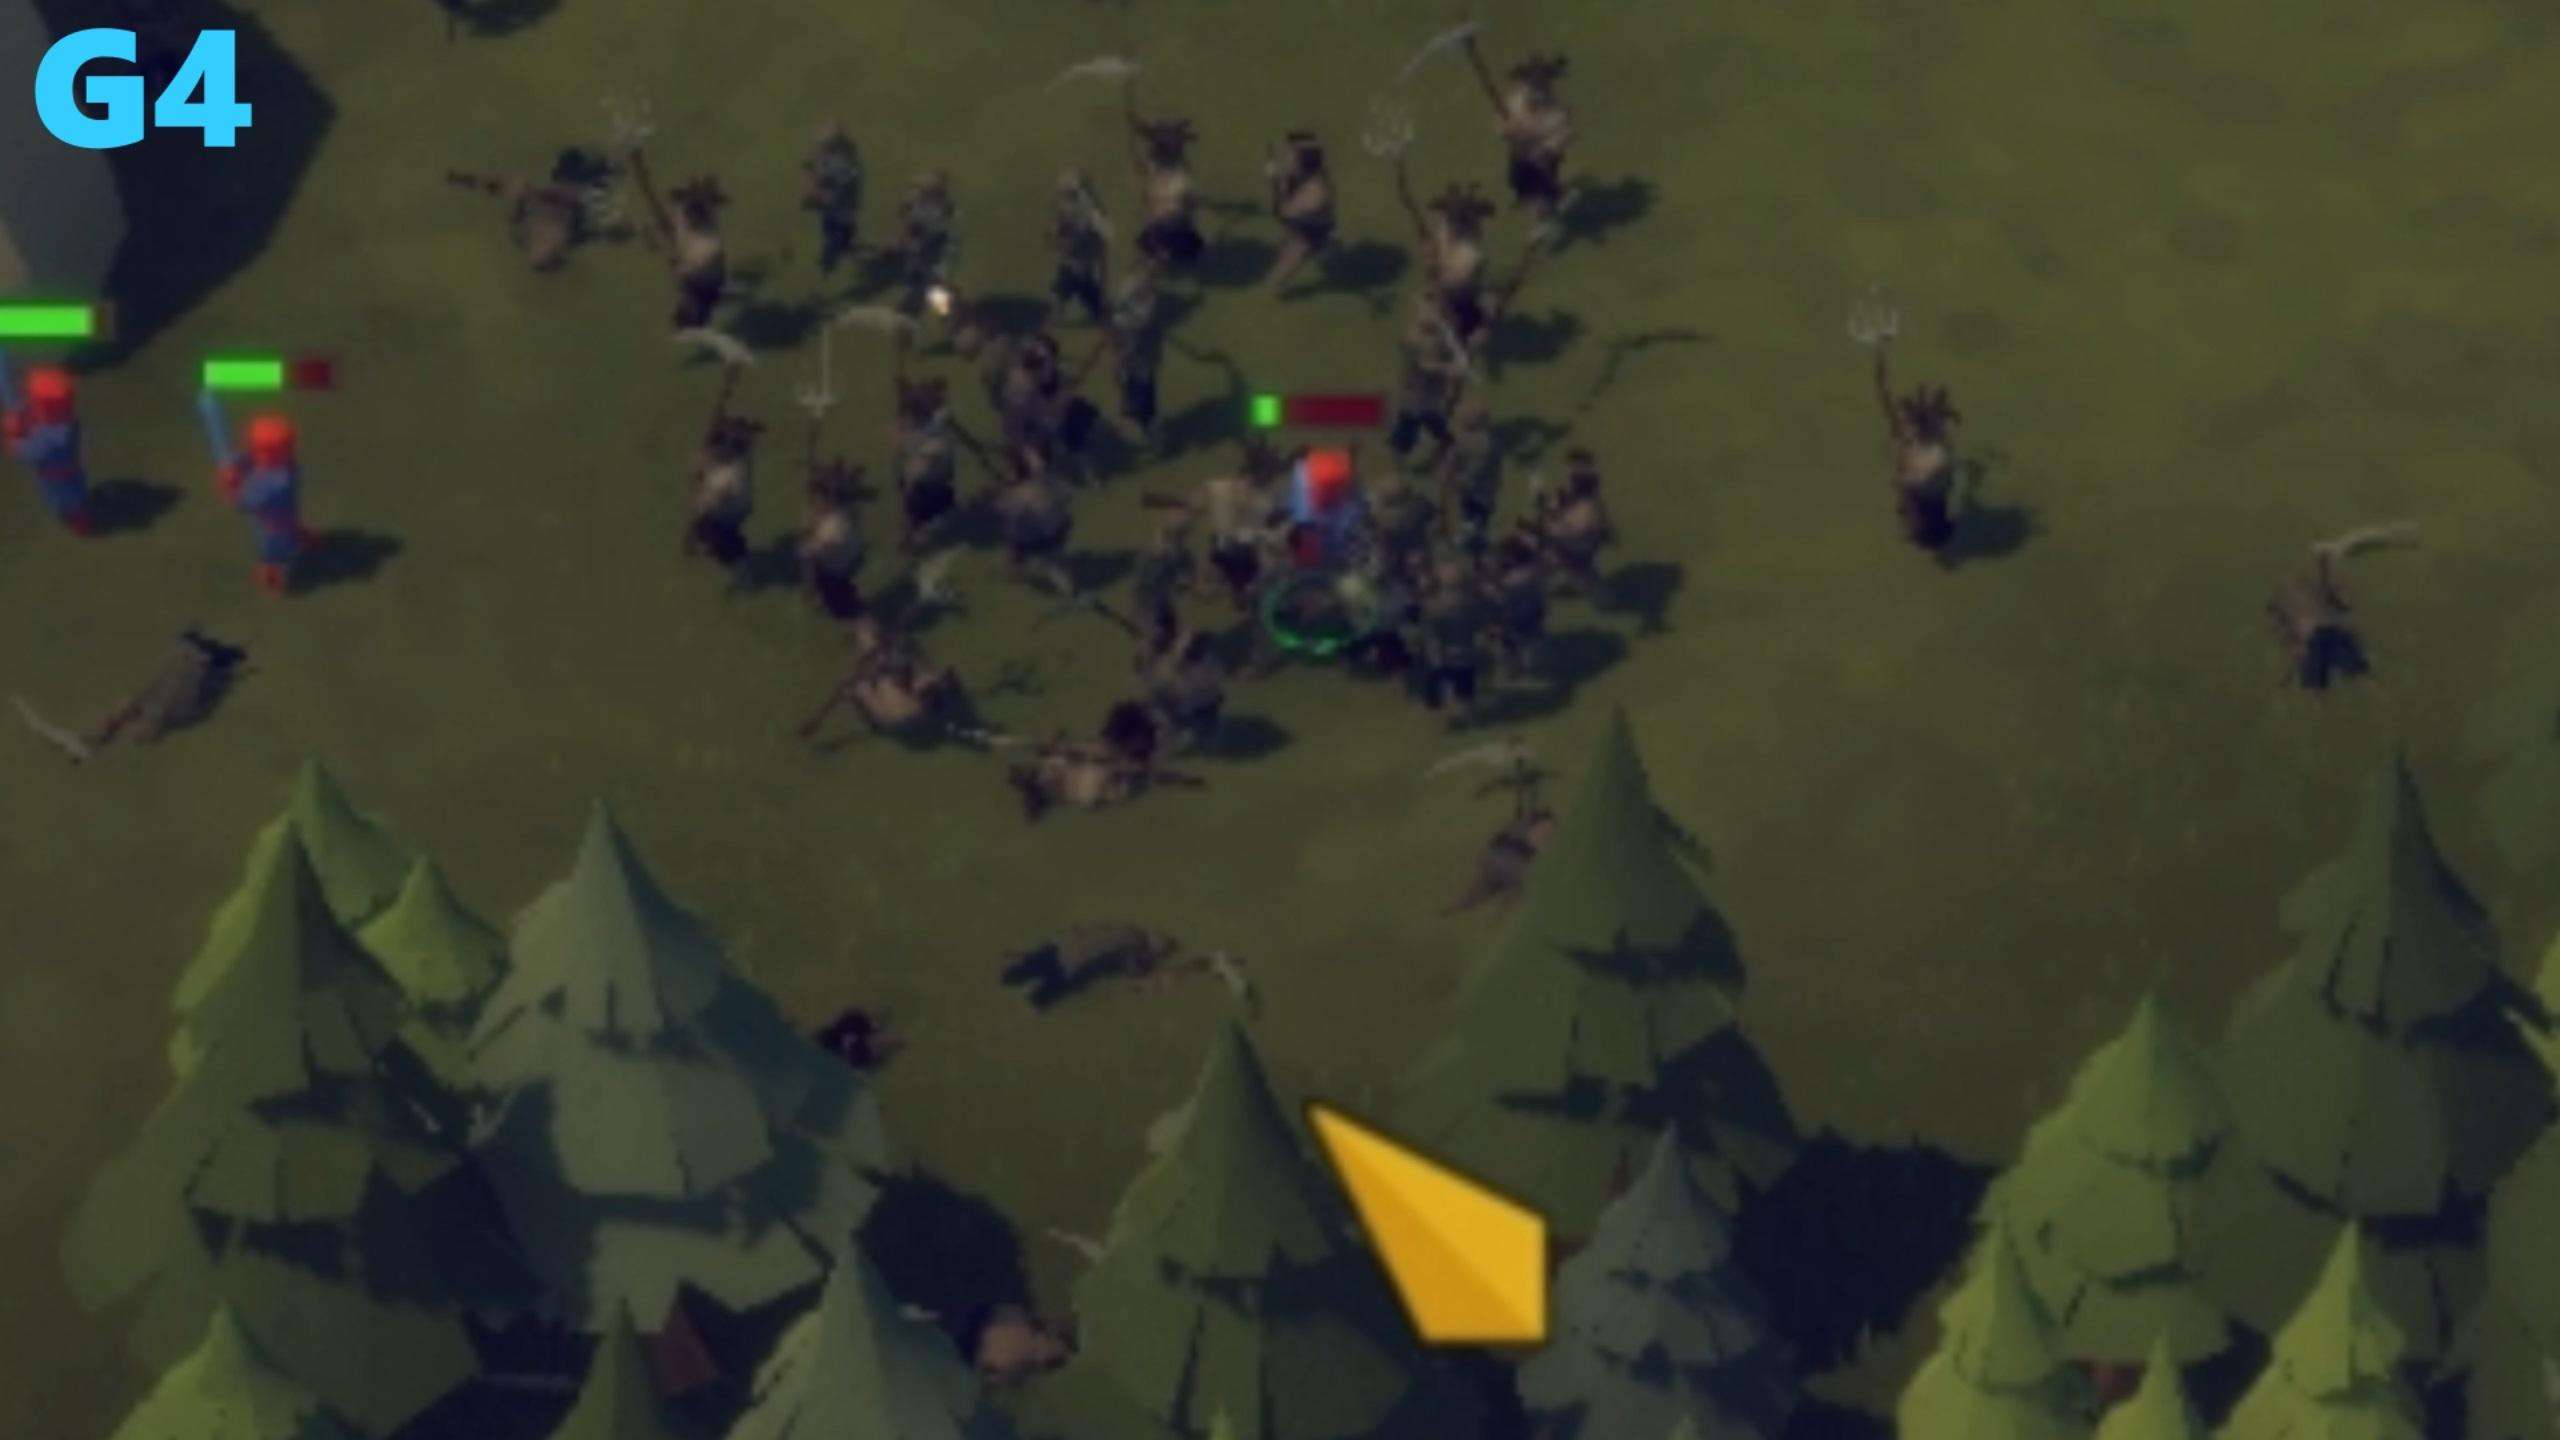
Now about combat. When you run into small enemy forces you can outright fight them as your swordsman will regenerate their health.

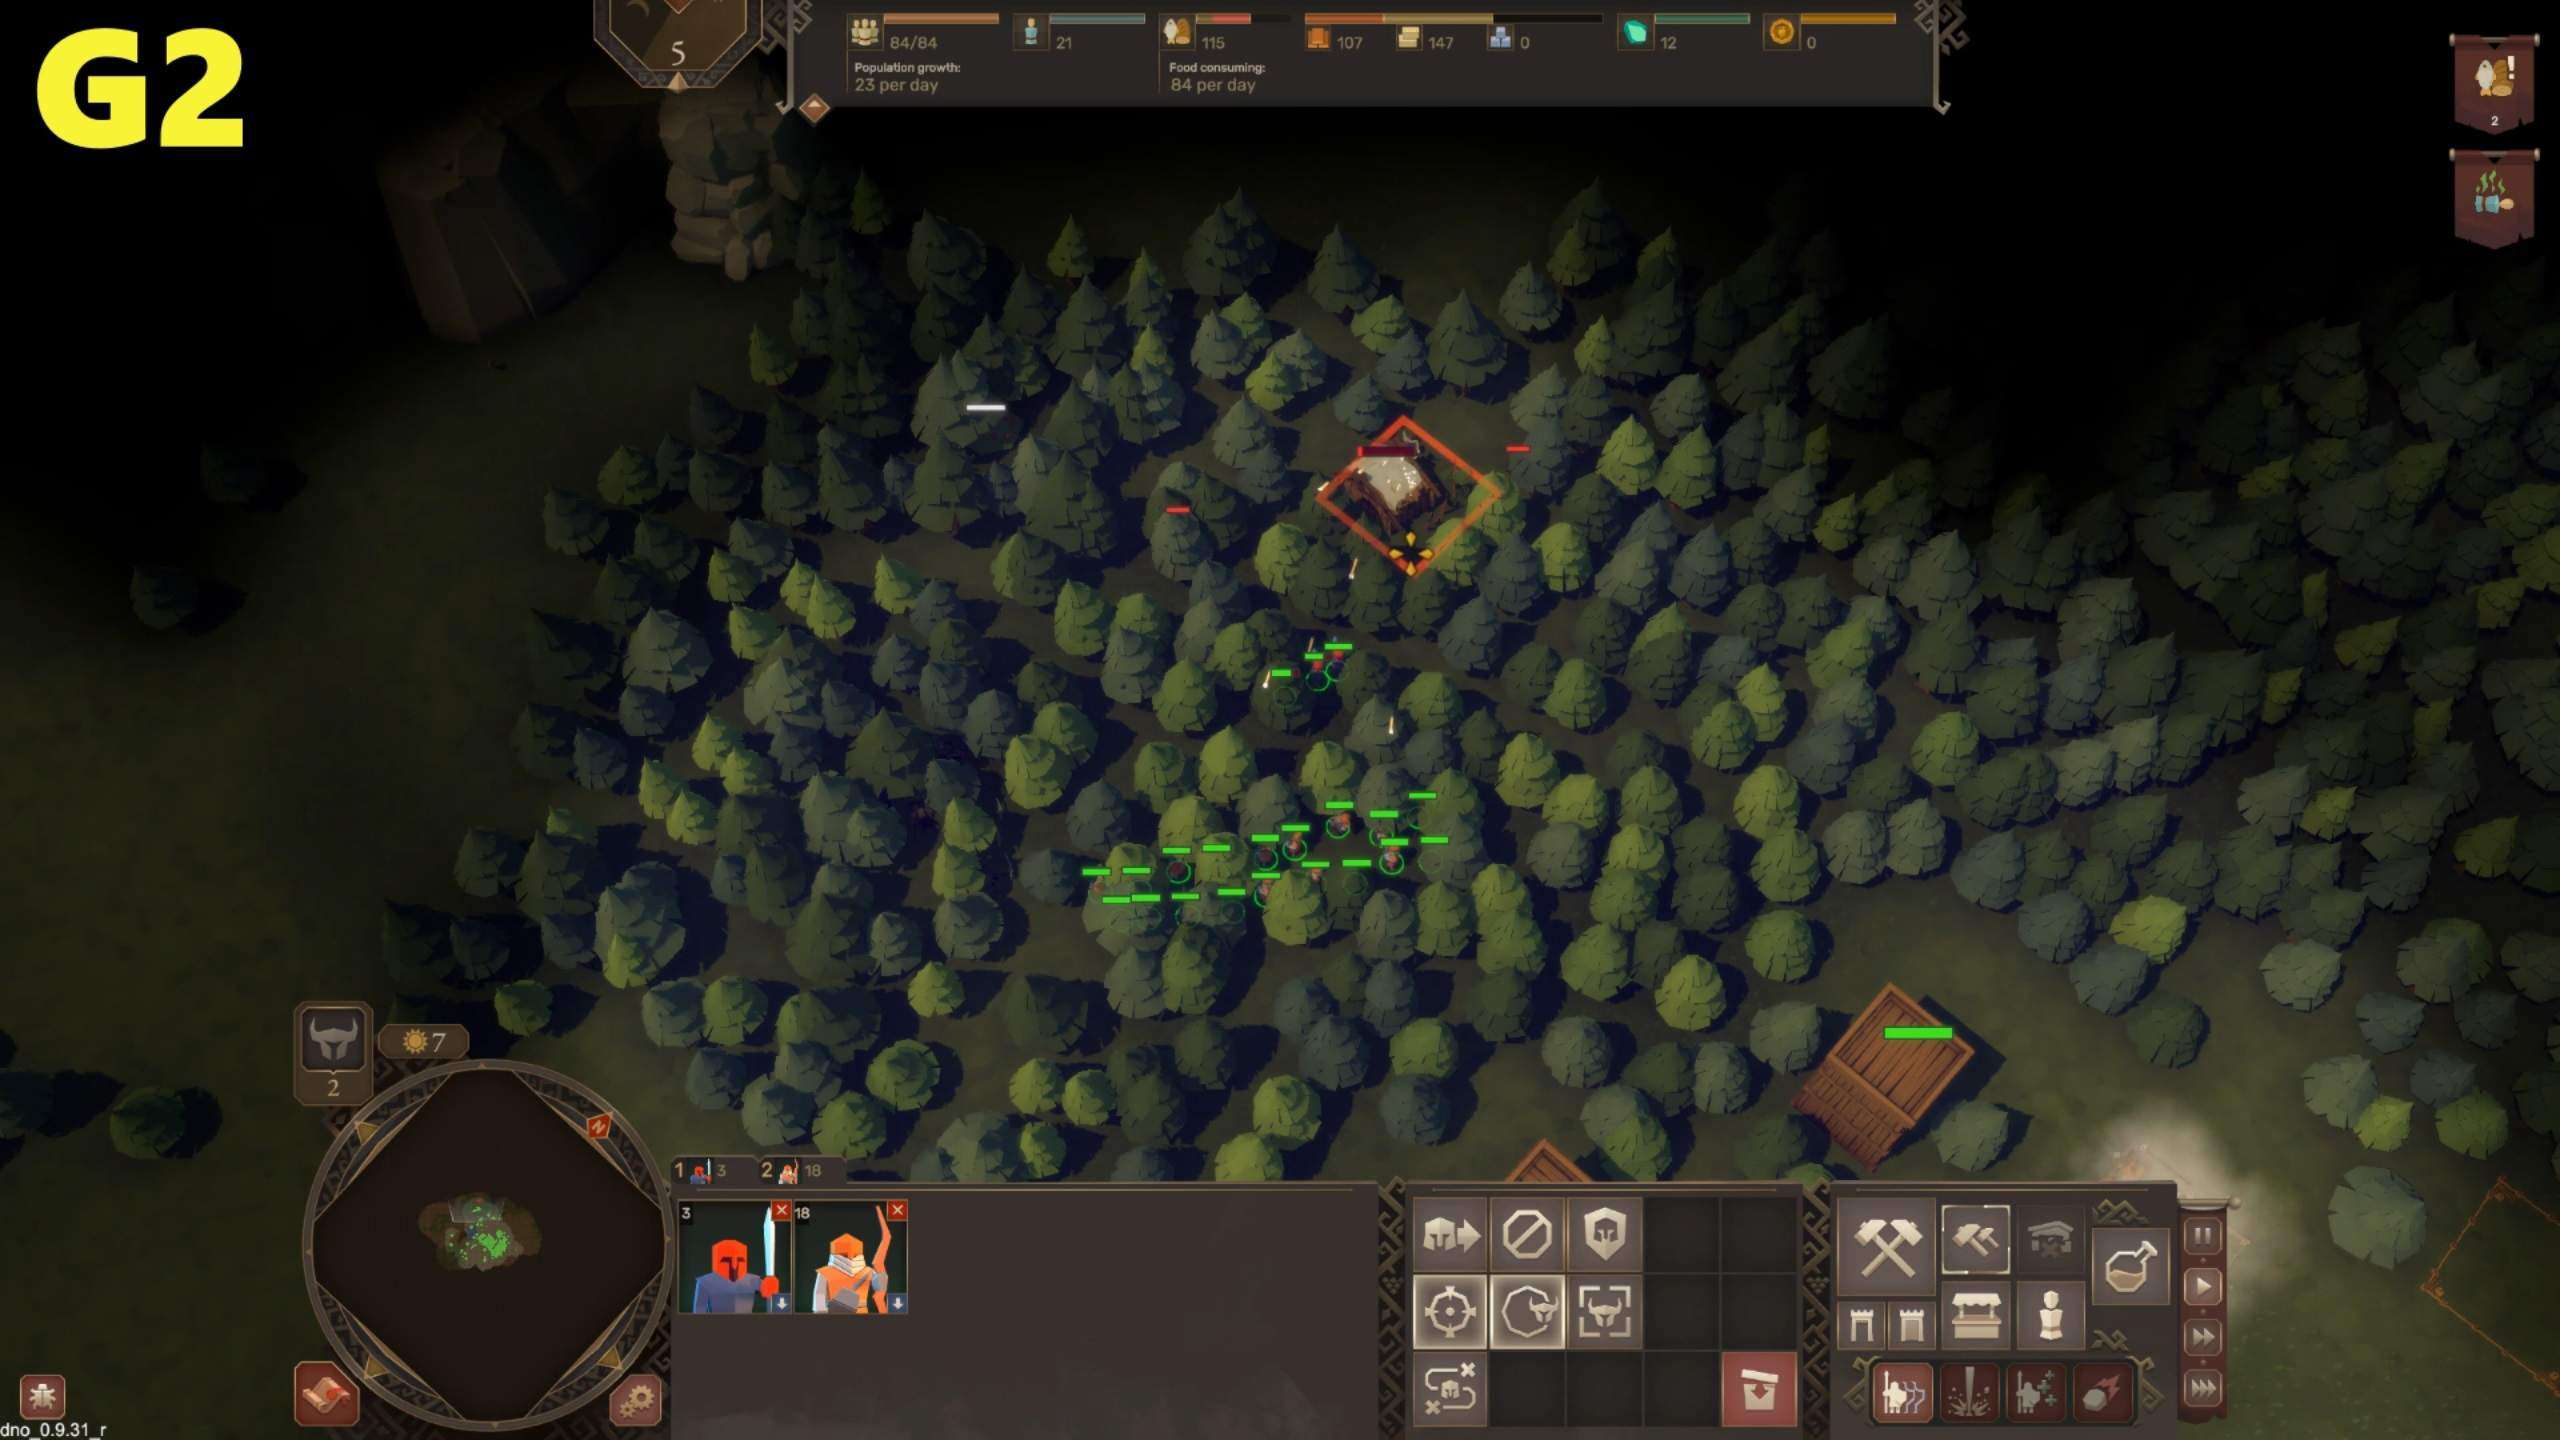
But if you run into a mass of rebels you need to learn to kite them. This involves placing your archers at a distance while getting close with your swordsman to taunt a small portion of that mass of rebels. Then you run in circles or left to right with your swordsmen and rebels on their tails while the archers shoot them up one by one.
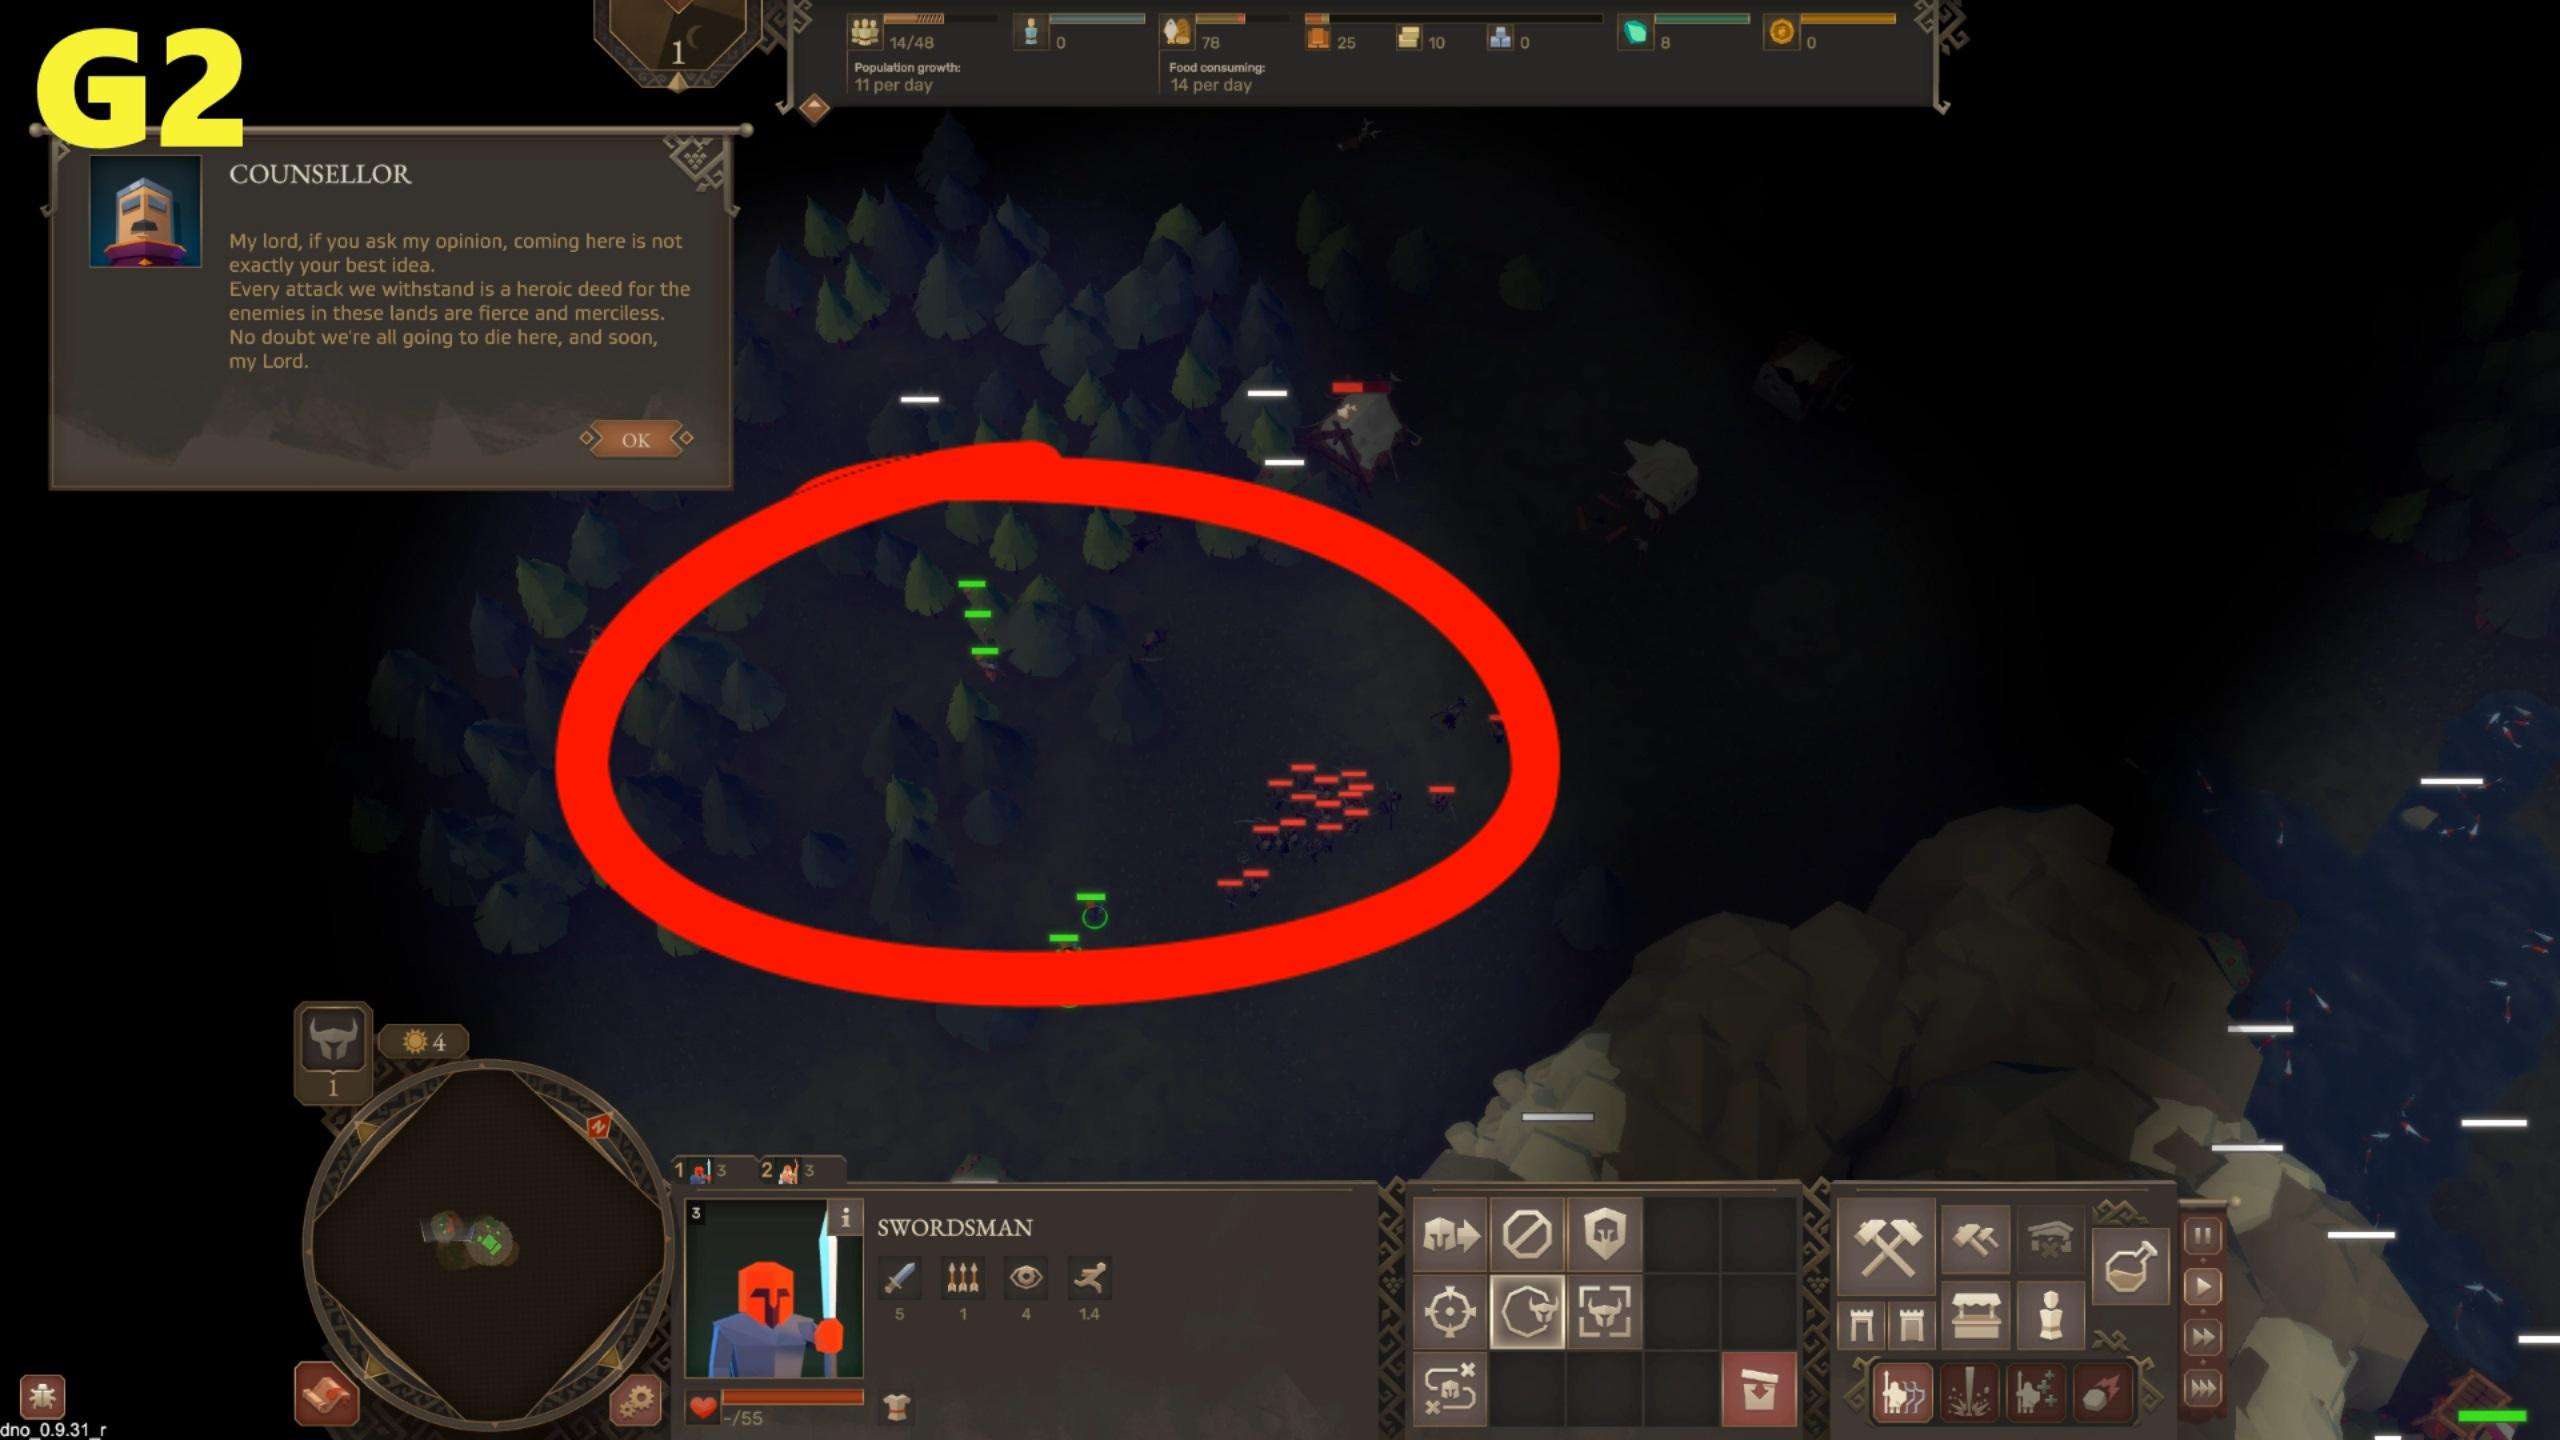
By doing so you can clear large enemy formations and free areas of the map for future construction of resource collection buildings. This may take some time to master so don’t’ beat yourself up if you end up pulling more enemies than you can handle.
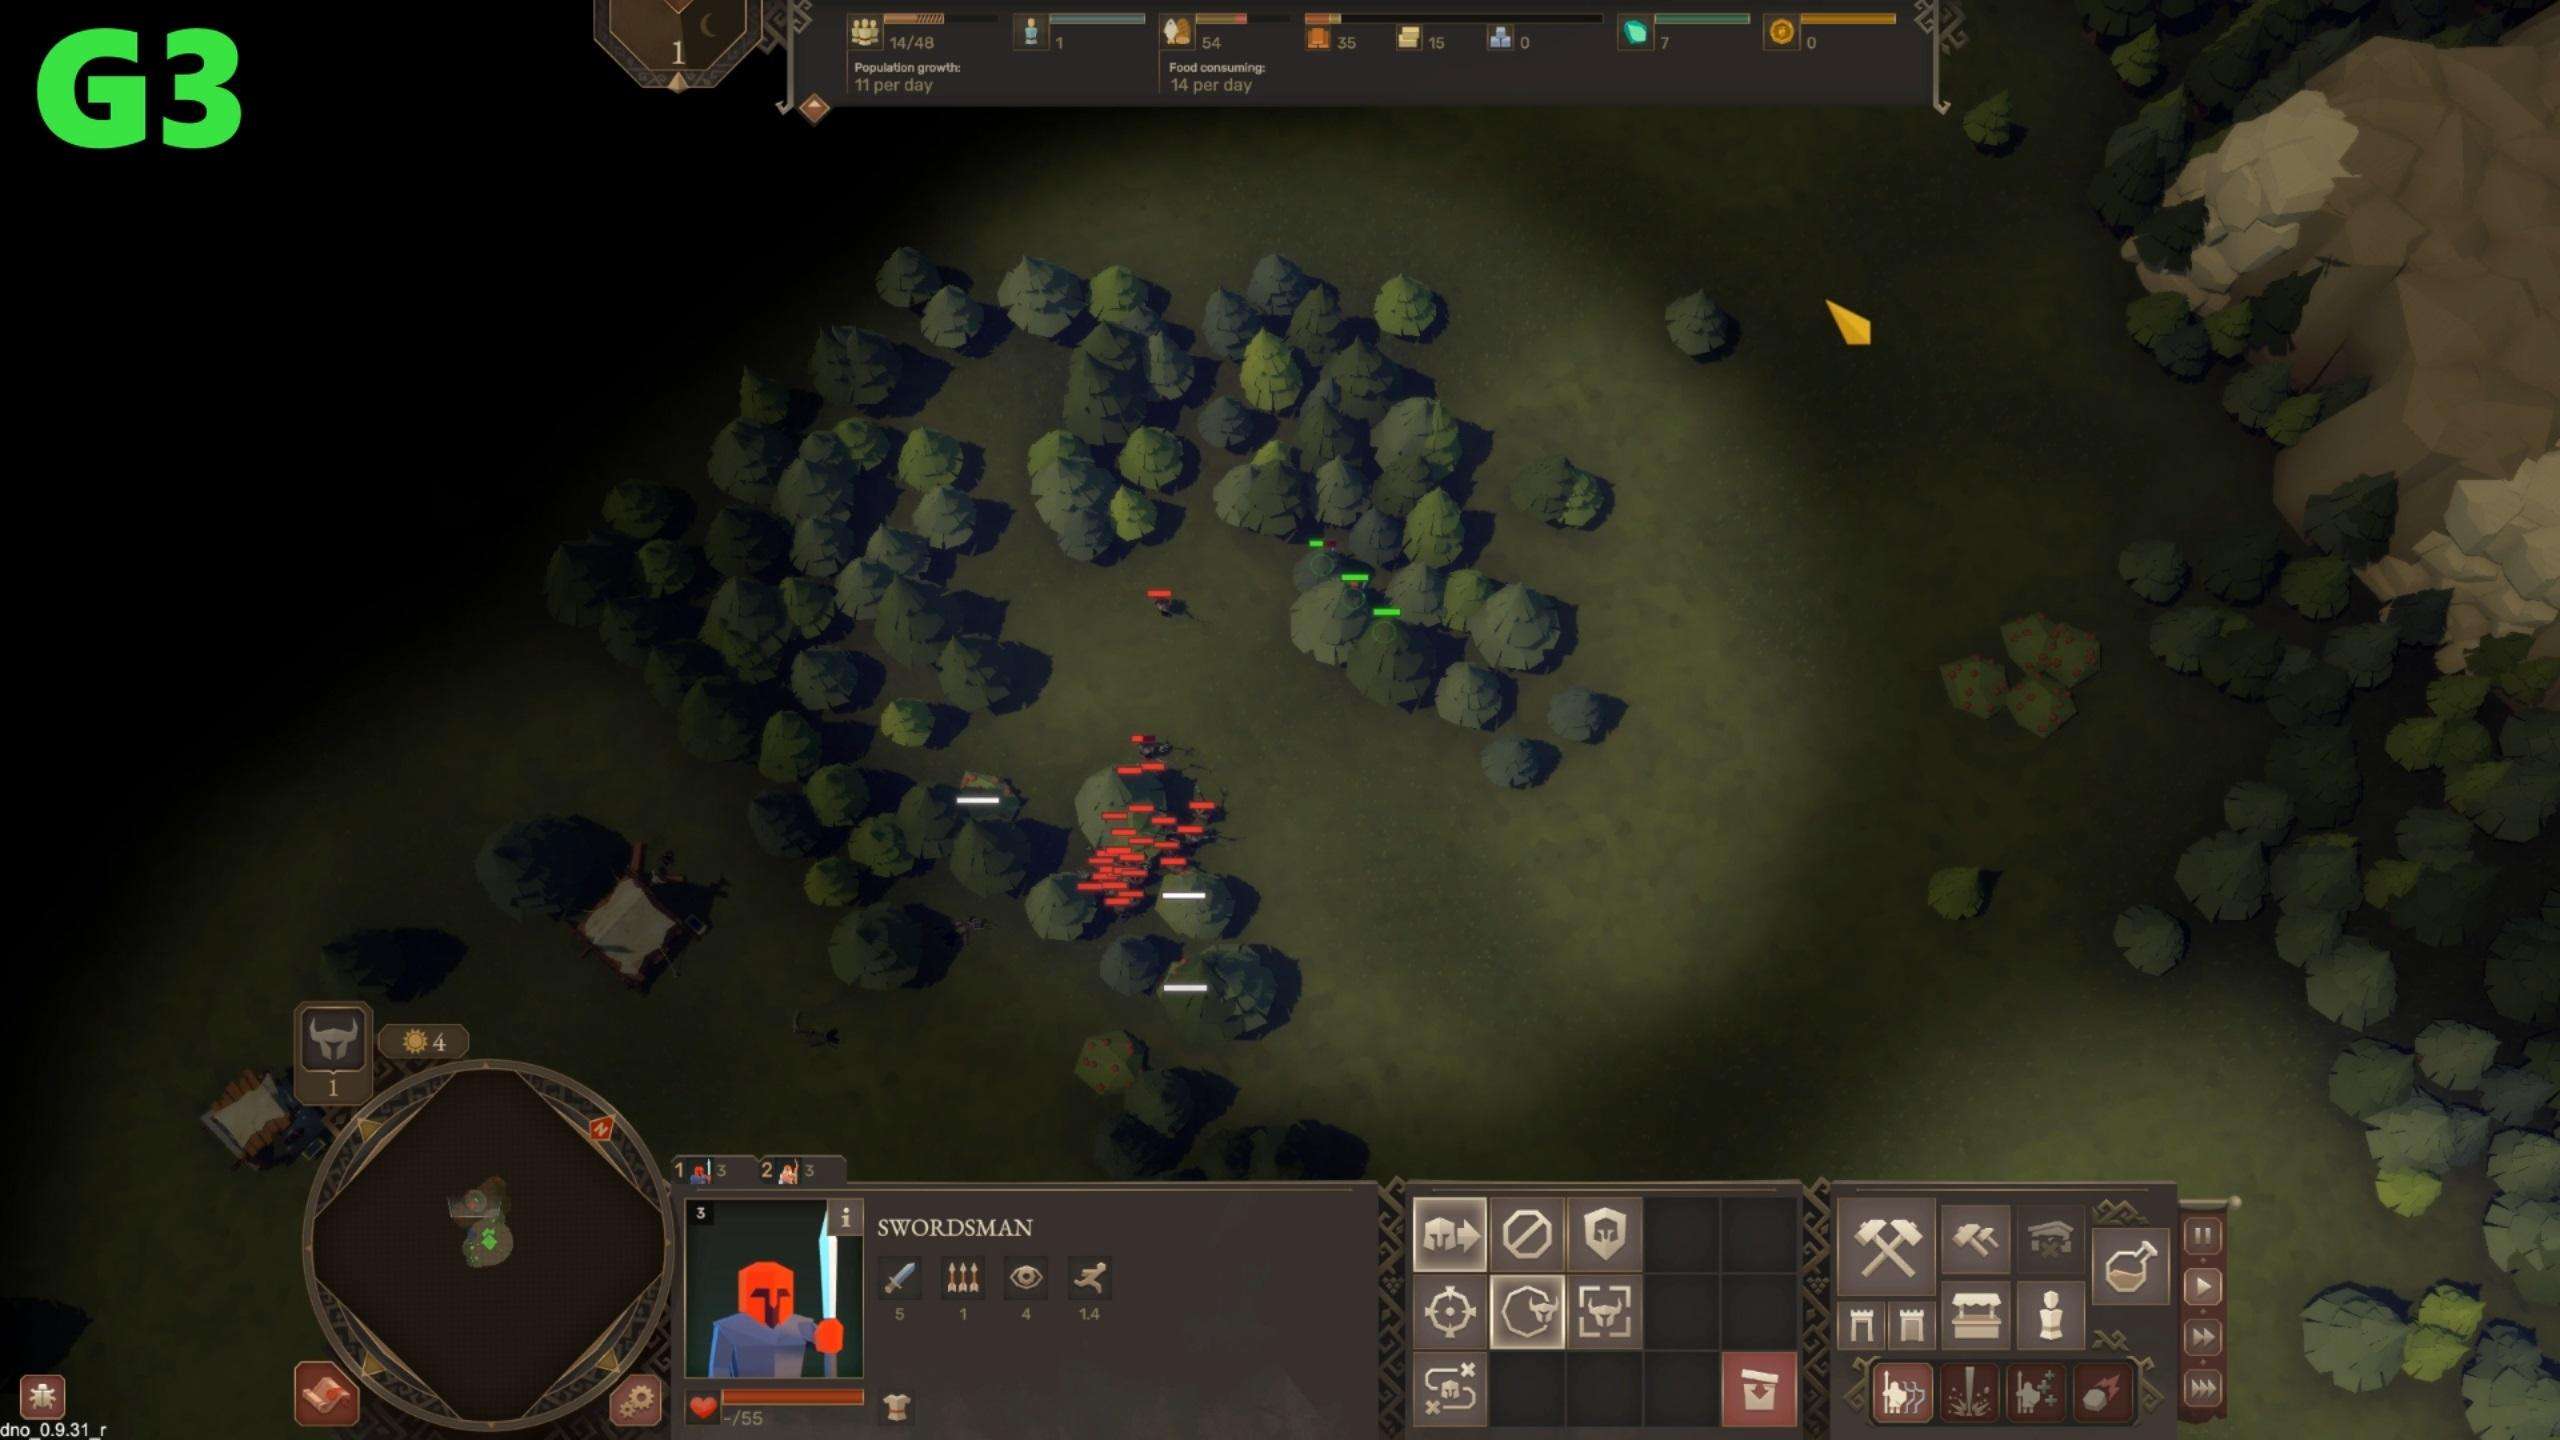
If you run for long enough they will stop chasing you. Just don’t run into the fog of war and straight into even more enemies. If you ever watched a zombie apocalypse TV show or movie you know what will happen.
New Buildings – Day 2
As soon as day two dawns you need to construct more buildings. Now if you happen to have stone deposits really close by, build those first, two of them, but if they are further away from your keep, first construct a builder’s house.
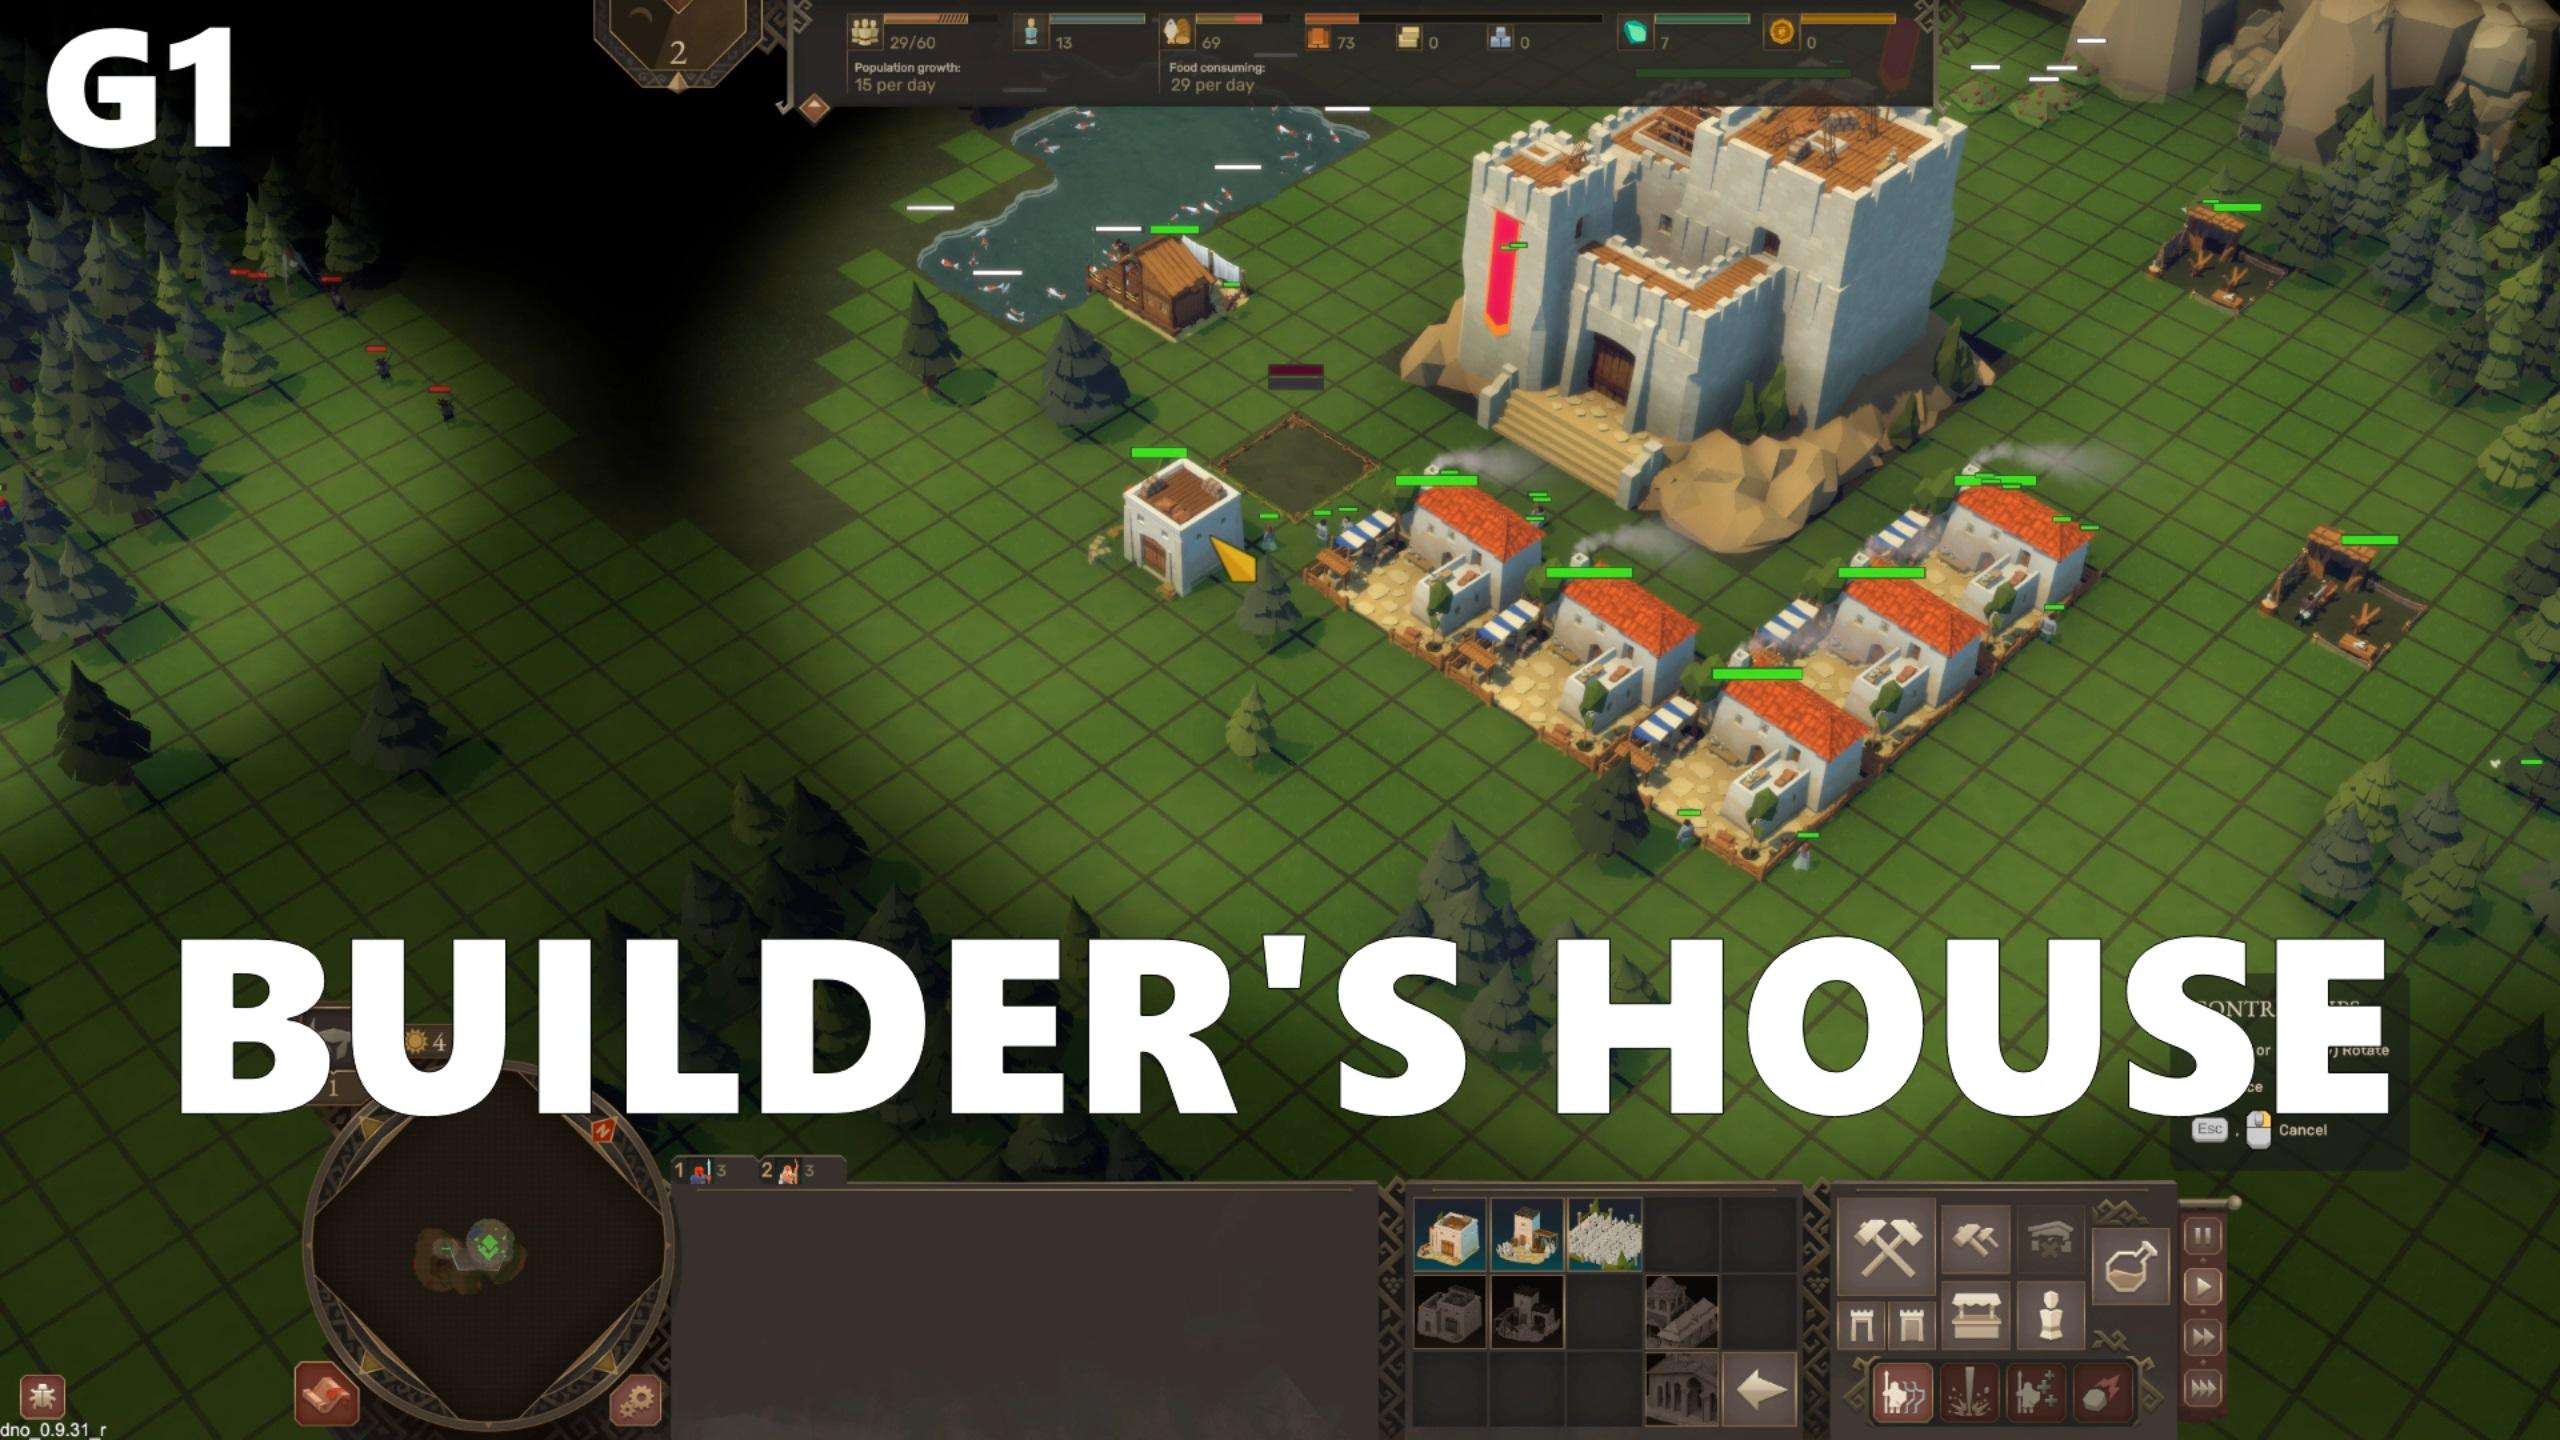
This is because your original two builders would take too much time to go out and construct those far away stone mines and no one would be free to construct other buildings.
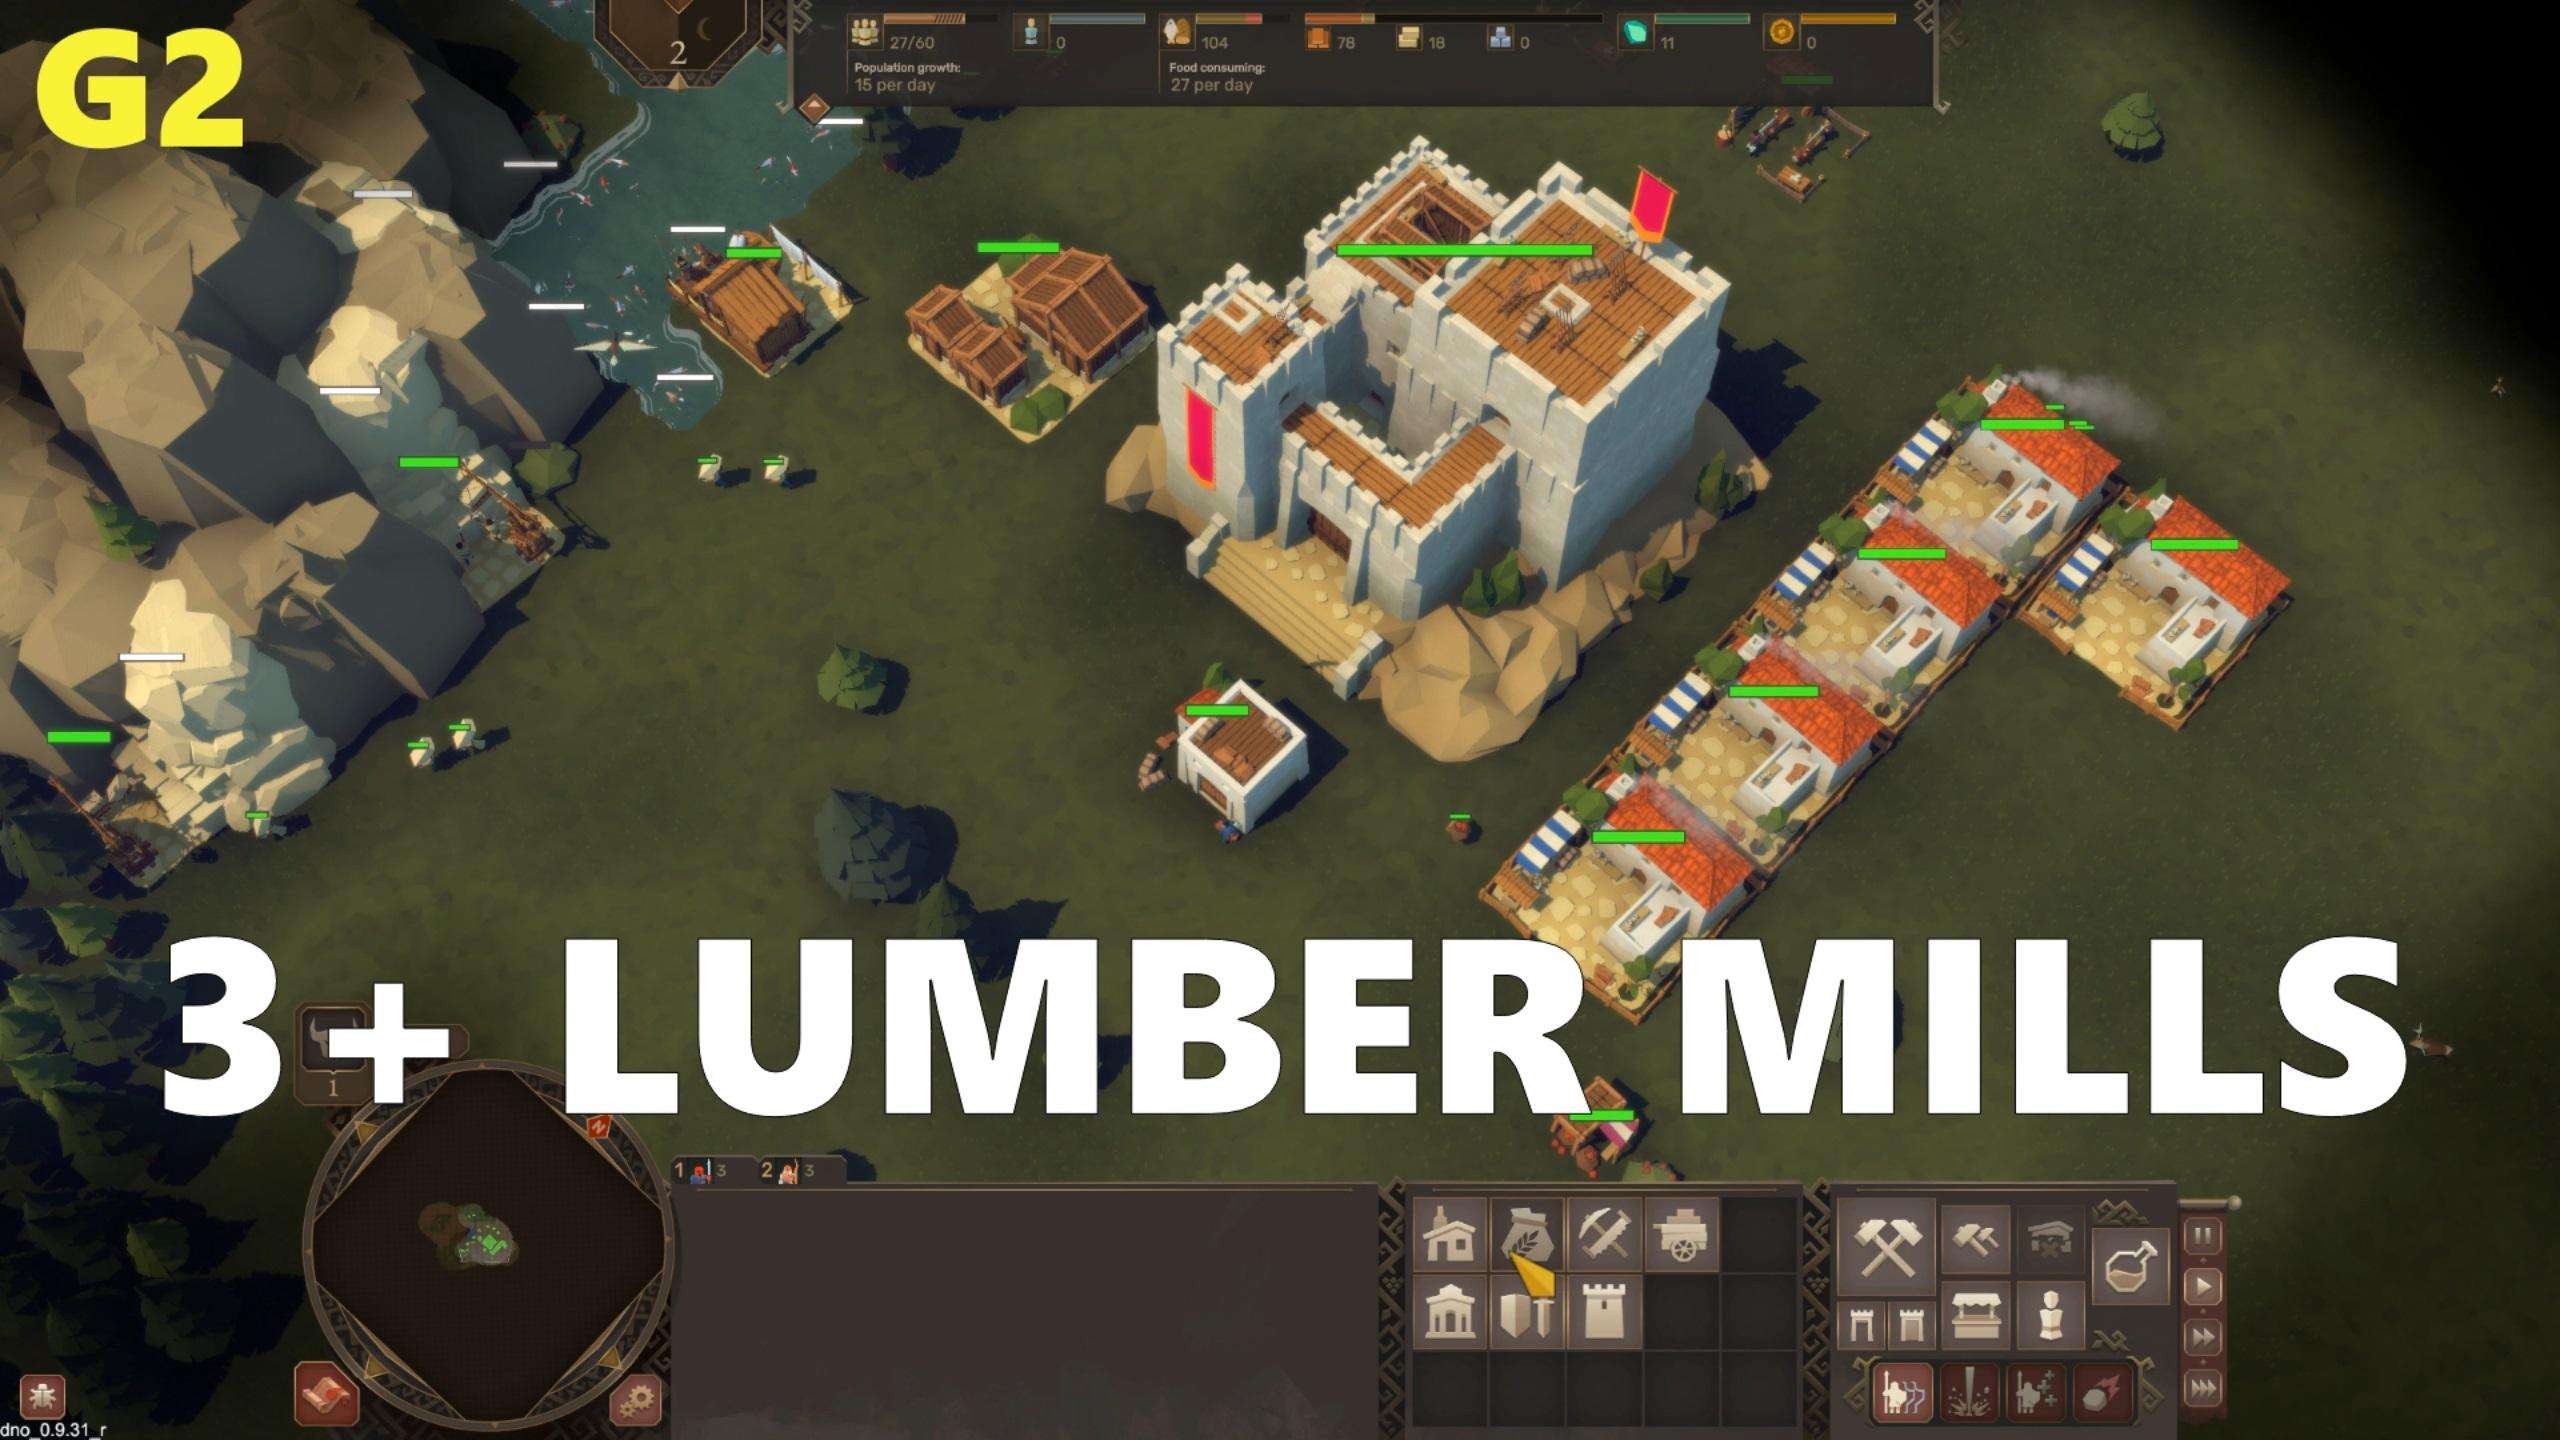
If you started with no fishermen’s huts, construct one now, otherwise go for more lumber mills. It’s important that you have at least two food production buildings, three or more lumber mills, and two stone mines.
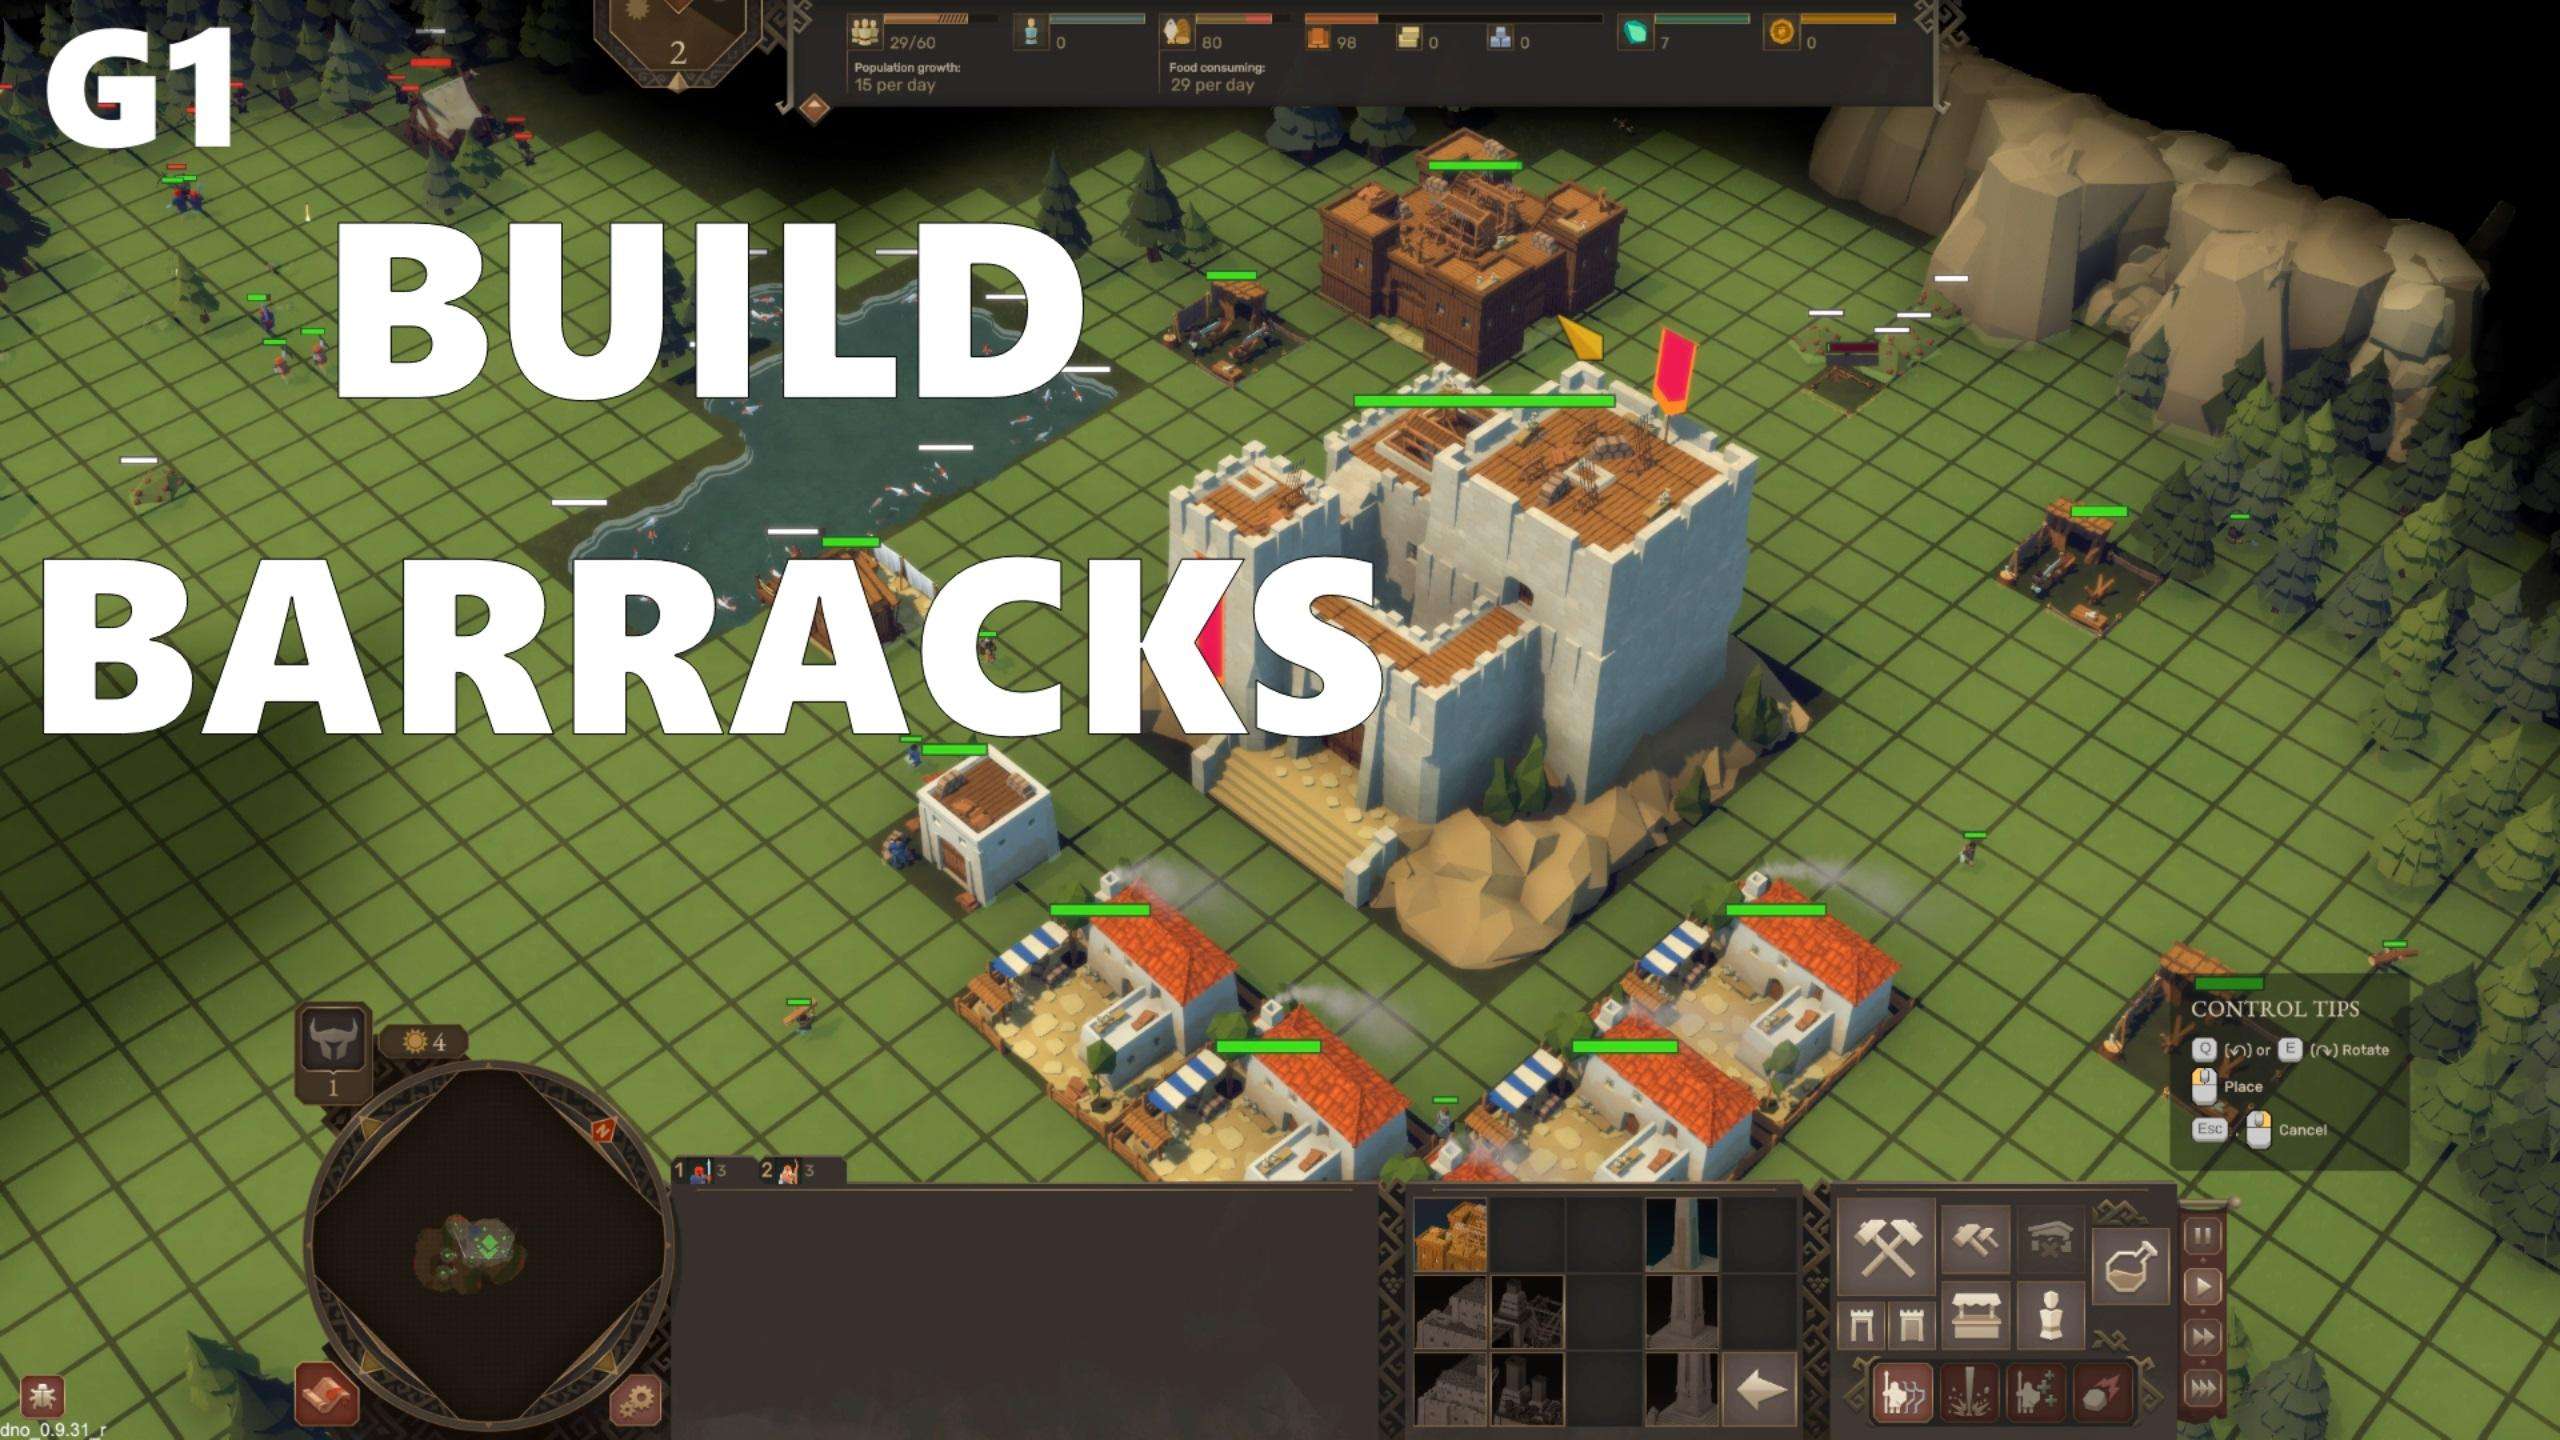
This of course depends on the number of houses you were able to construct during the first day and night as they provide the free workers necessary for construction of resource gathering buildings. If you are lucky to have an excess of wood, construct the barracks.
Clearing The Map – Night 2
During the second night you want to spend your wood on even more houses because you will need the extra population for future recruitment of new soldiers.
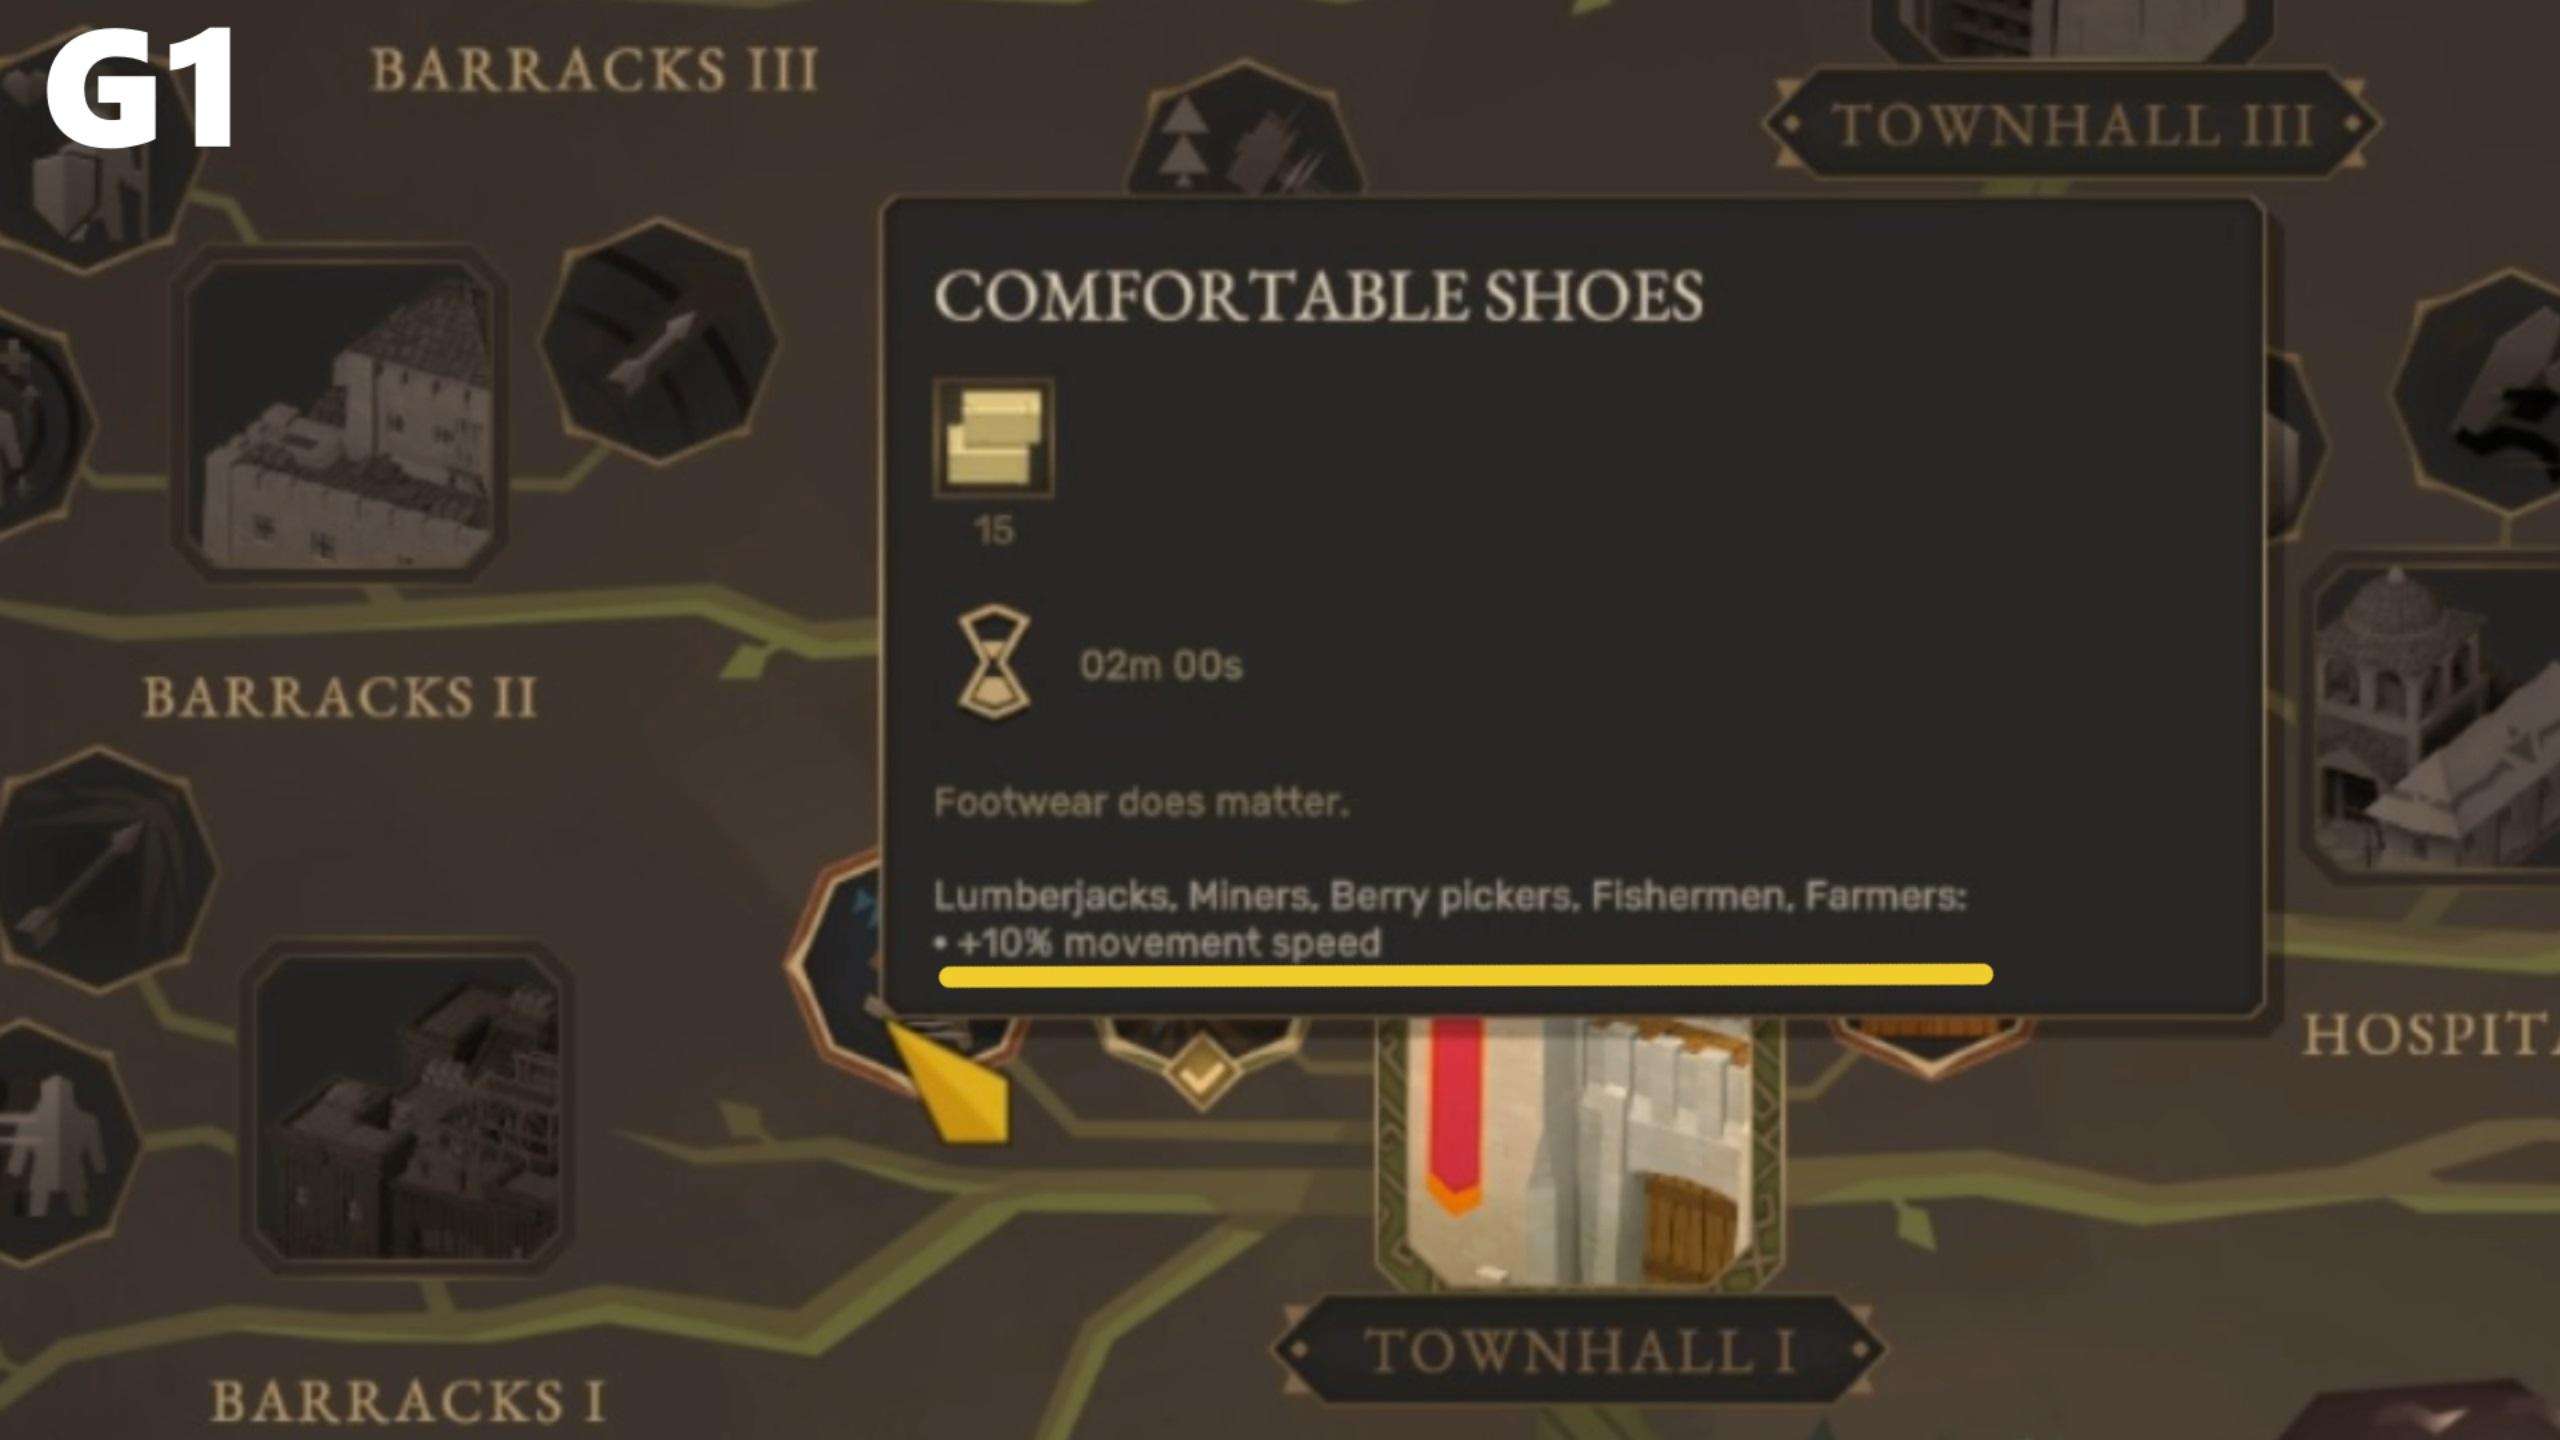
If you have gathered enough stone you want to research Comfortable shoes to speed up the movement time of your resources collection workers.
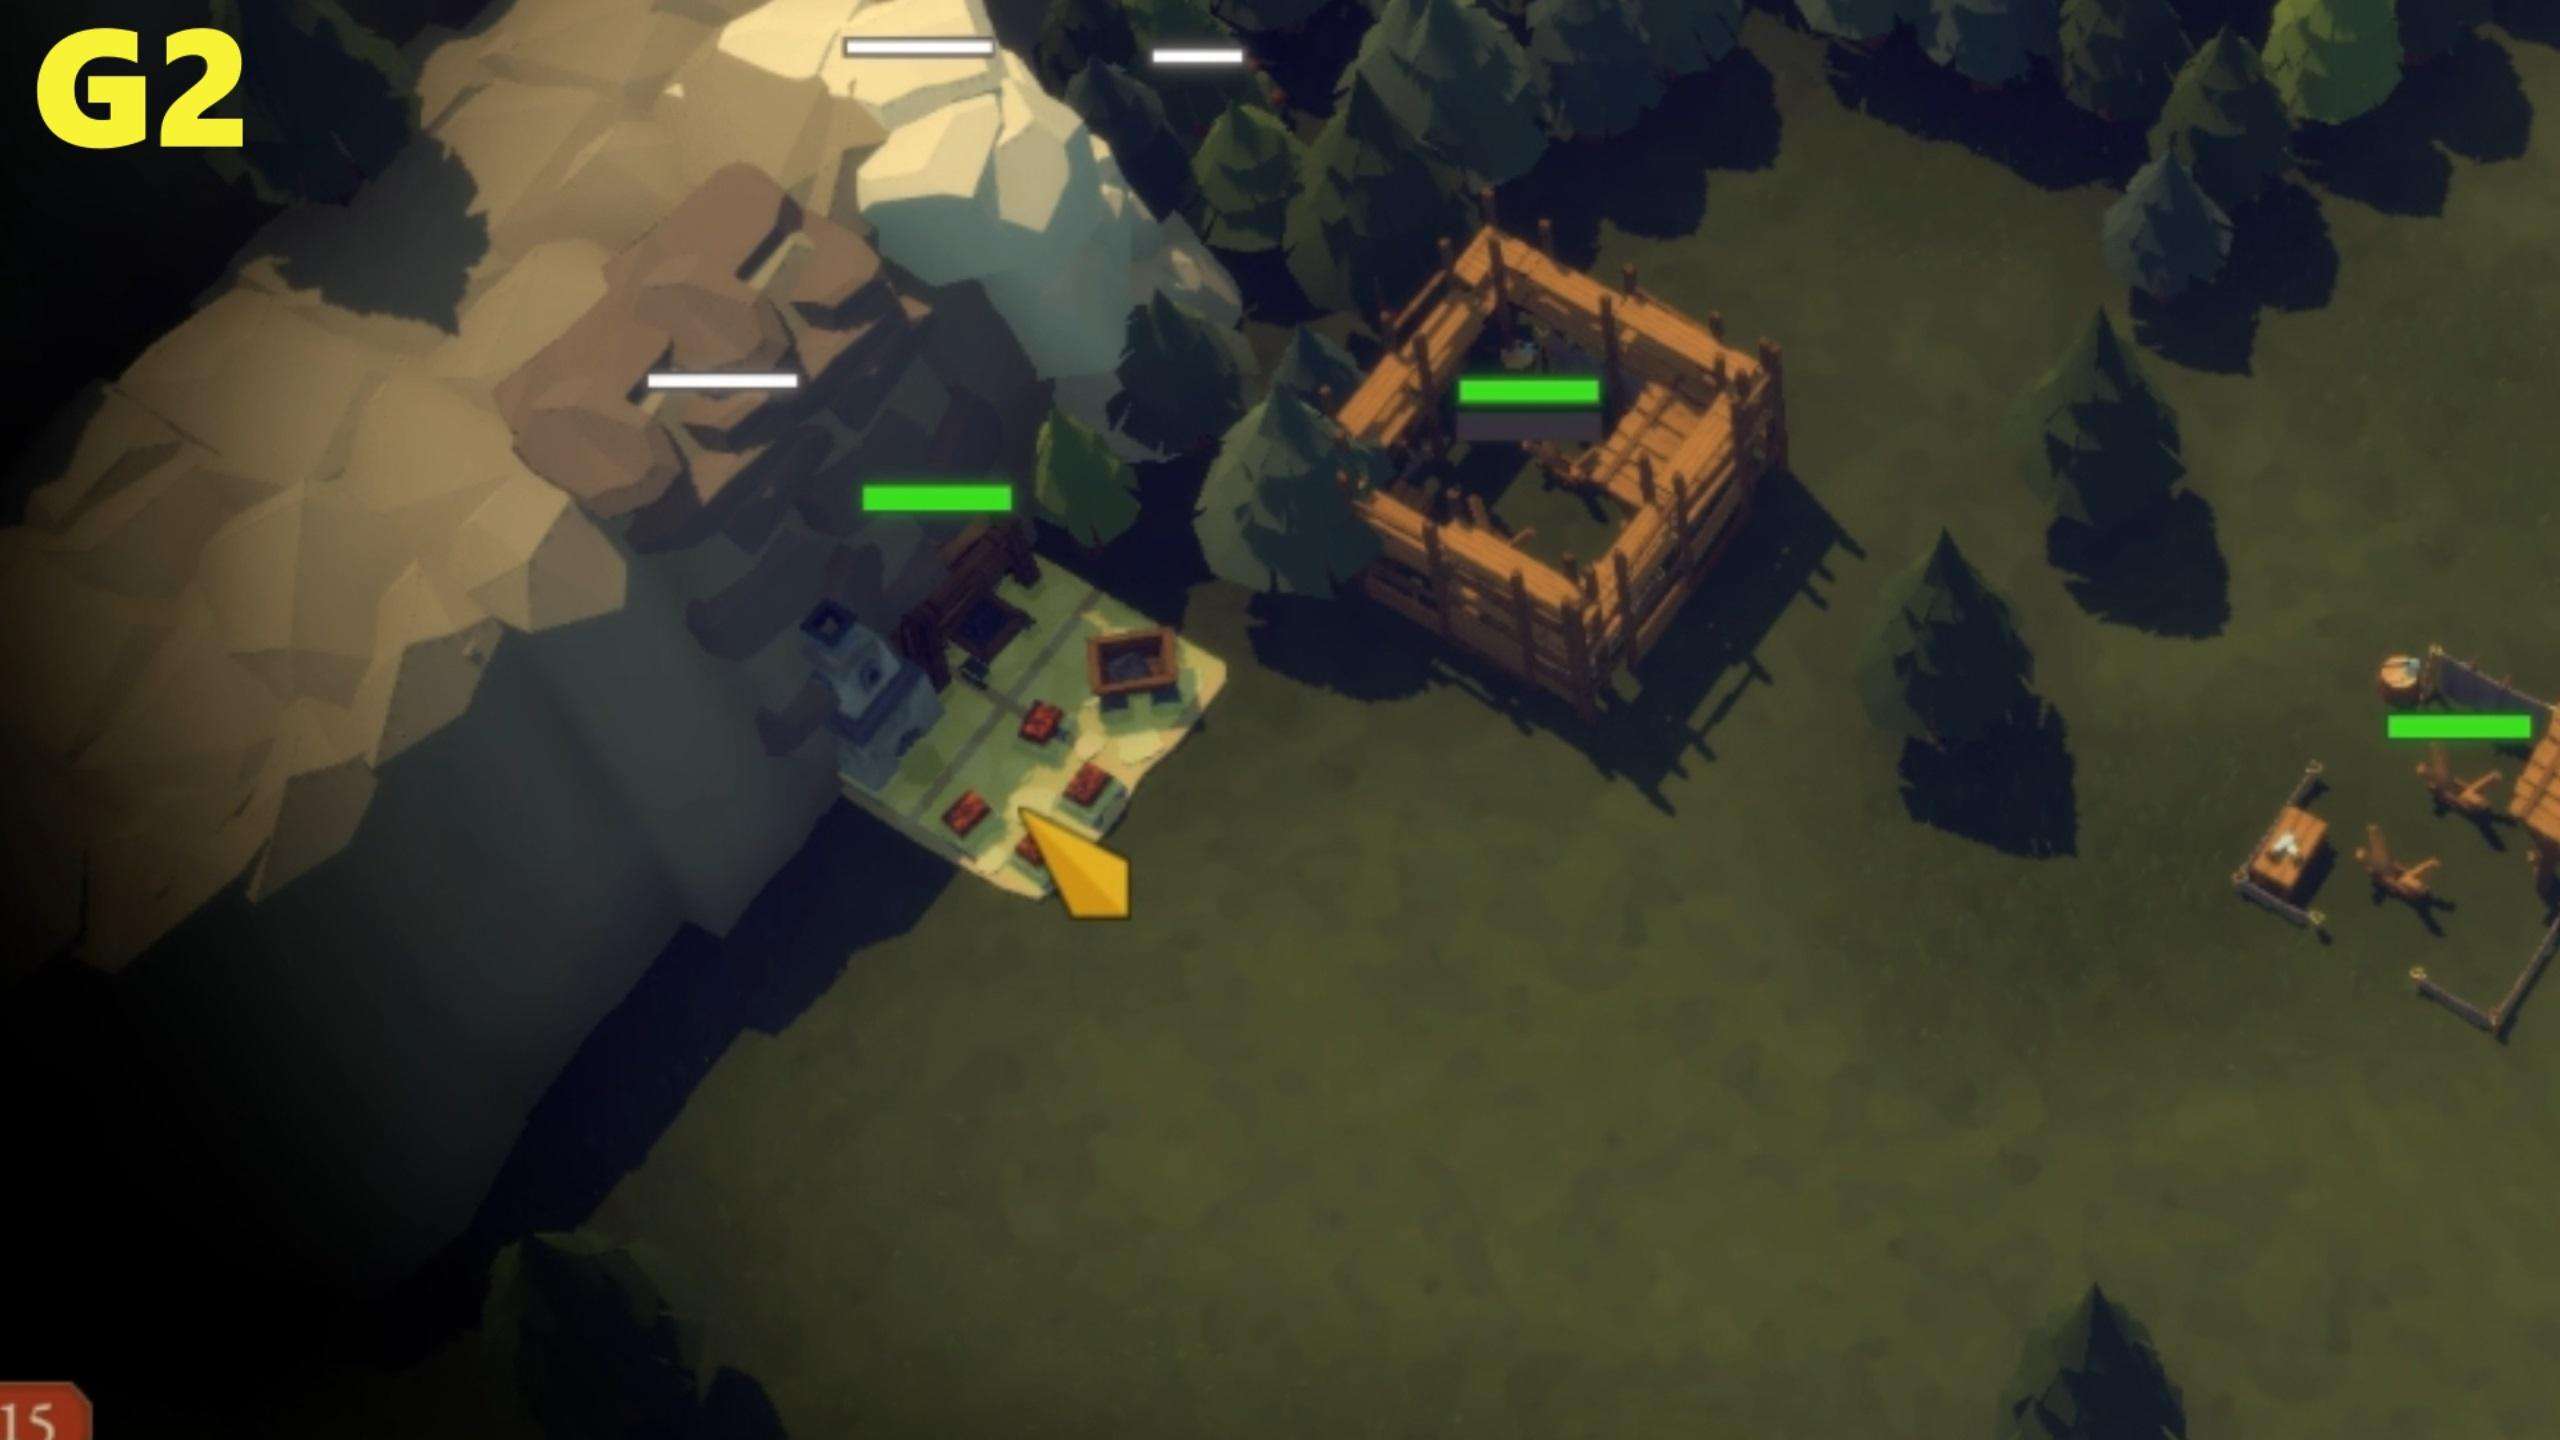
When you have no more resources for any construction, focus on exploring the map and taking down enemy camps or clearing forests you are about to cut into as you don’t want unexpected visitors.
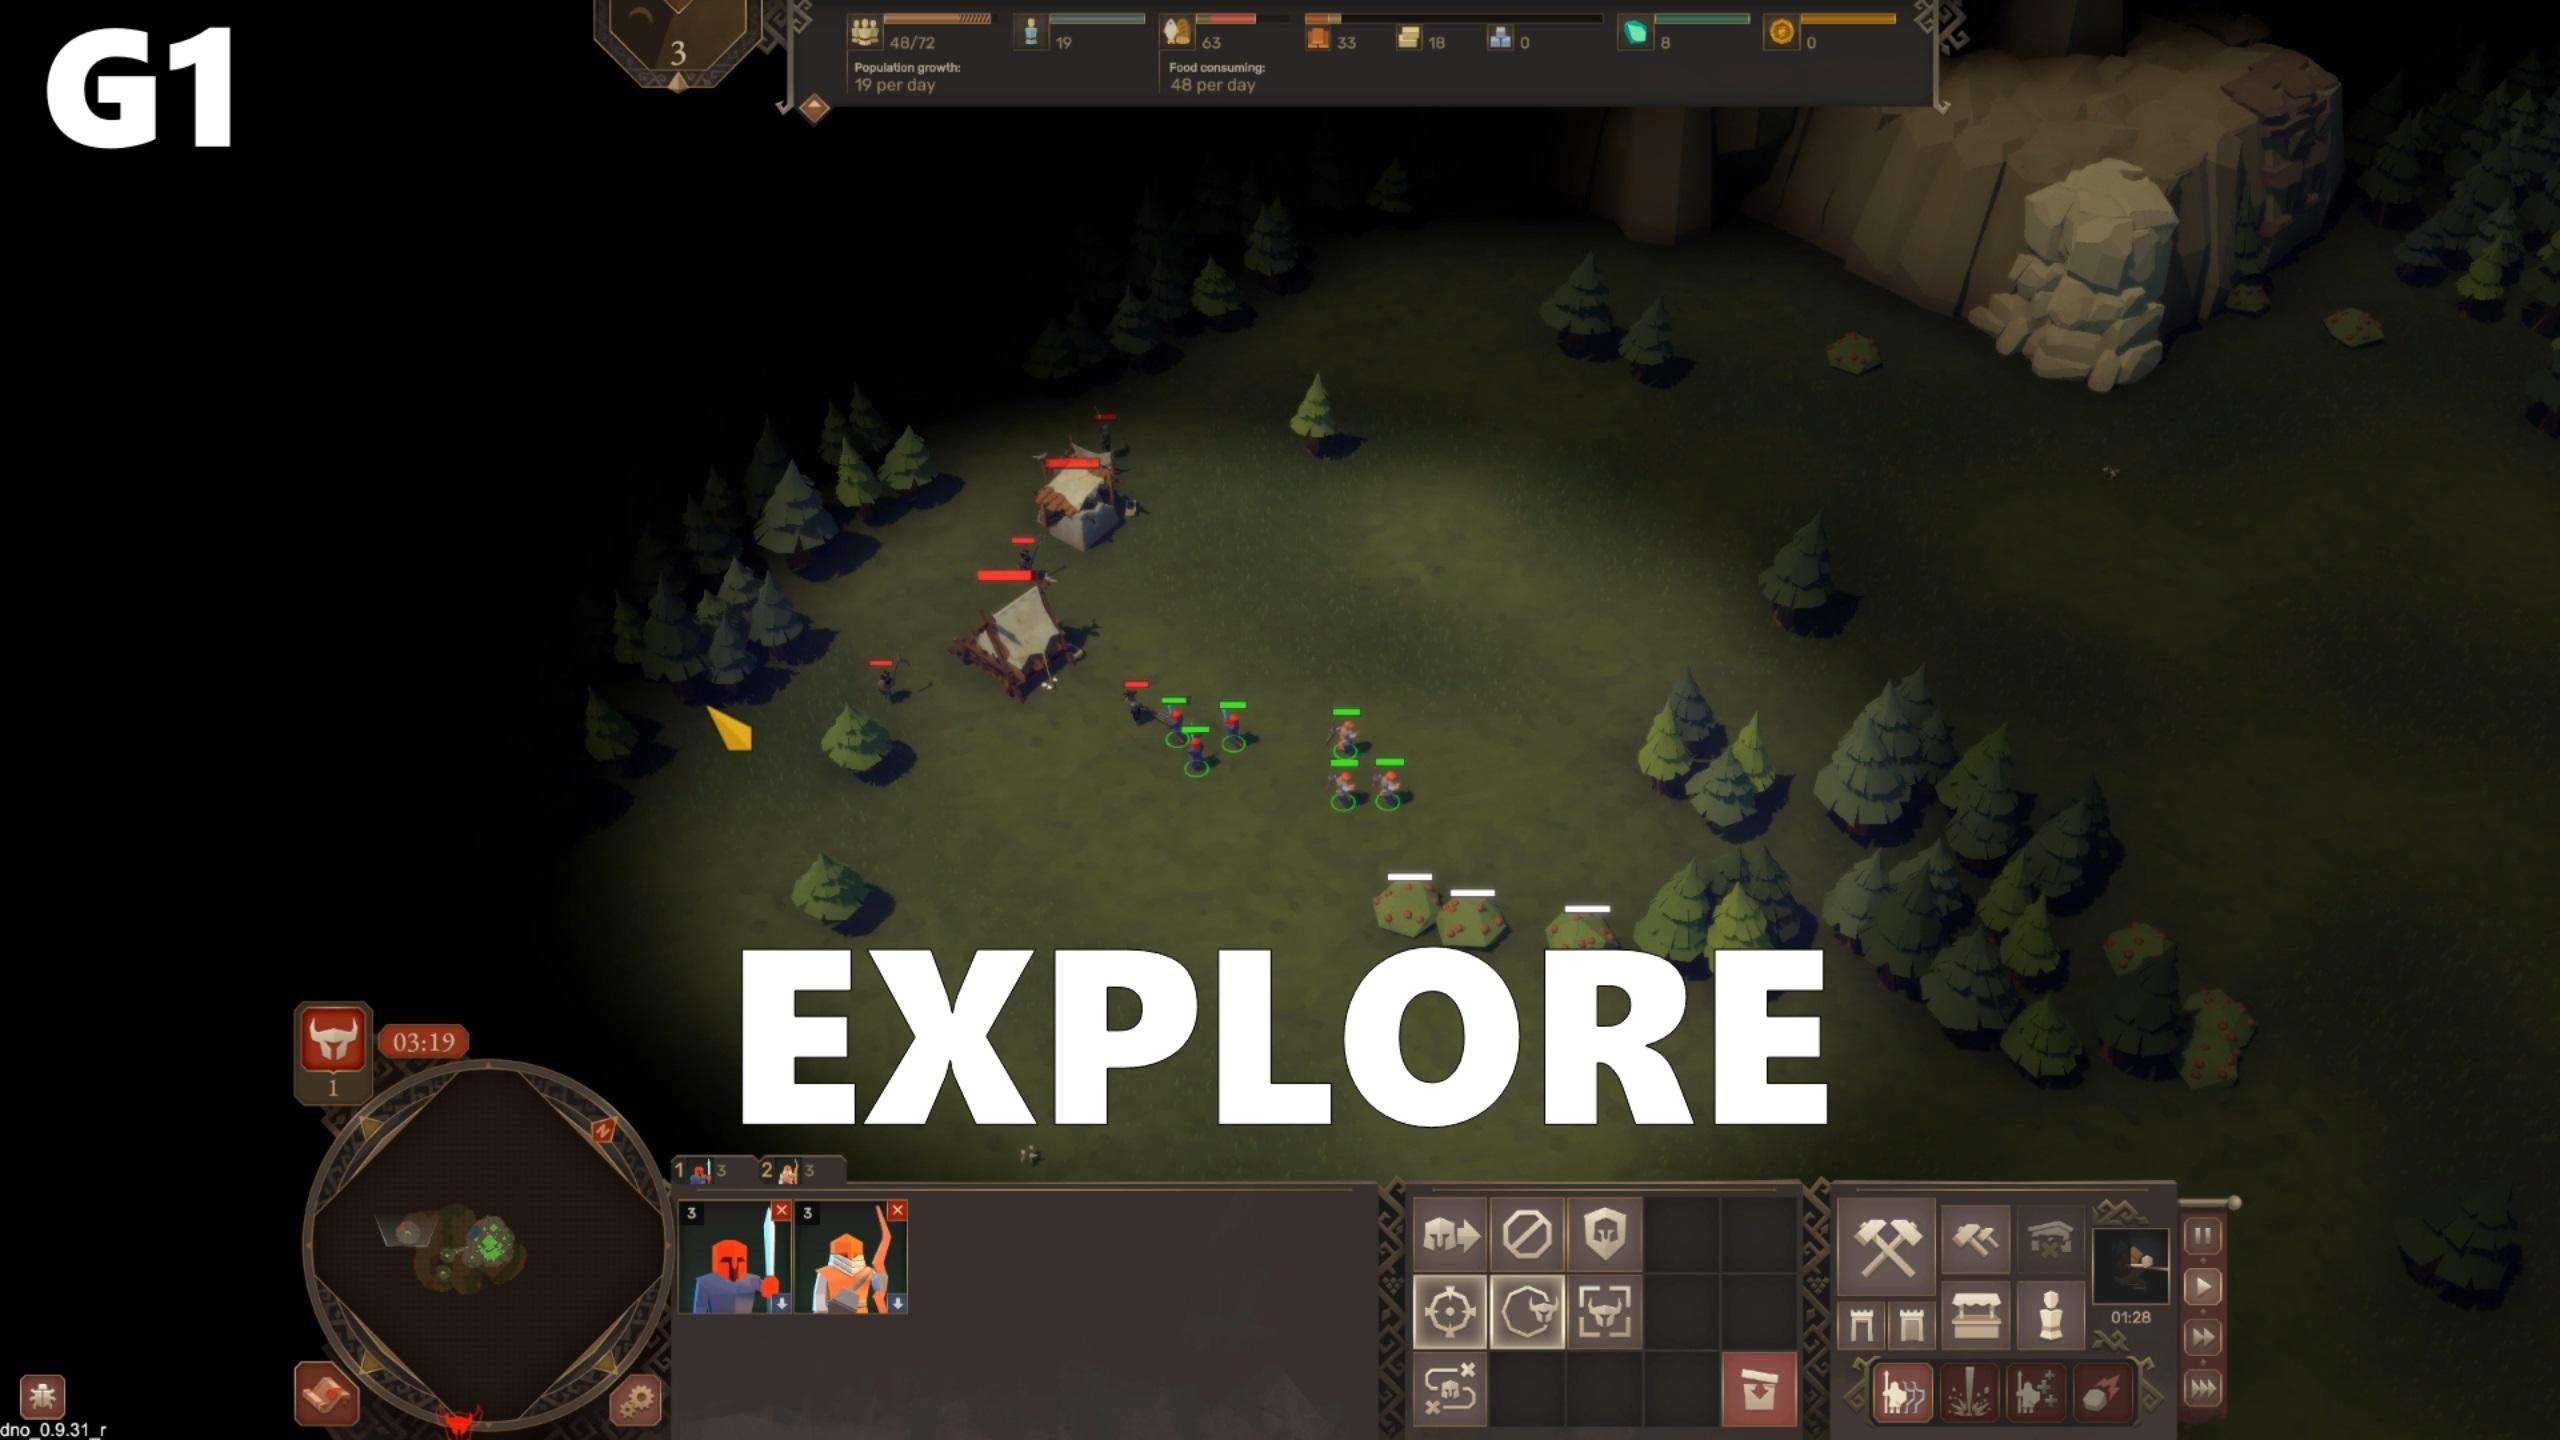
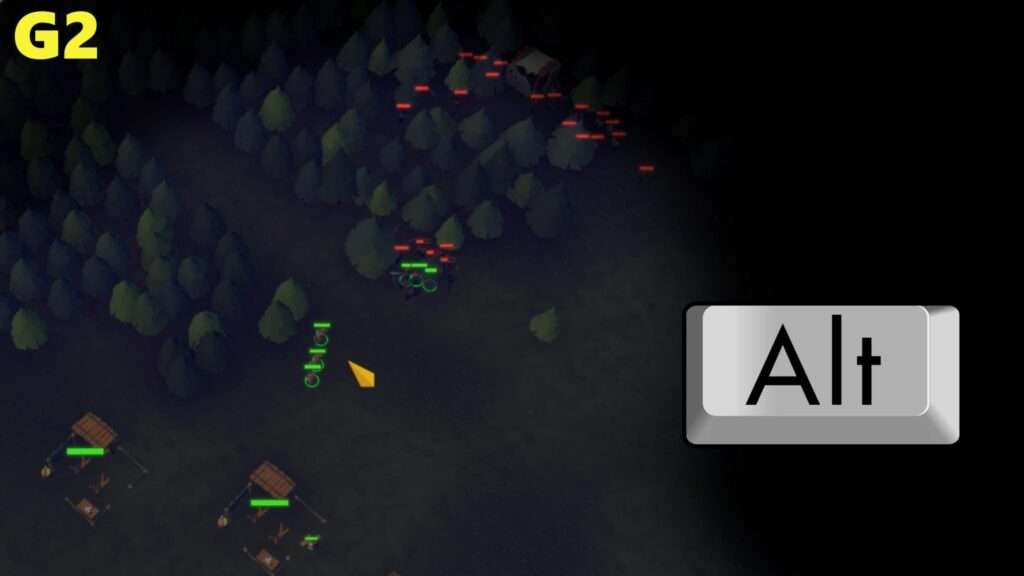
To be able to more easily see enemies in forests use the ALT key and turn on the health bars for all units. This will make the enemies easier to spot inside forests.
New Tech & Units – Day 3
During the third day you can strictly focus on more resource collection buildings or split your focus on that and more archers or swordsmen.
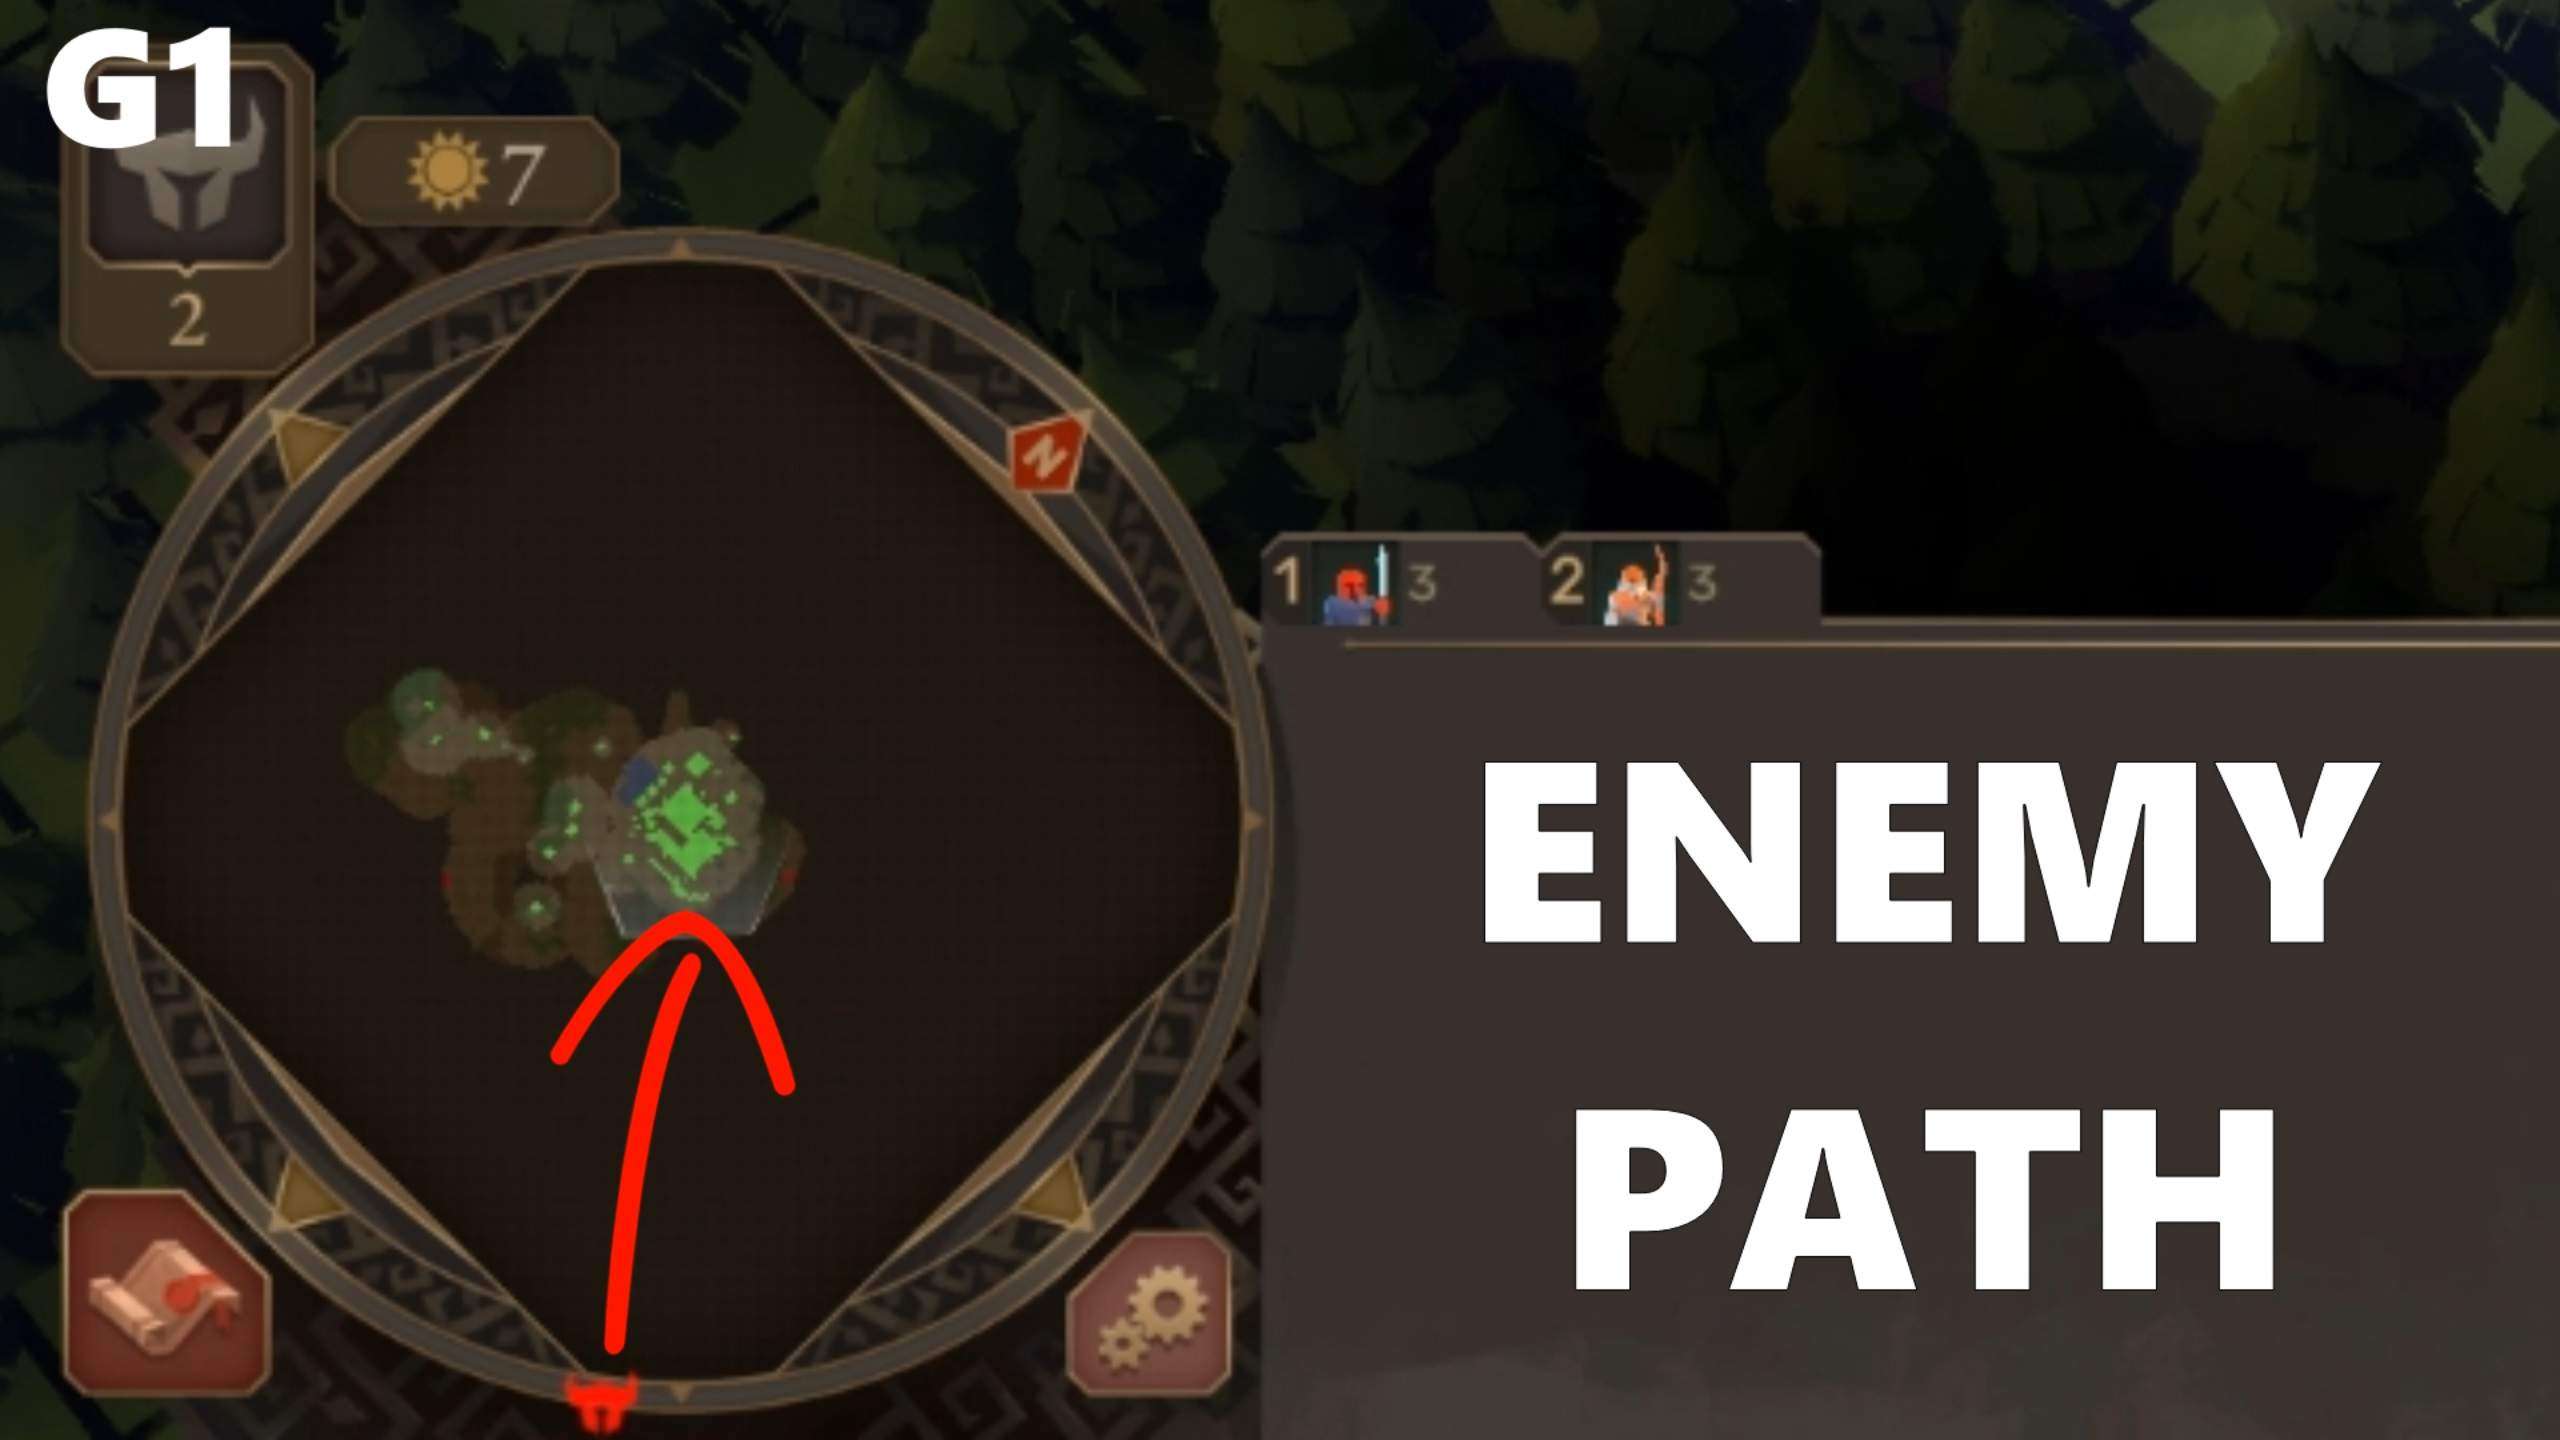
Do note that at this point you are shown, on the mini map, the direction from which you will be attacked by the first enemy wave.

Use the stone you have stockpiled so far to upgrade the archers with the sharpshooting skill and the swordsmen with the mongoose reflexes skill.

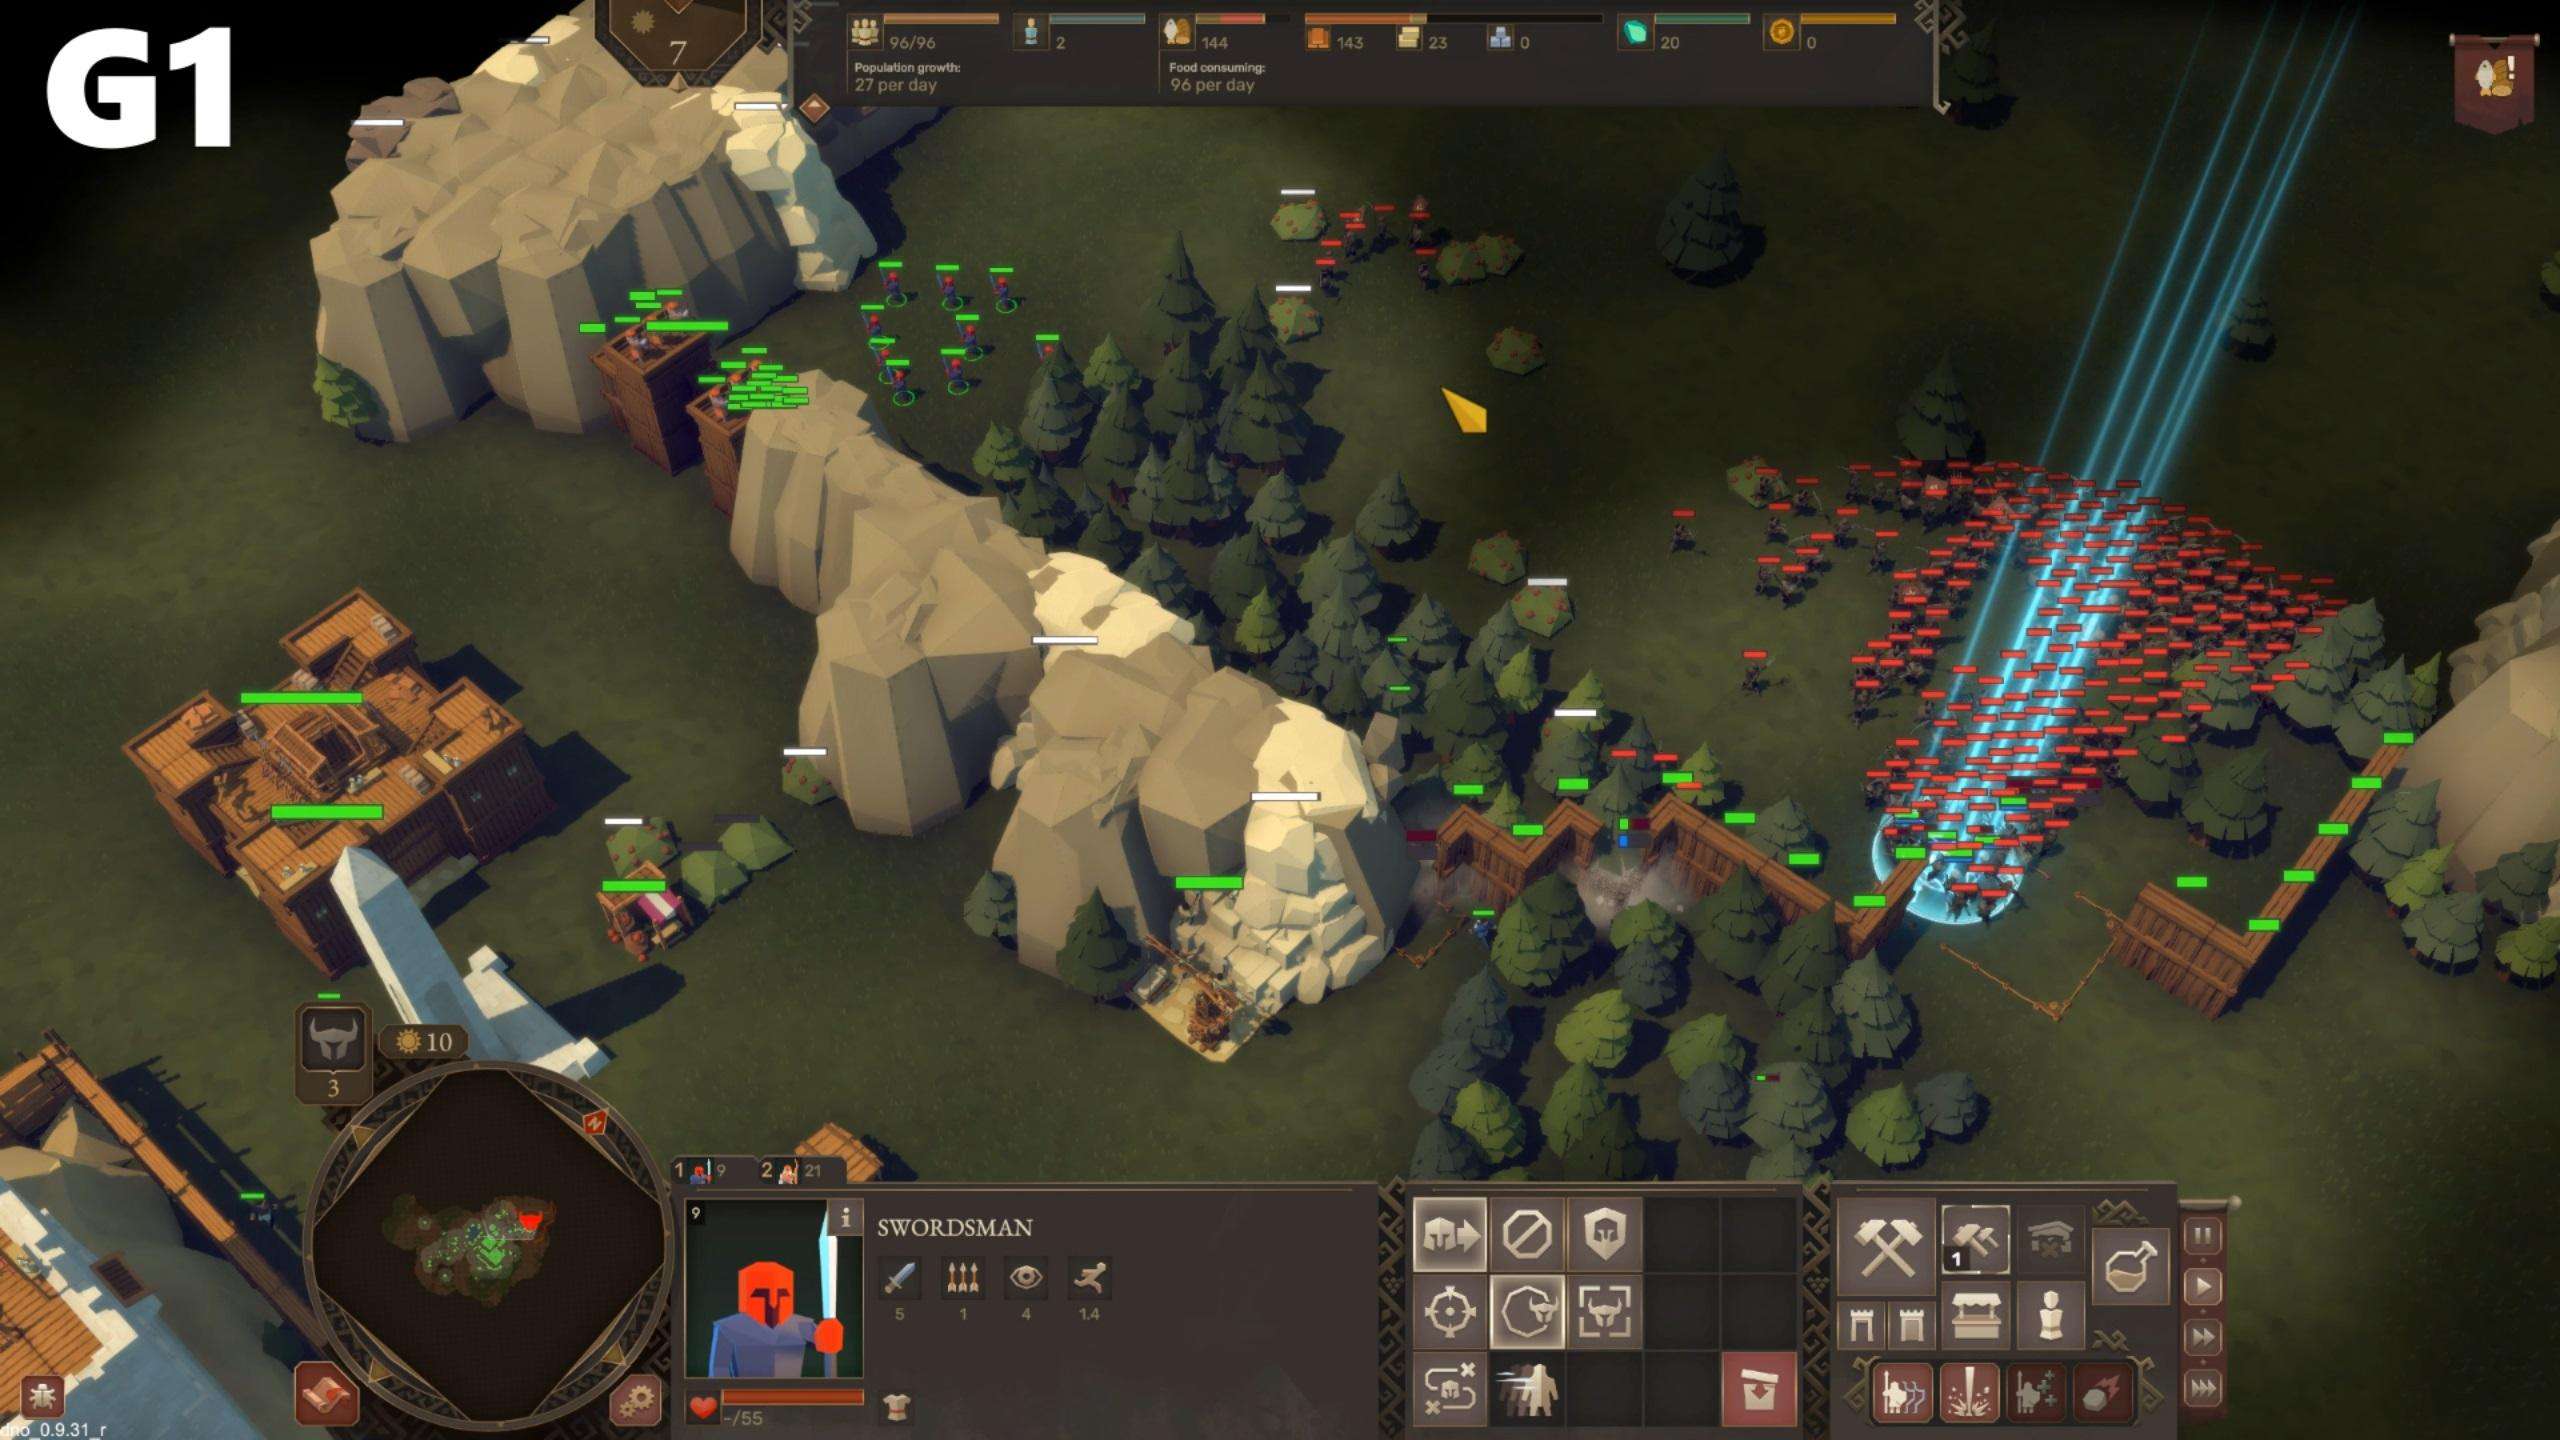
Walls, Gates, Towers – Night 3 / Day 4
Plan to have ample wood because if you haven’t already built a barracks you will need to do so soon, but you will also need to construct wooden gates and towers to have a safe place for your archers as the enemy wave comes at you.
These need to be constructed in the path of the attacking enemy wave but they can be kited, to some extent, by your soldiers and lead to your defenses if you miss your mark a bit. Walls are useful but not entirely necessary if you don’t have enough wood for them. Gates and towers are a priority.
Attack Waves & Siege – Day 4 / Night 4
Now comes the fun part. Depending on the map conditions and the luck you had you could be waiting for the first wave with a solid wall and plenty of units or just your gatehouse and tower. This is where the summed death knights come in. They are the first magical spell you can use and have a time limit.
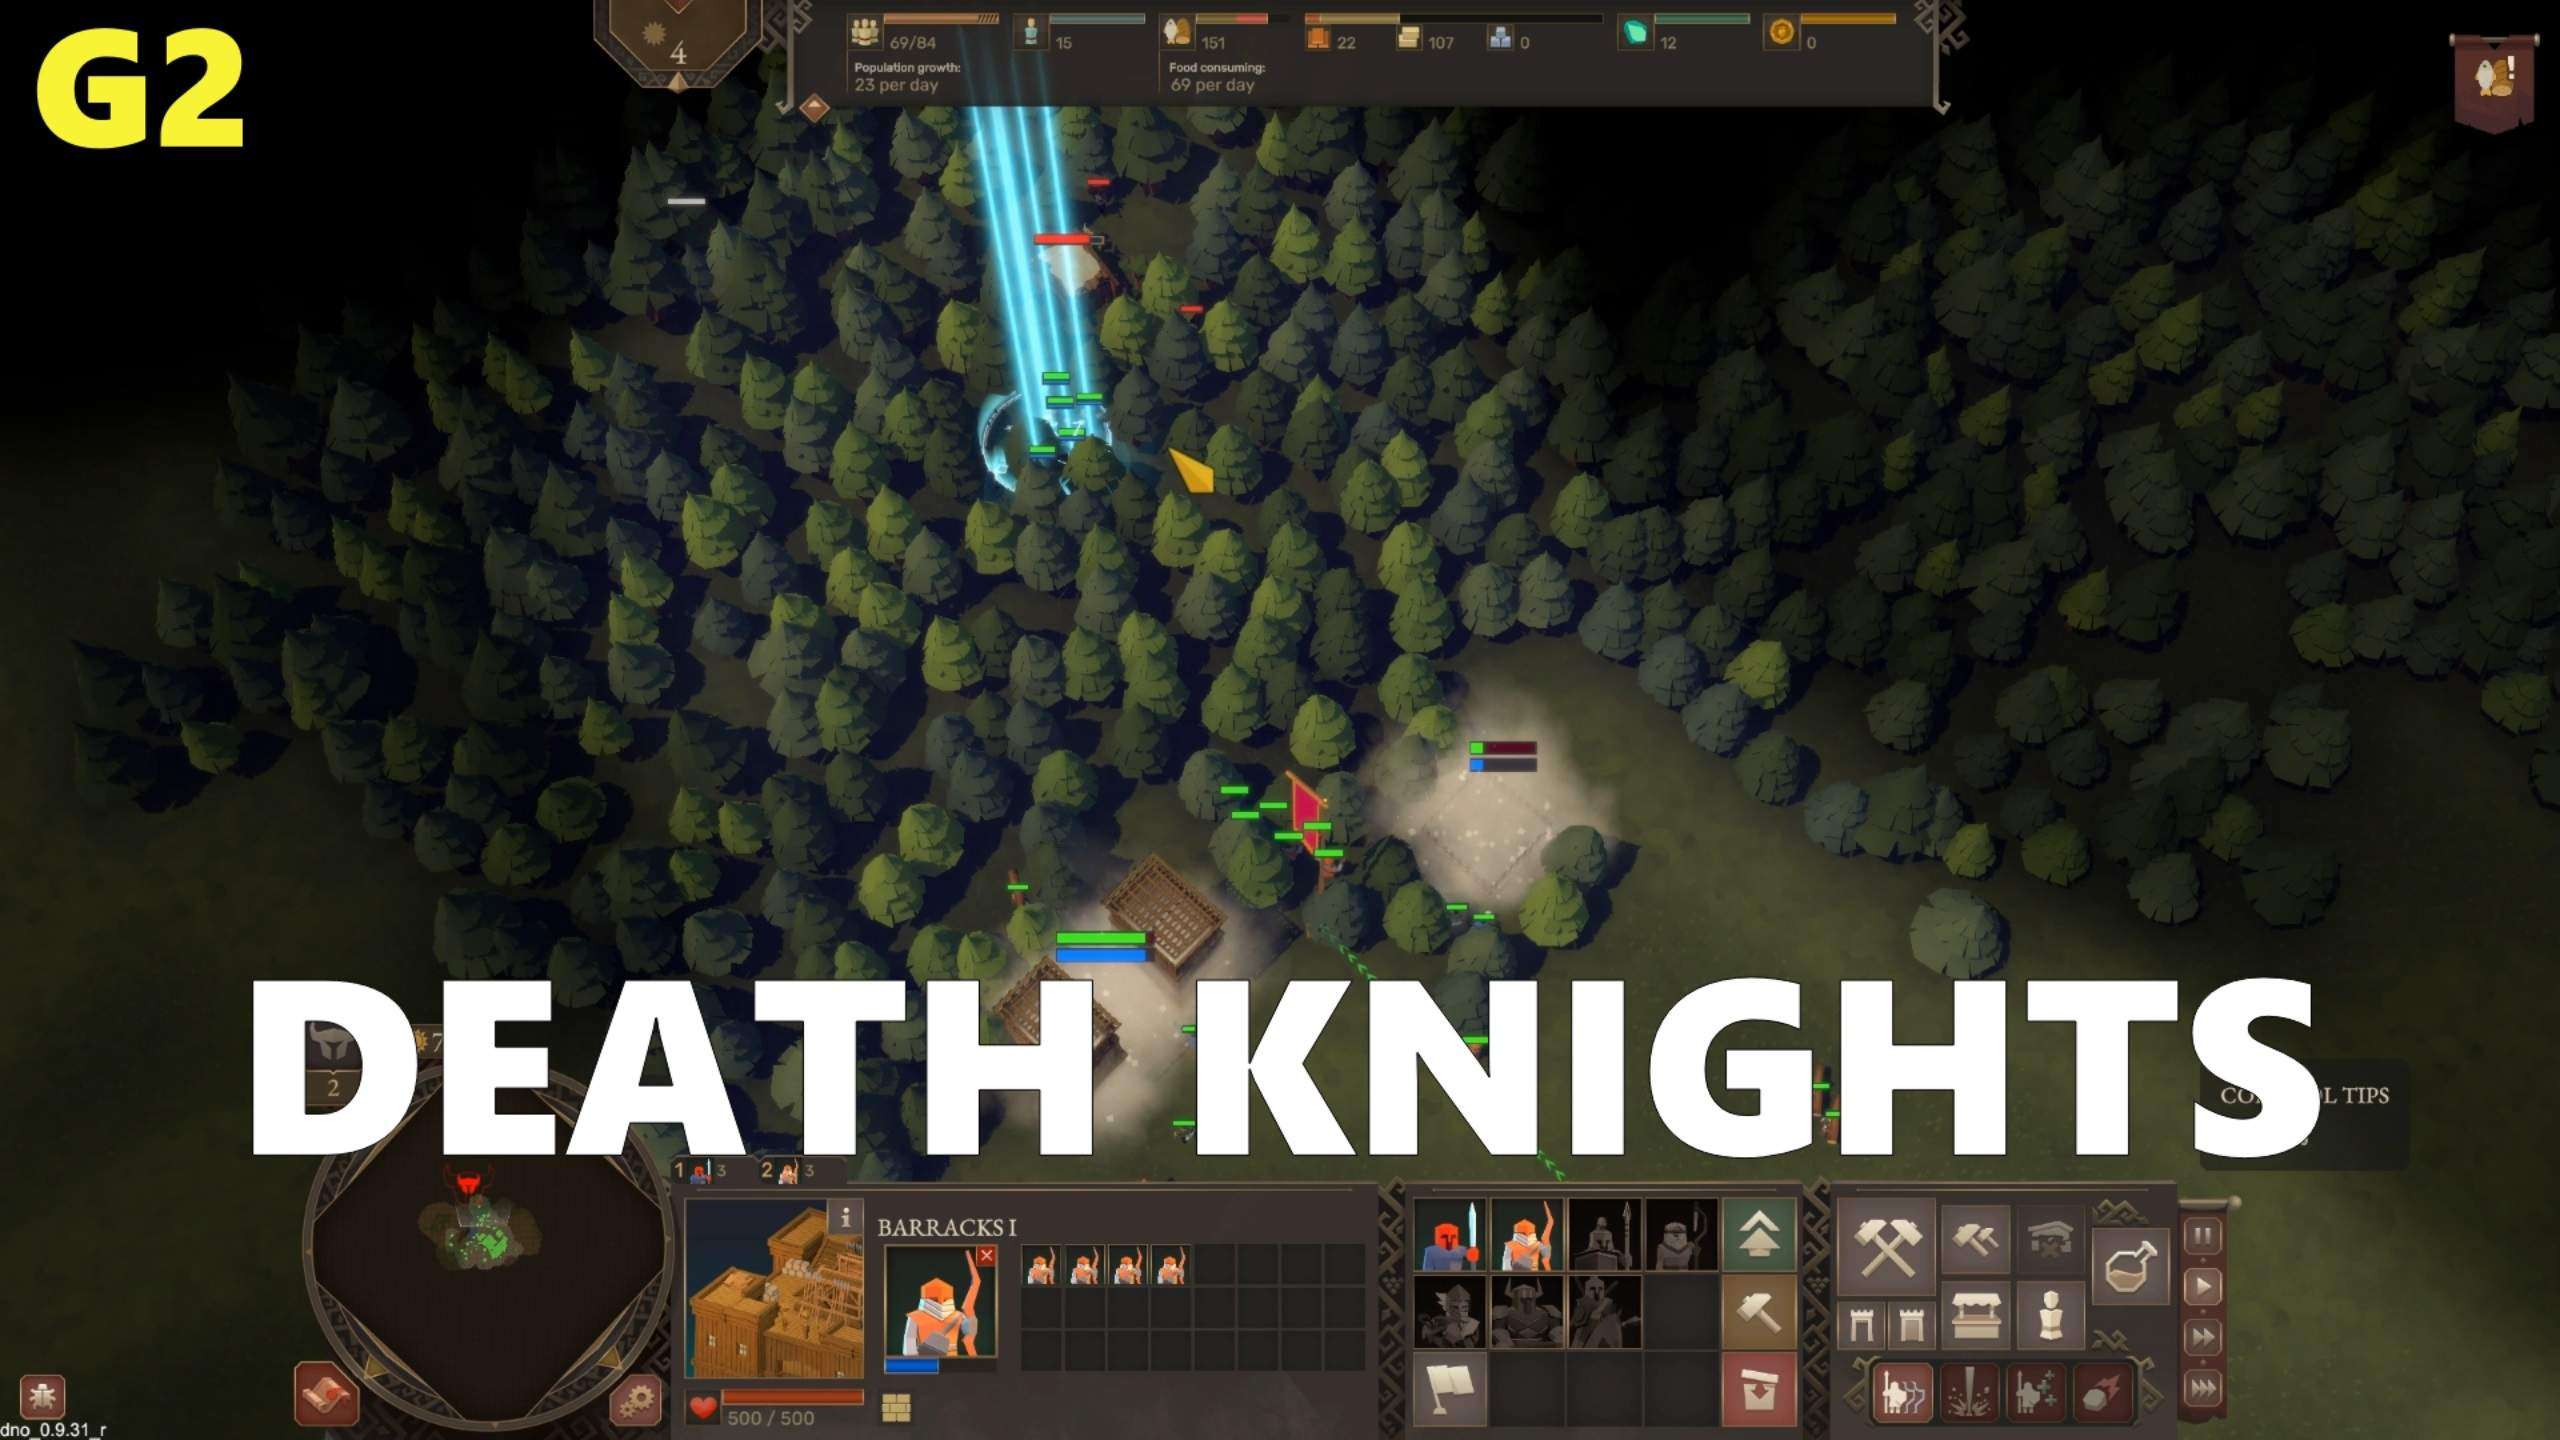
If you have a solid wall in place you can use those death knights as an anvil and your soldiers as the hammer as you just soak up the enemy’s wave while you reduce their numbers as the fight goes on.

On the other hand if you don’t have a wall ready you can use the death knights to kite and lead a section of the enemy’s army far from your town while destroying the ones that don’t go for the diversion. This will let you fight them piecemeal and it is a tactic you will want to keep using later on as well.

Destroy Camps & Expand – Night 4
Now that you have defeated the first enemy wave and have a much larger force of soldiers at your command you need to use them and quickly clear out any and all enemy camps you had found on the border of your fog of war and any place where you are actively collecting resources at.
This will let you construct new lumber mills, food production buildings, and stone mines. Also add new houses to have even more free workers for the next day so you can turn them into new soldiers or more resource collection workers.

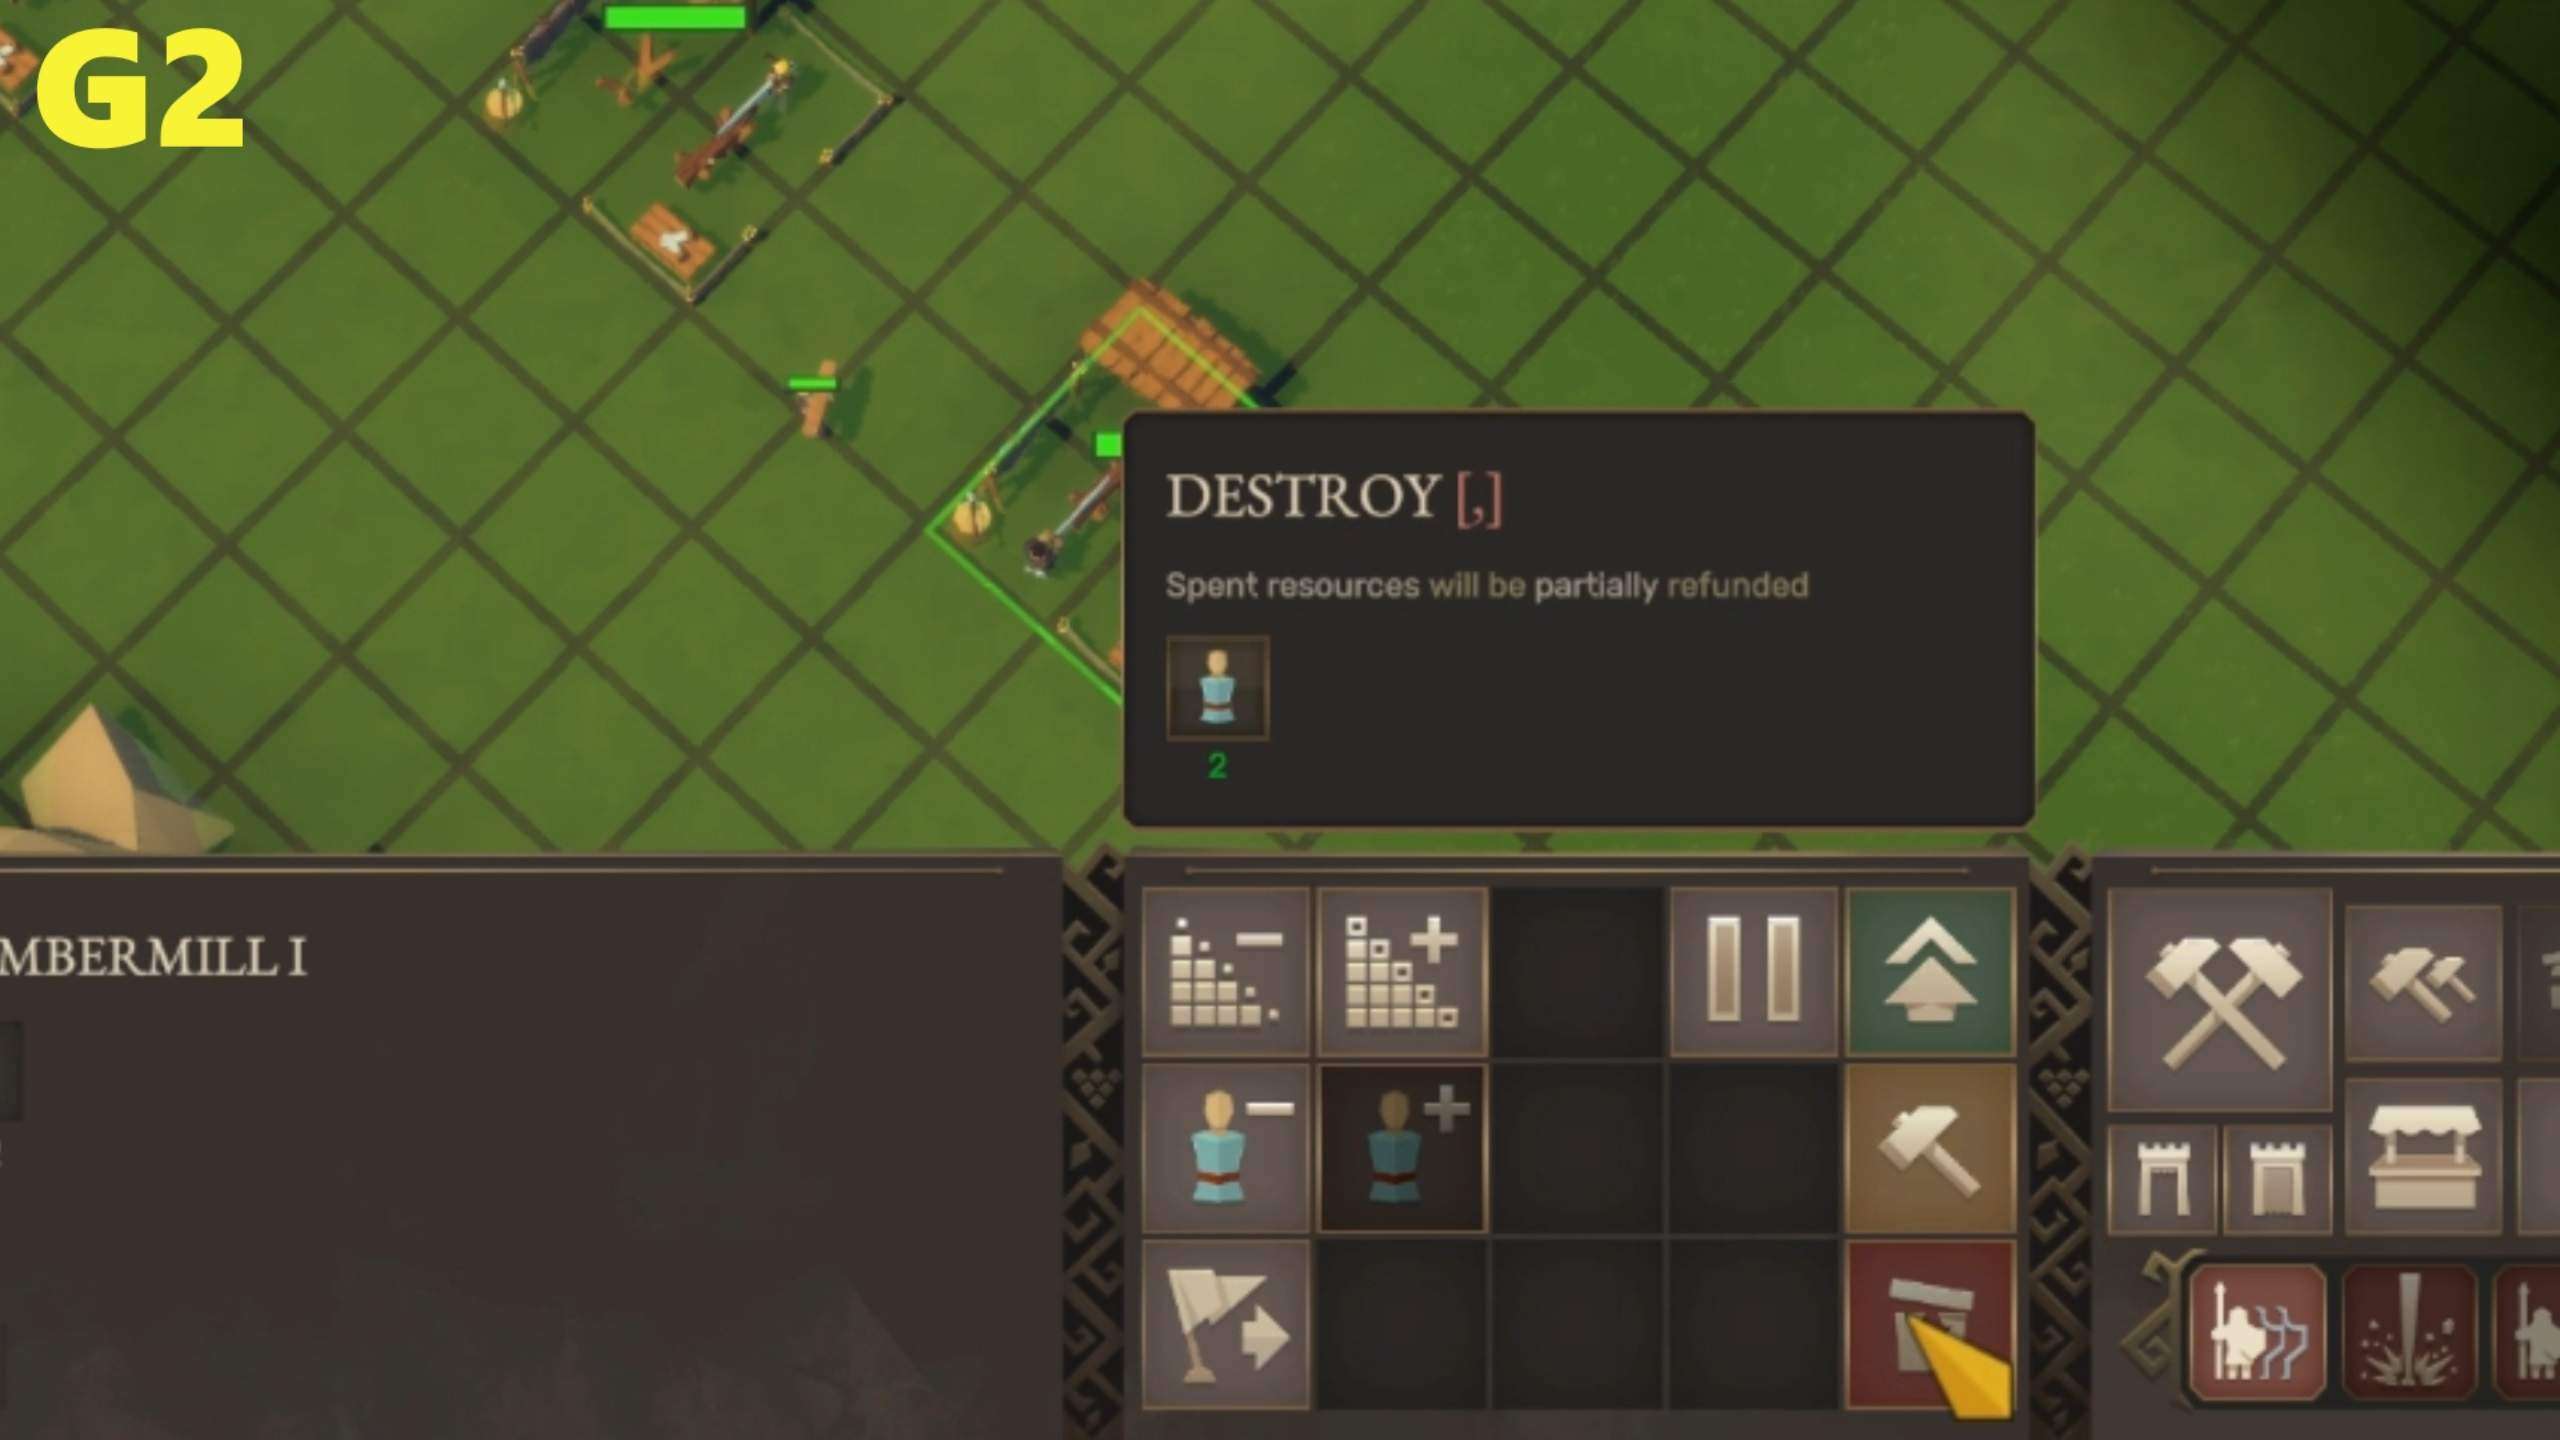
If any buildings do not have resources in range simply deconstruct them and build them again closer to new resources you just made safe for harvesting.
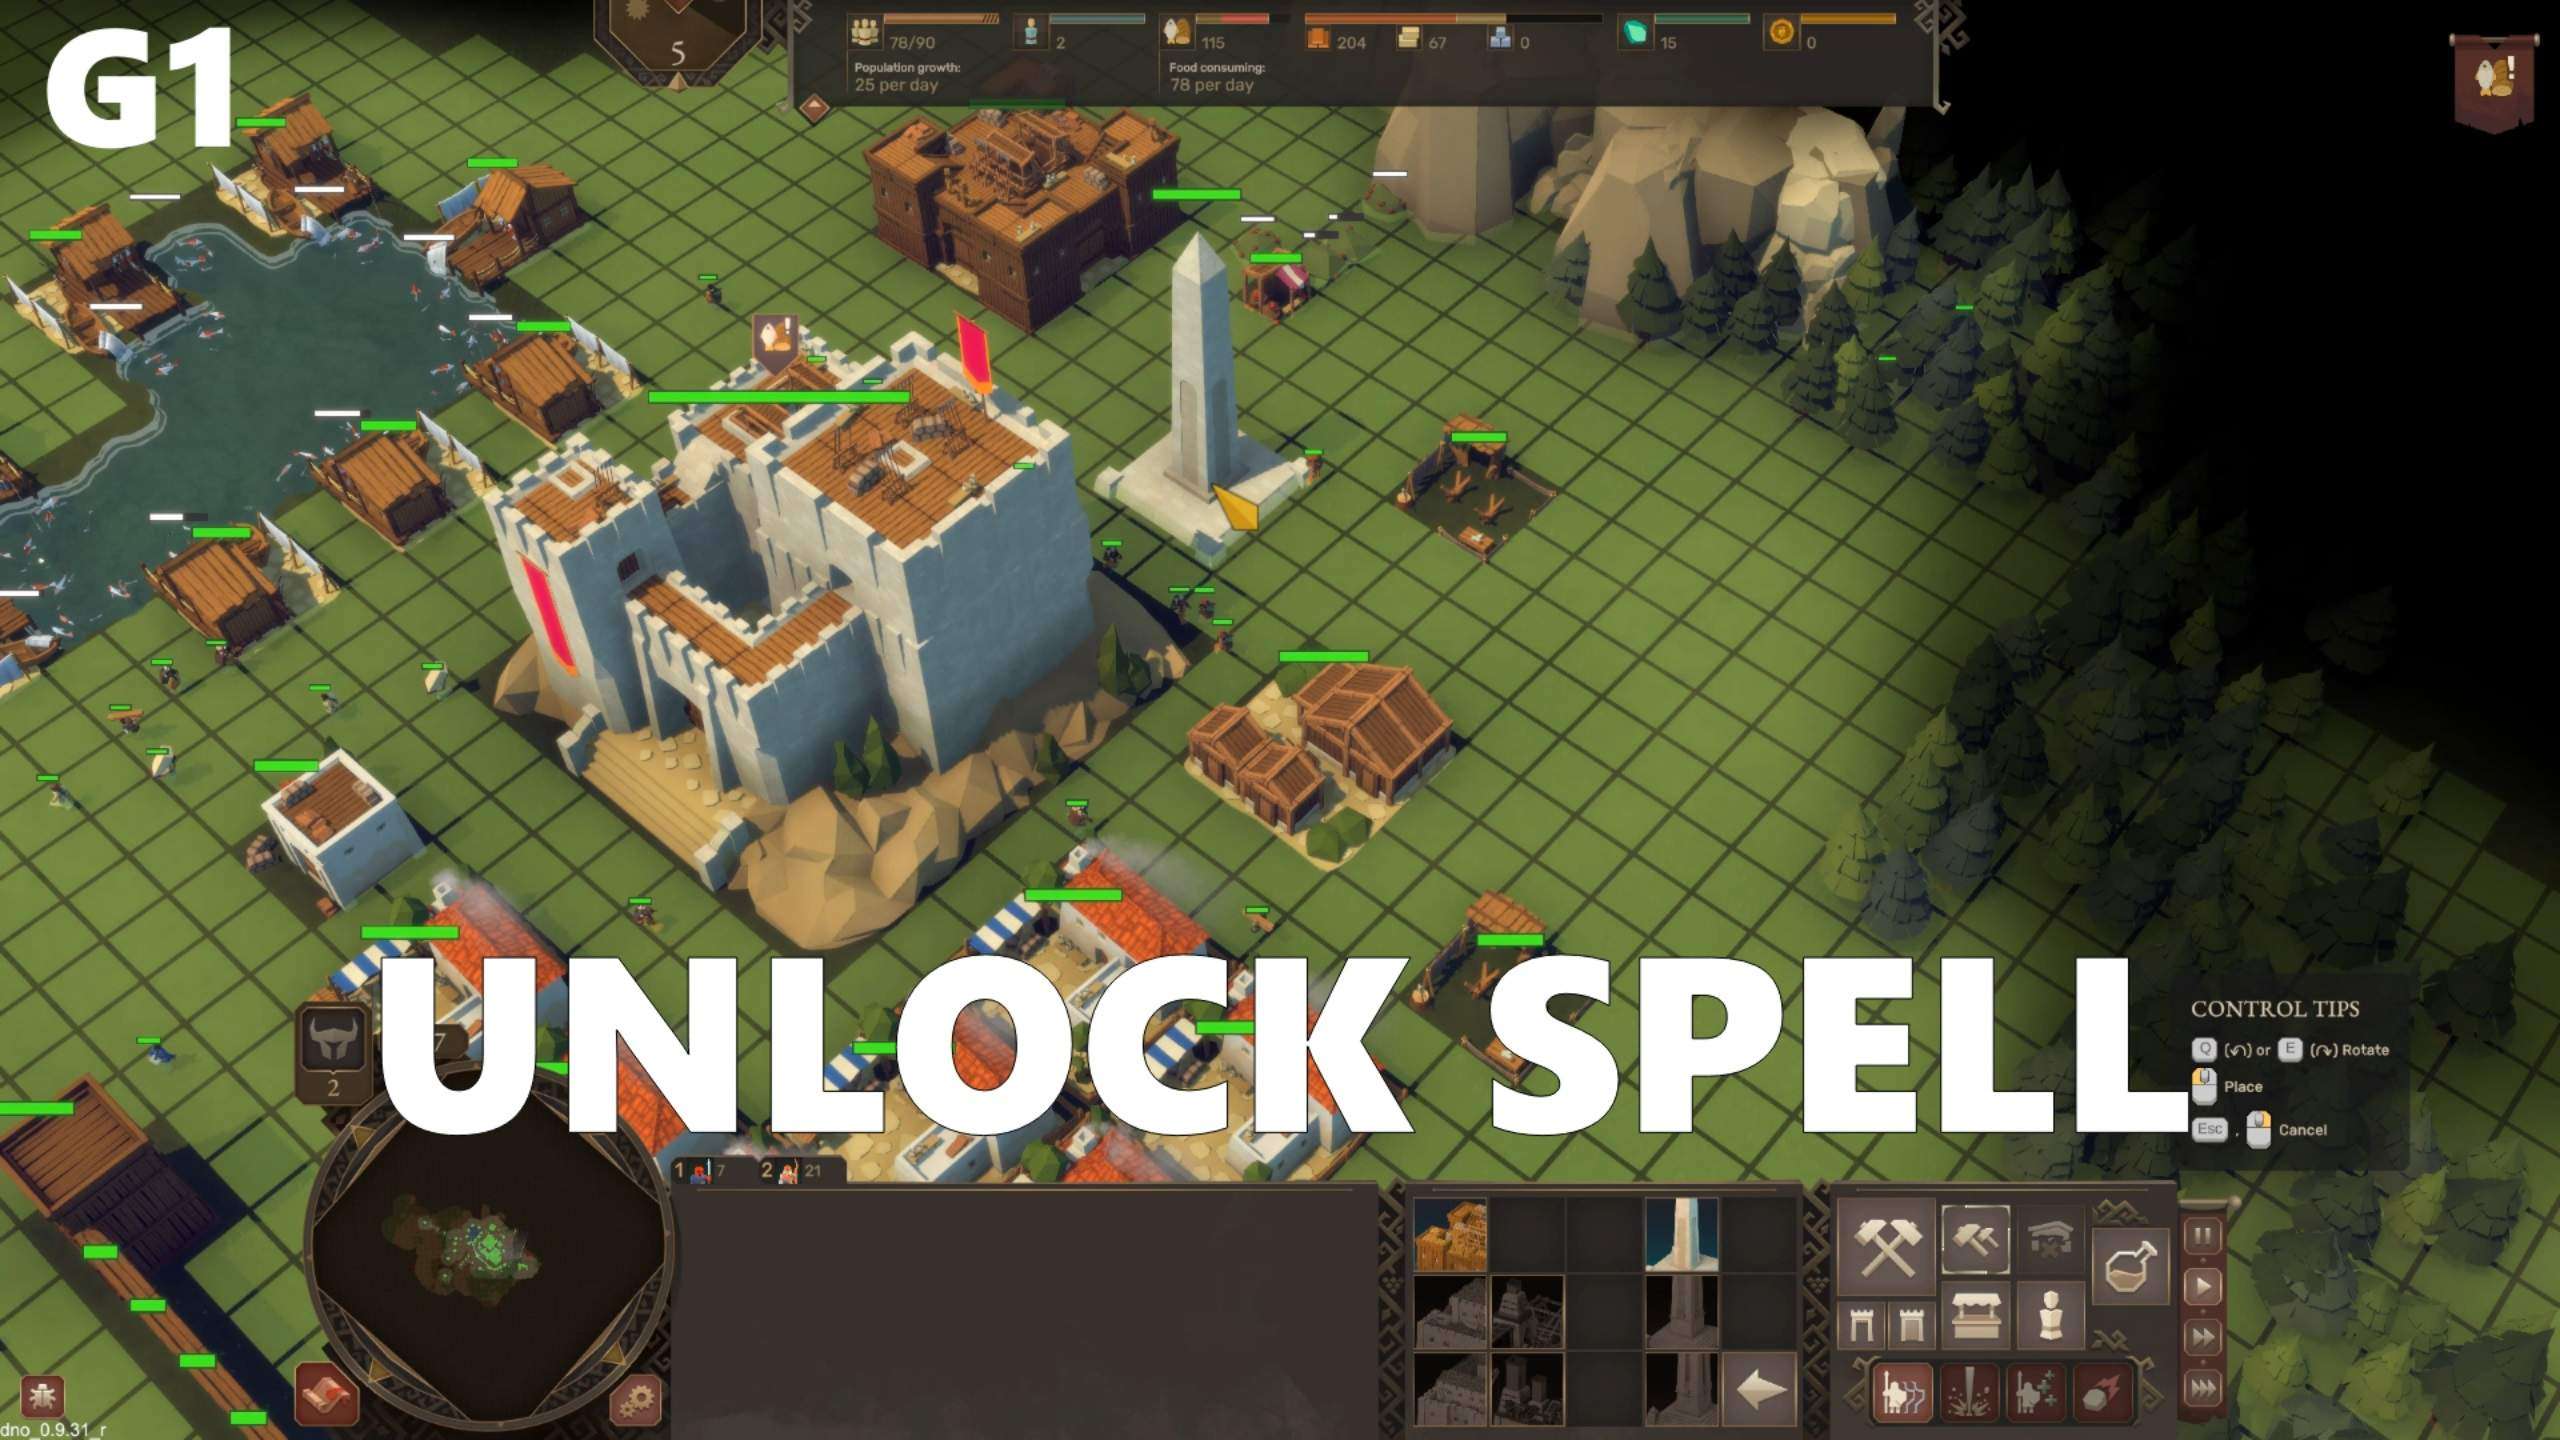
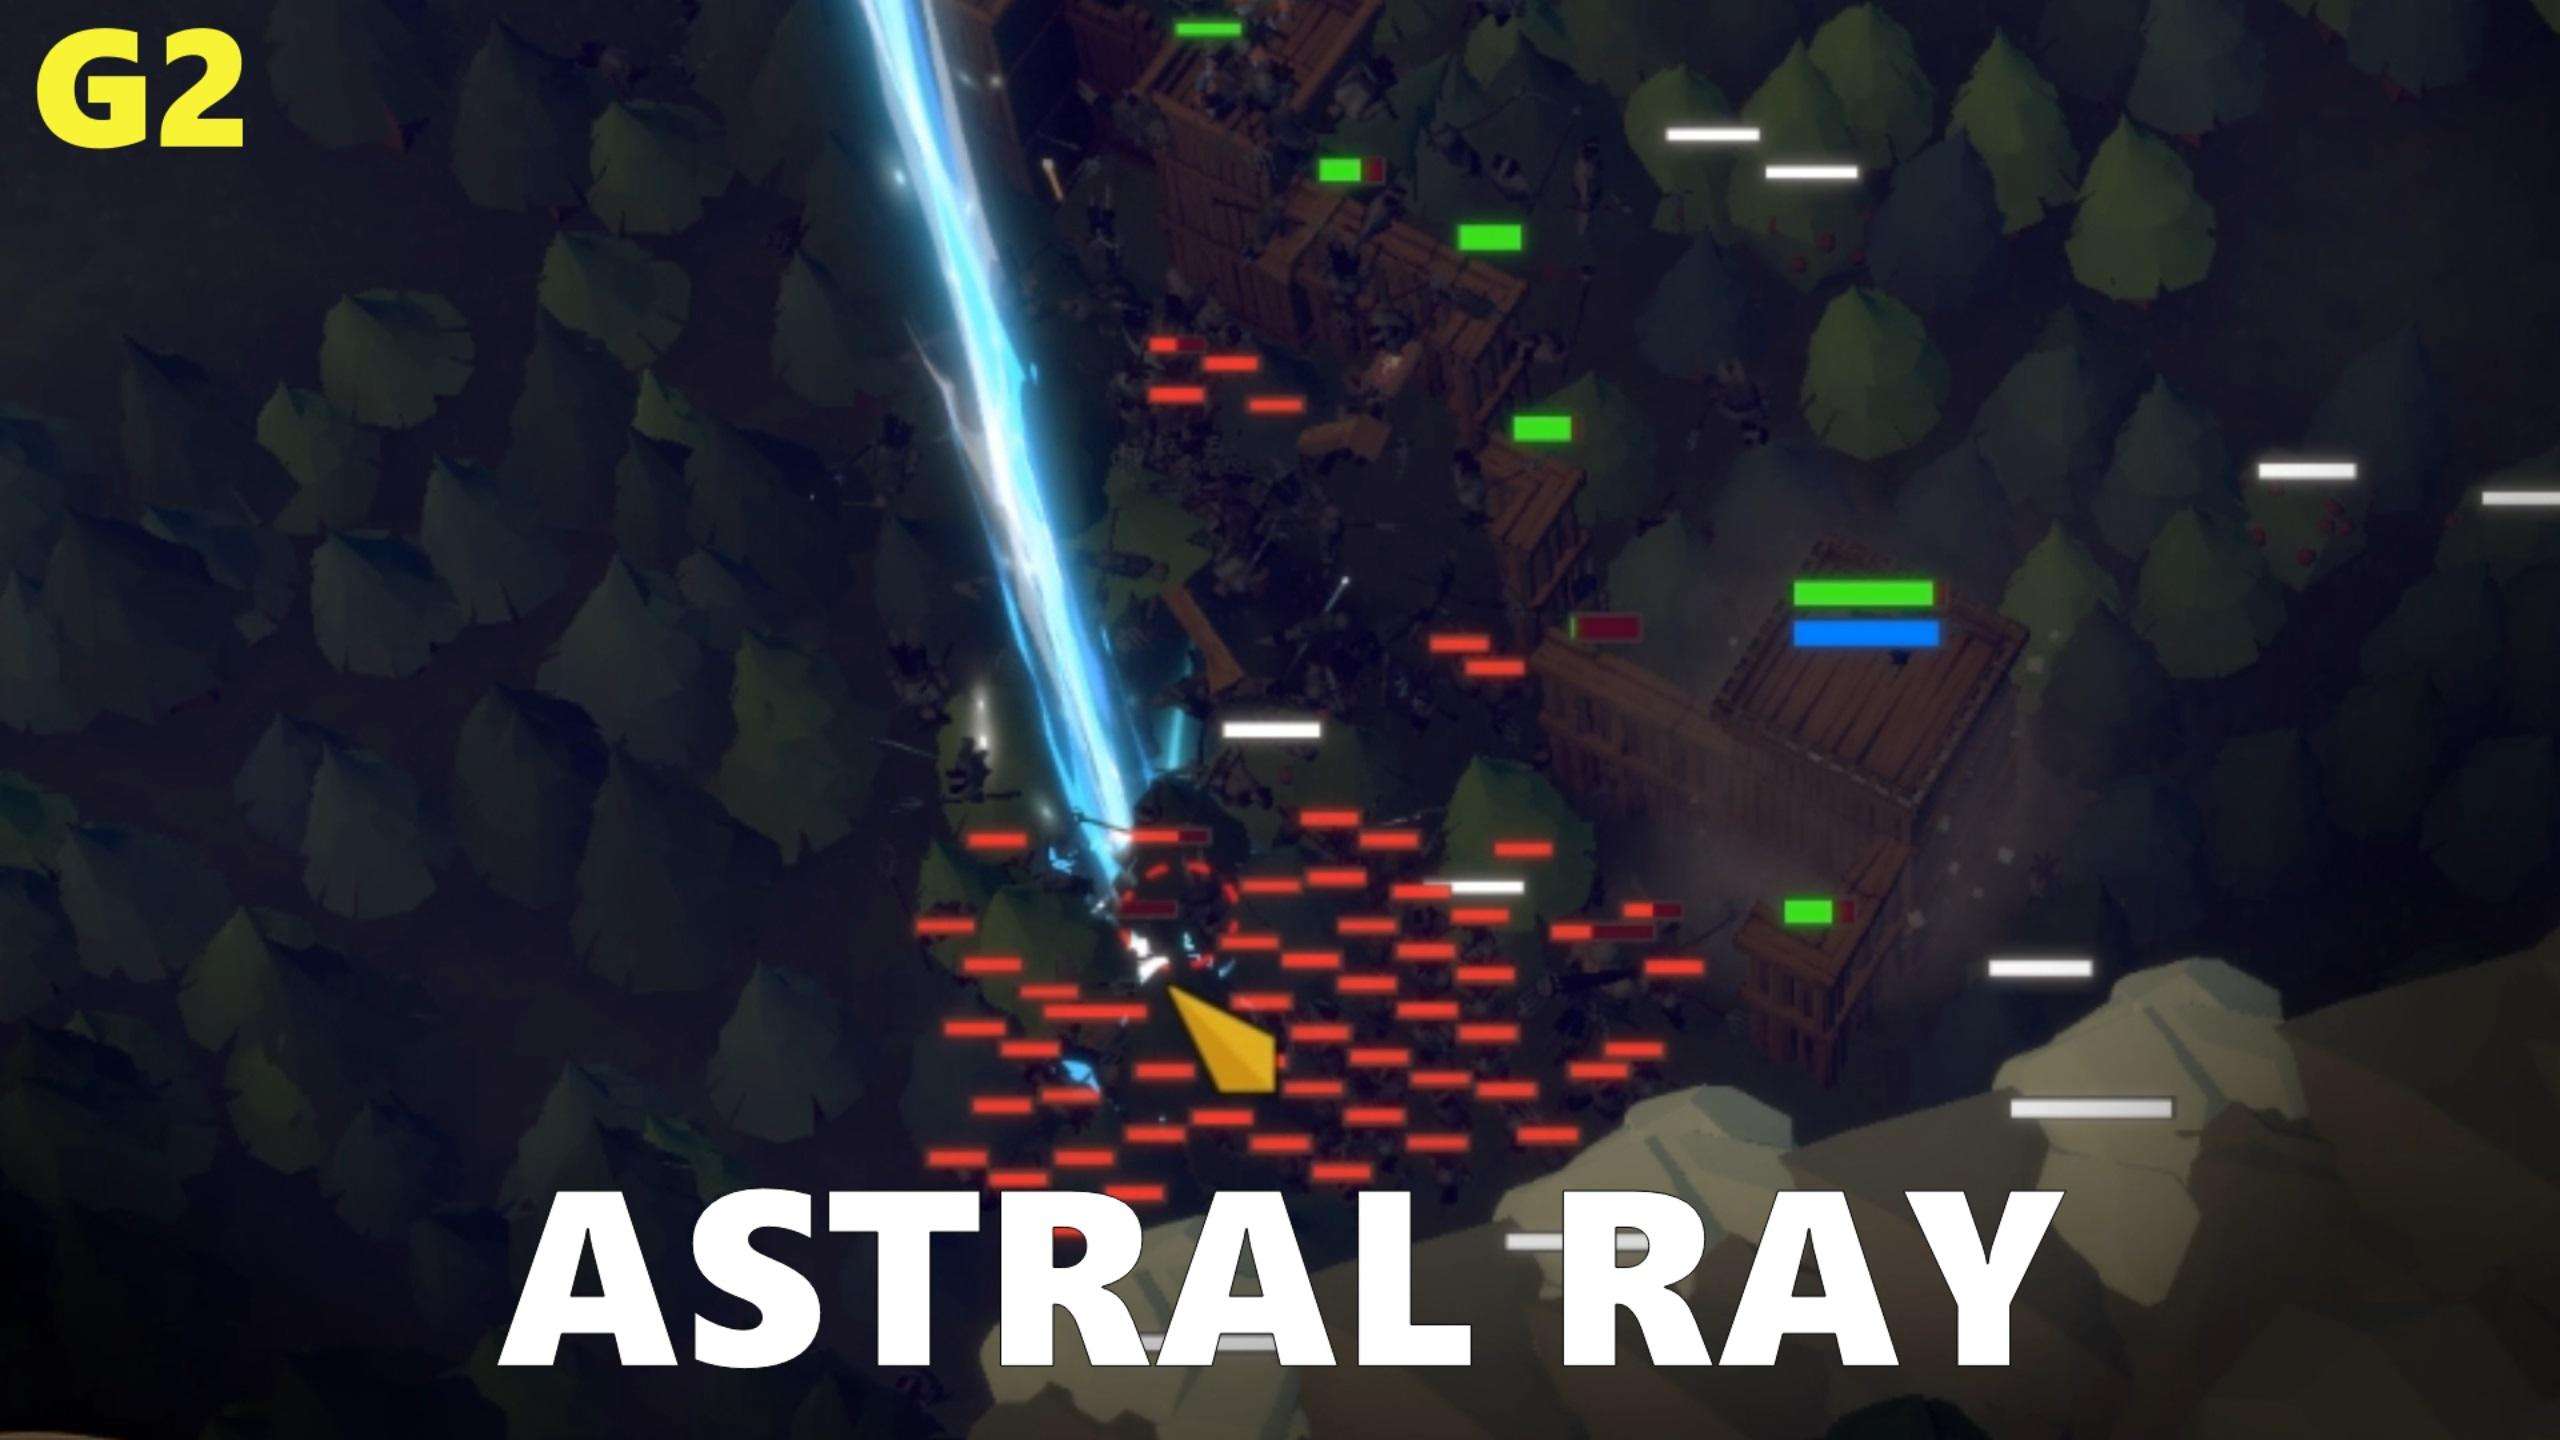
A really good idea is to now build the simple obelisk as this will unlock the next more powerful magic spell which you will need in order to be able to bring down astral rays on the next enemy wave. Also, to even be able to cast that spell, tear down more enemy camps and collect additional soul crystals.
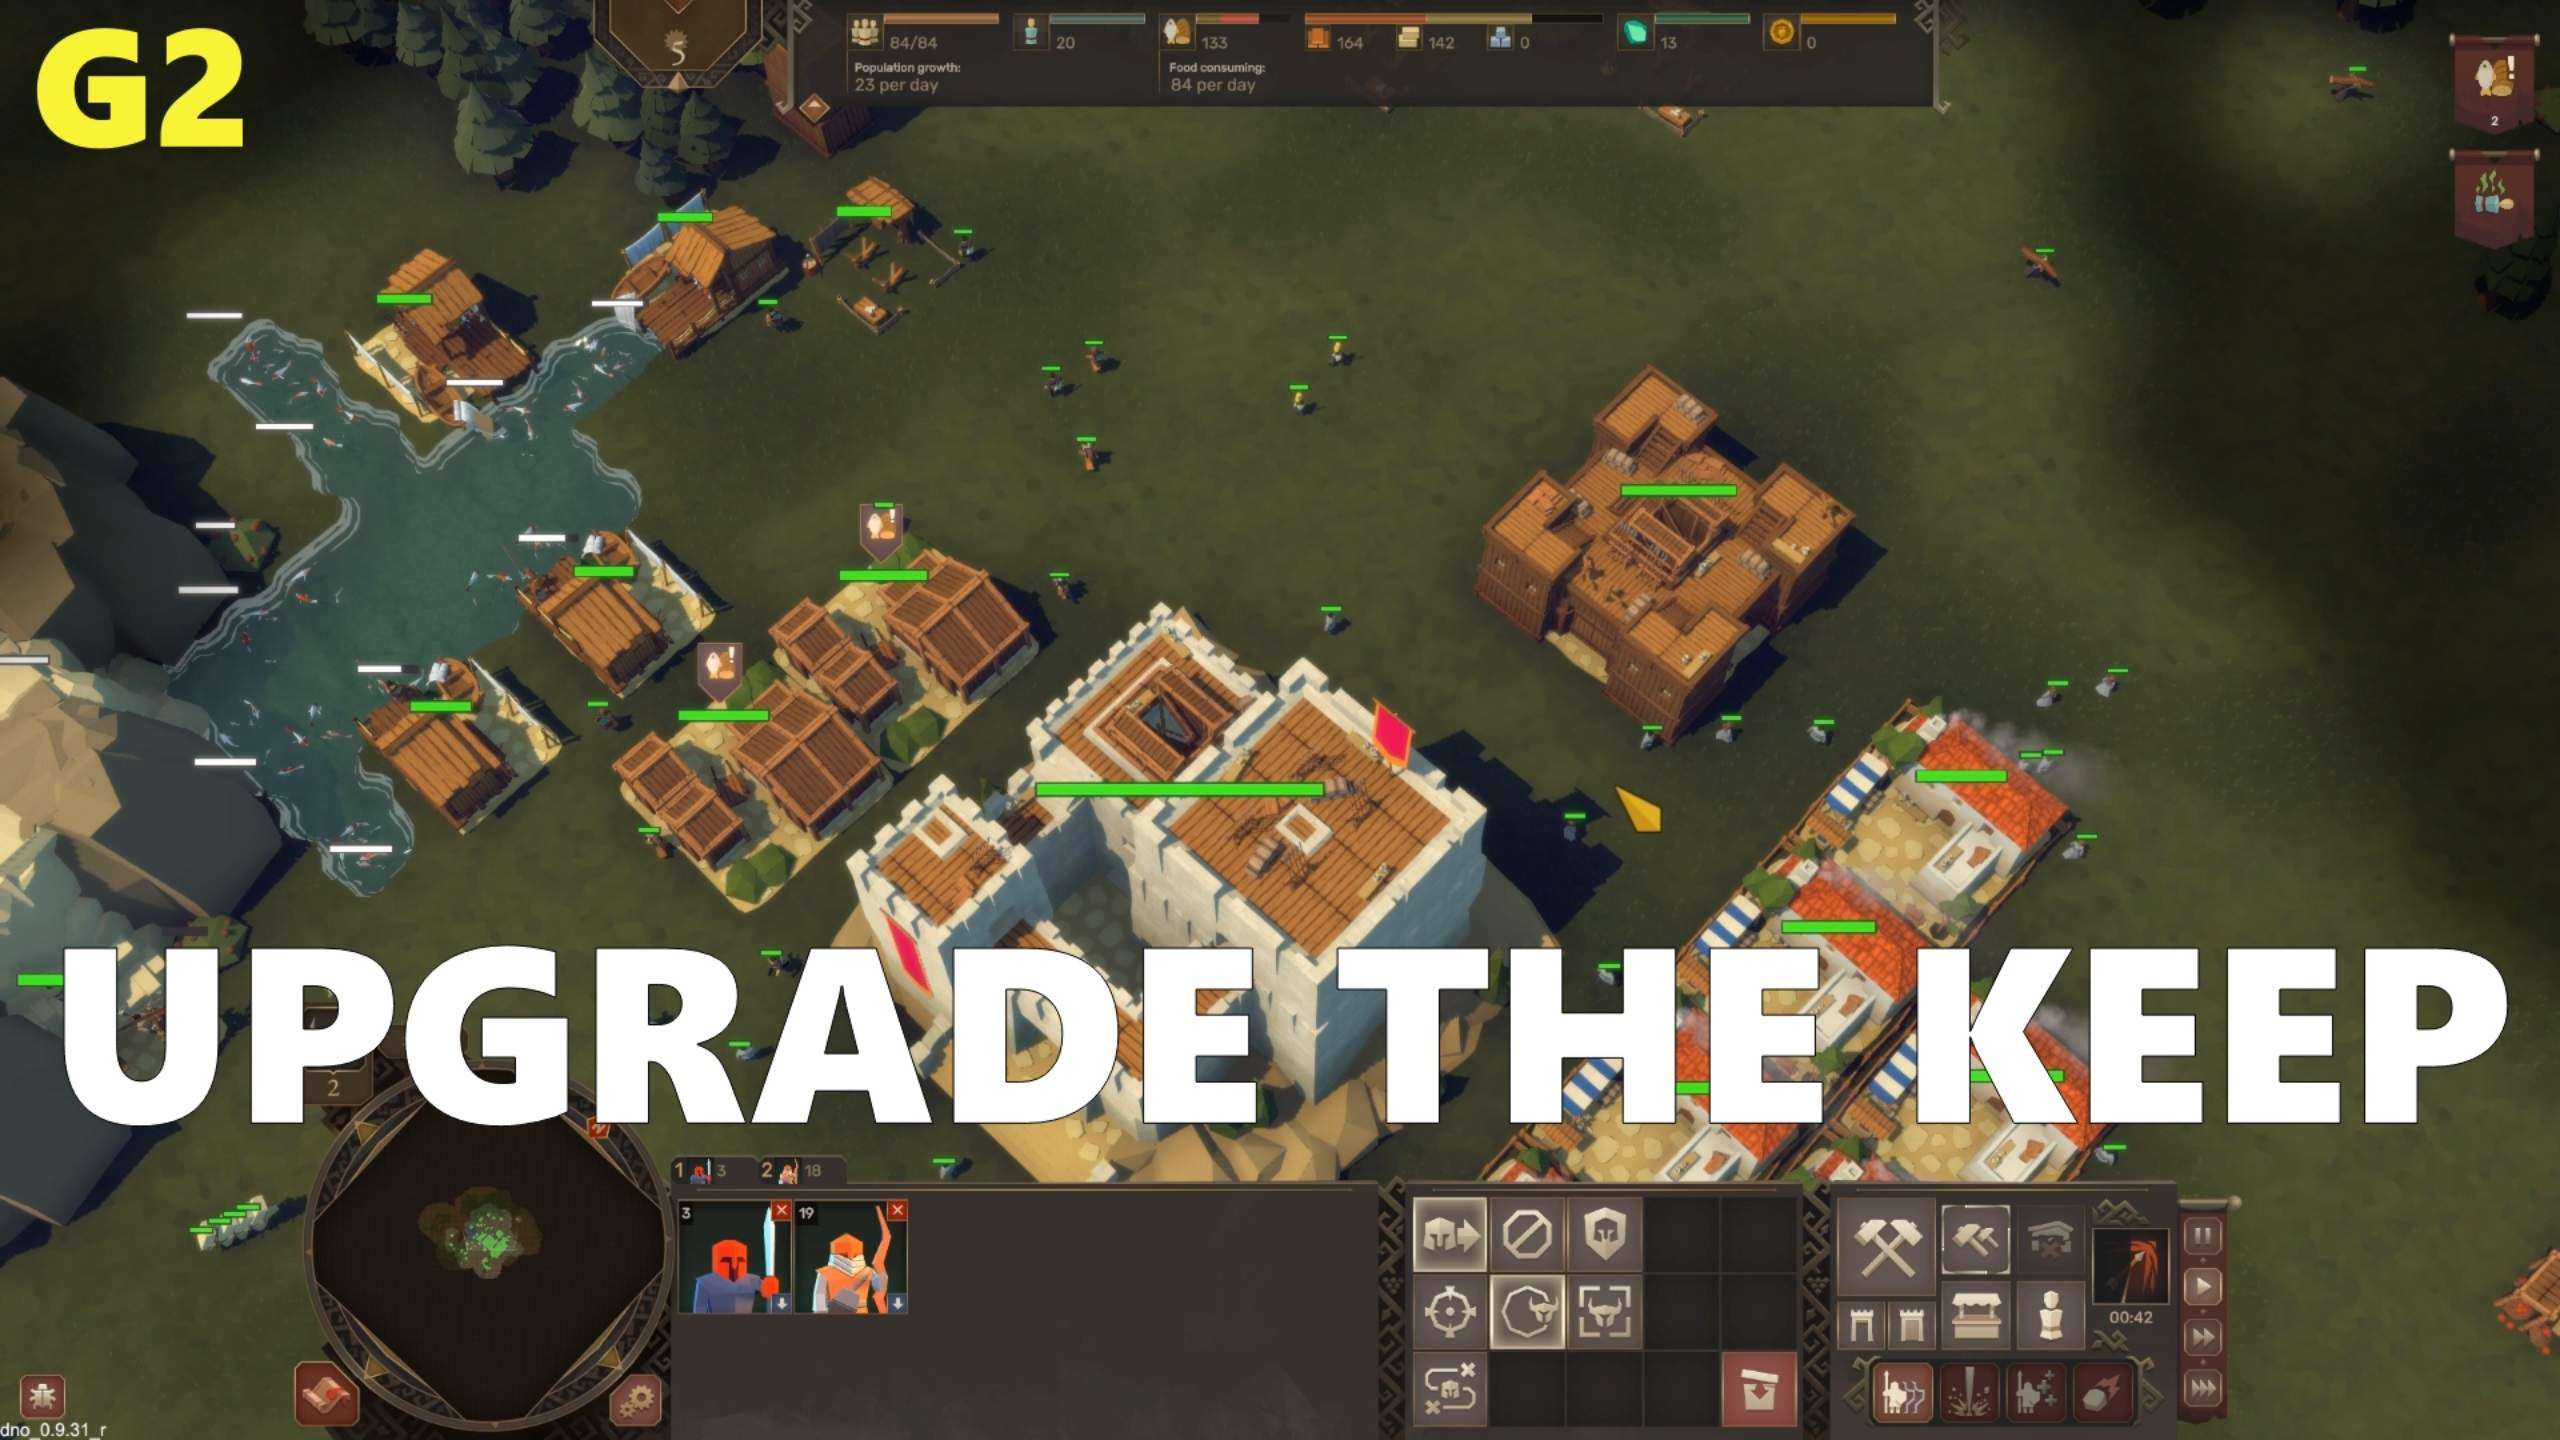
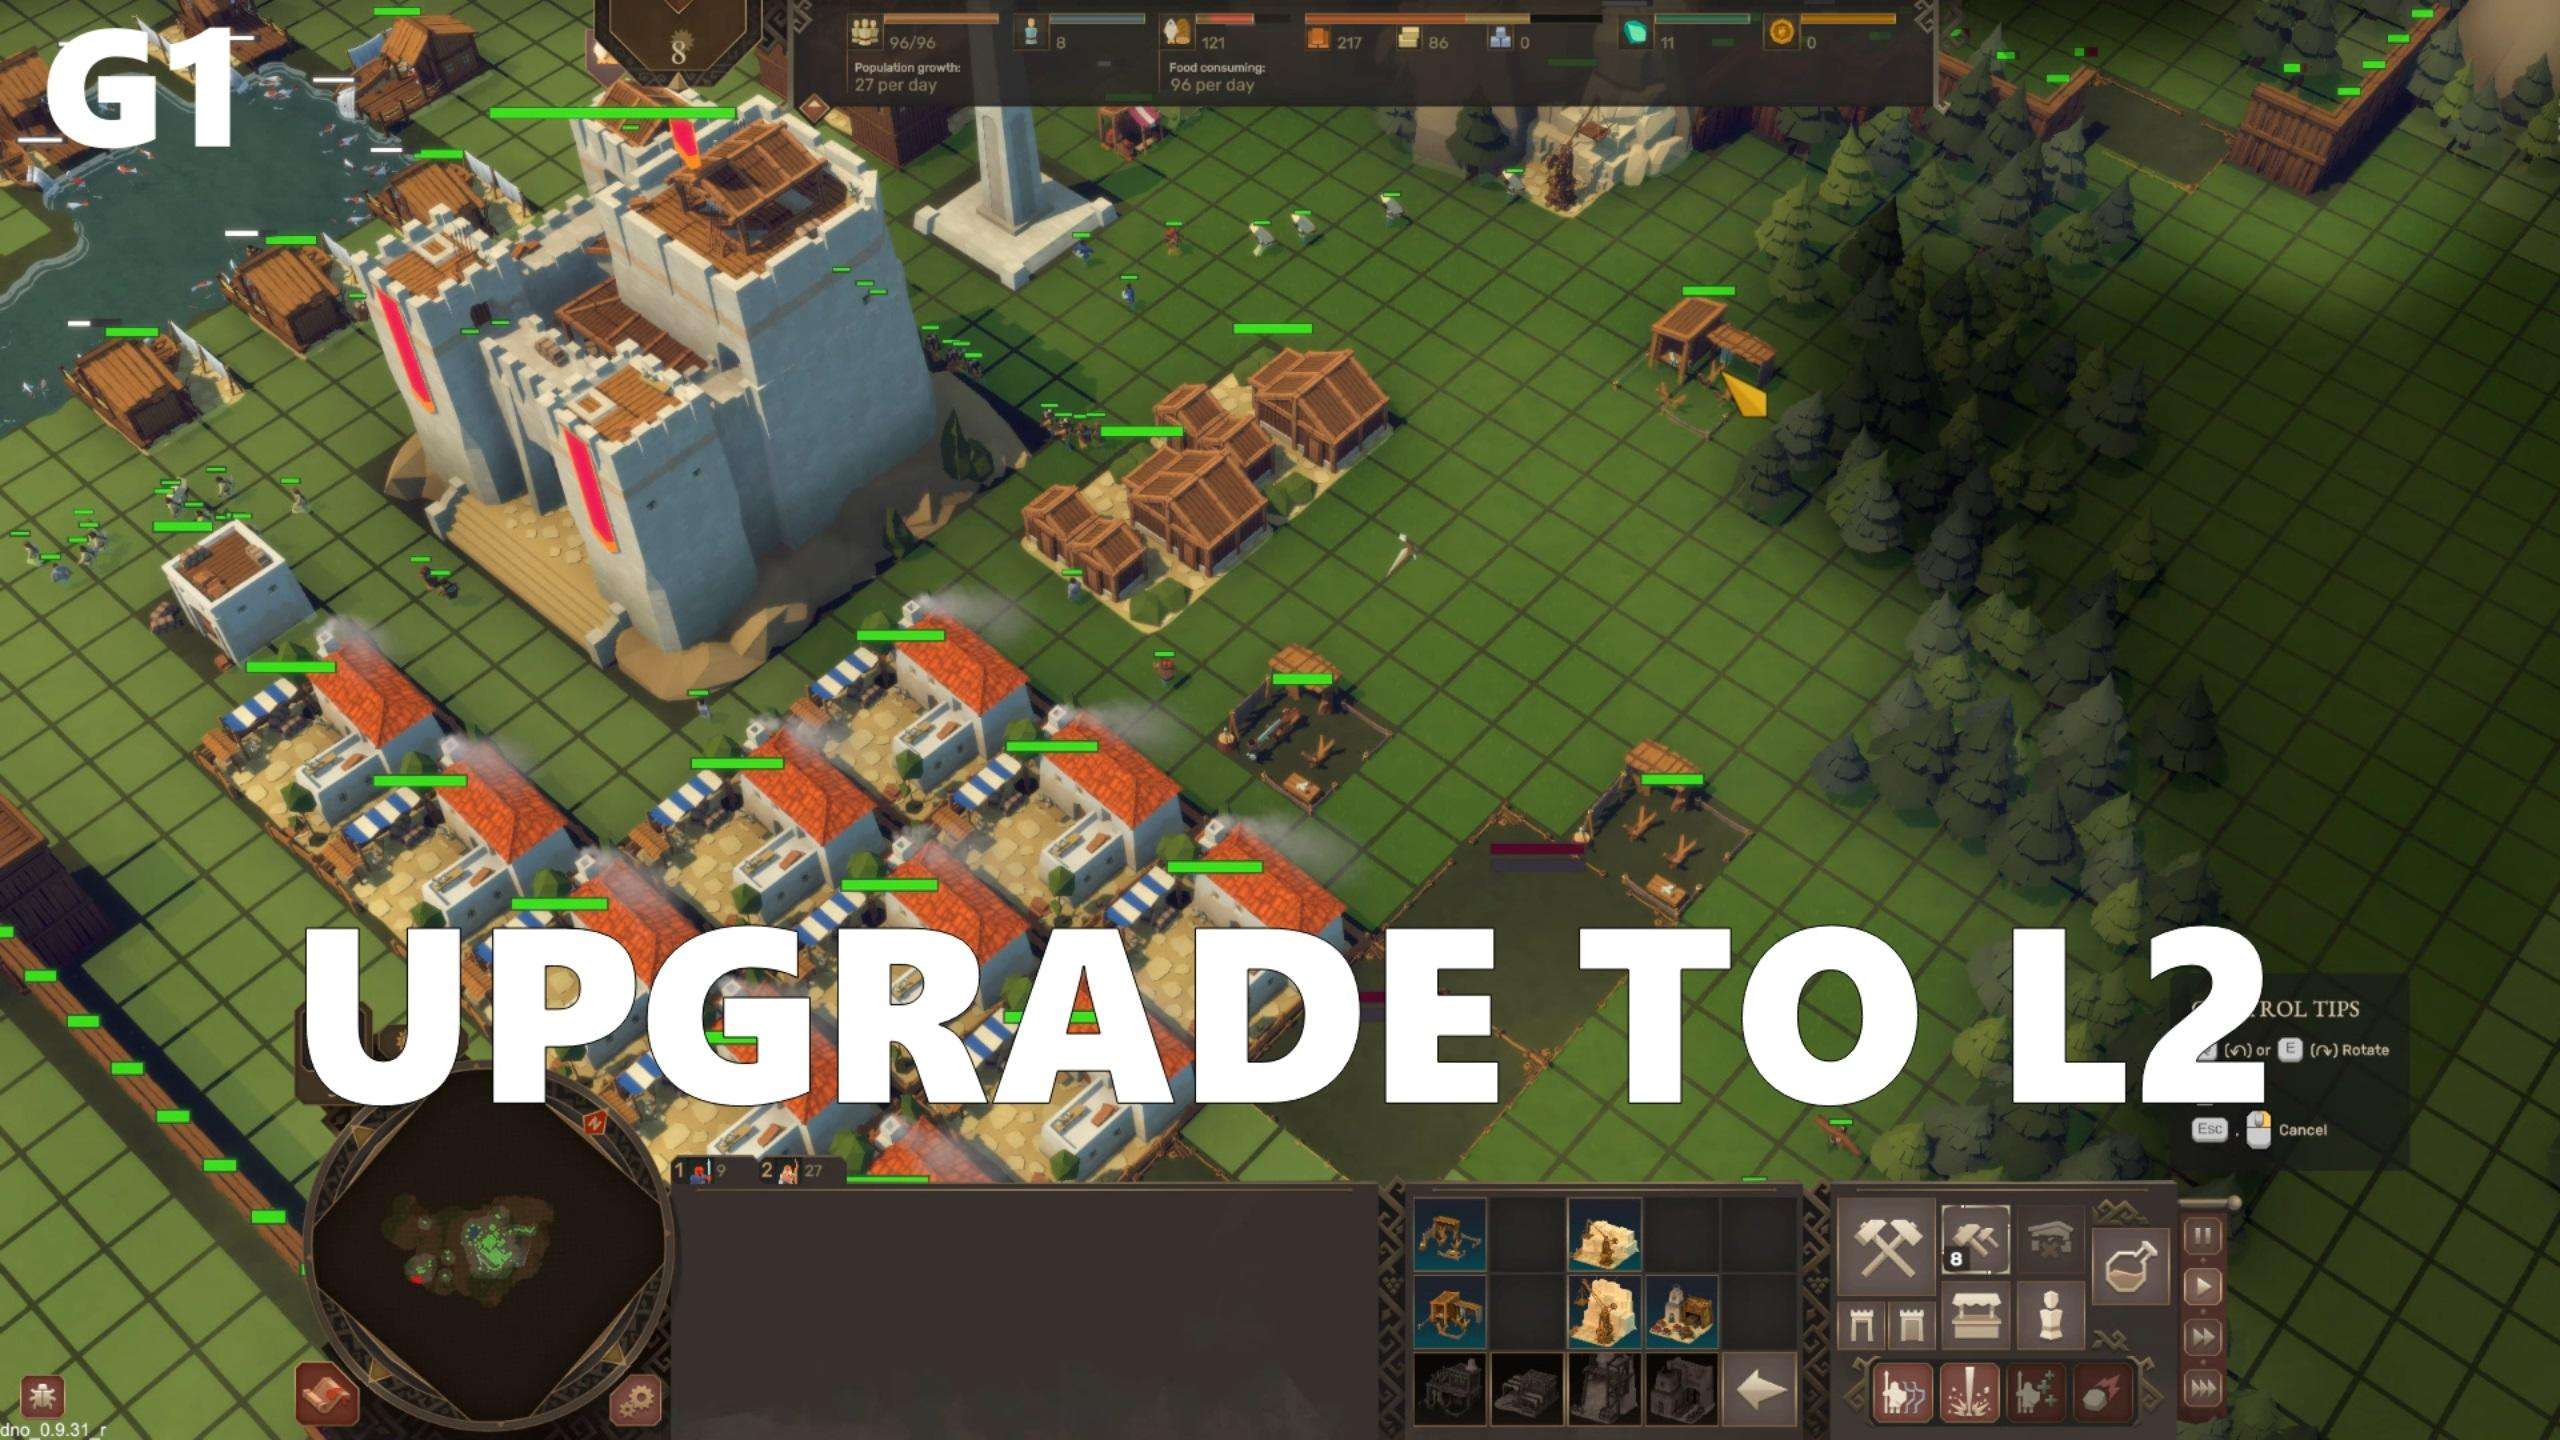
Town Keep Upgrade & Tire 2 – Day 5
As soon as you have stockpiled 150 wood and 100 stone, upgrade your town’s keep to level two as you will need it to unlock important new structures like the hospital to treat sick villagers and a farm to produce food as fish and berries are quickly depleted from the environment.
If you have an excess of food build more granaries while for wood and stone build a stockpile.
Preparation for 2nd Wave – Day 6 / 7
Each playthrough will naturally differ a bit and your build order might not be the same due to different available resources but by the time the second enemy wave hits the map you need to have upgraded your town keep, finished the construction of a hospital and stone obelisk.

You will also need a new wall, gate and towers in the path of that second enemy wave.

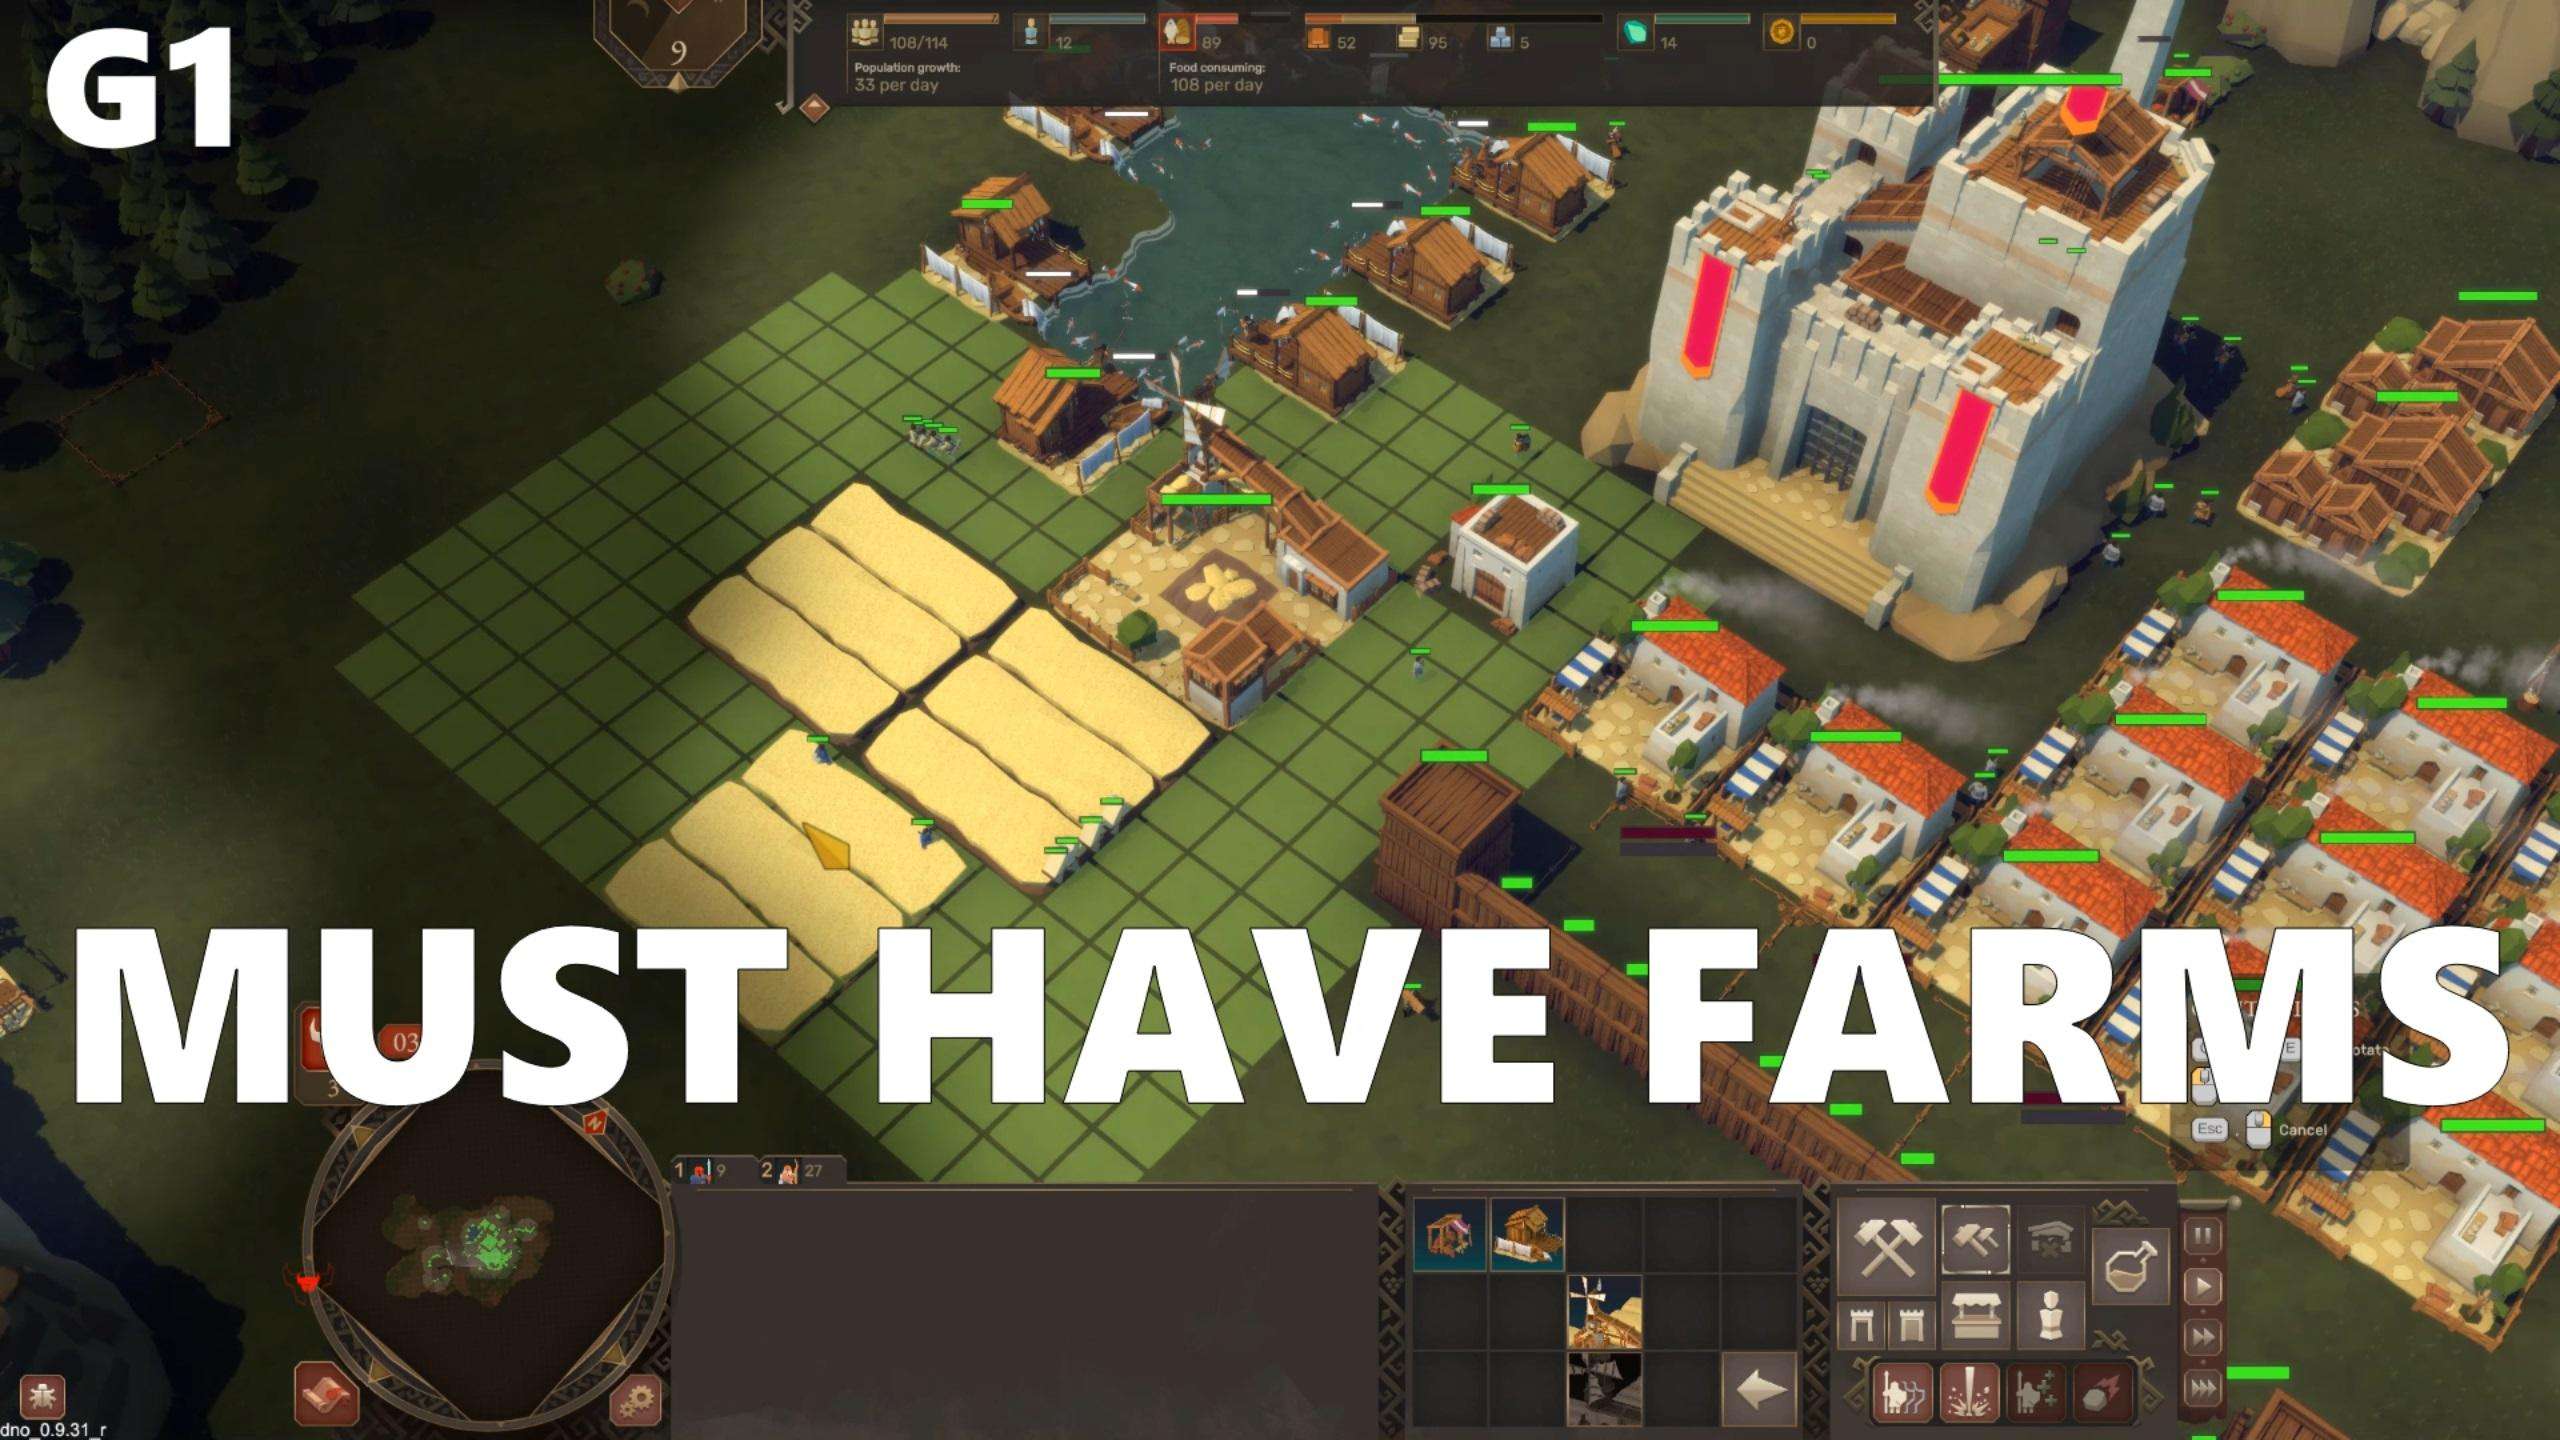
Farm Building
As for the first town farm you might have enough resources and workers to build it before this second wave or after but it should not be later than that as you will need lots of food to support a larger army and as I said you will start to exhaust both fish and berries.
2nd Enemy Wave & Spells – Day / Night 7
When that second enemy wave hits, the use of the magic spells is a must, especially at higher difficulty levels, as there will be too many enemies to fight off with just your soldiers.
Let them mass against the death knights you summon or part of the walls and then hit them with the magic astral ray. Keep dragging it across their formations and watch them get blown sky high.
New Buildings & Resources – Day 8/9
From here on it’s vital to get iron, either by locating carts of it on the map, or building mines for it on those chocolate colored mountain resource spots.
You can upgrade your lumber mills to level two or just destroy them and construct those level two ones closer to uncut forests.
Farms are a must to increase food production and a market is a good idea if you have some iron collected, so you can trade resources for one another.
Barracks Level 2 New Units – Night 9
The rest of the gameplay is much the same but it gets more complicated with new resources, tech upgrades and unit classes which you recruit from a level two barracks. Like the healer, crossbowmen or spearmen.

But this is all gameplay I will cover in future, more advanced, guides as this is enough for a basic how to start gameplay guide. I hope you will enjoy Diplomacy is Not an Option as much as I have but pull out far fewer hairs on the highest difficulty setting.
The game has been out for less than a day and there’s already a guide))) Thanks