
New Players Guide
Main Gameplay
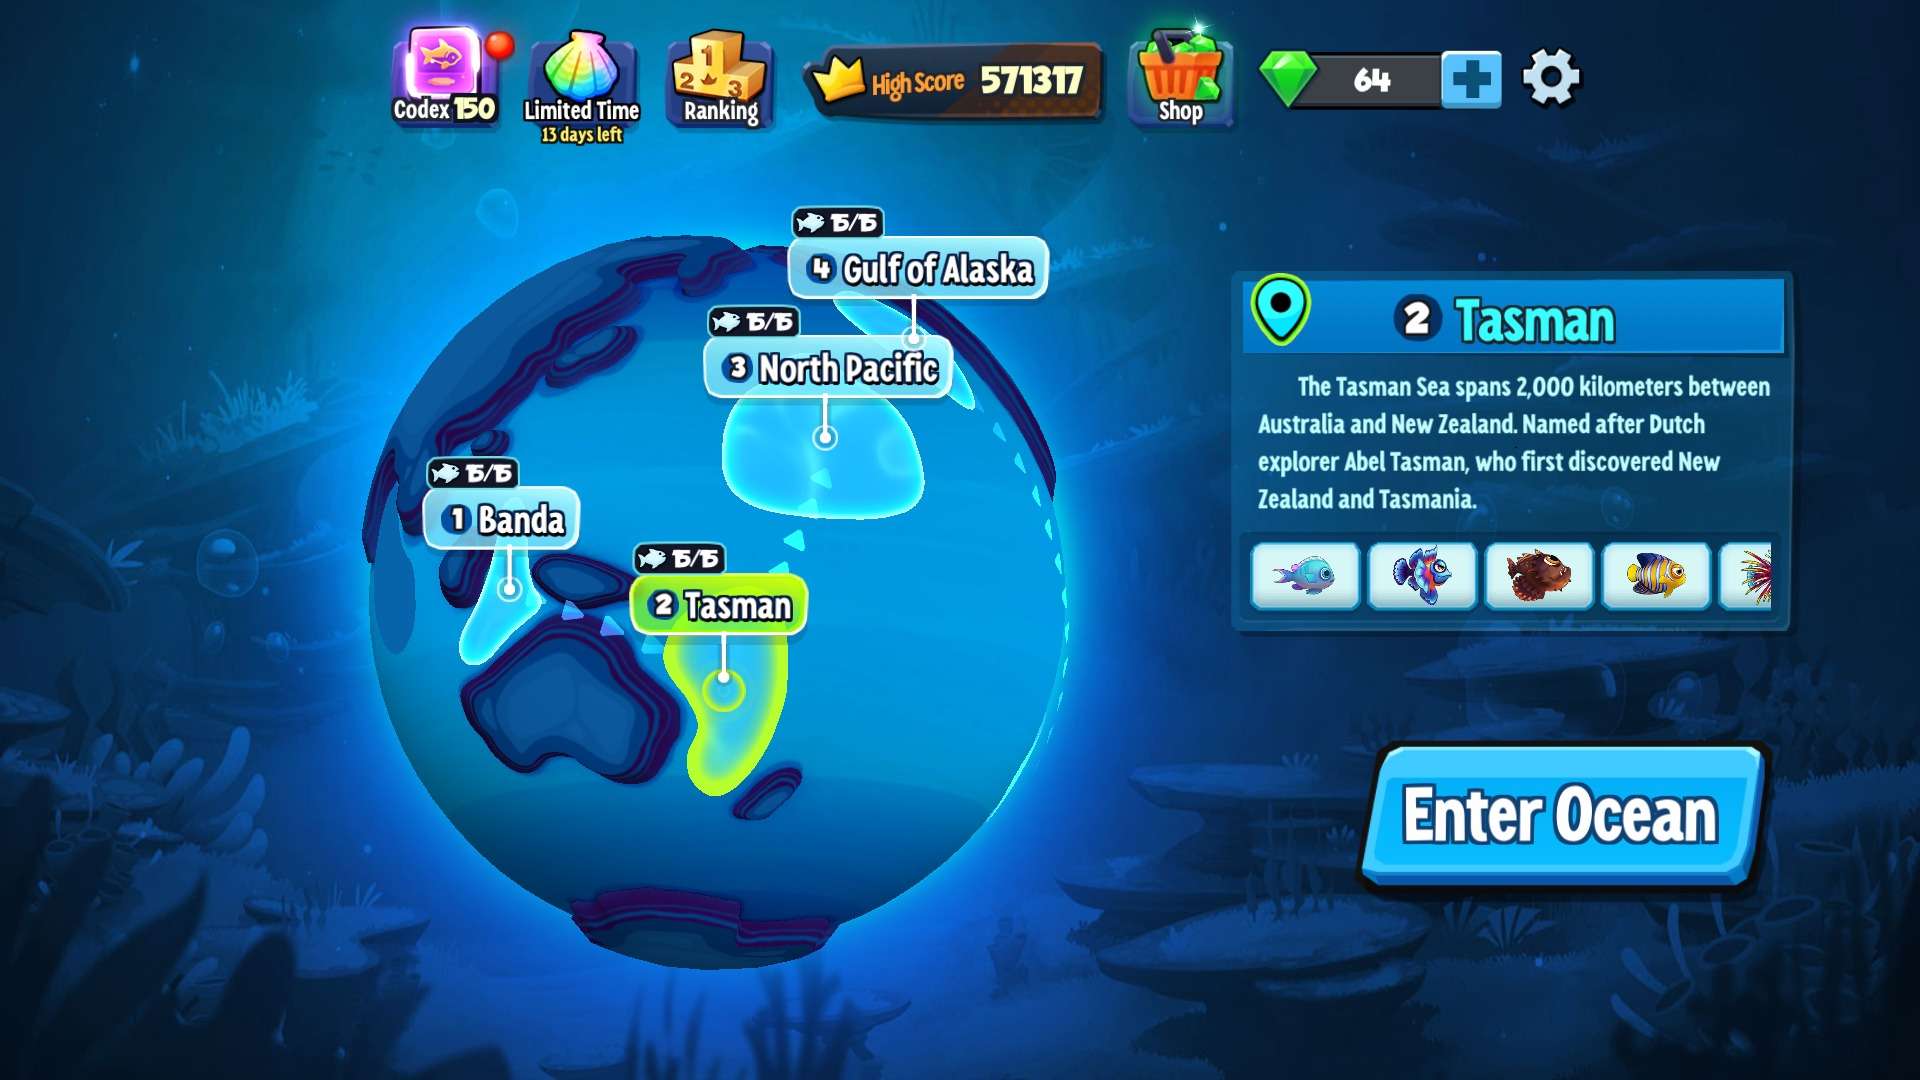
New fishies are recently flooding into Fish Eat Fish! We’ve prepared this detailed beginner’s guide to help you dive in quickly and dominate the ocean depths!
Unlock 10 unique oceans, each with 30+ exclusive fish species, dynamic coral reefs & whirlpools and interconnected food chain systems!
- Requirements: Unlock 12 fish species to unlock the ocean.
Fish Discovery
How to unlock new fish?
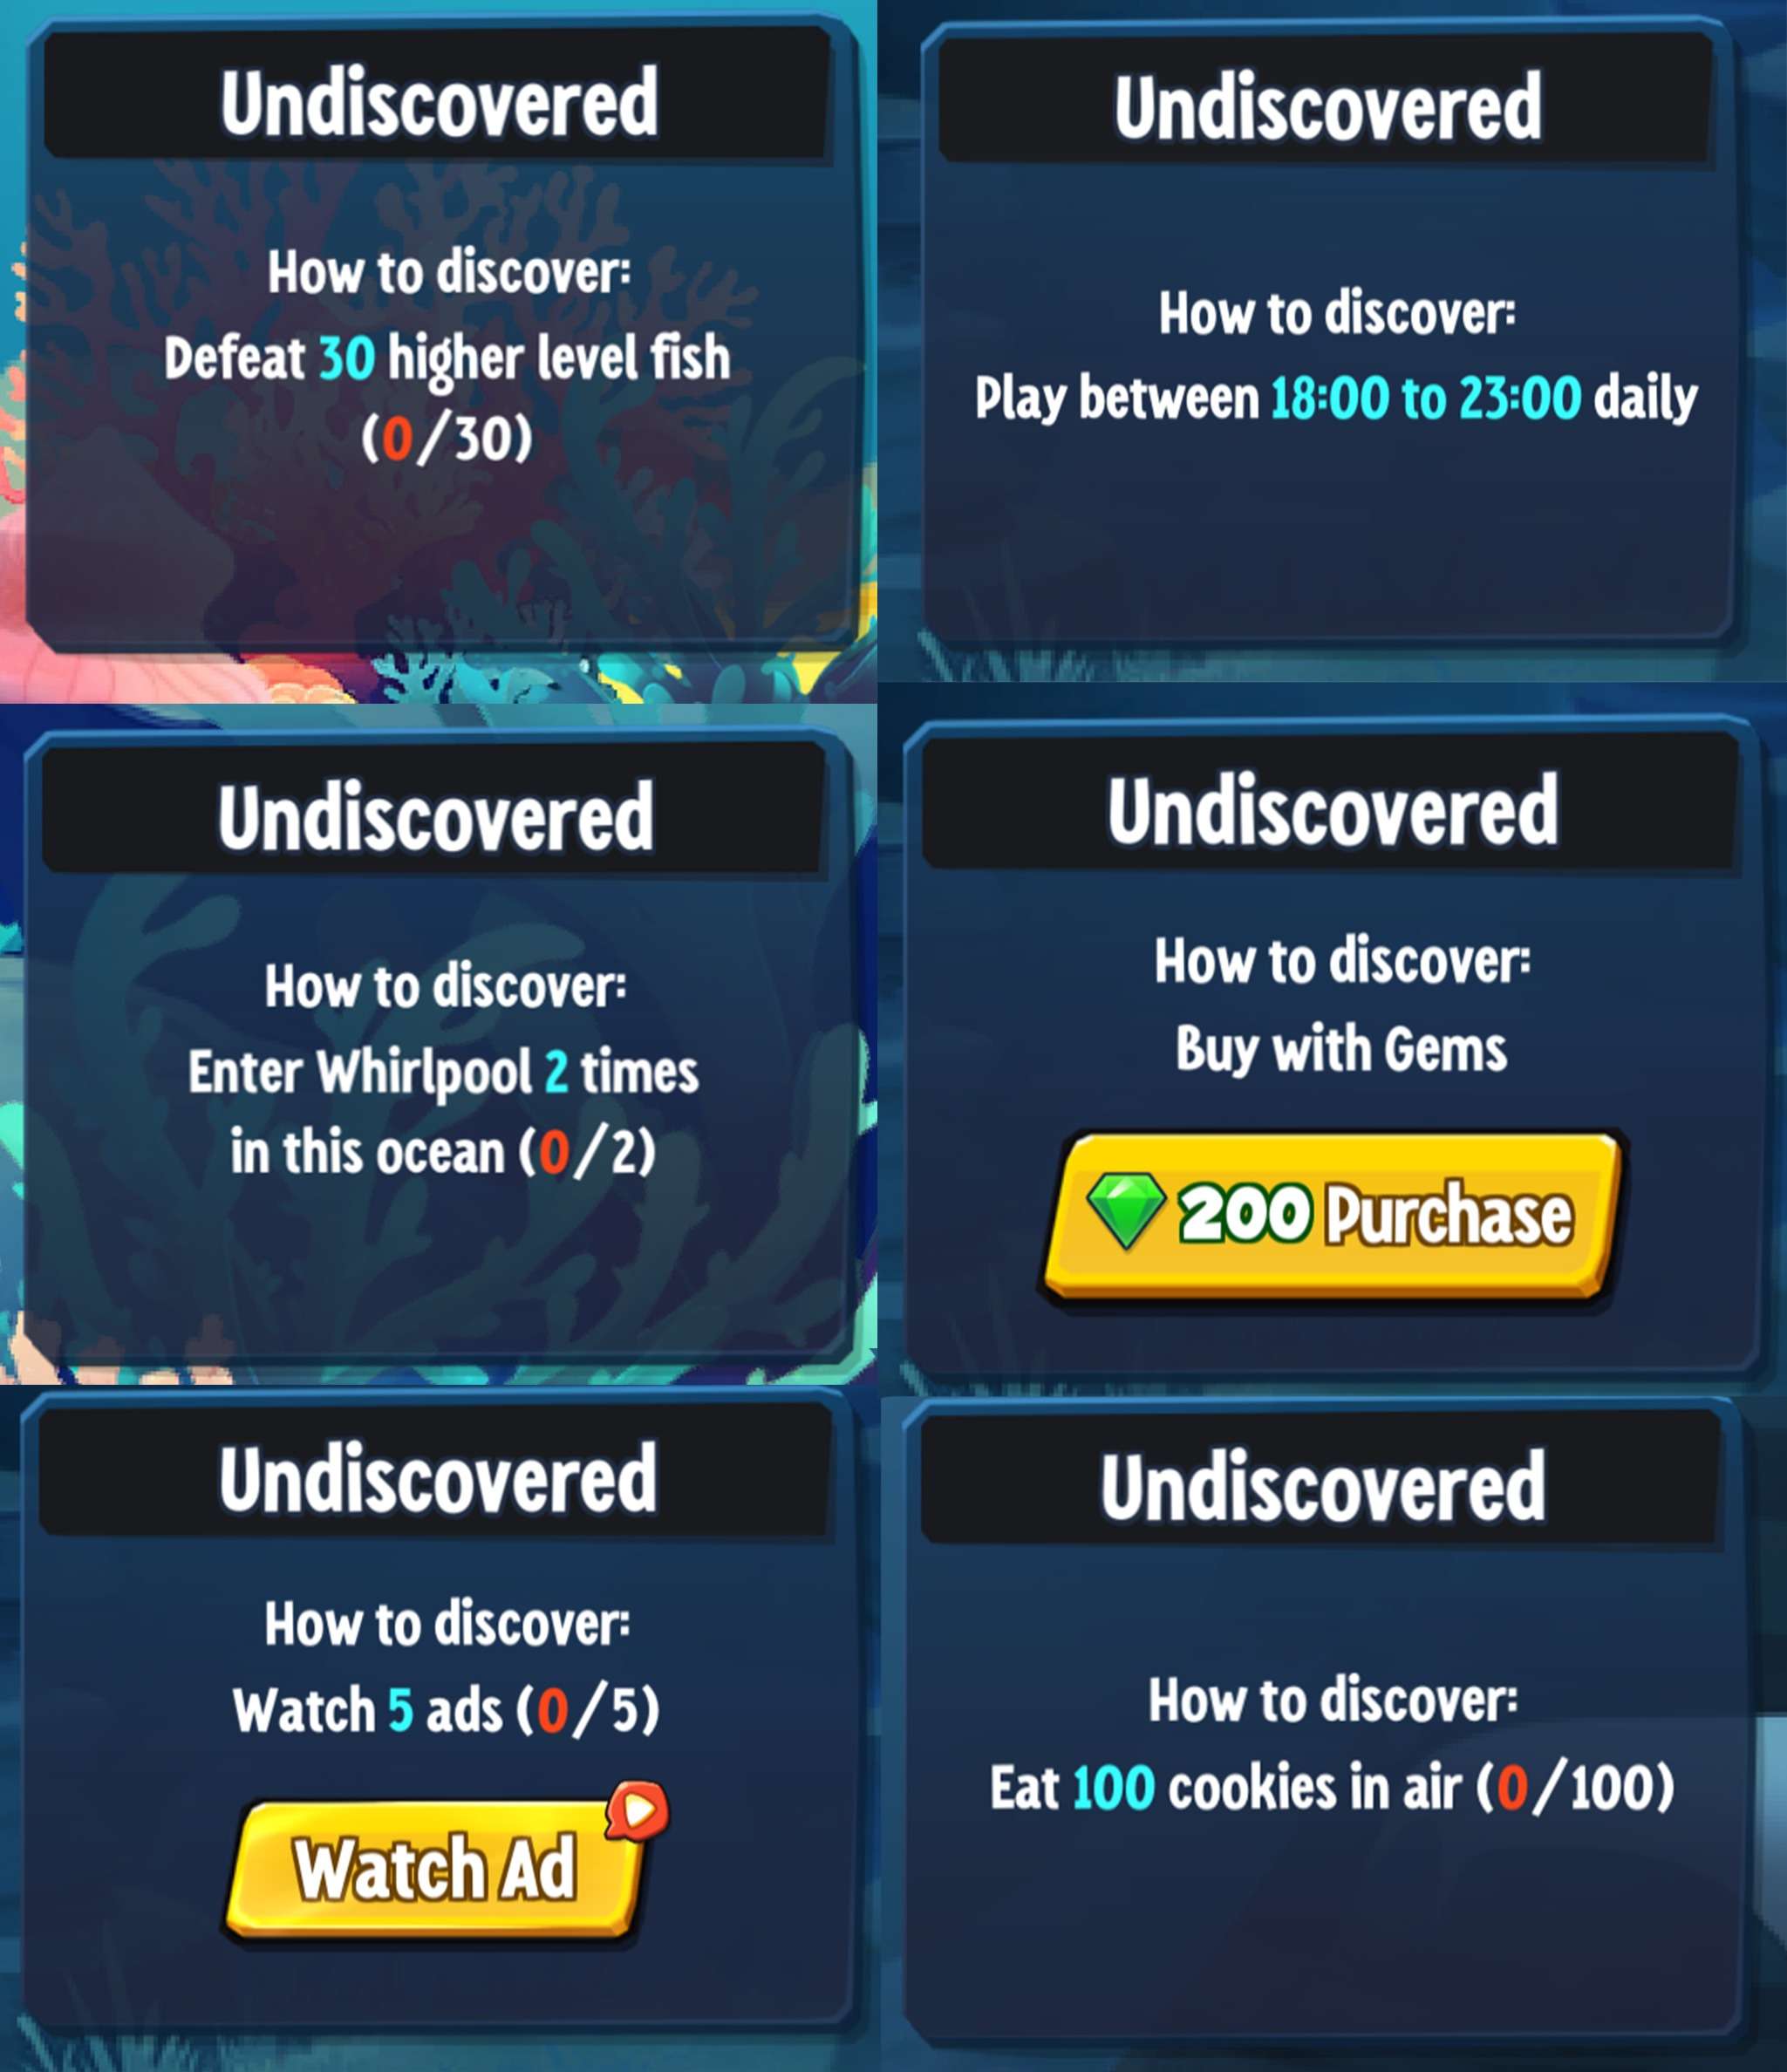
Reach the requirements to discover the fish, then defeat this fish in the game to unlock it.
Discovery Methods
- Defeat the fish in battle
- e.g. Defeat 30 higher level fish
- Play between specific time periods
- e.g. Play betweeen 18:00 to 23:00 daily
- Special mission
- e.g. Enter Whirlpool 2 times
- Direct discovery with gems
- e.g. Buy with 200 Gems
- Watch ads
- e.g. Watch 5 ads
- Special missions
- e.g. Eat 100 cookies in air
Fish Species Unlock Primer – A Must-Read for Newbies!
Recommended Fish Unlock Sequence:
- Whale Shark → Great White Shark → Anglerfish → Swordfish → Dolphinfish
Why Start with the Whale Shark?
Overall Battle Power
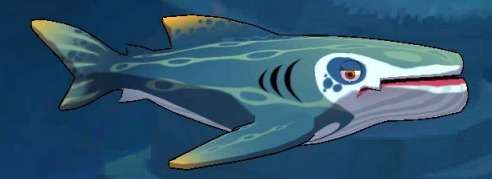
- No.014 Whale Shark is the hidden boss in the first ocean!
Detailed Stats
- HP: 1100
- High damage with 116 ATK
- Basic Skill effects: Suck Fish in front into mouth, dealing 40% ATK as DMG over time.
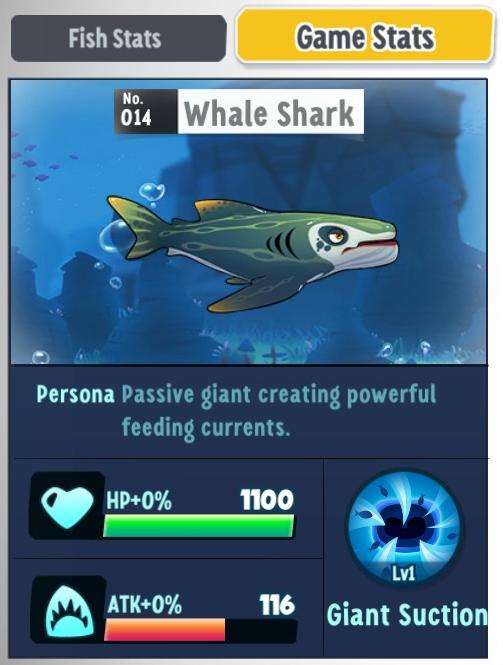
Forced displacement combined with lock control!
The Ultimate Leveling Tool
Unlocking the Whale Shark is indeed a smart move for new fishies to explore the ocean! Defeating it requires little effort. Use it to unlock new species, and pave the way to explore new oceans even faster!
- Discover Requirement: Reach Lv.15
- Unlock Requirement: Defeat the Whale Shark 35 times.
Codex System
Stat Up System
Ways to Obtain Stat Up Points:
- Unlock 1 fish: +1 point.
- Max out skill levels for 1 fish: +1 point (up to lv.39 for each fish).
Stat Up System
- Recommended Stat Up Ratio: EXP:Vision:HP -> 3:1:1
New players may put all their pts into common stats like ATK or HP in the system. In the early game, it’s hard to obtain the stat-up points, and this imbalance may lead to a rather flat growth curve.
Stat-Up Table
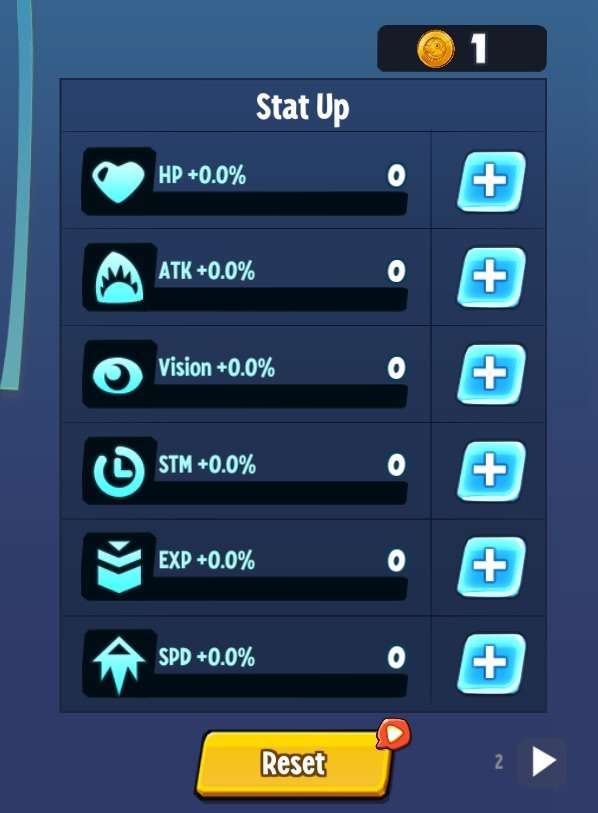
Each point: +0.5% stats (except for vision, which increases by 1%).
Needed Pts for each Level in the early game:
- Lv.2: 200
- Lv.3: 600
- Lv.4: 1200
- Lv.5: 2000
- Lv.6: 3000
- Lv.7: 4200
Point requirements jump dramatically in the early levels, and this trend continues even more steeply between levels 30 and 50.
Fish Basic Stats
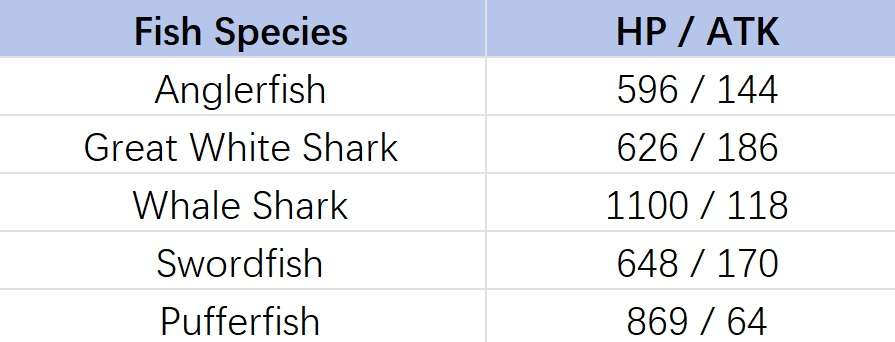
Conclusion
- The basic ATK for each fish is too low to simply find its effective.
- The ability to earn EXP is crucial – leveling up is always better than upgrading other stats.
- Vision is useful: it helps you quickly assess the level gap between you and your opponents, so you won’t be tricked by appearances.
- Stat Up Reset Mechanism: No worries if you are not satisfied with the current stats! It provides unlimited reset options, allowing you to adjust the stat-up strategy anytime.
Survival Mode
Quick Summary
Survival Mode is like an underwater Battle Royale! Survive to be the last fish standing in a shrinking pollution zone. No backup, no supplies – just pure skill and strategy to claim victory!
This mode is all about chaotic fun with no regular match rewards. Just pure, intense gameplay.
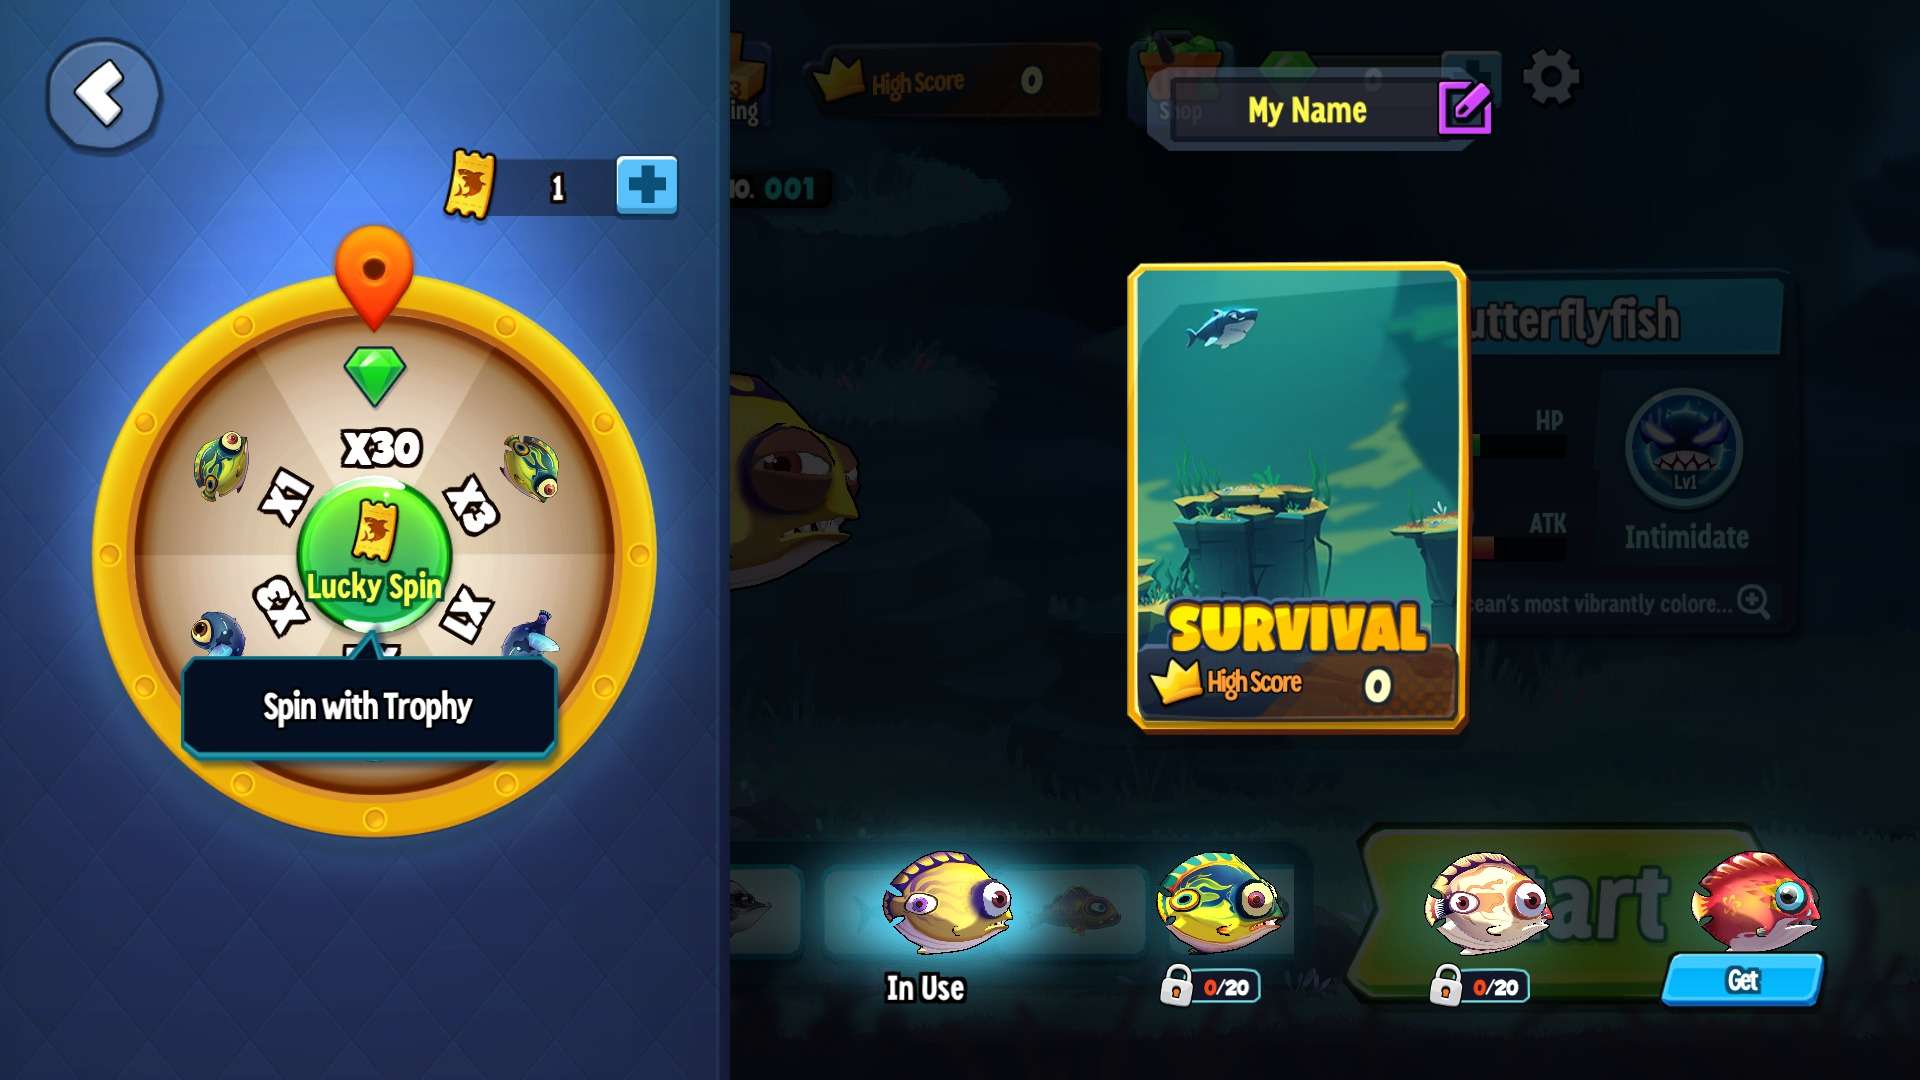
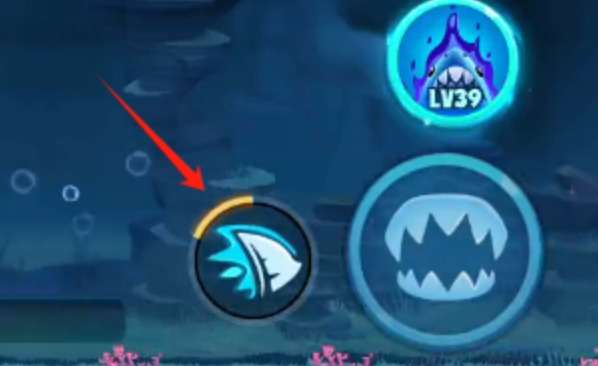
How to Unlock
Unlock 6 fish on the first map to unlock Survival Mode! Tap the glowing button on the top left of the main screen to join the battle!

Special Mechanics
Exclusive Skill System
Defeat other fish to collect random skills like attack boosts, healing, or immunity. It’s like hitting the jackpot right from the start – super exciting!
Pollution Zone
The zone shrinks every few minutes, and the damage increases over time. Stay in the wrong spot too long, and you’re toast!
Real-Time Rankings
Keep an eye on the leaderboard in the top left corner. The number of survivors decreases, and the tension builds!

Strategy Guide (For Everyone from Newbies to Pros!)
Core Strategies
- Early Game: Hide in corners, eat cookies, and grow strong.
- Mid Game: Stay healed and wait for the right moment to strike.
- Late Game: Go all-in and harvest those eliminations!
Fish Selection Guide
Beginner-Friendly Picks
Start with smaller fish for easier growth and agility.
Recommended:
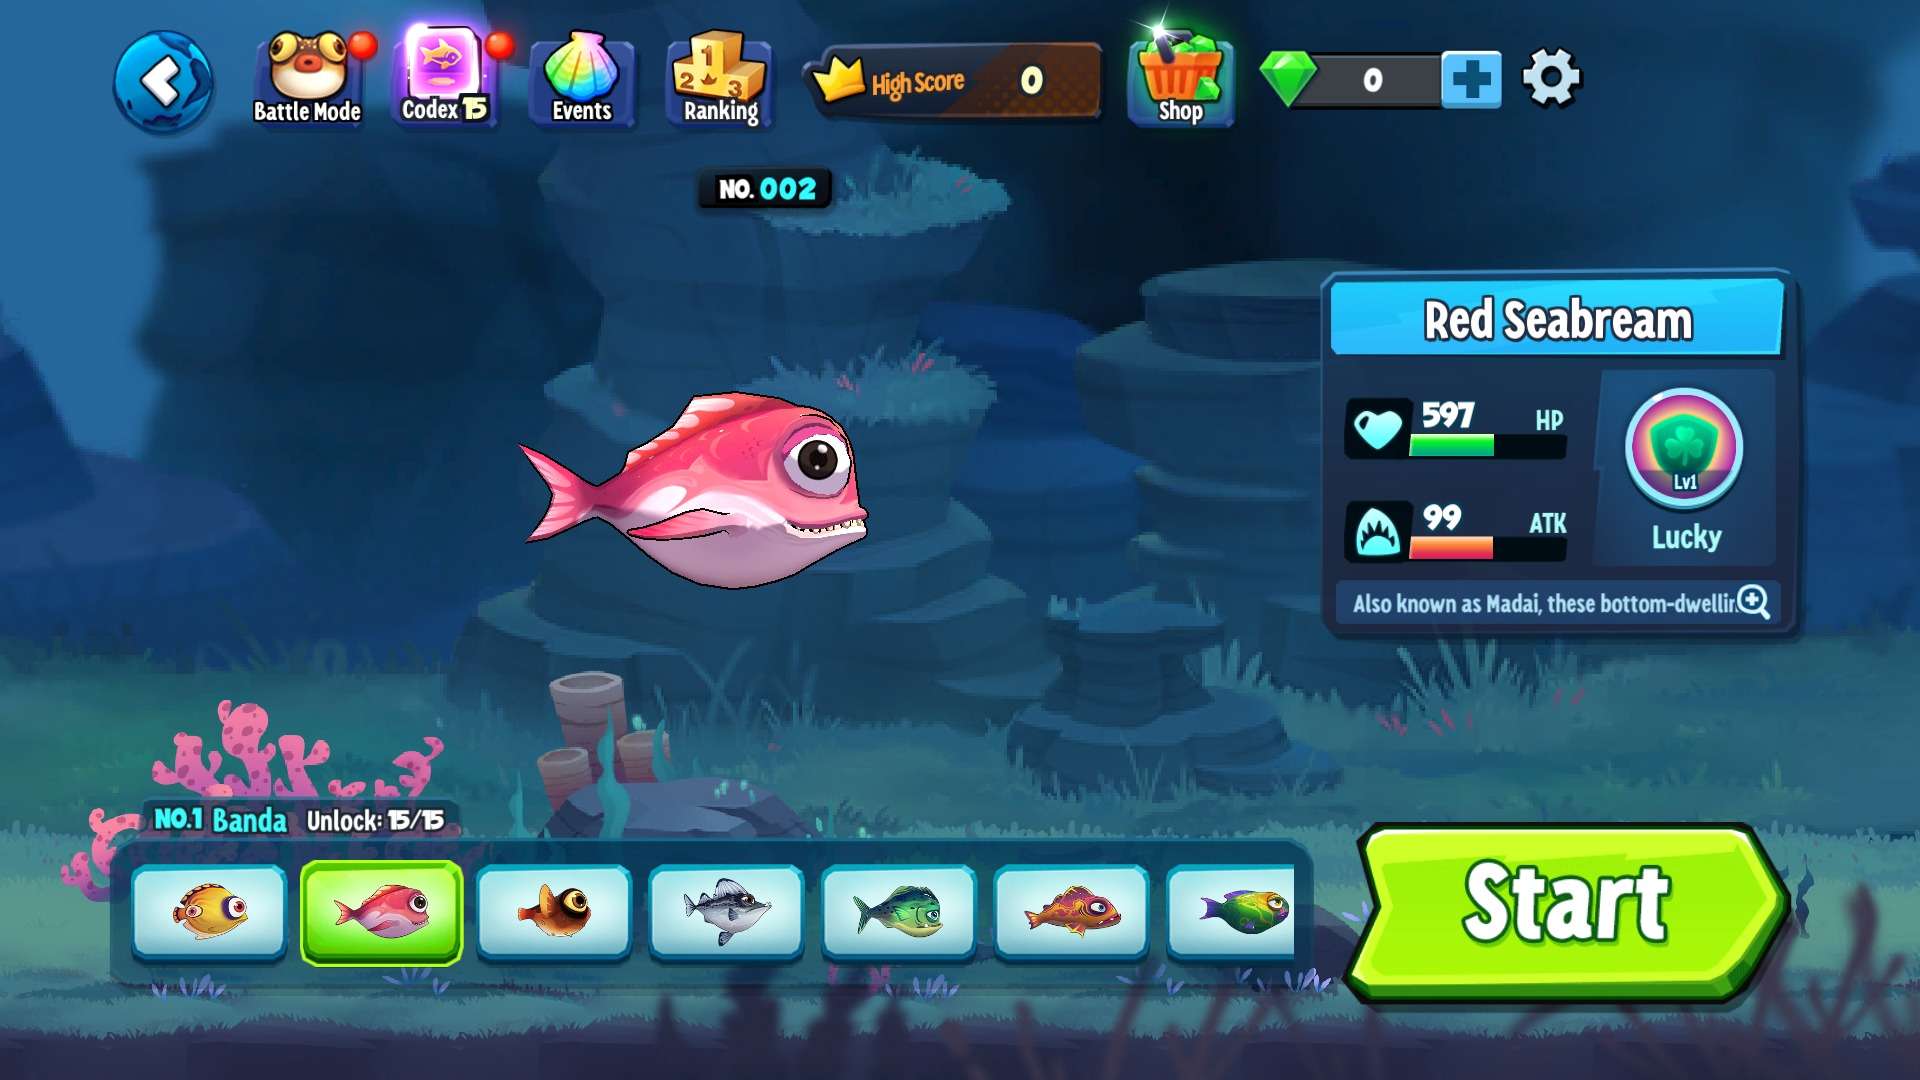
- Red Seabream (Lucky Charm!)
- Initial HP: 597 / Attack: 99
- Skill: “Lucky” – Chance to fully ignore damage!
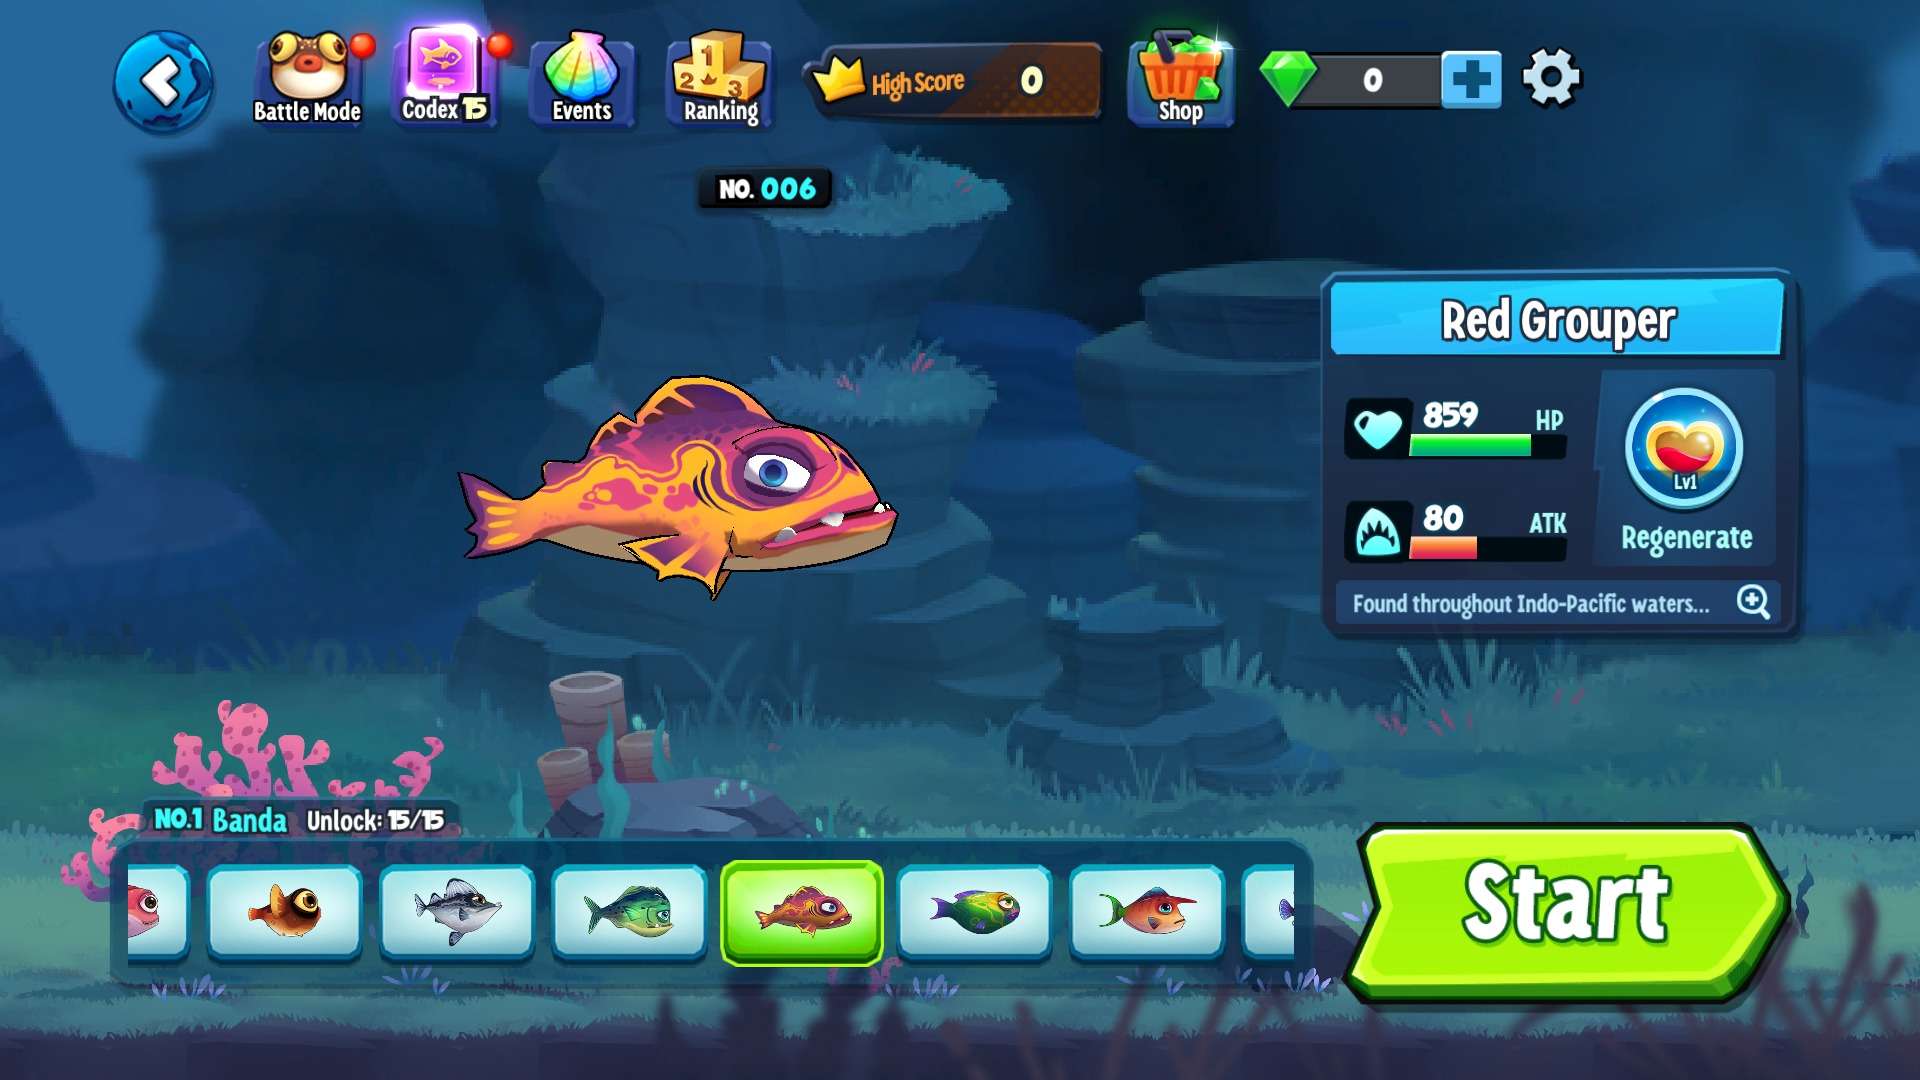
- Red Grouper (Healing Pro!)
- Initial HP: 859 / Attack: 80
- Skill: “Regenerate” – Heal while fighting, nearly unkillable!
Pro Picks
For skilled players who love aggressive playstyles, high-stat fish is recommended to go on the offensive!
Recommended:
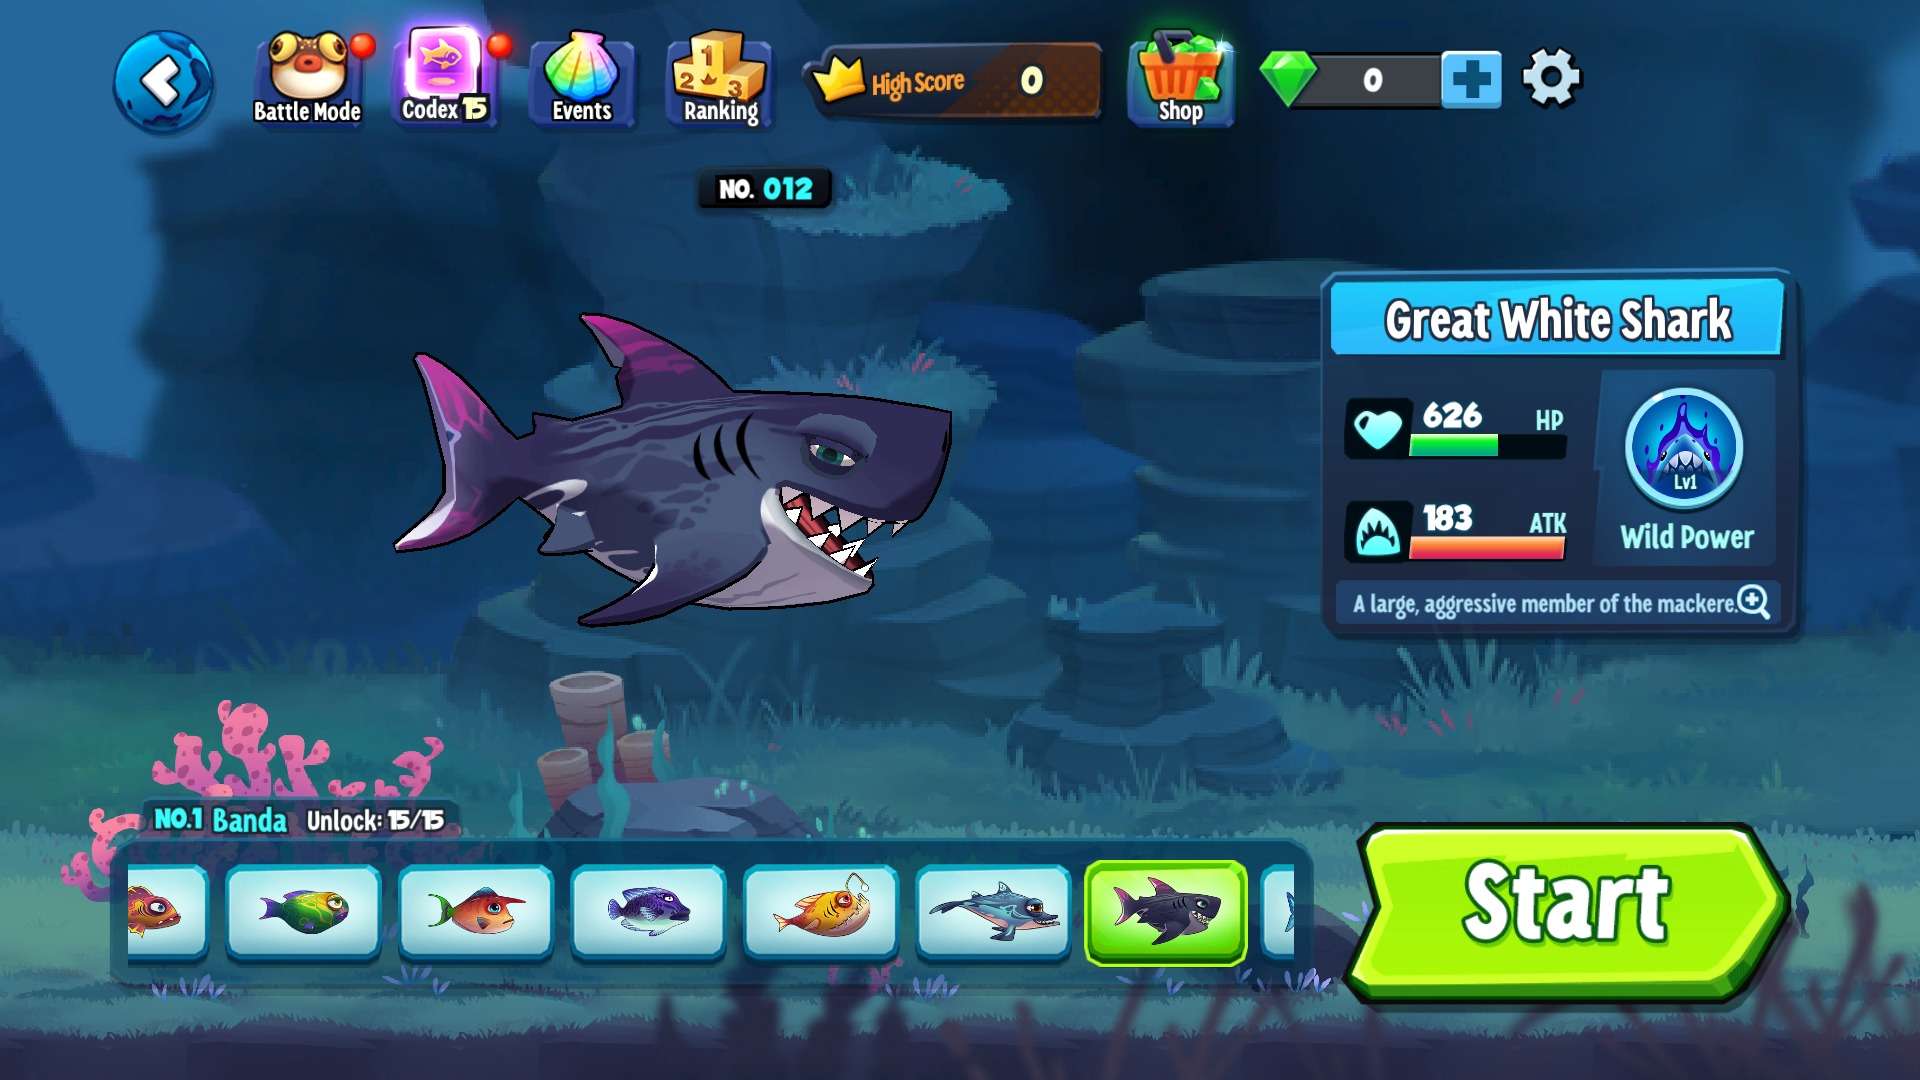
- Great White Shark (Glass Cannon!)
- Initial HP: 626 / Attack: 183
- Skill: “Wild Power” – Transform into a walking cannon for a short time!
- Swordfish (Stealth Assassin!)
- Initial HP: 648 / Attack: 167
- Skill: “Pierce” – Dash into the fray and burst enemies!

Avoid This Fish!
Whale Shark – This giant is a sitting duck in Survival Mode. Too big to hide, it’s an easy target for everyone. Stay away!
Pacing Mastery
- Early Game (First 3 Minutes): Focus on eating energy cookies to level up. Don’t waste time on fighting – upgrade your skills first!
- Mid Game (6 Minutes): Roam the map, stay healed, and ambush upgraded players like a ninja. But always have an escape plan!
- Final Game (9 Minutes): Play smart, keep your distance, and wait for the perfect moment to strike. One wrong move could be fatal!
Pro Tips You Might Not Know
- Skill Combo Secrets: Prioritize ATK boosts early and grab immunity in the late game. Remember, you can only carry one skill, so choose wisely!
- Pollution Zone Tricks: If you’re weak in the late game, use immunity skills to dash into the pollution zone. You might just reverse the tables!
- Optimal Pathing: Stick to the sides of the map to avoid getting surrounded. Pros know to hide in the “Death Spiral Zone” for safety!
- Energy Bar Survival Rule: Never burn your stamina all the time! Keep at least 2 seconds reserved for emergencies – getting caught with no stamina is a death sentence!
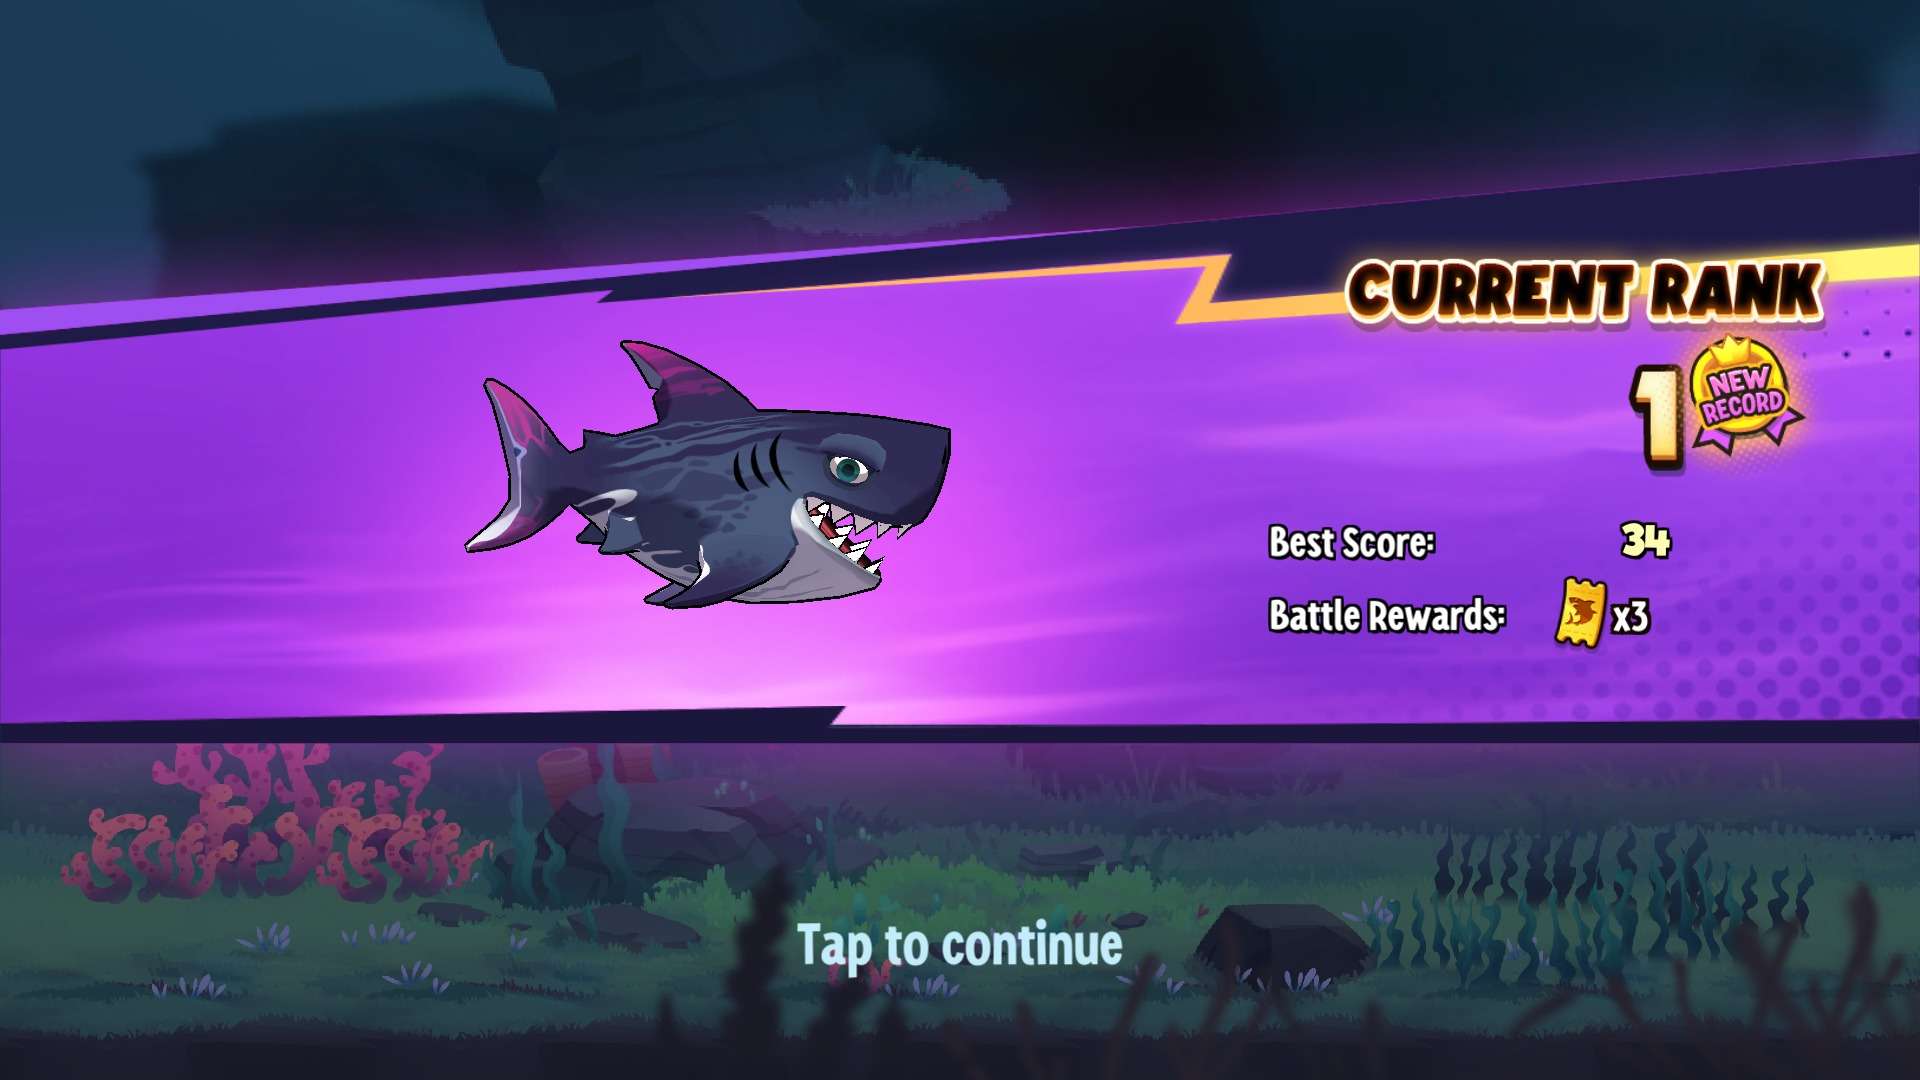
Trophy Reward System
How to Earn Trophies:
Win the top 3 or reach 60/30 points in a match to get trophies. First-time players get extra rewards!
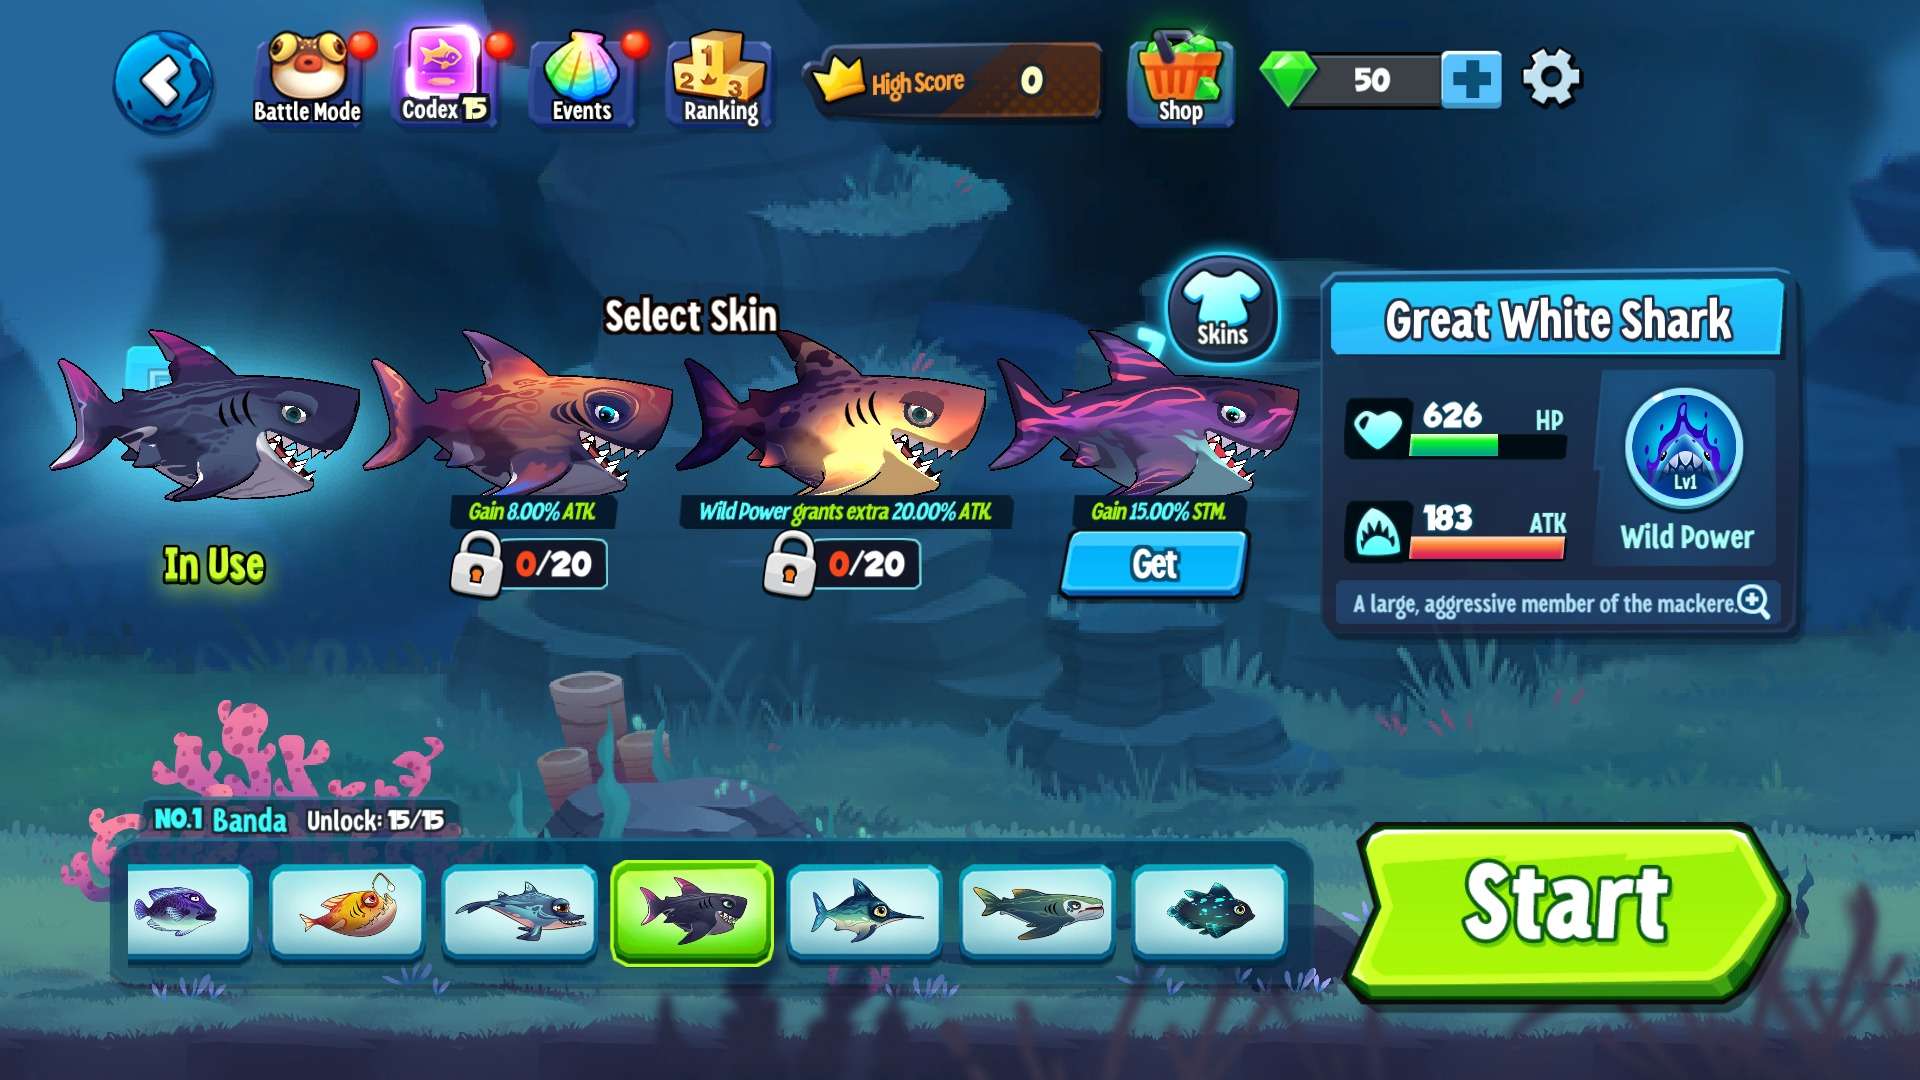
Redeem Awesome Rewards:
Use trophies to pull for exclusive skins or gems. Some skins even come with combat buffs!
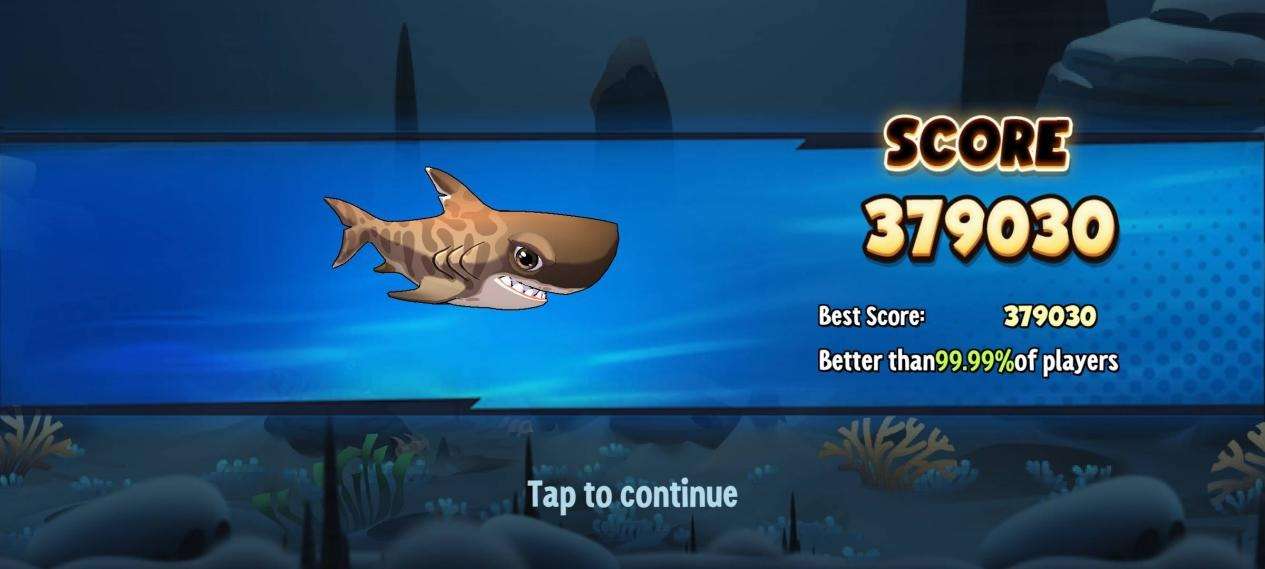
How to Get High Score!
Many fishies have told us their struggles that it’s difficult to avoid being hunted by larger fish, leaving their scores stagnant in regular battle mode. This guide is here to help you crack the code to achieve high scores. Make sure to read till the end!
Fish Selection
Choose the right fish, and you’re halfway to winning!
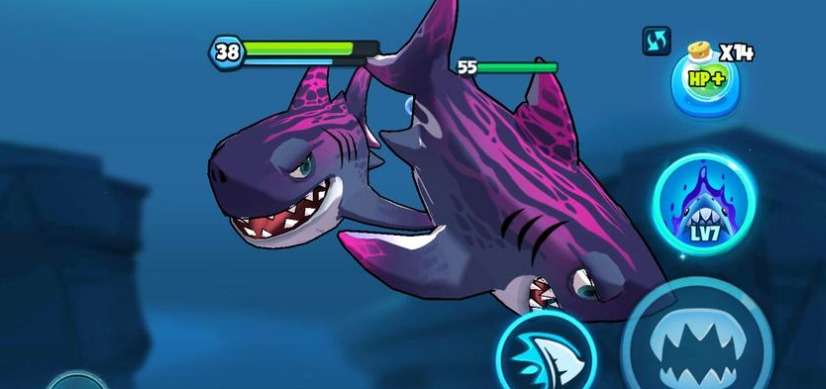
Top Recommendation: The Shark
- Great White Shark (Banda Sea)
- Base Stats: HP 626 / Attack 183
- Skill Effect: boosts percentage-based ATK as DMG.
- Oceanic Whitetip Shark (Tasman Sea)
- Base Stats: HP 586 / Attack 164
- Skill Effect: increases speed and percentage-based ATK as DMG while breaking out of high-speed state.
- Zebra Shark (North Pacific)
- Base Stats: HP 583 / Attack 154
- Skill Effect: restores a percentage of HP with each attack.
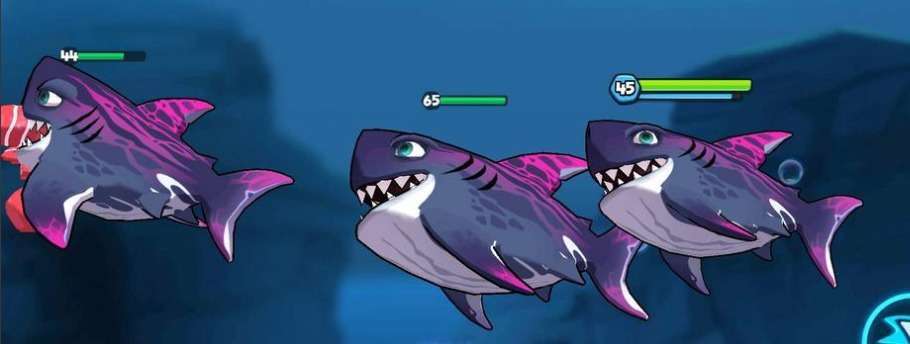
Why these sharks?
- Exceptional ATK with skill bonuses to end battles quickly.
- Similar mature forms ensure great visibility and reduce the risk of being surrounded.
- Sharks are naturally aggressive, making them perfect for mid-game battles and sneaky development.
Other Choices
- Swordfish
- Base Stats: HP 648 / Attack 167
- Skill Effect: charges forward, attacking and dealing percentage-based ATK as DMG to enemies in front.
- Reason: High base stats and versatile skills with great potential for skilled players.
- Triggerfish
- Base Stats: HP 650 / Attack 130
- Skill Effect: fires a water bullet forward, knocking back and dealing percentage-based ATK as DMG to enemies in front.
- Reason: Long-range attacks give you the first move, perfect for farming.
- Little Dragonfish
- Base Stats: HP 628 / Attack 102
- Skill Effect: enter stealth and create an illusion of you. Higher skill levels increase duration, up to 7 seconds.
- Reason: Powerful skill to escape danger quickly.
Recommendation: Trial Card
The Trial Card gives you max-level skills, top-tier stats, and skins – all in one! It’s a must-have for new players looking to rank up quickly.
Essential Preparation
Max out your skills to guarantee their effects and trigger the “Great Hoard”
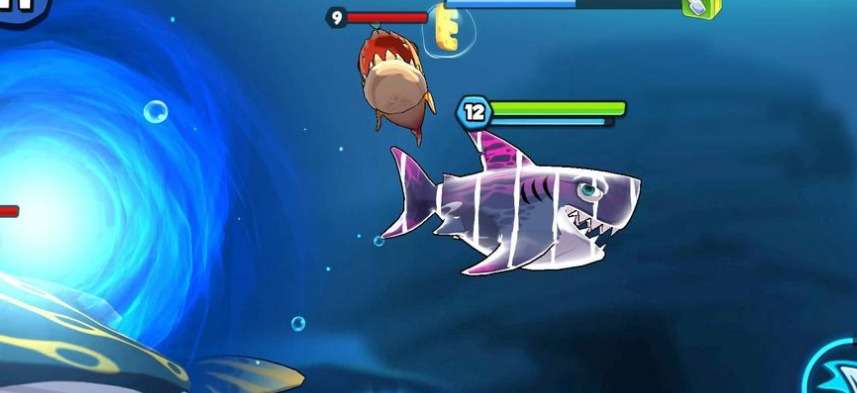
Great Hoard Introduction
- Condition: triggered every 10,000 scores in a game round.
- Location: Appears near the bottom of the map.
- How to Collect: Attack it 3 times to pick it up.
- Effect: Randomly transforms you into a powerful character or a fish with special skills.
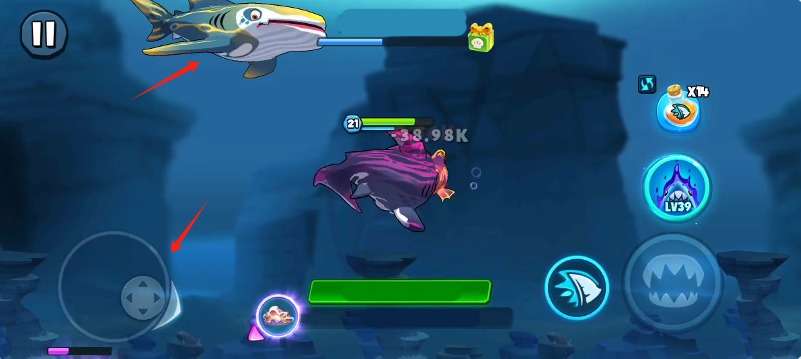
Best Development Path: Master the “8” pattern!
Recommended to swim in an “8” shape in the mid-zone for better visibility and flexibility while farming.
Step Guide of High Scores
First 60 seconds: Rush to Level 10
Prioritize development over fighting early on. Avoid combat to ensure steady progress and avoid being disrupted.
When you reach lv.10 and trigger the Great Hoard, do not pick it up immediately. Continue to develop until lv.14, and from then on, remember to take two bites of each Great Hoard before fully consuming it!
Lv.15: Score Breakthrough
This is your first major milestone. Ensure Great Hoard cycle is stable. Ideally, each Great Hoard should lead you to the next refreshing area. Before you trigger the Great Hoard, it would be great if there are high-level fish in the nearby area.
Lv.30-50: Play It Safe
Reach Level 30+ smoothly with Great Hoard. At this stage, adopt a conservative strategy to avoid frequent battles and preserve respawns.
Because the Great Hoard doesn’t always guarantee a big score, many players at this stage may feel hard to level up due to the inappropriate mutant fish effects, leading to frequent defeats and burning through their respawn chances.
Tips when you’re hard to level up
- Avoid whales and big fish.
Their skills can gather high-level fish quickly, making it hard to escape.
- Follow the high-level players withthe same fish species.
Staying near them to stay safe.
Beyond Lv.50: Mindset Matters
From Level 50, you’ll be marked as a threat by other fish species.
At this stage, three key effects come into play:
- Increased risk of instant kills
- A significant drop in the number of high-level allies
- Decreased focus due to prolonged gameplay
Strategies:
- Stick to corners for ambushes or pause to adjust your pace.
- Use Great Hoard areas as observation points. Become mutant fish immediately when you find any high-level fish!
Tip: Size doesn’t always mean strength. Don’t be fooled by appearances!
Pro Tips You Need to Know
Lock-On Effect
Attacks have a short lock-on effect. Don’t rush – give yourself time to react.
Drag When Attack
While attacking, drag the movement joystick to create a dragging effect. This helps escape battles and prevents food theft after killing enemies.
STM Management
Keep an eye on your STM. Avoid draining it completely – save some for emergencies.
Escape Techniques
When chased, don’t run in a straight line. Dodge upward or downward, and then dash in the opposite direction.


Big Whirlpool Pros and Cons
Avoid entering the whirlpool unless necessary. While the rewards are tempting, boss battles can cost multiple respawns. Using a Trial Card to kill a boss may also disable its effects.
Delay of Great Hoard
When low on health, use the Great Hoard wisely. There’s a short delay before becoming mutant fish, and getting killed during this time will render it ineffective though you respawn again.
Item Usage
- Early Game: Use Health Potion or XP Potion to accelerate growth.
- Mid to Late Game: Switch to Health Potion or Vision Potion for better survival and awareness.
Be the first to comment