Guide to Obtain Mission Achievements
Introduction
They added a new weather feature to this game that wasn’t present in the first. Sometimes it’ll start raining at random during any level, including thunder sound effects to distract you, and the rain will partially obscure your vision through your scope. It adds an element of unique challenge, so bear that in mind.
I had trouble with the ducking mechanism at first, so I’ll explain how it works here. It’s basically a timing game, and you have to wait for the warning noise to advance to the most rapid beats (last stage) before pushing the CTRL key to duck (the ducking timer is the lower center bar; you can only duck for about 1 second). When you hit CTRL, hold it down, otherwise you’ll spring back up from behind the wall immediately and get shot. You can release after the shot hits the wall you’re hiding behind.
For the Mission Elite achievements, just select Elite Mode on the main menu after the option is unlocked upon finishing Adventure mode. You’ll have to complete all the missions again, but this time in Elite mode, meaning zoom and precision will be disabled.
Mission 01
First mission: very easy, small map
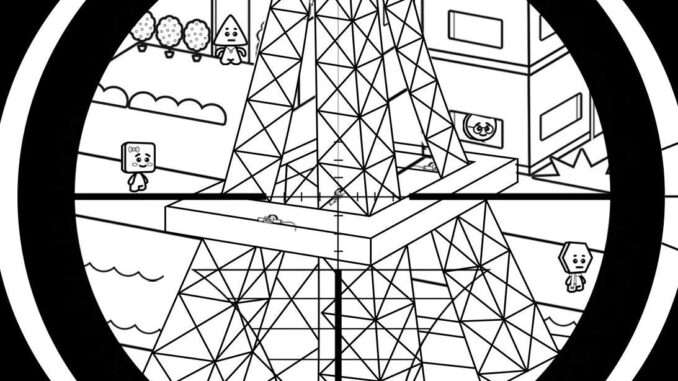
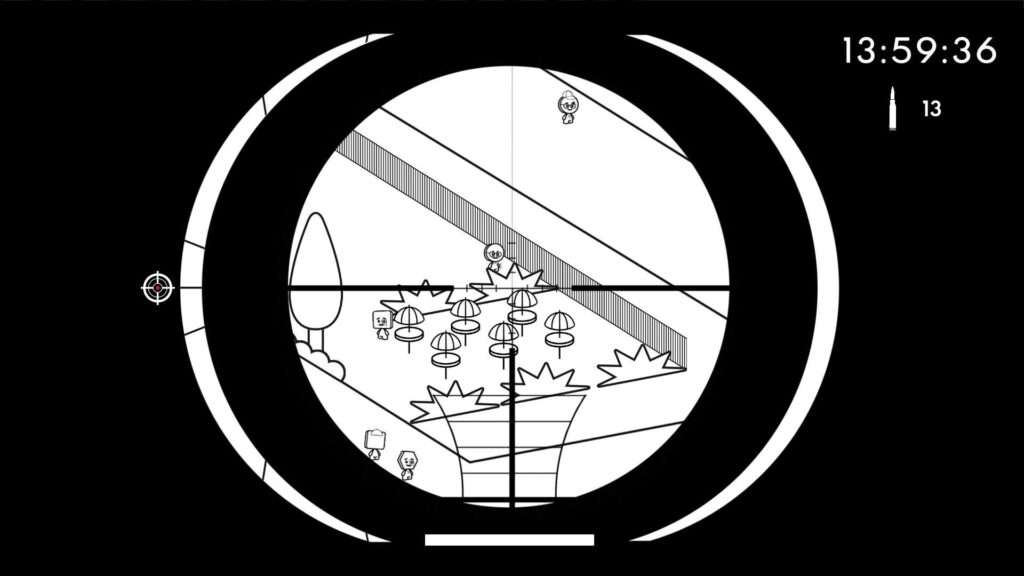
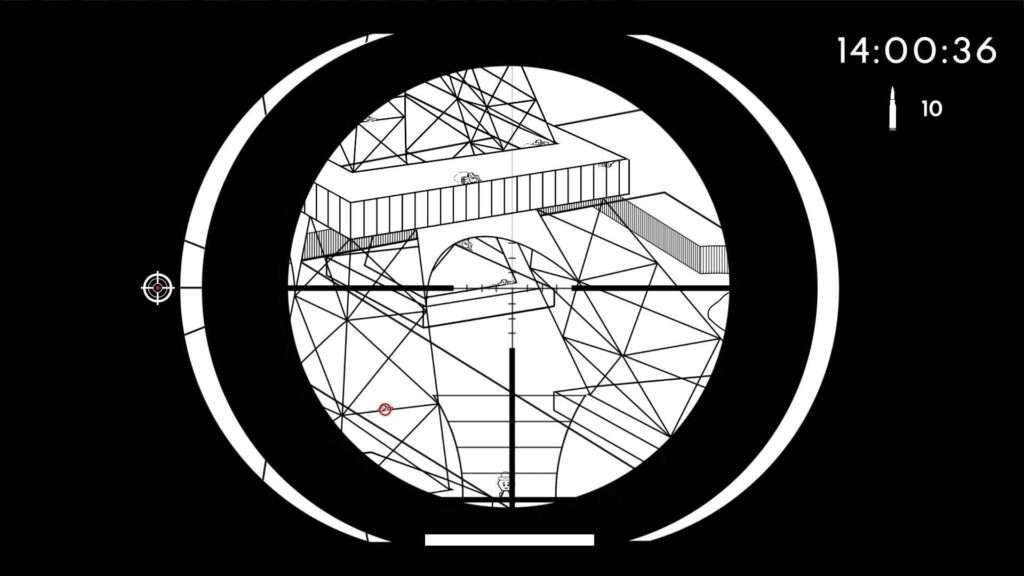
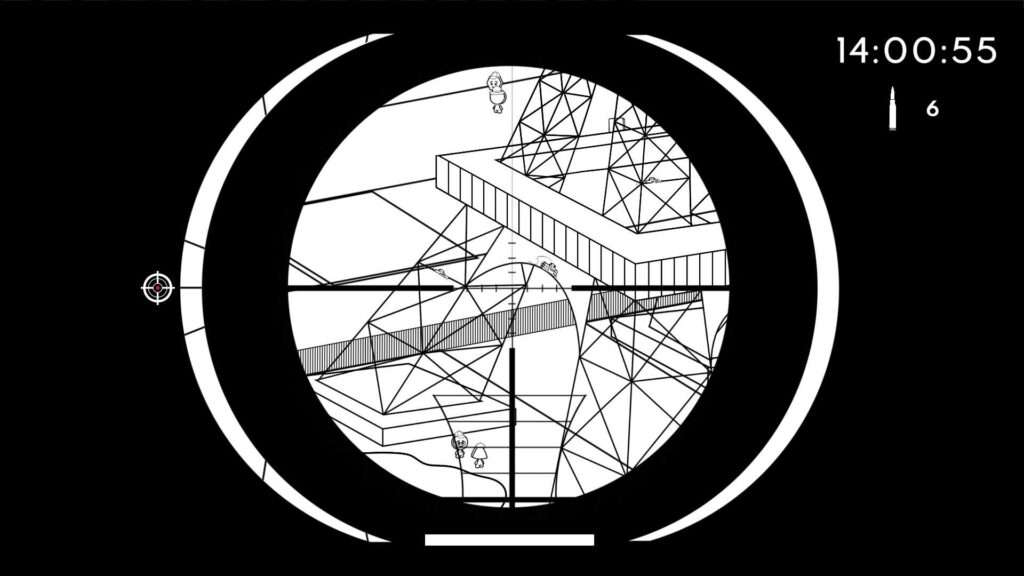
You have to find the bad guys (2 in total) without knowing what they look like and shoot them first, but they’ll always have mean eyebrows and will be holding a detonator, which is obvious even with max zoom-out. They seem to spawn at random positions either out in the open or in building windows. Once they’re shot, then you shoot every bomb attached to the Eiffel Tower (12 in total); they are all extremely obvious as well.
Level is complete and achievement is earned after you shoot all bombs within time limit.
Mission 02
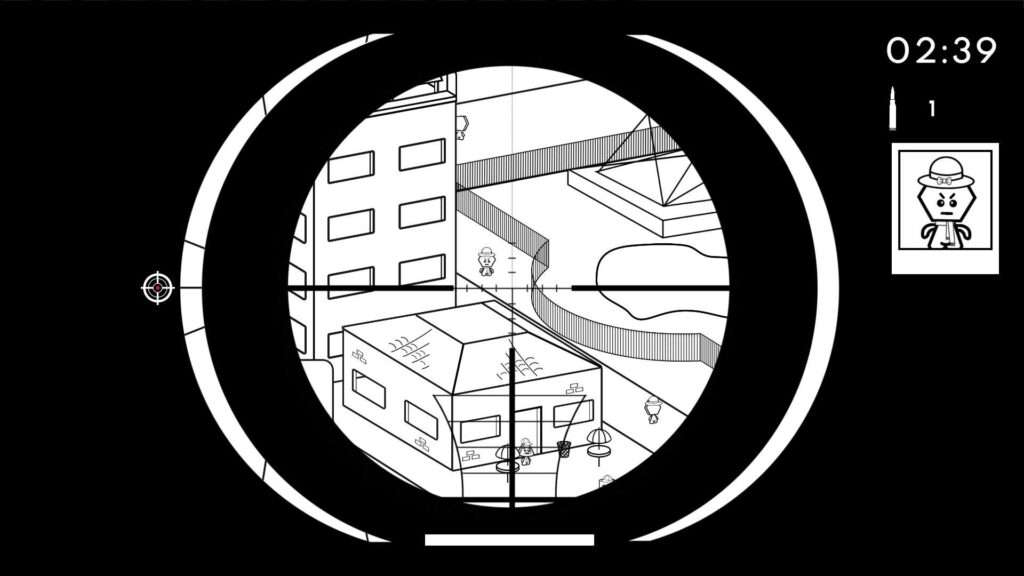
Second mission: very easy, small map
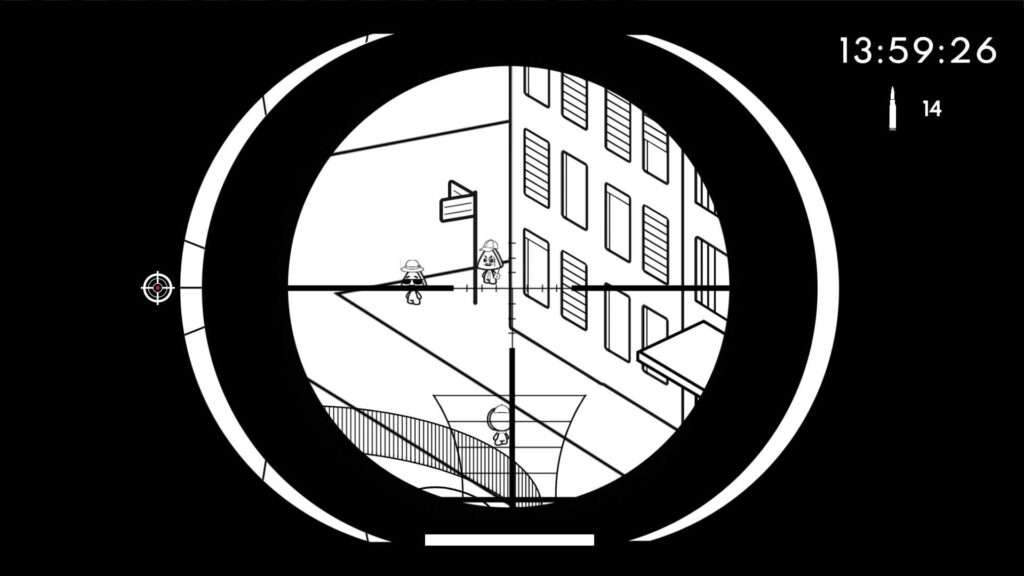
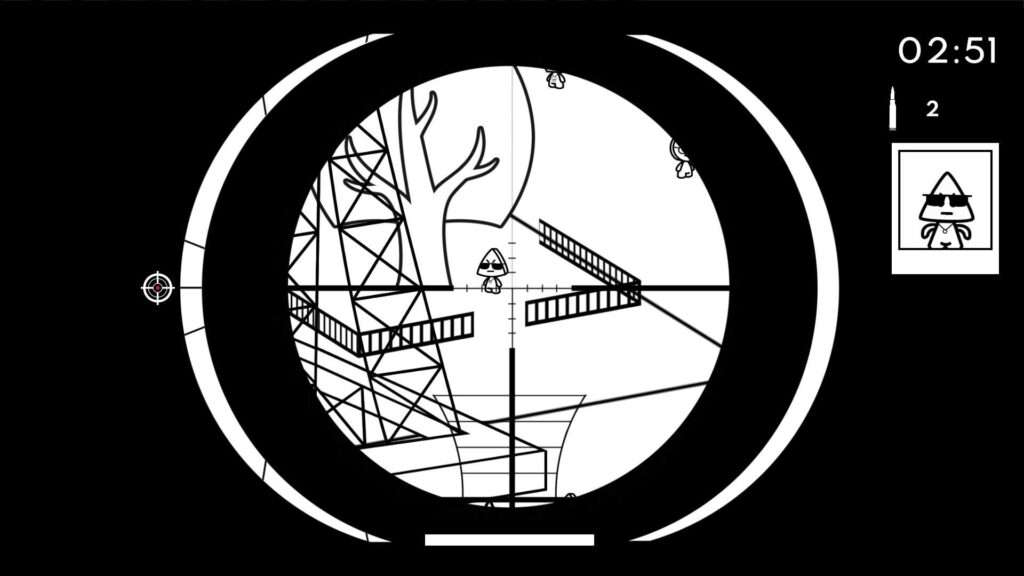
You don’t get the bad guy appearances until mission start, and you’ll get first one then the other after you’ve shot the first one. They’ll spawn (2 in total) at random out in the open, and sometimes near the base of the tower. They always have mean eyebrows, so they’re fairly easy to spot, even at max zoom-out.
Shoot them both to complete level and get achievement.
Mission 03
Third mission: a little harder, small map
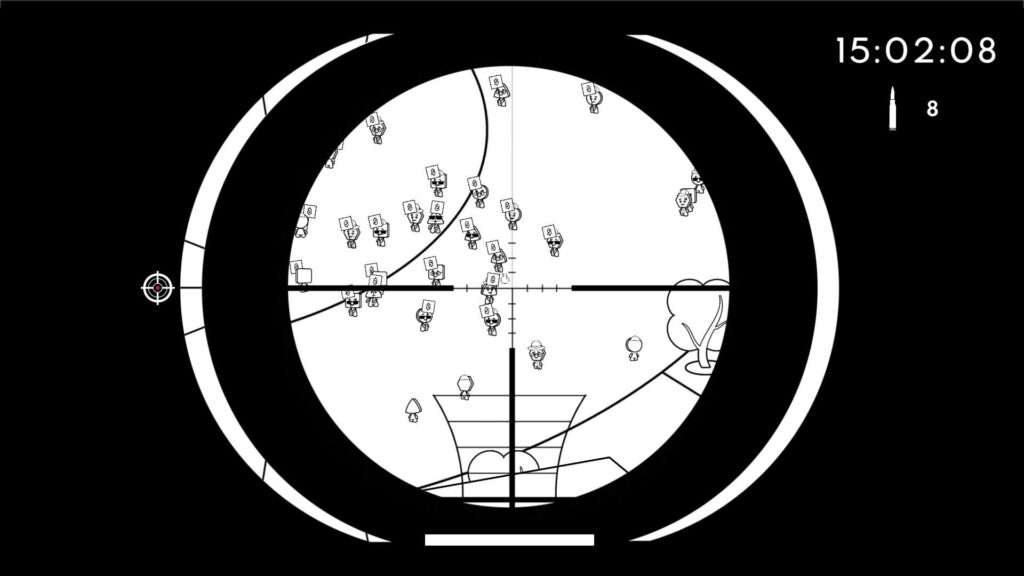
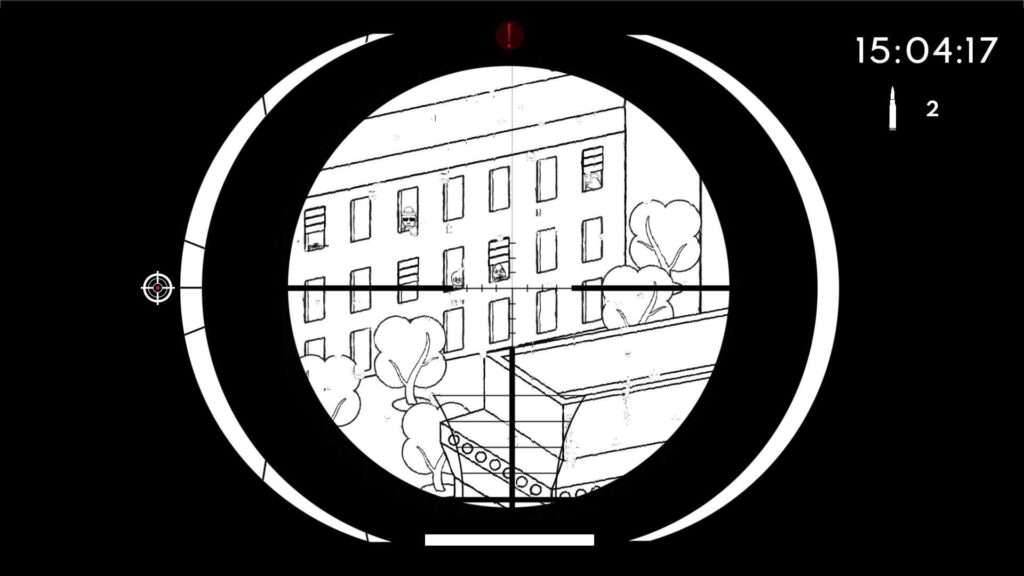
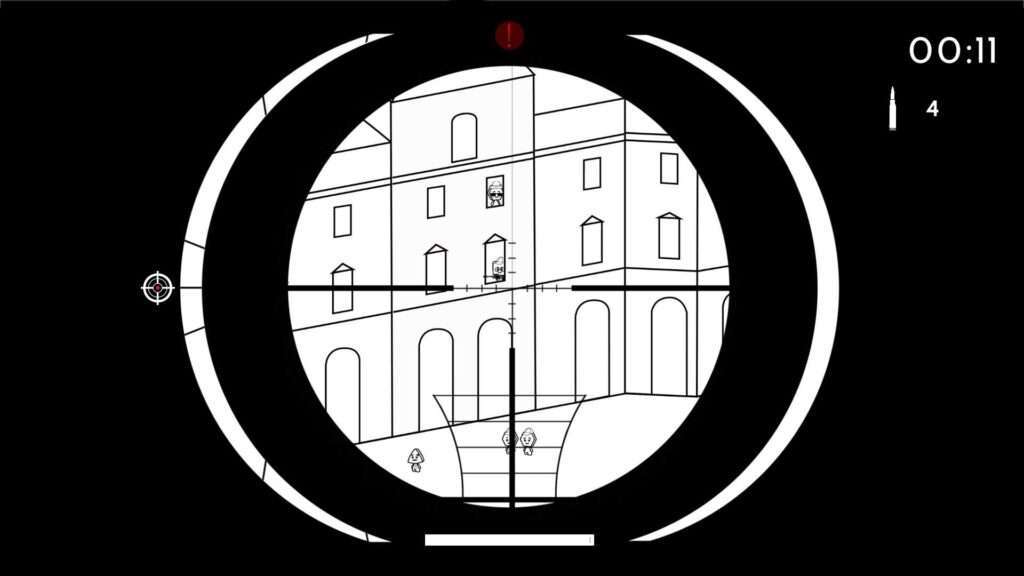
There are little sacks scattered about the map (4 in total), sometimes at the base of the Arc, sometimes on the ground amidst the crowd. The ones among the crowd are occasionally covered up by moving people, so you’ll have to scan more than once to catch all of them.
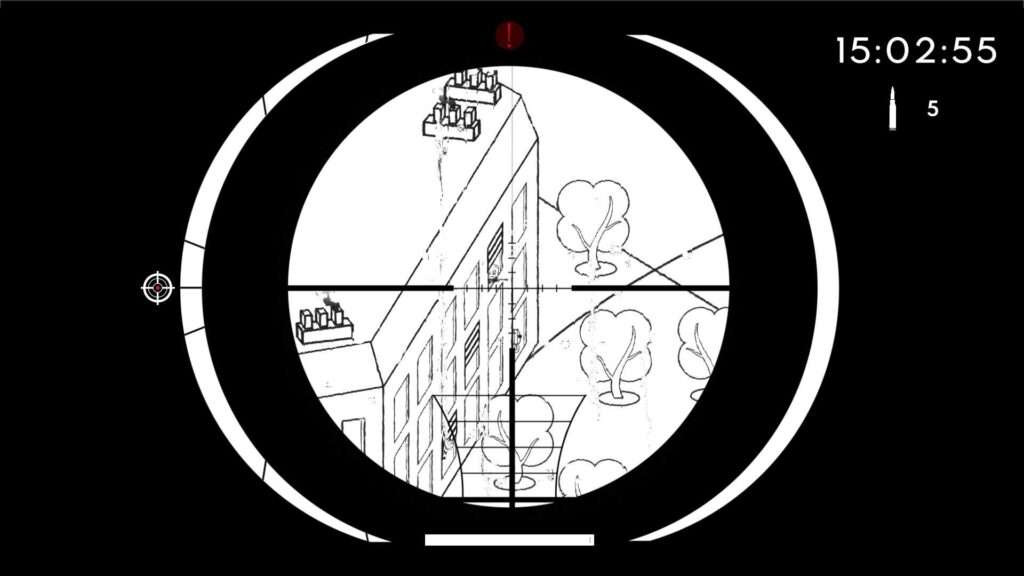
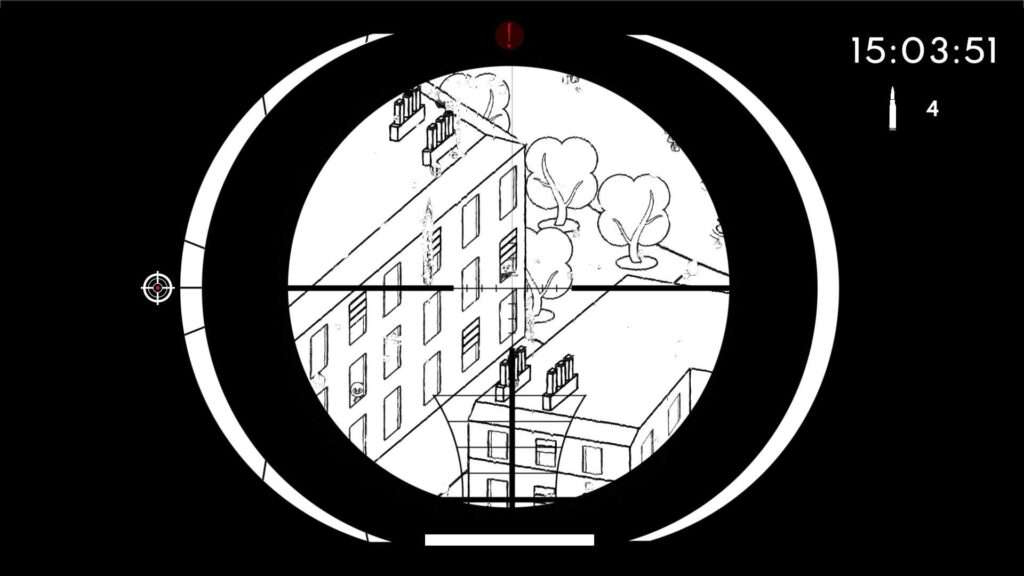
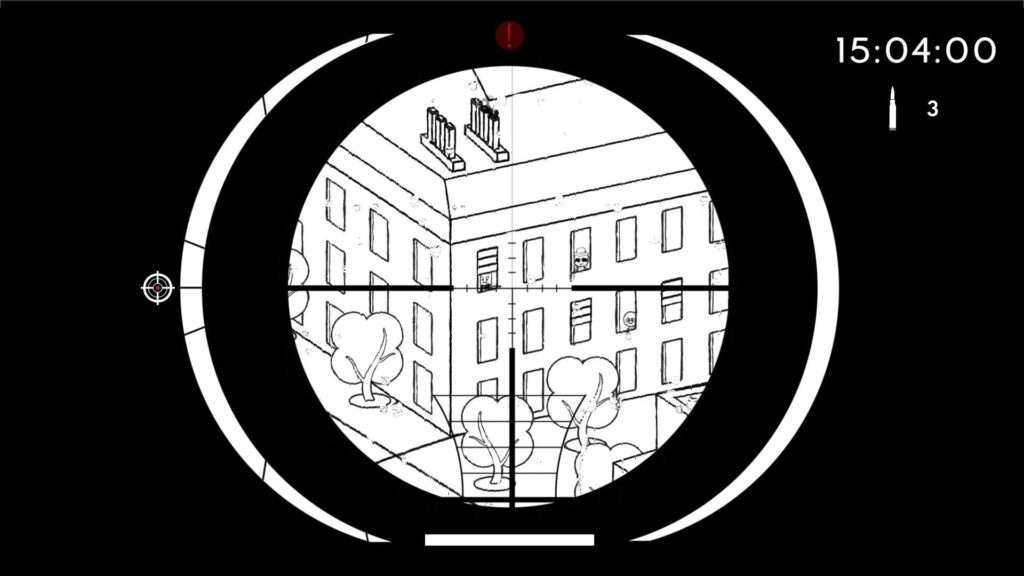
The catch to this one is that you have snipers coming after you. After you shoot the first sack, that’s when the snipers will start shooting at you, and they won’t stop until you’ve shot all of them (4 in total). They don’t spawn all at once, but rather one at a time, so you’ll have to search for and kill them one by one, but they’re not hard to spot. They always appear in building windows, and their rifles are very obvious.
My advise is to find all the sacks, then shoot the first sack to initiate the sniper attacks, then shoot all 4 snipers to get rid of them, then finish off the last 3 sacks without the pressure of having to hide constantly. You have to kill all snipers as well as mark the sacks to finish; only marking the sacks won’t finish the level.
Do this and you’ll complete the level as well as get the achievement.
Mission 04
Fourth mission: very easy, small map
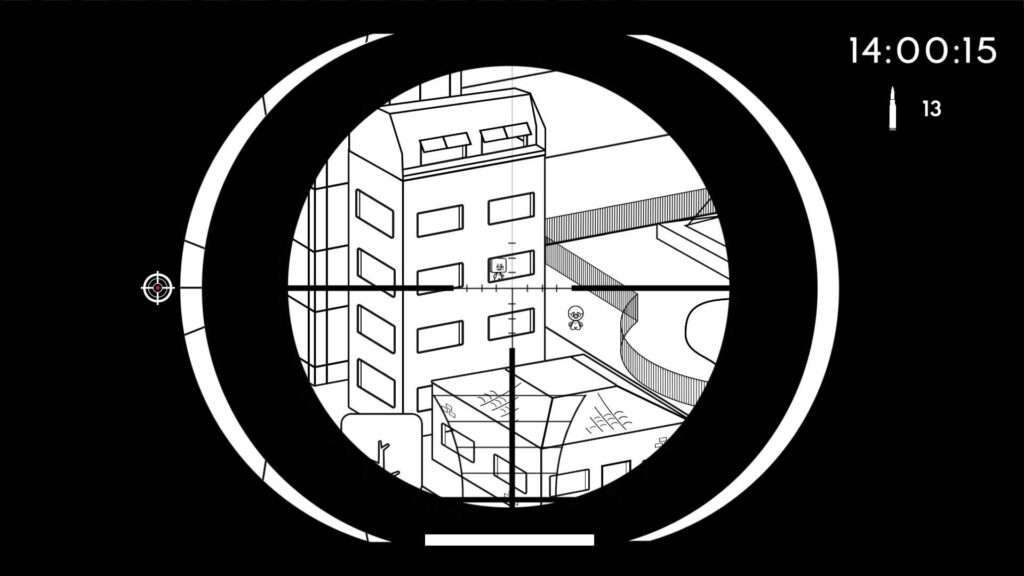
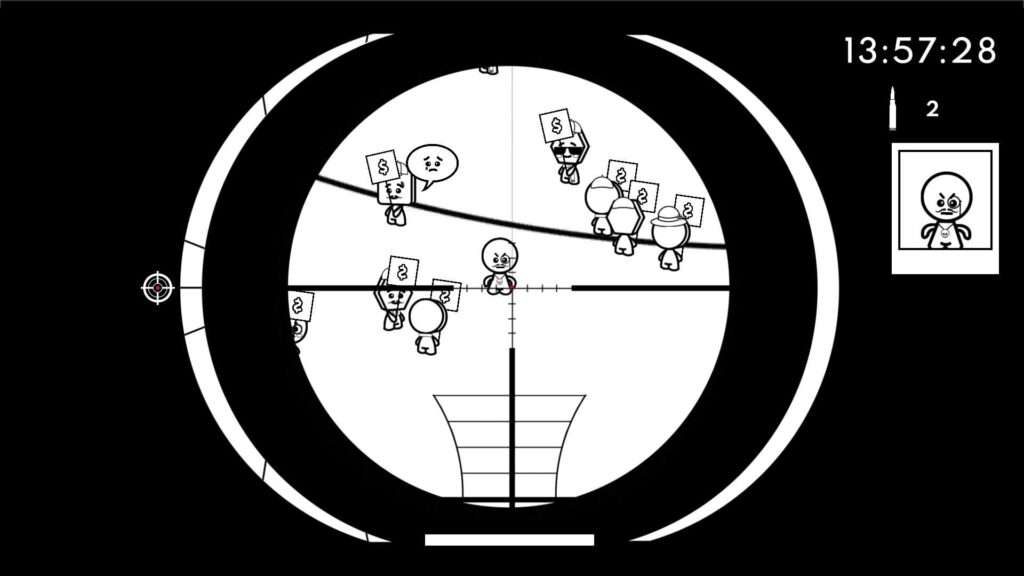
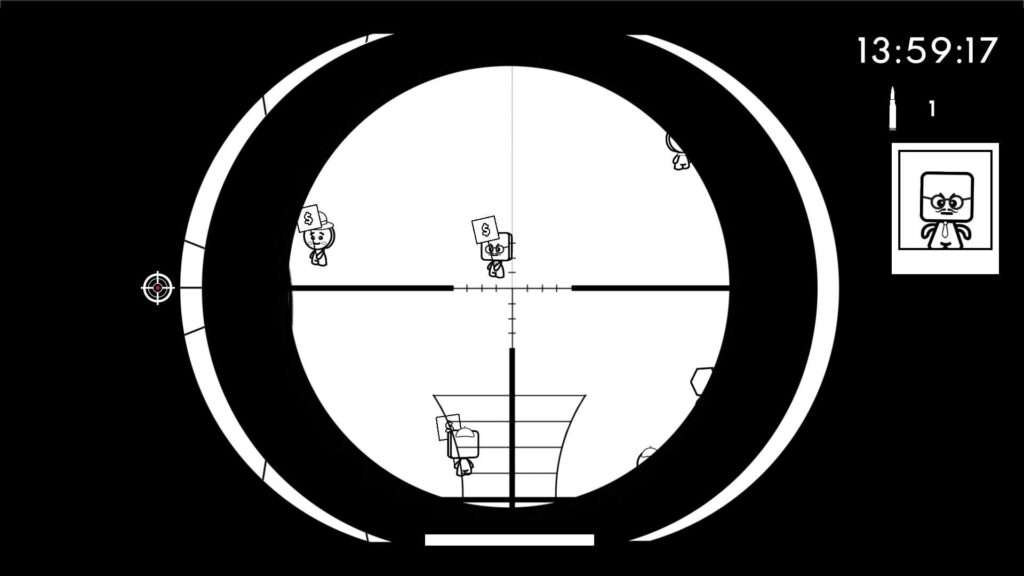
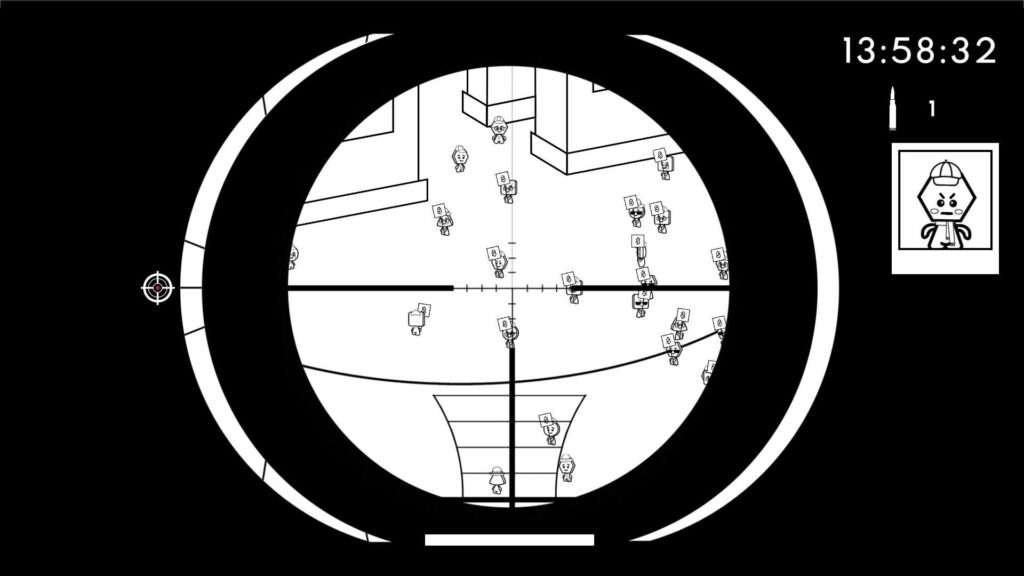
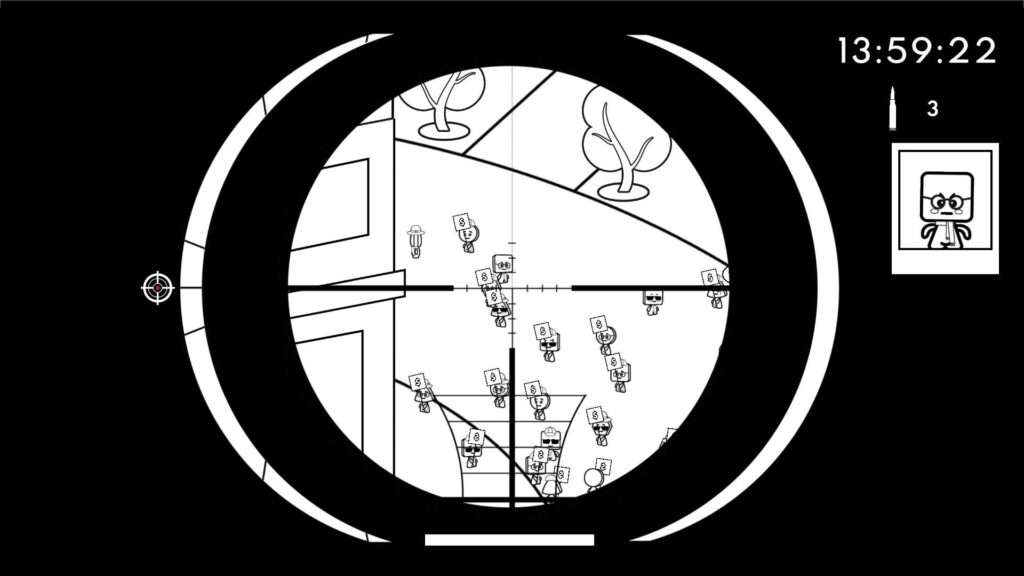
The bad guys (3 in total) will be revealed one by one as you shoot them. They’ll be among the crowd, either protesting or standing still and glaring. Plenty of time, so just look for them and kill them as you spot them. Be careful to make sure they have mean eyebrows; I found an innocent who looked exactly like one of my targets but didn’t have mean eyebrows, and failed the mission by killing him.
After you kill all three targets, you’ll finish the level and earn the achievement.


Mission 05
Fifth mission: a little harder, medium map
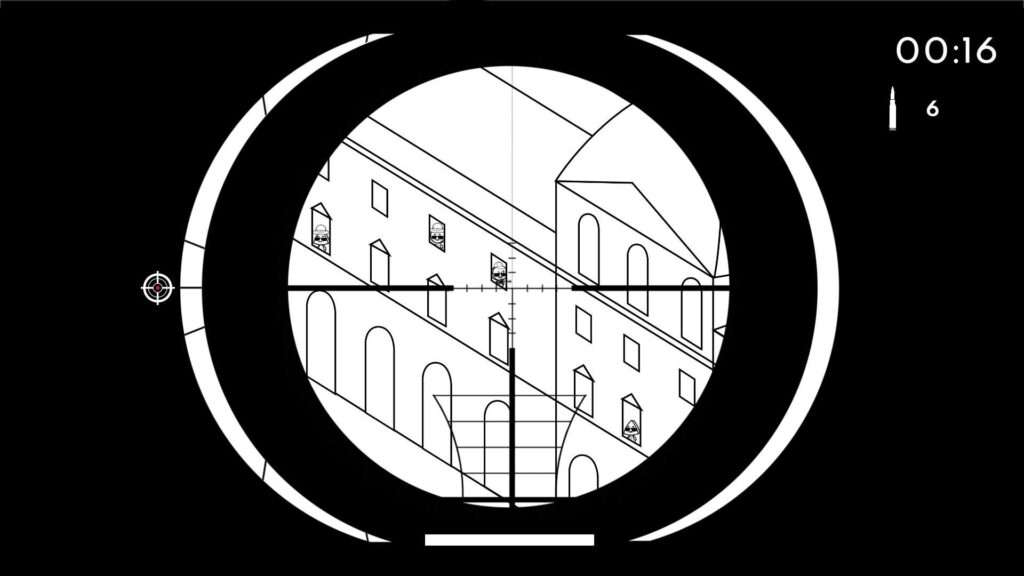
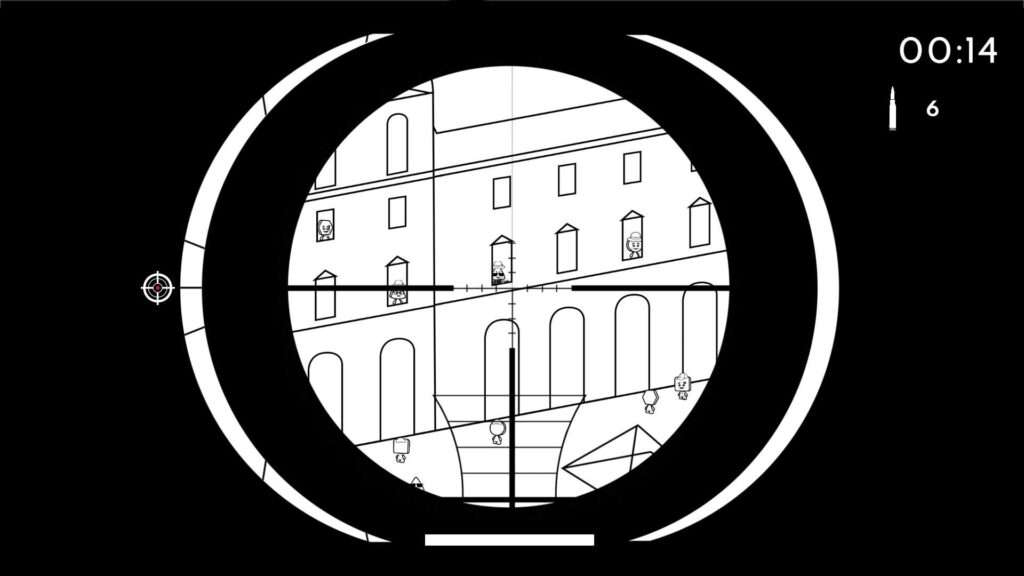
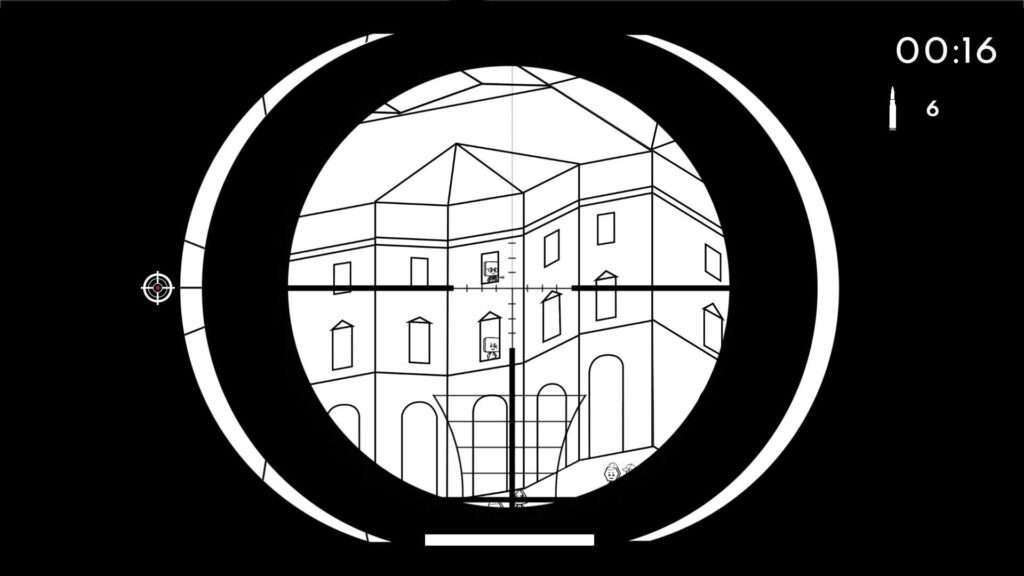
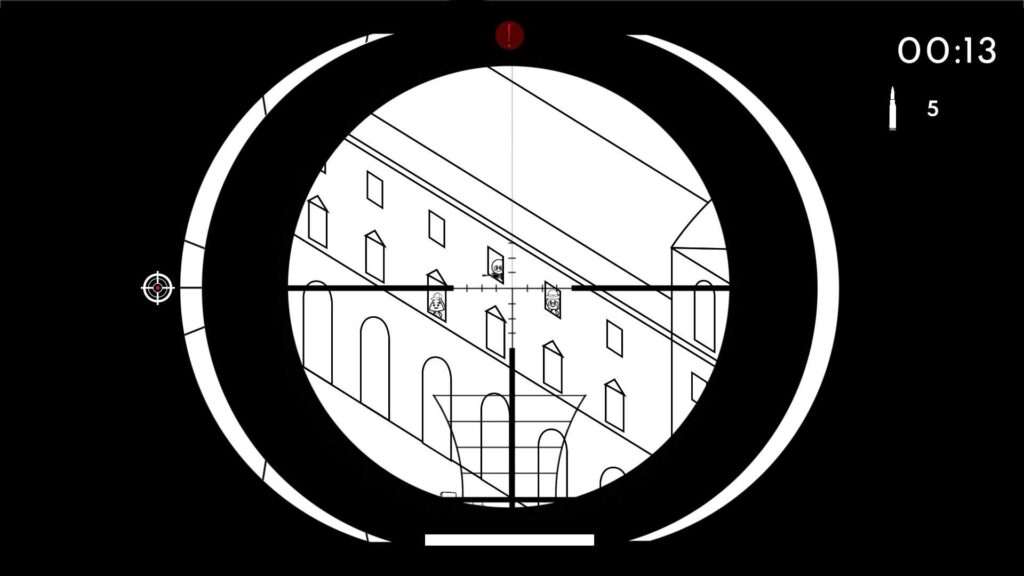
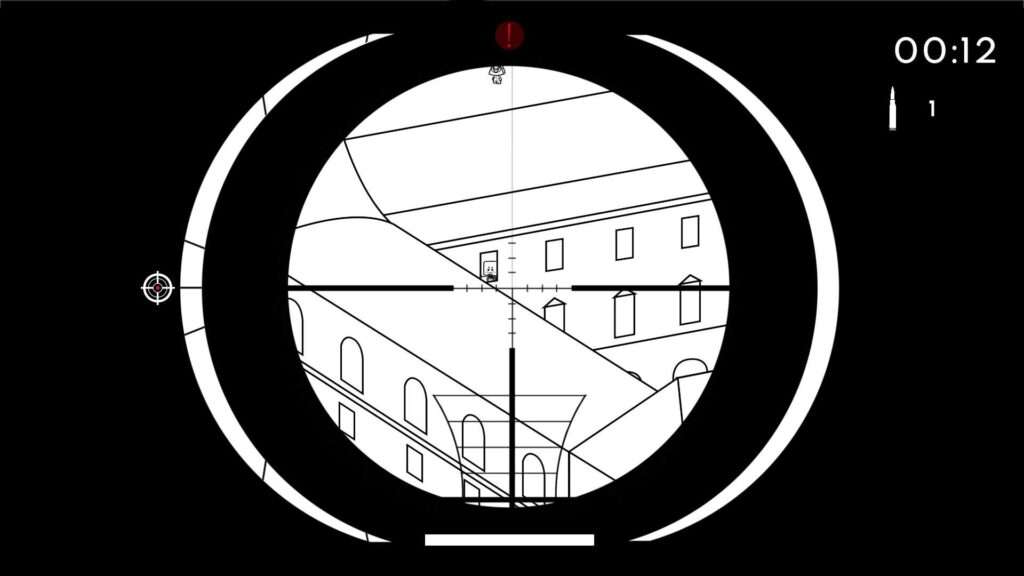
The time limit challenge makes things more difficult in this mission, because you start with 25 seconds, and have to tack on 10 seconds with each kill. The snipers (6 in total) start shooting at you after you shoot the first target, then there’s a short pause following each kill before the warning beeps start up again. Each sniper spawns in the windows of the upper building for the most part, but occasionally they will spawn in the lower building, making it a little hard to find them. Other than that, they’re very obvious with their rifles hanging out of the windows.
Just keep finding and shooting them as fast as you can, and you’ll finish the level and get the achievement.
Mission 06
Sixth mission: fairly easy, small map
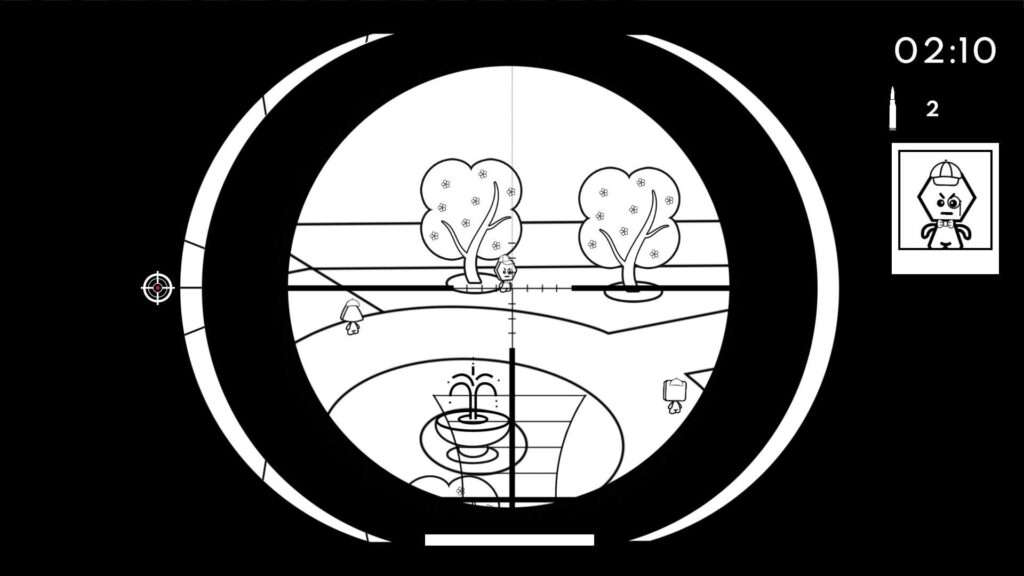
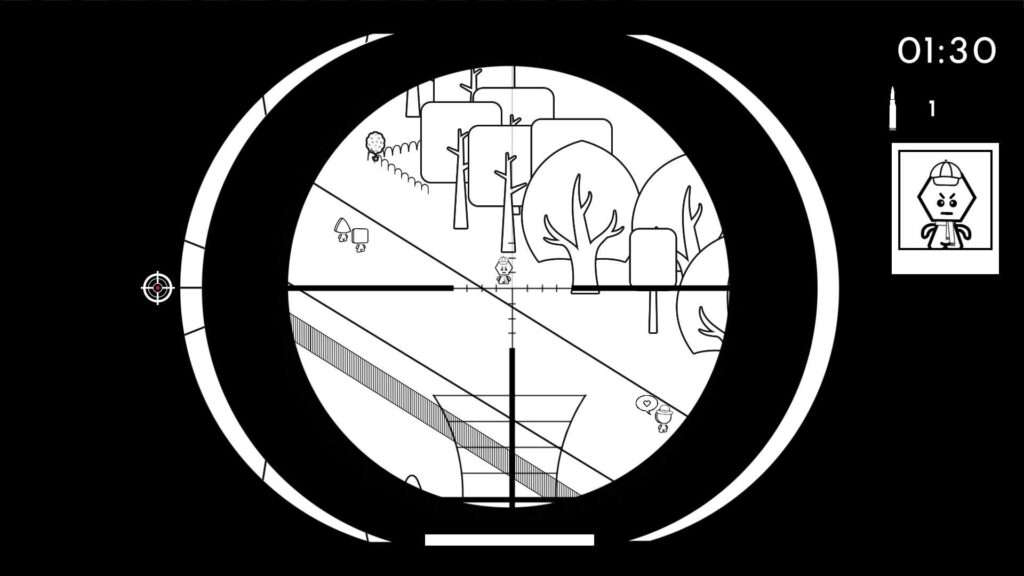
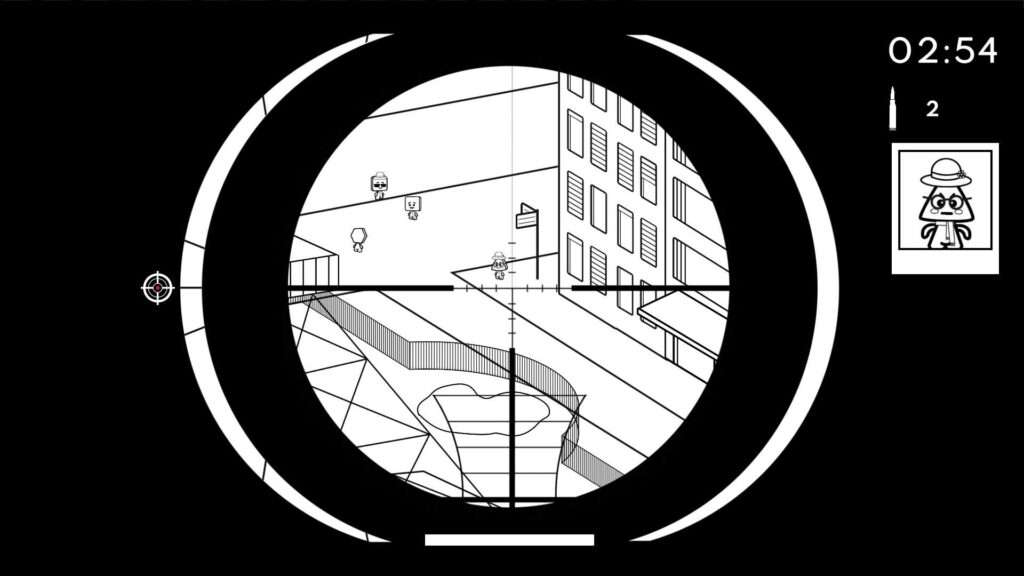
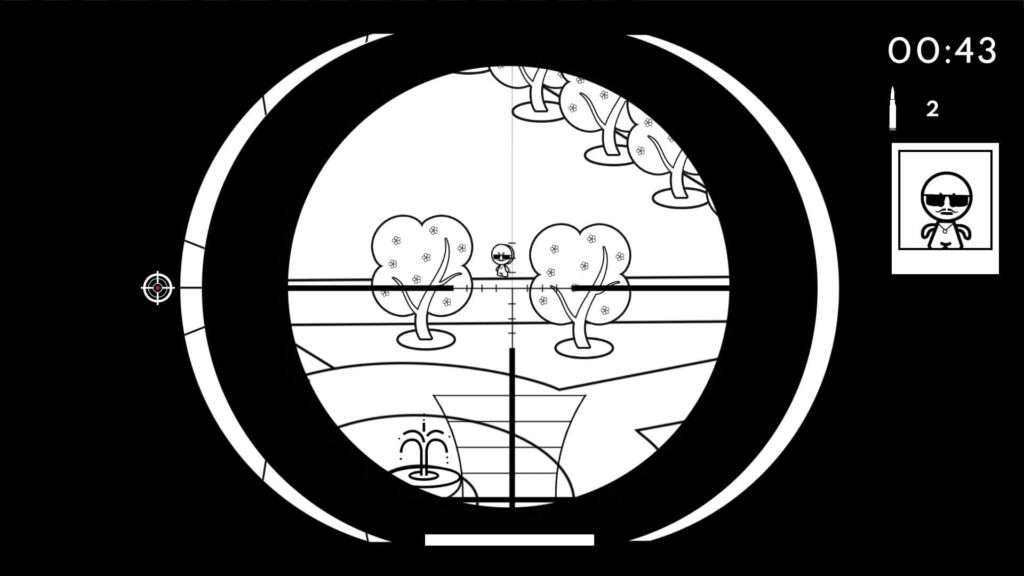
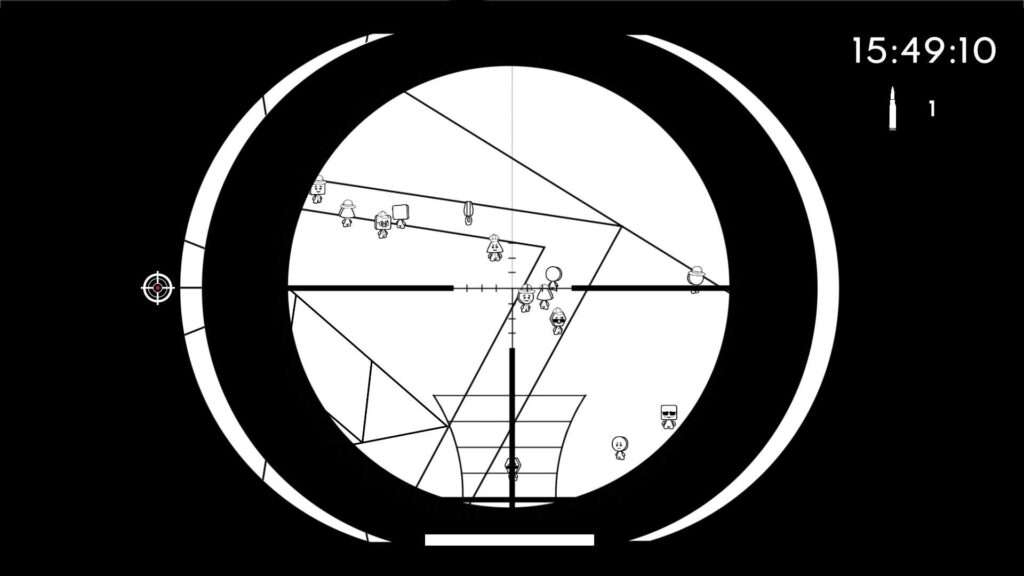
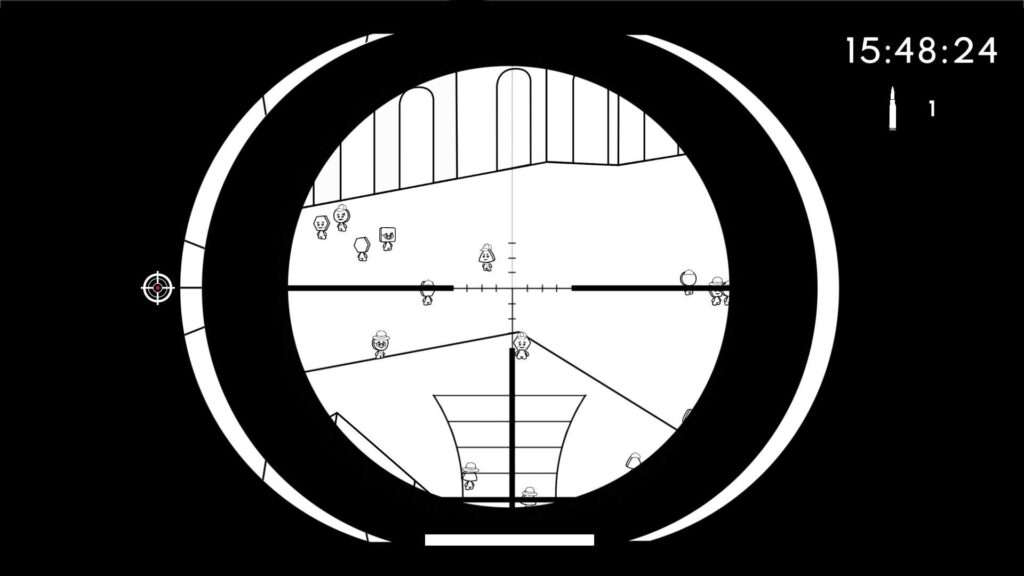
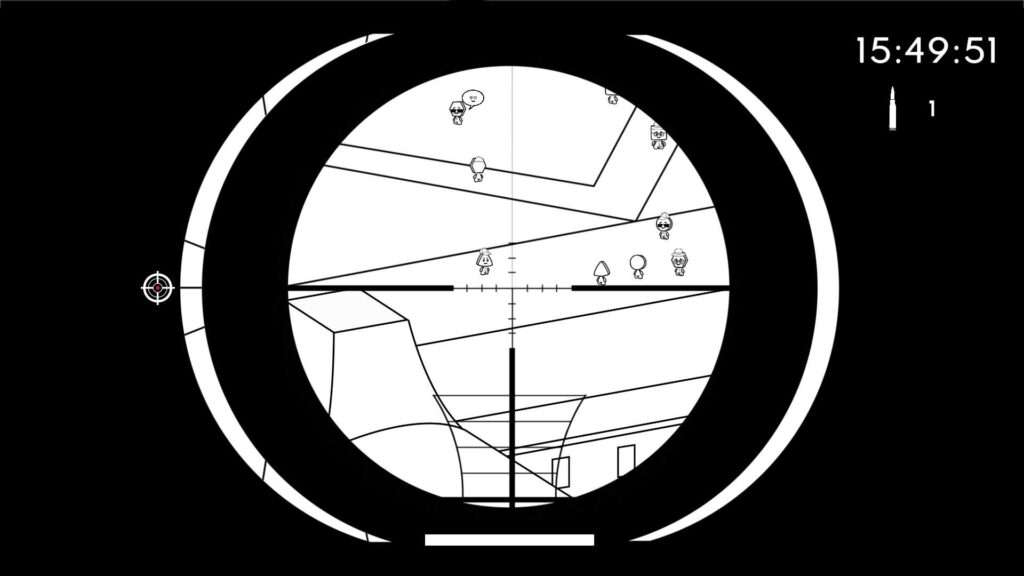
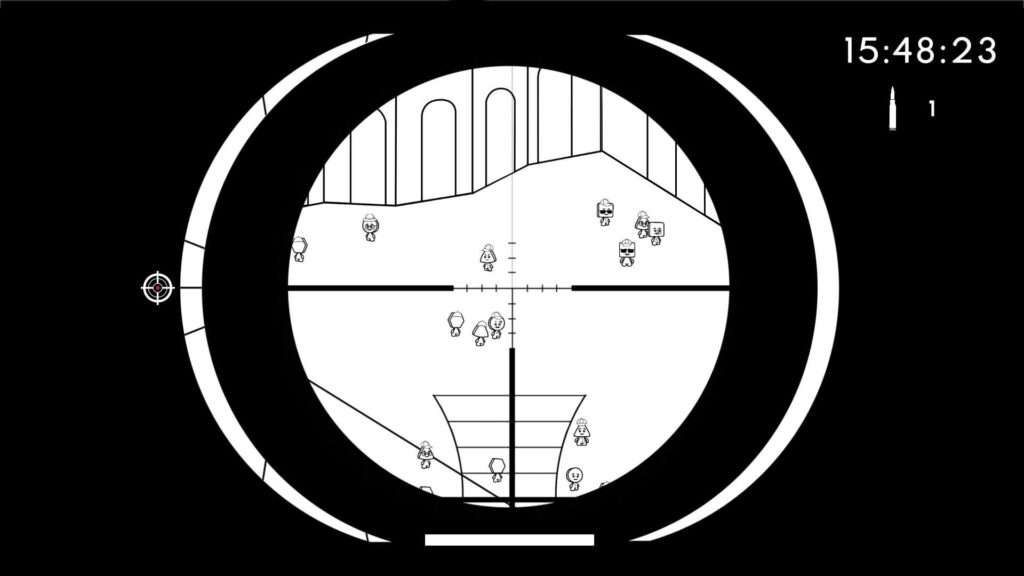
The target will always look the same (not randomly generated every time) and will have the picture on the mission briefing, so make sure to memorize it this time. He’ll spawn randomly on the map- sometimes in the upper right, sometimes in the lower left. He’ll always be walking with the crowd though.
Kill him and you’ll get level completion as well as the achievement.
Mission 07
Seventh mission: somewhat hard, medium map
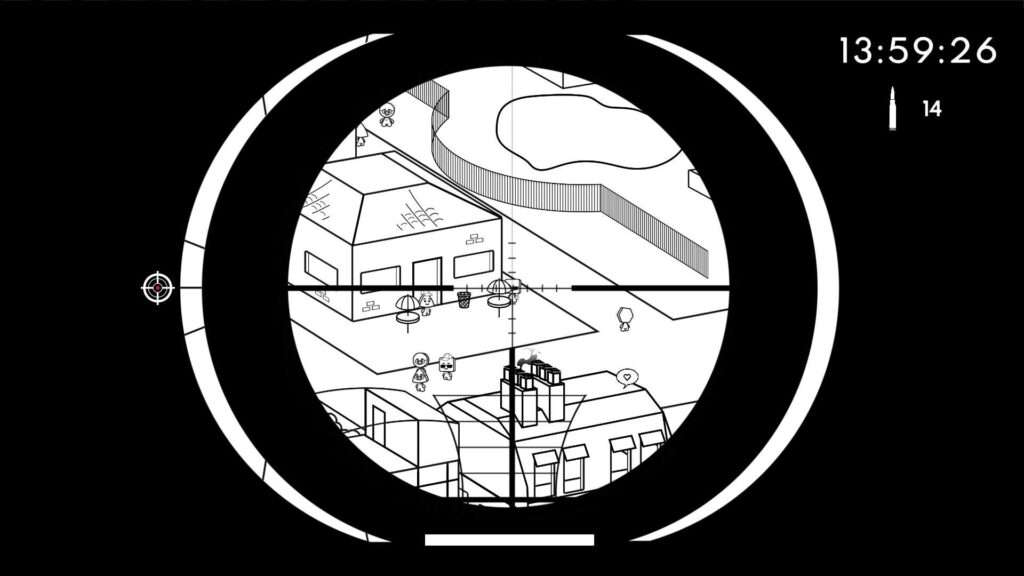
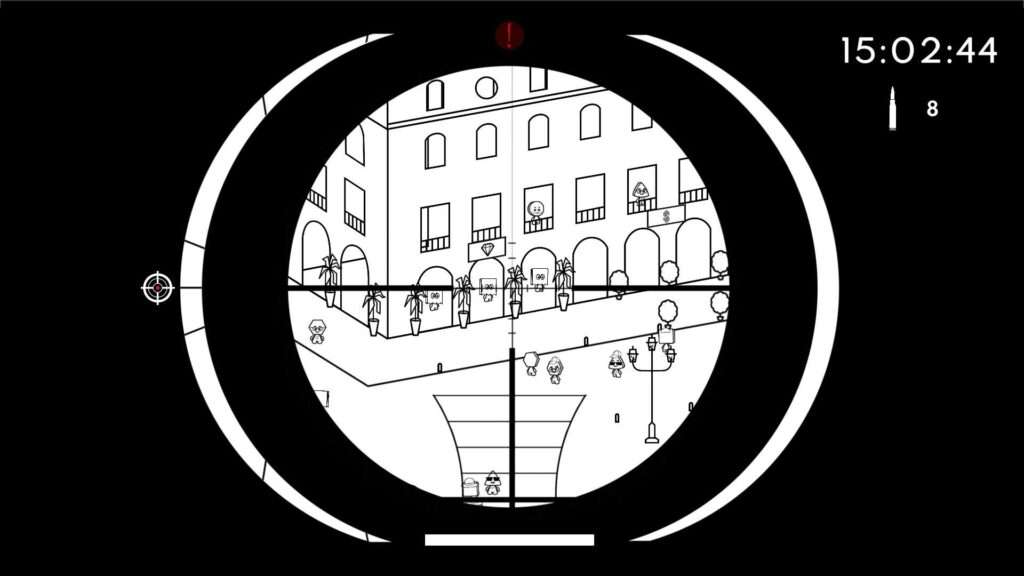
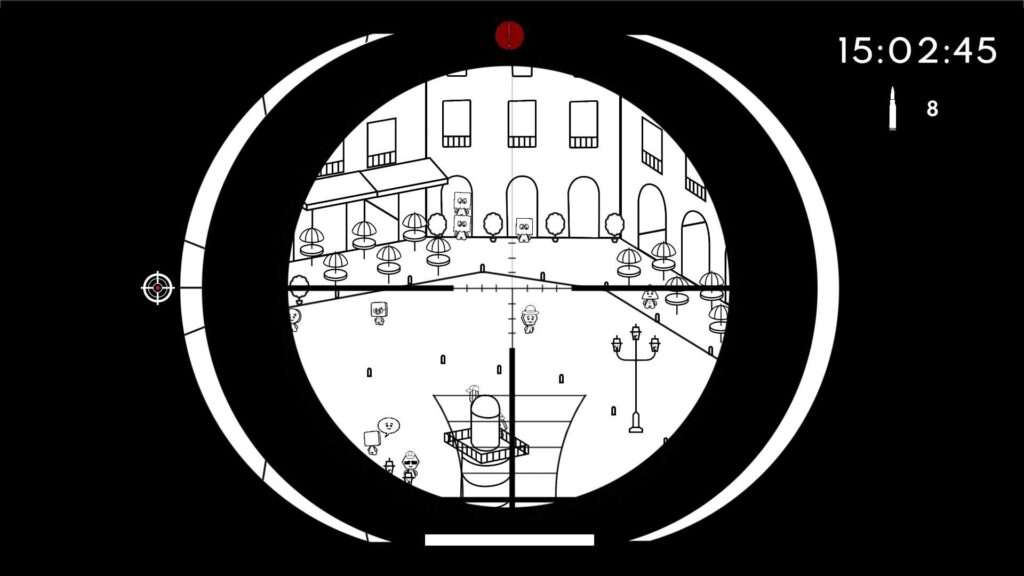
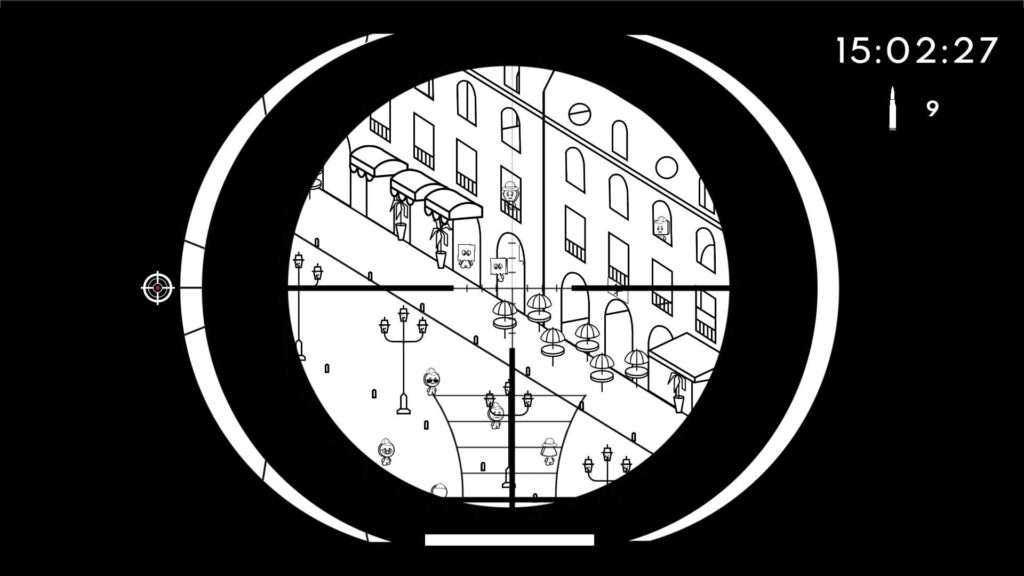
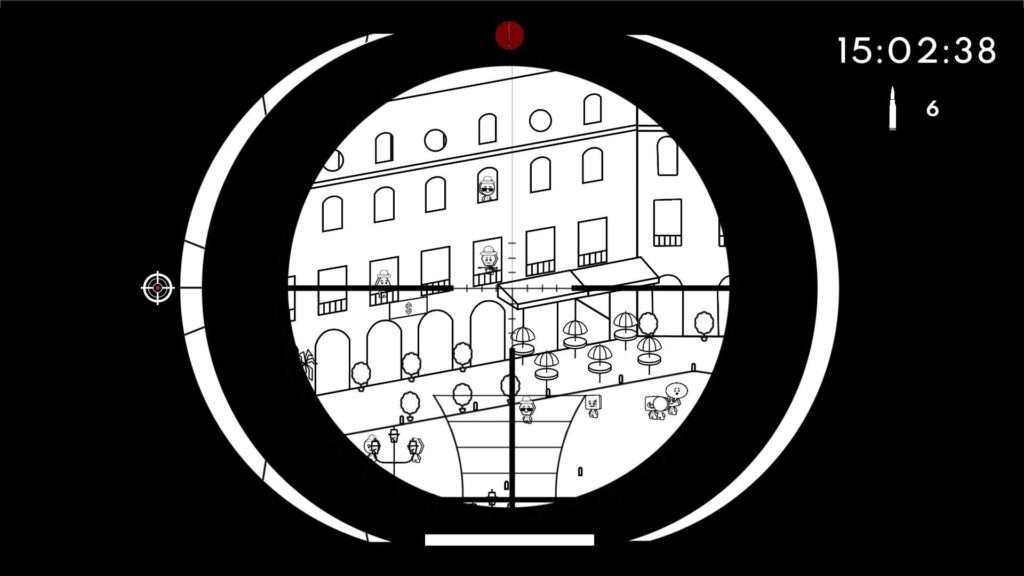
You’ll be shooting a total of 9 targets – 6 baghead gangsters and 3 snipers.
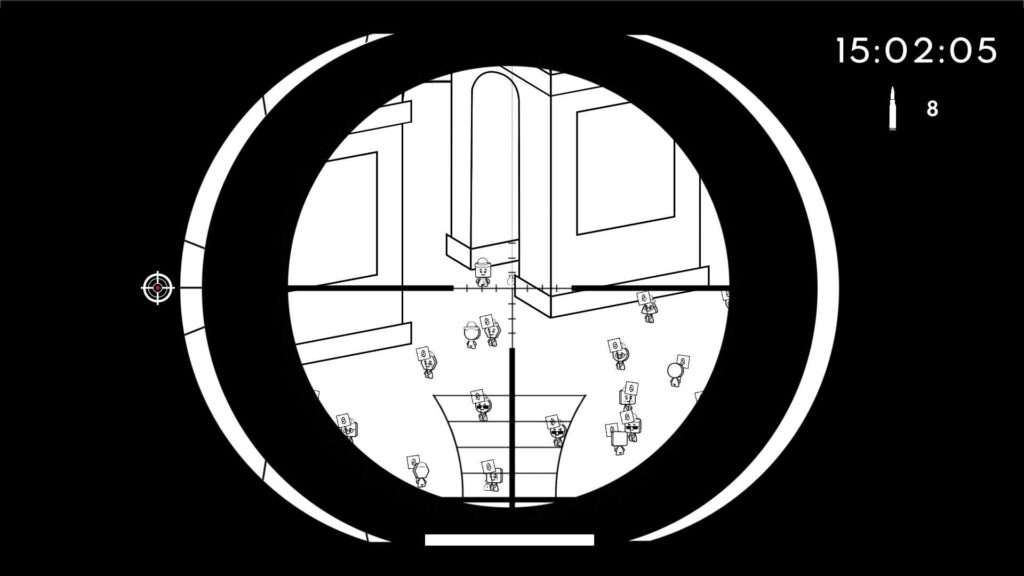
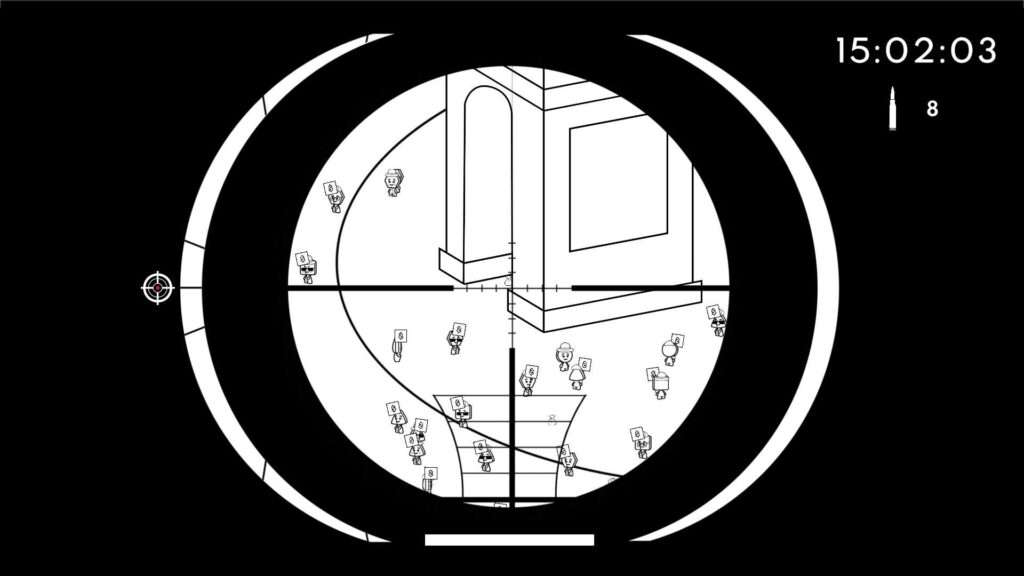
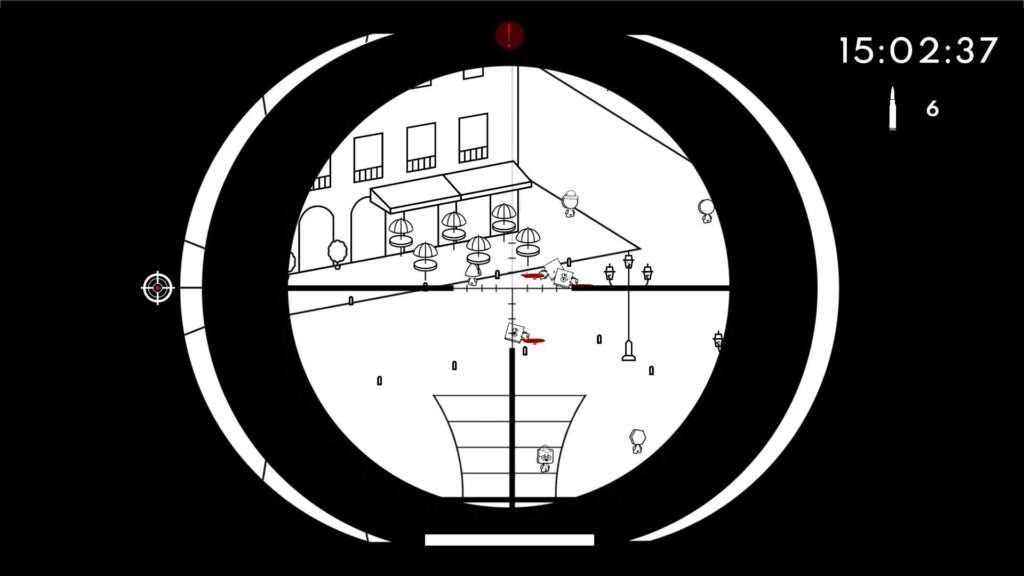
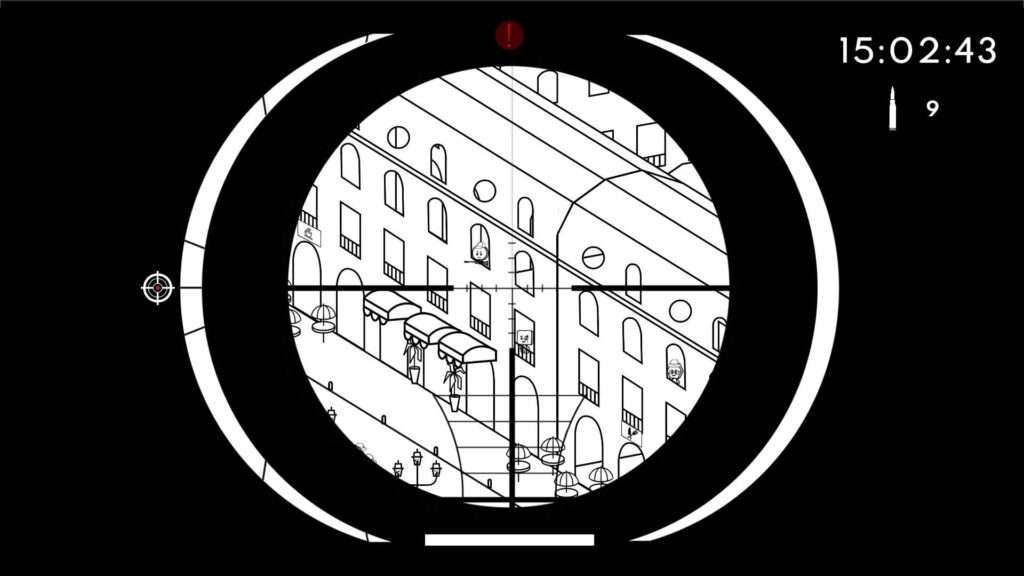
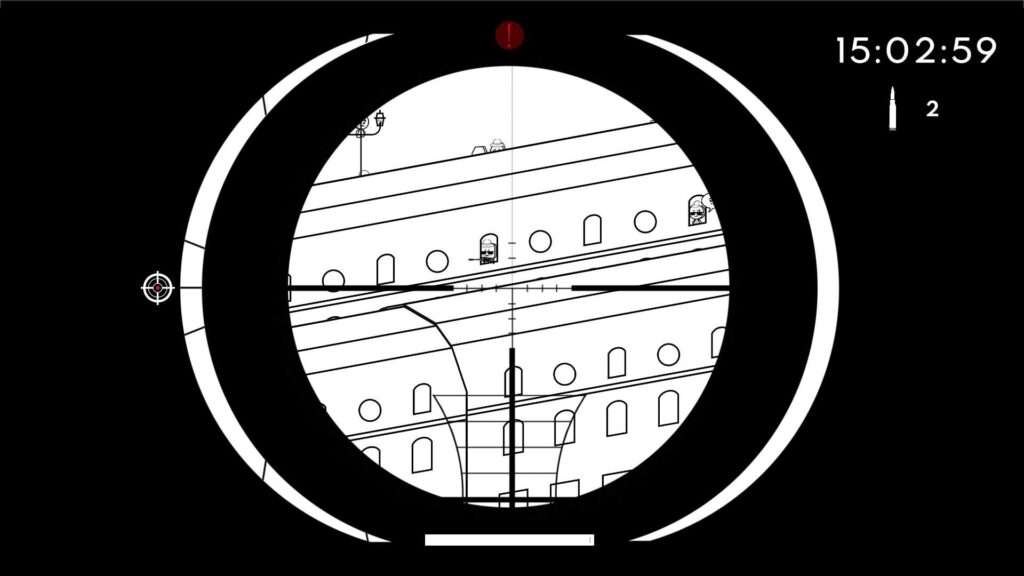
An alarm will sound at 15:02:25 exactly, heralding the start of the robbery. The first 3 baghead gangsters will start piling out of one of the following buildings:
- The cafe with umbrella tables to the far left of the upper center corner building.
- The jewelry shop to the left of the upper center corner building.
- The upper center corner building.
- The cafe to the right of the upper center corner building.
- The cafe to the far right of the upper center corner building.
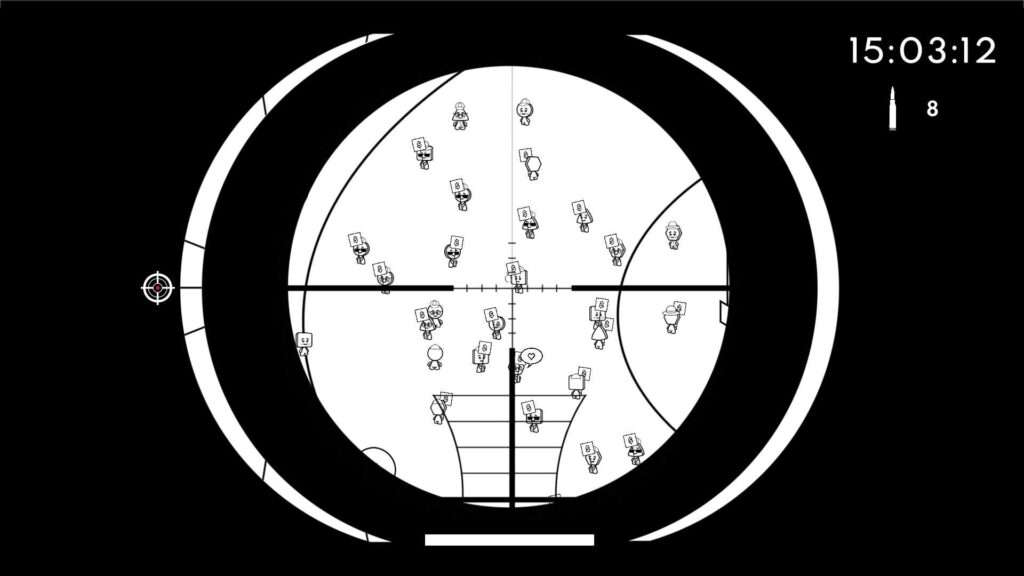
The alarm will only sound for 5 seconds though, then stop. You’ll have 5 seconds after the alarm ends before the first sniper spawns and starts shooting at you. When that happens, the second alarm will sound and the last 3 baghead gangsters will randomly come out of one of the listed buildings (not always the same one as the first three).
I recommend shooting the first 3 gangsters right out the doors, then the first sniper if you can find them, then the last 3 gangsters also all at once in order to avoid them getting lost in the crowd. After the fleeing gangsters are eliminated, then you can focus on offing any other snipers in random windows.
Once they’re all dead, you’ll have finished the level and will get your achievement.

Mission 08
Eighth mission: somewhat hard, medium map
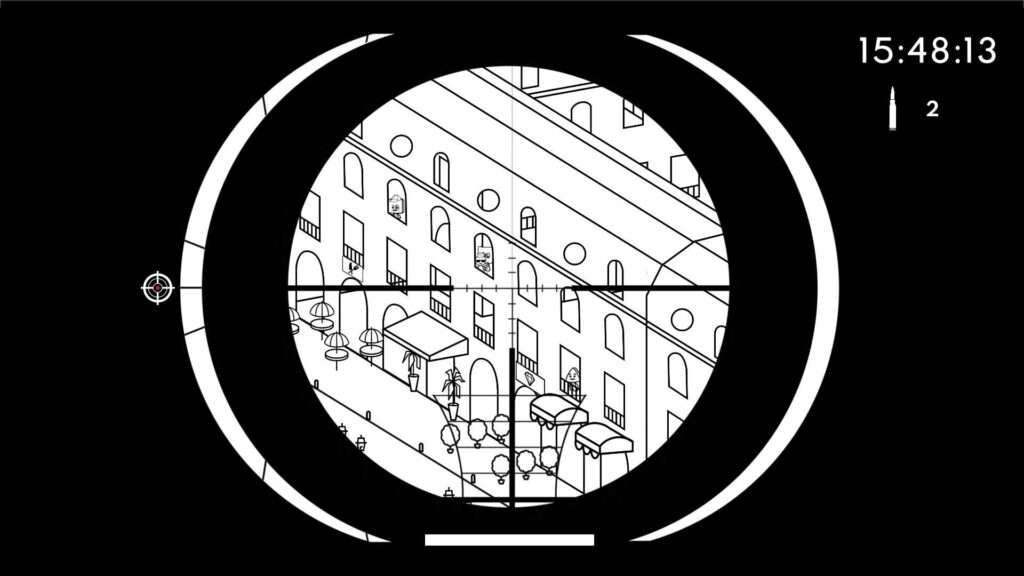
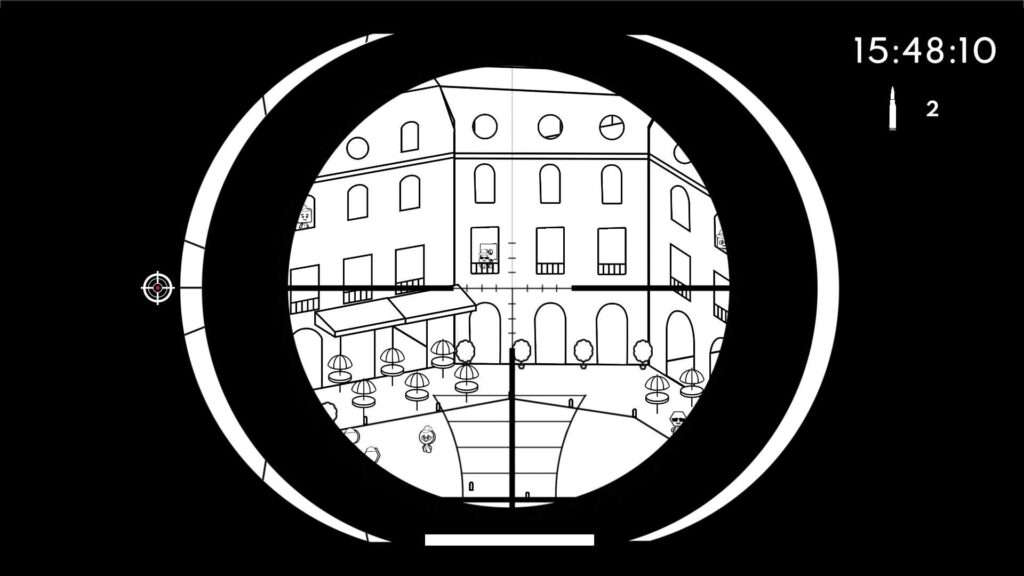
The time limit is unforgiving in this level- you have to be very fast and have a sharp eye, otherwise you’ll fail due to running out of time pretty quick. The baghead gangsters (2 in total) have a fairly wide range of spawn points, but they’re very easy to spot with their hostages. Be patient in aiming since they’re using their hostages as partial cover.
Kill them both and you’ll complete the level plus get the achievement.
Mission 09
Ninth mission: very easy, small map
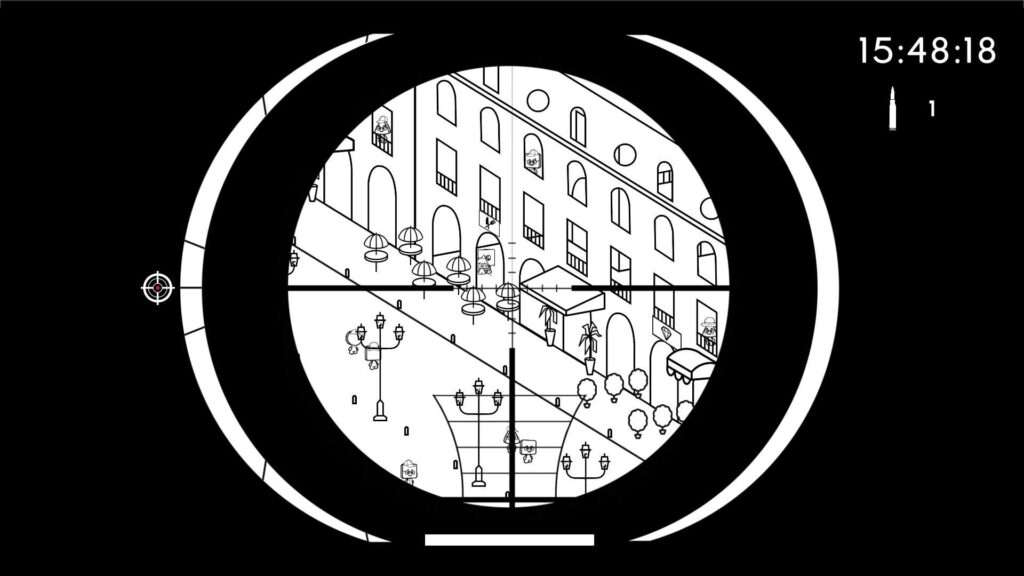
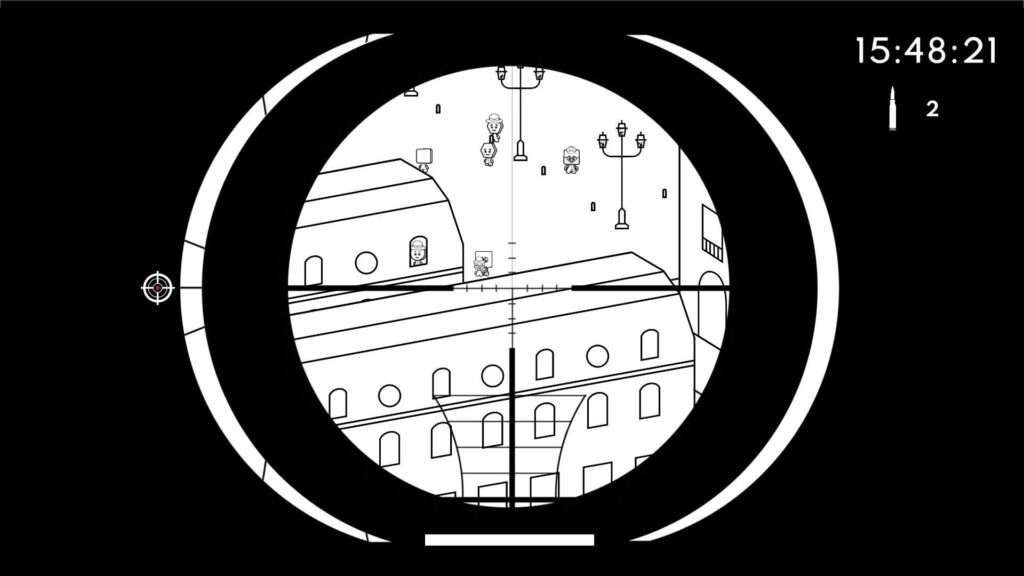
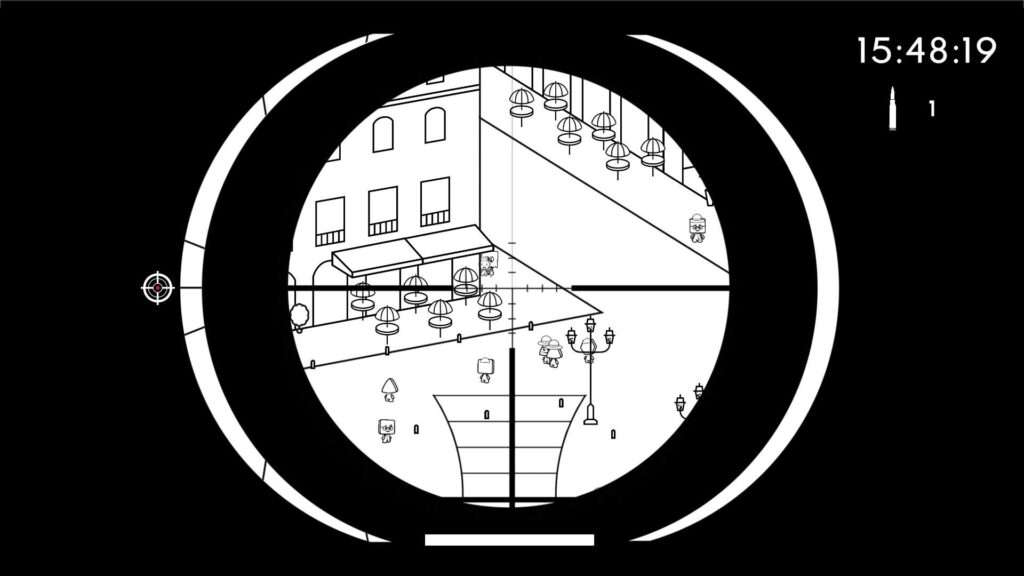
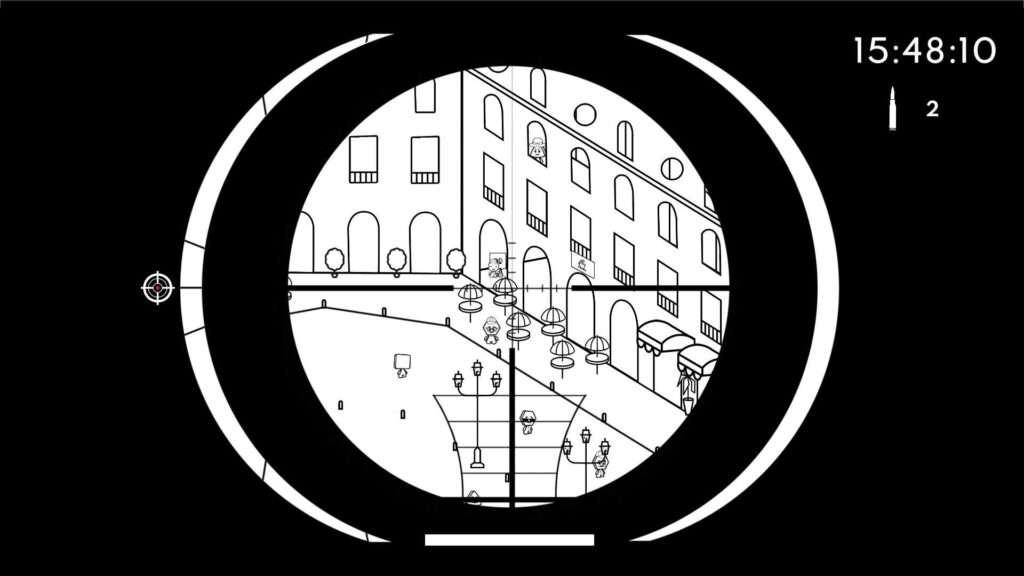
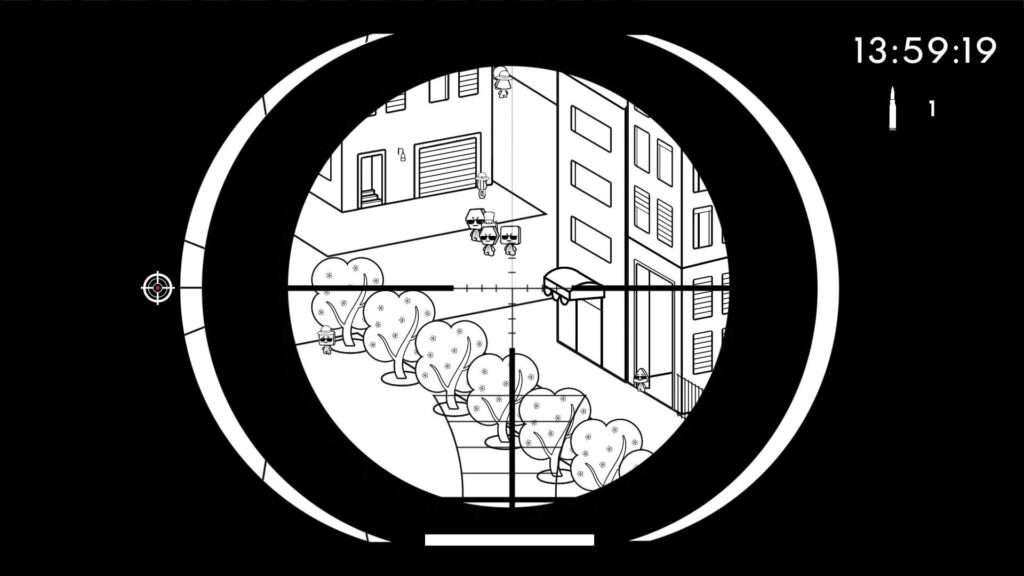
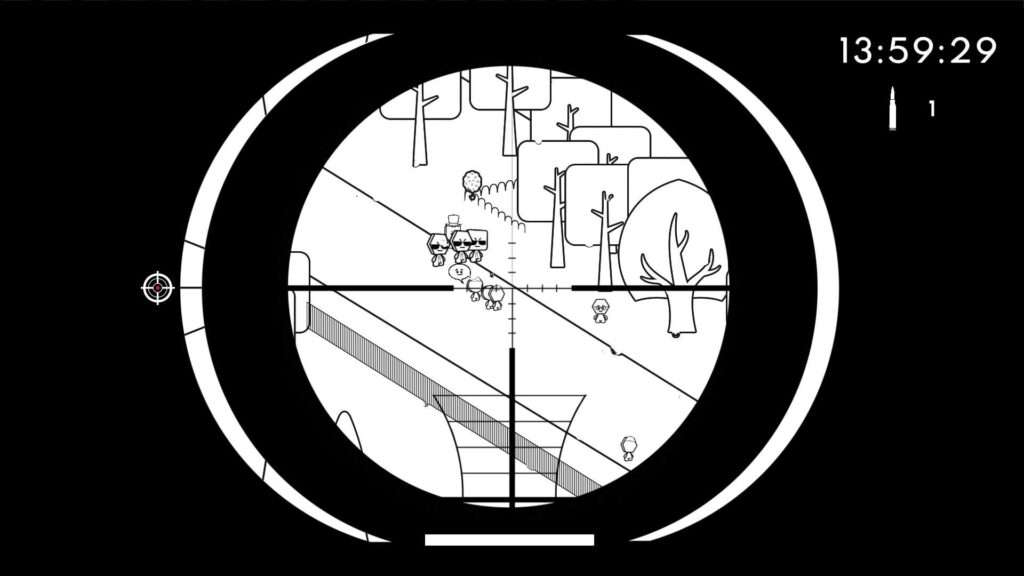
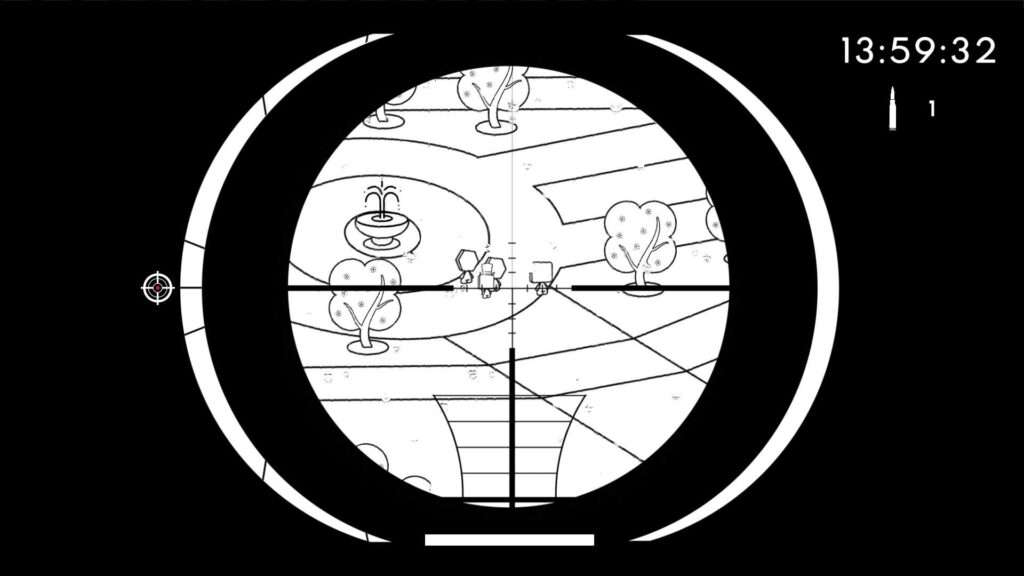
The mystery mobster surrounded by 3 large bodyguards will appear in one of the following three randomized entry points:
- Far right road
- Upper left road
- Lower center walkway past a fountain
They’re impossible to miss with the oversized models used for the bodyguards and their clumped little group moving along through the crowds. You have until they reach the cafe ; once they make it to the table, you’ll have run out of time and the mission will be failed.
Just shoot the guy wearing the top hat and you got the level and achievement.

Mission 10 & Mission Complete
Tenth mission: somewhat easy, medium map
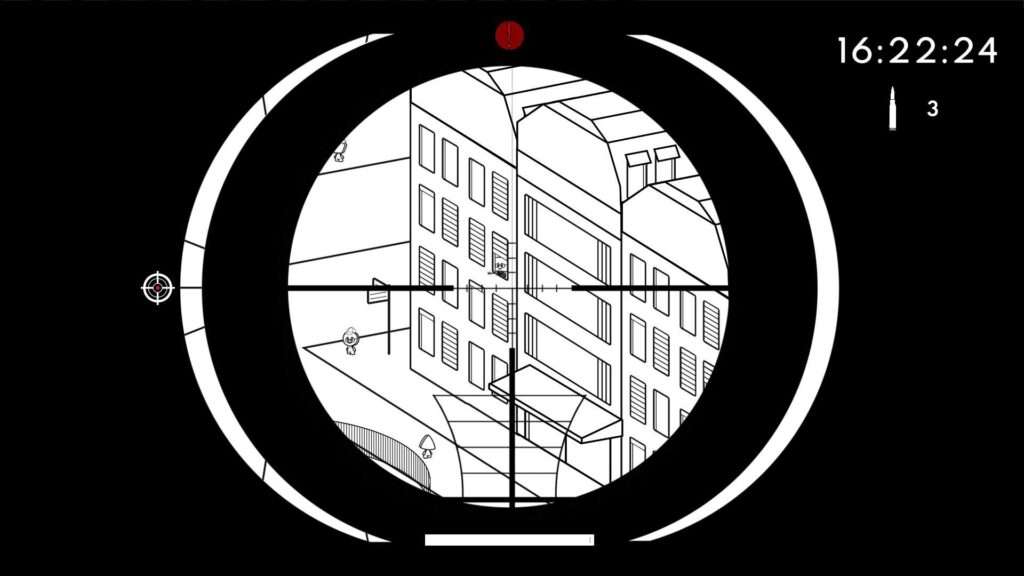
The mystery mobster and bodyguards will always start at the cafe where they ended during Mission 09. Look there and kill them all in one sweep. Once they’re dead, that’ll trigger the snipers. There will be 3 total one after the other; each one won’t spawn until the previous one is shot. They’ll always spawn in random windows, so just keep dodging shots while you look for them. Again, they’re easy to spot with their rifles hanging out.
After you’ve killed the last sniper, that’ll end the mission and award the last 2 Adventure achievements.



Be the first to comment