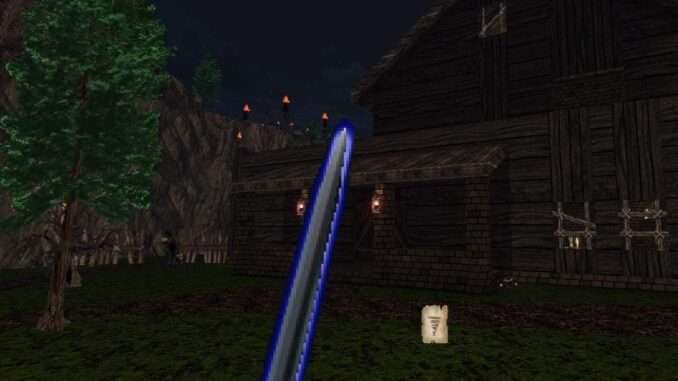
Screenshot assisted guide for locating all the secrets in the first episode.
Guide to Hidden Item Locations in Episode 1
Foreword
Each episode of Hands of Necromancy consists of seven maps. The first of these serves as the hub for the episode, wherein lies five portals to following five maps. Four of these maps are connected with each other progression wise, i.e. the six different keys are shared between them and the Necromancer needs to visit most of them more than once, carrying the needed keys from one another. He also gains access to four different transformations throughout the course of his adventure. These transformations come with their own combat and exploration abilities and are also required for progression within the episode.
Fully completing the requirements of the first four maps within an episode lets the Necromancer access the sixth map of the episode in question from the related hub. The sixth maps are self-contained. They mark points of no return and serve as an intermediary level between the hub and the final map of the episode. The final (or the seventh) map of each episode is also a self-contained affair, culminating in a boss battle with one of the Undead Kings. The only exception to this system is the final map of the third episode, which leaves aside the ordinary level build-up and places the Necromancer directly in an arena where he battles the last Undead King.
There are not any secret maps in the game. Even though starting from the second or the third episode grants the Necromancer the transformations he should have gained by that point, it is recommended to start from the first episode if it is your first playthrough.
This guide lists the secrets in order of the map numbers. Still, considering the hub based progression, the actual order of tackling the levels may highly differ. If a transformation is required to reach a certain secret, the guide tells it in brackets.
All the screenshots are slightly gamma tweaked outside of the game for better clarity.
Episode 1: Kingdom of the Damned
The game collects and offers hints on a key press. In case things get confusing, here is the optimal order of progression through the episode:
- Clear out the Countryside, get the lay of the land and find the first four secrets.
- Get the Iron Key from the Lost Village.
- Get the Stone Breaker transformation and the Fire Key from the Factory.
- Get the Snake Key and the Dragon Key from the Farmhouse.
- Get the Swamp Serpent transformation and the Wind Key from the Garden.
- Return to the Lost Village and get the Skull Key.
- Return to the Countryside, find the remaining two secrets and enter the Crypt.
- Fight your way through the Crypt to reach the Catacombs.
- Fight your way through the Catacombs to confront the first Undead King.
Kingdom of the Damned contains a total of 23 secrets.
M01: The Countryside (Hub)
This map contains 6 secrets.
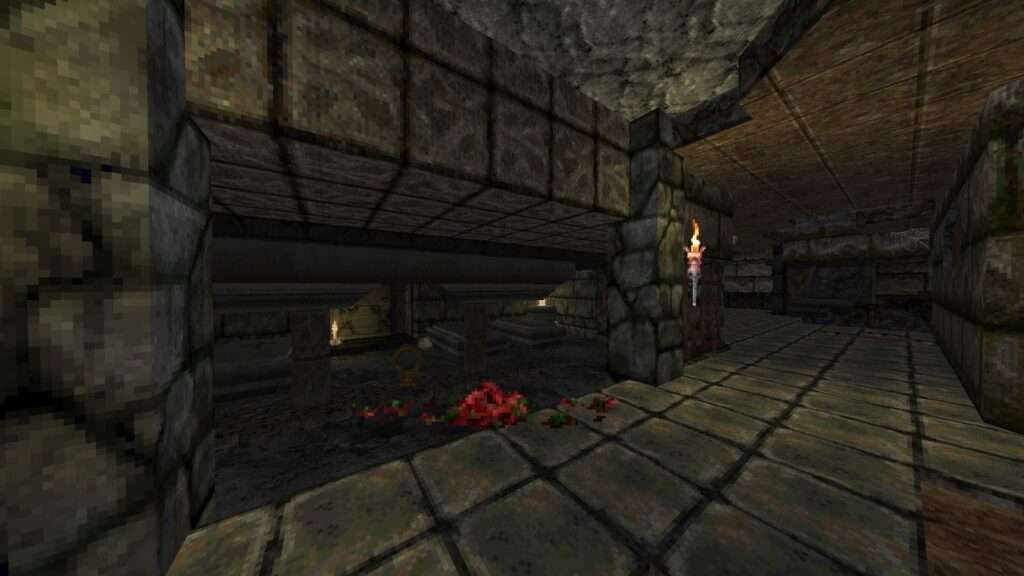
1/6 – Just before the door that requires both the Skull Key and the Dragon Key to activate, use the wall panel between the two tombs to reveal a hidden item.
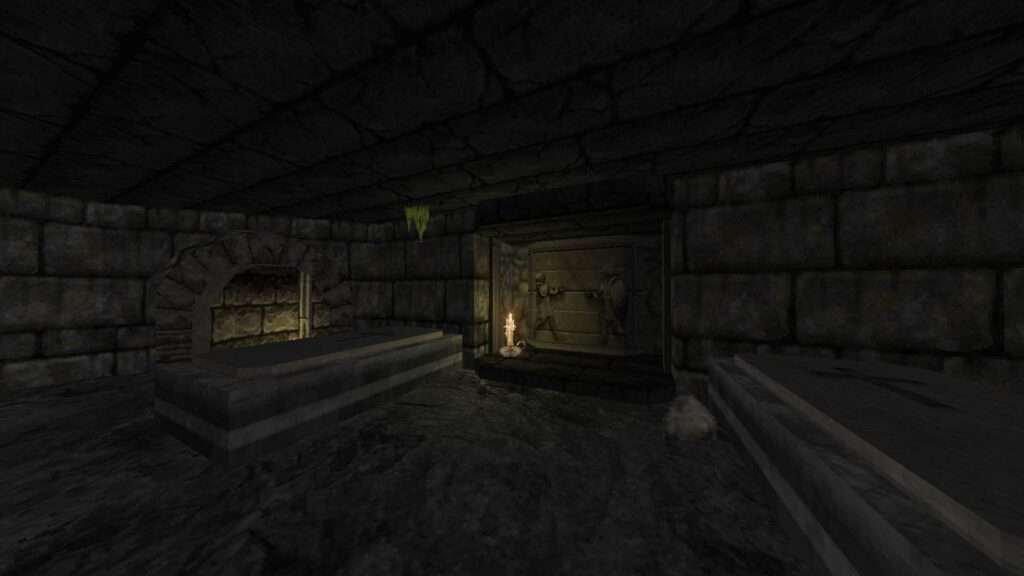
2/6 – Following on from the previous secret, use the wall next to the candles as you traverse the hall that overlooks the tomb room to reveal another hidden item.
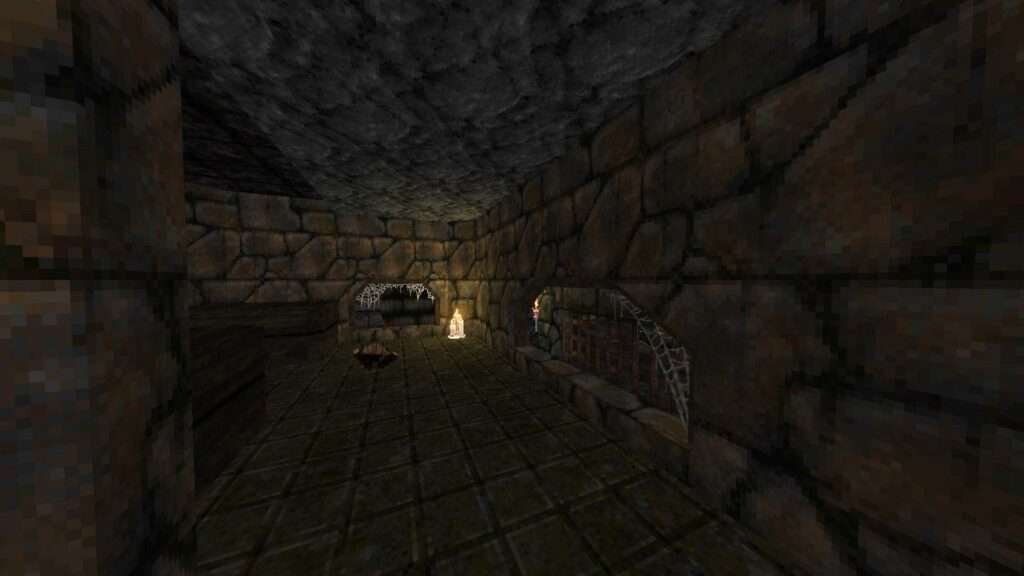
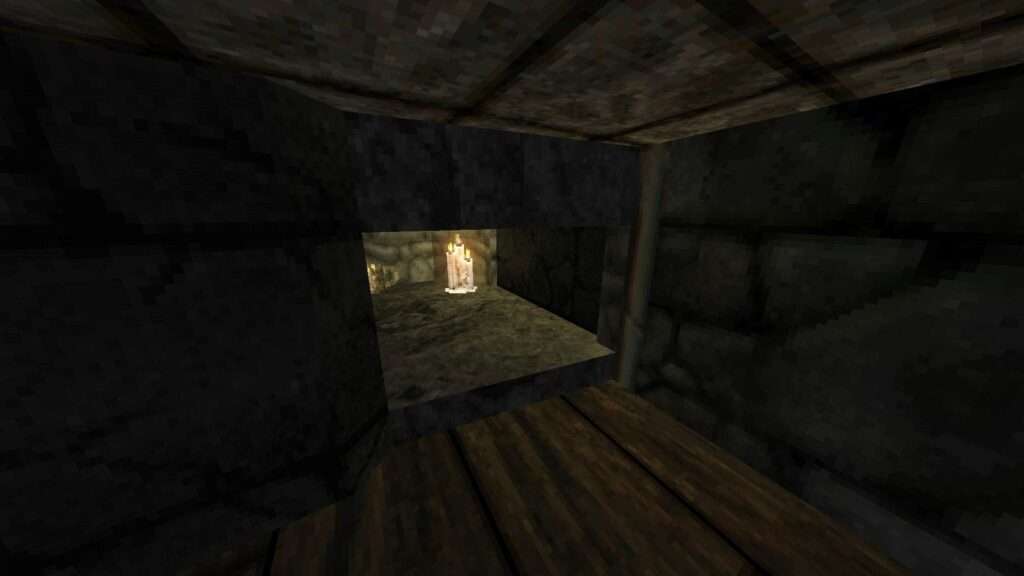
3/6 – In the room adjacent to the crusher controls, use the button next to the fireplace to open up a hidden passage that leads to the item underneath.
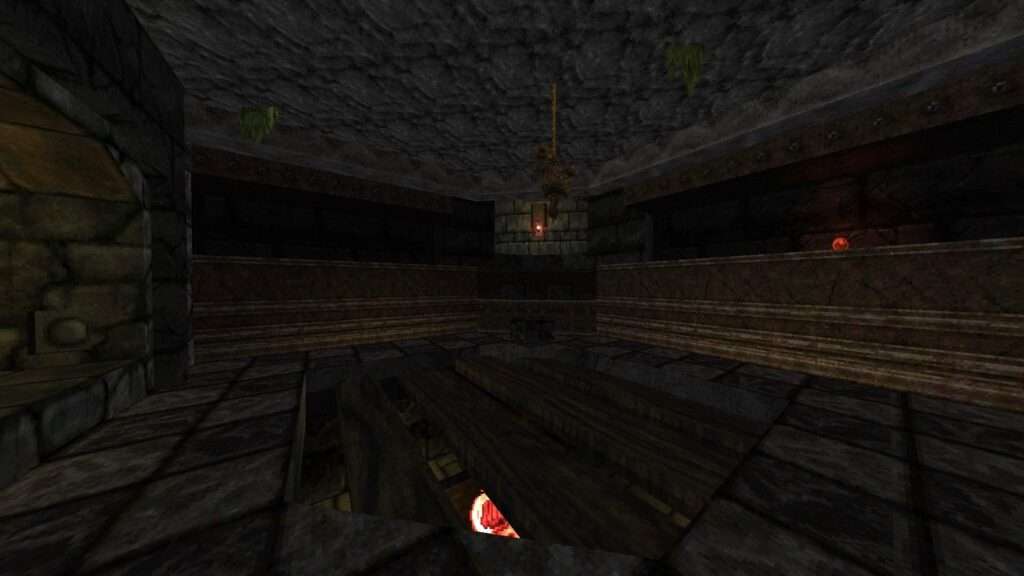
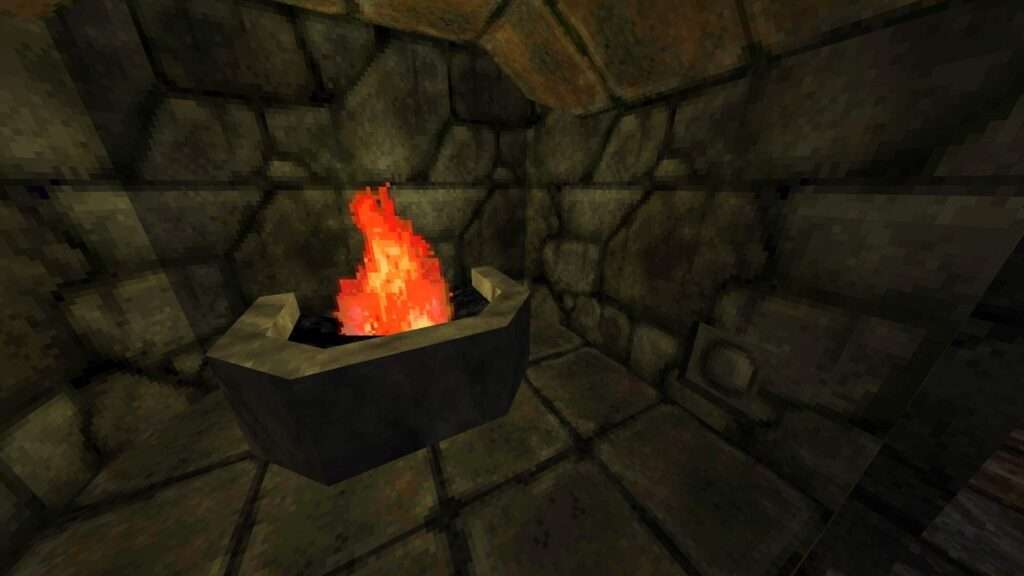
4/6 – In the room adjacent to the crusher controls, use the button next to the fireplace to open up a hidden passage that leads to the item underneath.
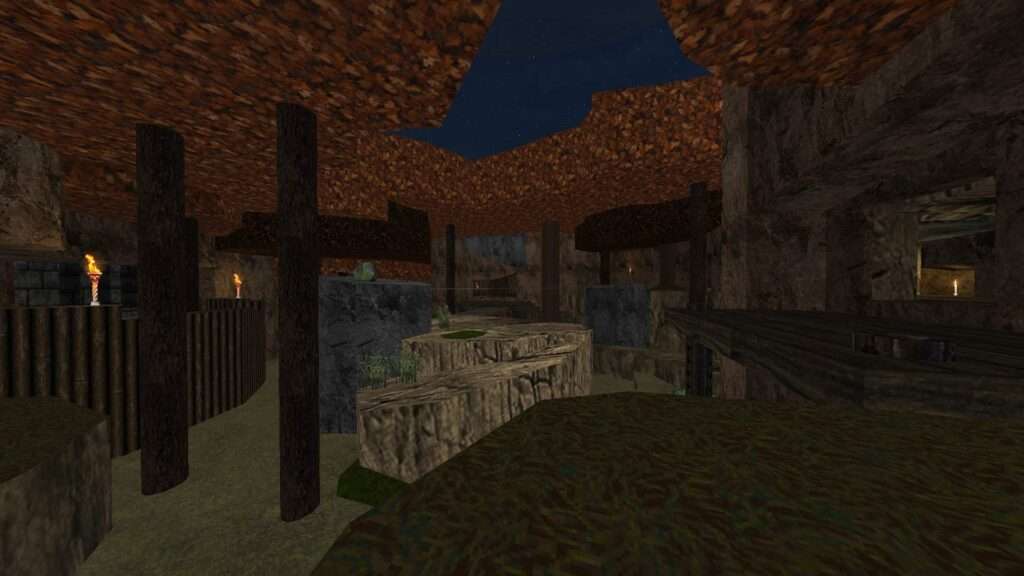
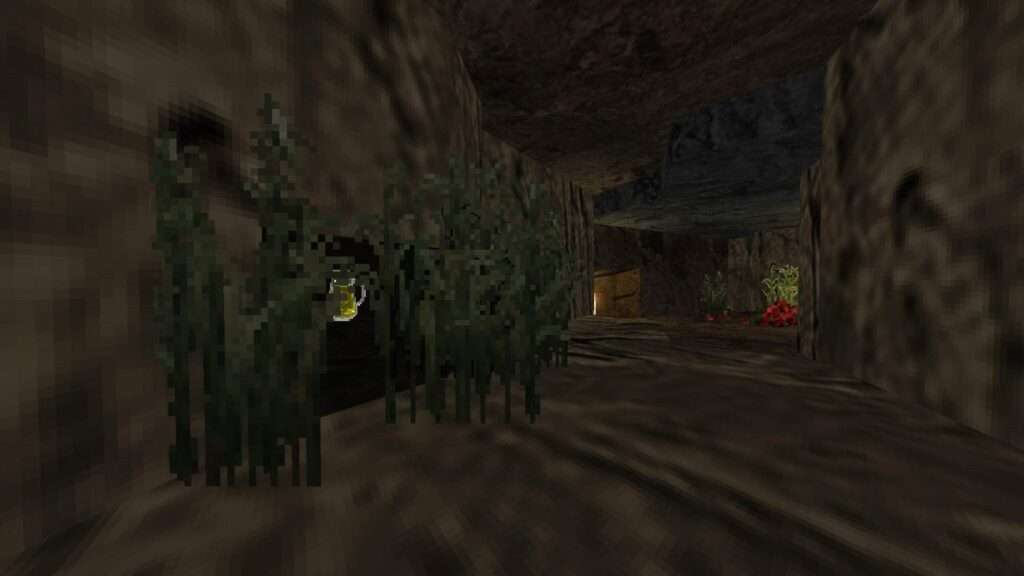
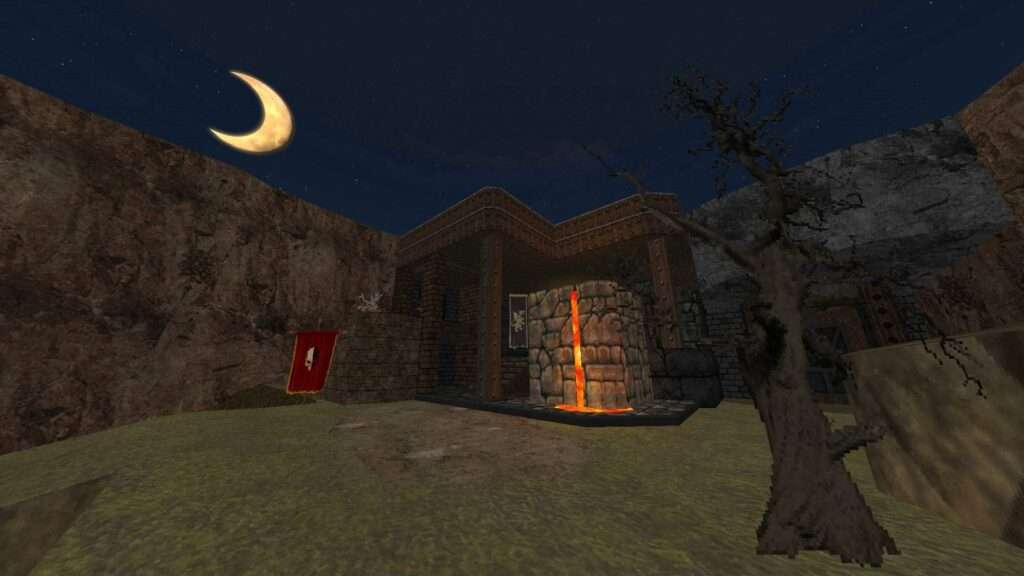
5/6 – (Stone Breaker) Look for a cracked wall outside the Factory entrance and destroy it to reach a hidden room.
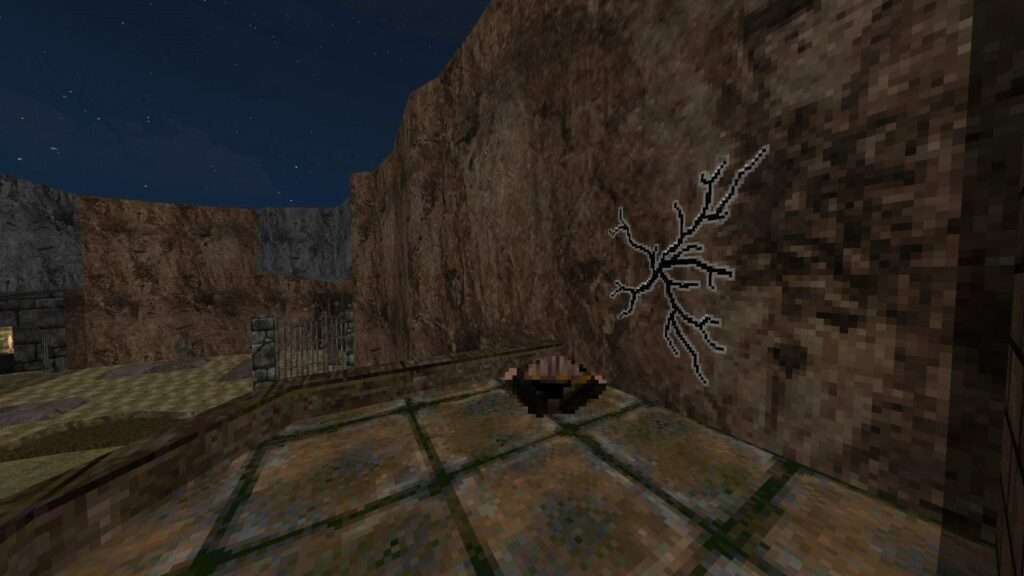
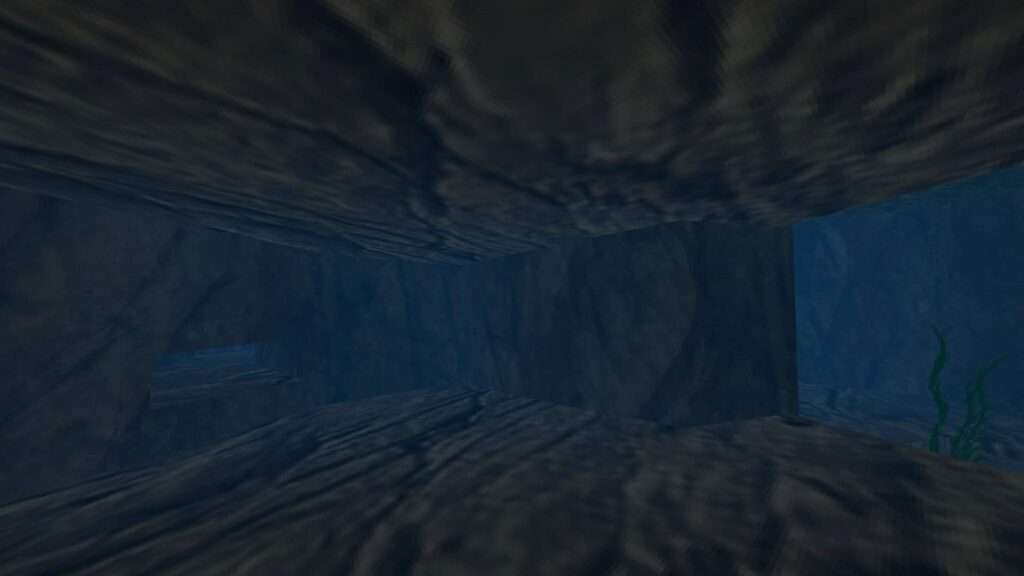
6/6 – (Swamp Serpent) Dive into the water surrounding the Garden entrance and look for an opening that you can fit through to reach a hidden alcove.

M02: The Farmhouse
This map contains 2 secrets.
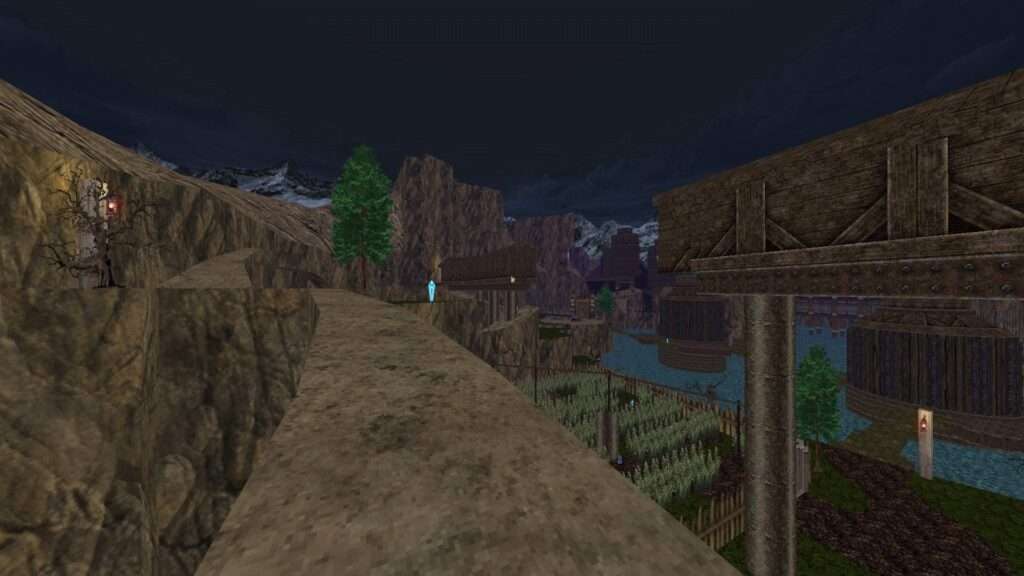
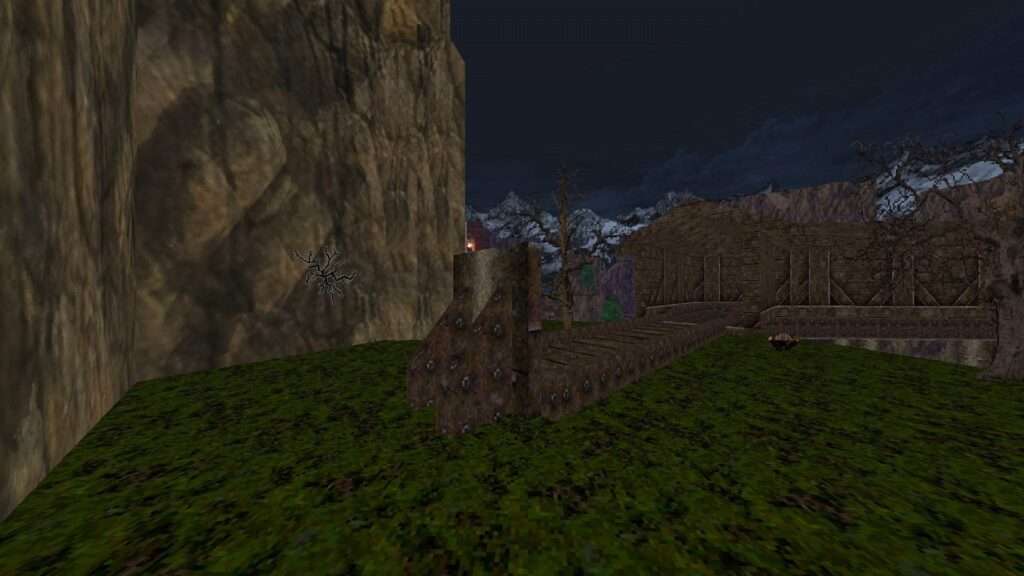
1/2 – (Stone Breaker) After going through the Fire door, keep following the ledge you are on to come across a crack on the surrounding rocks. Destroy it to reach a lengthy side path that ends with a bunch of items placed around an altar overlooking the farmhouse.
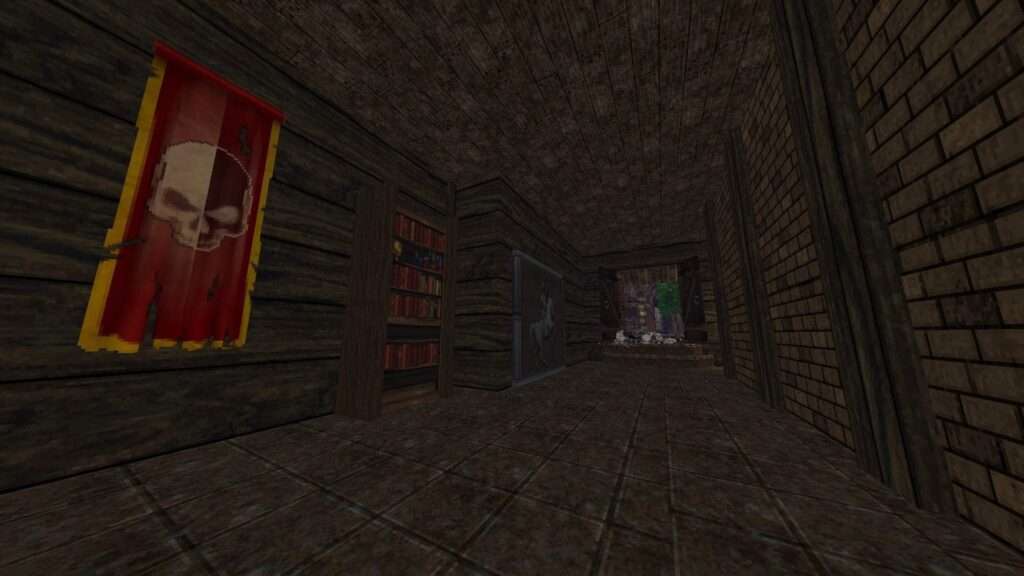
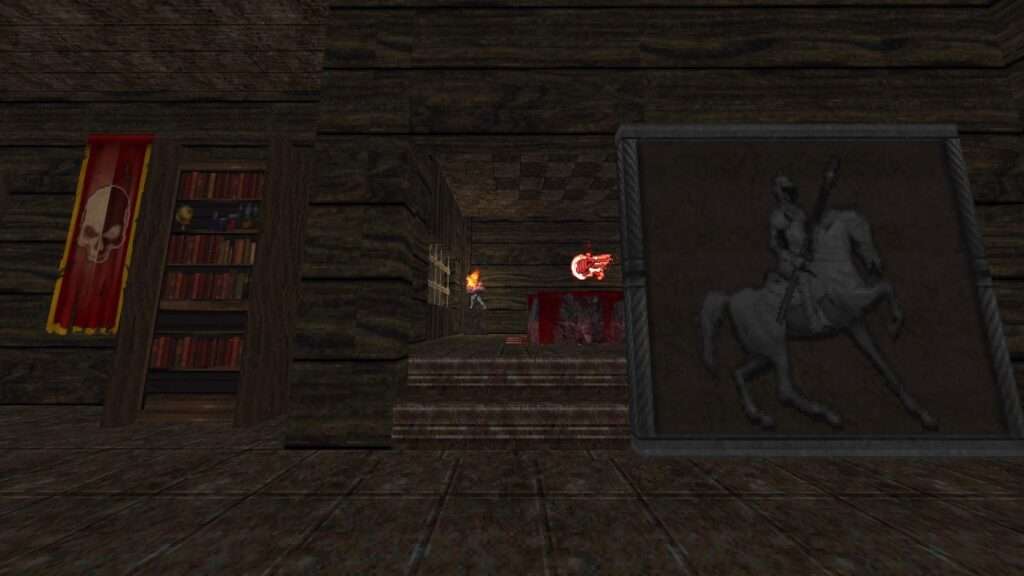
2/2 – Before leaving the actual farmhouse, use the wall panel next to the front door to access a hidden room.
M03: The Garden
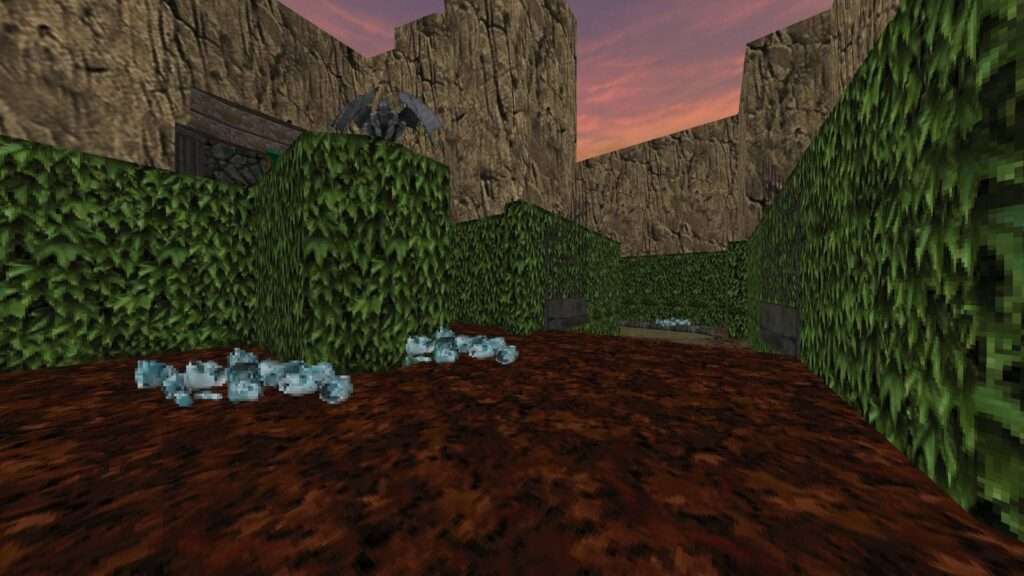
This map contains 3 secrets.
1/3 – As you pass the bridge that leads to the Snake pillar, simply jump into the opening to the left to reach the item that can be seen residing on the ledge above.
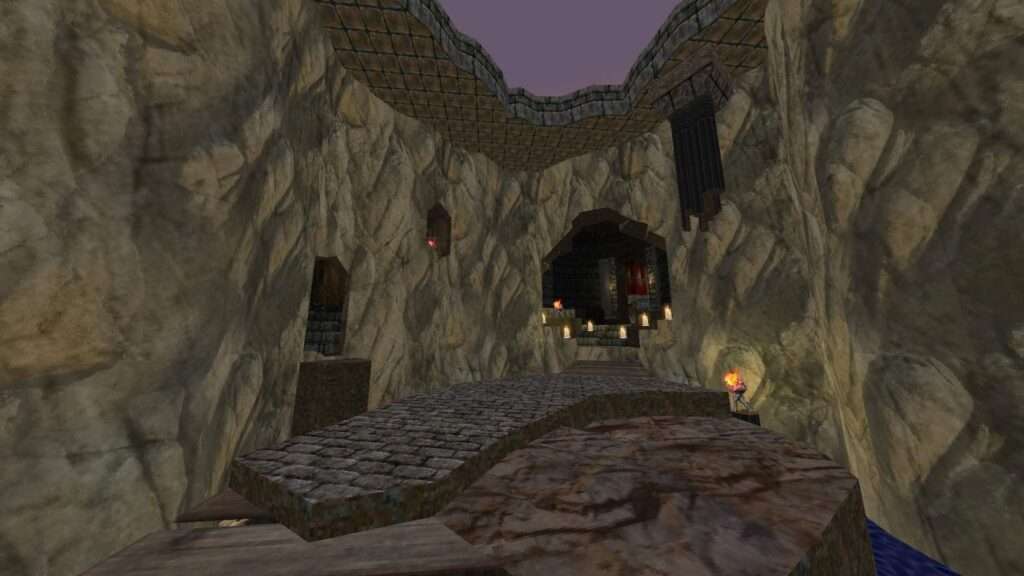
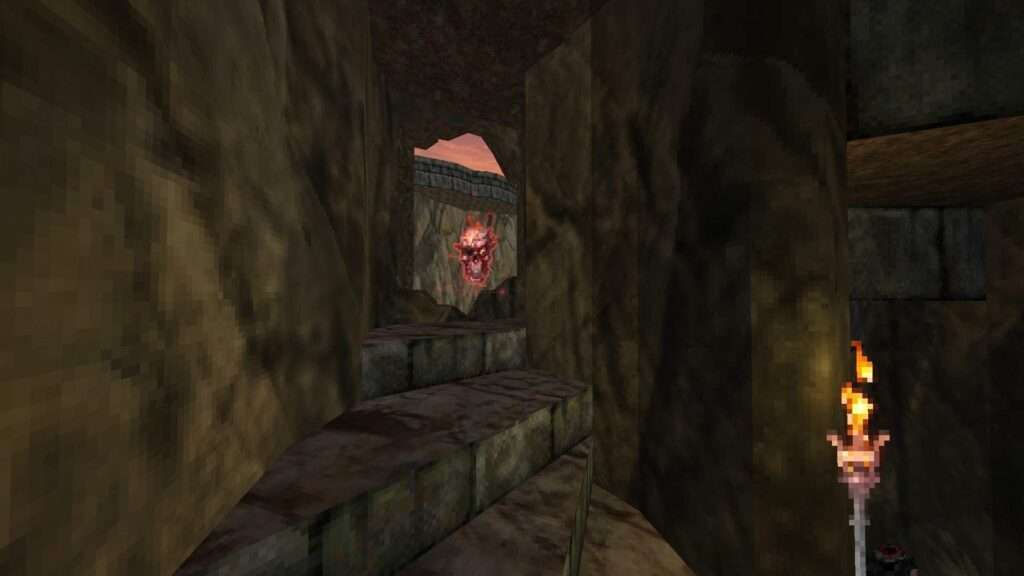
2/3 – (Swamp Serpent) Right after getting the Swamp Serpent transformation, dive into the nearby pool once more and look for an opening to the right that you can fit through to reach a hidden alcove.
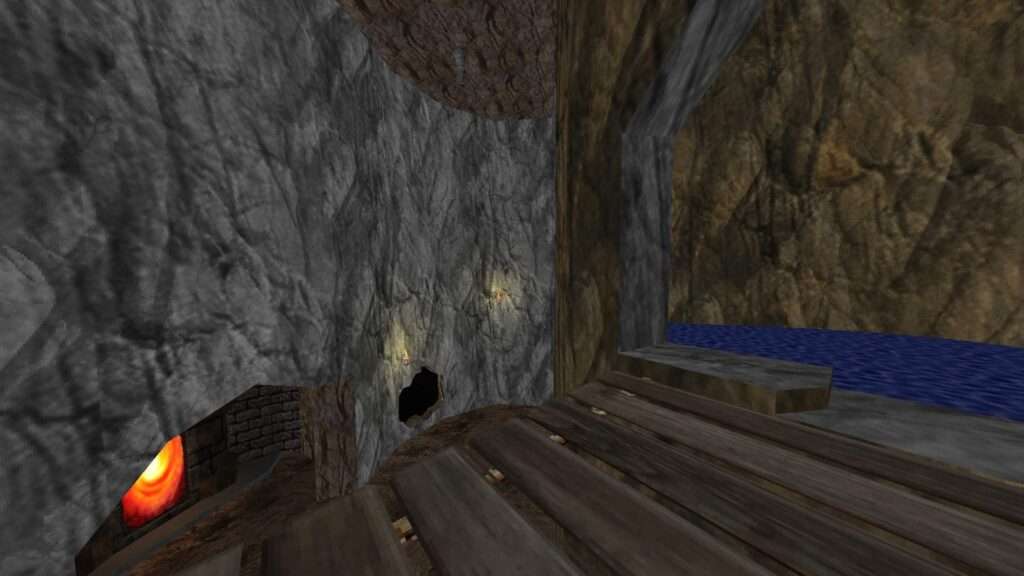
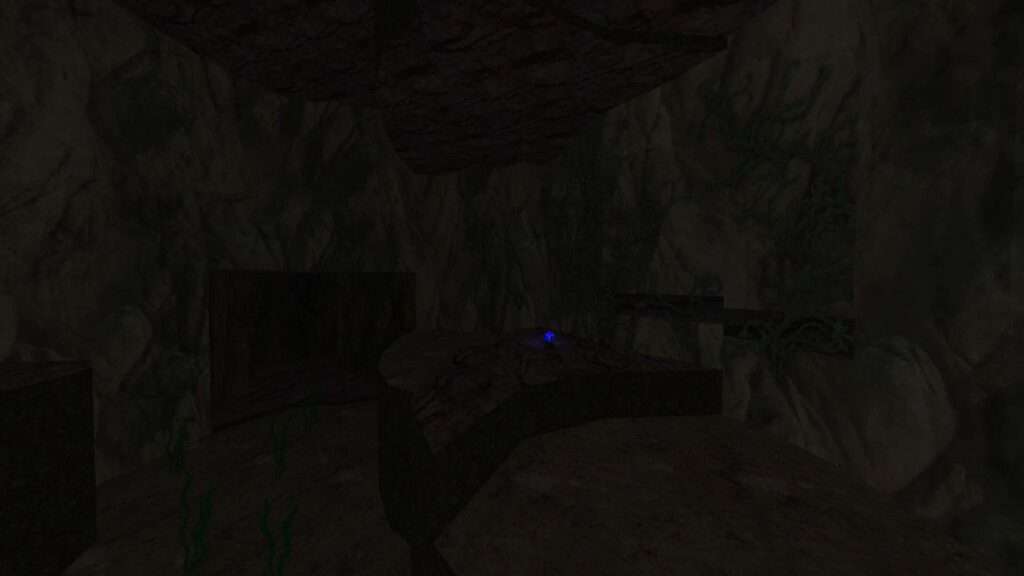
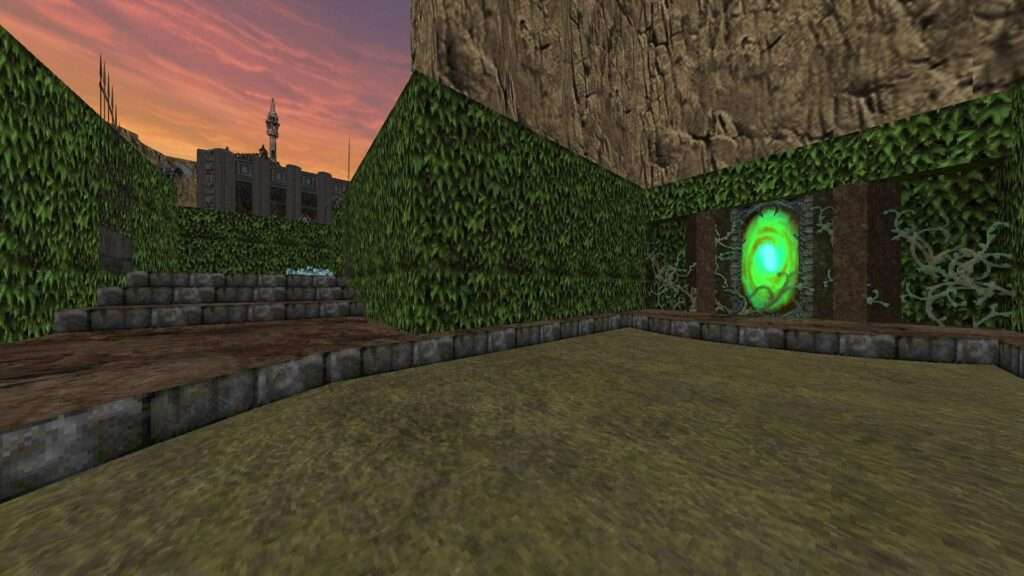
3/3 – After getting the Wind Key, return to the previously closed gates at one end of the garden and go through the portal to reach a hidden room.
M04: The Lost Village
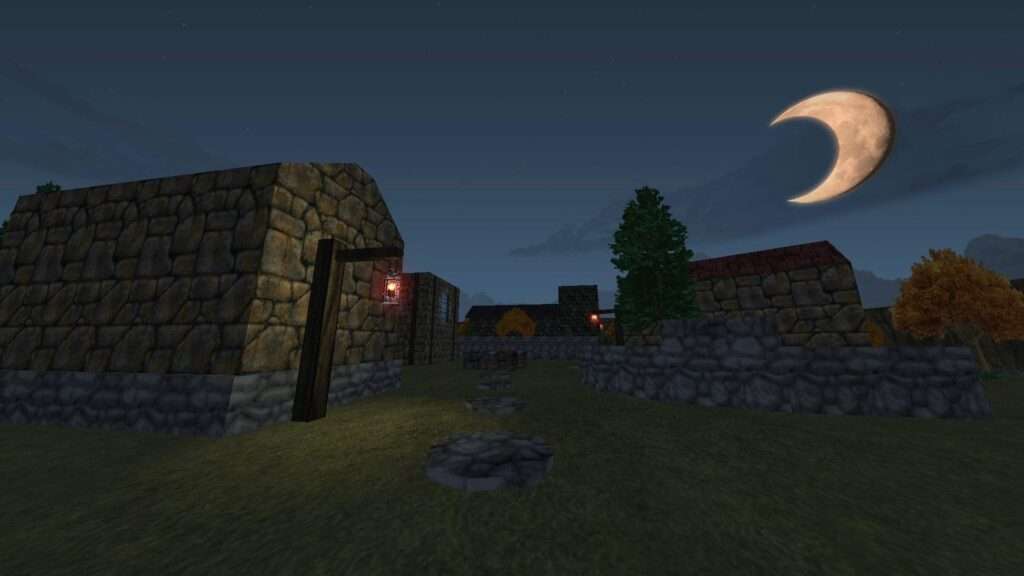
This map contains 2 secrets.
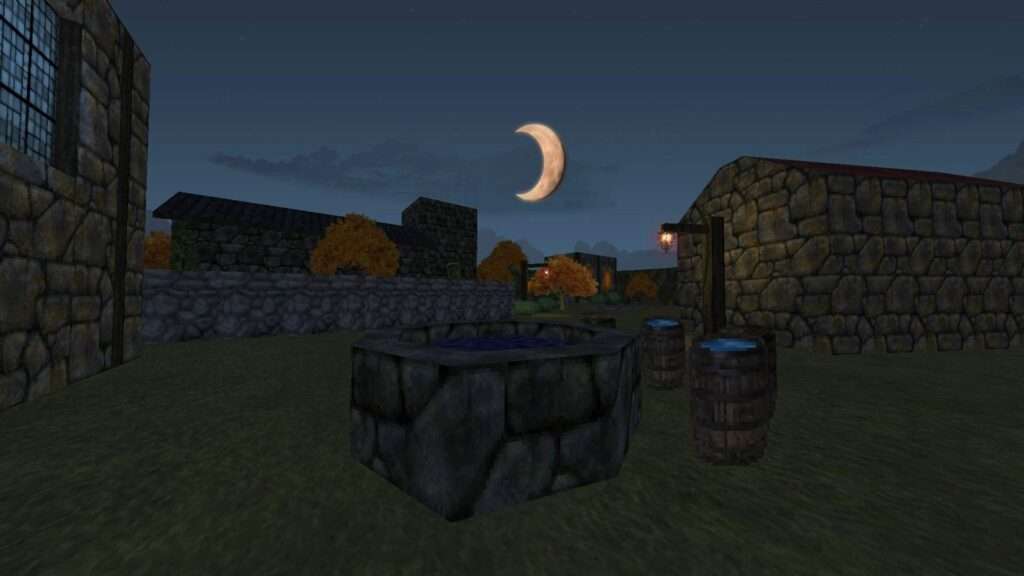
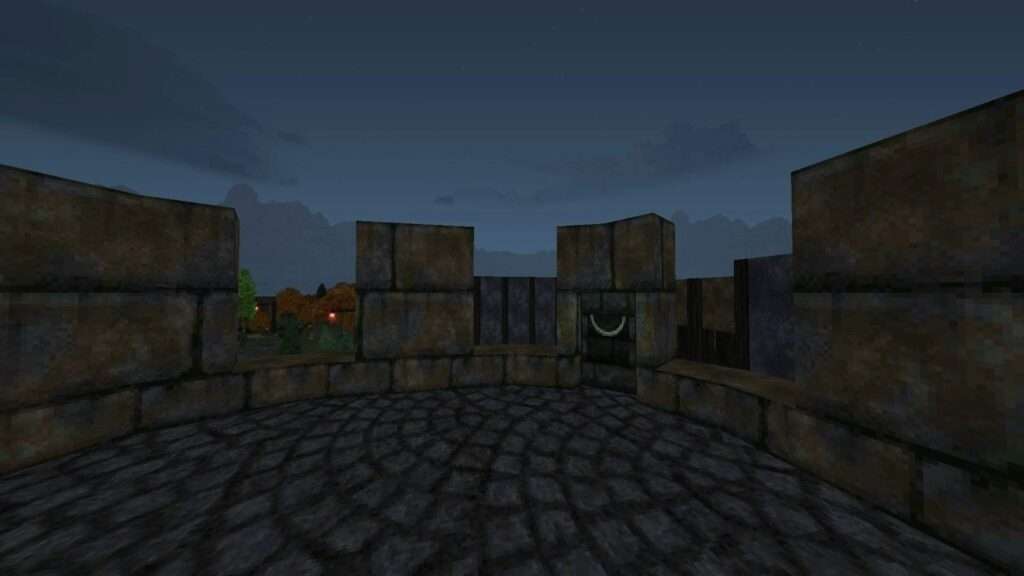
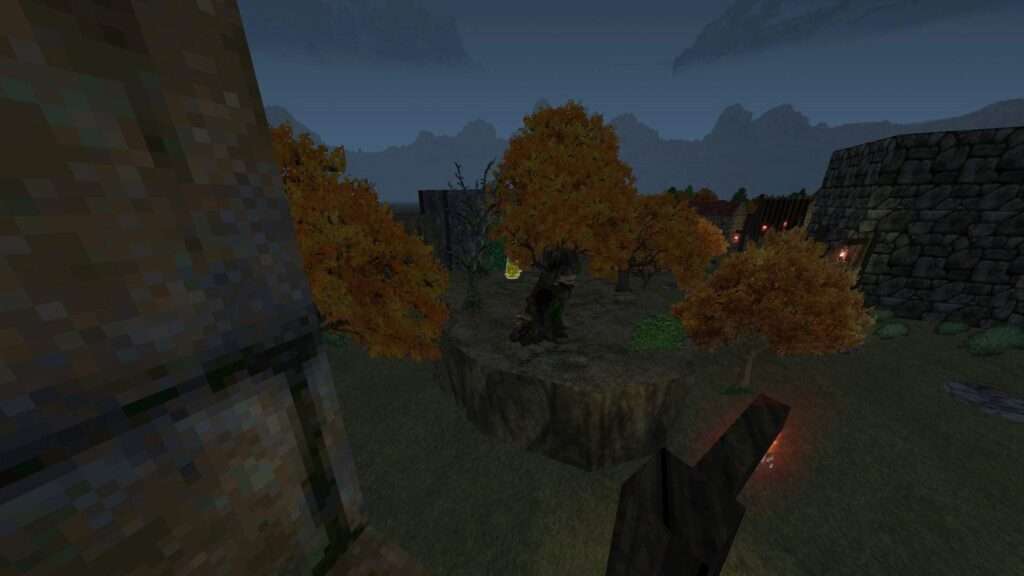
1/2 – Dive into the well at the center of the village to find a hidden item.
2/2 – After going through the Wind door but before pulling the switch that opens up the way, jump down to reach the item residing below on the other side.
M05: The Factory
This map contains 3 secrets.
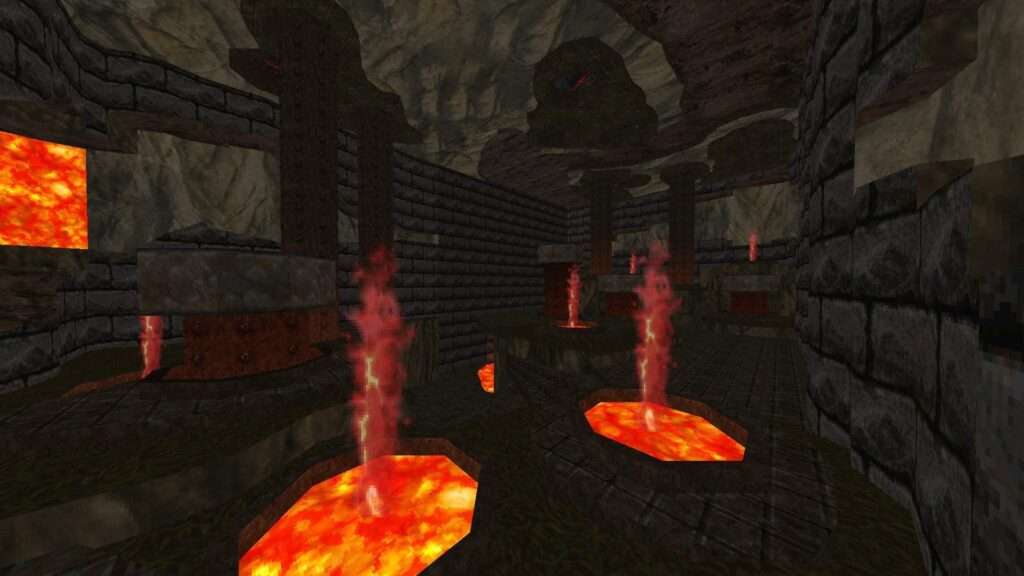
1/3 – In the large room with the Iron door, descend the stairs and traverse the lava to reach a hidden area.
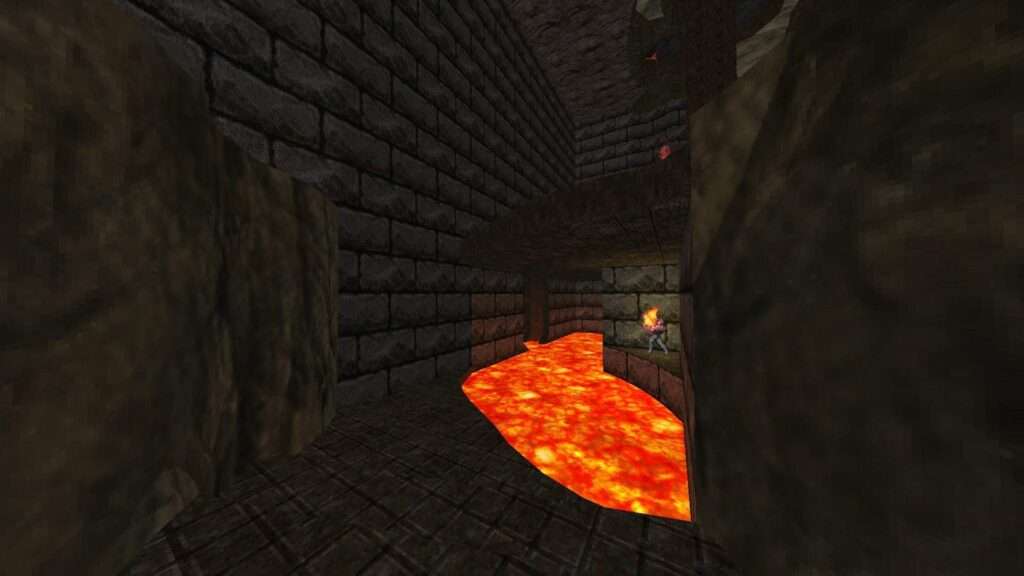
2/3 – (Stone Breaker) As soon as you get the Stone Breaker transformation, destroy the cracked wall nearby to access the room that can be seen through the bars.
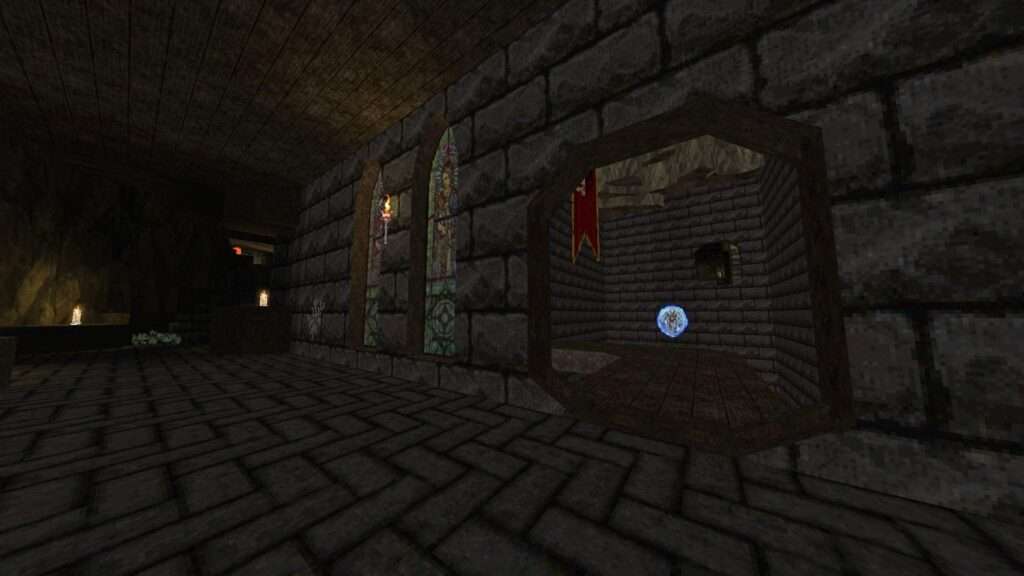
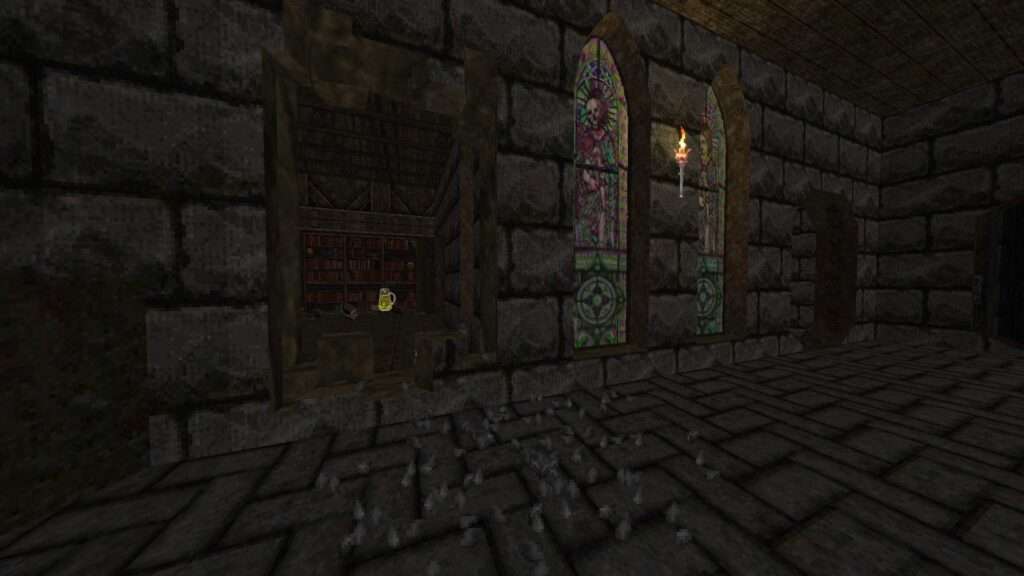
3/3 – (Stone Breaker) Return to the darkened side hall from before and punch through the cracked walls at the end to reach a hidden item.
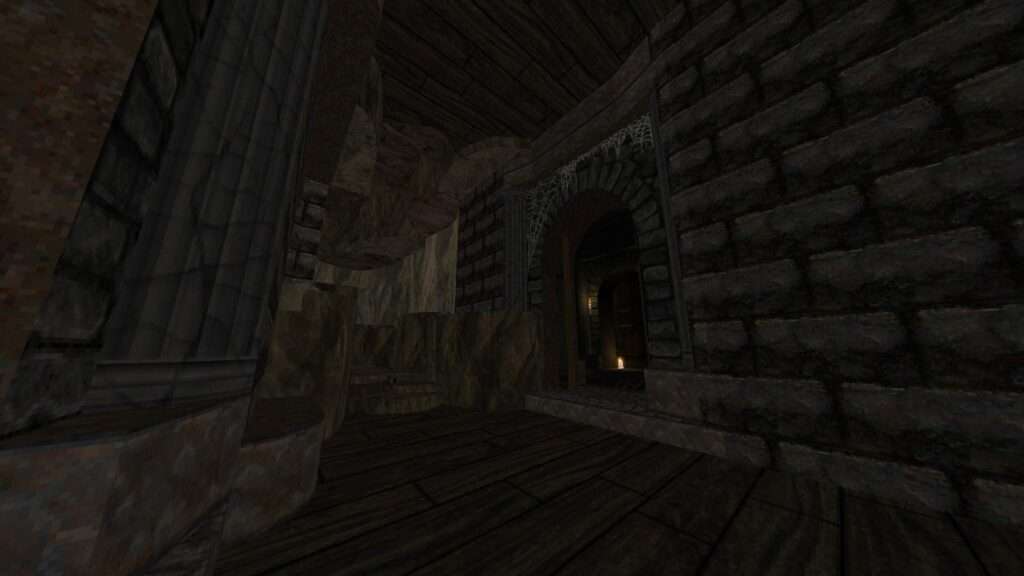
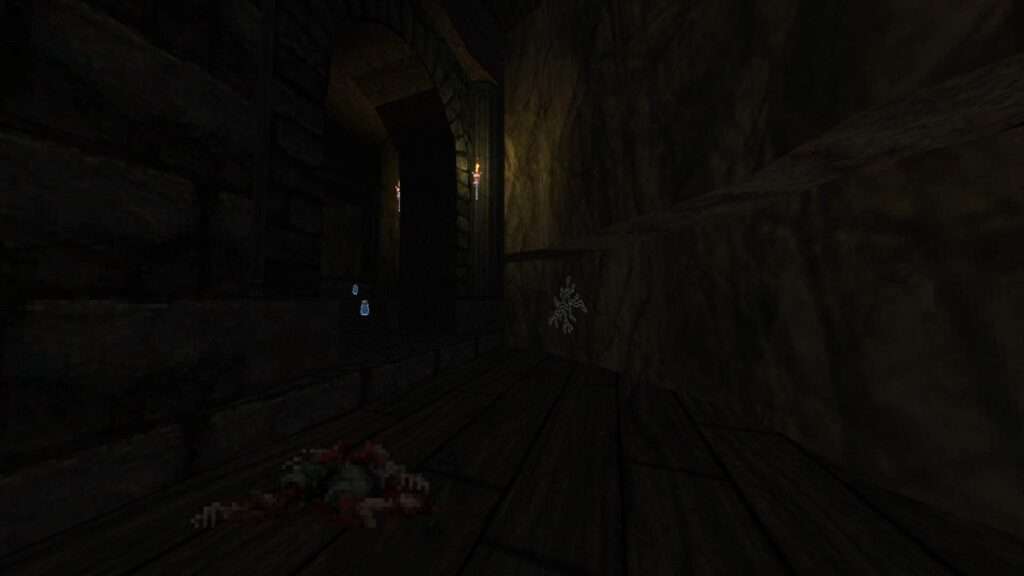
M06: The Crypt
This map contains only a single secret.
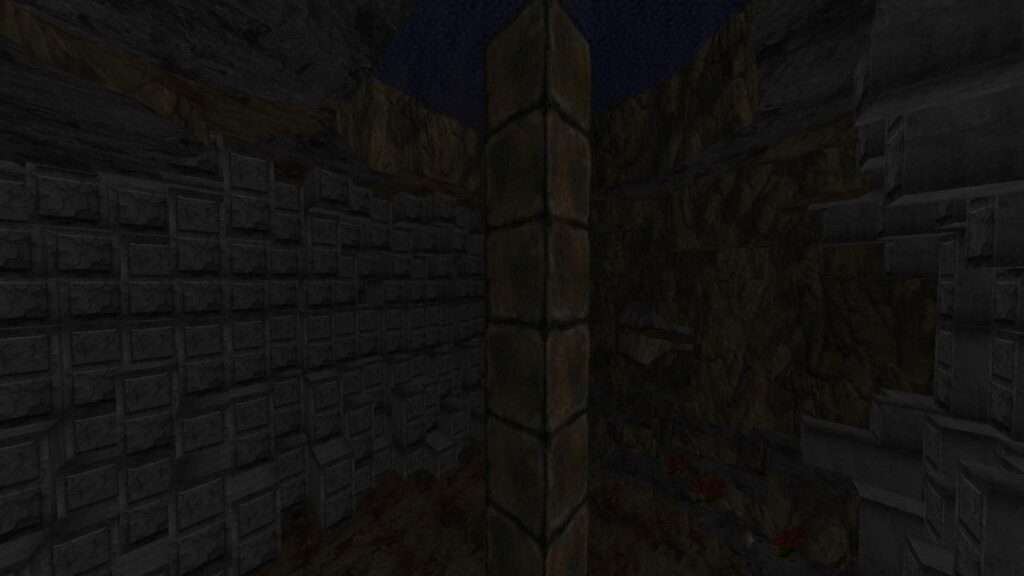
1/1 – (Swamp Serpent) After you pass the bridge and dive into the water, look for an opening in the stone walls that you can fit through to reach an otherwise barred alcove.
M07: The Catacombs
This map contains 6 secrets.
1/6 – Use the button found at the end of the unlit path next to the Well of Souls and jump over the gap to reach the newly revealed room on the upper floor.
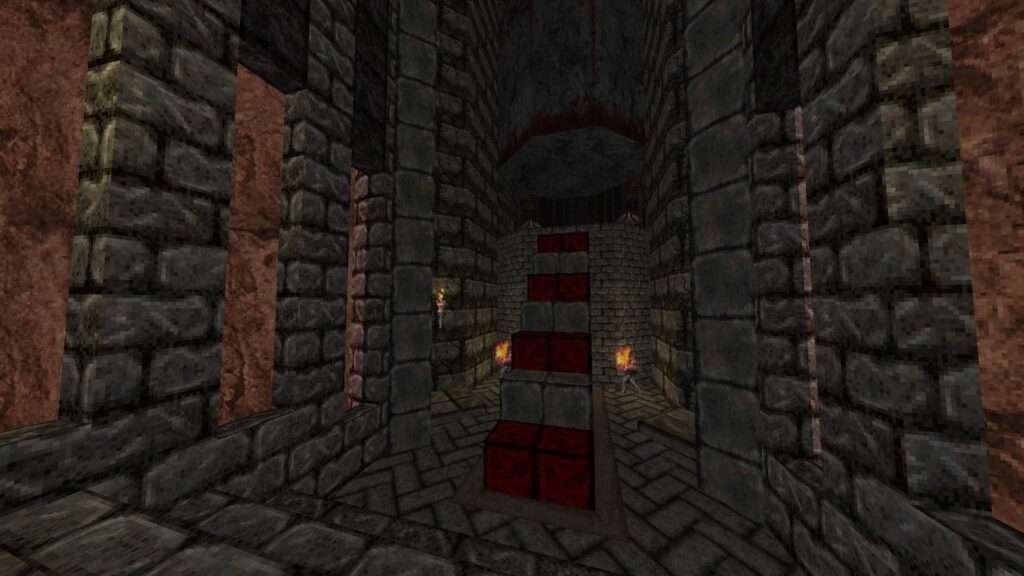
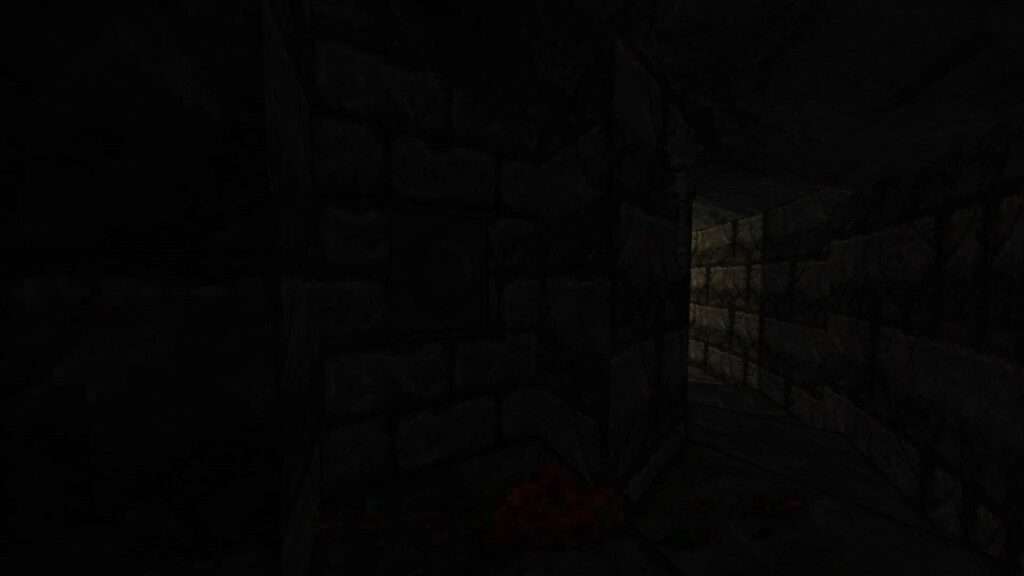
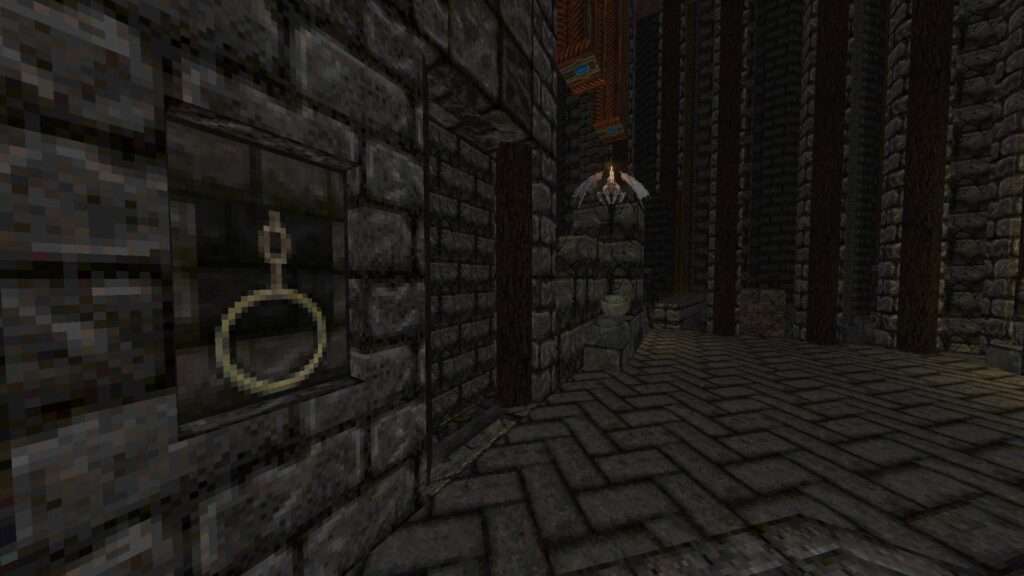
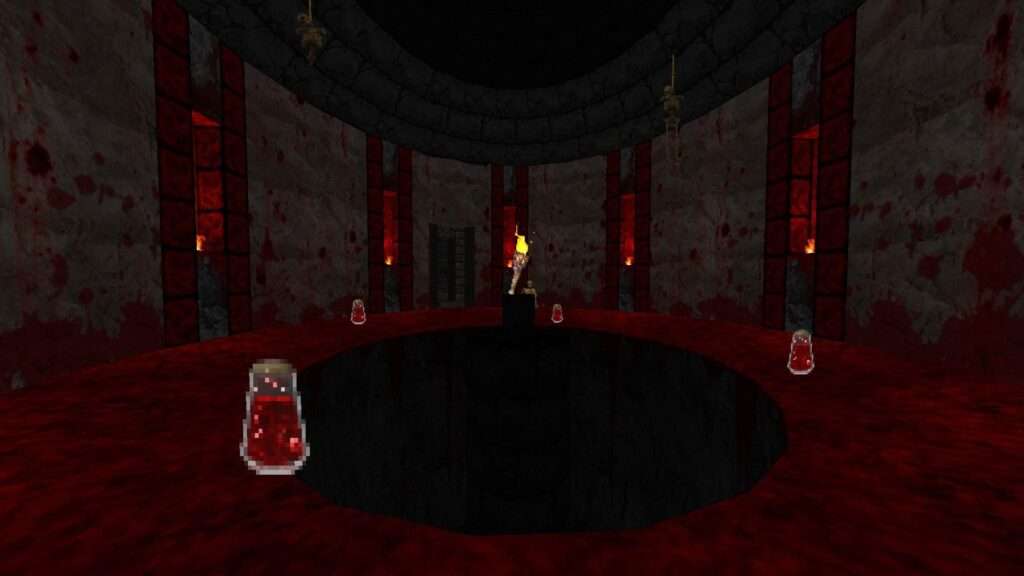
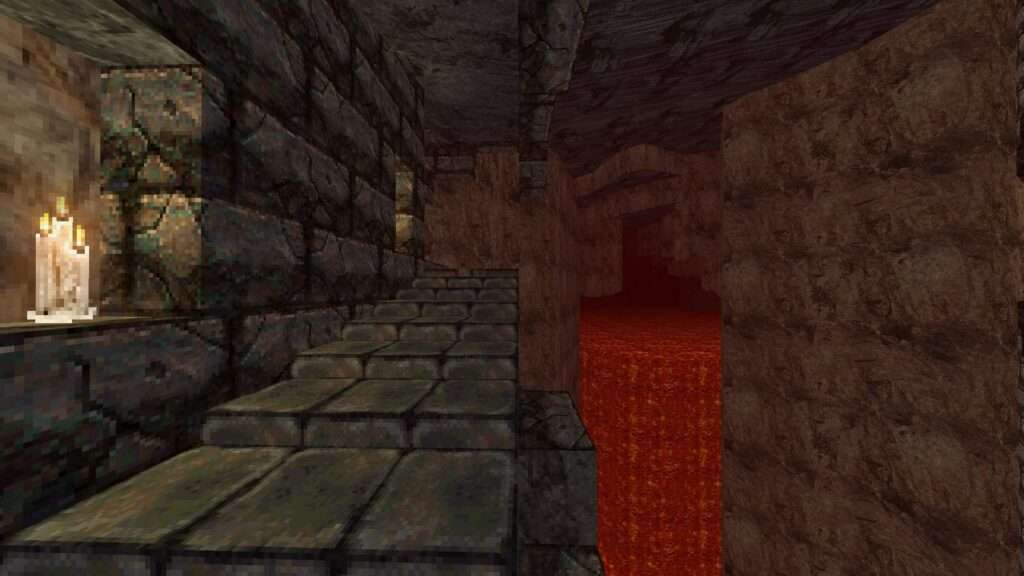
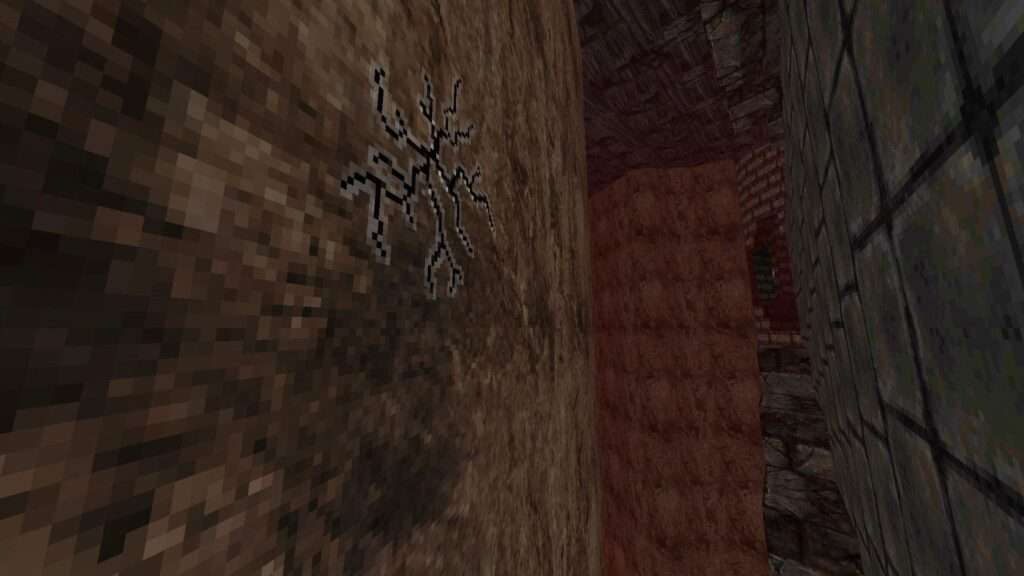
2/6 – (Stone Breaker) After crossing over to the other side of the Well, follow the stones jutting from the stairs overlooking the lava pool to come across a cracked part of the wall. Destroy it and jump across to reach a hidden alcove.
3/6 – (Swamp Serpent) After crossing the bridge in the fathomless crypt, fit through the opening to find a bunch of items lying out in the open on the other side of the wall.
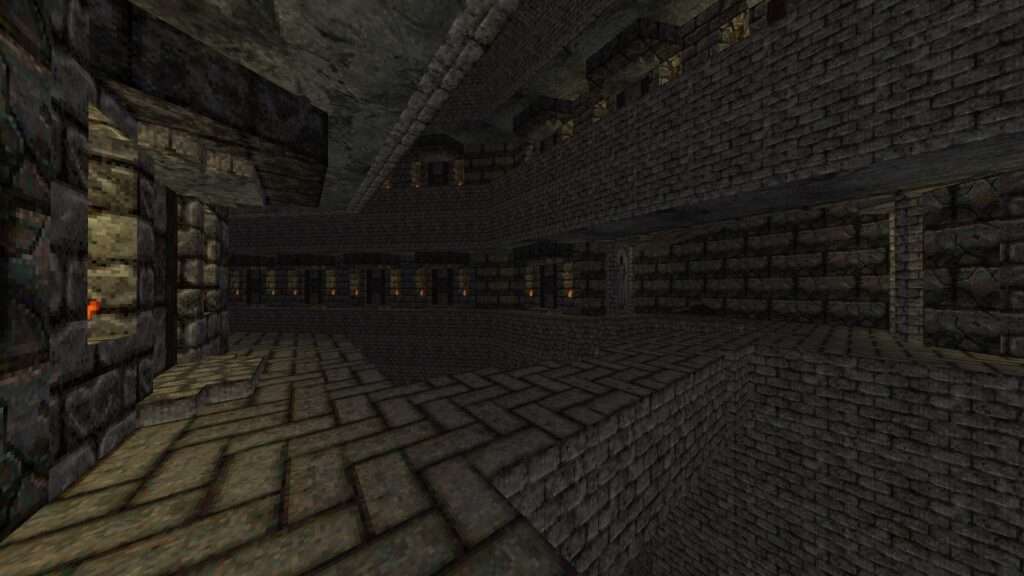
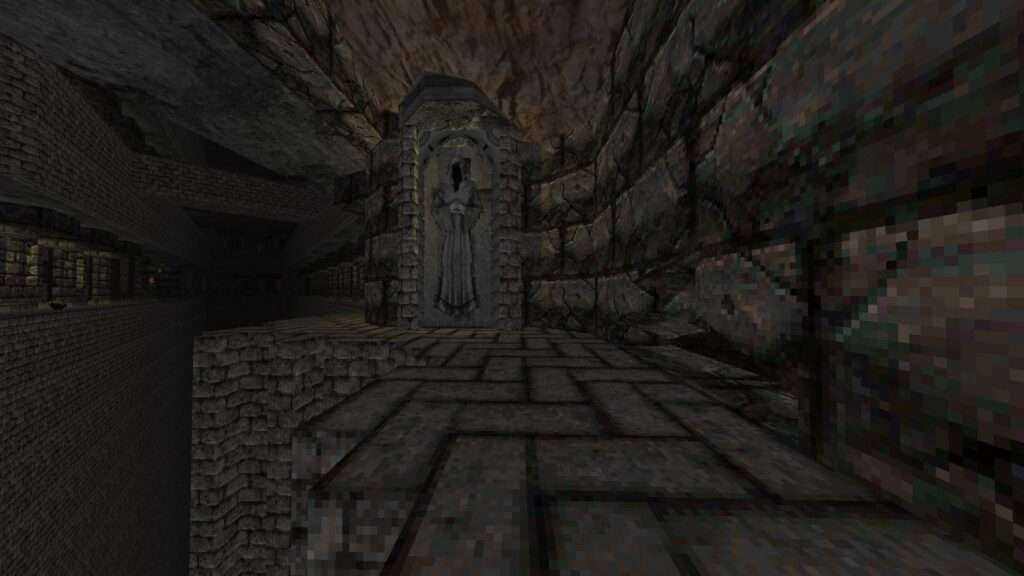
4/6 – Still in the fathomless crypt, just before jumping down to the lower floor, turn around at the end of the hall and hop through the opening to reach an otherwise inaccessible tomb with a bunch of items inside.
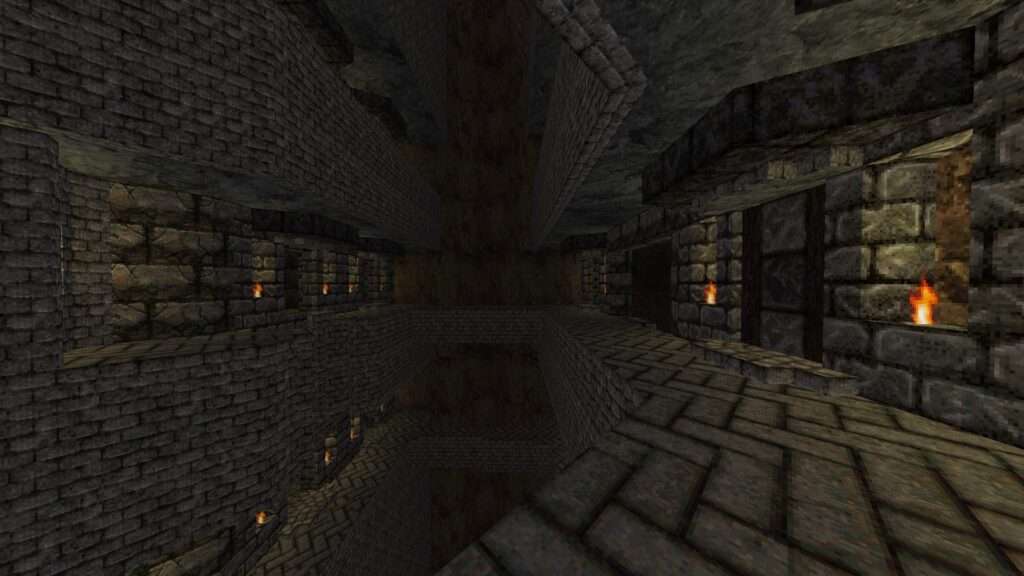
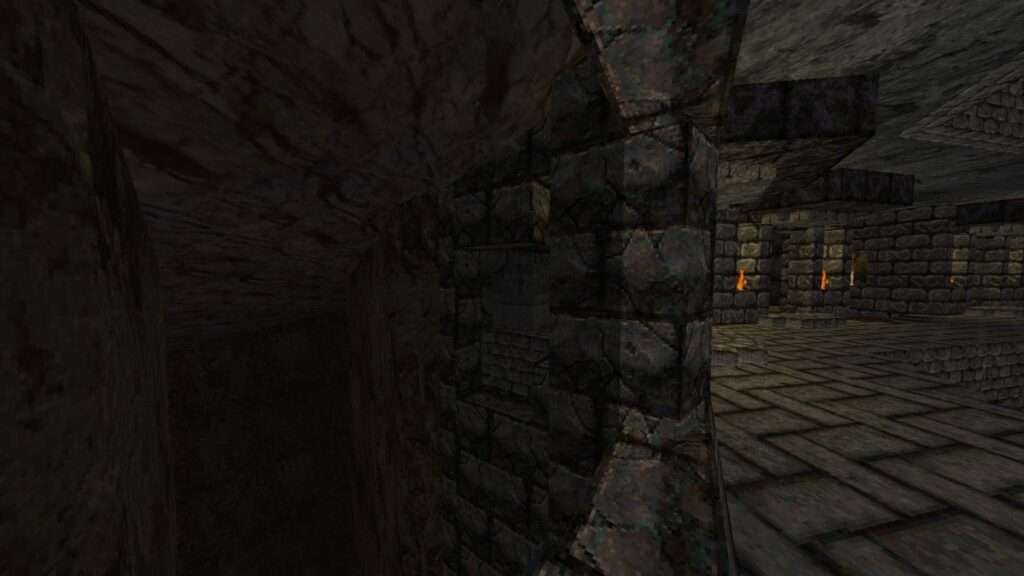
5/6 – (Stone Breaker) After pulling the switch that opens up the way to the other side of the lower floor, destroy the cracked wall in the same room to reach another side area with an item at the end.
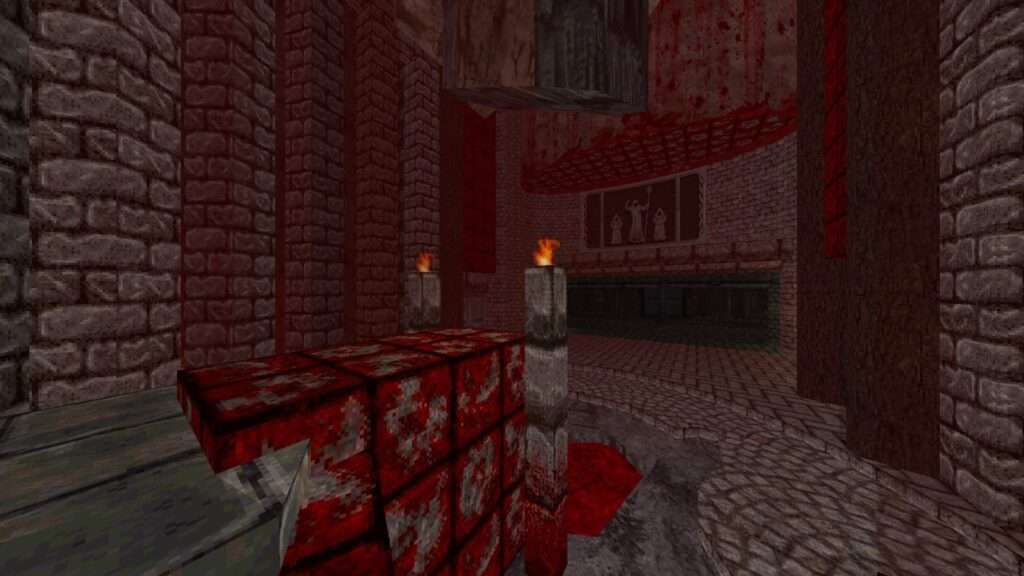
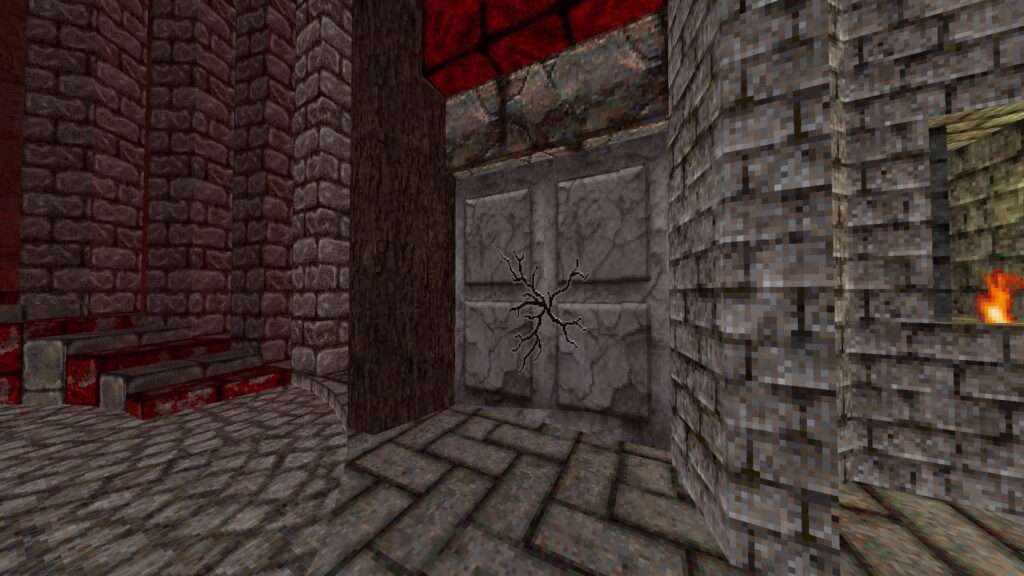
6/6 – (Swamp Serpent) After crossing the bridge over lava, fit through the opening at the end of the circular path that surrounds the final arena to reach a hidden item.
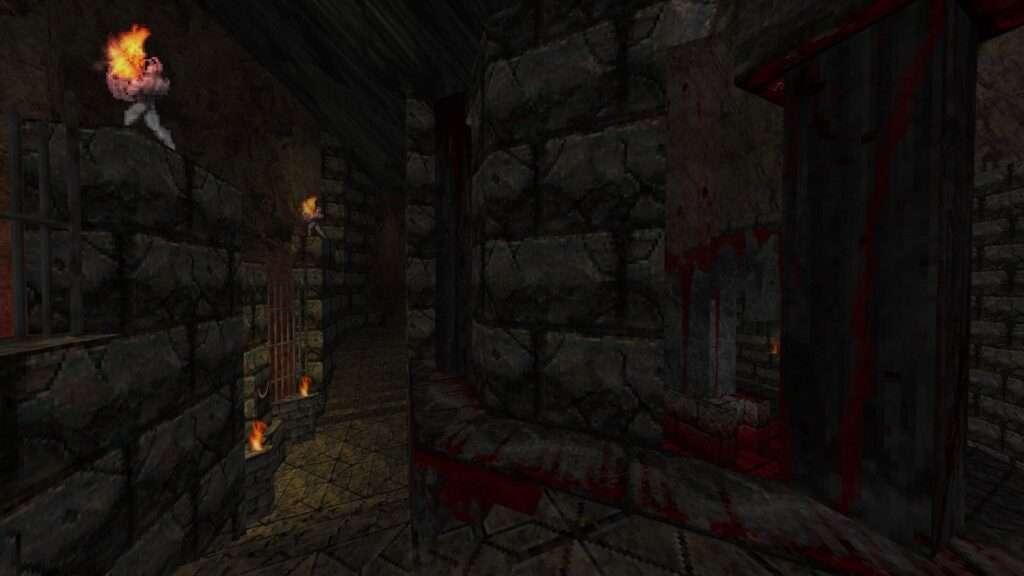
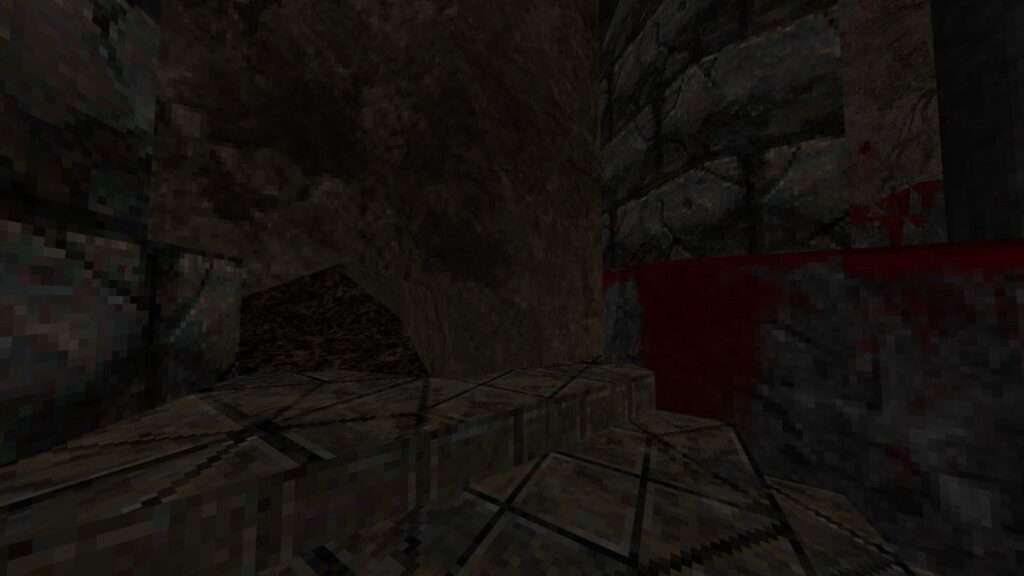


Hey erc what are hands of necromancy for? I stacked like 10 of them but cant seem to use them for anything?
going by its icon, I guess you’re asking about ‘Berserker Fist’ (max stack is 5 tho’) – in that case, it makes you inflict double damage for a set amount of time. ‘Berserker Head’, on the other hand, halves the damage you take instead for its duration. By the way, there is a pinned topic over at the forums titled ‘Manual / Tips of the Game’ that explains the effects of all the inventory items.
Yeah I saw that but it isn’t there, it looks like an open clawy palm with a purple halo around it and says “hands of the necromancy” on pick up.
Well, I have looked around and it looks like ‘Hands of Necromancy’ is a new item added with v1.5 which was released on 6th of August. It looks like I missed it since I don’t have the game installed right now. Here is what I have gathered from the patch notes:
• New Special item: Hand of Necromancy (It raises the dead)
• “Classic” mode – which removes the new Hand of Necromancy and makes the gameplay more similar to what it was before this update
• Hand of Necromancy item revive the monster who is the closest to the player
• Added more Hand of Necromancy items, max amount is now 10
So that’s that.
Ah okay thank you very much
A mistake in M01:The Countryside, descriptions #3 and #4 are the same.