
This will contain spoilers, obviously, so don’t look at this guide unless you’ve beaten the game or at least tried to find things out yourself.
How to Unlock All Secrets
So while the secrets within this guide aren’t the hardest things to find. It will make things a whole lot easier regardless if you have found yourself stuck on just where a certain something could be. I’ll try to put the more spoilerly things down at the very end. I’ll even have a video upload at the bottom if for some reason you need a much more visual guide.
Character Secrets
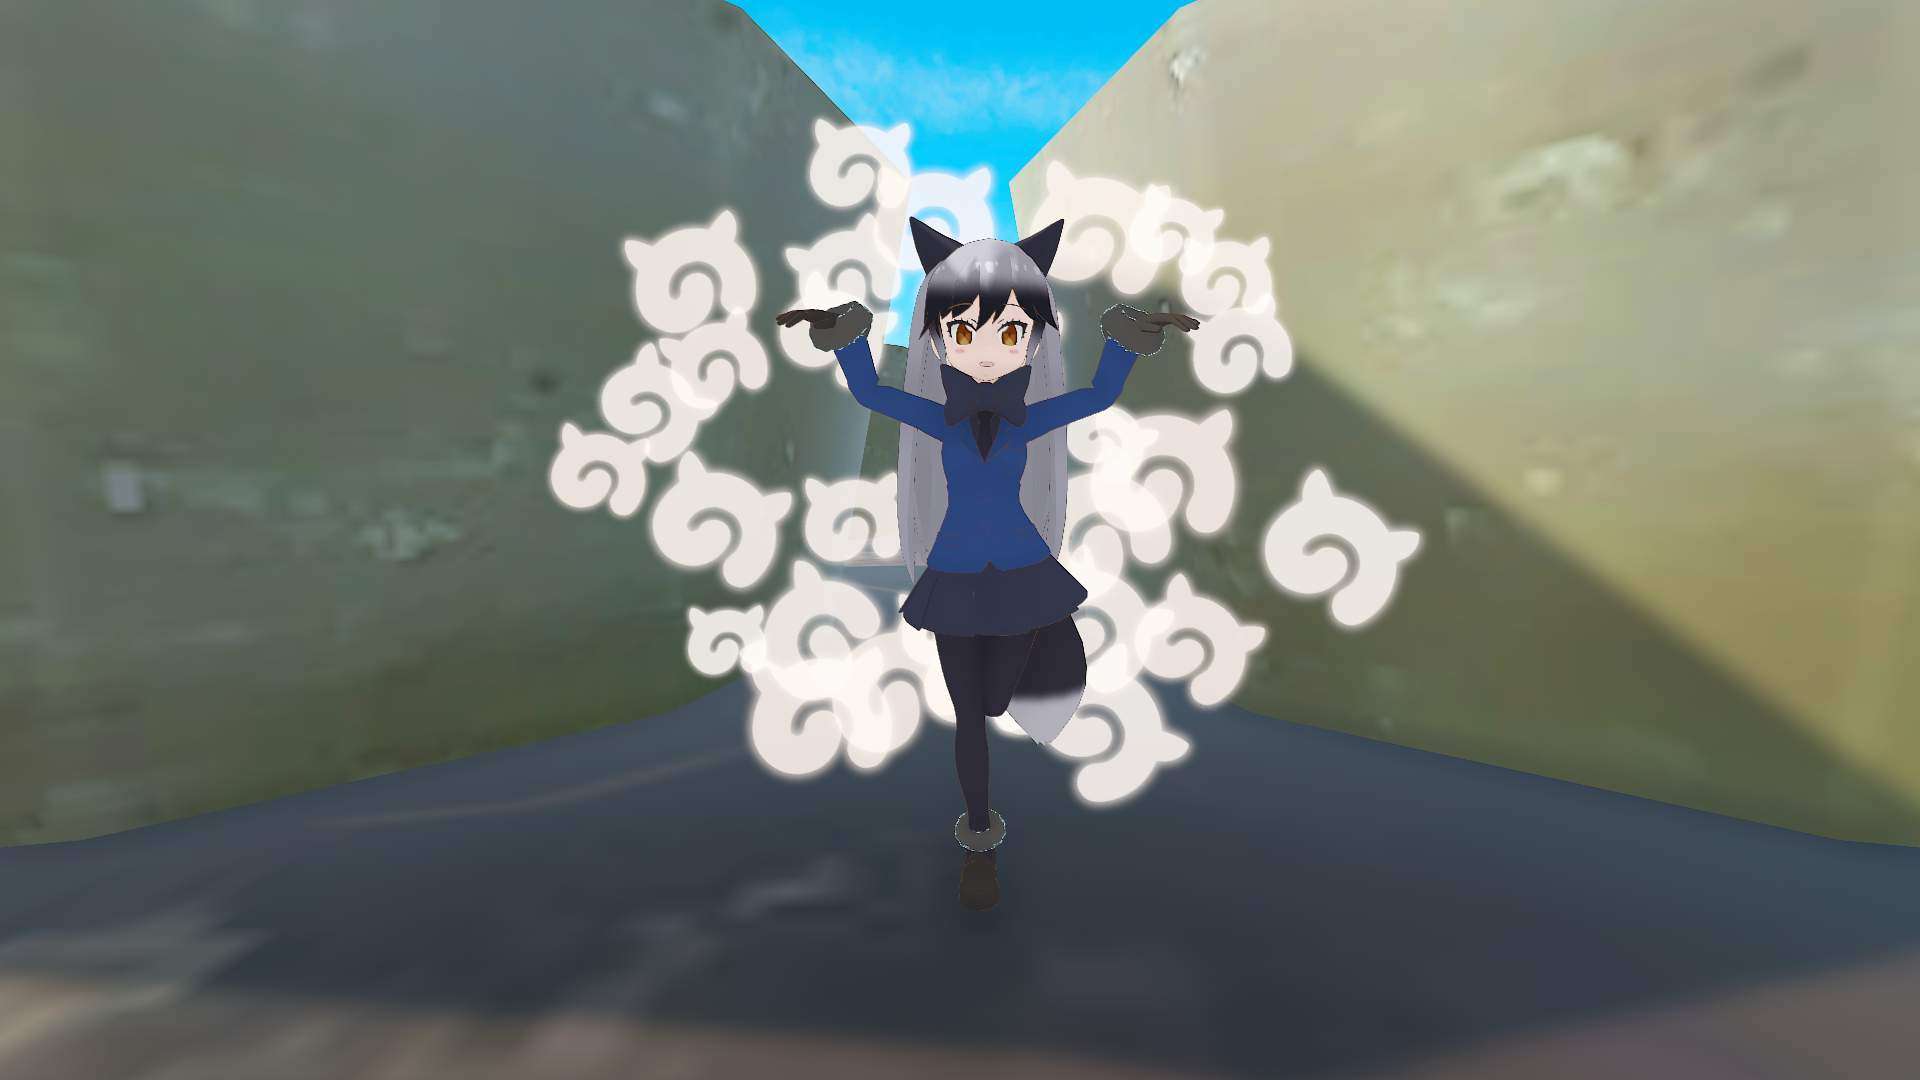
Dancing Silver Fox
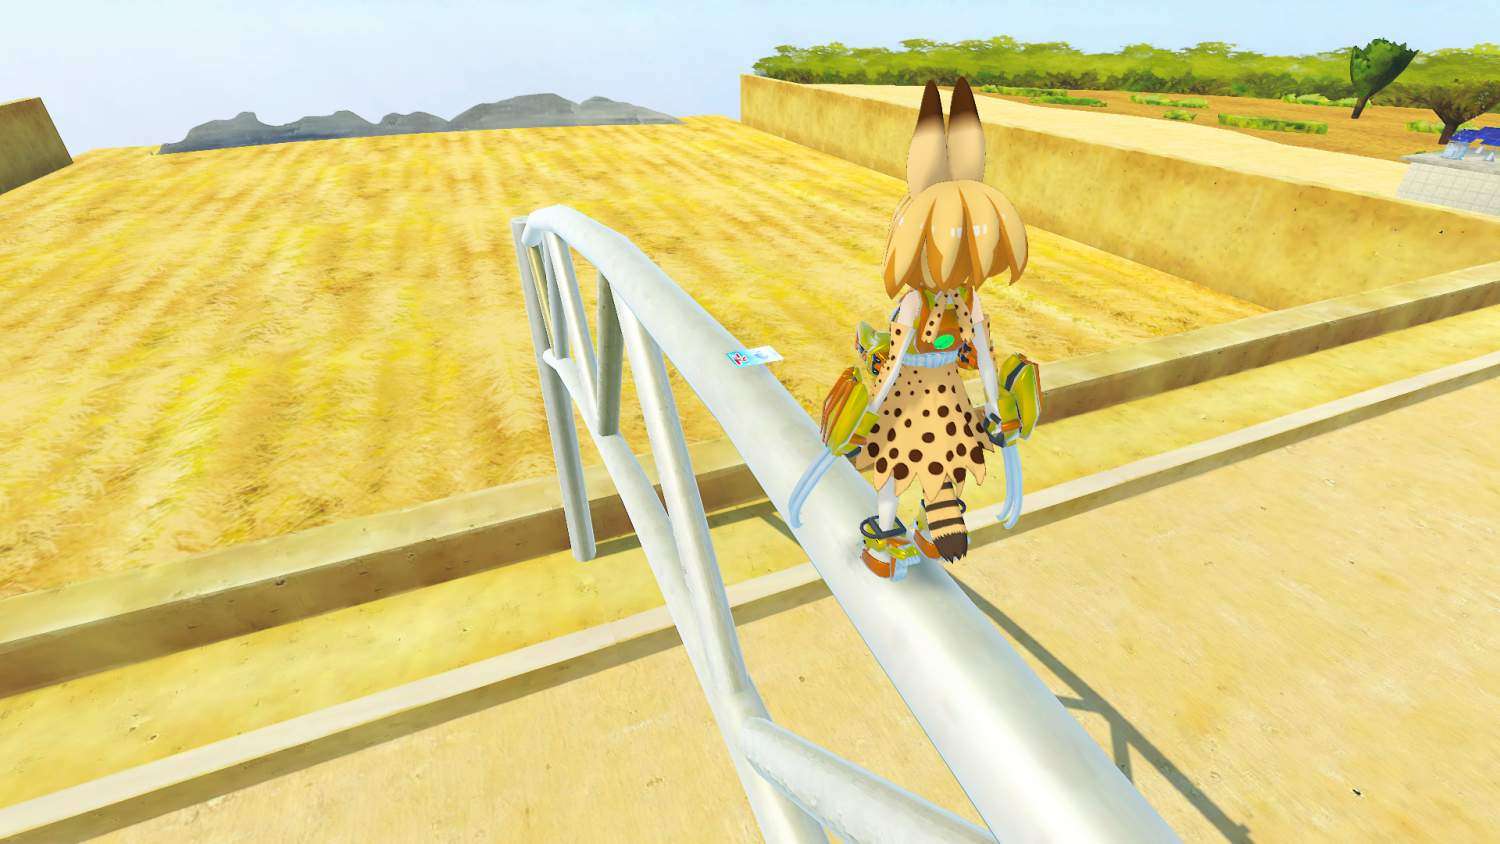
- Level: Geothermal Power Station
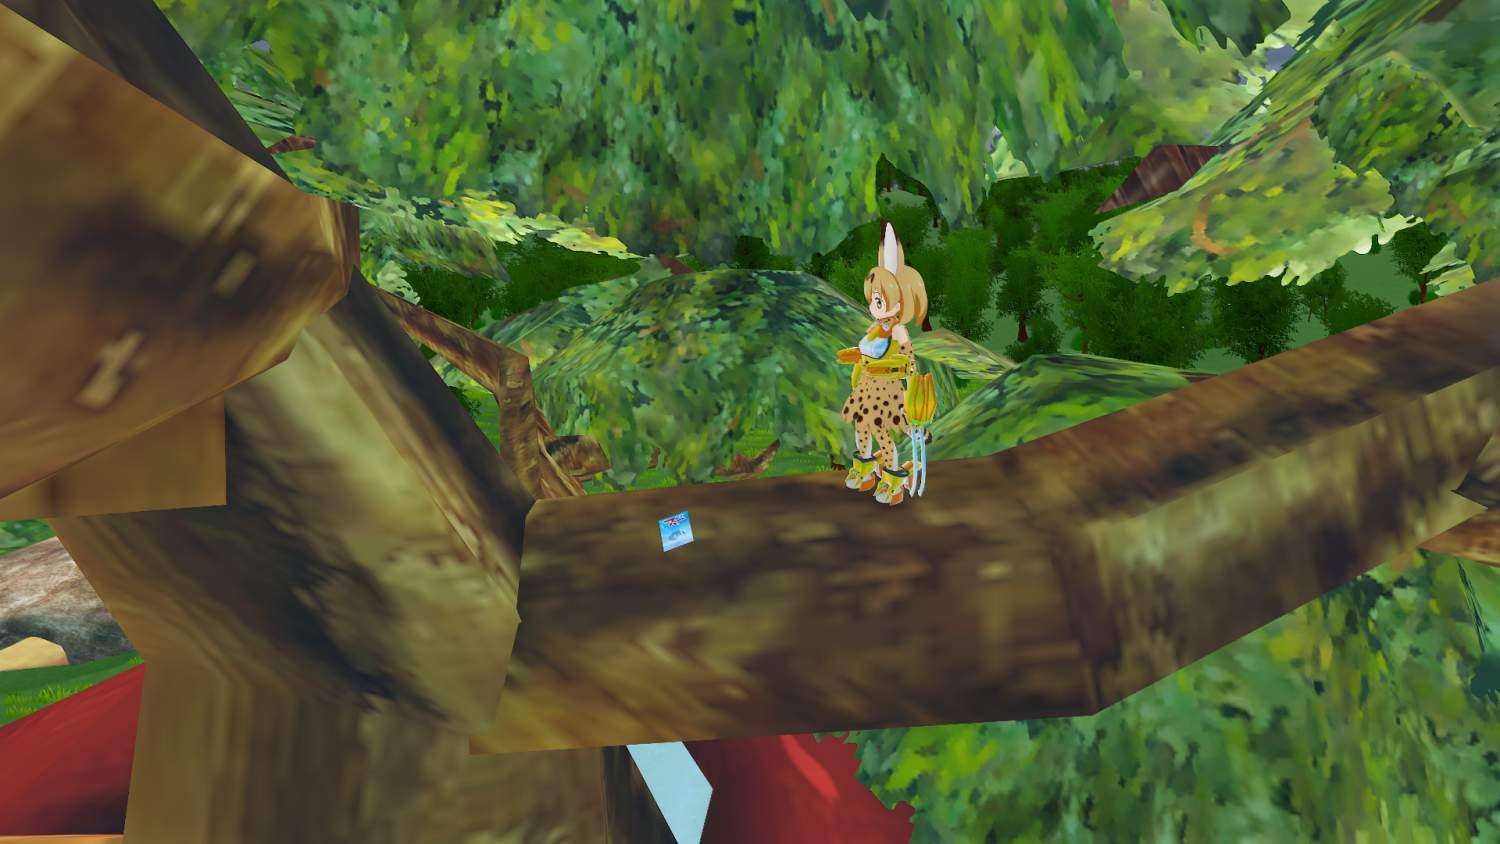
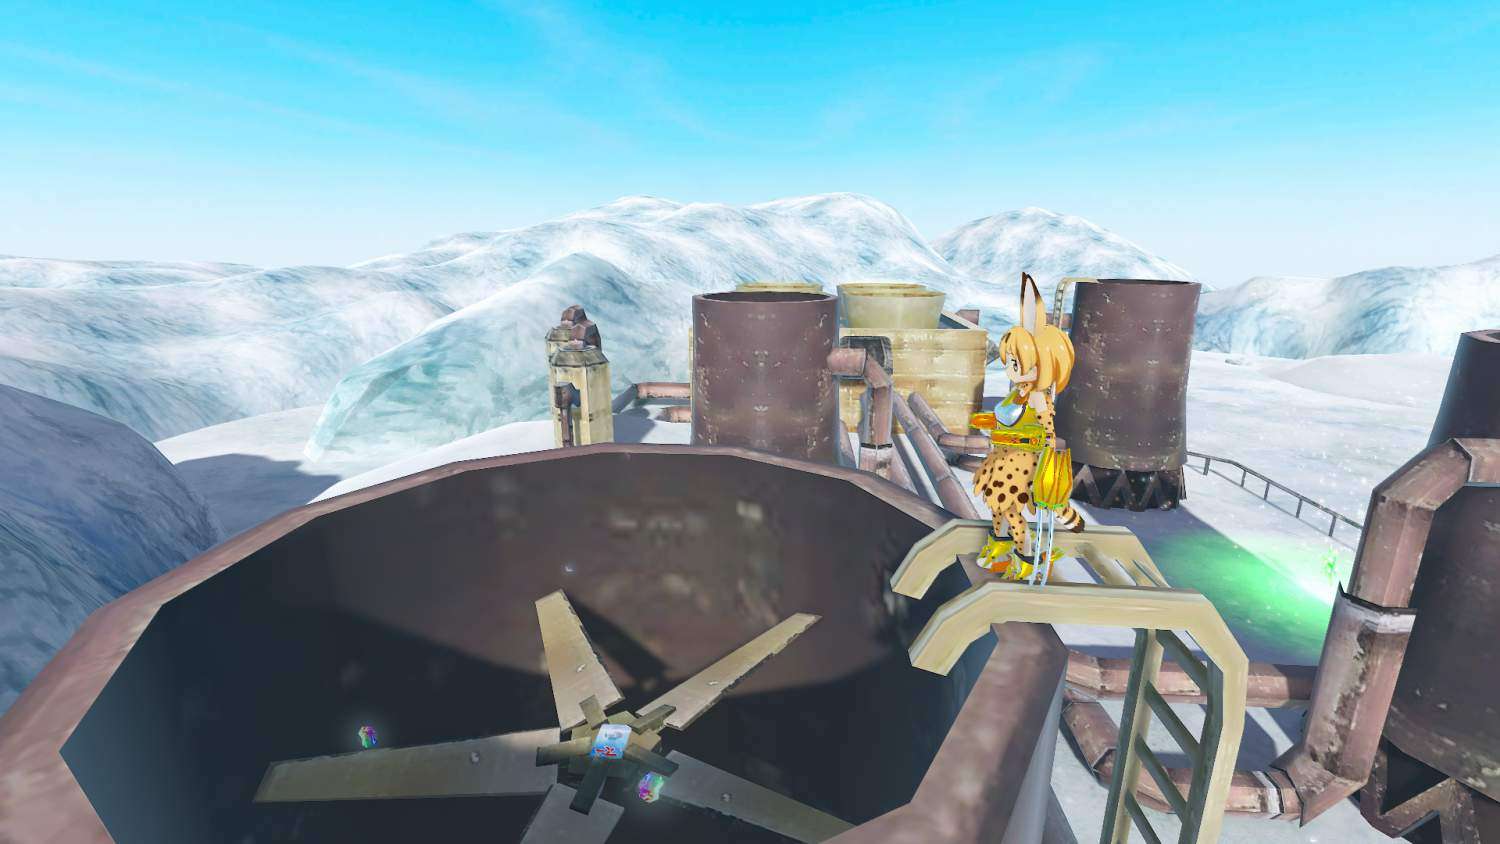
Call Silver Fox and beat the boss, proceed to climb the main building and run between the big vents, eventually Silver Fox should jump up and begin her lil dance animation. Thanks to Lasso for pointing me in the right direction, even if it was in the intro video. Probably shoulda watched it, but I already knew the game so that is just extra stupid on my part.
Hidden Japari Coin
- Required: Lithograph of Collapse x1
- Level: Labyrinth Exit
Call Tsuchinoko and use Collapse, walk this spot and a Japari Coin should spawn with Tsuchinoko commenting on it.

Idol Monument
- Required: Lithograph of Collapse x1
- Level: Outdoor Music Venue
Call Margay and use Collapse. She will comment no matter how far you are.

Fossil Fighters
- Required: Lithograph of Collapse x1
- Level: 9th Station
Call Kaban and use Collapse. Walk to this spot, or another spot to the left, and she will comment.

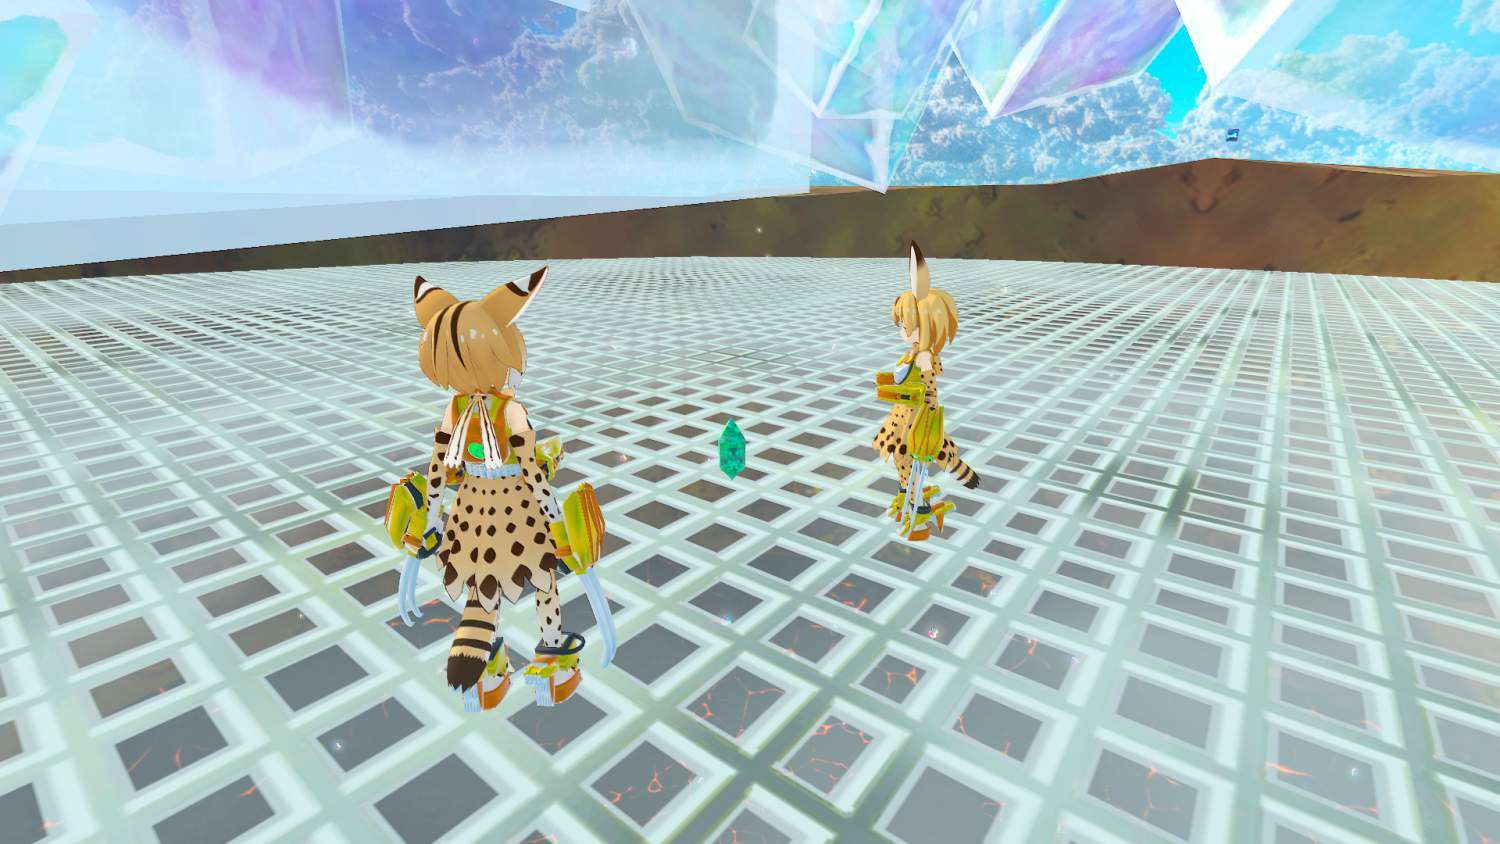
Green Crystal
- Required: All Four Bosses Beaten
- Level: The Summit
Call Another Serval before or after beating the bosses. Walk to the center of the filter and a green crystal should spawn.
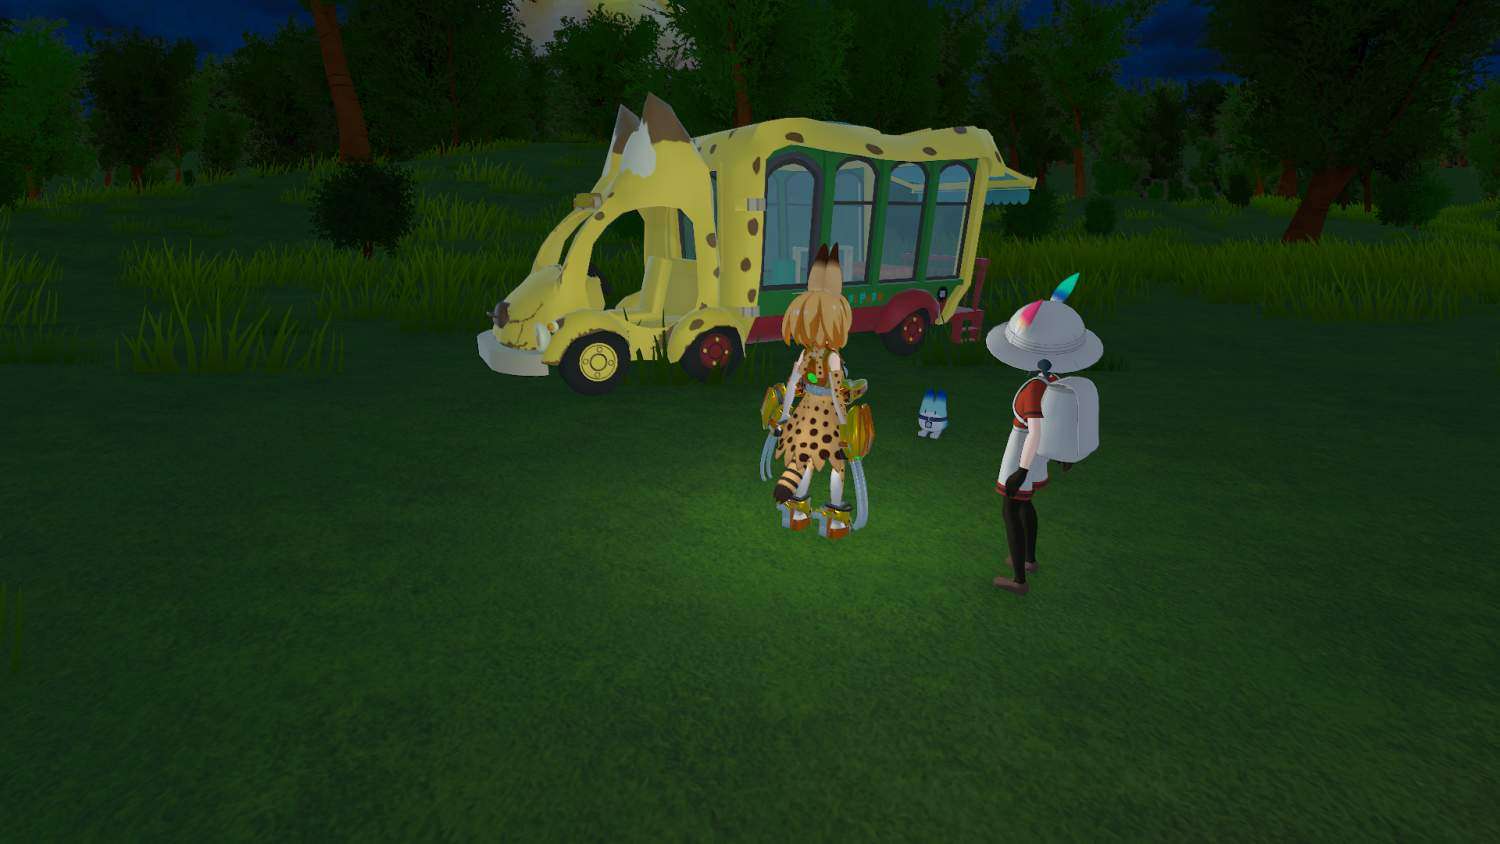
Calling all Friends
- Required: Before fighting Big Dog
- Level: The Foot
Call Kaban and approach the Lucky Beast by the bus. Touch for Kaban and Lucky Beast to talk to eachother. Afterwards fight Big Dog.
Minor Secrets
Training Area
- Level: Main Map
Go to the section behind the Castle, entrance should spawn out of thin air.


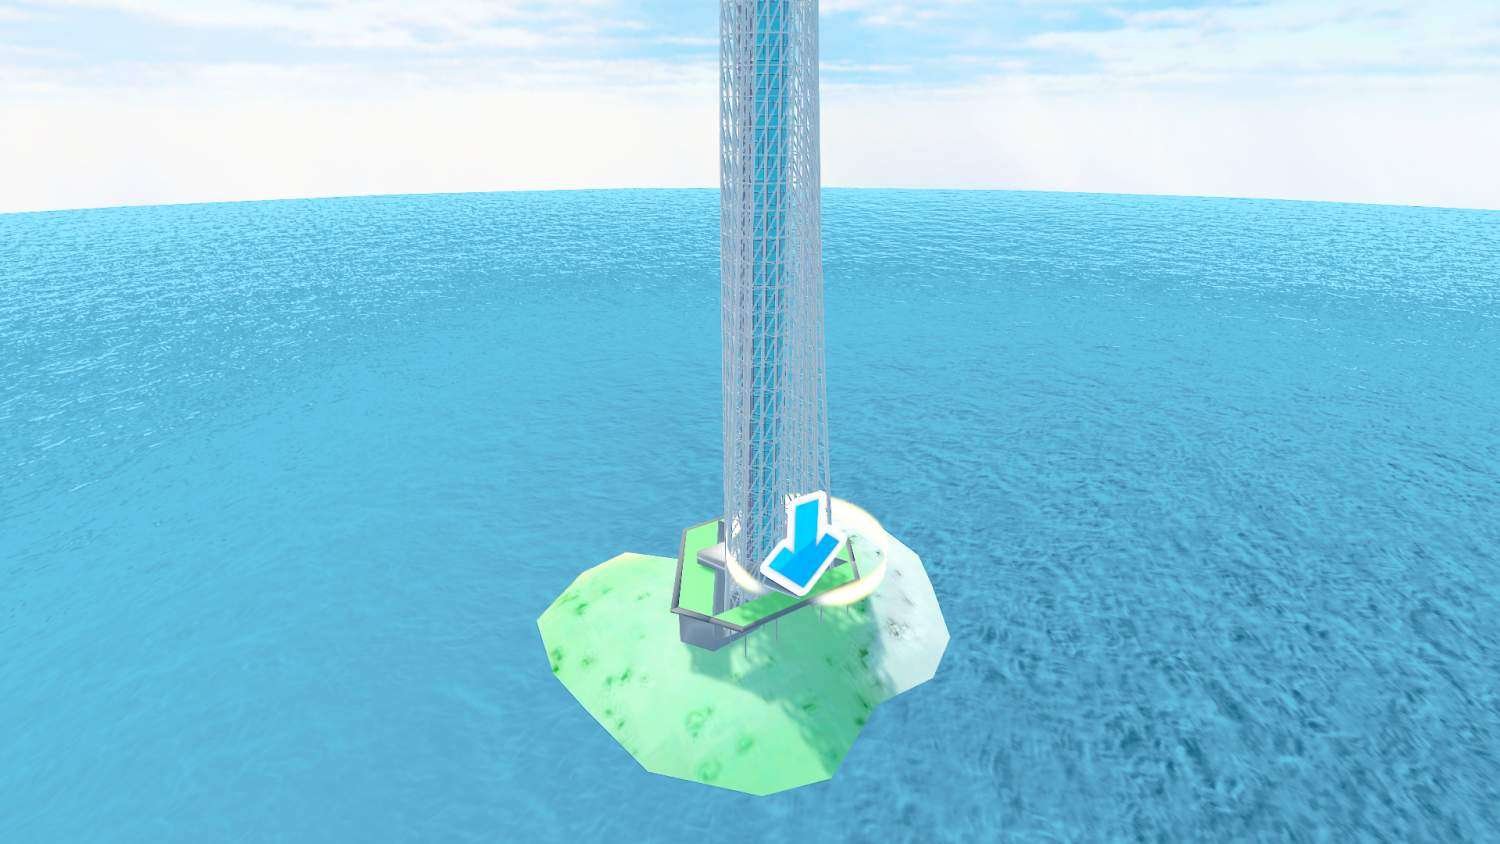
Skytree
- Level: Main Map
Go to the secluded island, you will have to jump to it. Entrance should spawn out of thin air. You will need completed amulet to even access.

Ameowzing Night
- Level: Japari Library (Hub)
Defeat the Dummy by dealing enough damage to it. Summoning all Friends helps.

Lighthouse
- Level: Sunrise Port
Climb to the very top of the Lighthouse and use boltstrike, call Kaban and bring her to the spot where the numbers are shown.

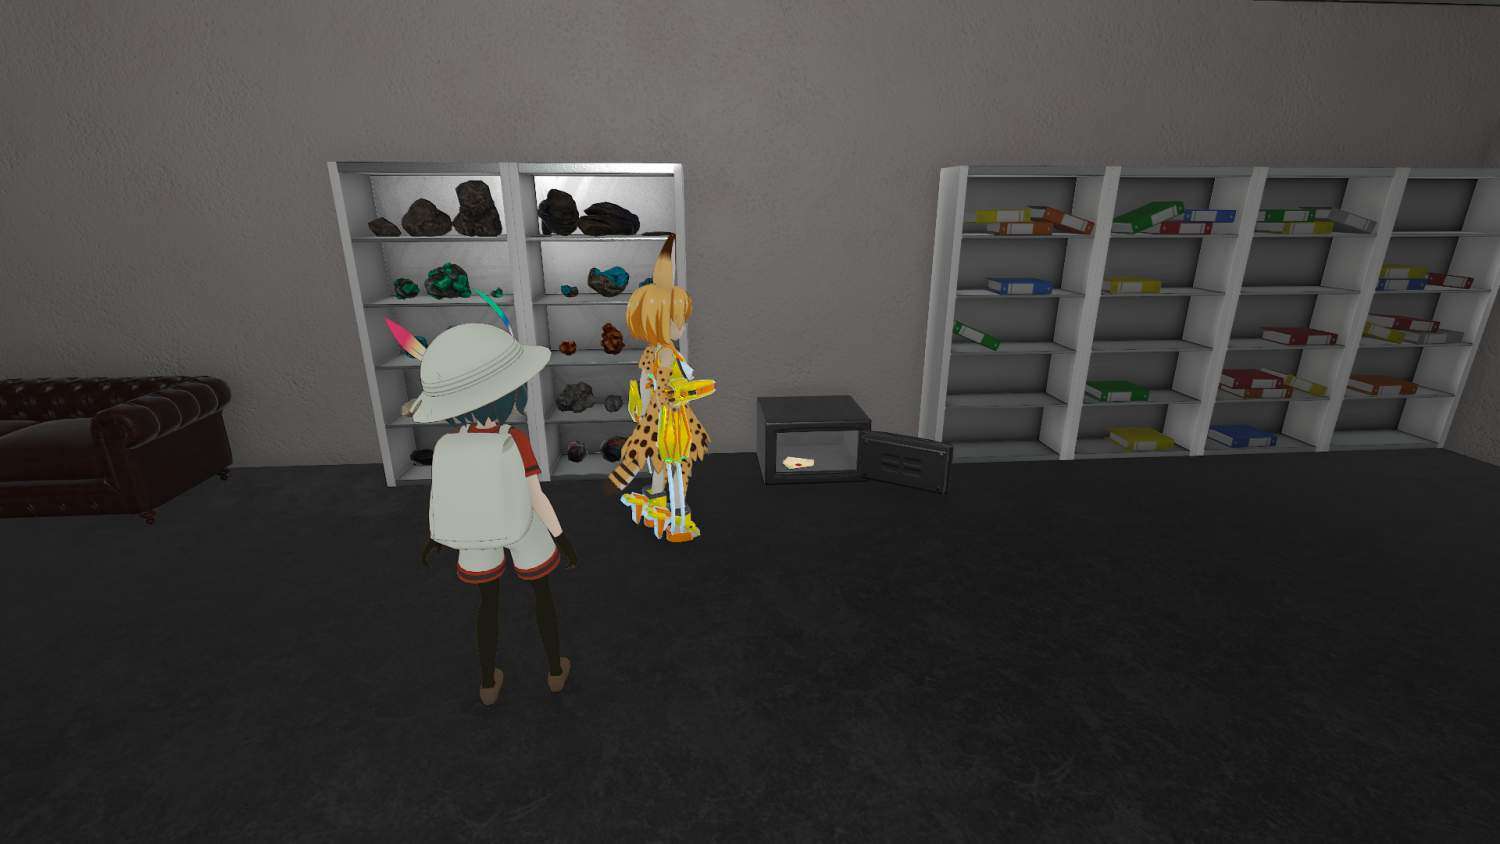
Hidden Library, Medicine, and Nugget
- Required: All Lucky Beasts Saved & Lighthouse Code
- Level: Japari Library (Hub)
Call Kaban and go behind the Library, approach the hatch and enter. Once inside, grab medicine from table and open safe which contains a nugget and letter. Will need nugget later.
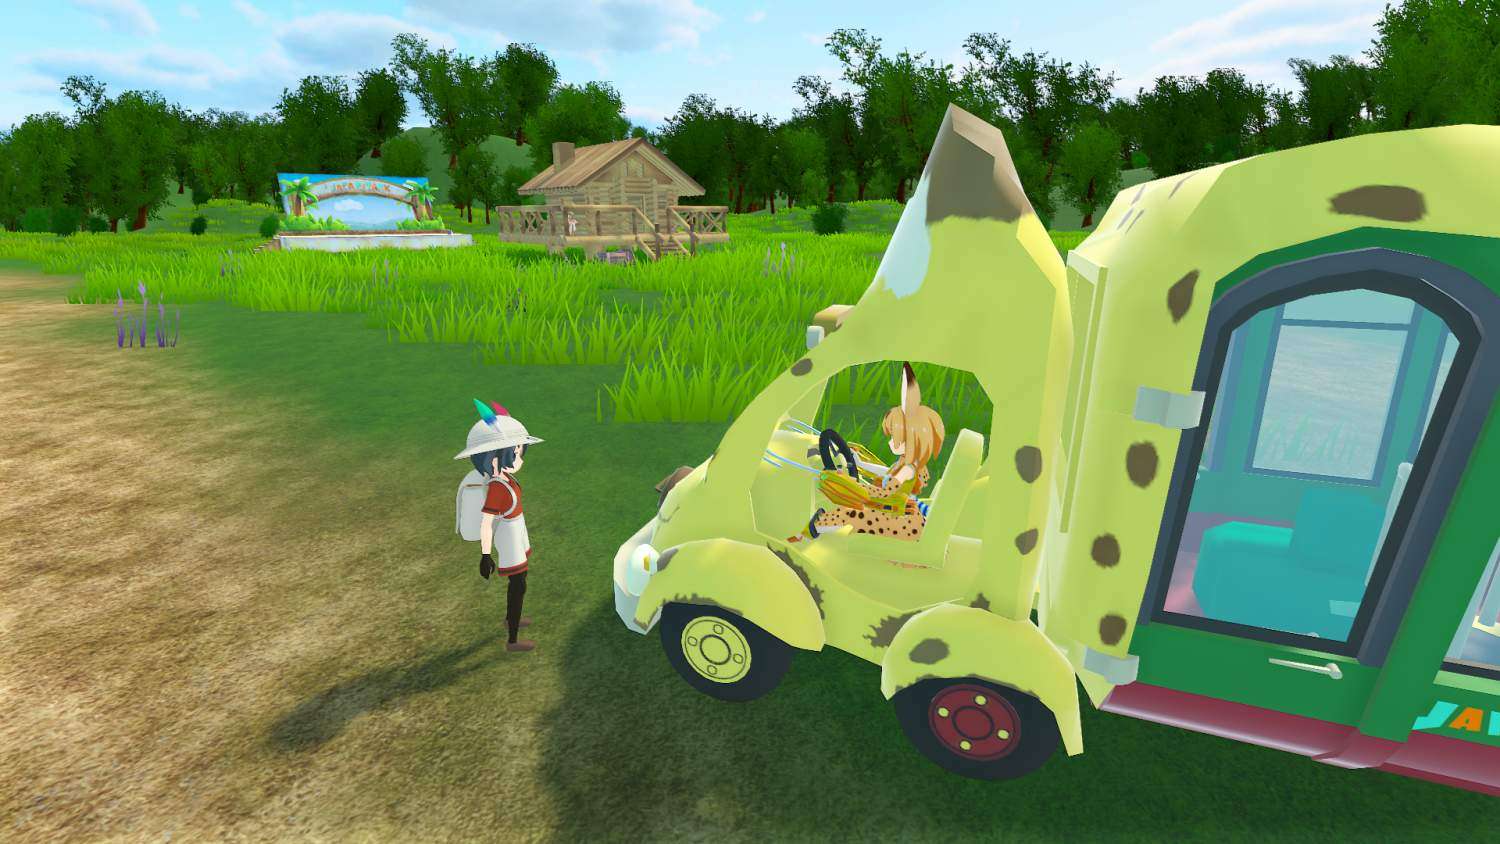
Drivable Japari Bus
- Required: Japari Bus
Go to the driver seat and sit. You can now drive the bus around.
Cerulean Army 1
- Required: Lithograph of Collapse x1
- Level: Geothermal Power Station
Use Collapse and fight off the horde of Cerulean’s, unlike the in episode of foxes.
Cerulean Army 2
- Required: Lithograph of Collapse x1
- Level: The Foot
Use Collapse and fight off the horde of Cerulean’s, much tougher than the first.
Squashed Cerulean
- Required: Defeat Boss. Do not kill Cerulean. Turn on power. Scare Cerulean into busted Tank
- Level: Underground Laboratory
Once you have defeated the Queen, do not kill the Cerulean that is left behind. Ignore it and turn on the power instead. After doing so wrangle it into the tank. Kaban has unique dialogue upon seeing it get smashed.

Instant Defeat of Big Dog DNA
- Required: Anti-Cellien Medicine
- Level: The Foot
Works on all difficulties, when absorbed into Big Dog, approach the DNA segment and use the medicine.
Japari Pamphlets
Do not forget to read these before leaving the level. Just spawning them probably does not count.
Pamphlet 1
- Optional: Lithograph of Guidance x1
- Level: Gate
All you need to do is platform up and move to the center. It should spawn out of thin air.
Pamphlet 2
- Optional: Lithograph of Guidance x1, Required: Lithograph of Collapse x1
- Level: Deepest
Use Collapse and go to the corner. It should spawn out of thin air.
Pamphlet 3
- Optional: Lithograph of Guidance x1
- Level: Japari Cafe
All you need to do is platform up and move to the very edge. It should spawn out of thin air.

Pamphlet 4
- Optional: Lithograph of Guidance x1
- Level: Labyrinth Exit
All you need to do is platform up to the pillar to the far right and jump to the pillar closest to it. It should spawn out of thin air.

Pamphlet 5 & Document
- Optional: Lithograph of Guidance x2, Required: Lithograph of Collapse x1
- Level: Log House
Do not use Collapse yet. Save it until after entering the hatch. However before you enter it climb up the middle propeller and a pamphlet should spawn out of thin air. Once entered the hatch, use Collapse and walk down the hall until the document spawns out of thin air.


Pamphlet 6
- Optional: Lithograph of Guidance x1, Required: Lithograph of Collapse x1
- Level: Castle Lord Room
Use Collapse and walk all the way down the hall. It should spawn out of thin air.

Pamphlet 7
- Optional: Lithograph of Guidance x1
- Level: Japari Library (Boss)
Platform on top of the tree within the Library and check the branches. It should spawn out of thin air.
Pamphlet 8
- Optional: Lithograph of Guidance x1, Required: Lithograph of Teleport/Connect x1
- Level: Outdoor Music Venue
Use Teleport/Connect and check the island. It should spawn out of thin air.
Pamphlet 9
- Optional: Lithograph of Guidance x1
- Level: Geothermal Power Station
On one of the vent fans. It should spawn out of thin air.
Pamphlet 10
- Optional: Lithograph of Guidance x1, Required: Boss Defeated, Lithograph of Teleport/Connect x1
- Level: Underground Laboratory
After defeating the Queen, use Teleport/Connect and approach the broken dummy. It should spawn out of thin air.
Pamphlet 11
- Optional: Lithograph of Guidance x1, Required: Lithograph of Collapse x1
- Level: Resting Place
Use Collapse, in a far corner. It should spawn out of thin air.

Pamphlet 12
- Optional: Lithograph of Guidance x1
- Level: After The Summit and before The Foot
Platform on the destroyed Bomber Jet, up to center area. It should spawn out of thin air.
Pamphlet 13
- Optional: Lithograph of Guide x1, Required: Lithograph of Teleport/Connect x1
- Level: The Foot, inside Big Dog
Once Big Dog has absorbed you, use Lithograph of Teleport/Connect. It is against one of the walls in center. It should spawn out of thin air.
Minmi Statues
Blue Minmi Statue
- Acquisition Level: Easy
Just have Arai-san attack the Dummy. Eventually the statue will spawn out as a stolen item.

Violet Minmi Statue
- Acquisition Level: Easy
Play Park Man at Ezo’s and Silver’s area and beat it. Hit return and save afterwards and it should spawn on the seat.

Black Minmi Statue
- Acquisition Level: Medium
Defeat a certain hidden boss. Explained later.
Red Minmi Statue
- Acquisition Level: Hard
Beat Infernal in the Training Room. It should spawn within the arena so do not leave until picked up.
Silver Minmi Statue
- Acquisition Level: Hard
Go through the entire Skytree and beat Helioza, it should be spawned on top of a lab pillar. Grab before leaving.

Golden Minmi Statue
- Acquisition Level: Very Hard
Requires the Wise Pot, ingredients Gold Nugget x1 White Crystal x1 Gold x10,000. Gold Nugget is acquired through safe, White Crystal from hidden boss explained later.
Hidden Bosses
Sin Wild Release
- Required: Sticky Capsule x16
- Level: All boss levels
- Difficulty: Medium-Hard
Before approaching a boss or activating them, use the Sticky Capsule to turn them into Sin Wild Release Bosses.

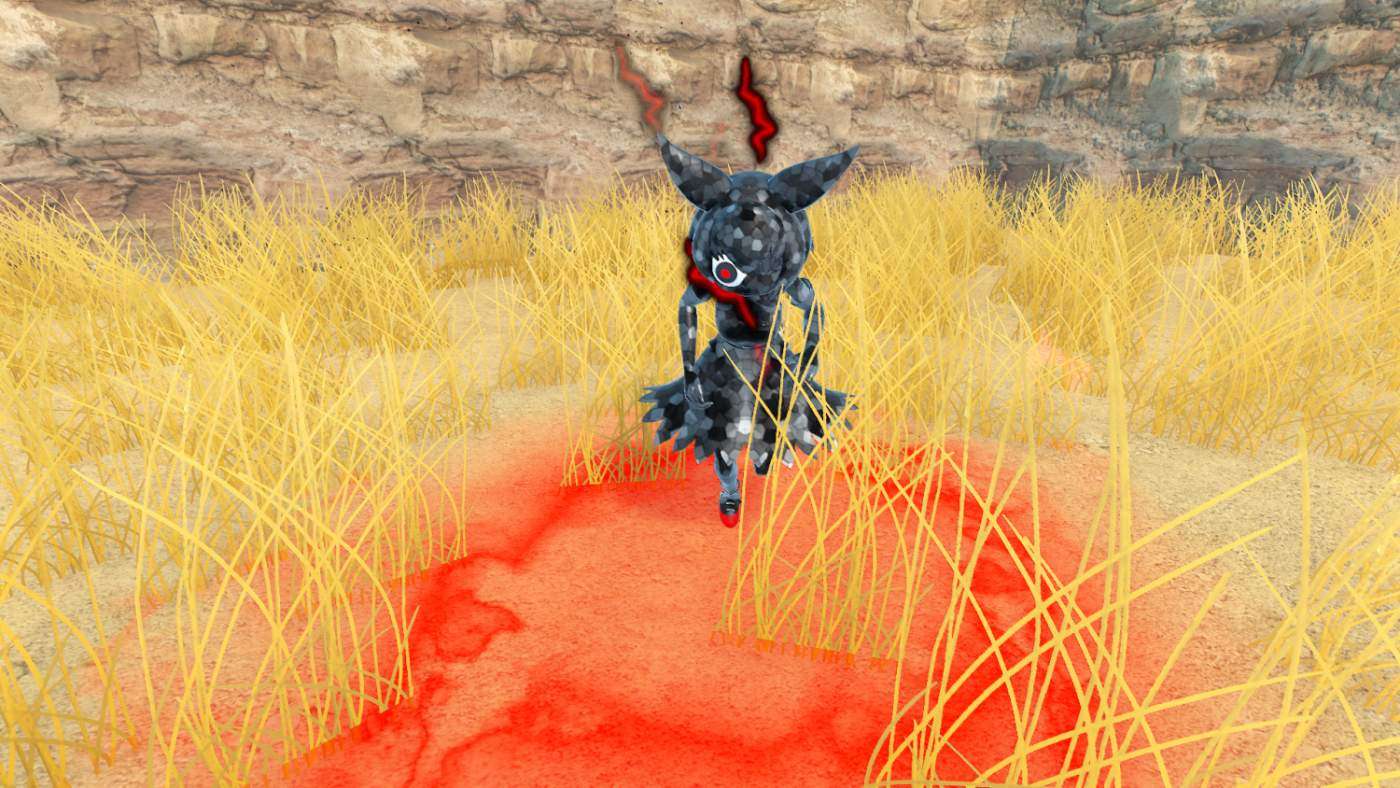
Dark Serval (Level 1 EX)
- Required: Sticky Capsule x1/Kill enough Ceruleans in one floor on EN/CR difficulty
- Level: Savannah Area
- Difficulty: Medium
Enter the Savannah Area and use the Sticky Capsule/Kill enough Ceruleans. You should get alerted of her coming to kill you. Upon defeat she drops a photo, pick it up.
Dark Serval (Level 2 EX)
- Required: Sticky Capsule x1/Kill enough Ceruleans in one floor on EN/CR difficulty
- Level: Lodge
- Difficulty: Hard
Enter the Lodge and use the Sticky Capsule/Kill enough Ceruleans. You should get alerted of her coming to kill you. Upon defeat she, possibly, drops the same photo as level one. Pick it up anyways.
Big Dog (Raw)
- Required: Sticky Capsule x1/Kill enough Ceruleans in one floor on EN/CR difficulty
- Level: The Mountain
- Difficulty: Medium
Enter The Mountain and use the Sticky Capsule/Kill enough Ceruleans. You should get alerted of him coming to kill you. Upon defeat he drops the Black Minmi statue, you might have to look for it.
Queen (Raw)
- Required: Sticky Capsule x1/Kill enough Ceruleans in one floor on EN/CR difficulty
- Level: Inside the Earth
- Difficulty: Very Hard
Enter Inside the Earth and use the Sticky Capsule/Kill enough Ceruleans. You should get alerterd of her coming to kill you. Upon defeat she drops a photo, pick it up.

Human
- Required: Sticky Capsule x1/Kill enough Ceruleans in one floor on EN/CR difficulty
- Level: Skytree
- Difficulty: Extreme
Enter Skytree and get as far as you can and level up as much as you can. Use Sticky Capsule/Kill enough Ceruleans. Have plenty of Japari Buns and swarm her while being careful. Upon taking Heavy Damage she will drop White Crystal, needed for Golden Minmi Statue. Upon defeat she will drop a photo, pick it up.
New Game Secrets
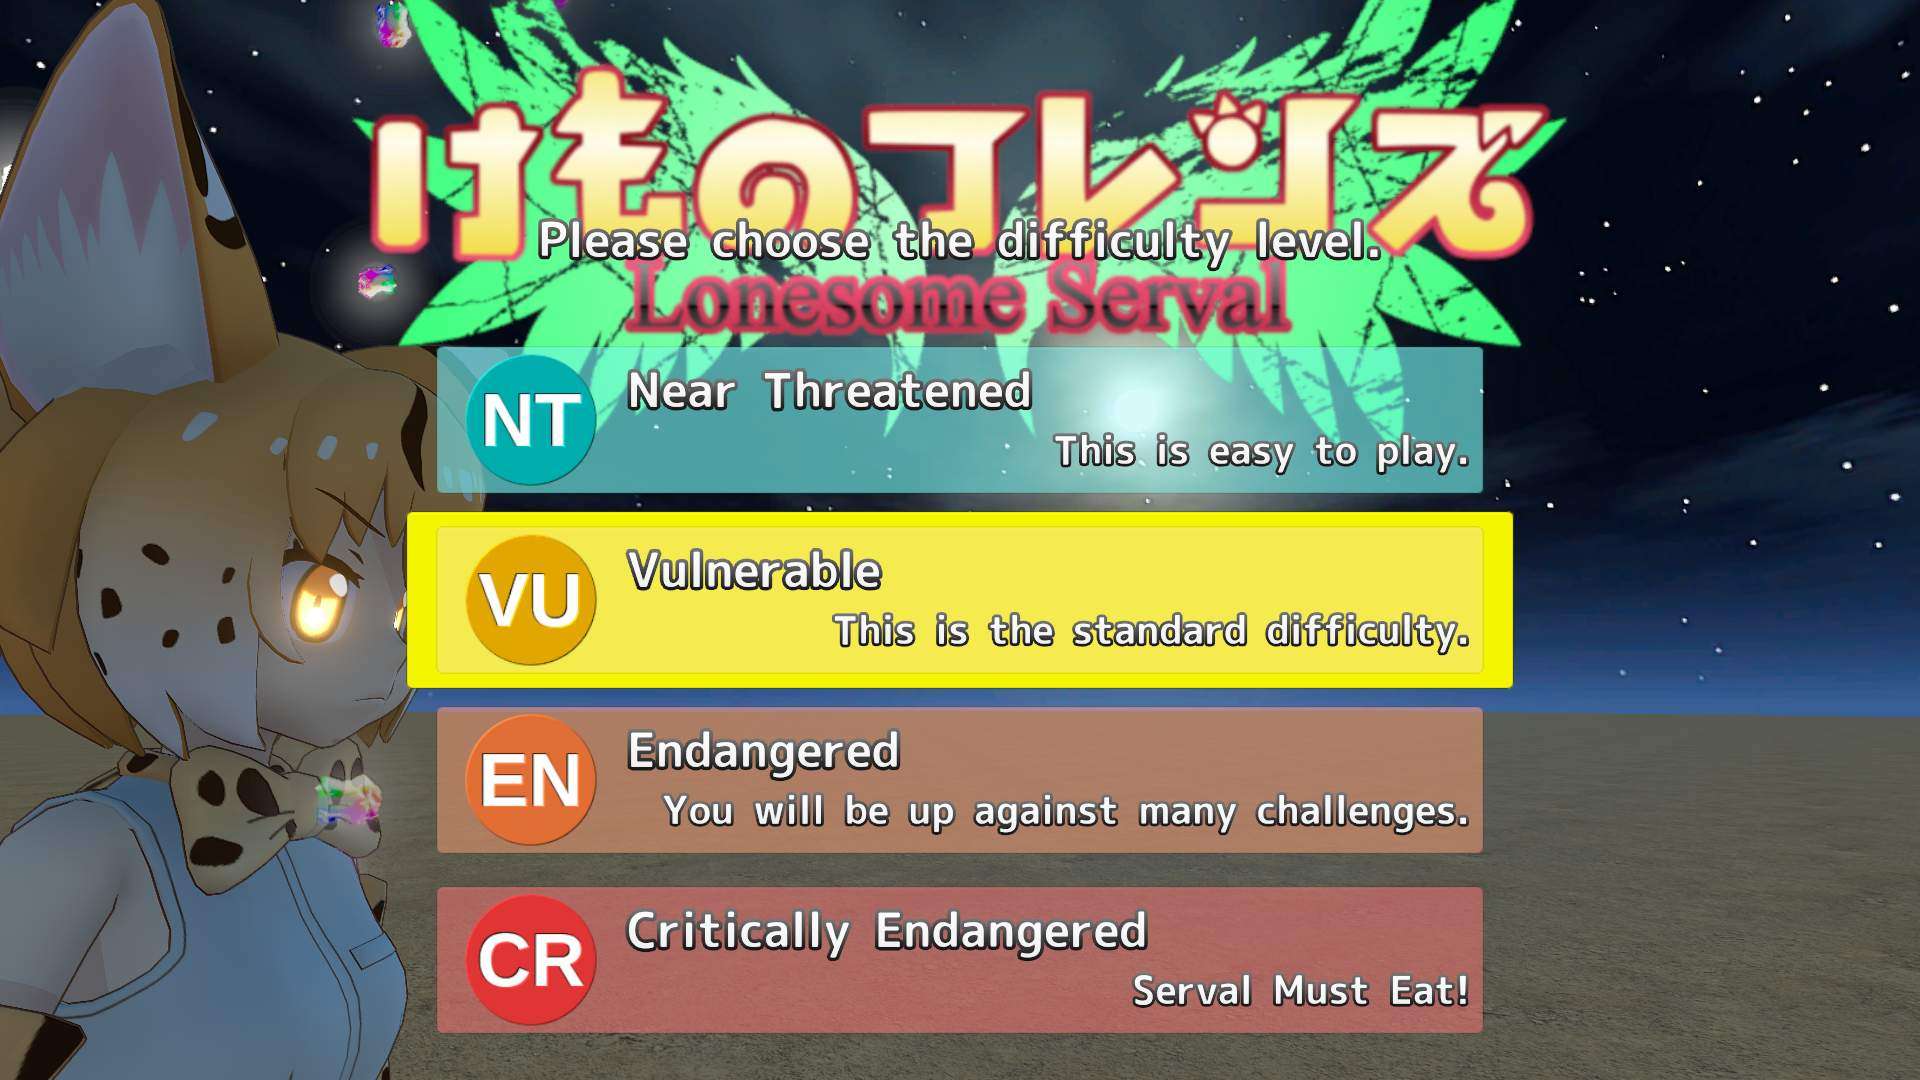
Lonesome Serval Mode
Get to the difficulty selection screen after selecting New Game and press Right Movement Key/Direction x10. If done right you should see Another Serval on the left of the screen. Selecting the difficulty after that will allow you to play as Another Serval in a short story.
Minmi Statue Addition
Get to the difficulty selection screen after selecting New Game and press Left Movement Key/Direction x10. If done right you will hear a noise and see the statues appear. After selecting a difficulty, the hub should have the statues automatically. Doing a new Lonesome Serval after activating will allow you to have the statues in her level. Does not work when loading a previous save file.

Debug Room
Japari Library (Hub)
Not sure when it unlocks, let us just say after getting 100% or maybe after beating the game. Using the Lithograph of Guidance should make it easier to find, just jump into the area to make the entrance appear.

Lonesome Serval Hub
Probably after beating Lonesome Serval it should spawn. Using Lithograph of Guidance should make it easier to find, but it is higher up compared to regular. You will have to climb the tree and jump all the way up in the corner to get the entrance to spawn. Going into it allows Another Serval to enter the Library, however aside from letting you play the base story as Another Serval, nothing unique happens.
100% Secrets
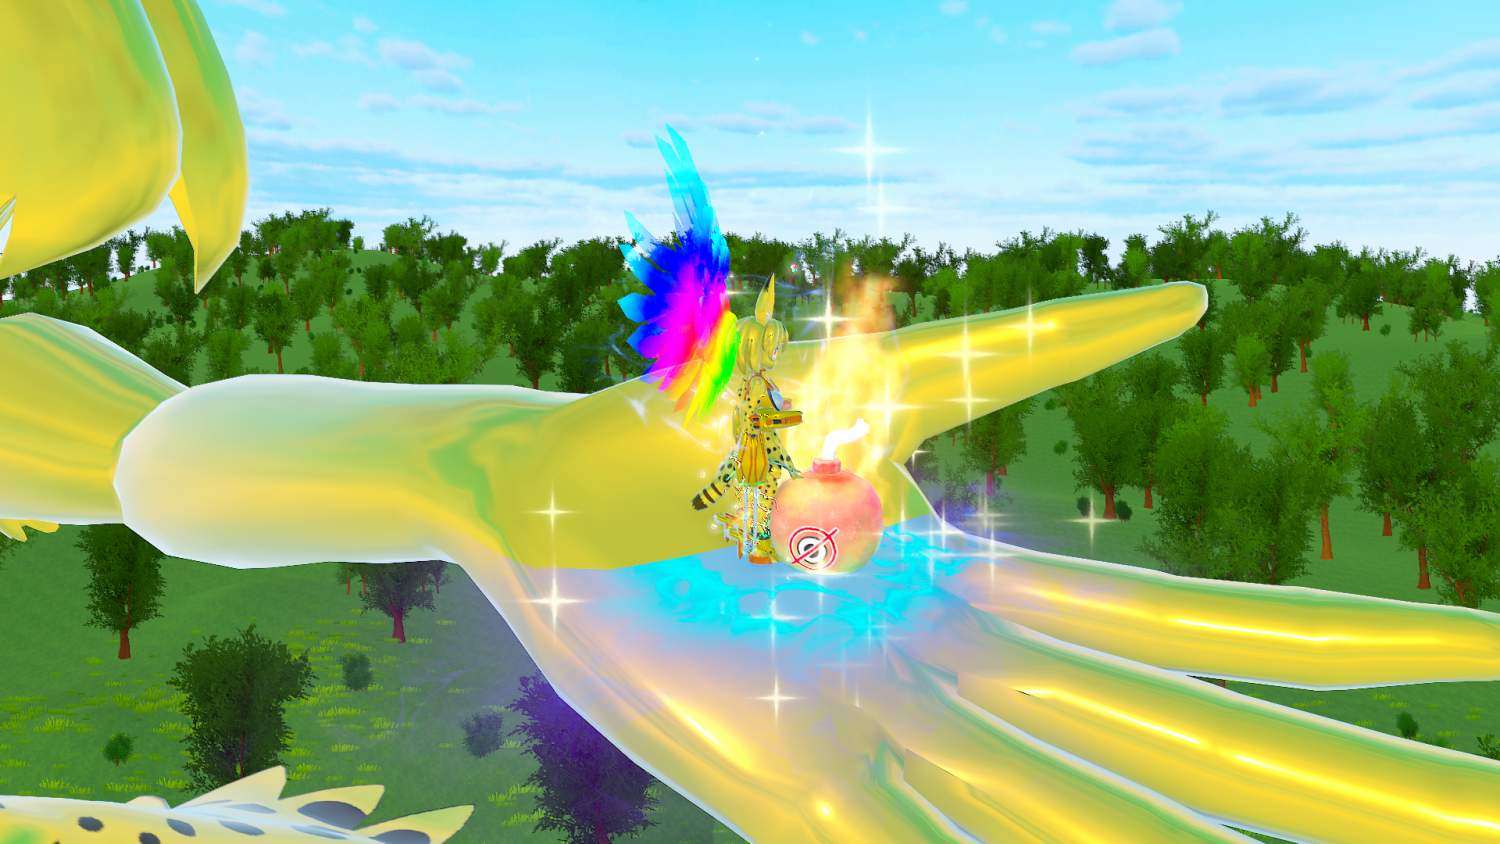
Left Hand of Explosive Joy
Going into the Golden Statue’s Left hand causes a bomb to spawn. It will hurt you even if Kaban is summoned.
Right Hand of Creation
Going into the Golden Statue’s Right hand causes the 3D Bag to spawn. A usable item.

Empty Head of Sugoi
Going onto the head of the Golden Statue will display a search command. Hitting confirm and yes will allow you to use Cerval mode whenever you activate Wild Release. Going back and doing the same thing will allow you to turn it off.
Optional Video
I rant a good amount in this video about stuff. So if you don’t want my stupid ramblings about the game, don’t watch it or just mute the volume. I only made the video as a better visual form of certain things, but I don’t explain /everything/ this game has to offer like in the guide.
I’ve been told how to get the dance now.
Overall everything is pretty simple. If you needed the guide, don’t feel bad about it as the Hidden Bosses part was tricky to figure out in the past for me when the only optional boss was Dark Serval. I don’t think Sticky Capsule was even a thing back then, so it took even more time to figure this out as I just rushed through stuff a bunch. Hope this guide was simple enough to follow and helped you out plenty.
Slight correction to add on, to destroy the dummy you just need to deal 10k damage with one attack. This can be done by building up enough speed with the bus, using the pile attack or judgment with true wild release, or most easily with Brown Bear’s strongest bear stamp. You don’t need to summon as many friends as you can.
Great guide though, helped me out a ton.