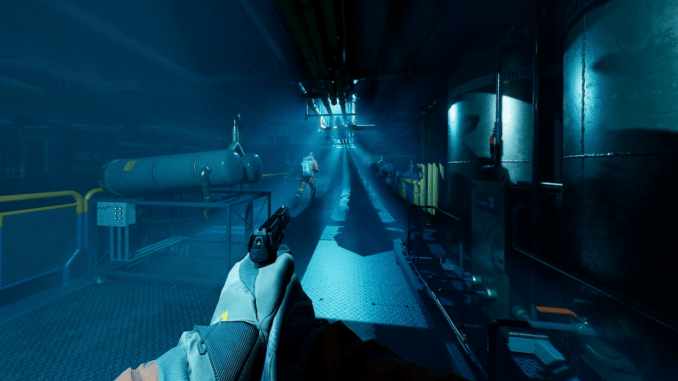
This is a short guide to teach you the basics on how the alien works and how to properly use the tools you have been given.
How to Play as Alien
By Grim Hollow
Foreword
Since to defeat your enemy you must also know your enemy, I would advise anyone who wishes to play mercenary or alien to play at least a few games of each side to get a good grasp on what they can see and on what they can do.
You will find it much easier to push your limits when you know what the limits of your opponent are.
Moveset and Mechanics
Light
Light hurts you and is the main way mercenaries will deal damage to you.
You will not win a straight up fight with a prepared mercenary. Running headfirst into a flashlight or a lit room is a sure fire way to get sent into a 30 second respawn timer.
If you find yourself under the effects of the light generally your best course of action is getting out of there. Turn sharp corners to cut line of sight, close doors behind you, hide in vents.
This does not apply to every single situation as we will see later for the ability section.
Movement
Much like the mercenary you can run, jump and crouch.
Generally you will always want to be crouched. Not only because it reduces your profile, allowing you to be less visible and quickly enter vents, but also because you run significantly faster when crouching.
This means that you should only stop crouching to look over objects, or to hit mercenaries that are jumping or standing on furniture above you.
Running is very noisy and any mercenary paying attention will be aware that you are approaching if there’s no other loud noises overlapping with your footsteps to distract them.
As such if you find yourself close enough to an opponent that is not looking at you, it might be best to walk until you are in striking range instead of sprinting.
Attacking
By default bound to M1, this will be your main way of dealing damage. It’s a quick melee attack that deals 17 damage.
That means it takes 6 hits to knock down a full health mercenary (7 hits if they have any sort of regeneration going on), and an additional 2 hits to kill a downed mercenary.
If you are under the effects of light, you will attack significantly slower. If you are employing hit and run tactics that means that 2 hits is the maximum safe hit amount you can do before having to back off, as most people will be able to get some light source going before you get that third hit.
This will vary from situation to situation. Experienced mercenary trios will better cover for each other and as such you might need to back off after a single hit
Do note that not every single light source reduces attack speed.
Drone lights and weapon flashlights will not reduce attack speed (although they will still damage you)
Abilities
If you have ever selected alien, then you must have already seen this screen.
We will go by each of these abilities to understand what they do.
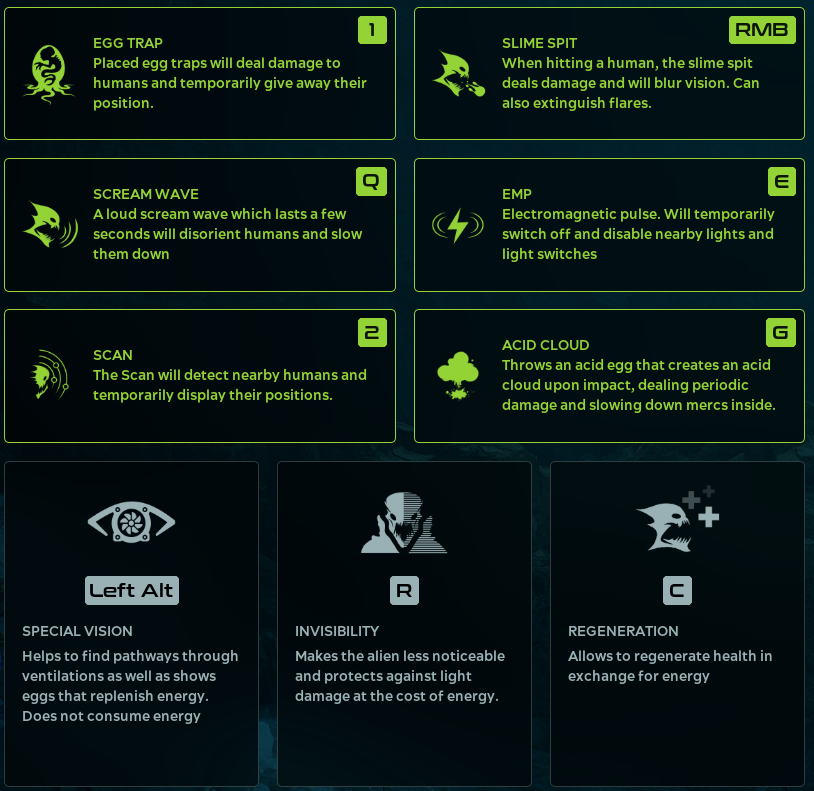
Before we actually go into the abilities themselves, we must speak about the cost of using them.
Eggs and Energy

Each of the aliens’ abilities has an associated energy cost. You can’t use these abilities if you do not have enough energy, and at round start you do not have enough max energy to use most of them.
So how do you obtain more energy?
By consuming these eggs located around the map. As time in the match passes, each egg will give you more and more max energy per egg consumed, making it so you need to spend less time looking for eggs.
Additionally eating eggs while you have abilities on cooldown will slightly refund part of the abilities cooldown. If you consume eggs while your max energy is as high as it can be, eggs will instead restore energy.
Eggs will generally only spawn as you are entering a different area. This means if you stay in the same place for a long time no new eggs will show up close to you.
Try leaving the location to get eggs in other places before coming back to where you were.
Your energy will constantly regenerate at a slow pace, unless you are under the effect of light.
Standing on electric wires will make you restore energy faster. Wires hanging from the ceiling restore more energy per second than wires laying down on the floor, so prioritize ceiling wires if they are nearby.
Make sure you are standing right on them, as you restore less energy if you are just at the edge of the electric wire range.
Electric wires tend to spawn in the same spots, as such there are some areas where you won’t be able to pressure mercenaries as effectively due to having to way to compensate for the energy lost. In those cases it might be best to go somewhere else.
Special vision
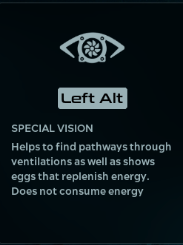
As the description says, it enables you to see energy eggs through walls and shows where certain vents lead to.
What it doesn’t say is that it also allows you to see your teammate through walls, and allows you to see what elevators are currently active if you are close enough to the area (It shows as a giant red box)
Invisibility
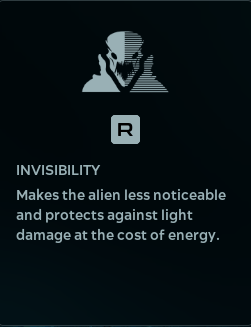
The description is once again accurate, but incomplete.
If you are invisible under the effects of the light, there will be a small trail of smoke coming out of your alien. This means that mercenaries can somewhat tell your current position.
Additionally, if you get shot while invisible, you will immediately get revealed, making you vulnerable to lights again, and incur a 5 second penalty where you can not do anything other than walking and opening or closing doors.
Your sprint will be disabled, you can’t attack and you can’t use abilities. Having this happen to you in a lit room or someone with a light source nearby is an immediate death sentence.
You can’t attack while invisible as trying to do so will uncloak you. Additionally using abilities while invisible will put you into a similar 5 second penalty where you can’t do anything but walk. (Confirm this as I think you can run after you use an ability while invis)
This has its uses, as you can go a bit further into the light to use an ability before backing off. You will take some damage as you back off but less than if you went into and out of the light while not invisible.
Regeneration
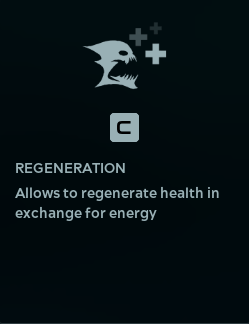
You are unable to regenerate health while being affected by light or while at full health. There’s also a slight delay on being able to regenerate if you get shot.
If you are going to regenerate, you should do so while standing on an electric wire, as passive energy regeneration is a bit slow to be healing your entire health bar.
It’s usually best to retreat from the area to find an electric wire as this will save you more time than waiting for the passive energy regeneration to take effect.
Regenerating life while invisible will forcefully reveal you and incur the 5 second penalty.(Might be shorter, confirm).
For the following active abilities I will go in the order from which they unlock during the game, not the order as they show up in the alien selection screen.
Slime spit
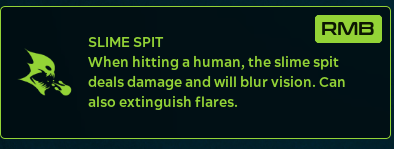
Each spit deals 10 damage. Is affected by the mercenary poison resistance perk.
Does not cost energy.
You can charge the spit. This will not alter the damage dealt, only the trajectory. The more you charge, the more accurate it is and the further the spit projectile will go.
The projectile is somewhat forgiving when it comes to flares.
You do not need to hit the flare directly, only close enough.
If you hit someone holding a flare in any part of their body, the flare will be put out.
You can even put out a flare through thin enough obstacles, like doors, provided the flare is right next to said obstacle.
You can hold a charged spit while doing other actions. This includes using abilities out of invisibility. A charged spit will bypass the 5 second penalty that usually happens from being revealed out of invisibility, allowing you to squeeze more value out of that particular interaction.
Additionally, add a section with images comparing glowstick and flare to prevent confusion (as glowsticks dont get put off by spit)
Egg trap
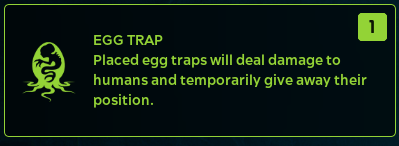
Deals 15 damage, forces the mercenary to drop whatever their currently held item is onto the ground, prevents them from running or taking any other action for around ~3 seconds.
Besides revealing their red outline through the wall, the trap will give out a very loud noise that alerts both nearby mercenary teammates and enemies that somebody got hit by said trap.
Mercenaries can shoot the eggs in order to destroy them so don’t place them in any random spot. Try to hide them around corners, behind obstacles or behind doors.
Eggs are extremely powerful tools when used right. An example scenario for them is to ‘cover’ your retreat. Some aggressive mercenaries will try to push you out of a location by chasing you away with a flashlight or any other light source.
If they are too focused on you they might run straight into an Egg Trap and potentially even lose their life in your retaliation if their teammates aren’t close enough to help.
Dropped items retain their functionality. A dropped flare or glowstick will keep shining in the same way an active flashlight will still be shining its light beam in the direction it was dropped in. This can make approaching a trapped mercenary difficult depending on the angle they get caught in and your position, unless you have a way to deal with the dropped light source.
Acid Cloud
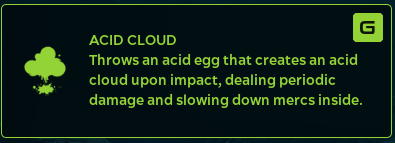
Deals 4 damage per second and lasts 11 seconds. Is affected by the mercenary poison resistance perk.
This projectile starts dropping much sooner than a fully charged Spit, as such you might need to fire at a higher angle to hit your target.
Additionally, there’s a small delay before the cloud actually appears, giving mercenaries time to get out.
This makes it so this is mostly a tool to either block out exits, to separate teams in chokepoints, to flush people out of corners or very small rooms. It is not the most efficient harassment tool unless the mercs are already in a somewhat bad position and should not be relied upon to deal significant damage.
It is the safest way an alien has to kill a down player that is standing under a light source. If you get a good angle on the cloud you can generally kill the player before they manage to crawl away from the cloud.
Spit also damages downed players, these tools in conjunction should be able to confirm the kill.
Scan
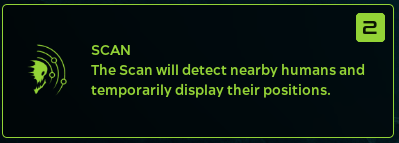
The description does not currently reflect how it actually works.
Using scan will send out a wave across the map, that the mercenaries can also see/hear going off.
It will first try to reveal any trios on the map. If there are no trios it tries to reveal duos, and if there are no duos it reveals solos.
A trio with a dead player is NOT considered a duo, if the dead player chose to keep playing as a drone to help their still alive teammates.
This means you could potentially send a scan wave and reveal a single person, while having still 10 people left on the match, as it would reveal the trio currently composed of 1 alive mercenary and 2 drones.
Drones do not get revealed in the scan.
Since the scan takes a while to go off it is best to be standing under an electric wire while using it, to get most of the energy back by the time you are able to see the revealed mercenaries.
EMP
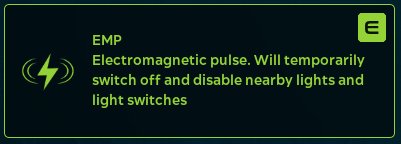
It will switch off nearby electric light sources that are CURRENTLY ON.
This means any electric device that is currently turned off will not be affected by the EMP, and will be able to be turned on like normal immediately after the pulse passes through said electric device.
Drones and turrets count as electric devices. Drones will be destroyed, turrets will be temporarily disabled. This will affect flashlights that are on that are being held and that are laying on the floor, (again, provided they are on)
If an individual manages to turn off the flashlight before the EMP effect applies, they can turn it on immediately after the pulse goes by them, invalidating the EMP.
You can tell if a device was affected if it has small electric currents visibly jolting around the device.
The range of the EMP is not particularly large, but it can affect any floor beneath or above you.
There is a small delay in the effect applying whenever you use the EMP, even at very close ranges. This makes for occasions where you sometimes have to try and predict when they are going to turn the lights on. EMP’s are generally best used in coordination with your alien teammate.
Scream wave
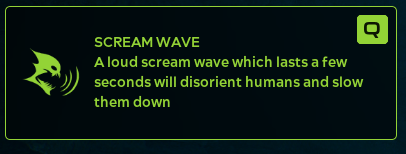
Slows affected mercenaries, and ‘locks’ them into the direction they were facing at the moment they are affected by screamwaves, making them incapable of turning.
The more mercenaries are affected, the longer the effect lasts.
Extremely powerful combo when combined with the EMP of one of your teammates. A properly executed EMP / Scream Wave can often result in a kill onto one of the members of an unaware mercenary trio.
Tricks and General Strategies
You can swing or spit at turrets to make them turn towards you. This means you can forcibly make the turret turn towards certain directions where mercenaries are standing to do some damage and flush them out.
Just don’t keep hitting it as this will kill the turret. No need to make a mercenary’s life easier.
You can also body block turrets against objects in order to stop it. Occasionally useful to bait mercenaries into more open areas before going around and swinging at the turret.
In the same way if a mercenary is currently trying to retreat into an enclosed room, you can try to run ahead of him, to close the door or even bodyblock him.
You can still bodyblock people while invisible so you can force the person to go some other way or change to a weapon in order to deal with you.
Particularly useful when you are trying to single out people along with your teammate, as they won’t be able to move if they stand in a doorway with aliens on both sides.
Mutants can only be dealt with by shooting or melee, not light. This means that if you engage a team from a blind spot while they are about to engage a mutant you can potentially get a few more hits in before they turn to deal with you.
This will also enable the mutant to potentially deal more damage that it would have dealt otherwise.
If a mutant is blocking your path or in an annoying spot it might be best to kill it depending on the situation. Should only take around 5 melee swings.
Always look to third party a conflict between different mercenary teams. Very often you can finish off downed players or catch someone that is low health and not prepared to deal with an alien.
Just don’t play your hand too soon, or you will find yourself under fire from 2 different teams.
Manage your time properly. Maybe that one solo that is waiting for the elevator and has a million flares and glowsticks around him is not worth your time, when you could be helping out your teammate finish off another squad in a different part of the map.
Prioritize the weakest link. If a mercenary is coughing that means he is on low health and potentially only around 2 hits away from knockdown.
Look at what the mercenaries are doing.
- Do they constantly split up through multiple rooms in a sector?
- Do they ever check around corners?
- Do they run straight for the light switch as they enter a new area?
- What weapons are they using?
A trio that is consistently playing in an odd or unorganized way is much easier pickings than even a single competent solo. As such it’s better to prioritize killing such a group.
If you think this is cruel, understand that they will likely crumble apart on contact with a more experienced mercenary team.
That experienced team will now have double the amount of light resources to use.
And they will not be so merciful to you.



Be the first to comment