
AAR (After Action Review)
Ву WhoIsNext.
After Action Review (AAR) is also known as a post-battle review. I recently reached level 50 on Hard Mode, and even I didn’t expect it because, in my experience, it was just an average run. However, the successful result incentivizes me to analyze the reasons behind it, which I hope can be beneficial to others as well.

I apologize for the lack of screenshots of my first successful run on Hard because I didn’t think I could win it before pressing the ‘Start Battle’ button on wave 50. I thought I would die for sure, as usual.
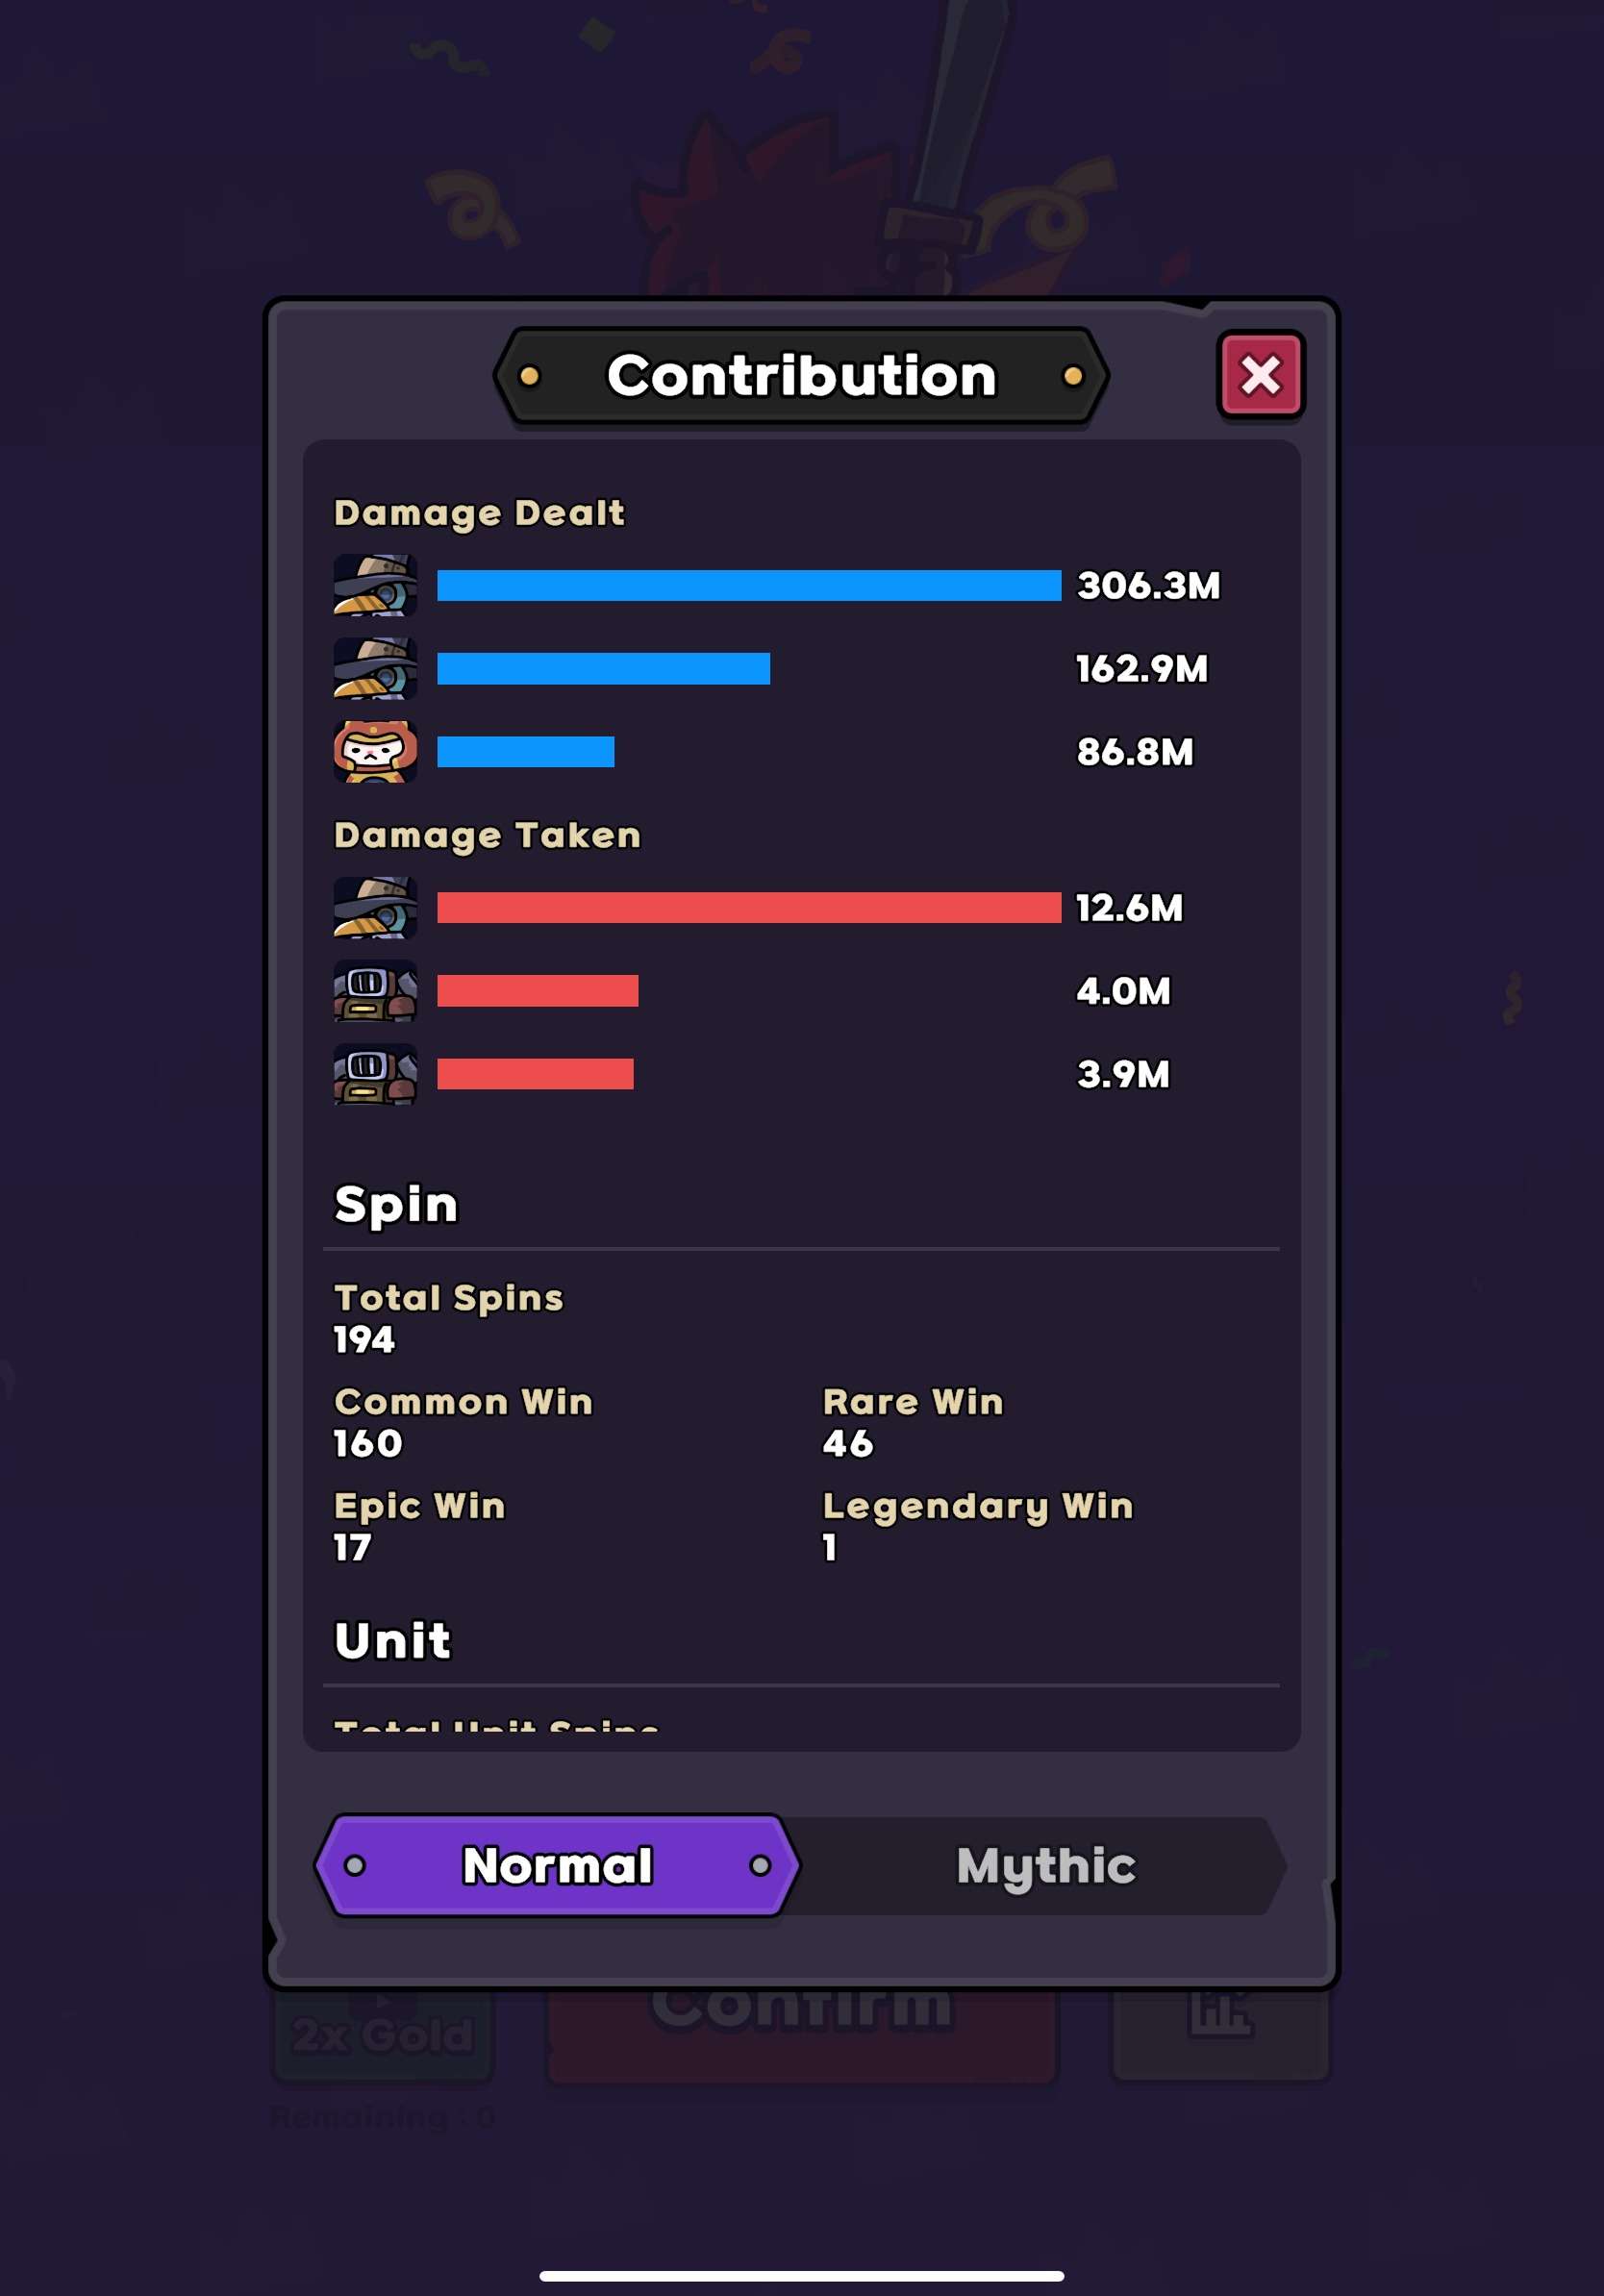
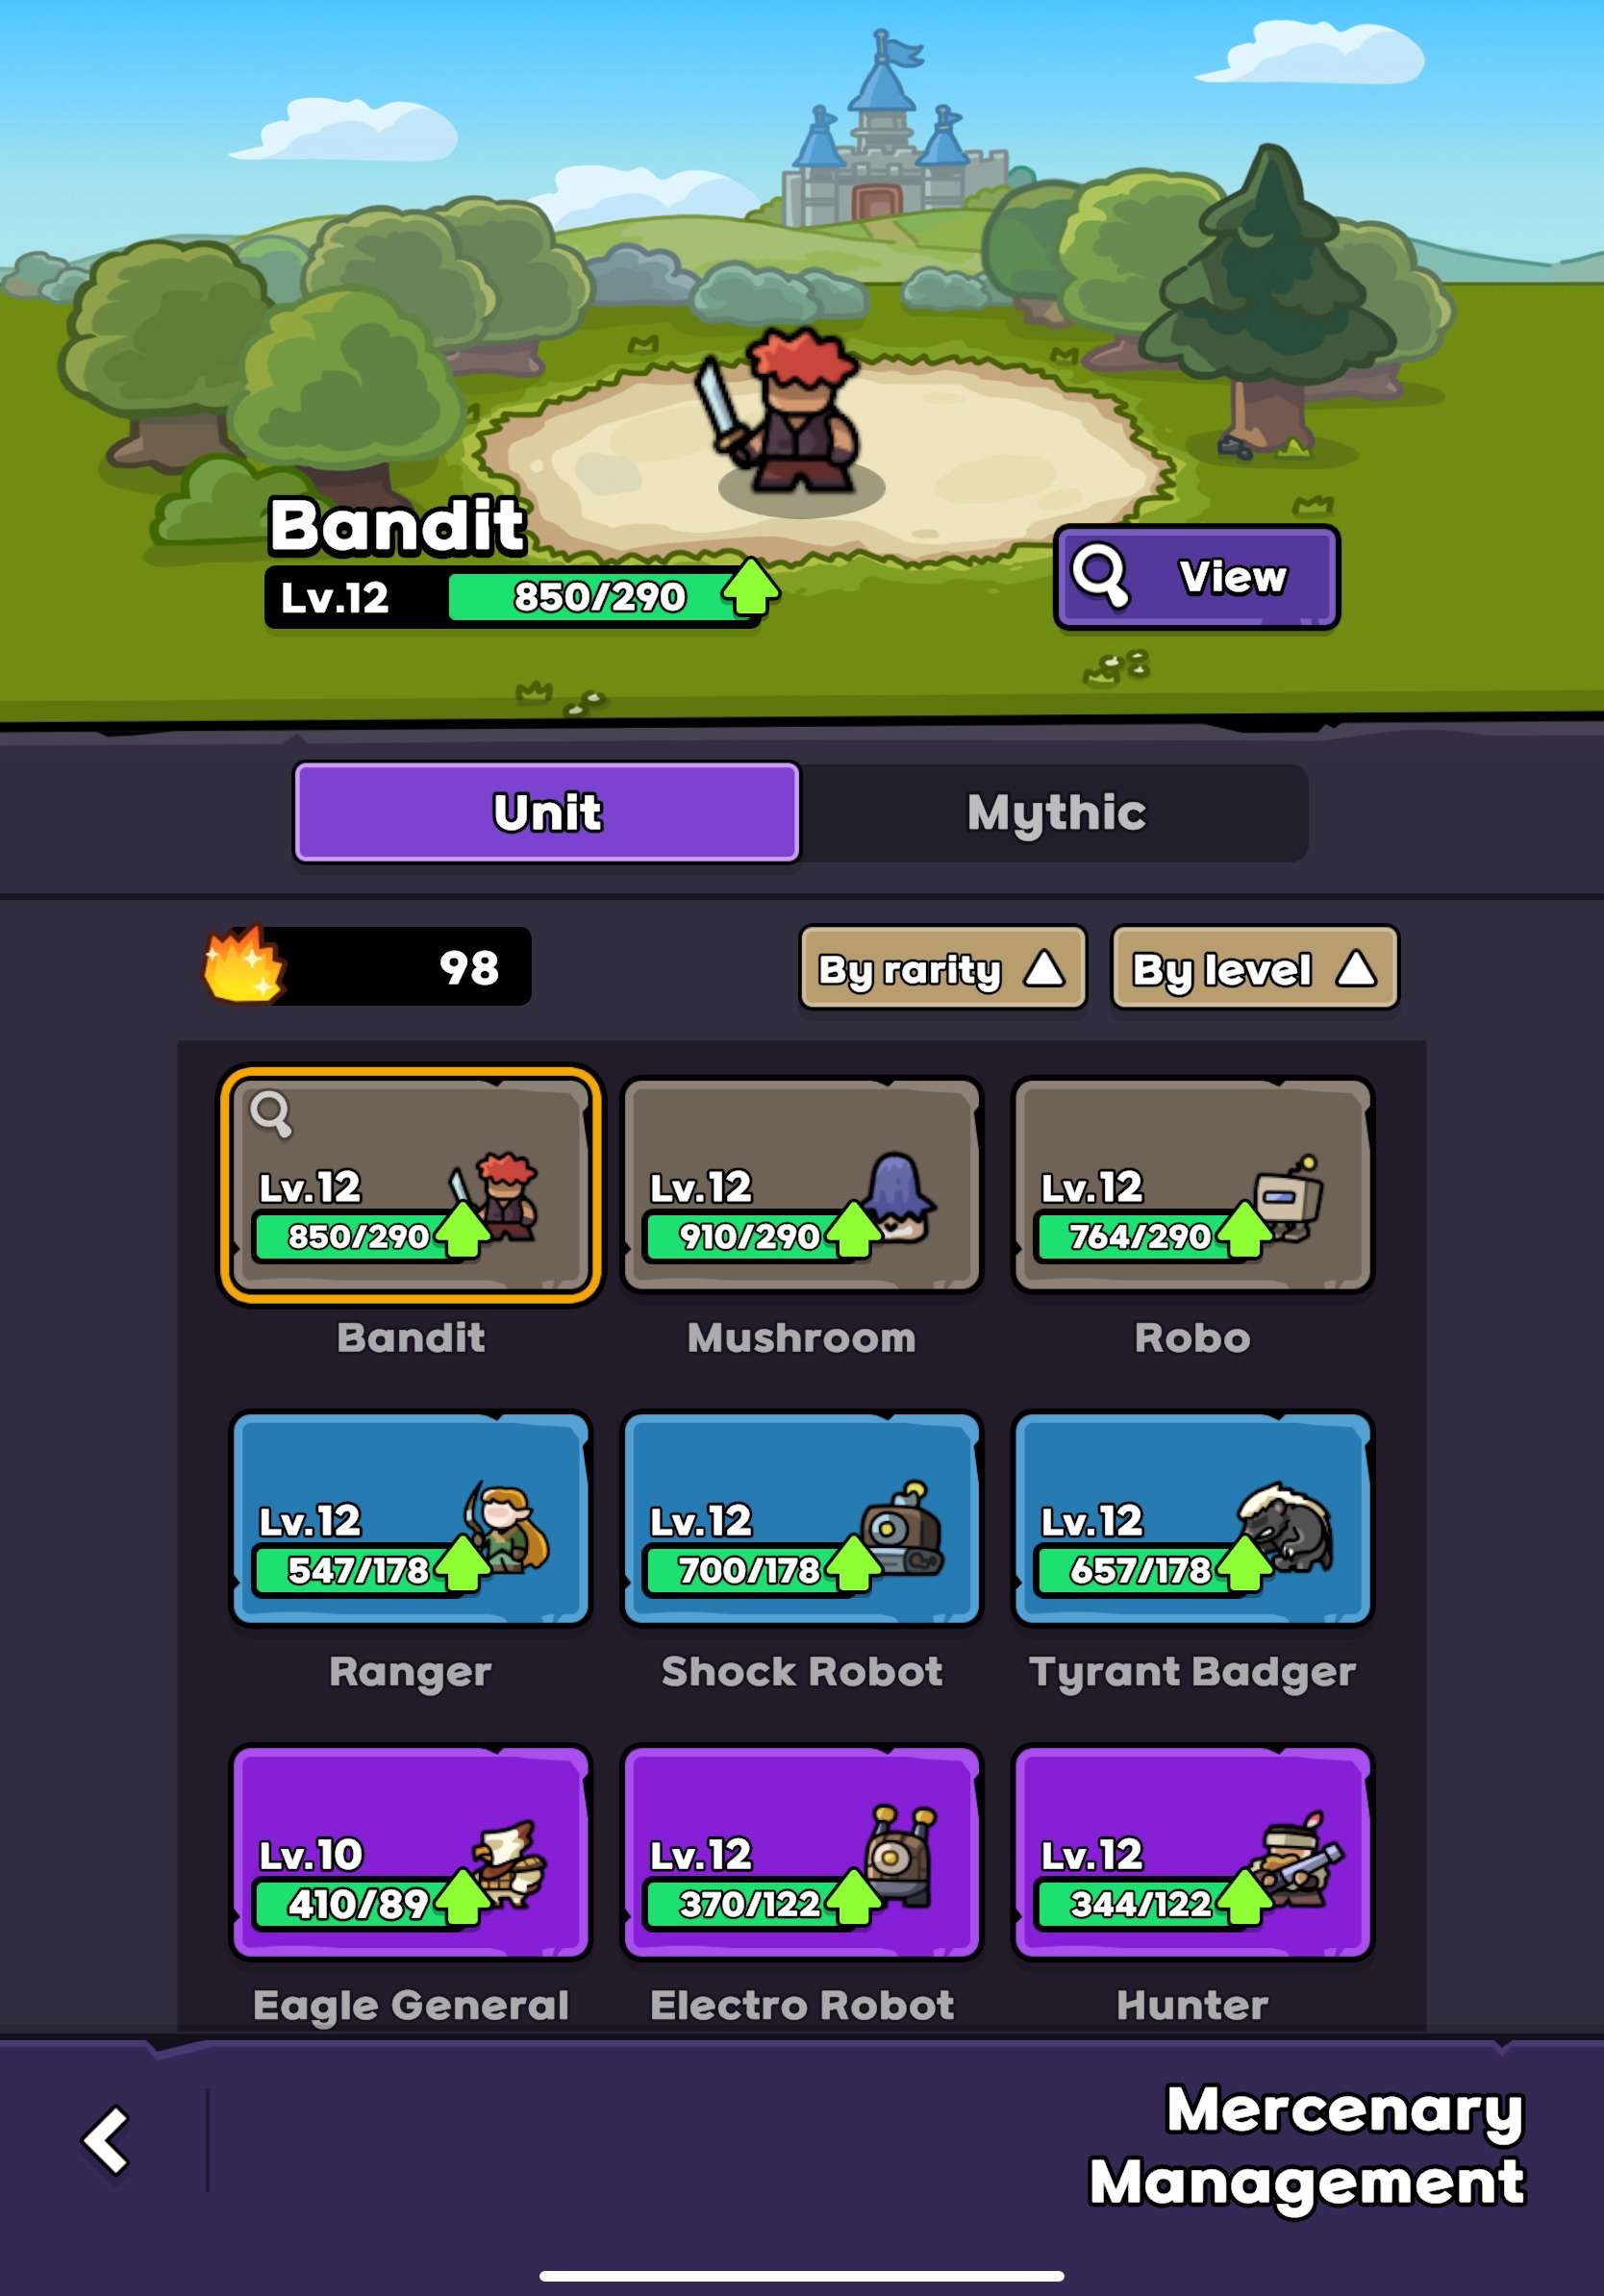
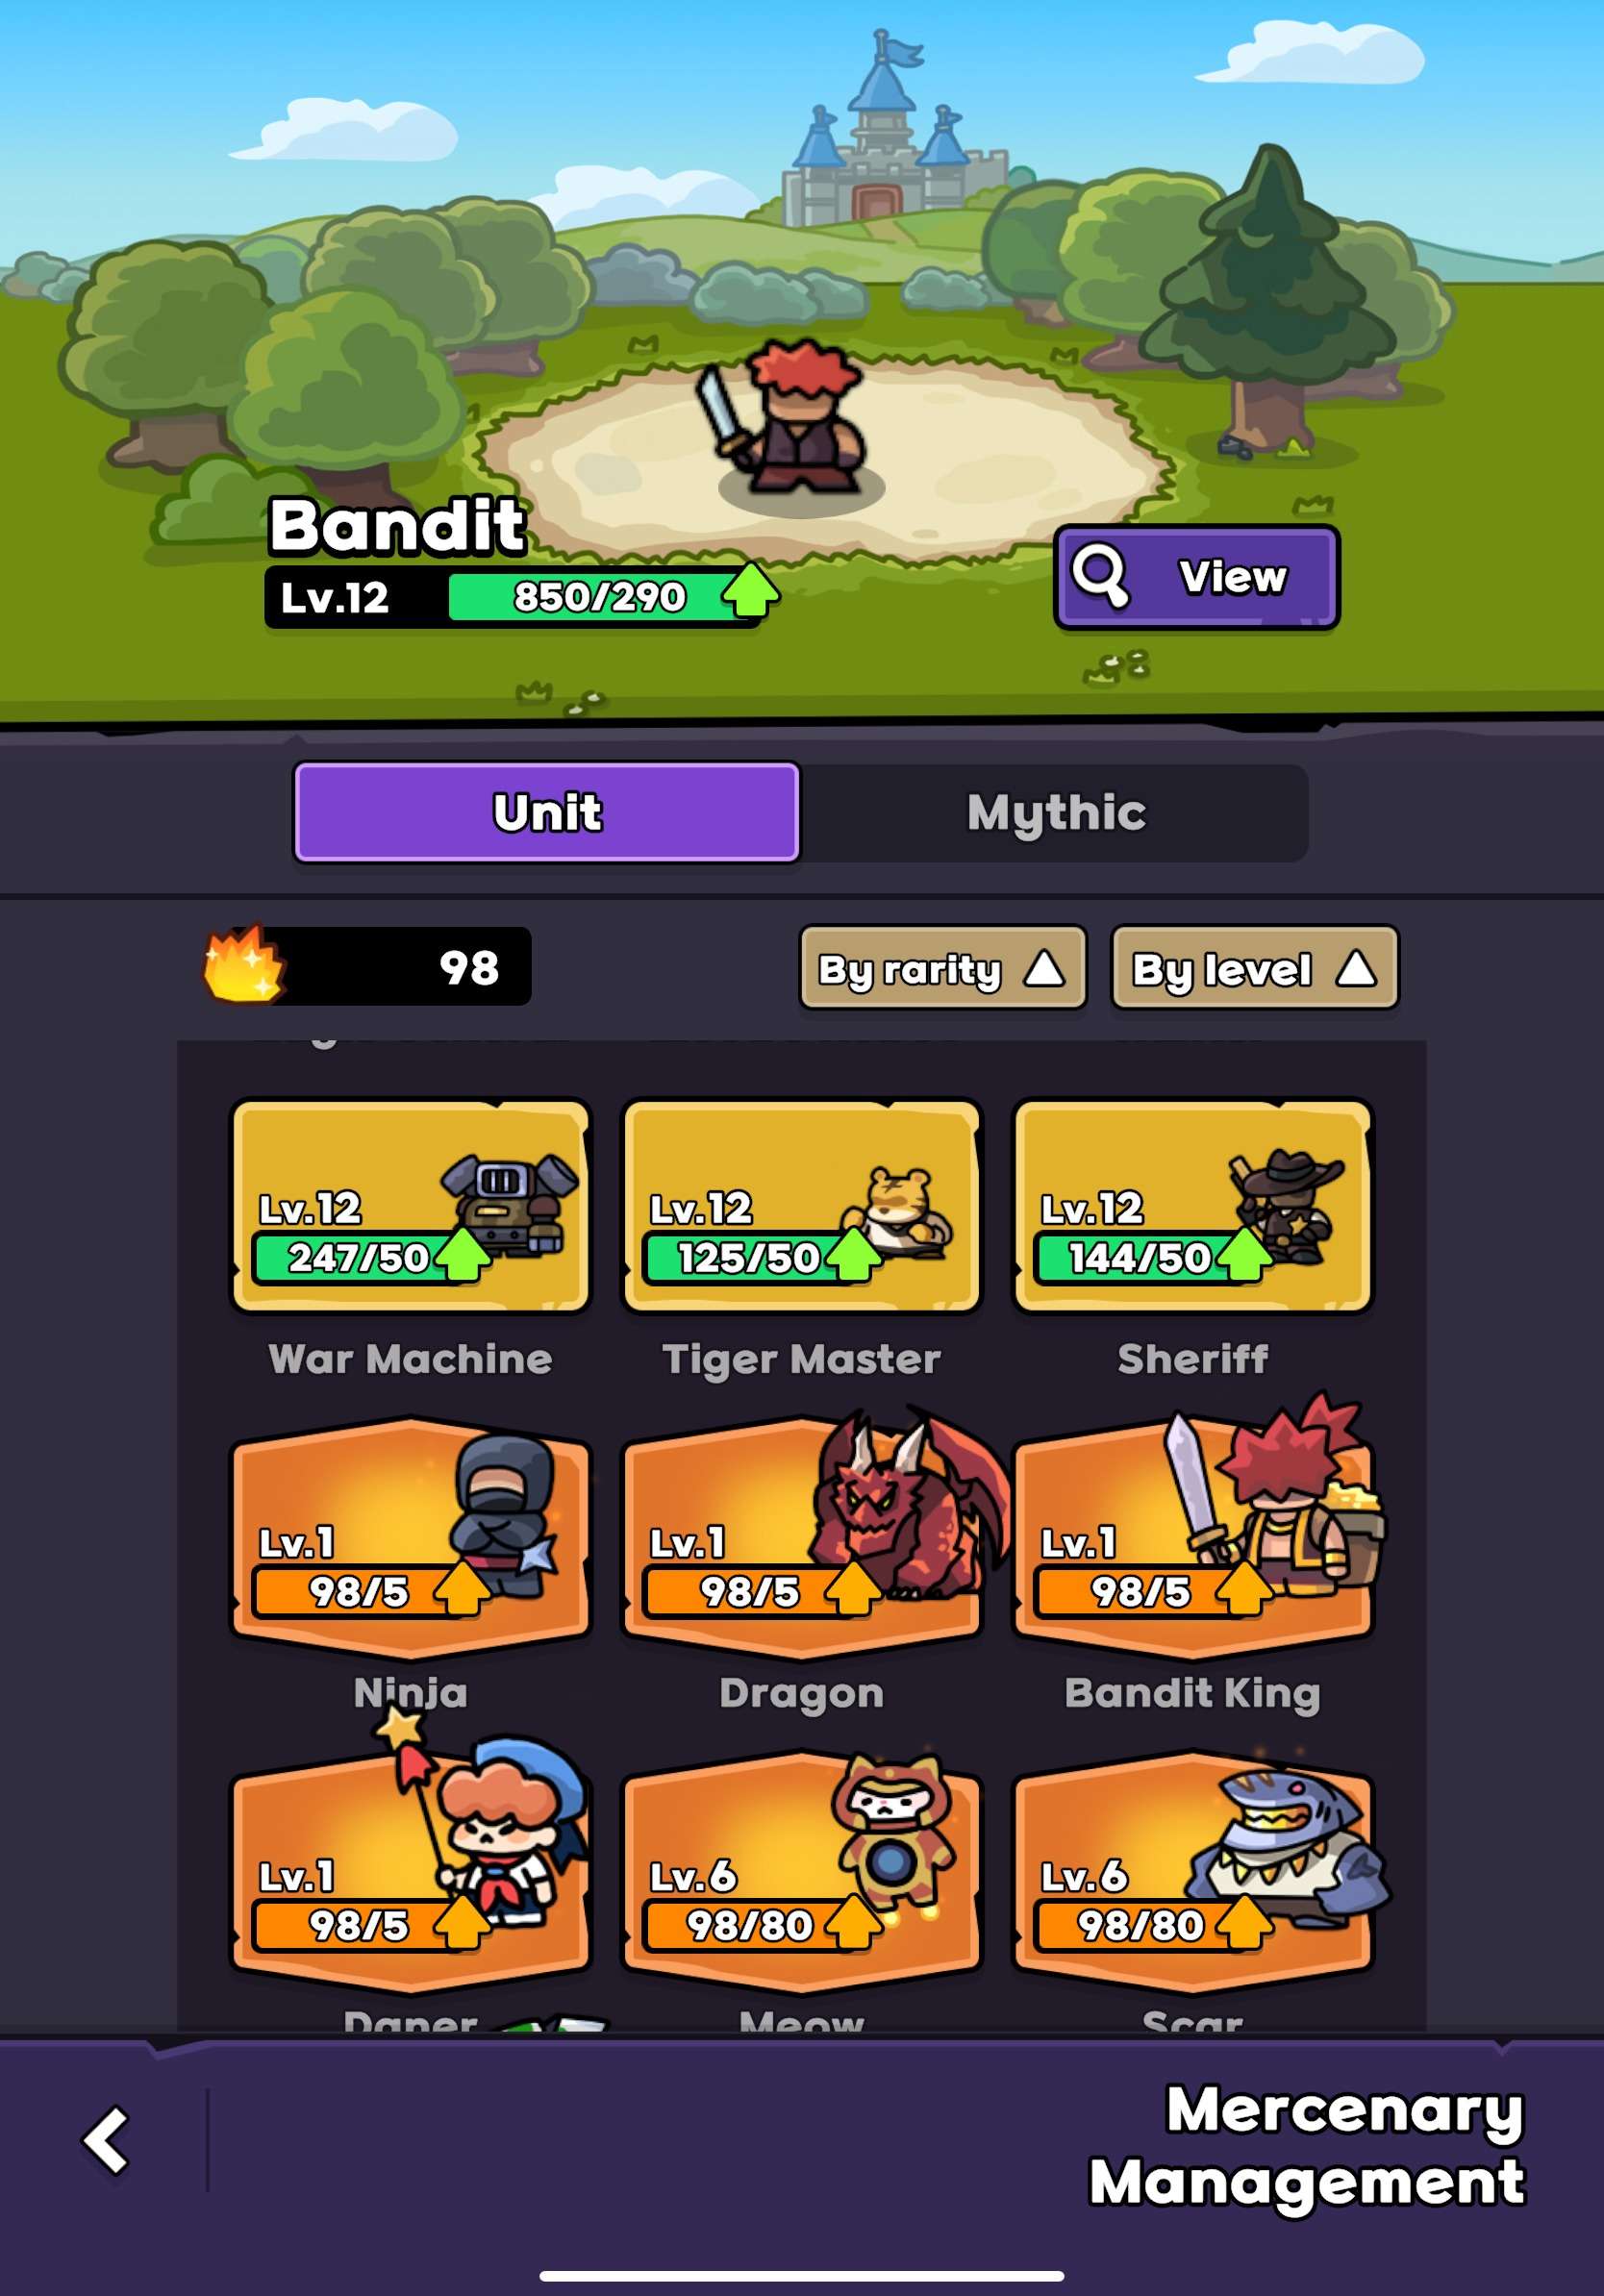
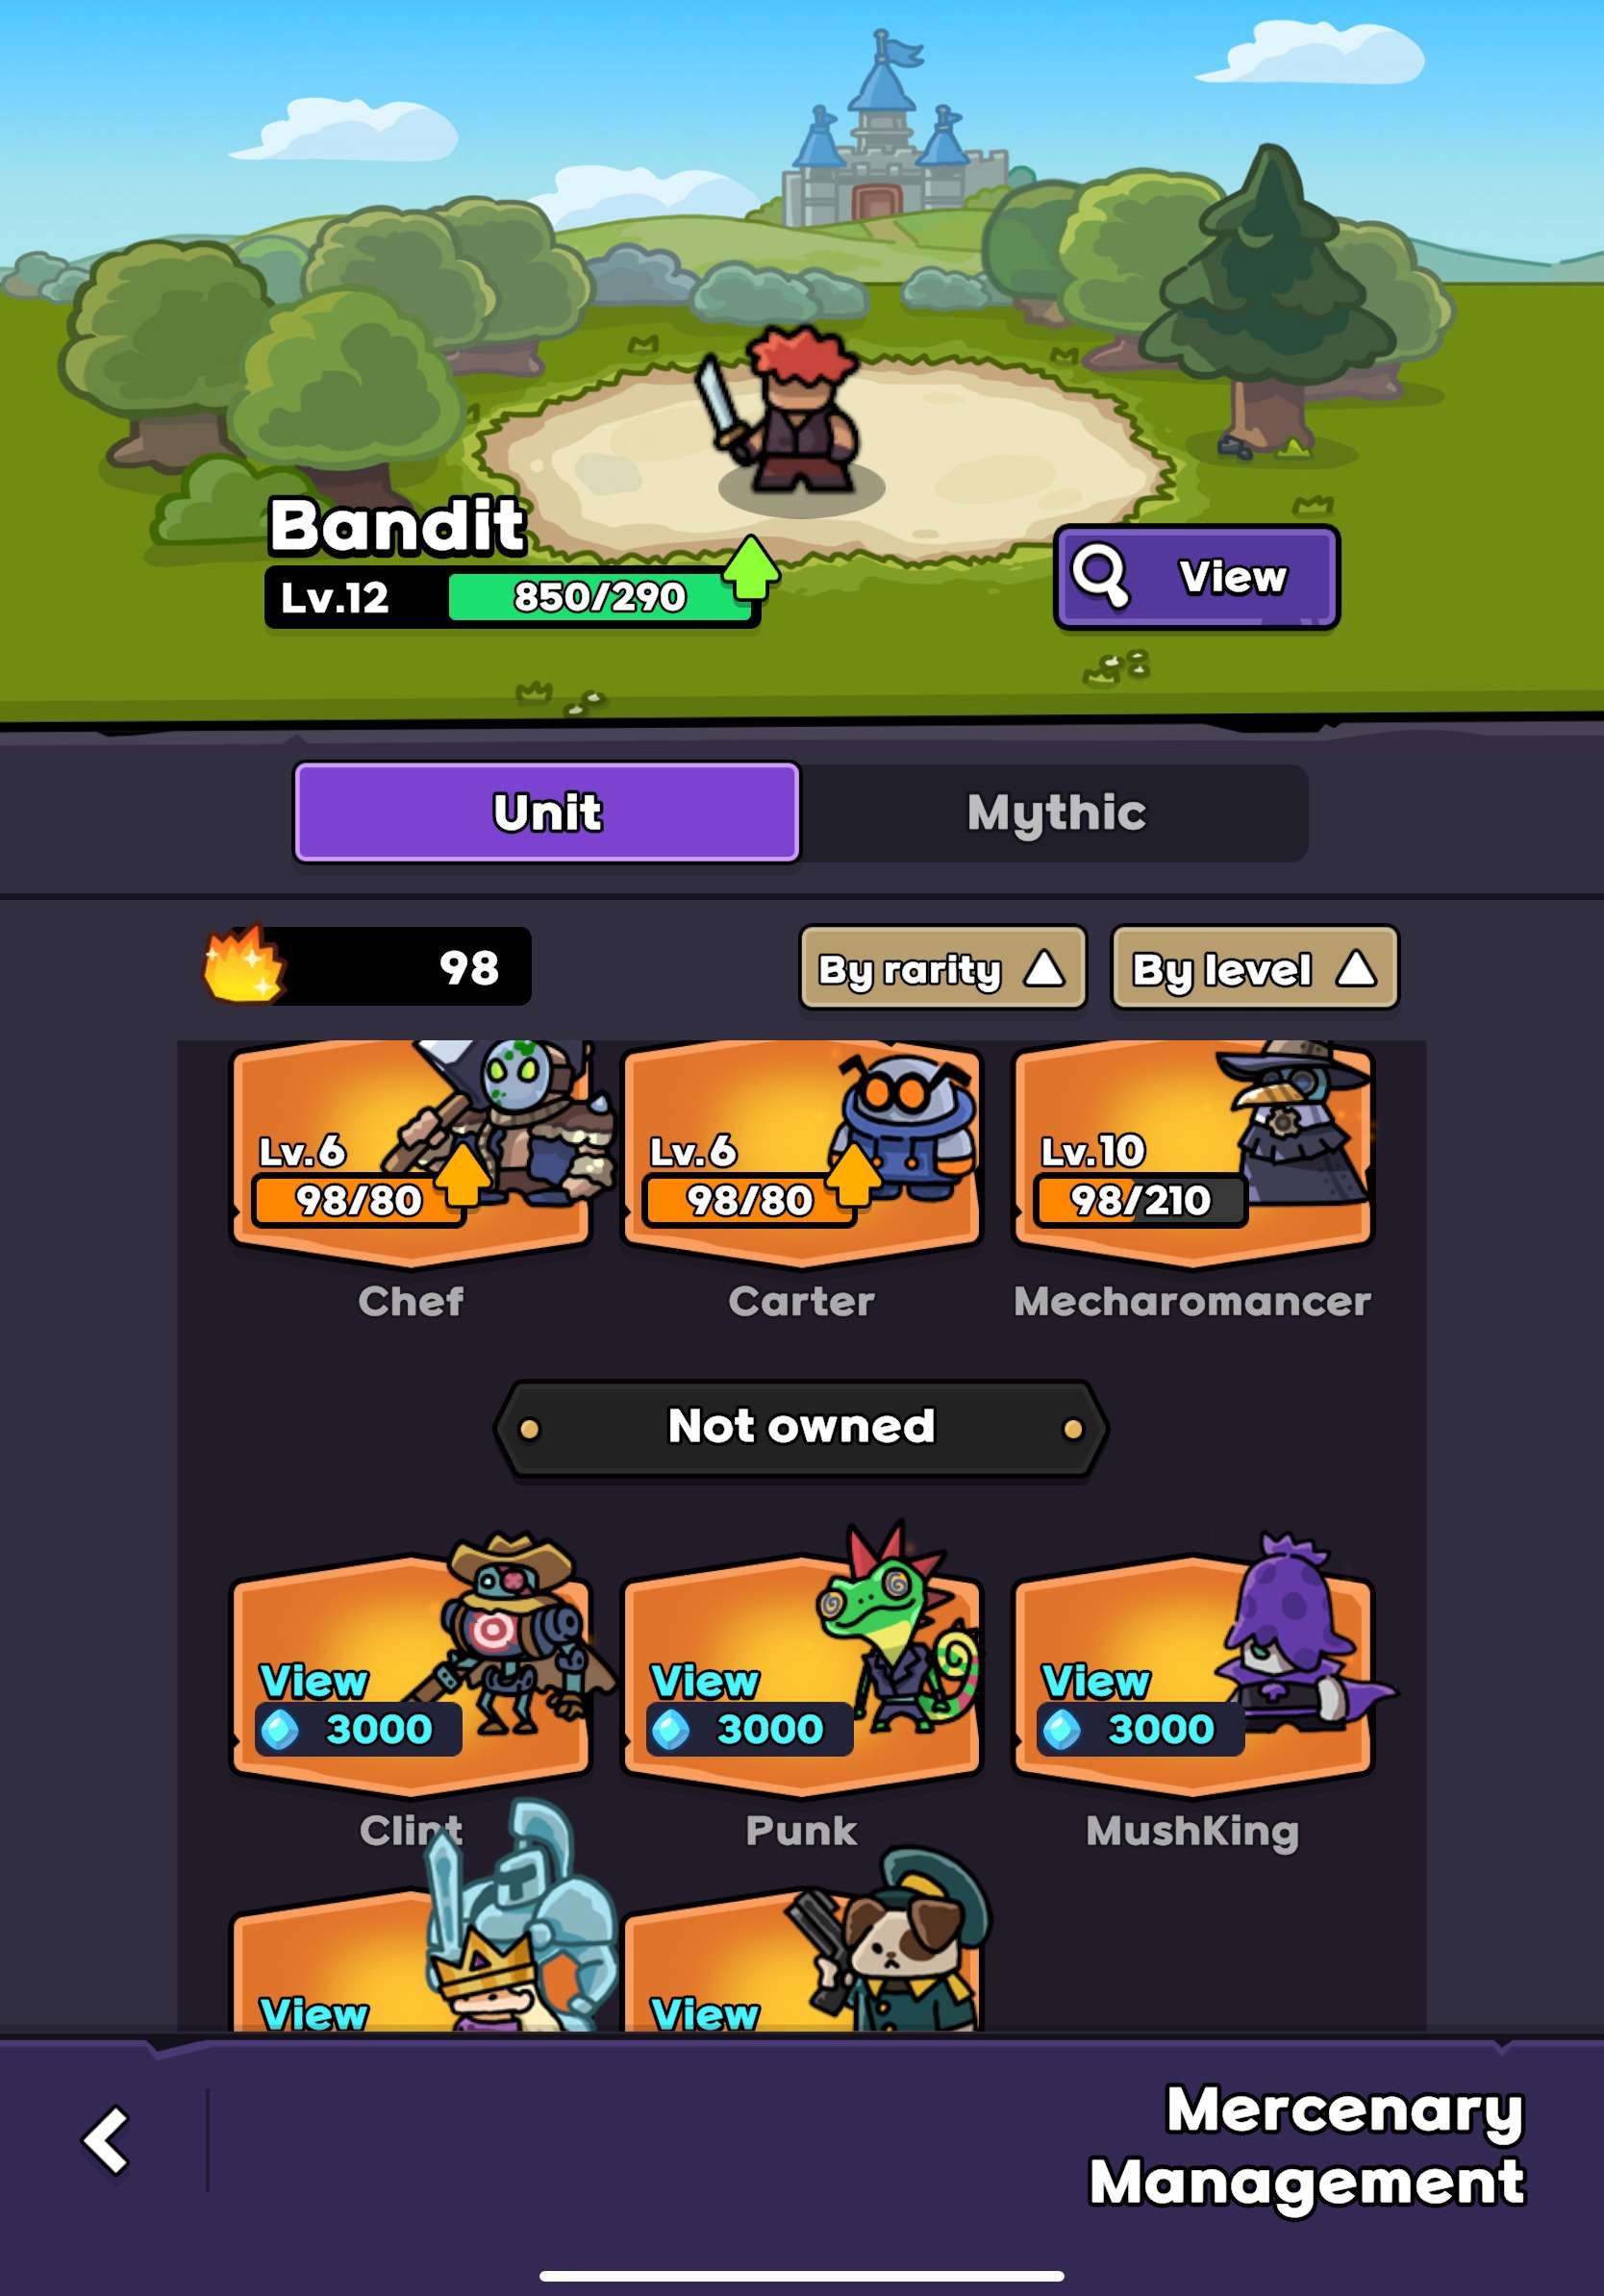
Before we talk about the details of this run, let me first share my account situation.
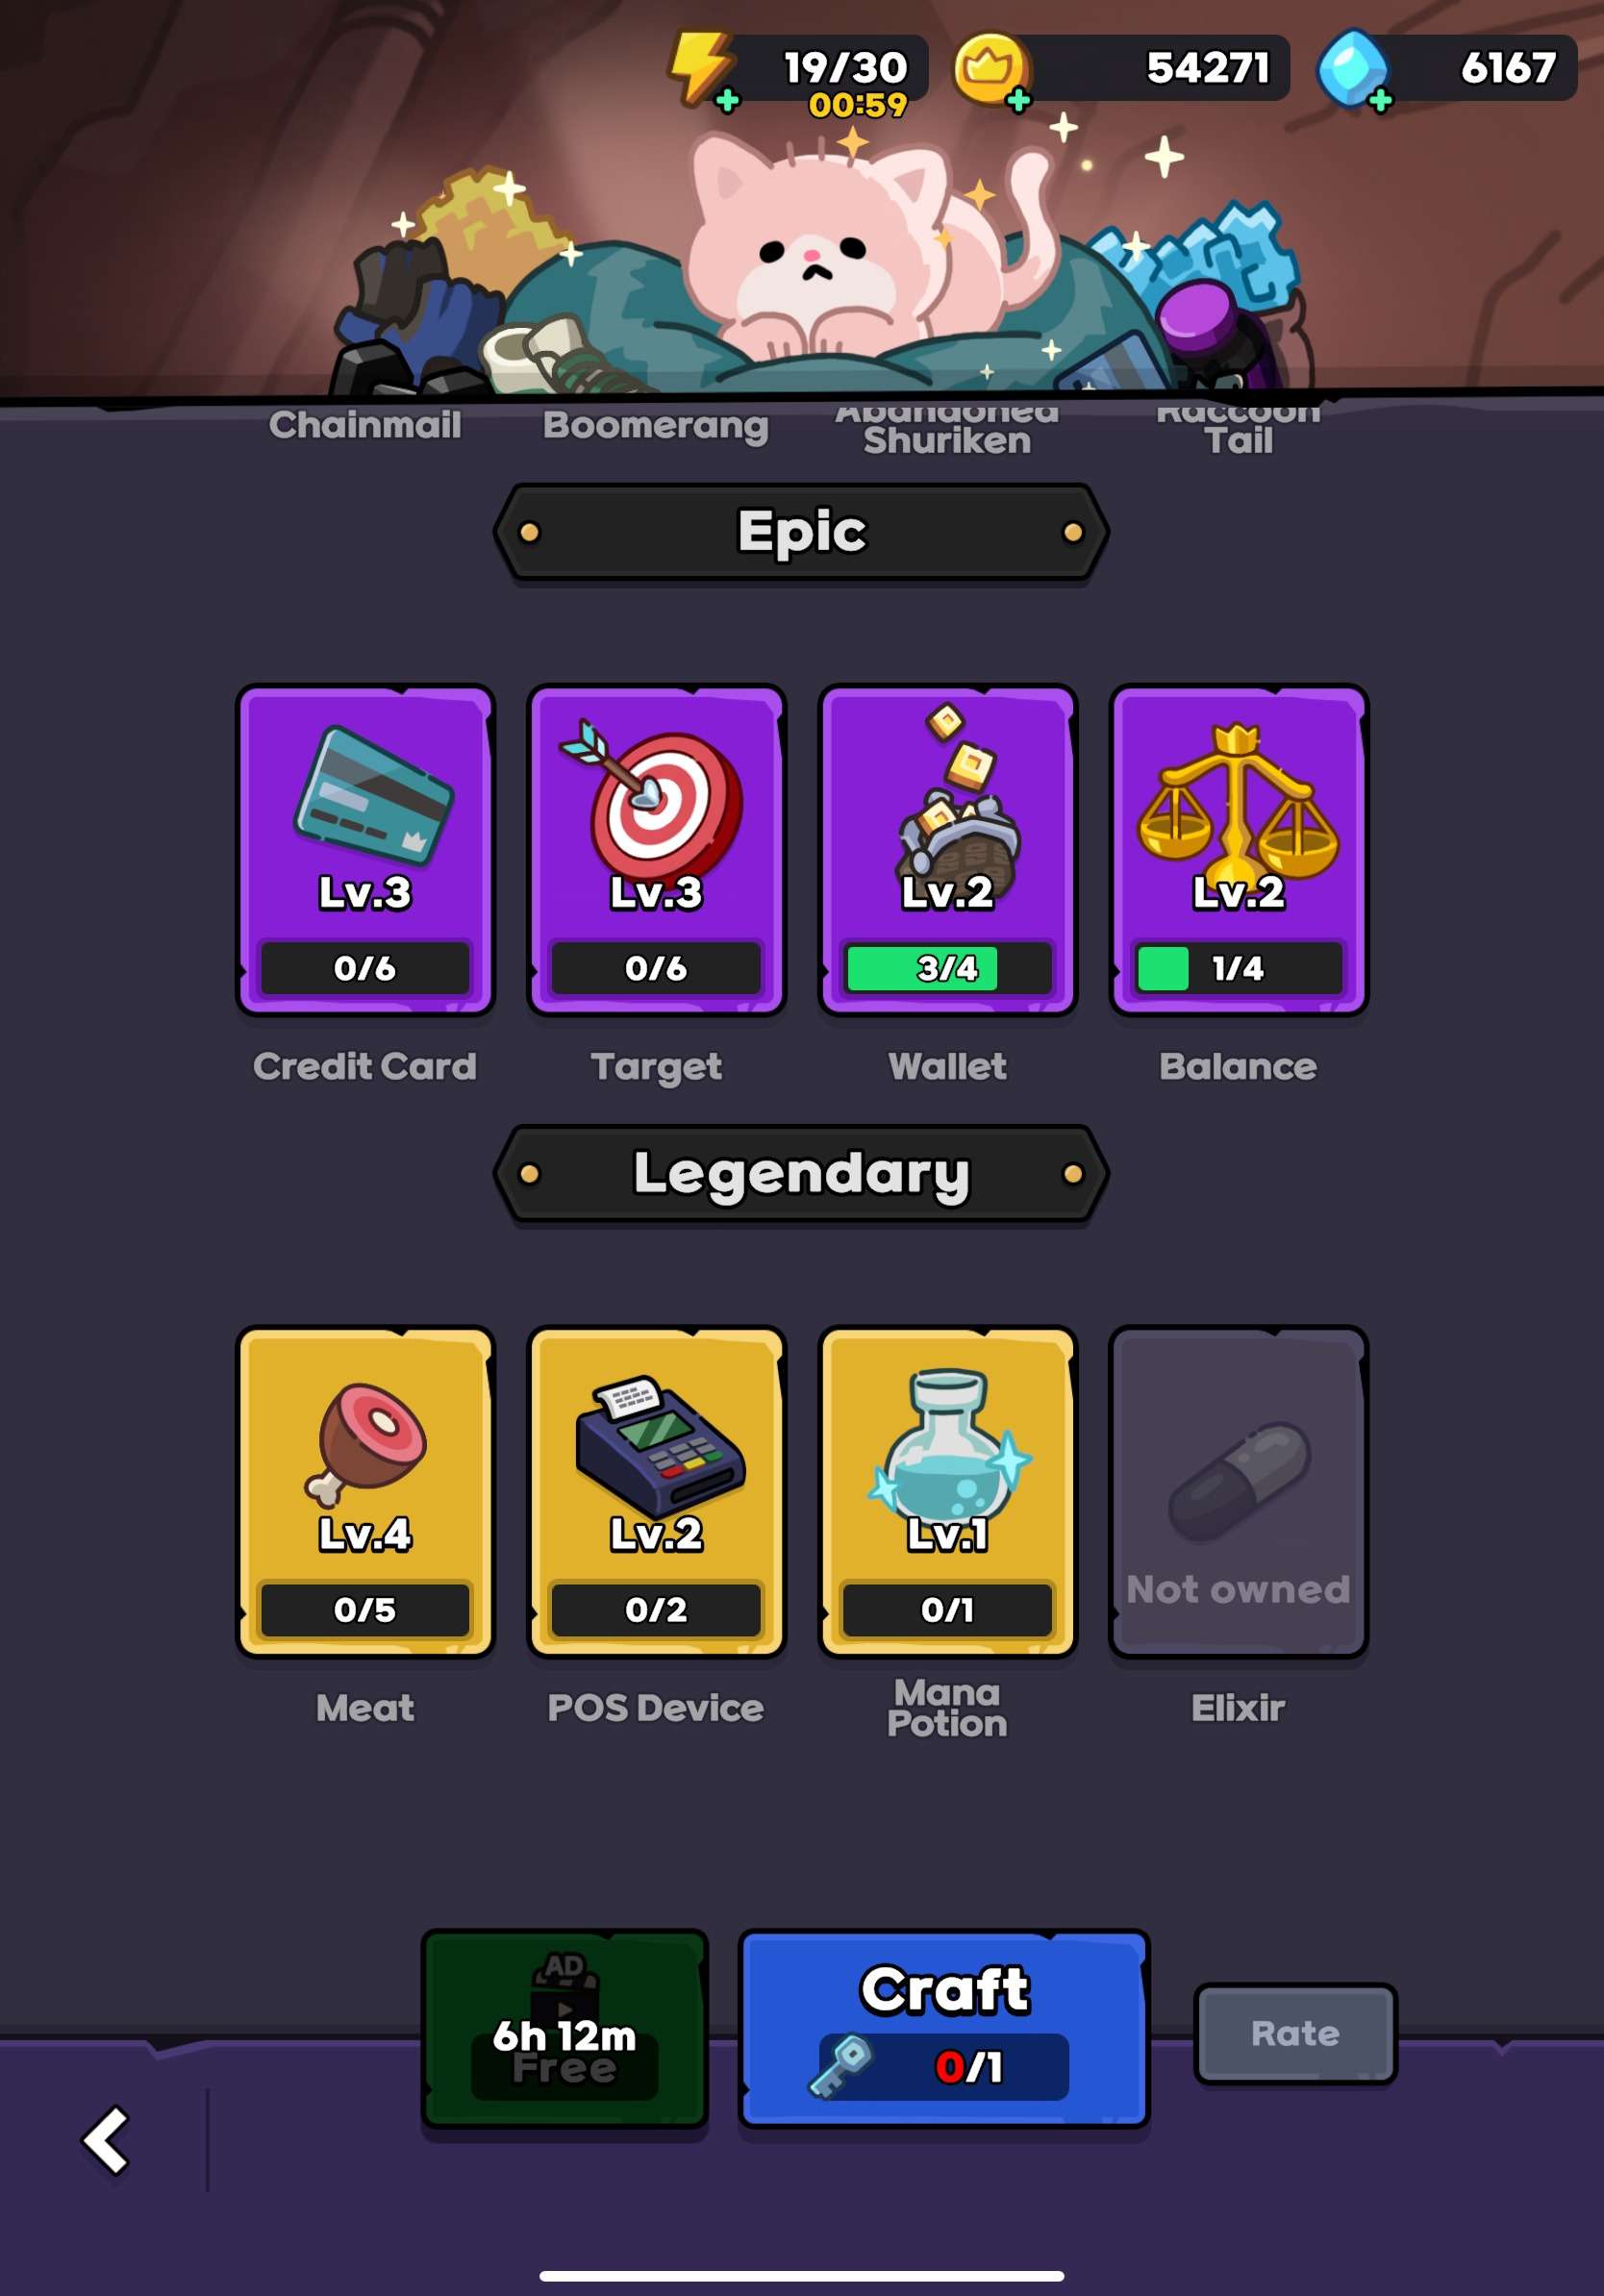
TLDR: All non-mythic mercenaries are level 12, except for Eagle General at level 10. No level 12 mythics; the highest mythic I have is Mecharomancer at level 10. I had the Meat artifact at level 3, which allows a total of 5 mythics in a game. I only upgraded Meat to level 4 after the successful run.
So, as you can see, my account is okay but not great. I have heard so many people say that you cannot beat Hard mode without a level 12 Mech or even stricter requirements (e.g., level 15 on all non-mythic units, level 4 on the Balance artifact, etc. – which I never agreed with but also was never able to prove).
I guess not anymore now! Hard mode is beatable with a relatively low-power account.
Setup for First Successful Run on Hard 50
- Mech lvl 10 (Predator’s Fang, Sanguine Pool): Predator’s Fang is the most important gear for a mech; it allows you to trigger your ultimate ability much more frequently and also provides high attack speed. Sanguine Pool is one way to obtain lifesteal, which helps the mech survive against cactus/mole enemies.
- Mech lvl 10 (1 Mana Crystal): I put one item on it because I don’t have enough other items to merge into anything useful. Having at least one item can trigger buffs from the following artifacts.
- Meow lvl 6 (Purifying Flame, Rare Buff that gives you 40% mana regeneration every second): I don’t have anything better except for the 40% mana regeneration buff, which is okay (I wasn’t lucky enough to get the 100% mana regeneration buff). Purifying Flame helps counter any crowd control (CC).
- Meow lvl 6 (1 Backpack): Same reason as the Mech with only one item above.
- Carter lvl 6 (1 Whetstone): Same reason as the Mech with only one item above.
What does my team formation look like?
No screenshot again. I wish I had screenshotted it so I wouldn’t need to reproduce this on a sheet.
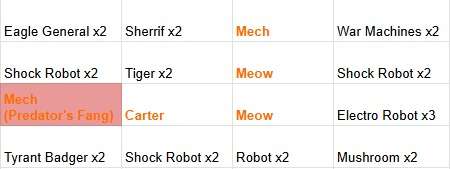
Okay, now we can talk about some of my thought process here.
- My main Mech on Sanguine Pool and behind Carter is obviously because I rely on him as my major source of DPS. Carter helps Mech tank damage and heal Mech a little bit from time to time using Carter’s ultimate ability. The attack damage bonus and lifesteal from Sanguine are also important.
- Meow x2 in the middle is because I want their Pulse Blades to hit as many enemies as they can. It’s a small thing, but better than putting them in corners.
- The second Mech close to the top right, behind War Machines, is there to (1) have the summoned mechabot cover as much of the battlefield as possible, since the other mech is at the bottom left, and (2) because there is no second Carter to tank for it, so I use War Machines as an alternative.
- Eagle General is behind Sheriff, and Sheriff is behind Mech. This is because I dislike those moles who jump to the back and kill my ranged DPS. Having two sets of ranged units behind my second Mech helps tank those mole jumps and prevents them from immediately killing the second Mech. If you put melee units at the backline, after the battle starts, they will just walk forward, and when a mole jumps, your main DPS, who is at the very back, would still be the one attacked.
- Having key DPS units around Tiger for the attack speed boost should be common sense for most players.
What Buff Did I Get in This Run?
I get one Sanguine Pool for Mech, one 40% mana regen buff for one of the Meows, one Maestro of Battlefield II (the legendary version) on Carter that boosts allies’ ATK.
The last buff I have is the one that for every unit I have, boosts attack damage, attack speed, and hp for all units by 1.5%.
So again, nothing fancy or broken here. I only have 1 legendary buff in this run. But at least all of the buffs are somewhat useful in their own ways.

What Are My Key Lessons Learned?
- You don’t have to have two Carters as tanks. Multiple copies of war machines and electro robots can work well when your Mech can do a lot of summons and not die in battle. I used to think two Carters were necessary because I was stuck on wave 38 for a while when I was running more DPS than tanks. Two Carters helped me pass that bottleneck on wave 38, and I thought I needed to stick with it. But switching out one Carter with a Mech/Meow helps me a lot to kill key enemies faster (yes, I’m talking about you, you evil mole).
- Sufficient DPS is just as important as survivability. This is not saying you should not have enough tanks. Your DPS will be zero if they cannot survive critical enemy units (i.e., cacti, moles). But for me, I think I paid too much attention to survivability and ignored that sometimes the issue wasn’t that my tanks weren’t tanky enough, but that I didn’t kill those critical enemy units fast enough.
- There isn’t any fixed strategy you have to follow to beat Hard 50. I used to think if I wanted to beat Hard 50, I had to run a crit team with Bandit King, or have my Mech at level 12, or get super lucky on rolls to stack my damage or HP on a key Mythic unit early on… But it turns out that’s not necessarily the case. And by the way, I don’t even remember what the global buff I got when the Hard run started was (because I was like, “Meh, I didn’t get one of those perfect blessings from the beginning, probably going to die before 50”).
- Keep trying and learning from your past runs. Sometimes it isn’t because you are doing something wrong. The game is called Lucky Offense for a reason. You need some luck. But at the same time, don’t just bang your head against the same wall over and over again. Try out different approaches and think through what might be the root cause of losing the run you just finished. I hope this post shows you one of the many ways to analyze your battles and improve your future runs. Cheers!
TLDR: Meow Lvl 6 ->️ Carter & Mech Lvl 6 ->️ Mech Lvl 12
I think this has been covered over and over again in channels and other posts. I won’t reiterate their great recommendations and reasoning here again. In general, getting Meow to level 6 first can help you consistently clear Normal 50. Compared to other viable options, Meow requires less item investment and luck to make a normal run successful. When you don’t have great luck with items, just getting multiple copies of Meow can also help you clear Normal.
Then, I would suggest focusing on Carter level 6 and Mech level 6. This would allow you to progress further in Hard mode. A level 6 Carter and Mech holding hands together can safely help you survive waves 21 through 49 if you are not extremely unlucky in other aspects of a run. Runs in Hard mode give you more rewards than Normal runs if you can consistently pass wave 25, I think?
After that, focus solely on leveling your Mech. You don’t have to get your Mech to level 12 to clear Hard, as I just demonstrated above. The benefit from leveling Mech is somewhat higher than leveling other Mythic units because:
- (1) Level 12 is a huge change for Mech. His level 12 super mechabot summon has stronger stats (HP/ATK) than a level 6 Chef. This would add a lot to both your DPS and ability to tank/distract enemies.
- (2) Each level increase on your Mecharomancer not only increases his own stats (HP/ATK) but also makes his summons stronger. For other Mythic units, since they do not have summons, they do not benefit as much as Mech from leveling purely from a stats perspective.
Be the first to comment