
Trading Cards Locations
Downstream
17-18 require collecting 3 pages around the level. Location of all 3 at the bottom. Use passcode to open hatch to get into the room.
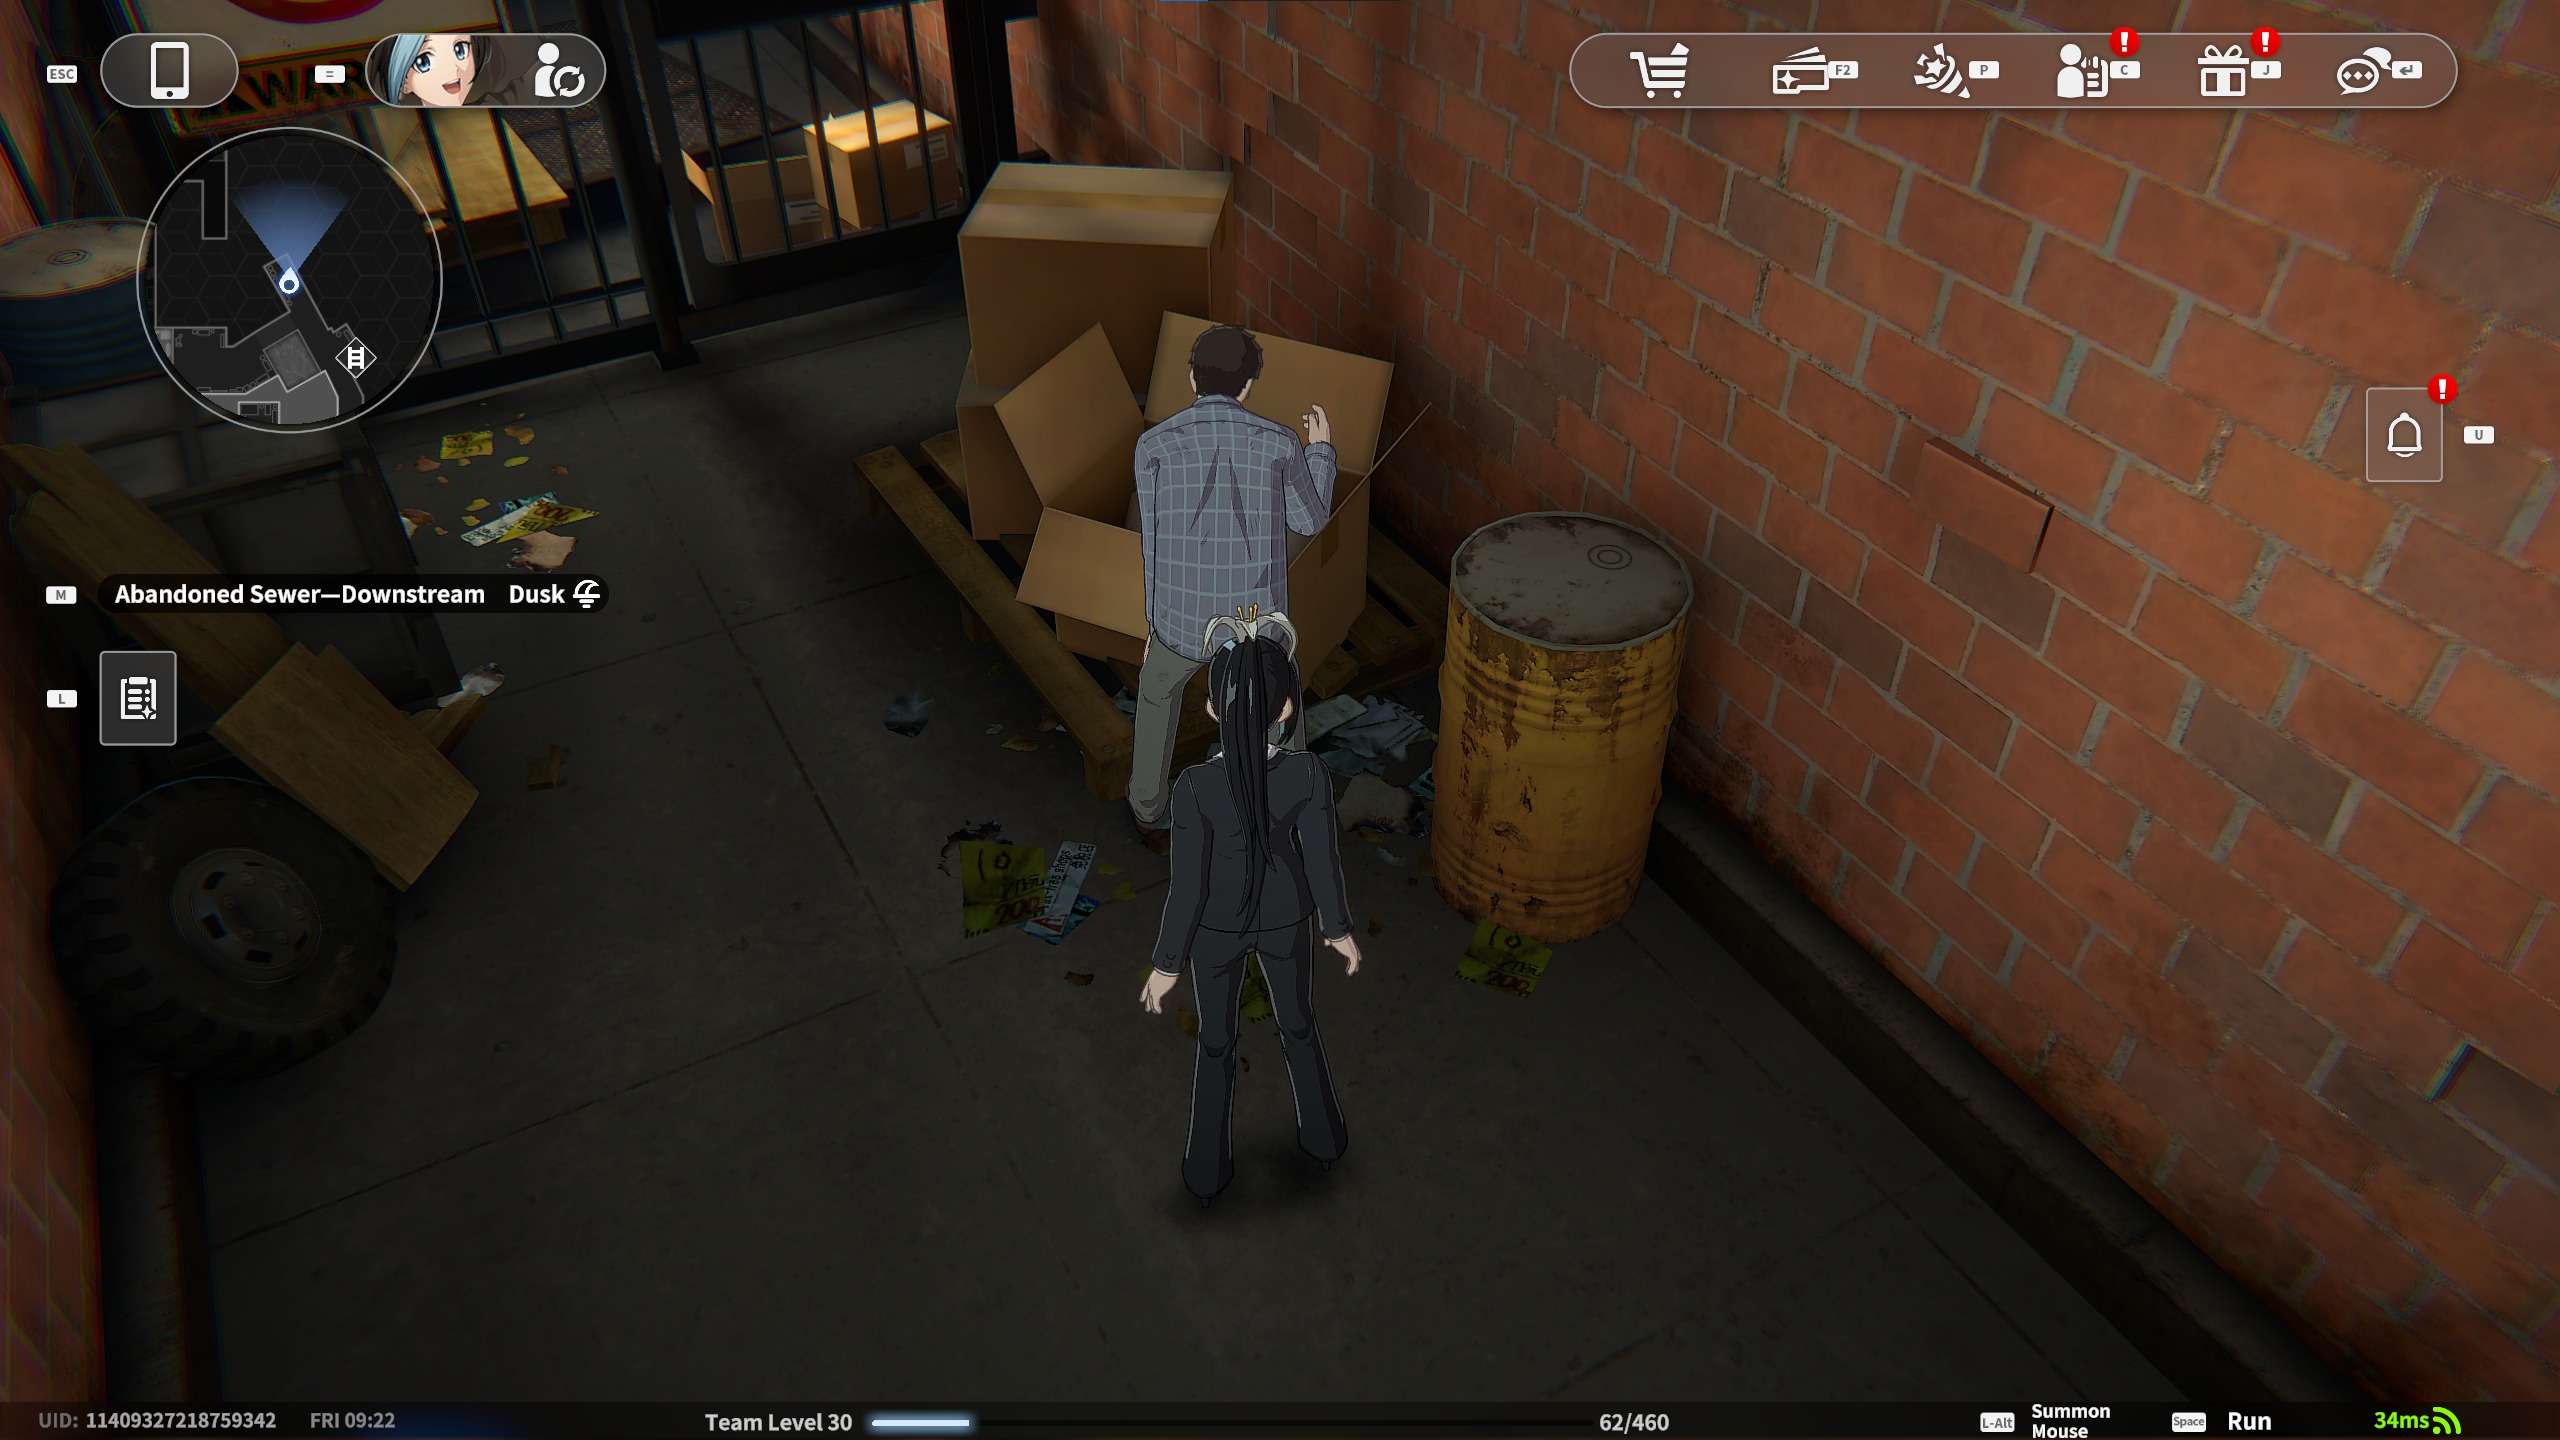
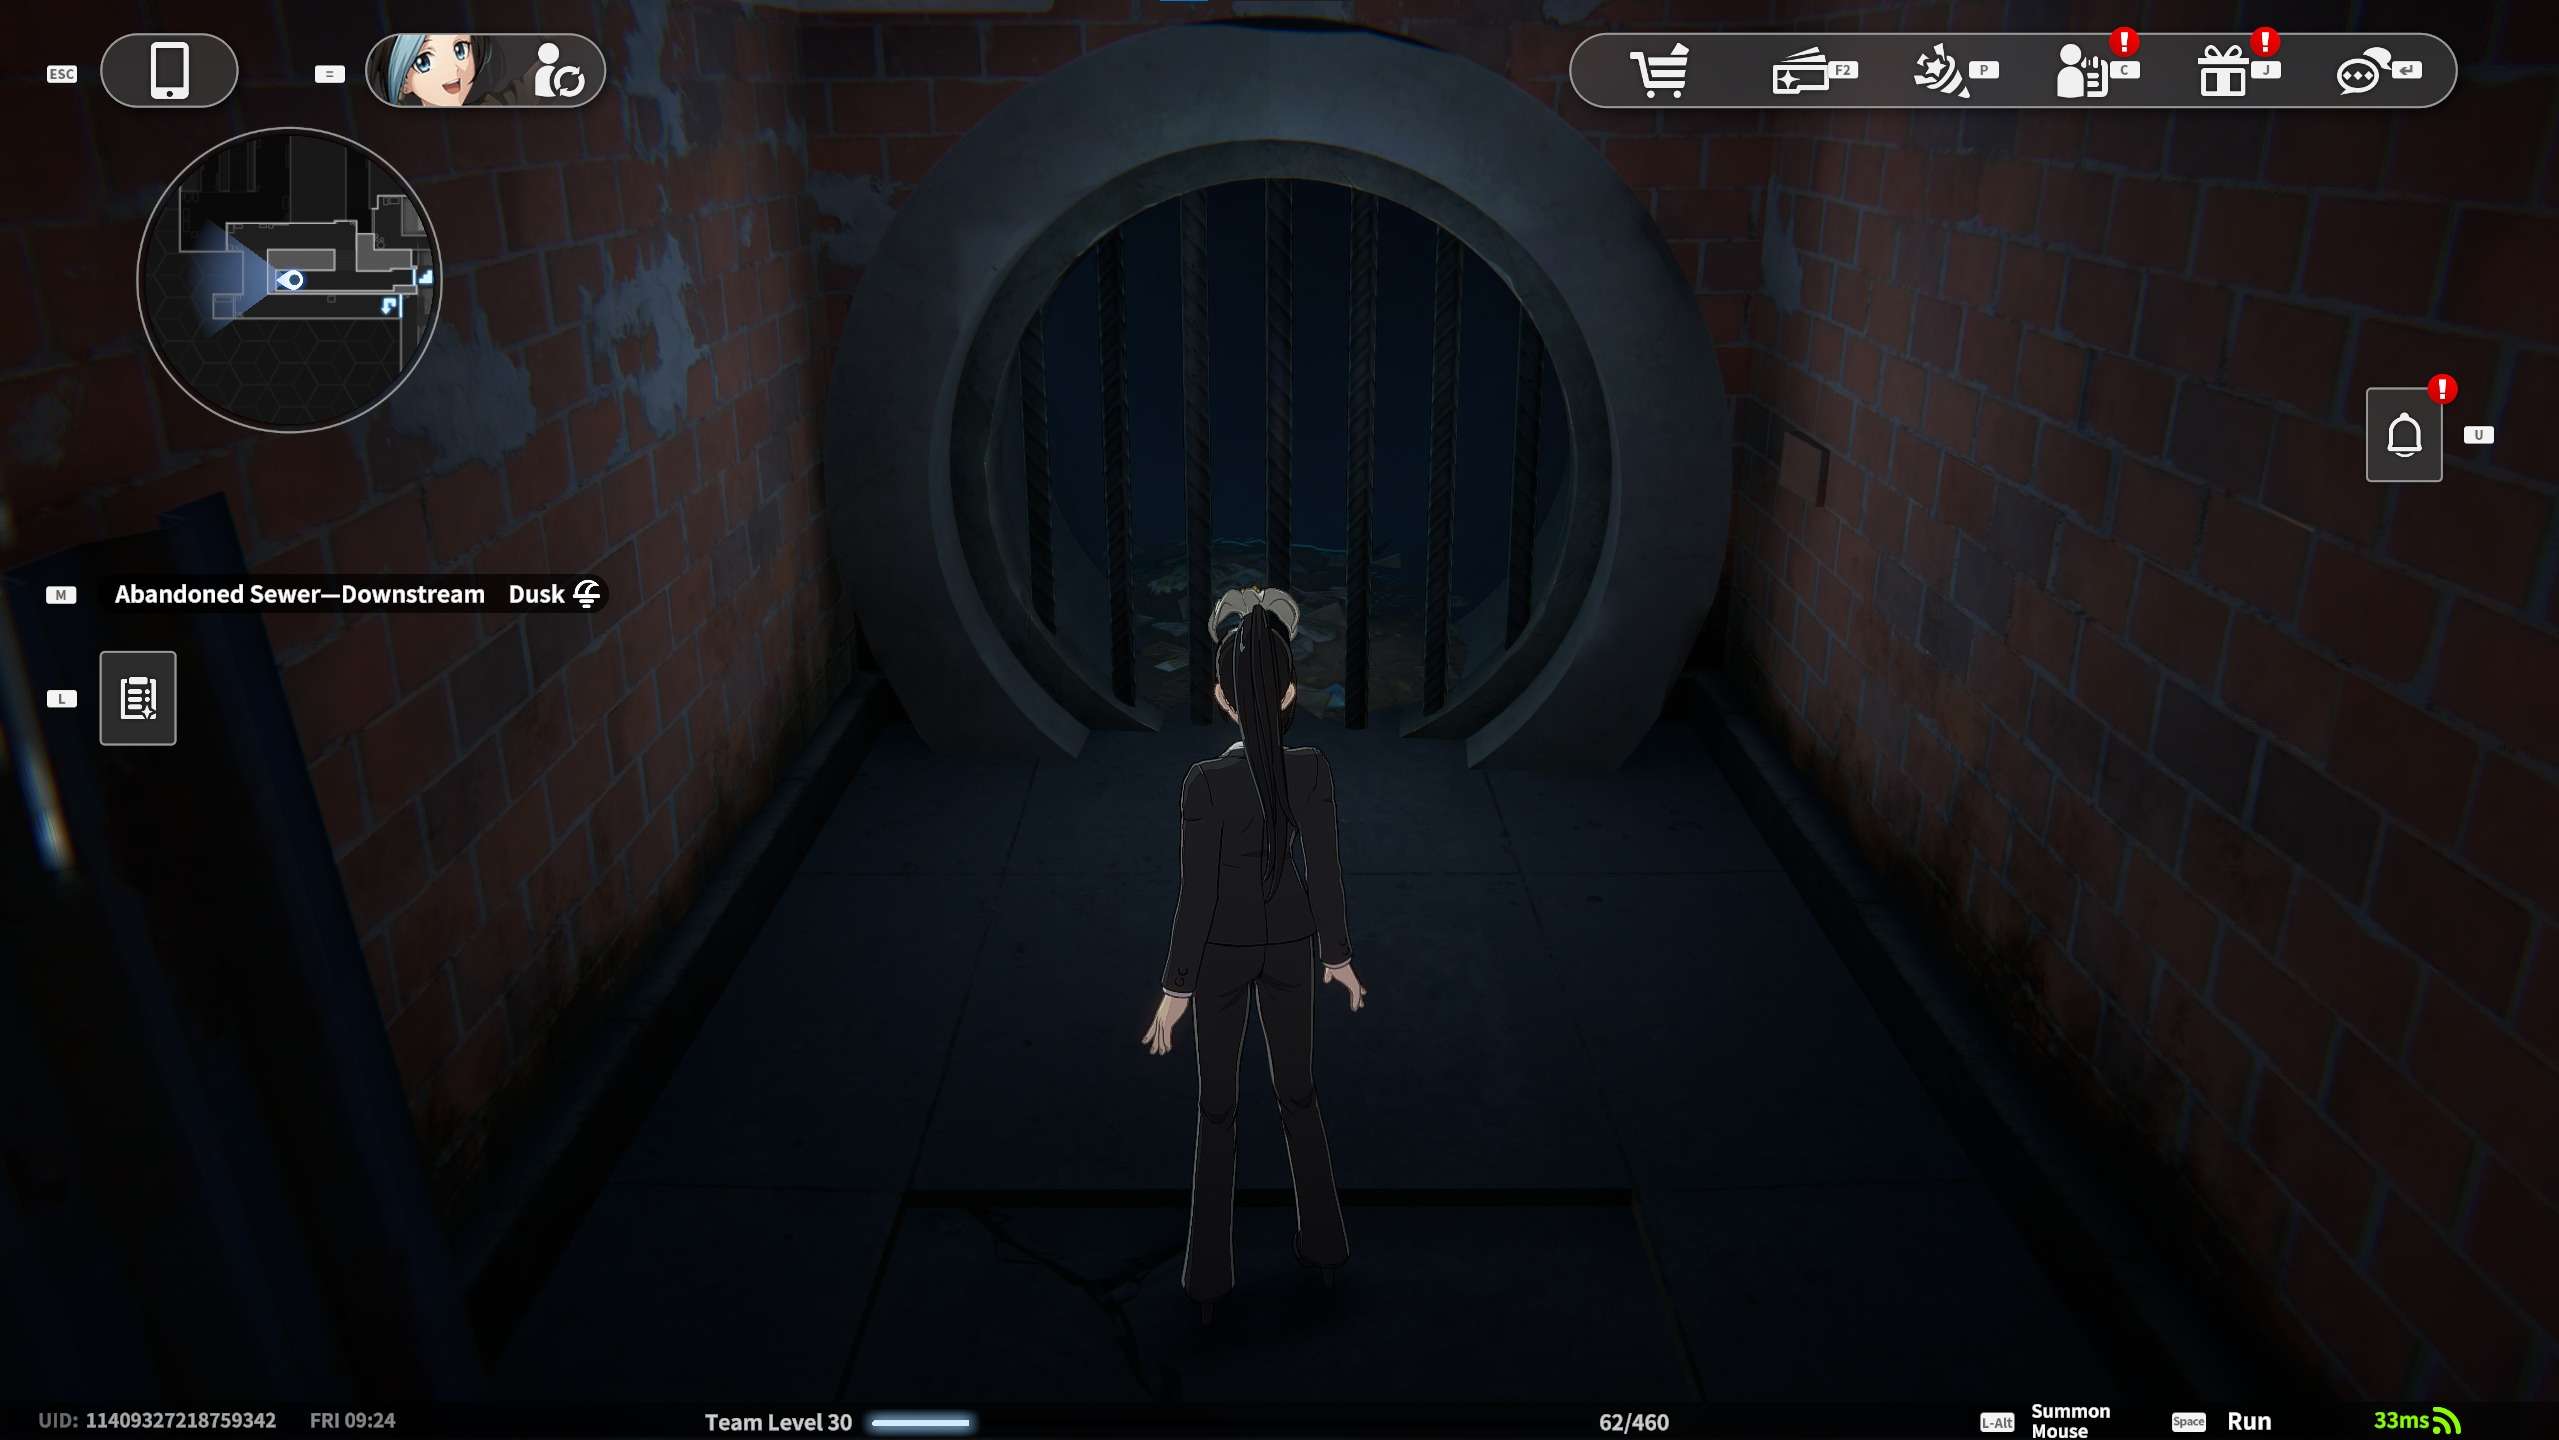
Trading Card #1: Yellow barrel card outside the iron gate. Between the boxes and the barrel.
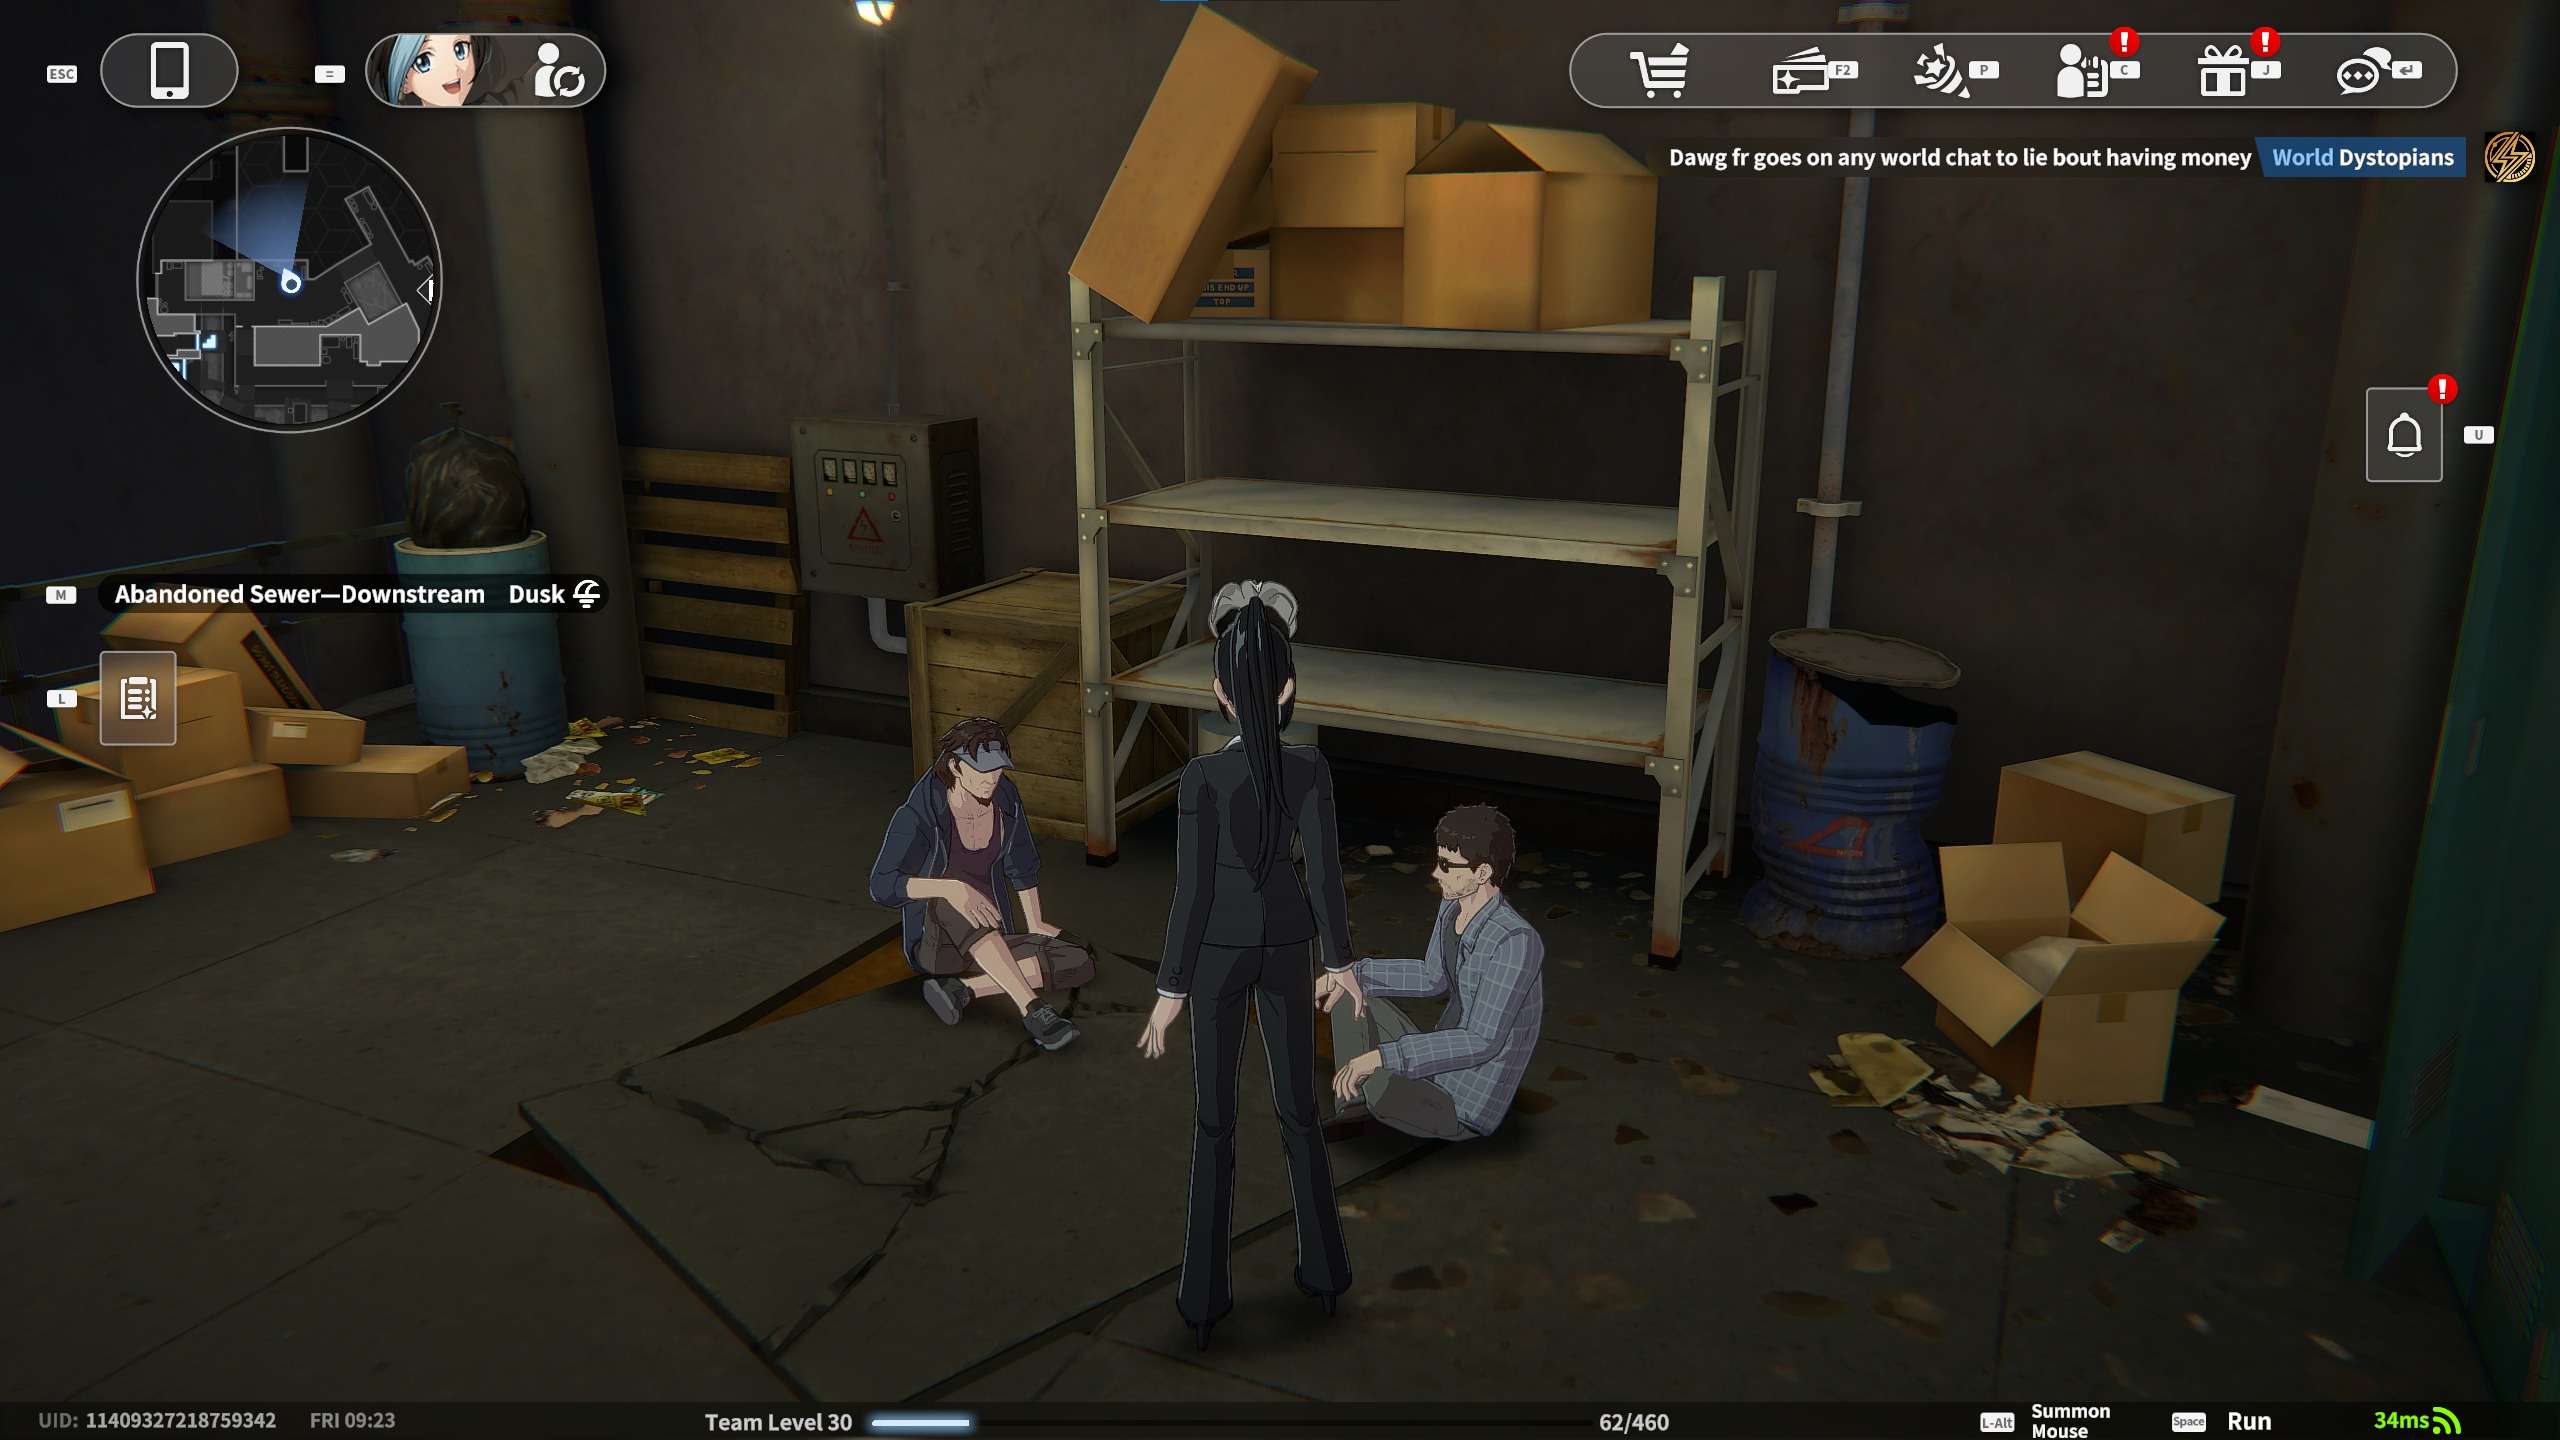
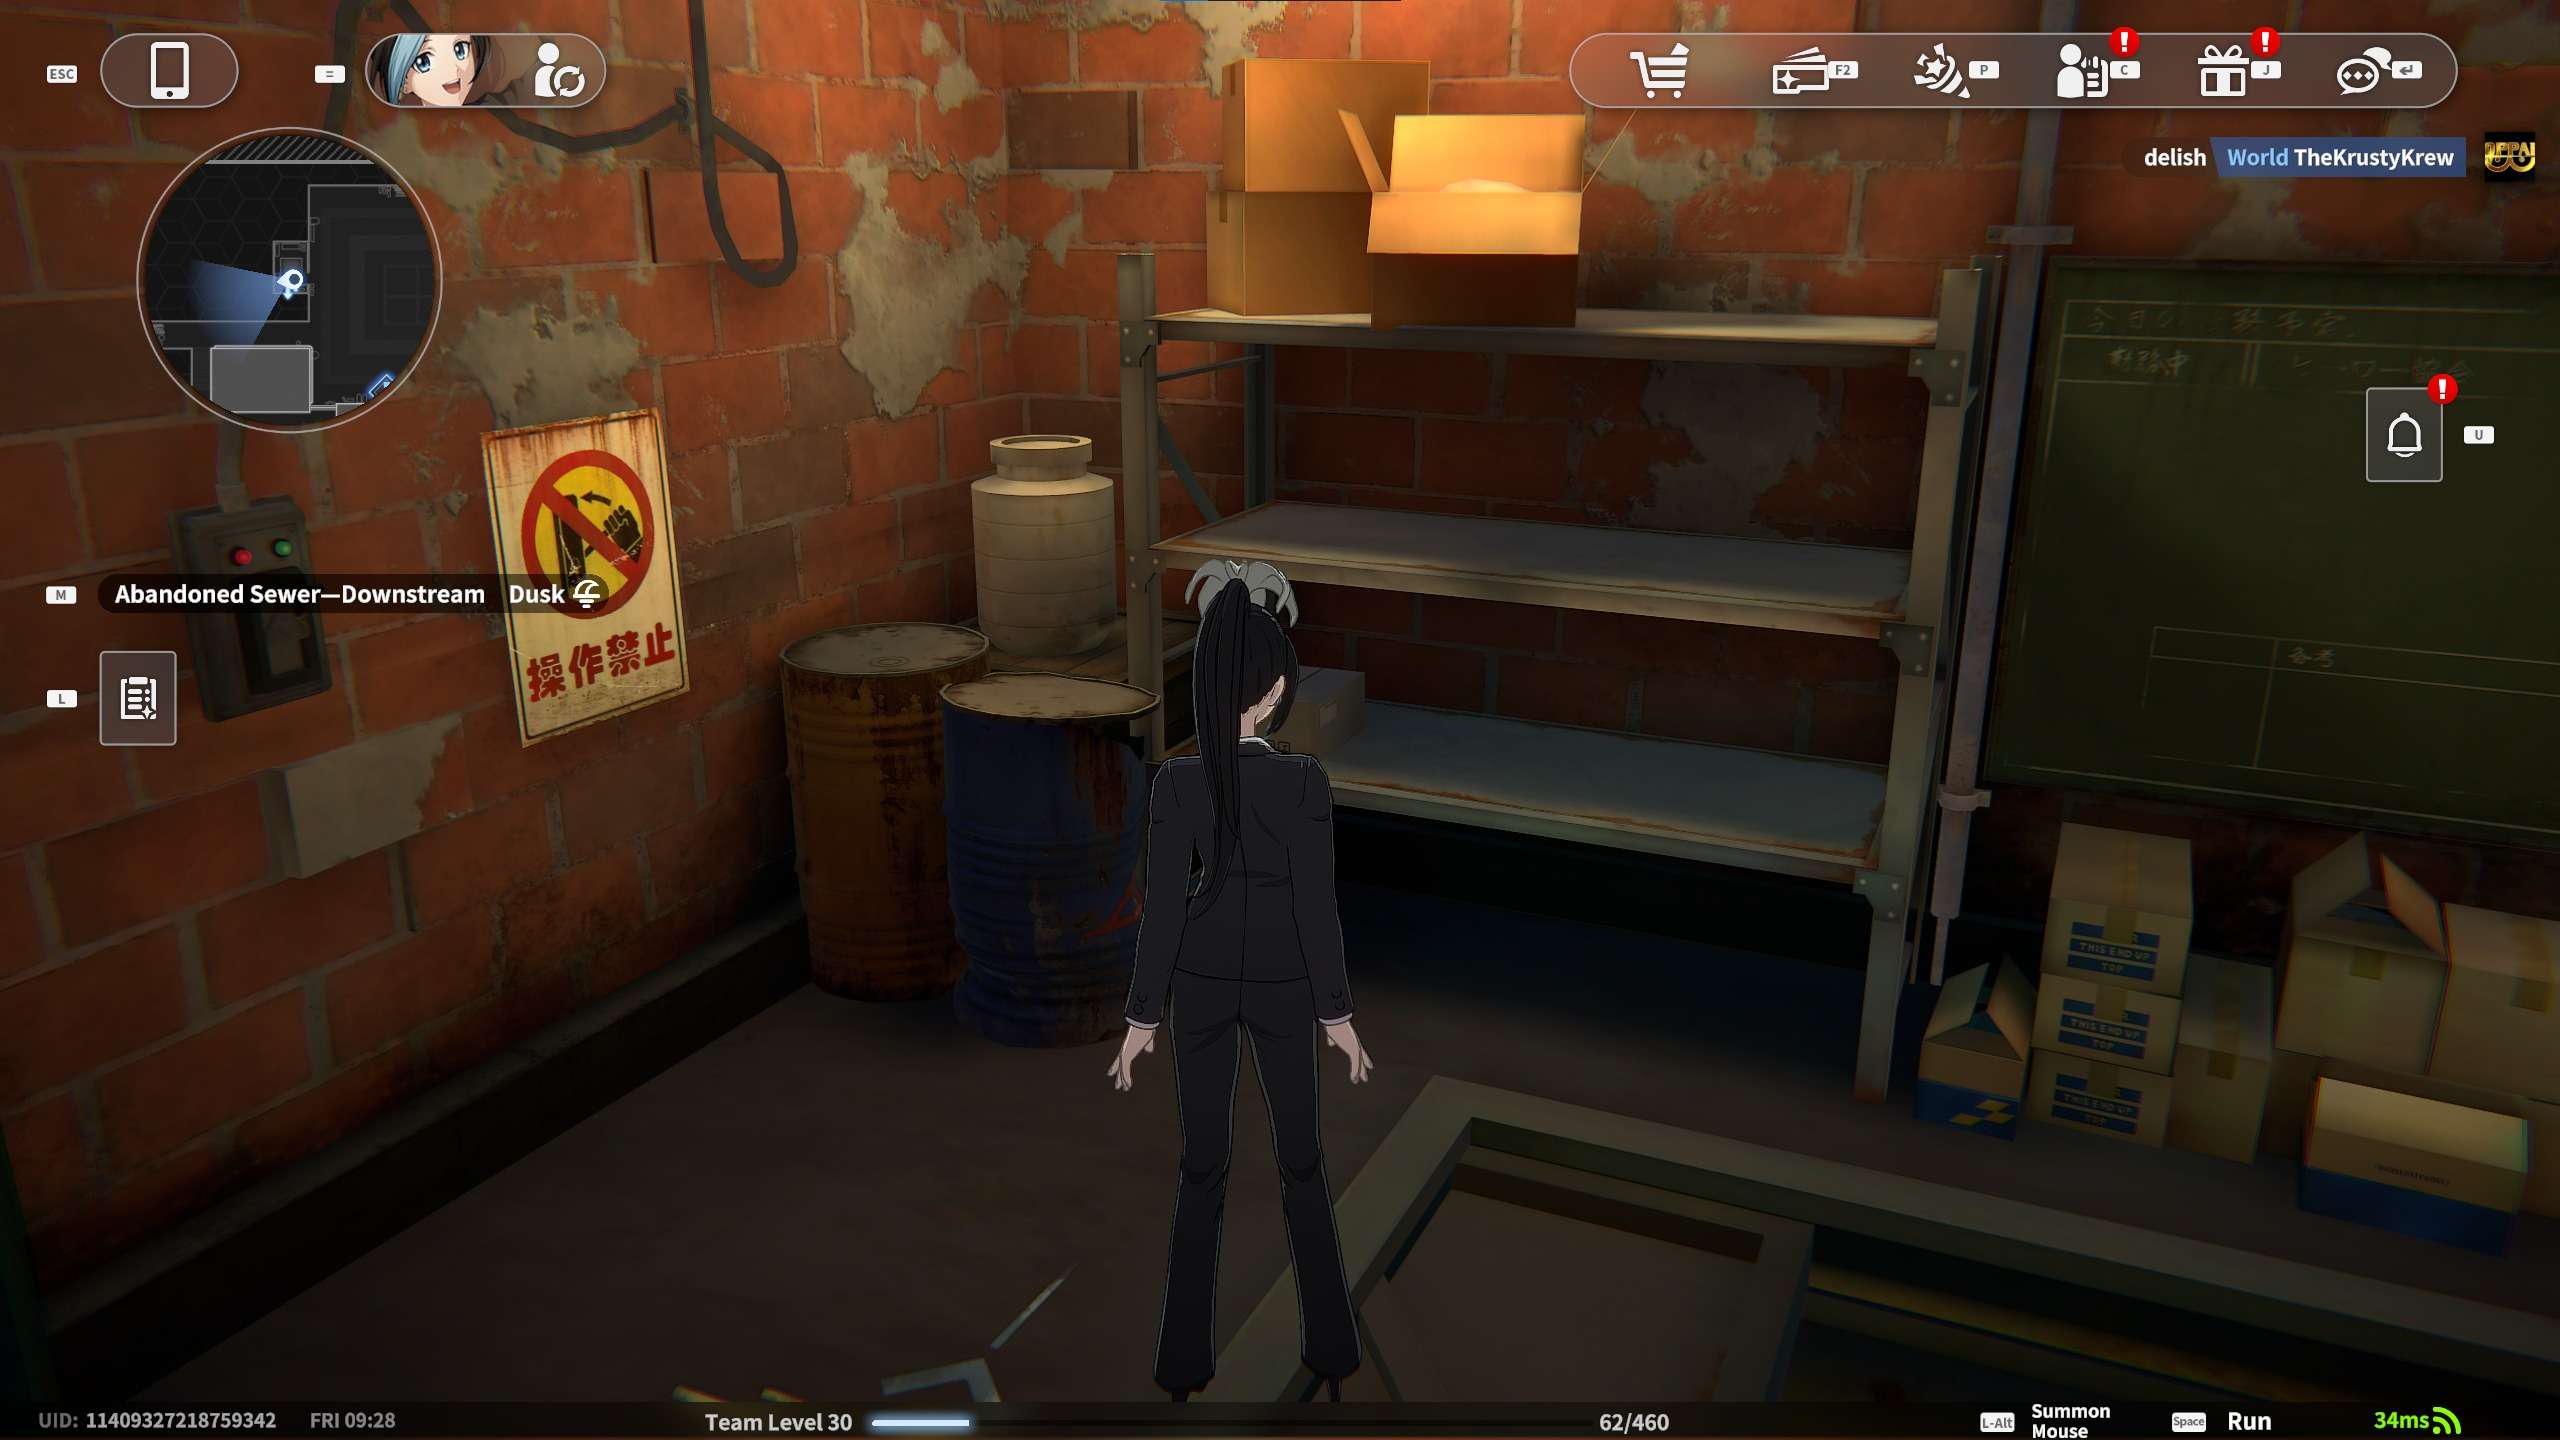
Trading Card #2: Shelf card behind the “Village Chief.” On the shelf.

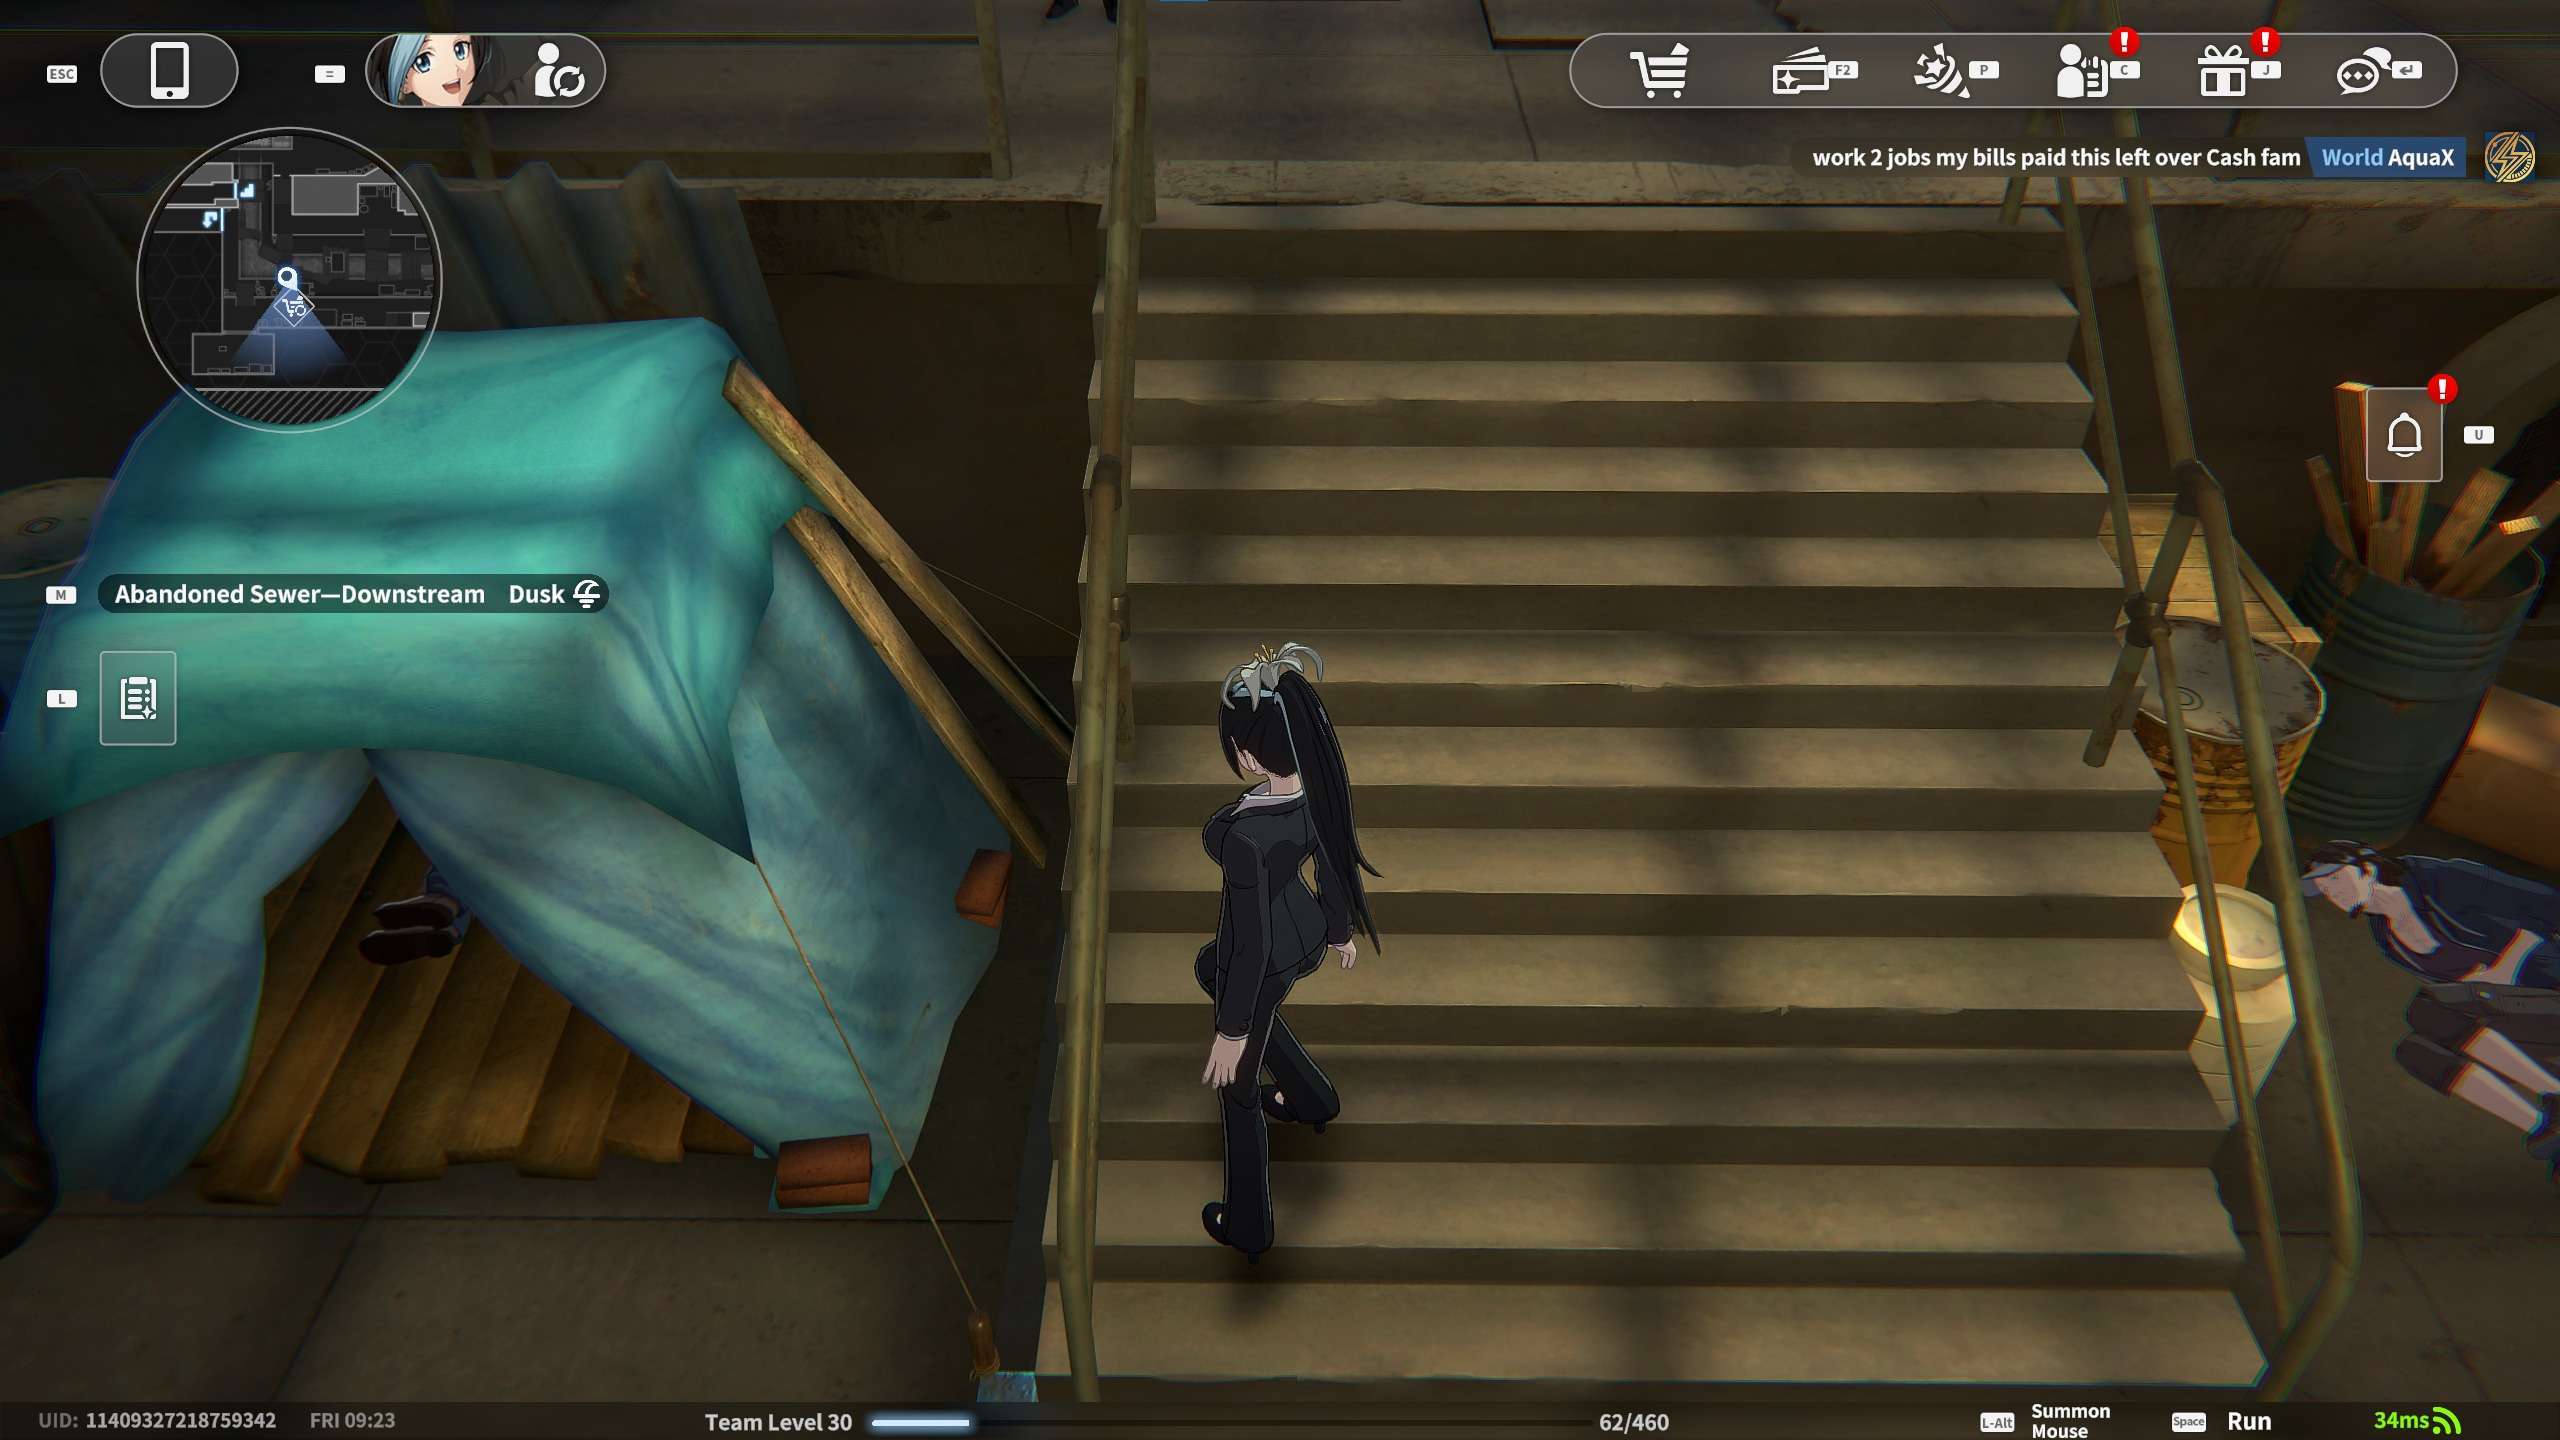
Trading Card #3: Ghost story card under the thirteen-step staircase.. Between the stairs and the tent.
Trading Card #4: Shelf card next to the green container. On the shelf.
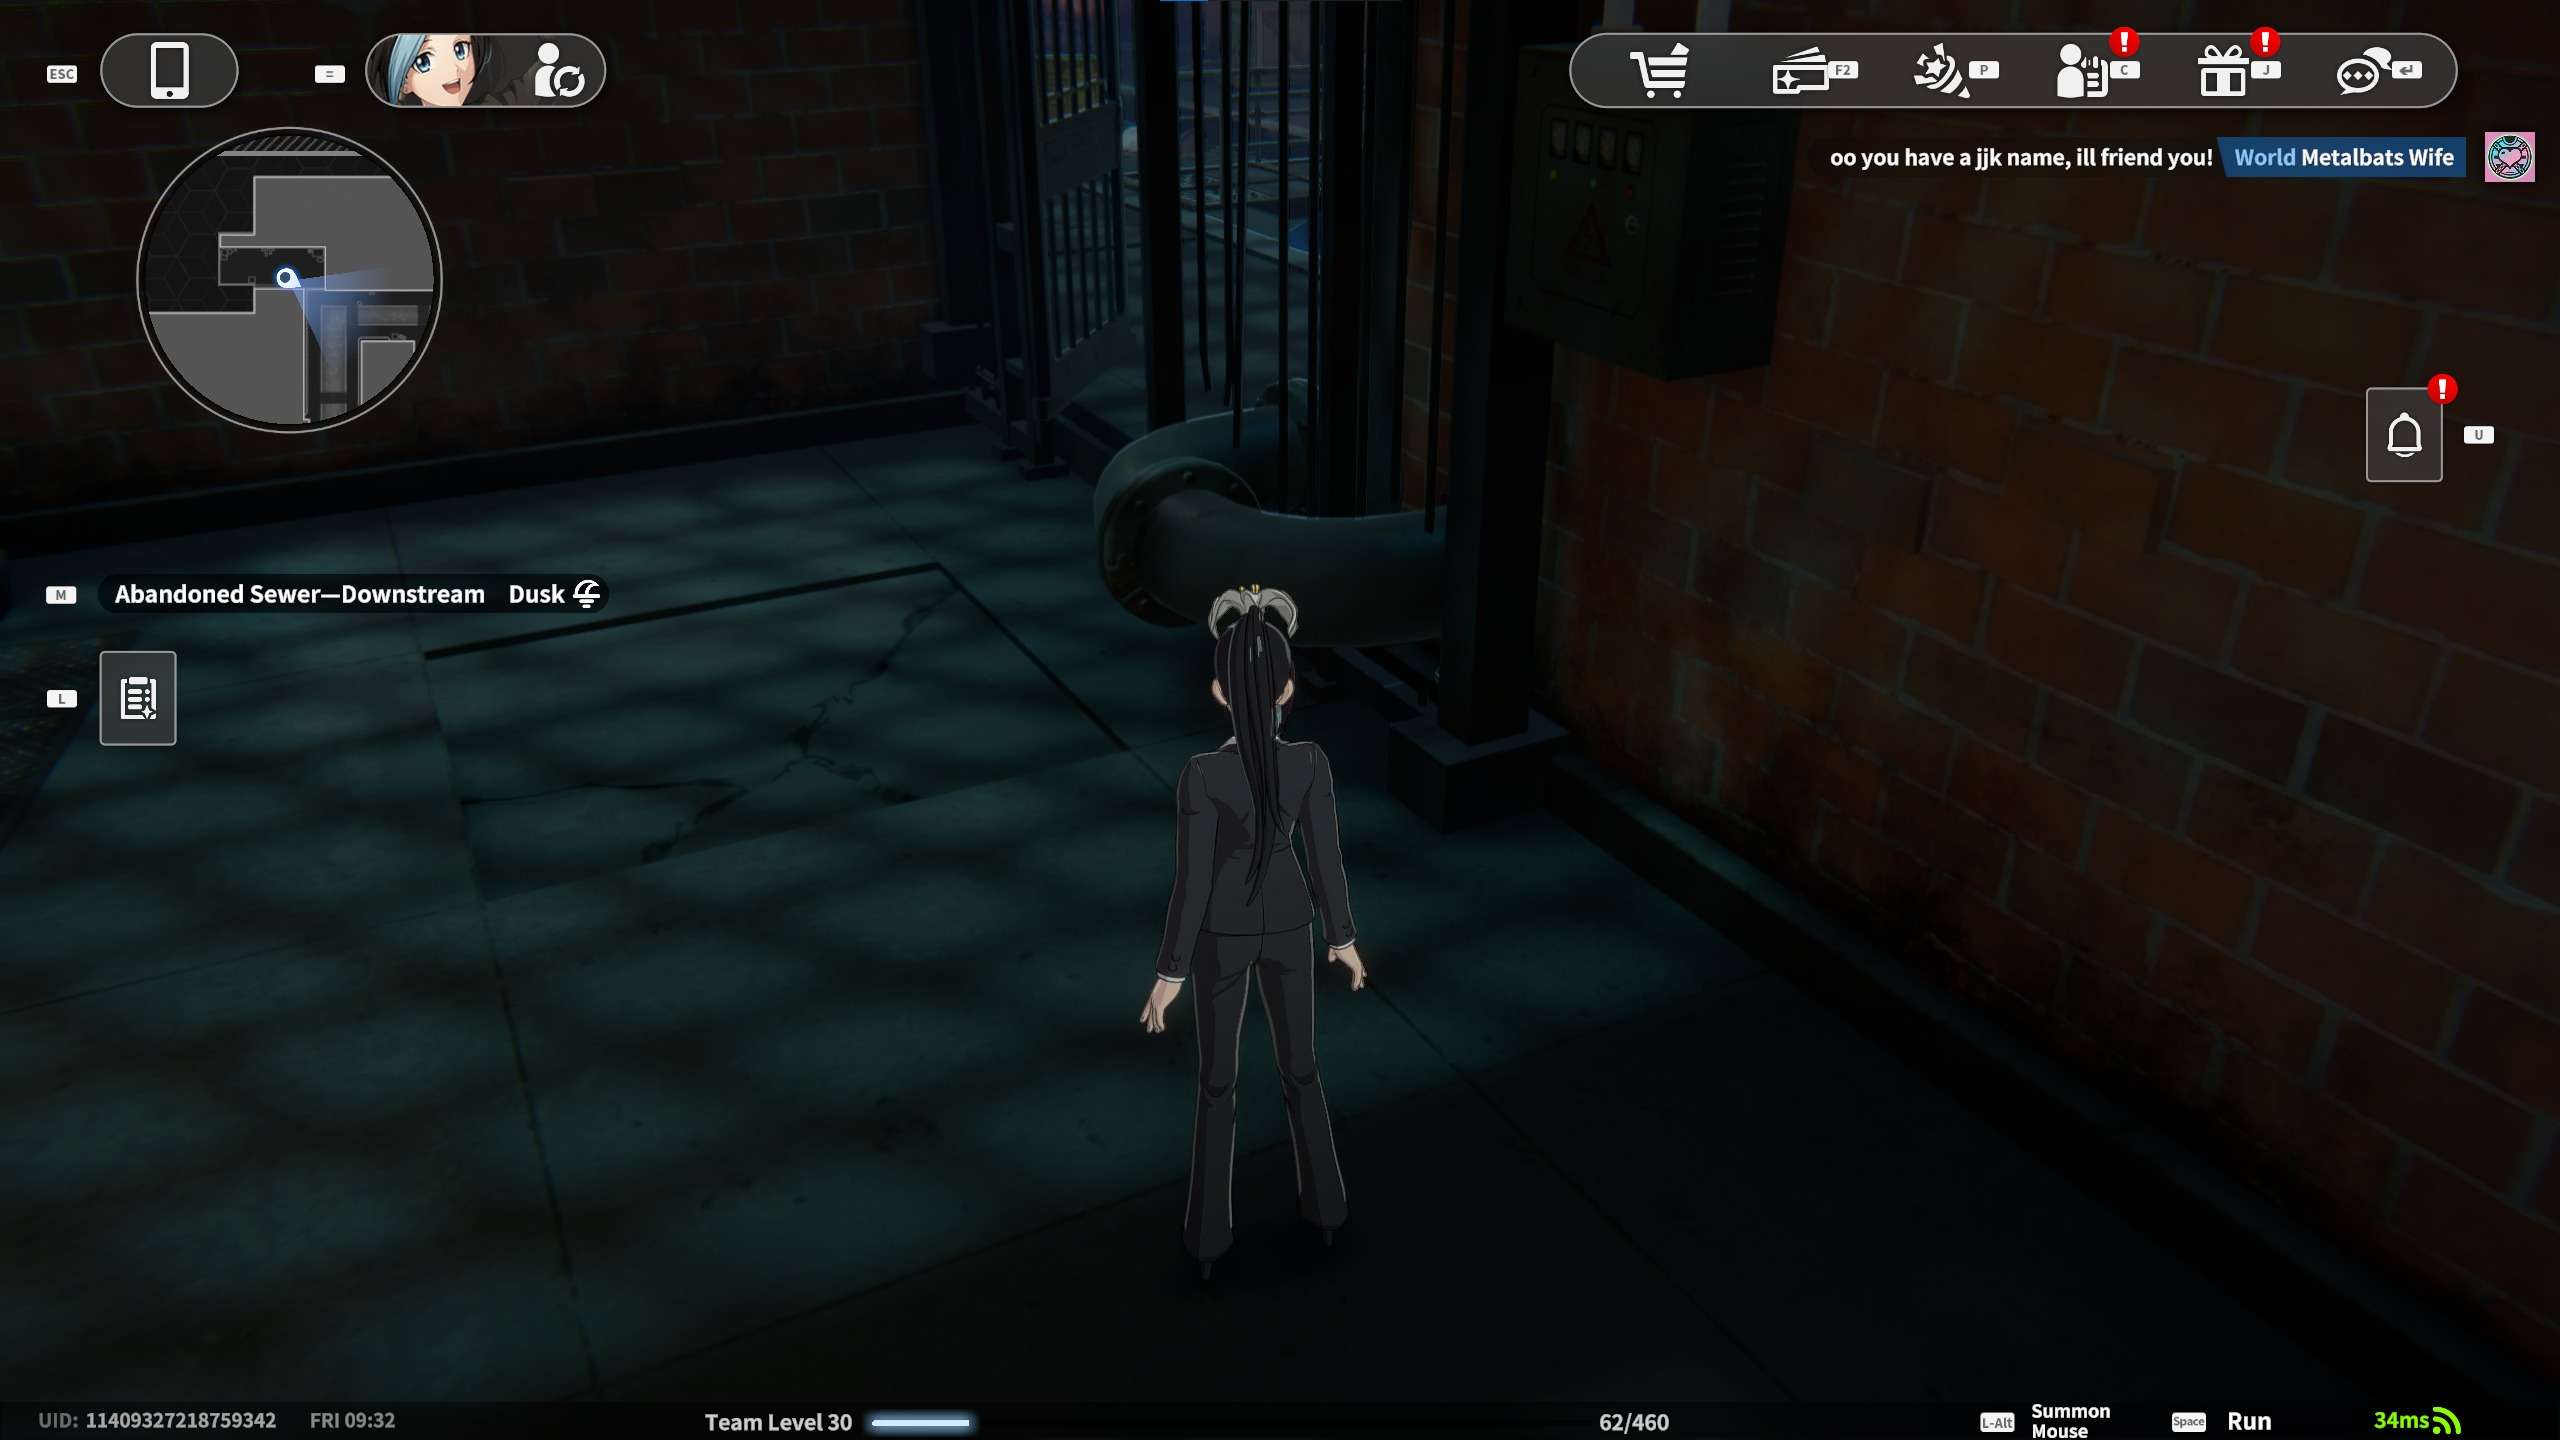
Trading Card #5: Cautionary card by the waterway railing. Right corner of wall.
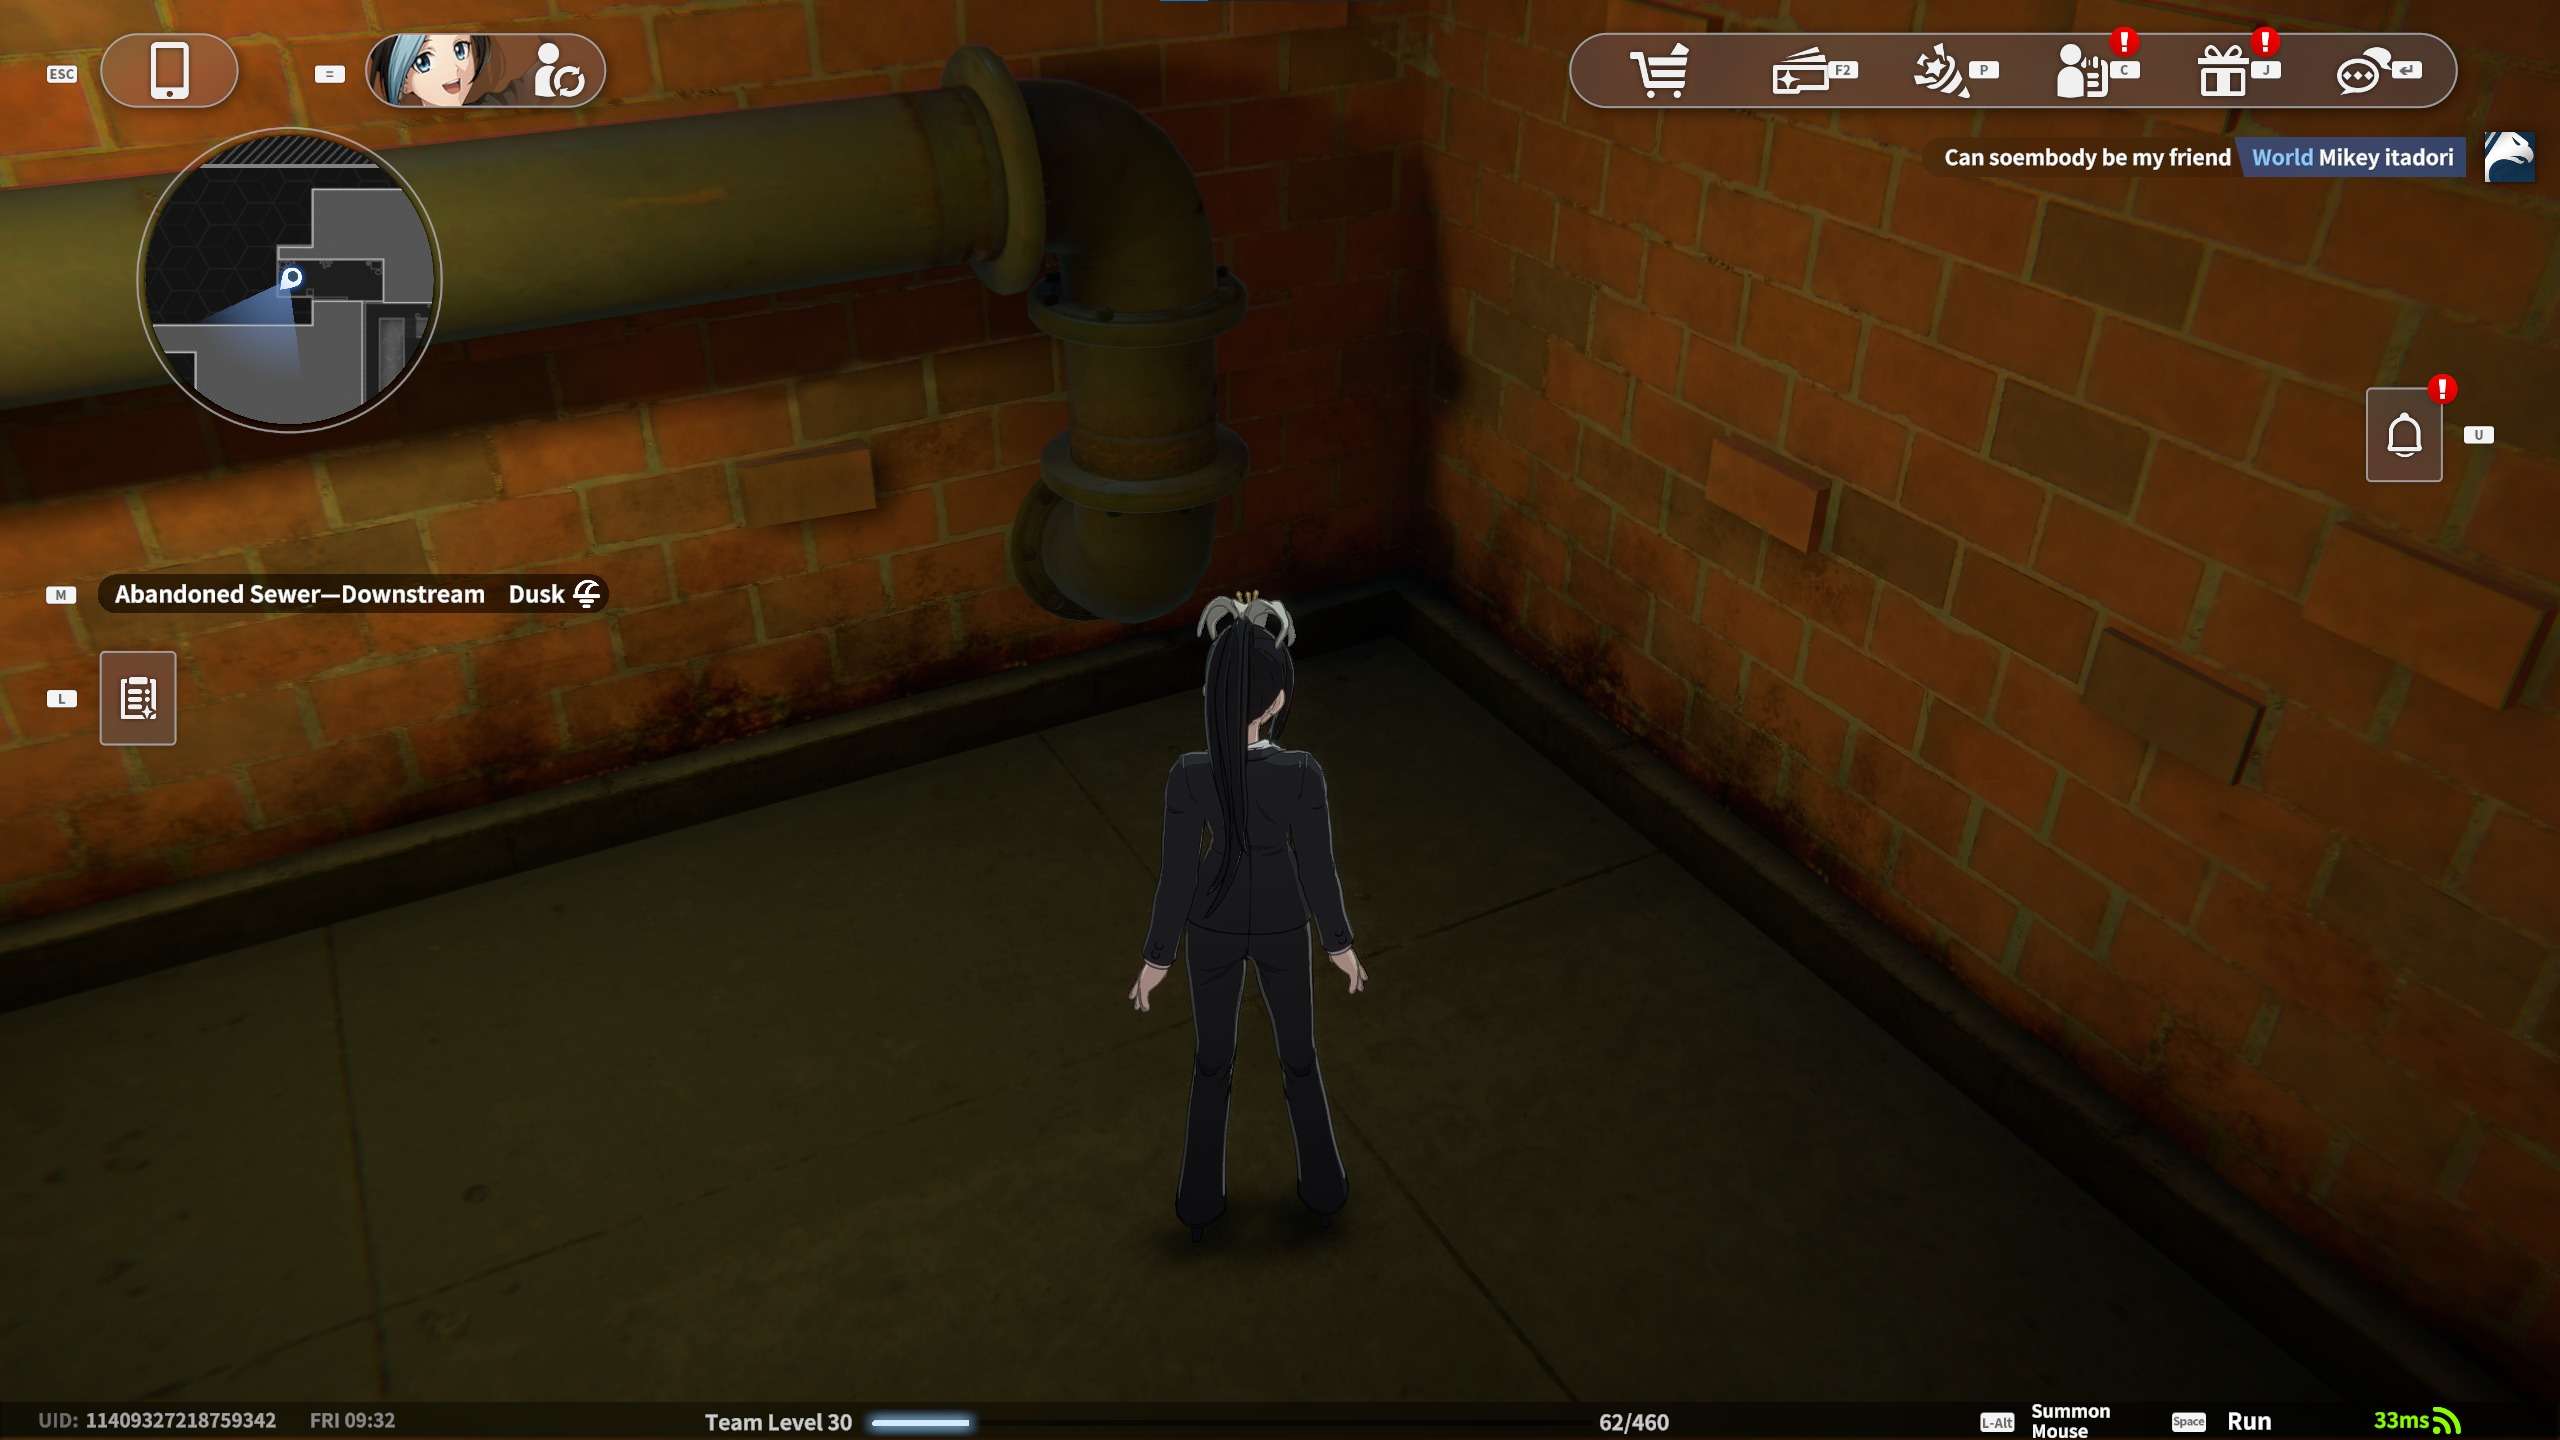
Trading Card #6: Dampness card on the water pipe. Betlow the pipe.
Trading Card #7: Orientation card at the pipe’s mouth. Between the pipes.
Trading Card #8: Surprise card between the pipes. Between the pipes.
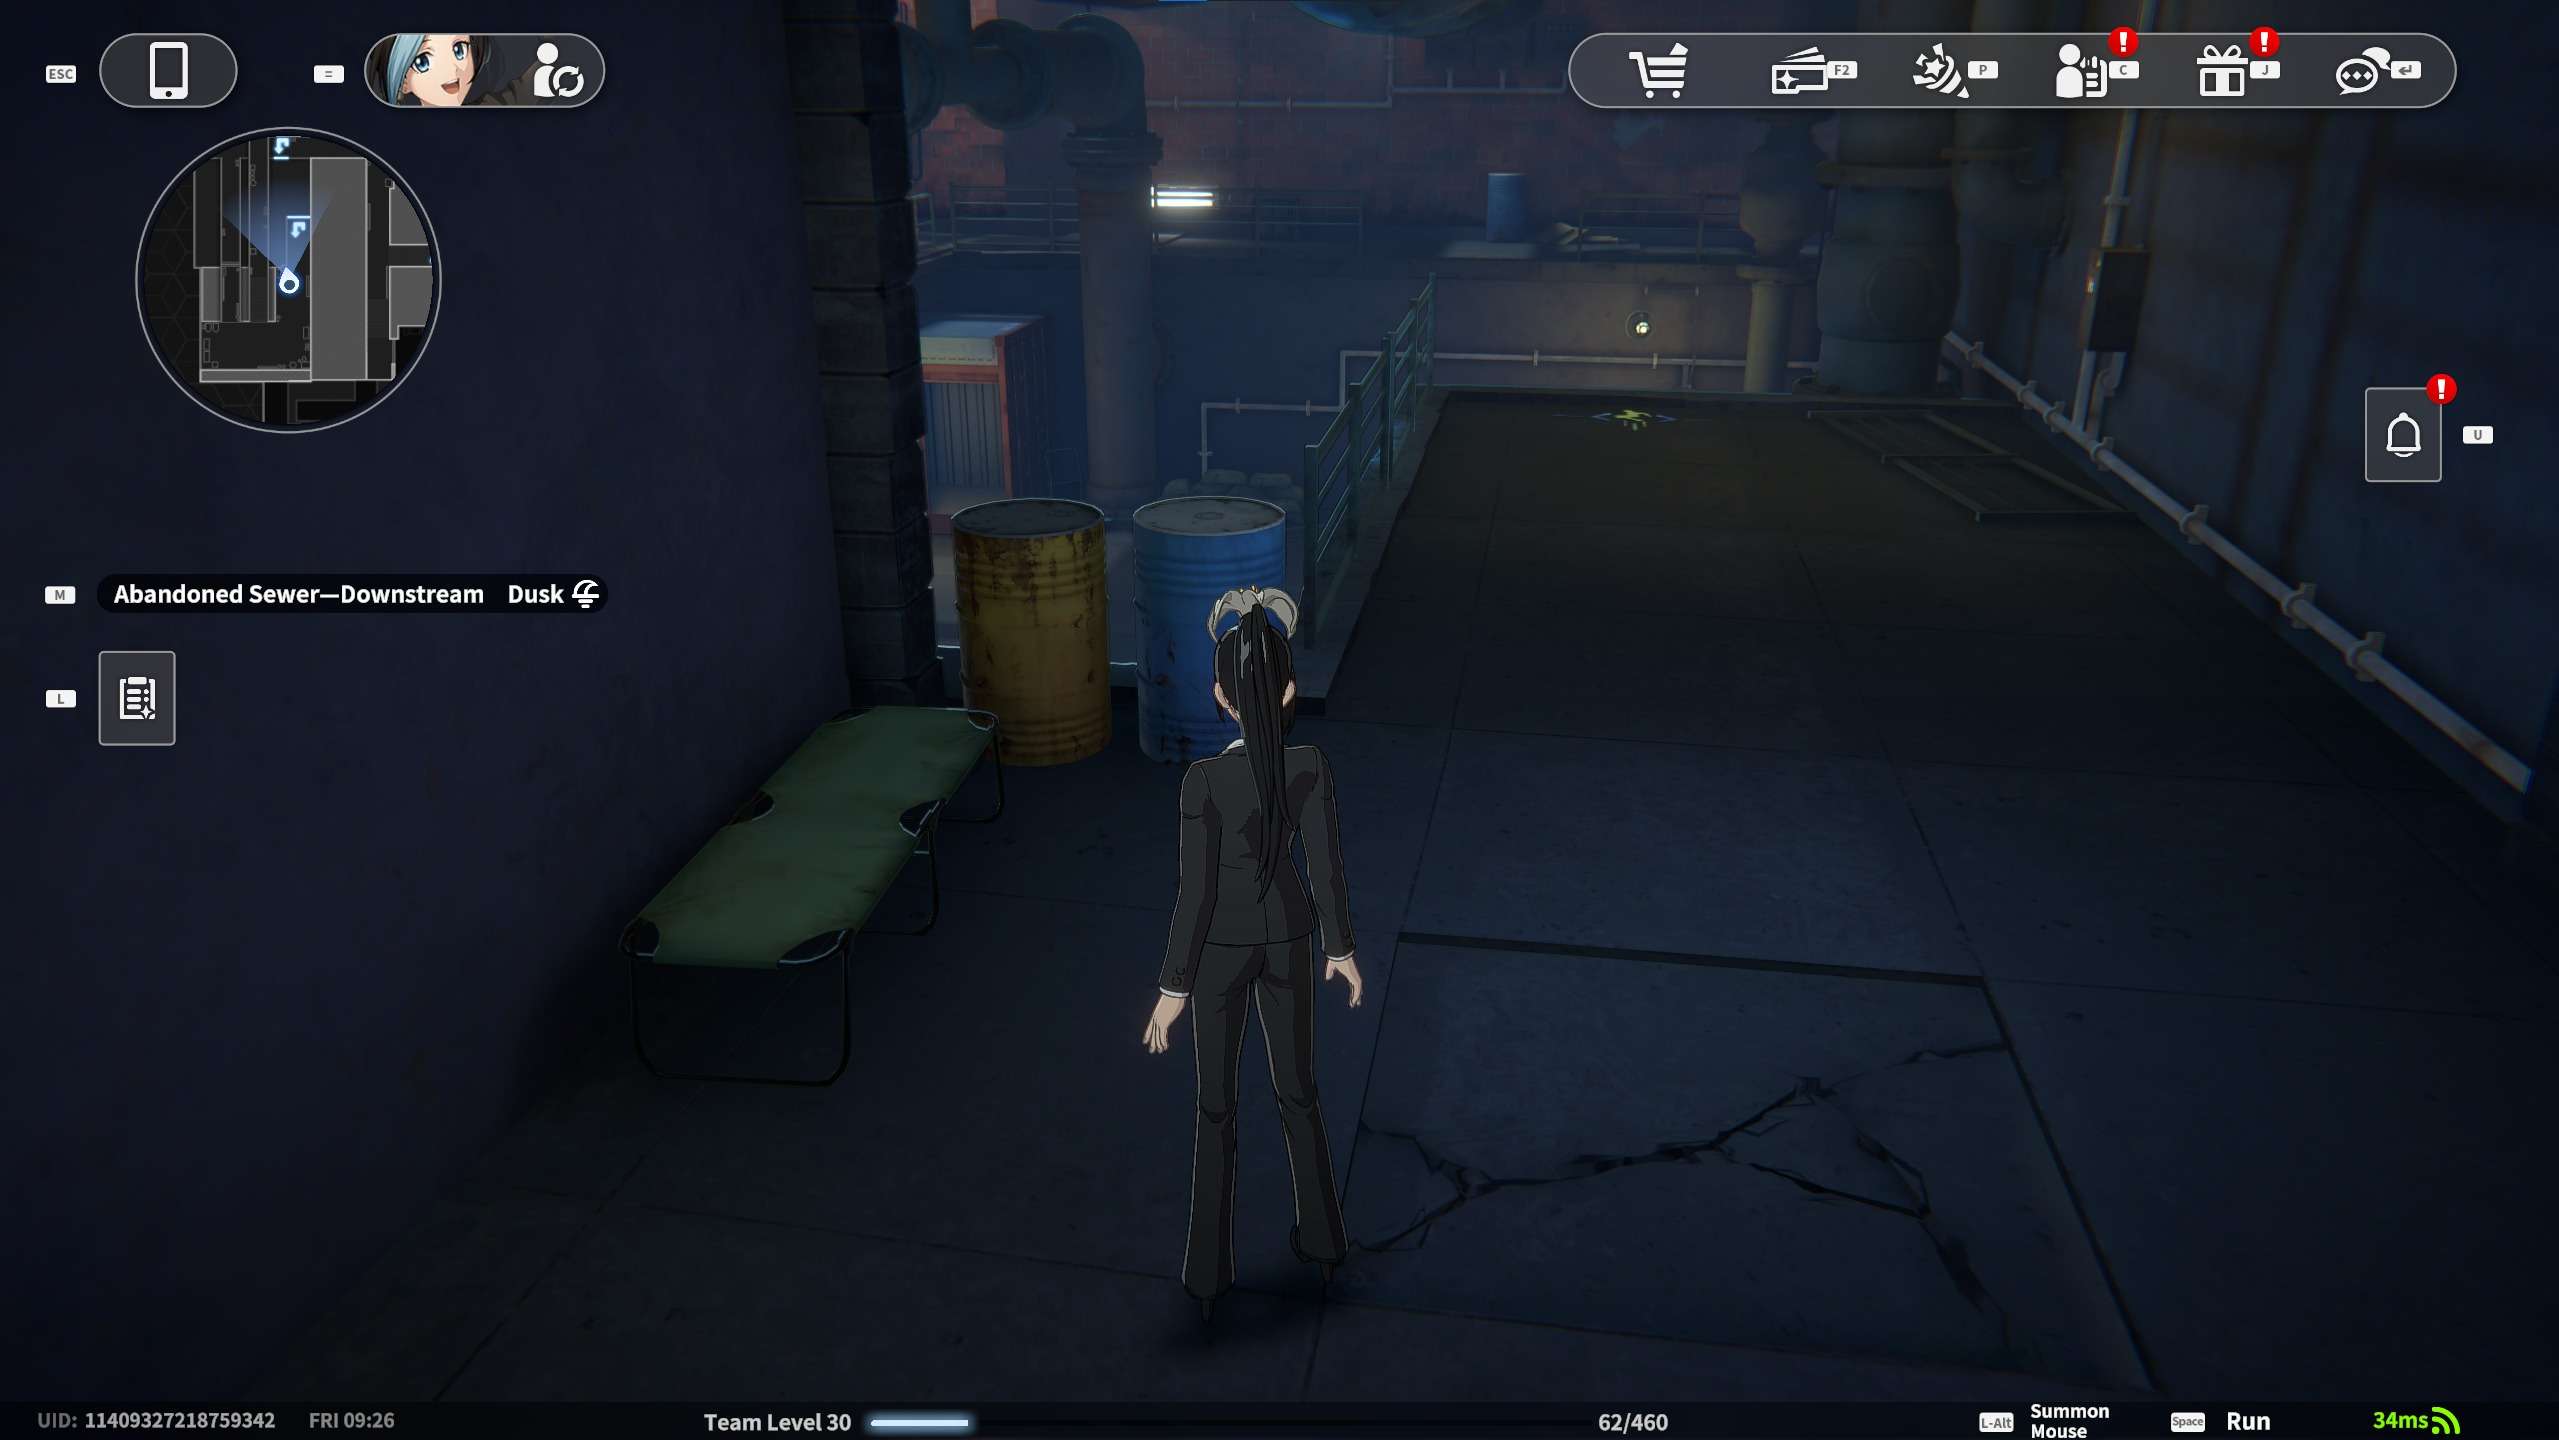
Trading Card #9: Card between the yellow and blue iron barrels. Between the barrels.
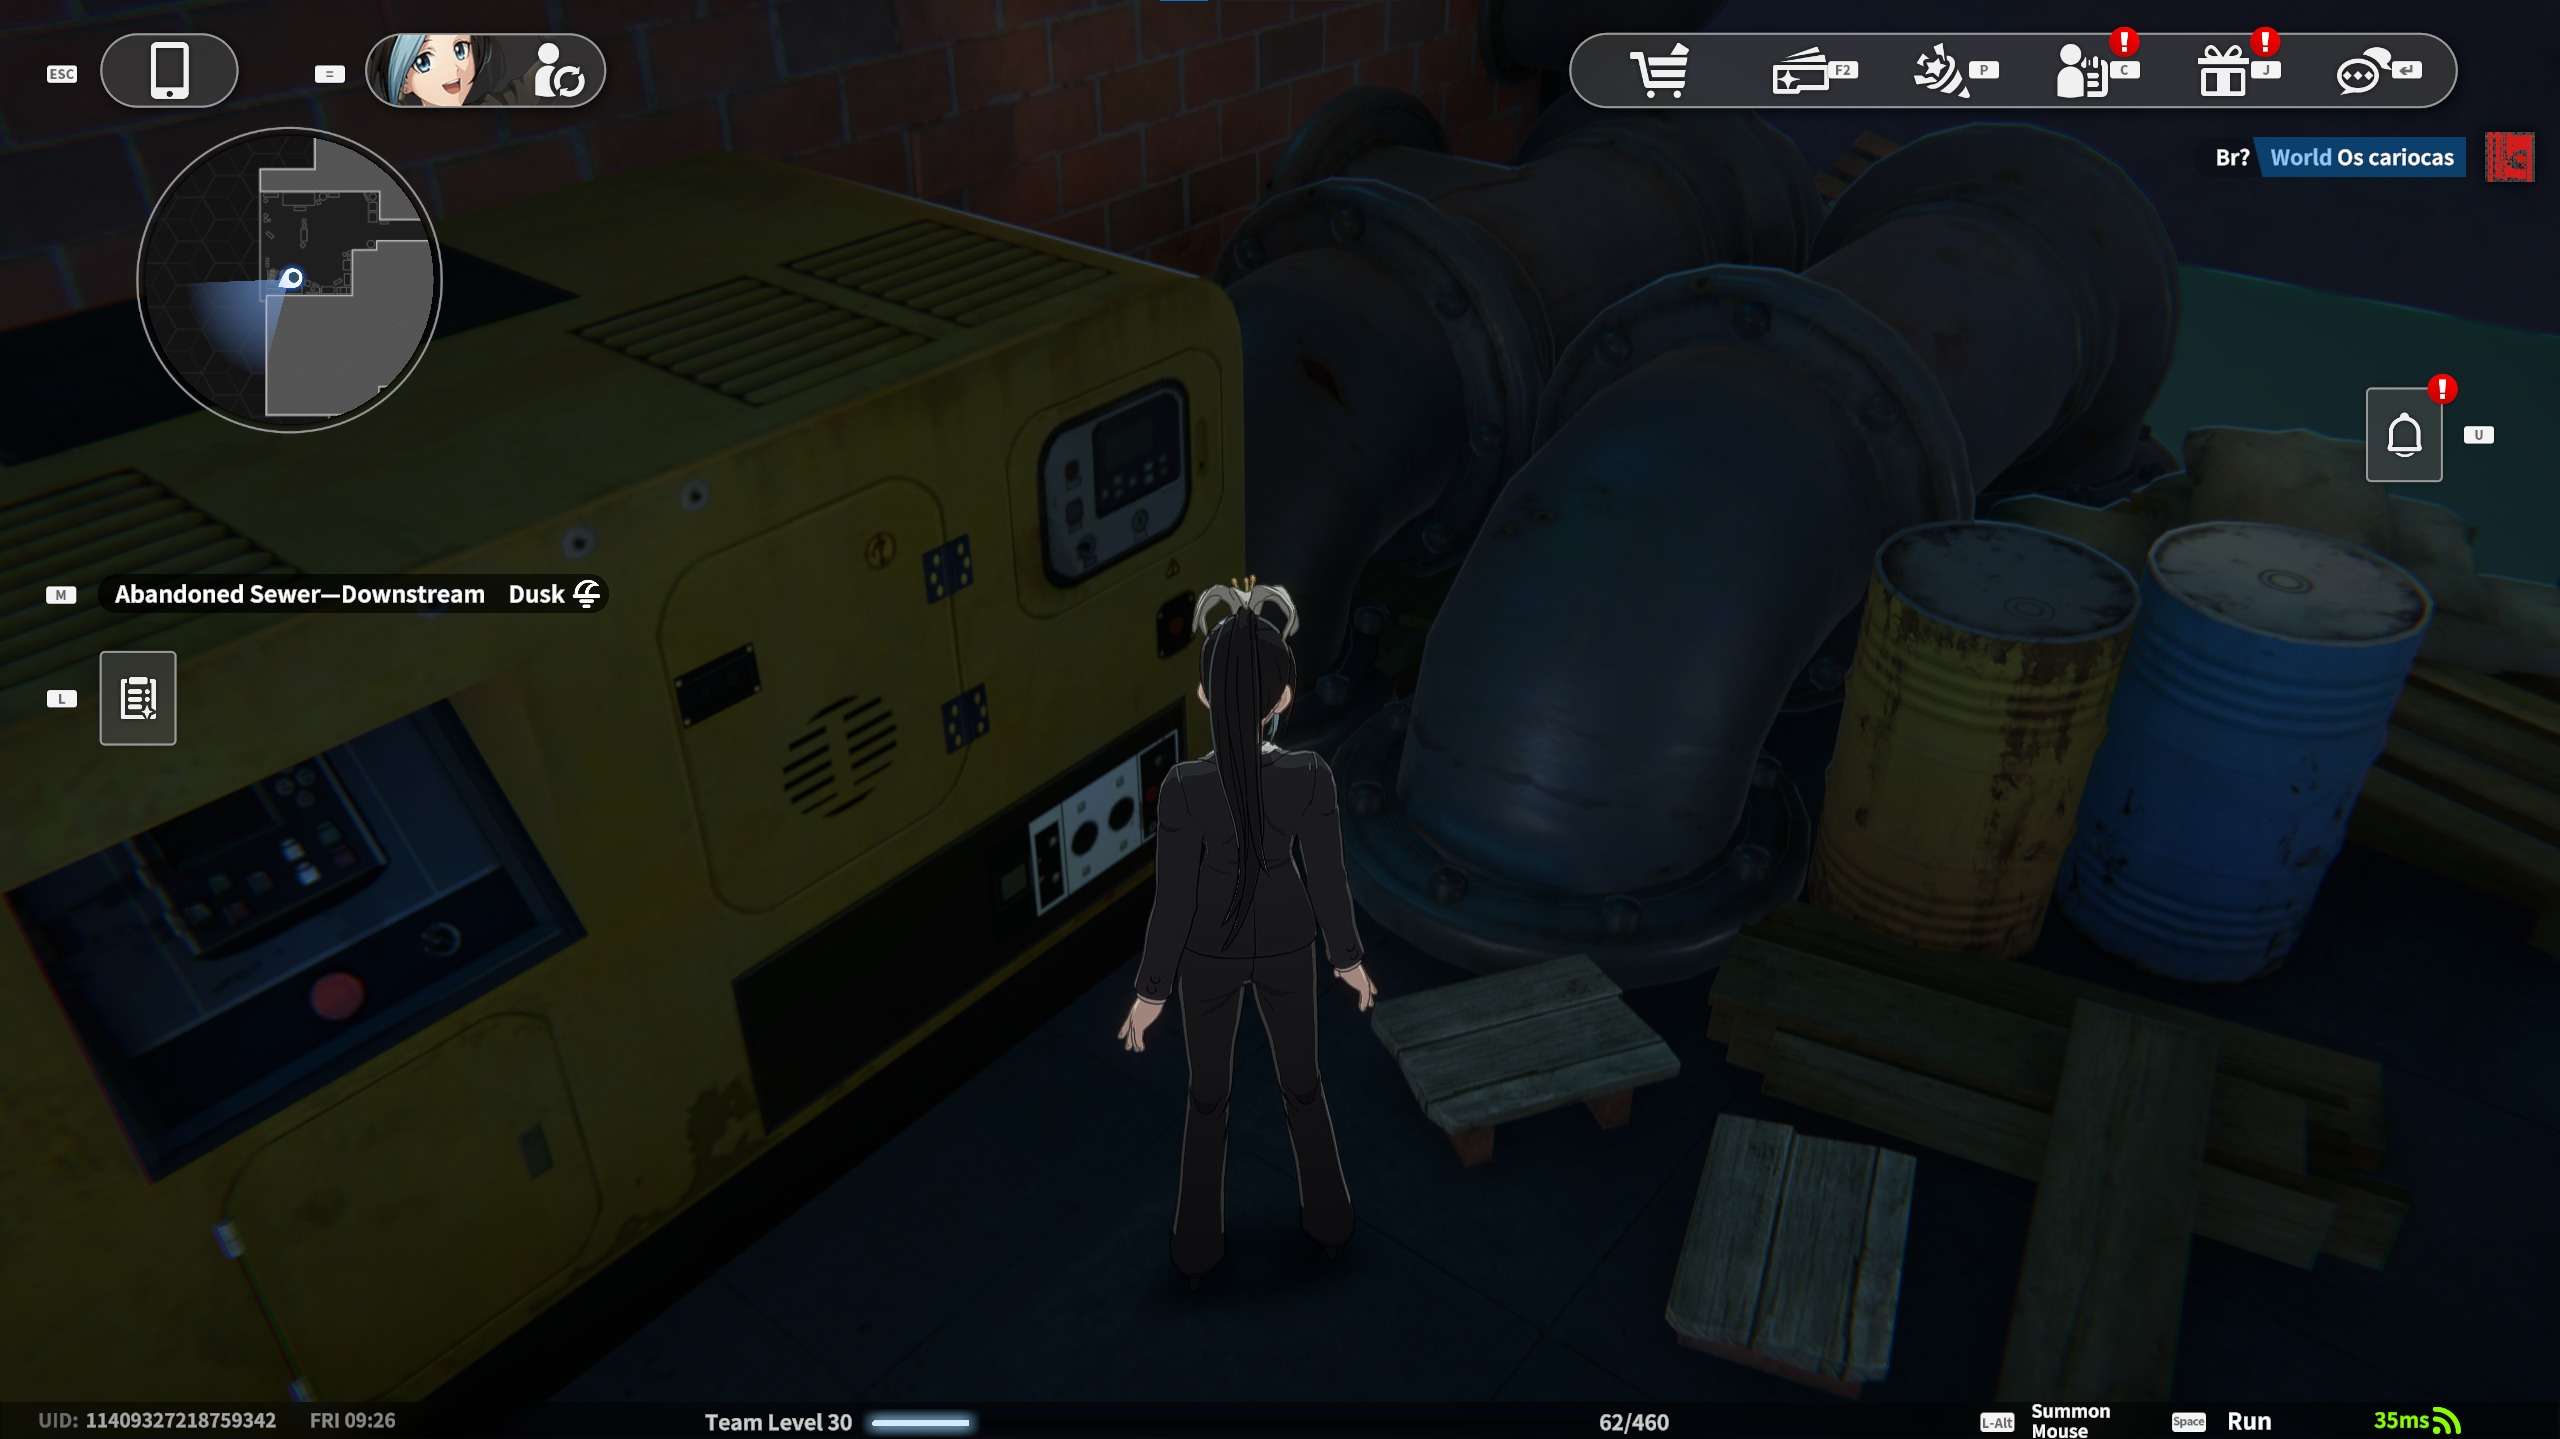
Trading Card #10: Startup password in front of the generator. Between the pipes.
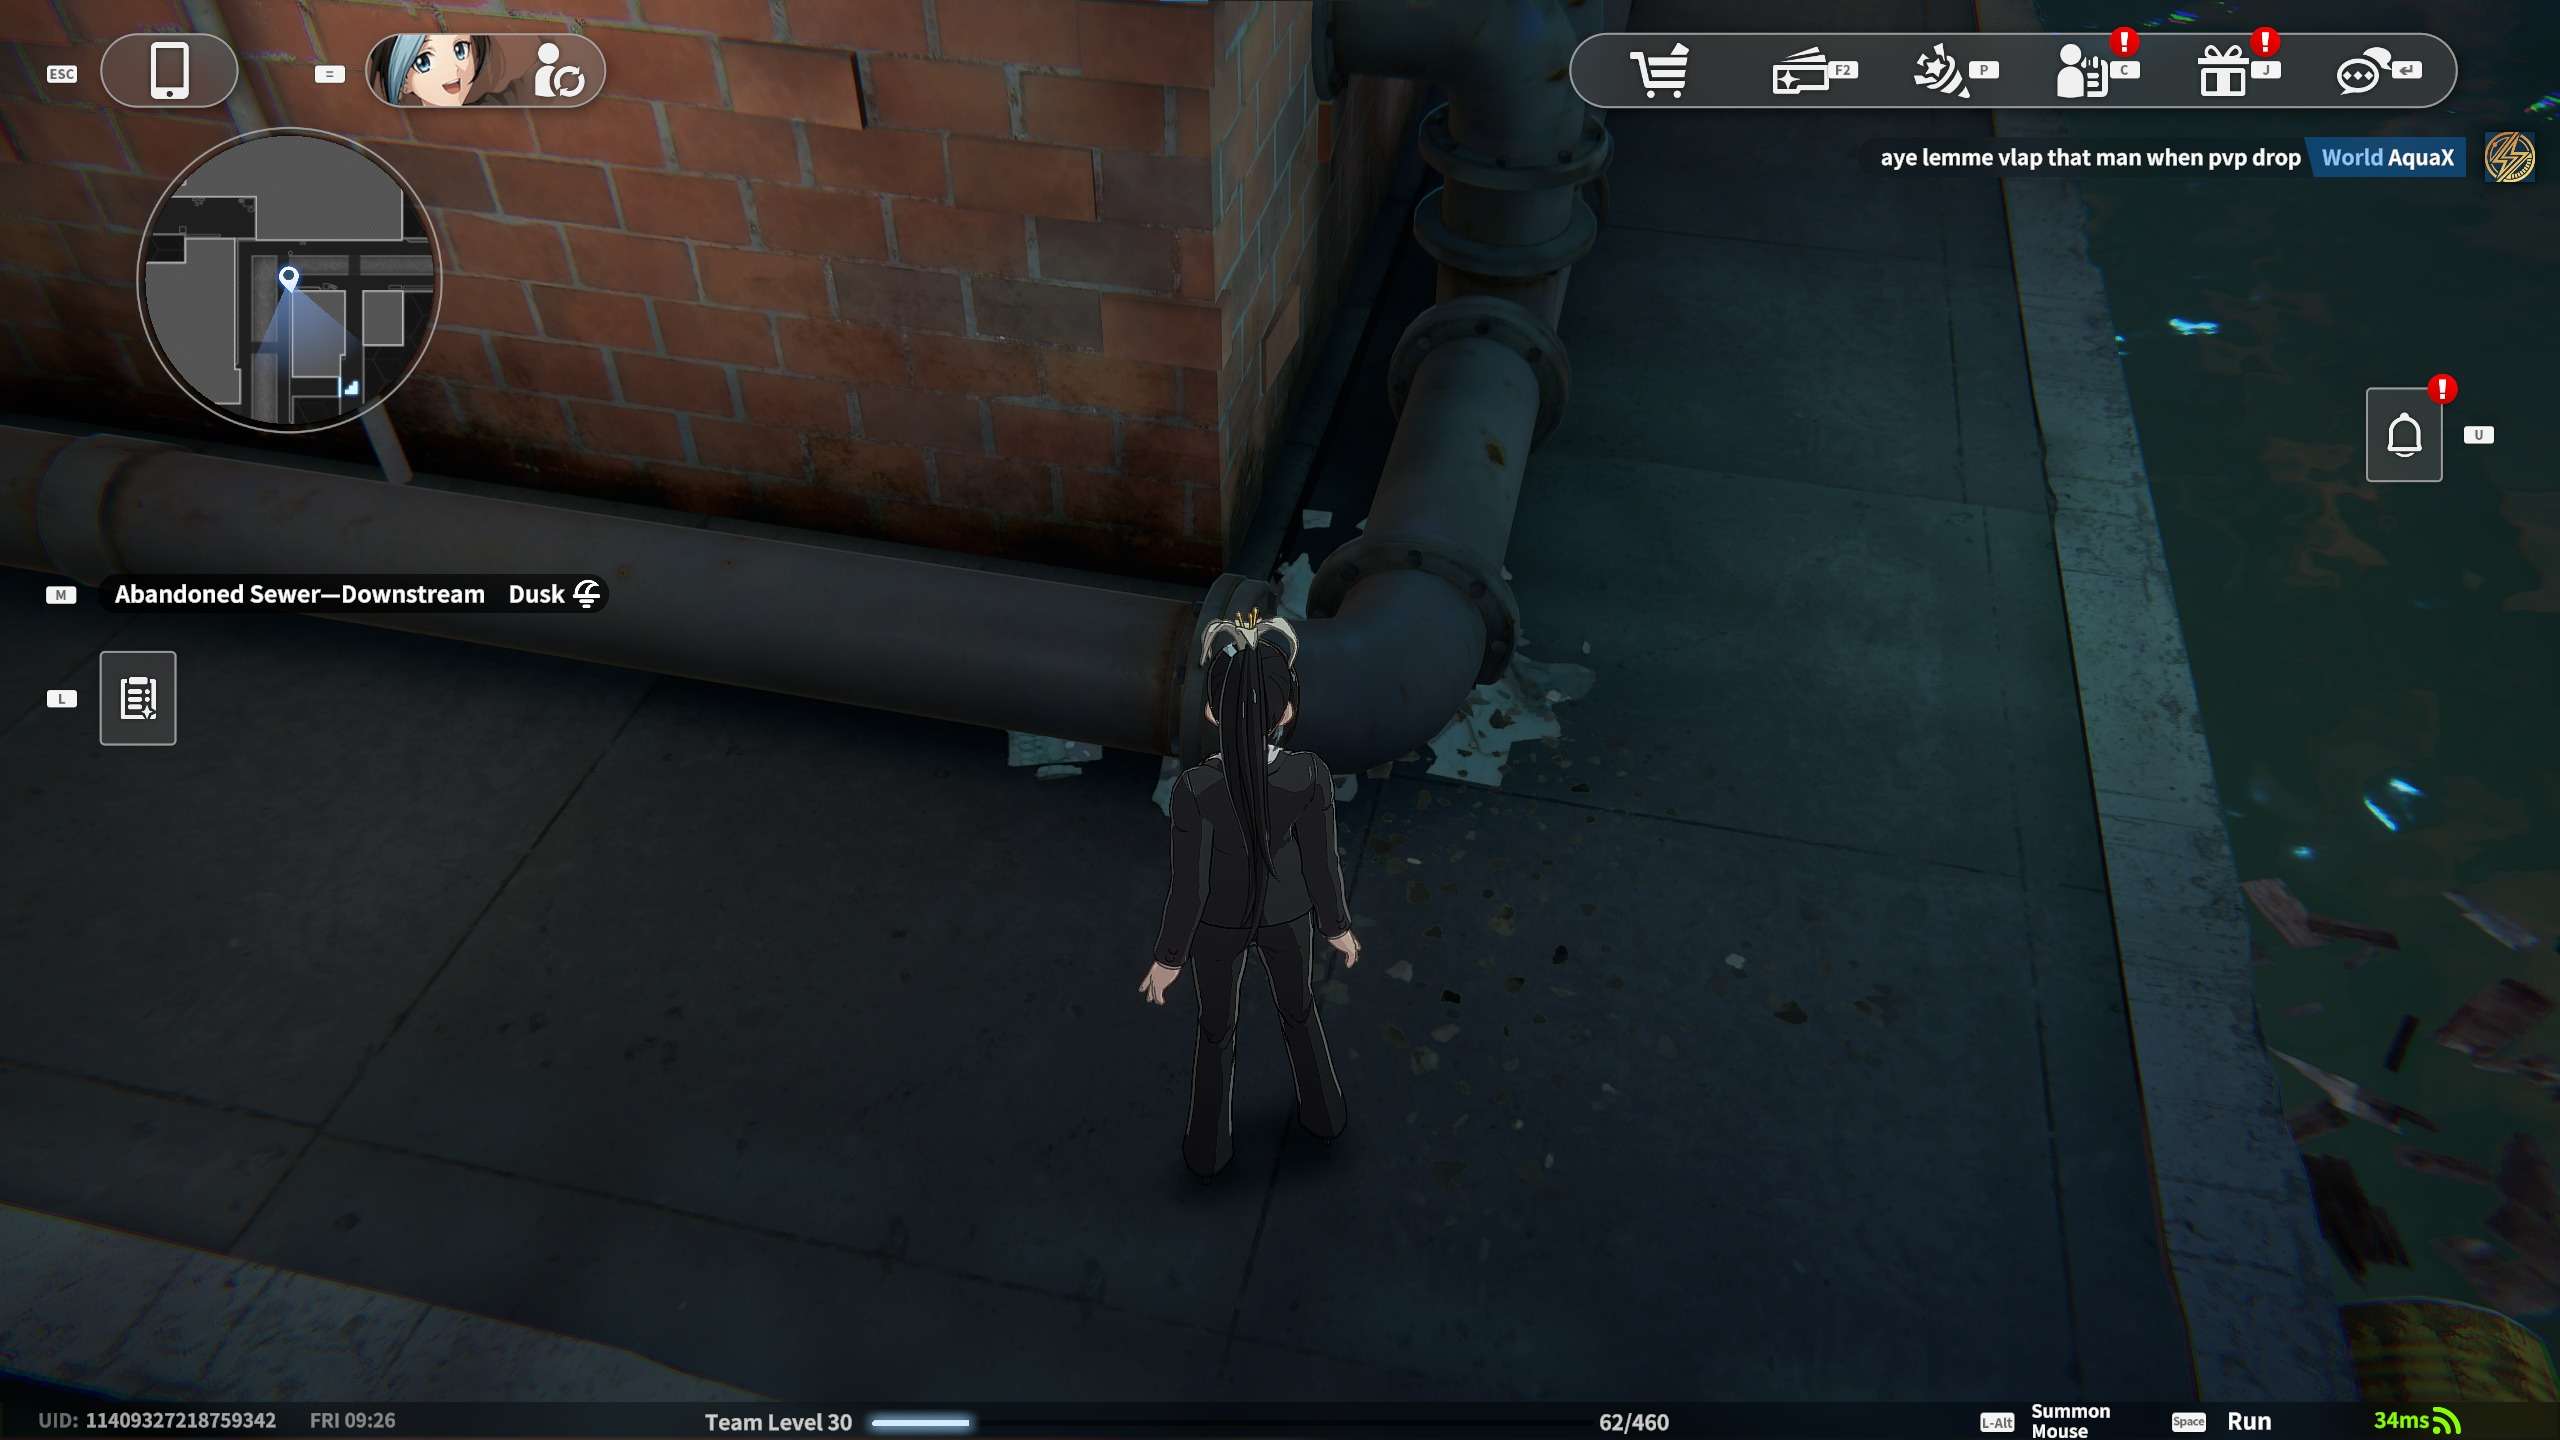
Trading Card #11: Graceful card at the bend of the pipe. Between the pipe and the wall.
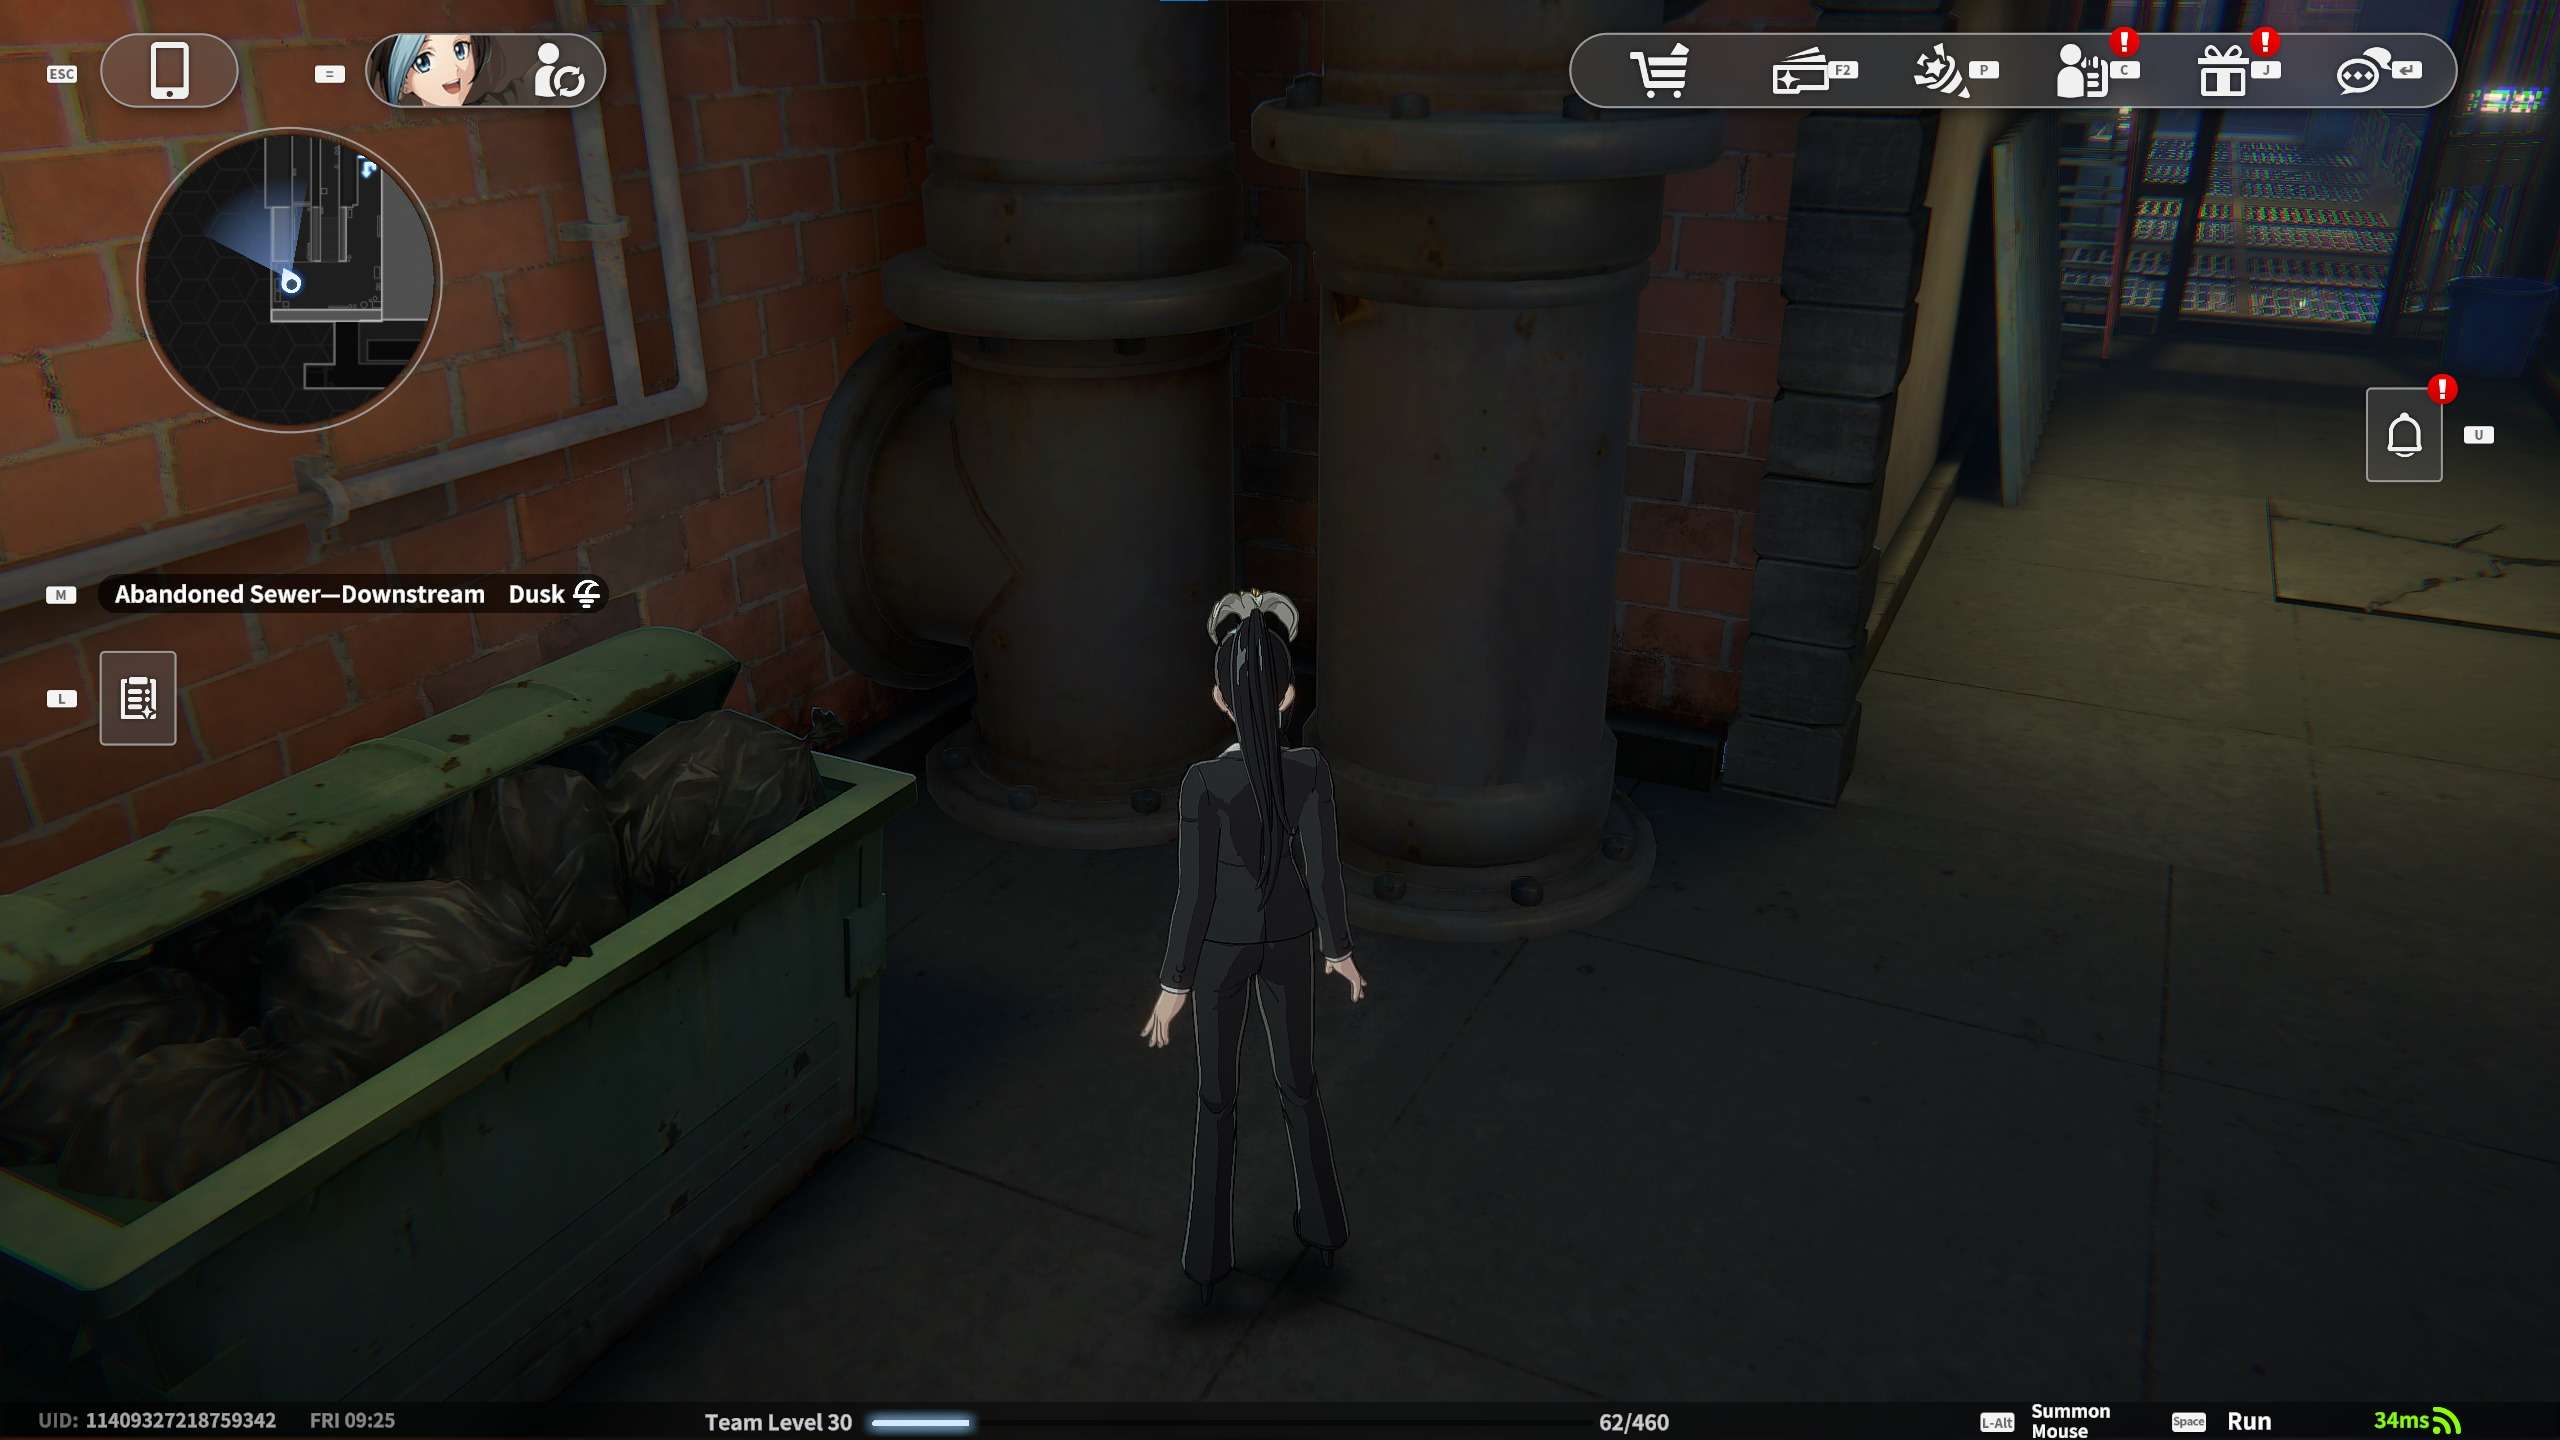
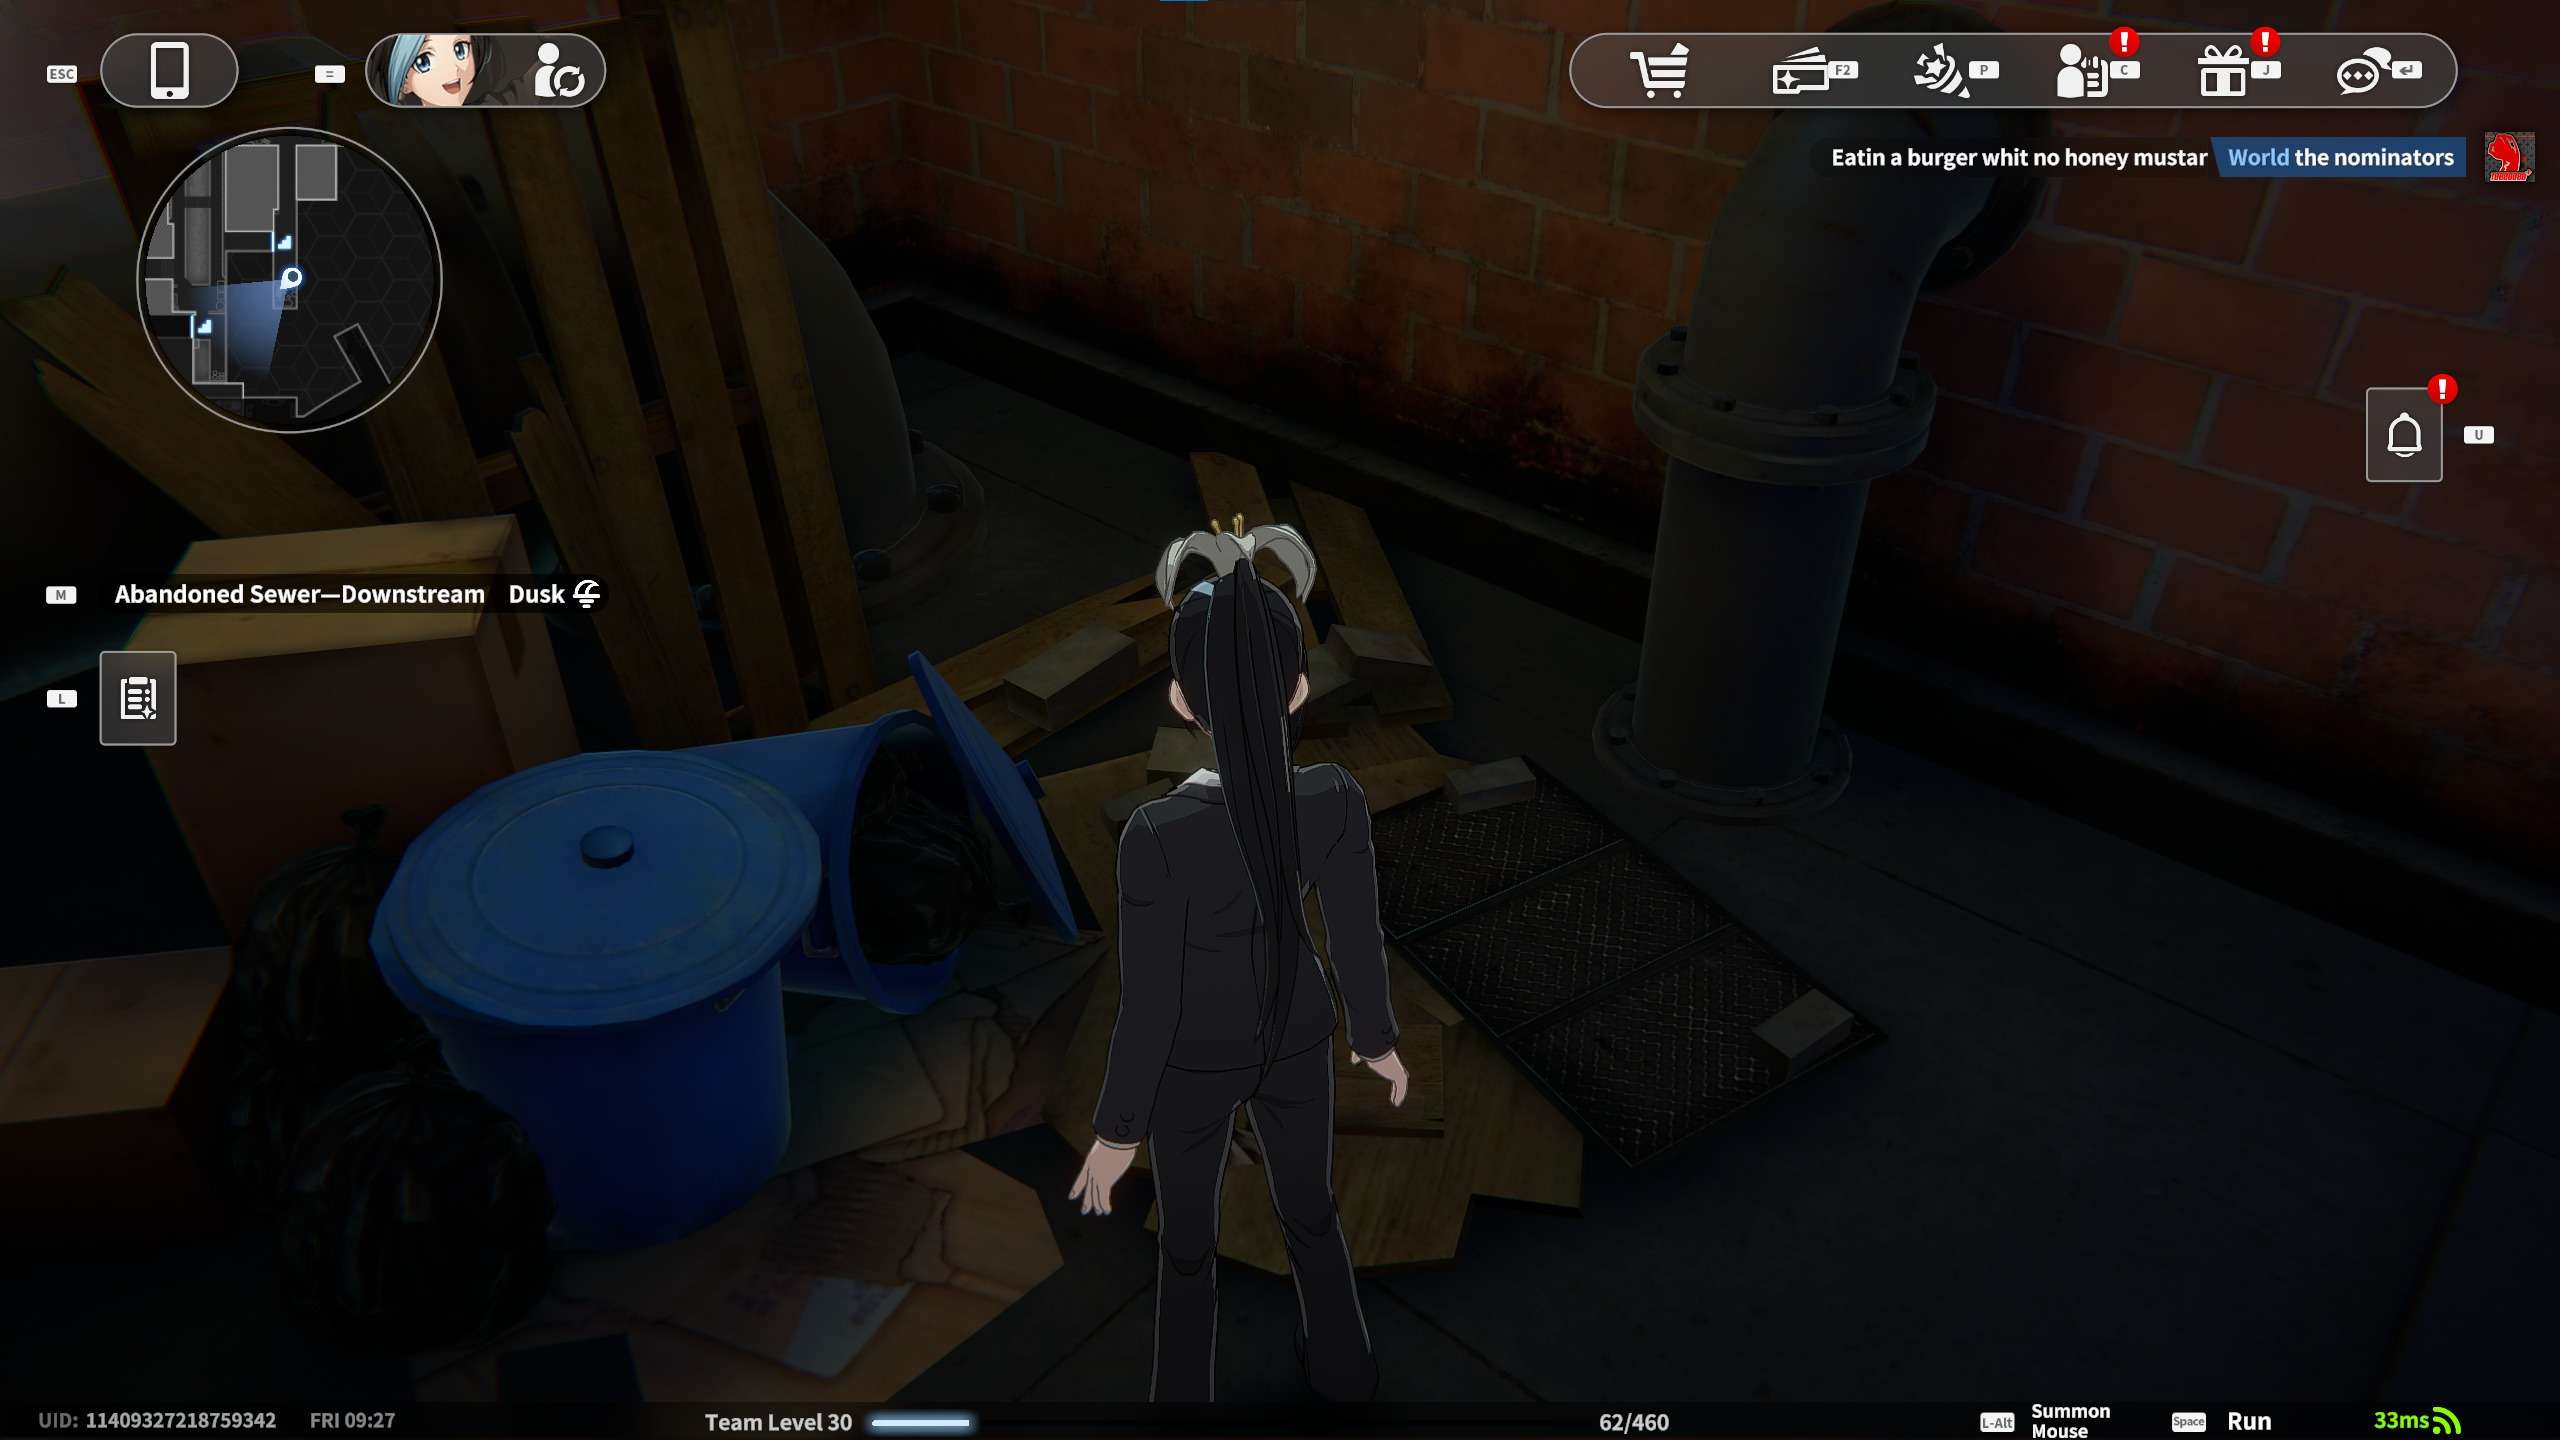
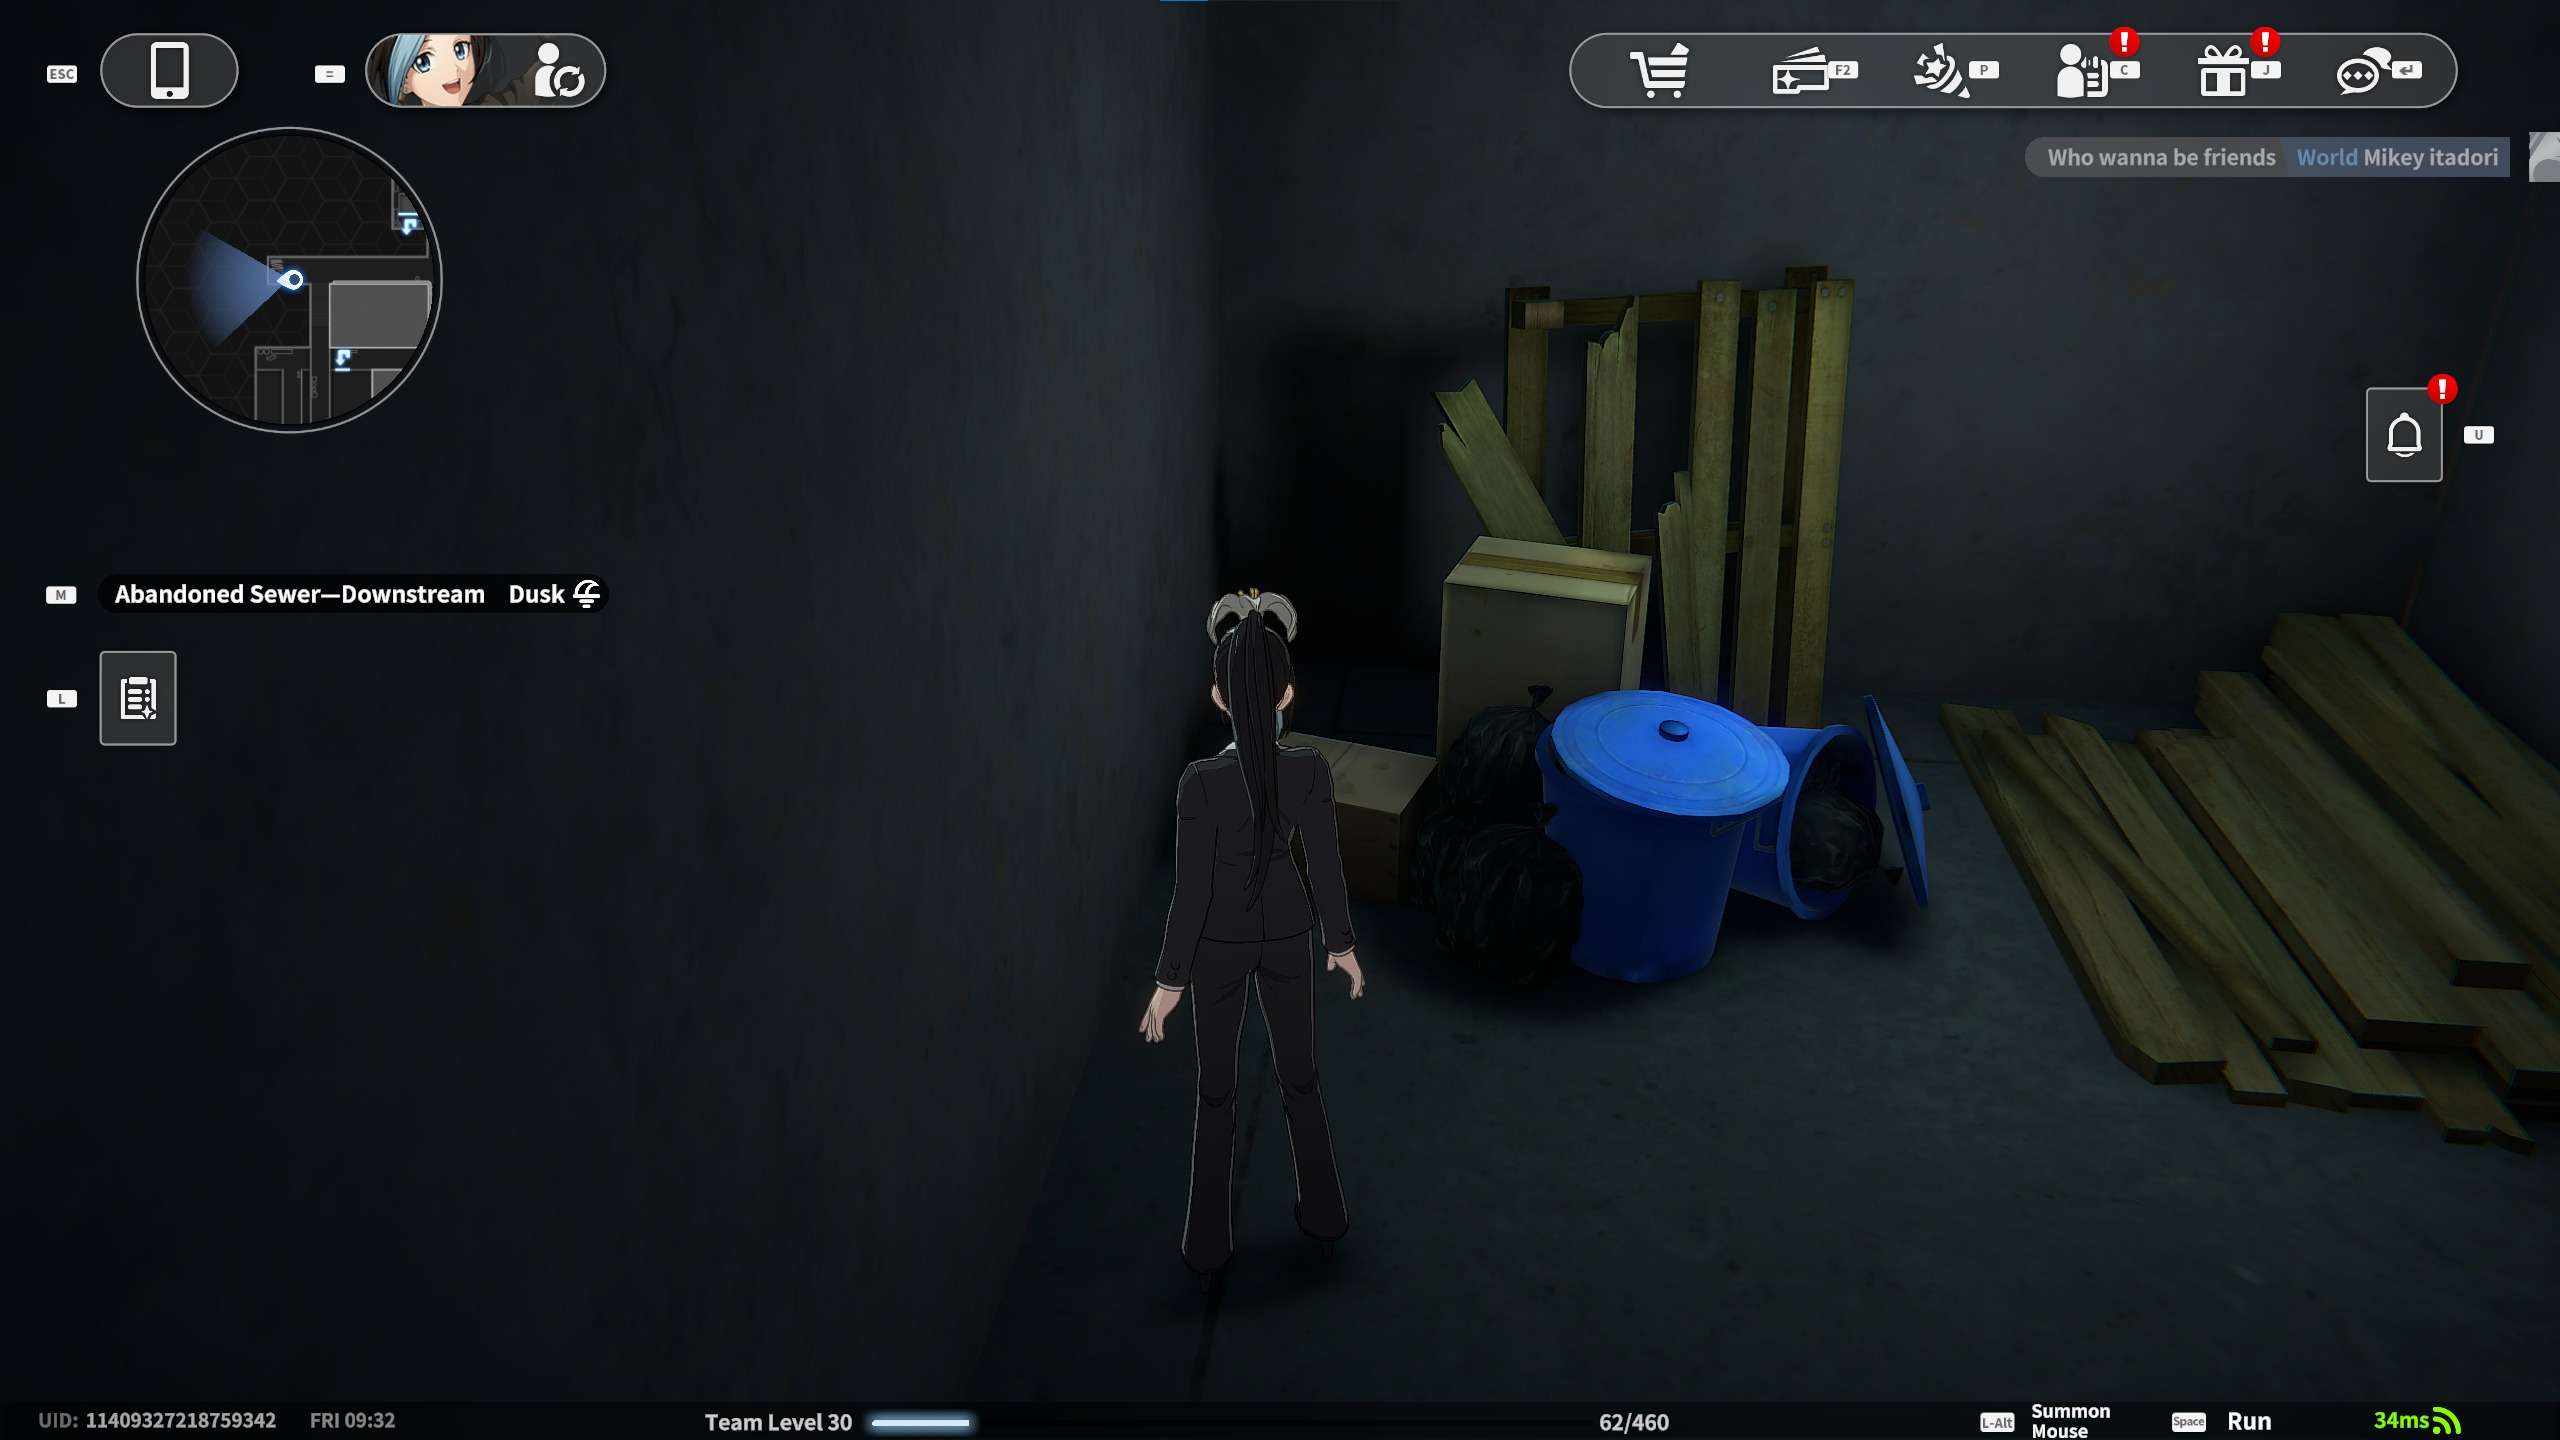
Trading Card #12: Garbage card in the trash heap. Behind the pipe.
Trading Card #13: Camouflage card among the cardboard mountain. Between the boxes against the pillar.

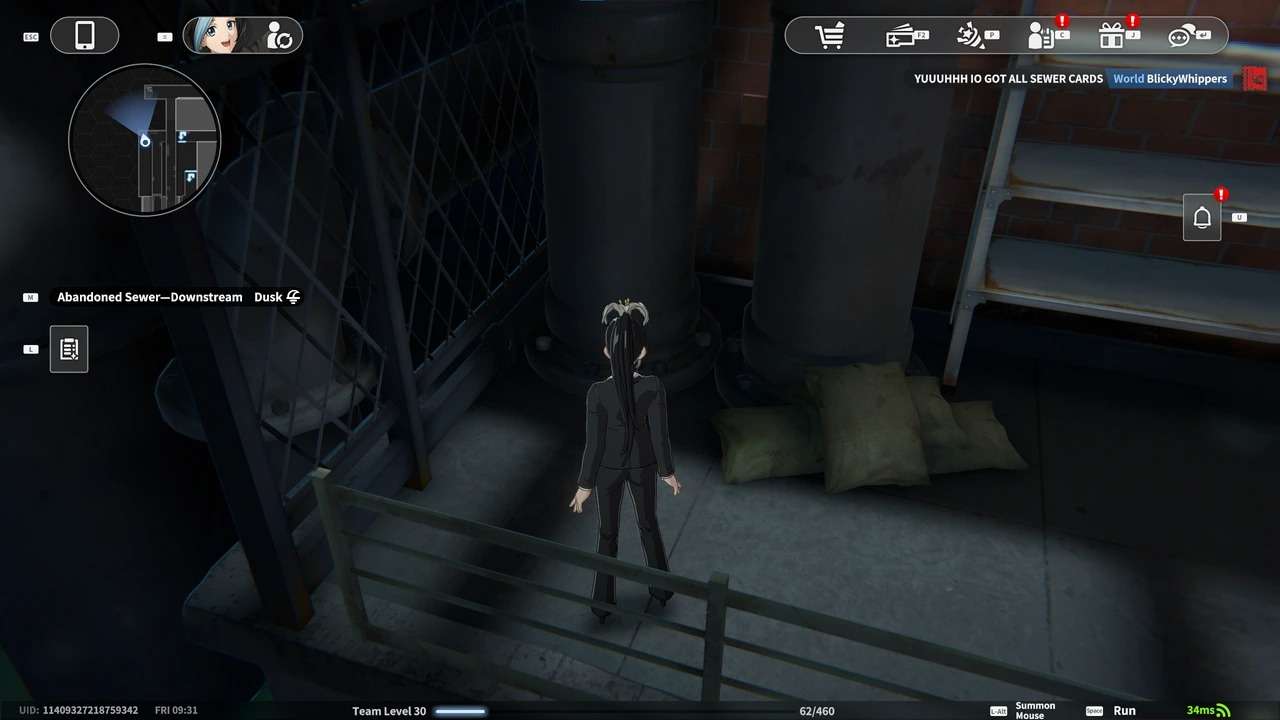
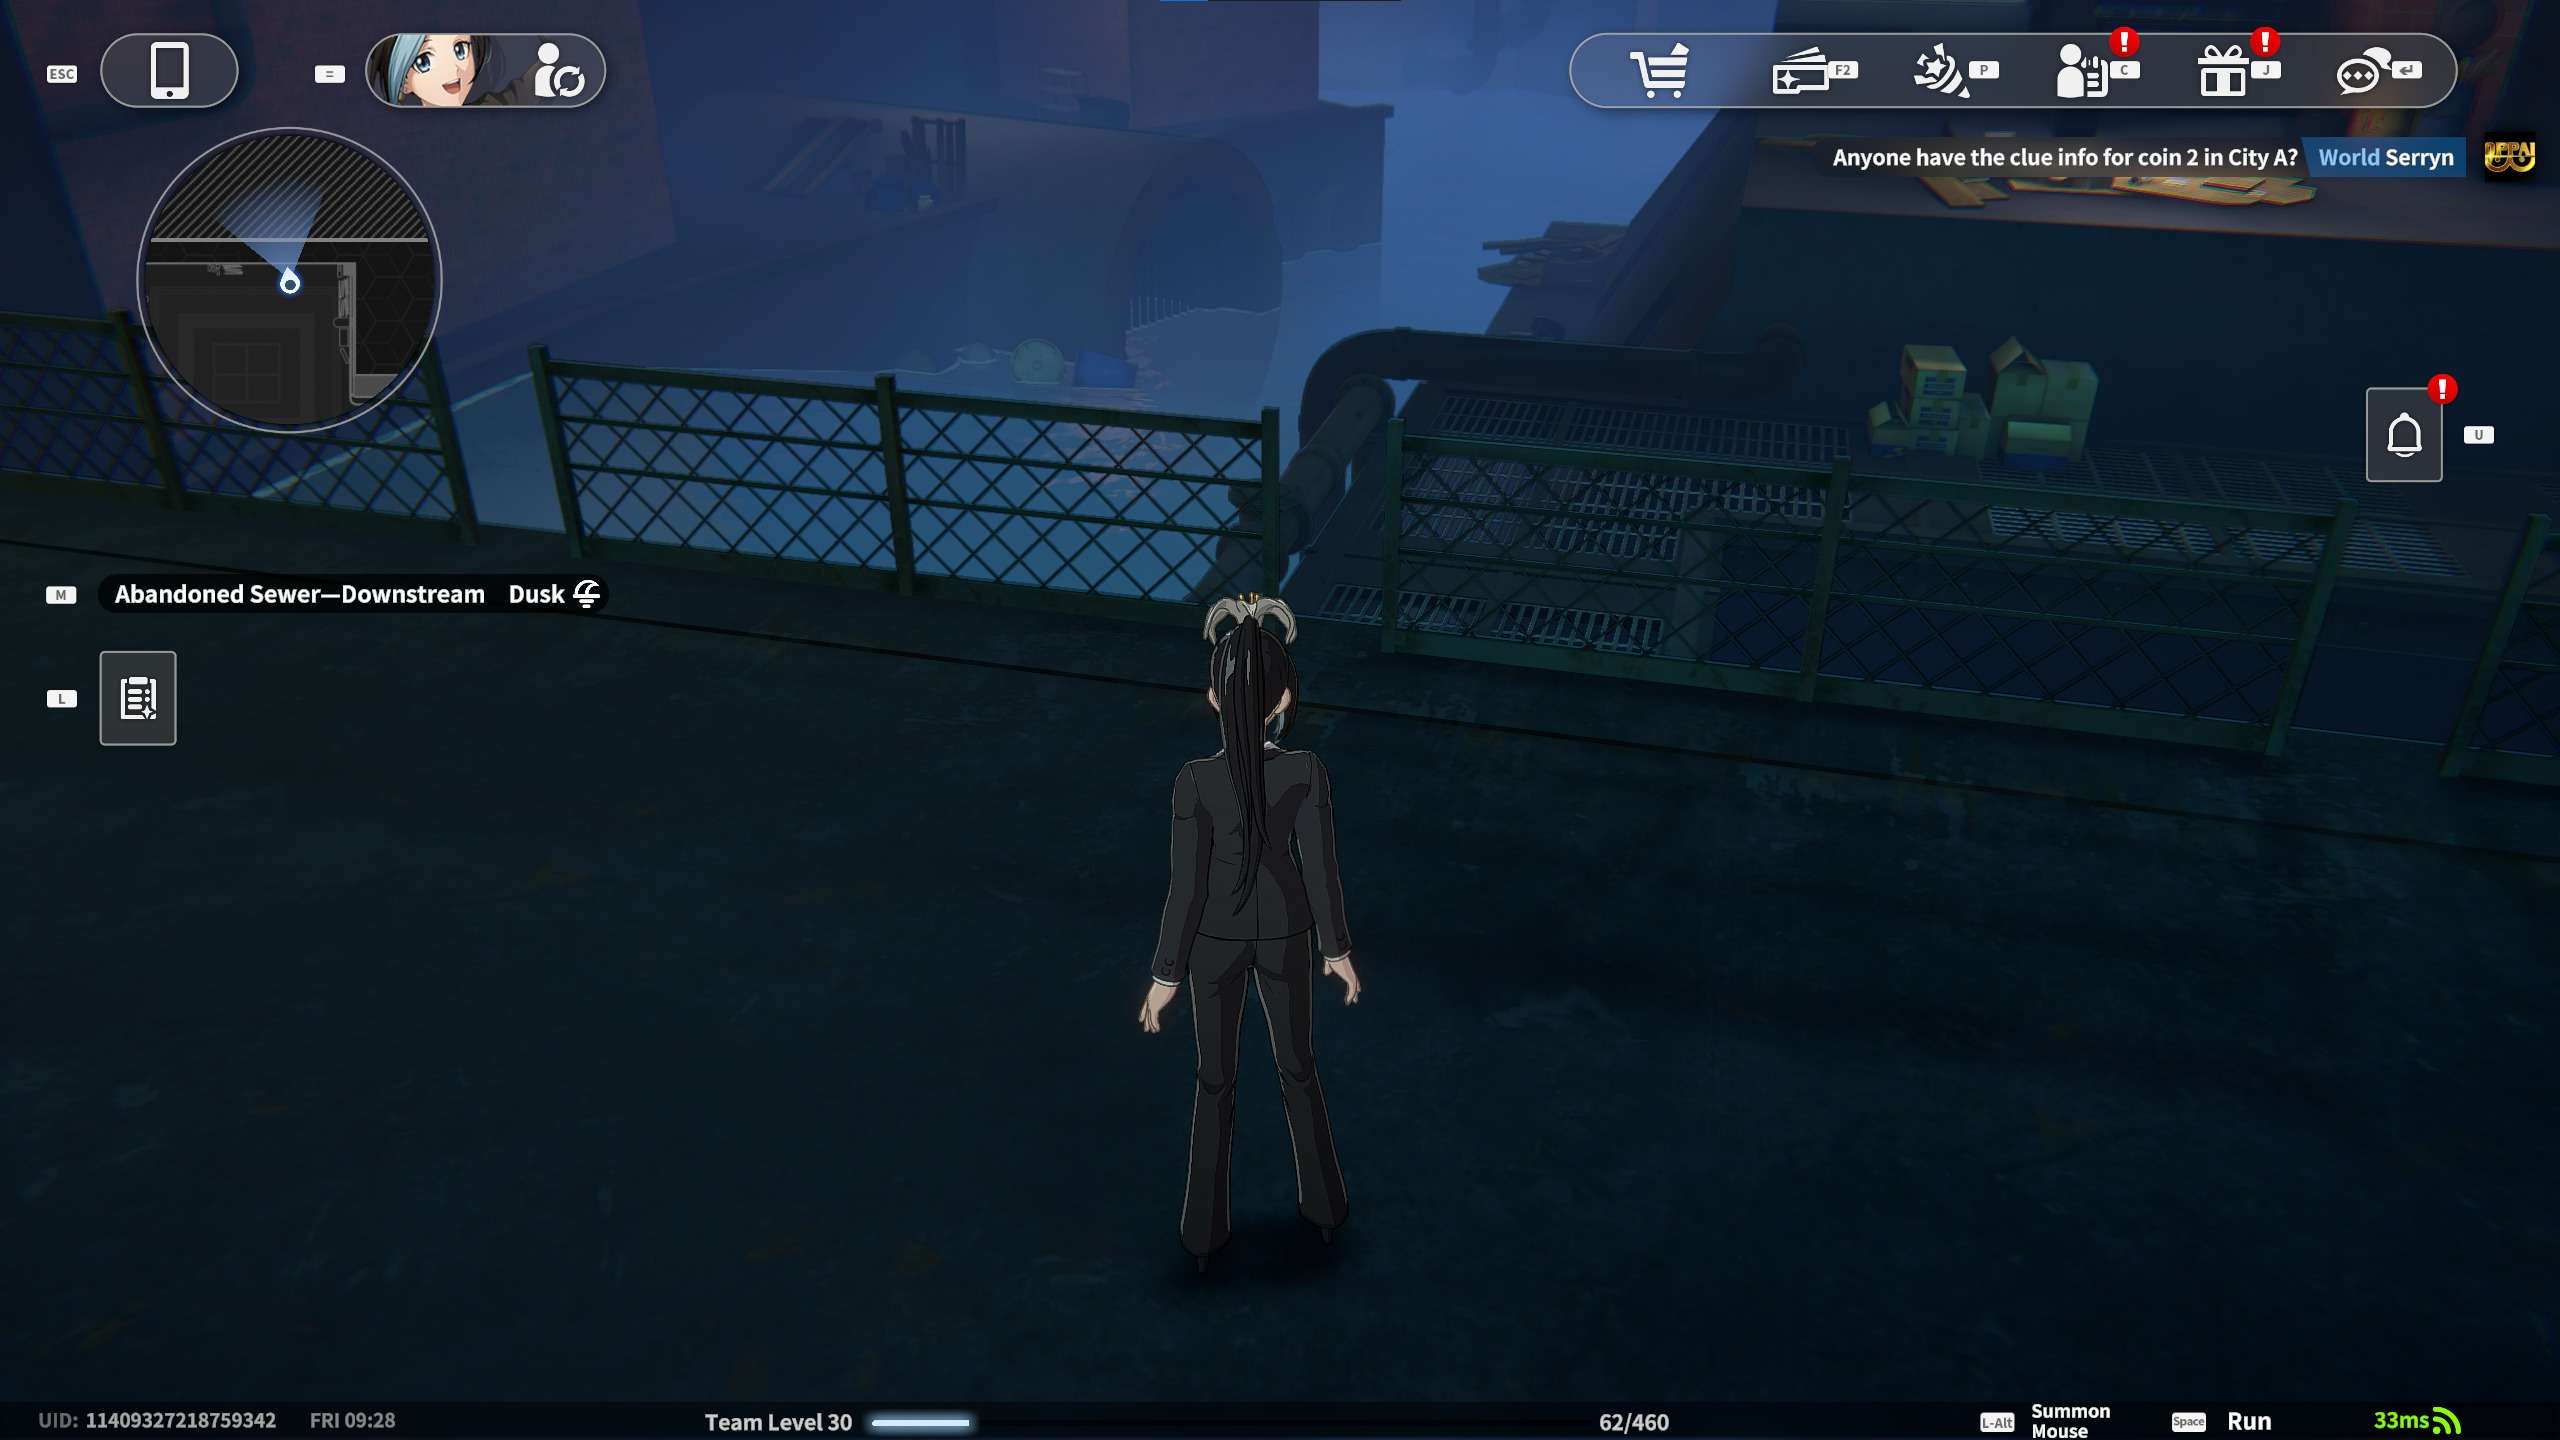
Trading Card #14: Social anxiety card at the platform’s edge. In the gap between the railings.
Trading Card #15: Temptation card by the no-operation sign. On the shelf.
Trading Card #16: Sawdust card in the pile of wood. Behind the cardboard box in the corner.
Trading Card #17: Sneaky card under the electricity meter. On top of the pipe.
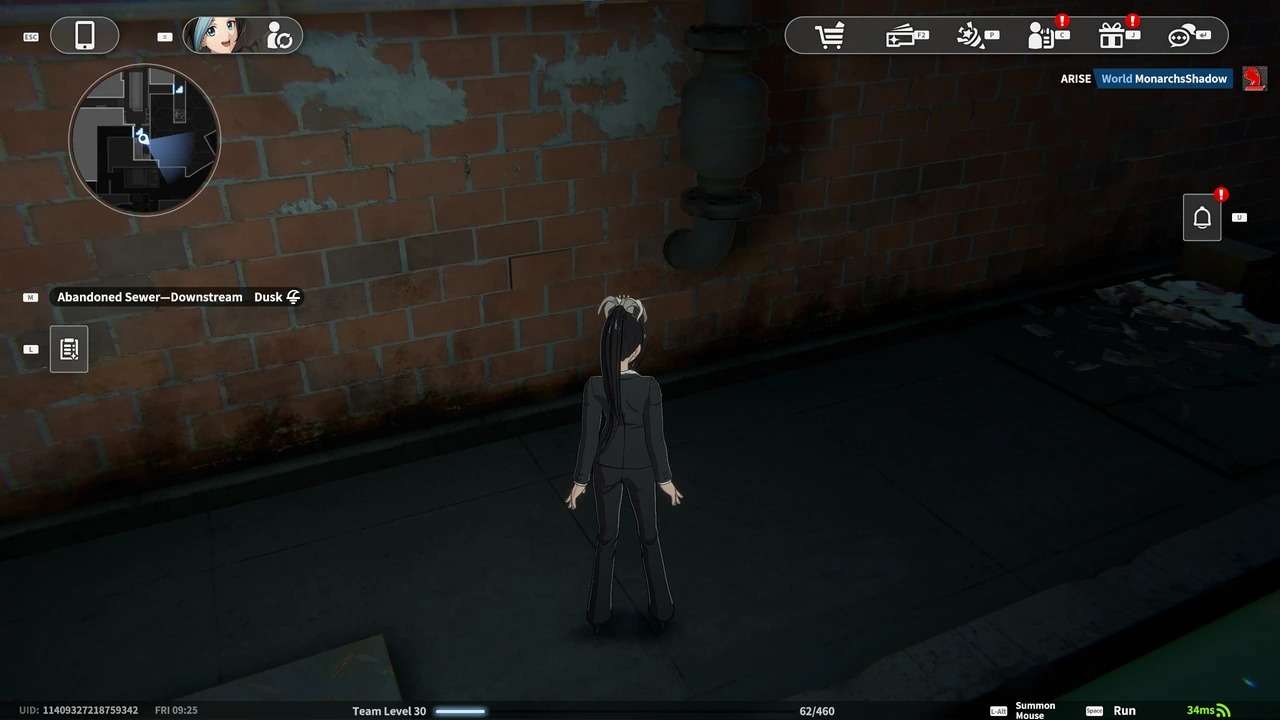
Trading Card #18: Stealthy card in the corner of the red brick wall. In the corner.
Pages for Door Code:
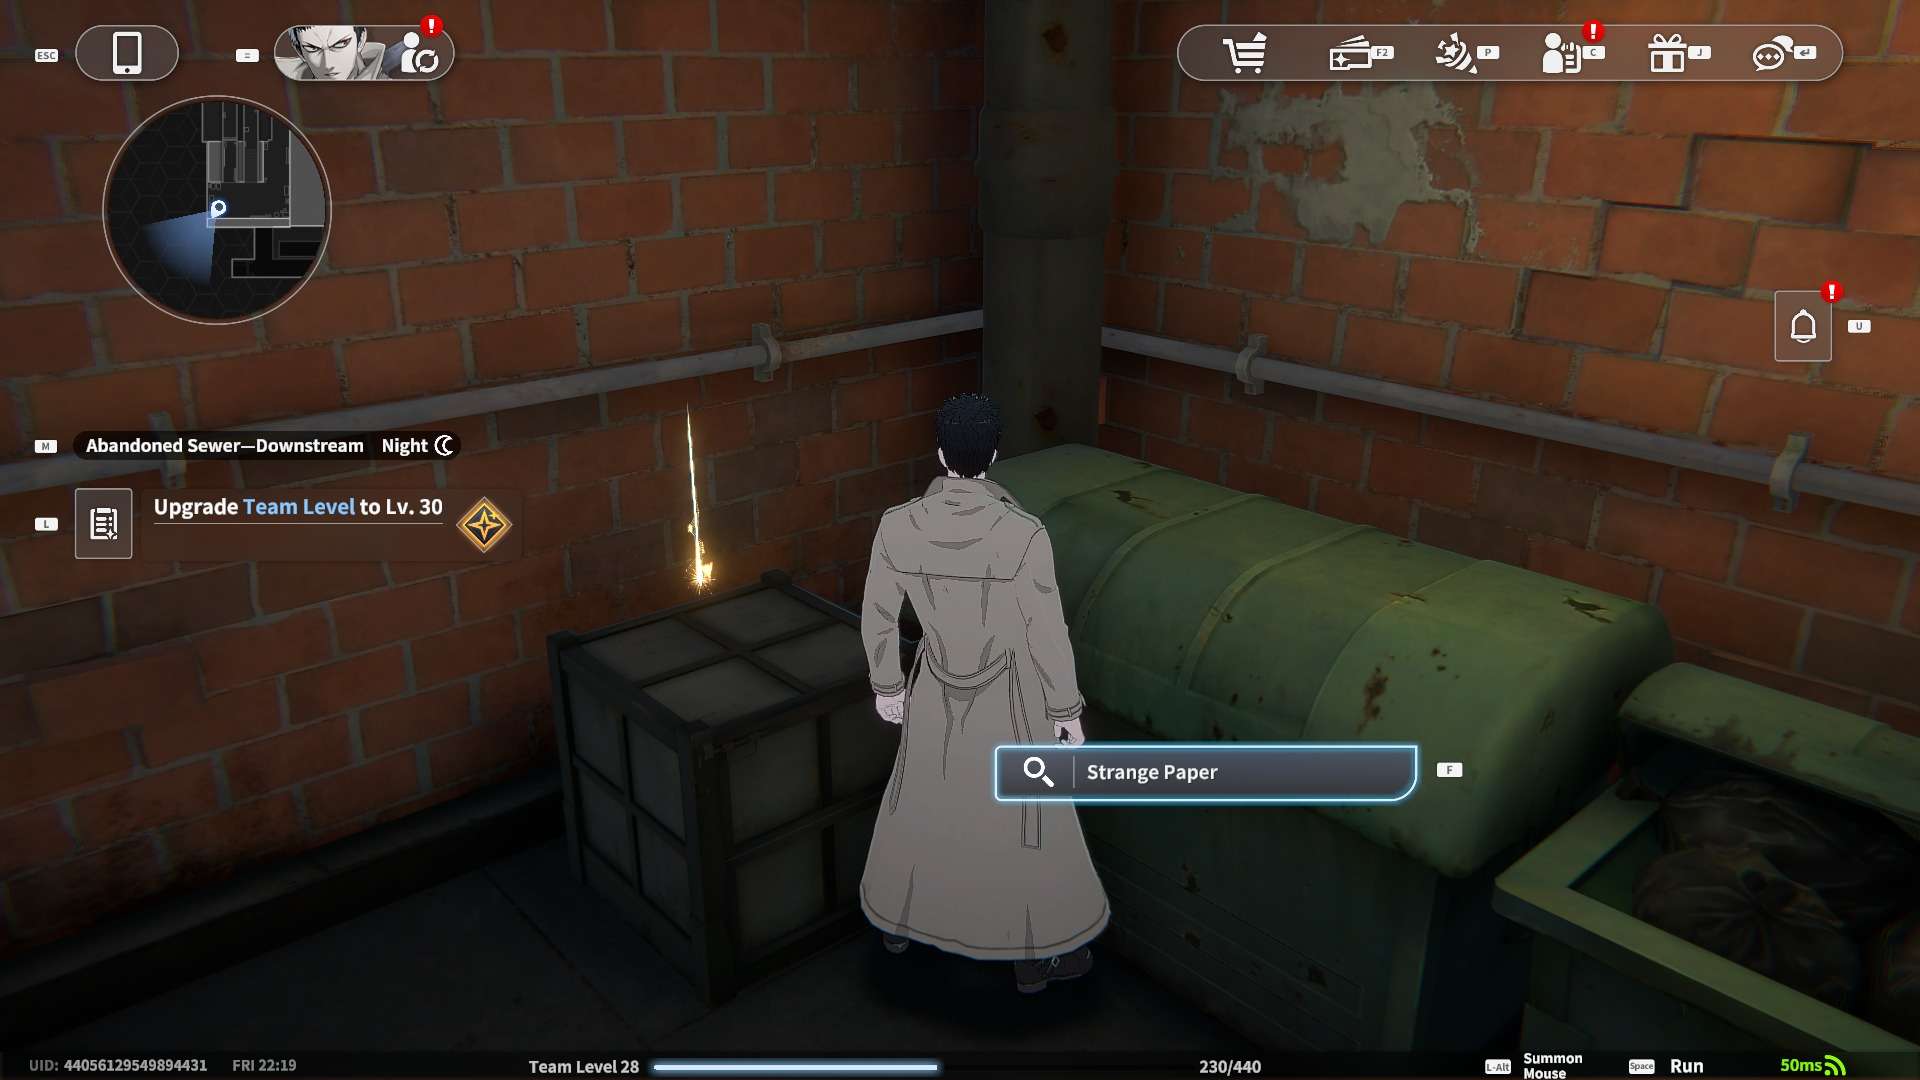
- Strange Paper – A suspicious letter On the box – required for the other pages to spawn.
- Strange clue 1 – In the trash pile.
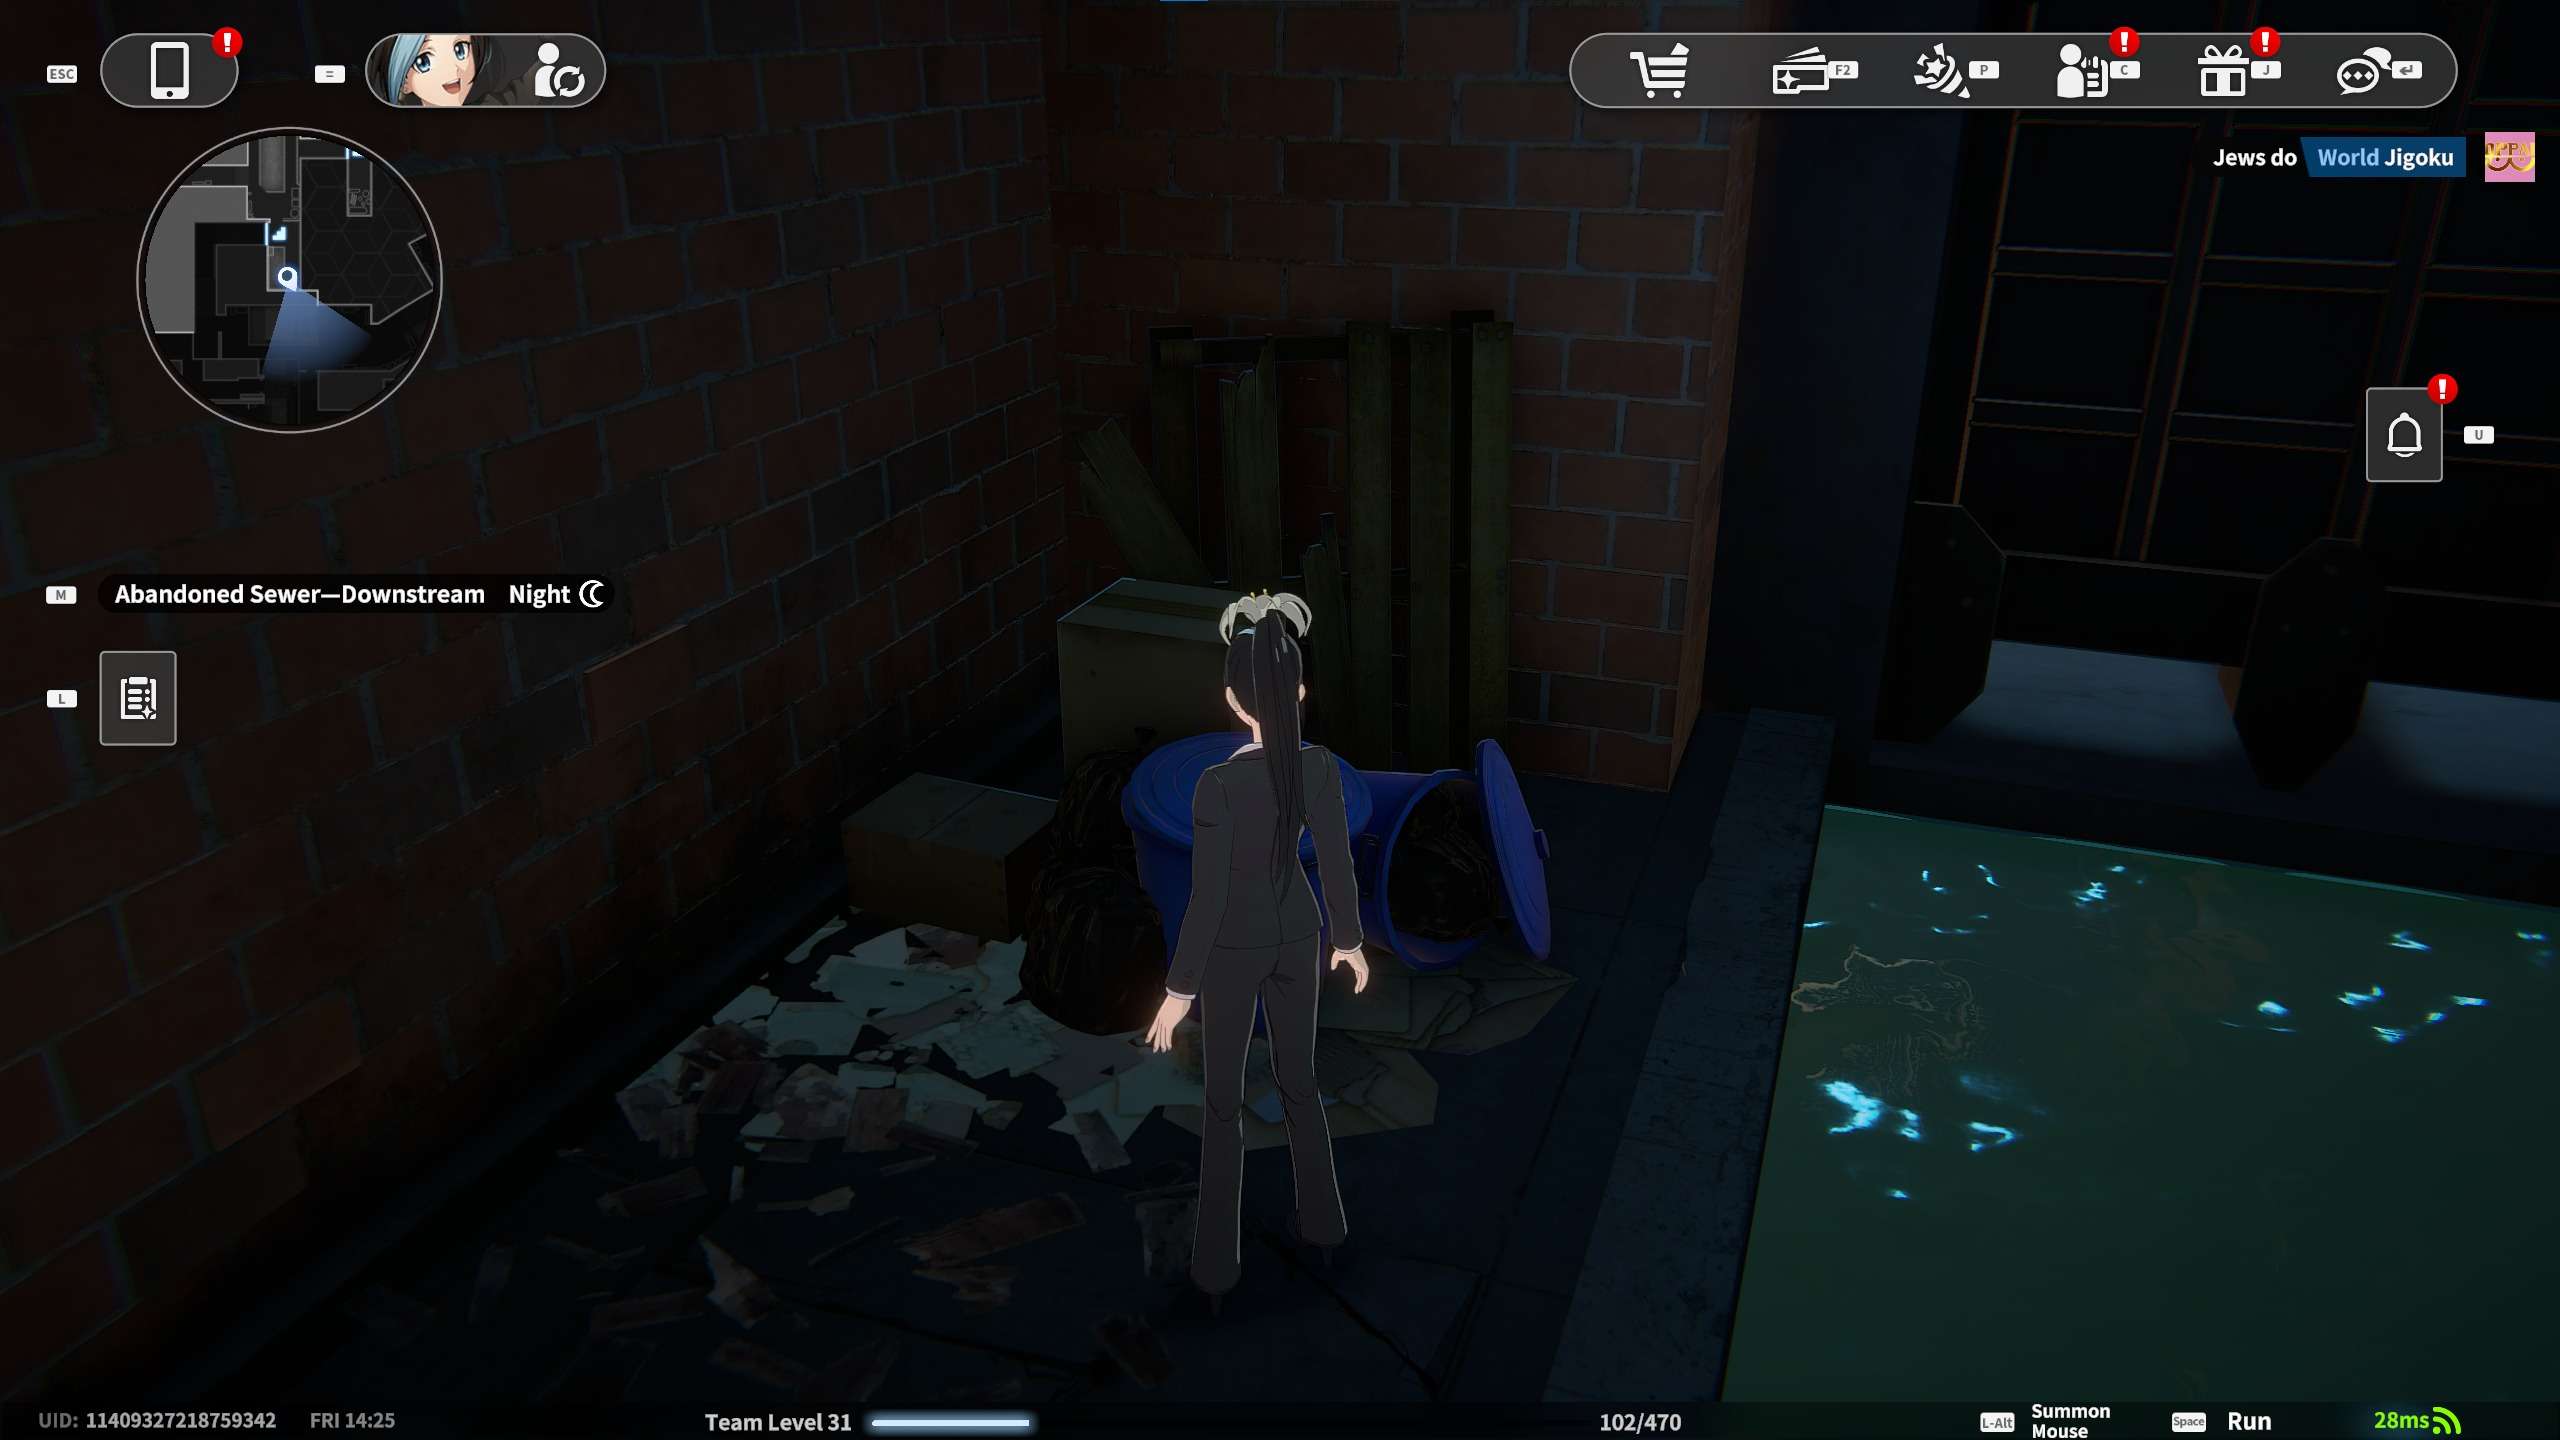
- Strange Clue 2 – In the trash to the left.
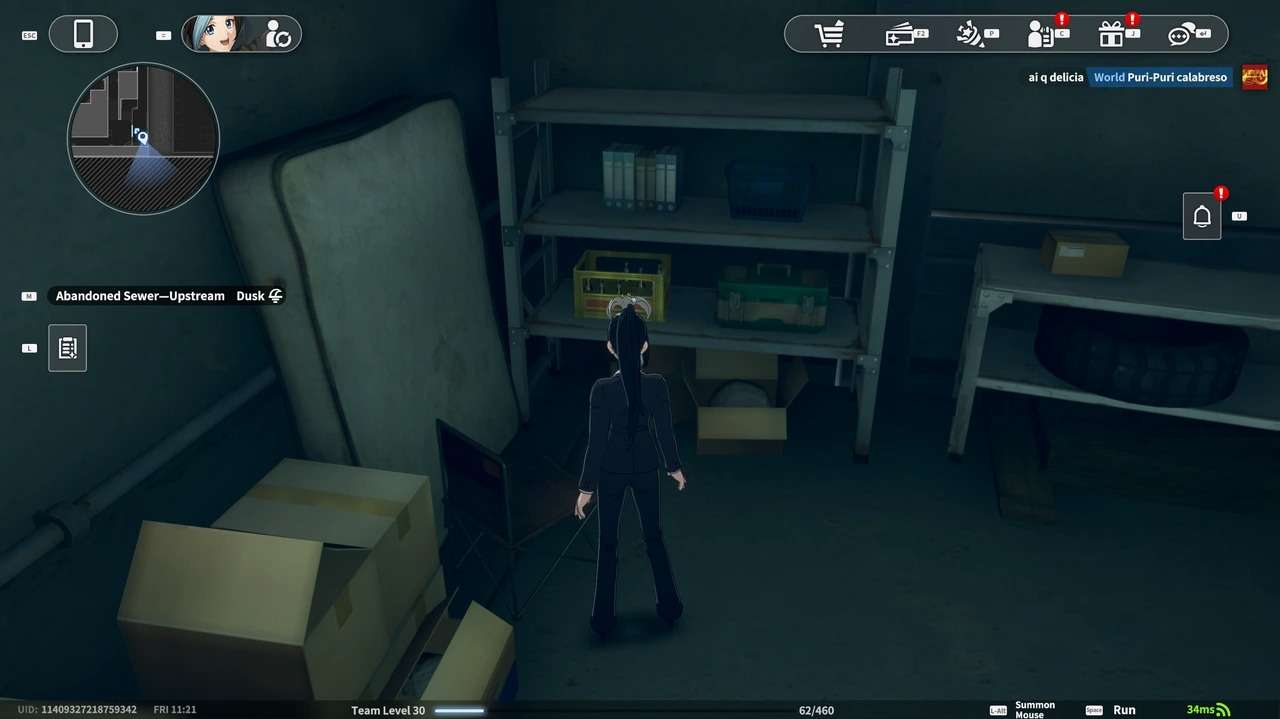
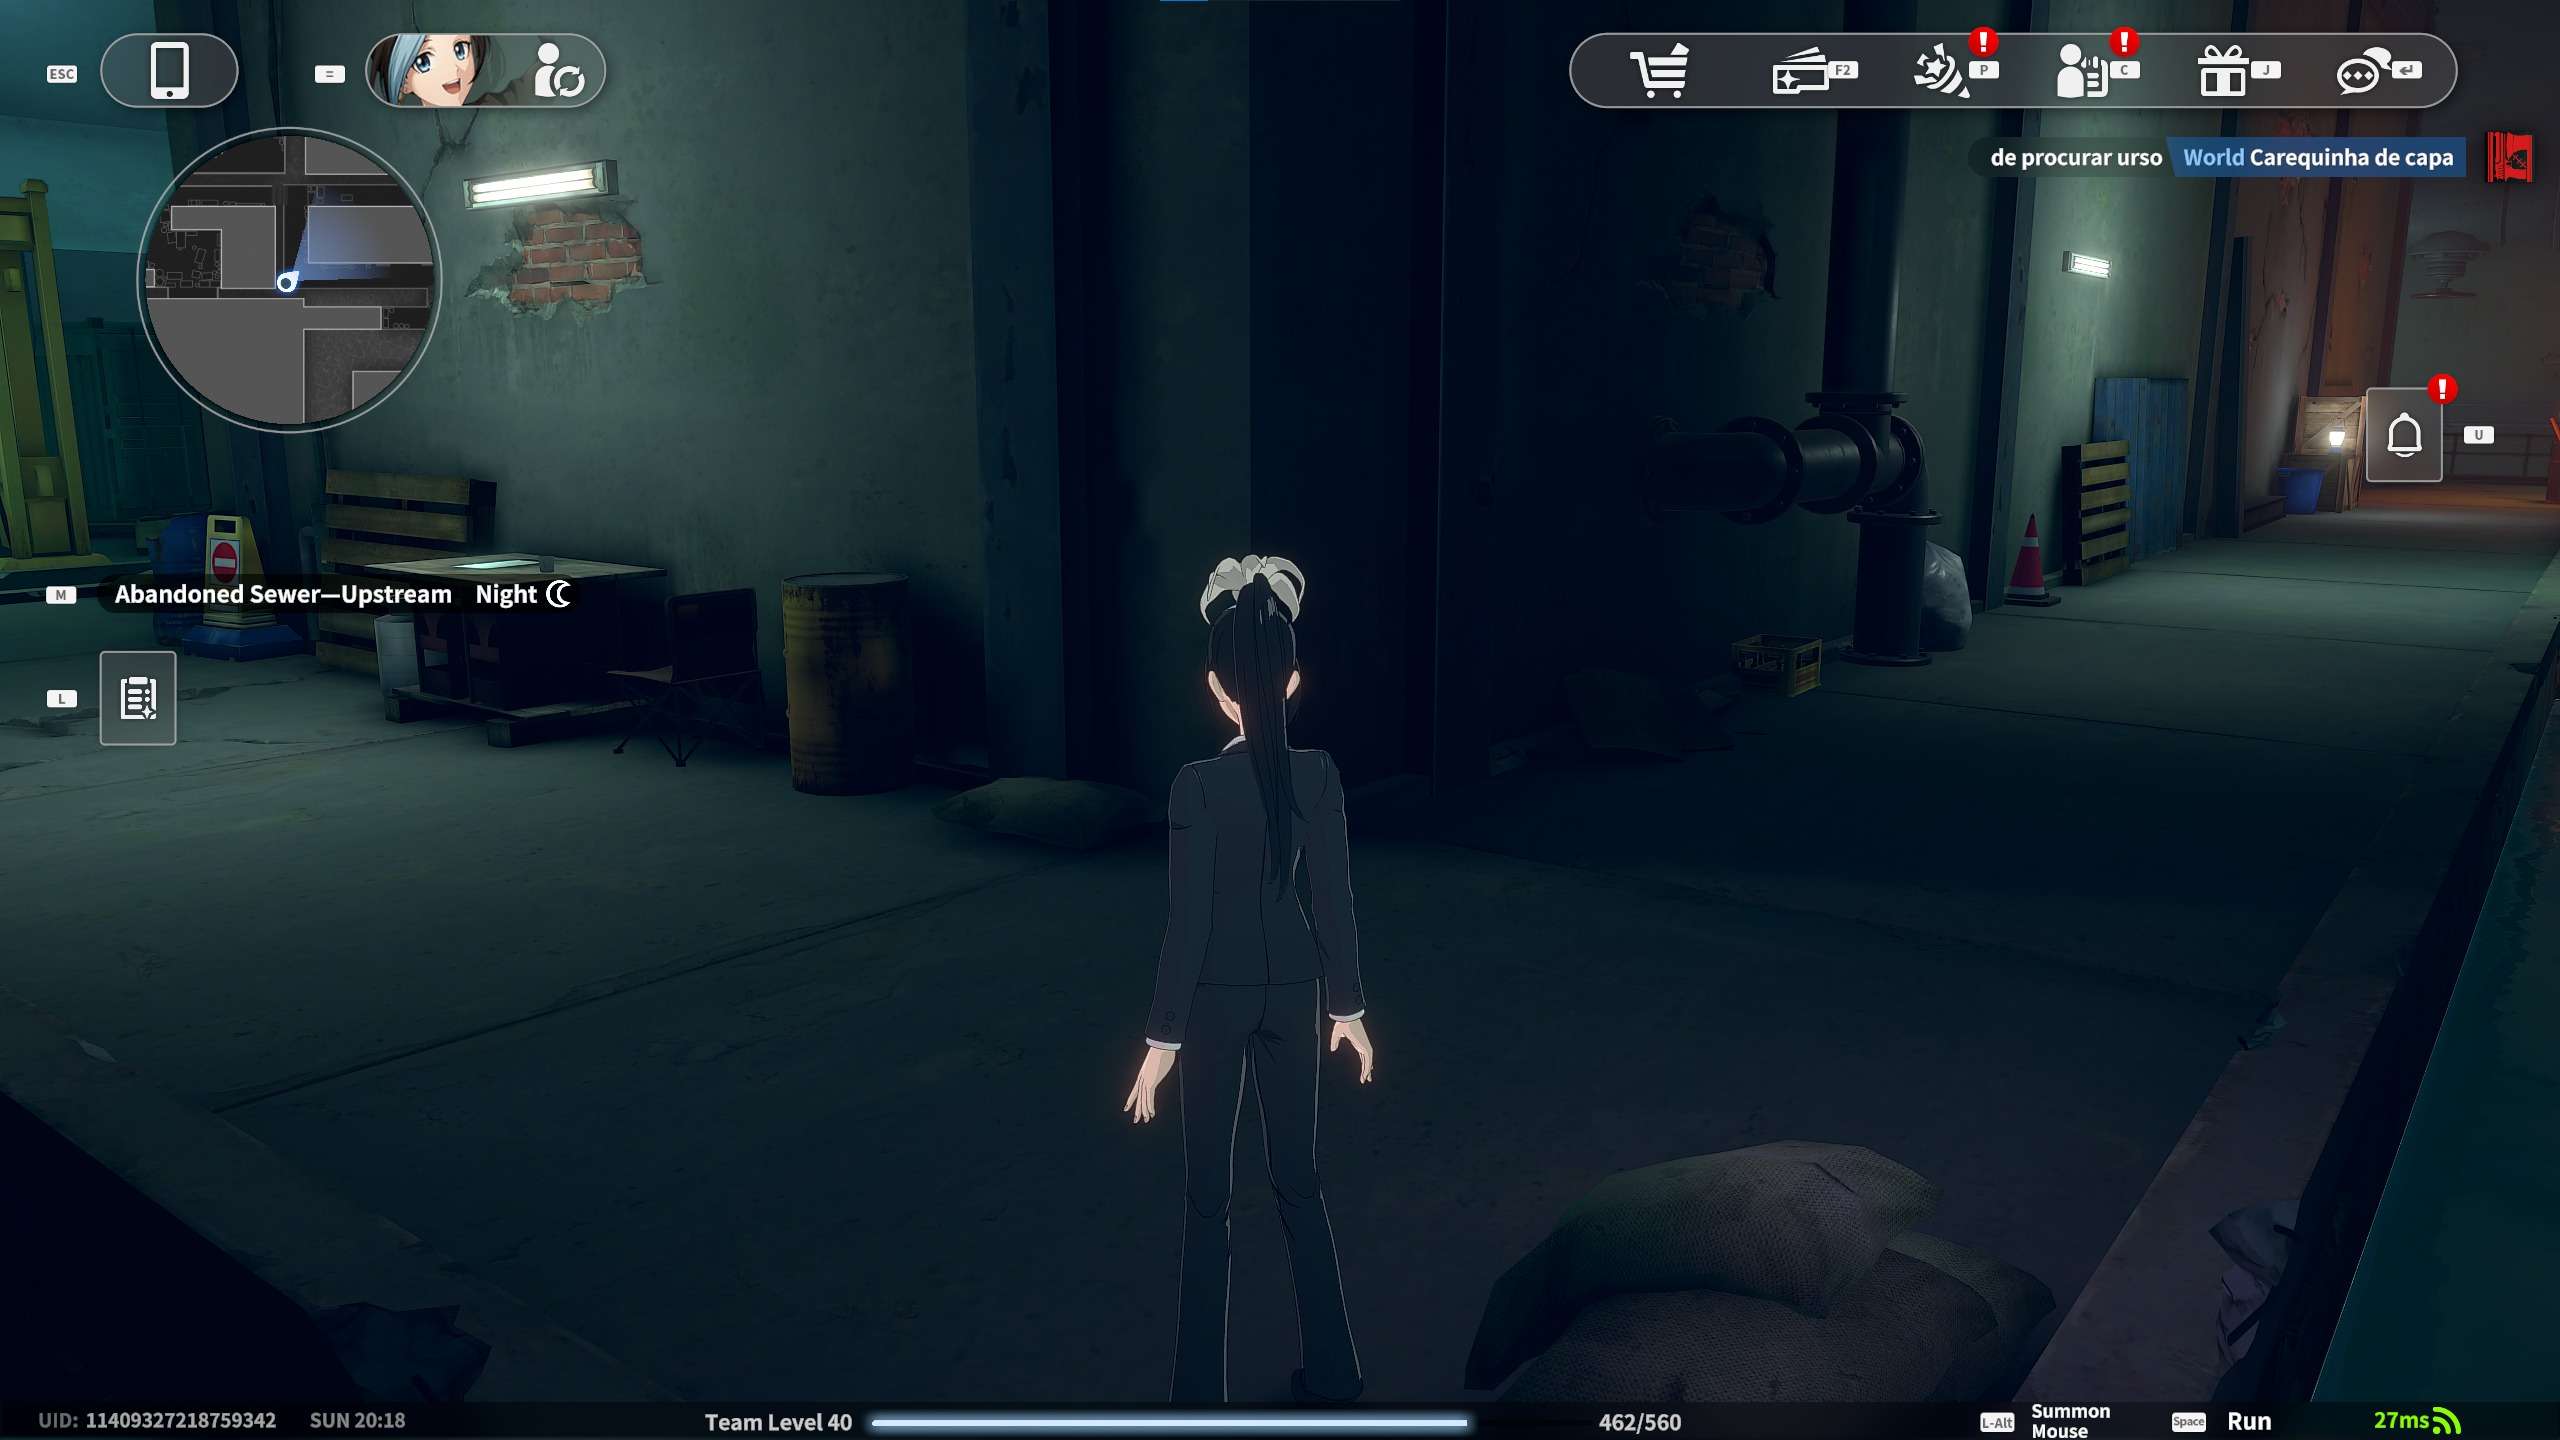
Upstream
18-22 also require a page found on the level called “Dirty Paper” to open the locked door to get them. Location of page(s) below.
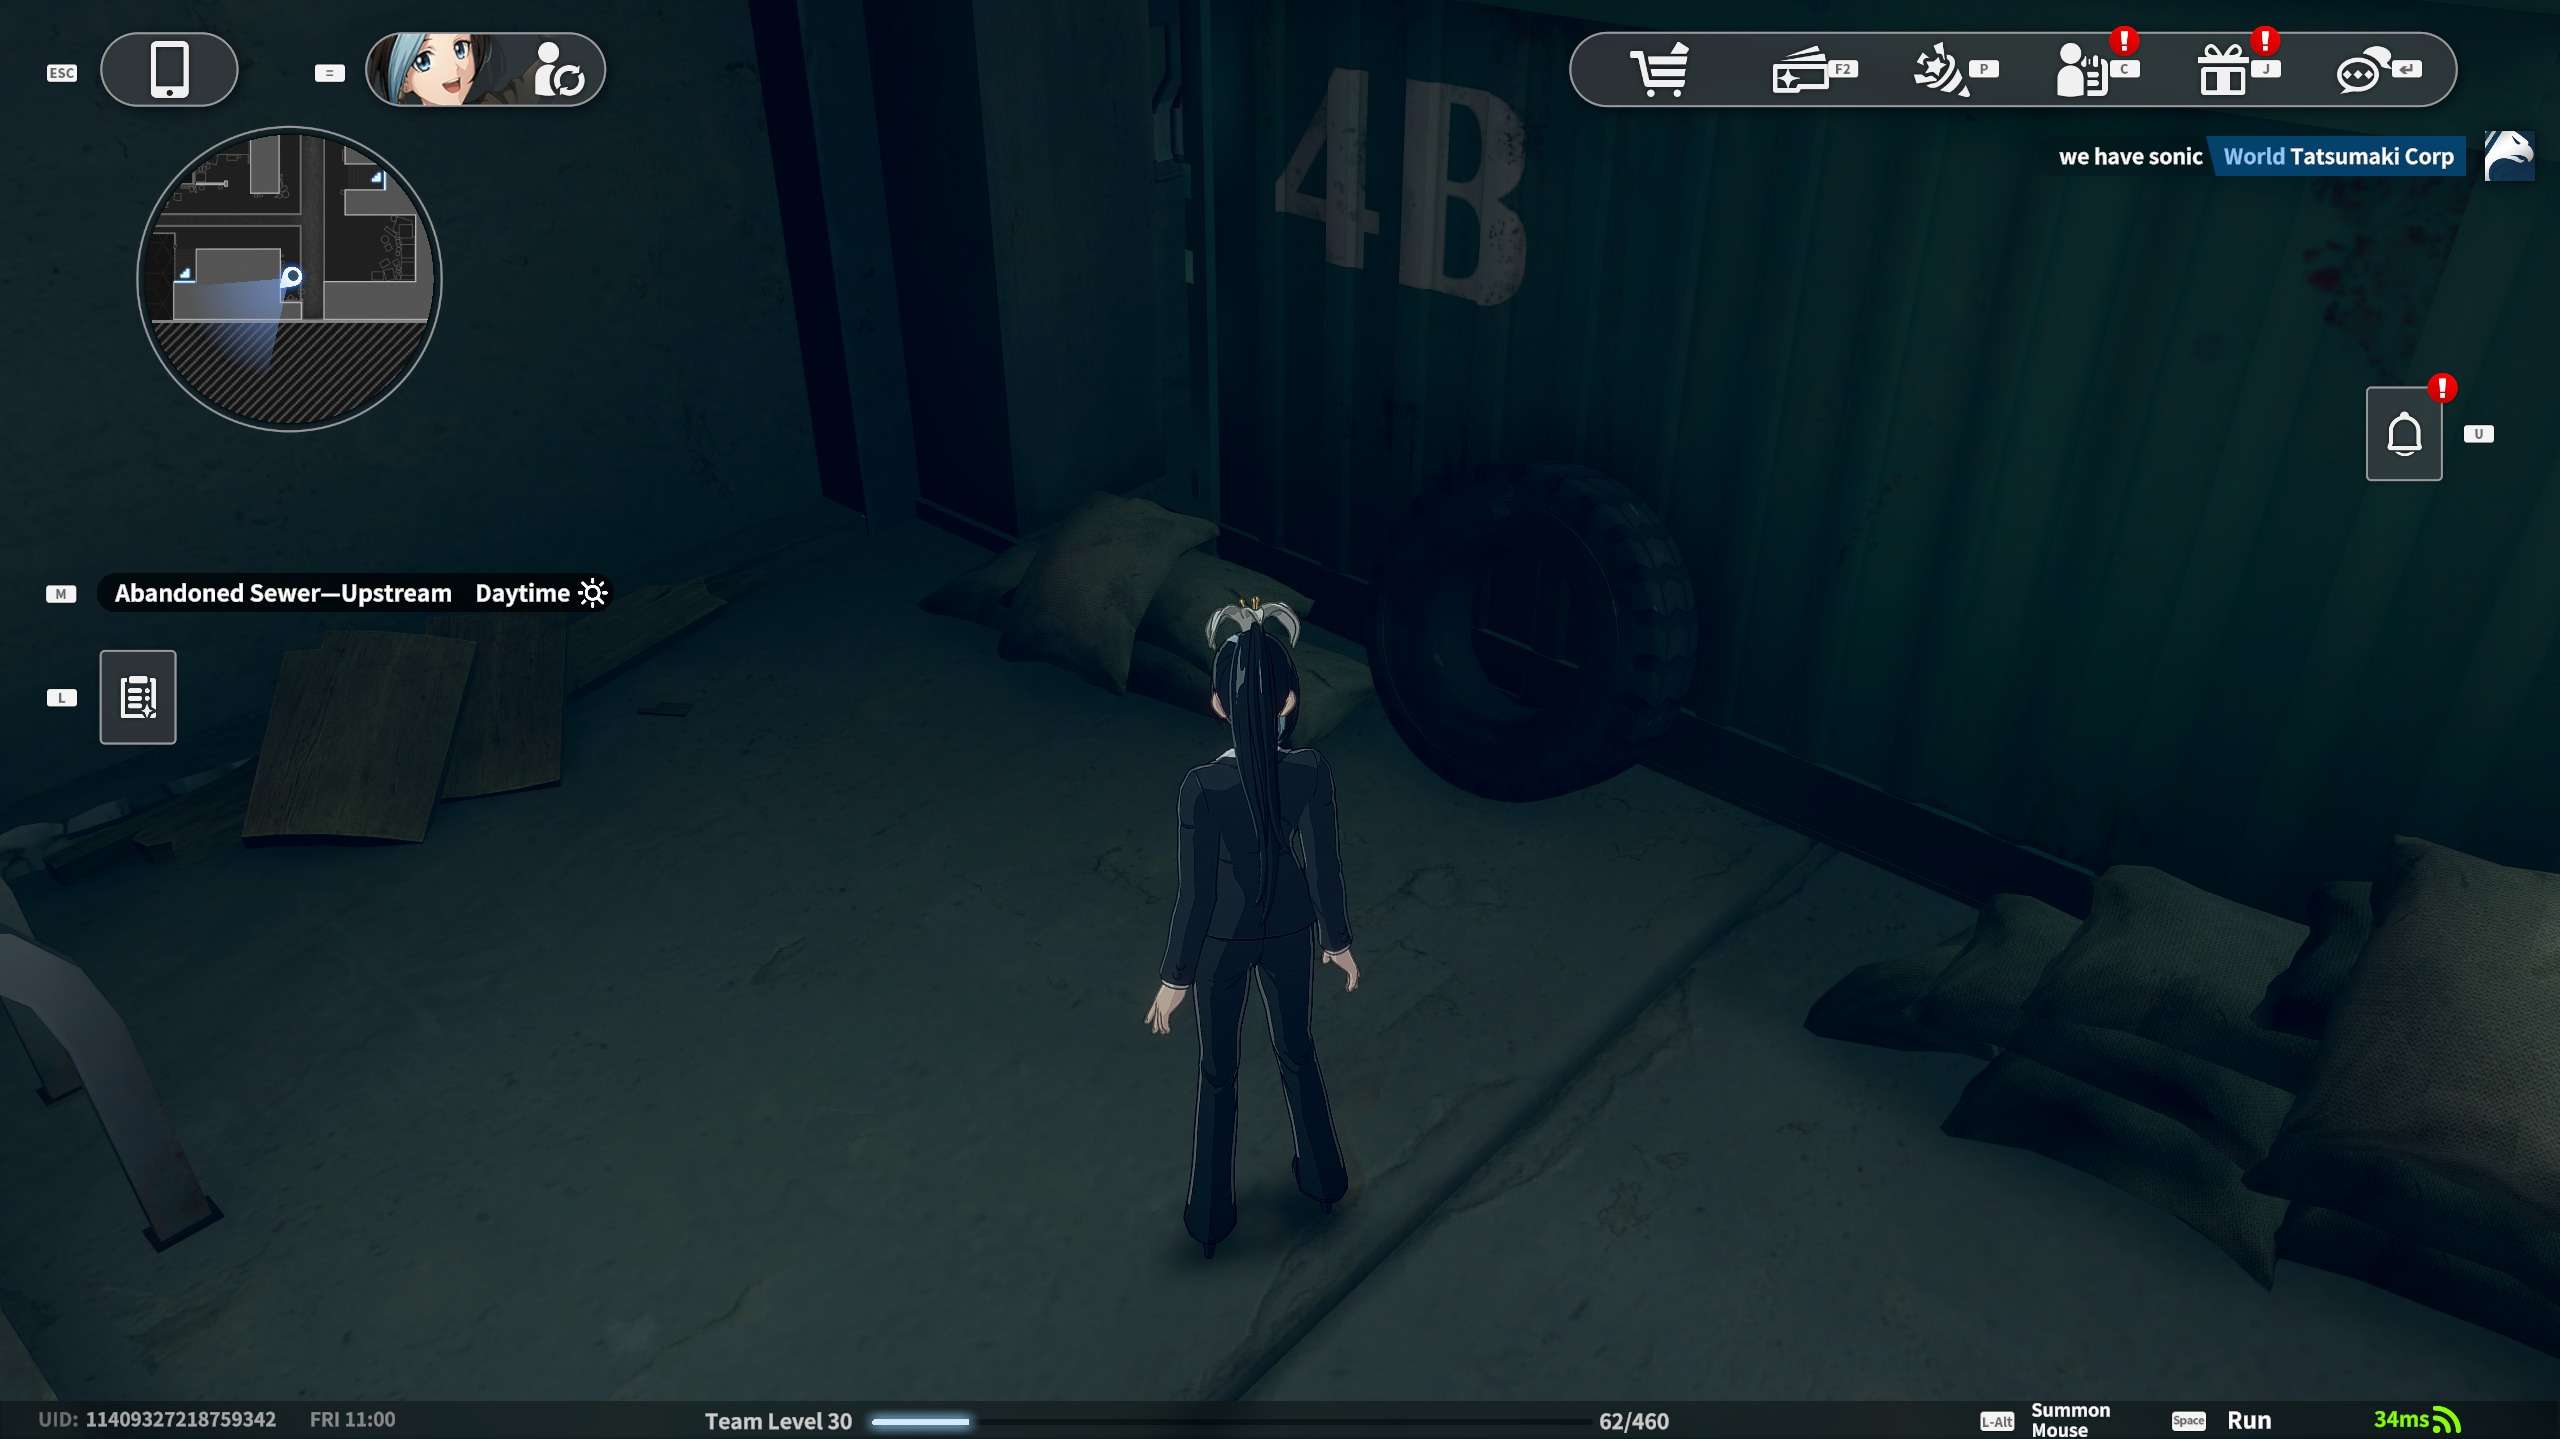
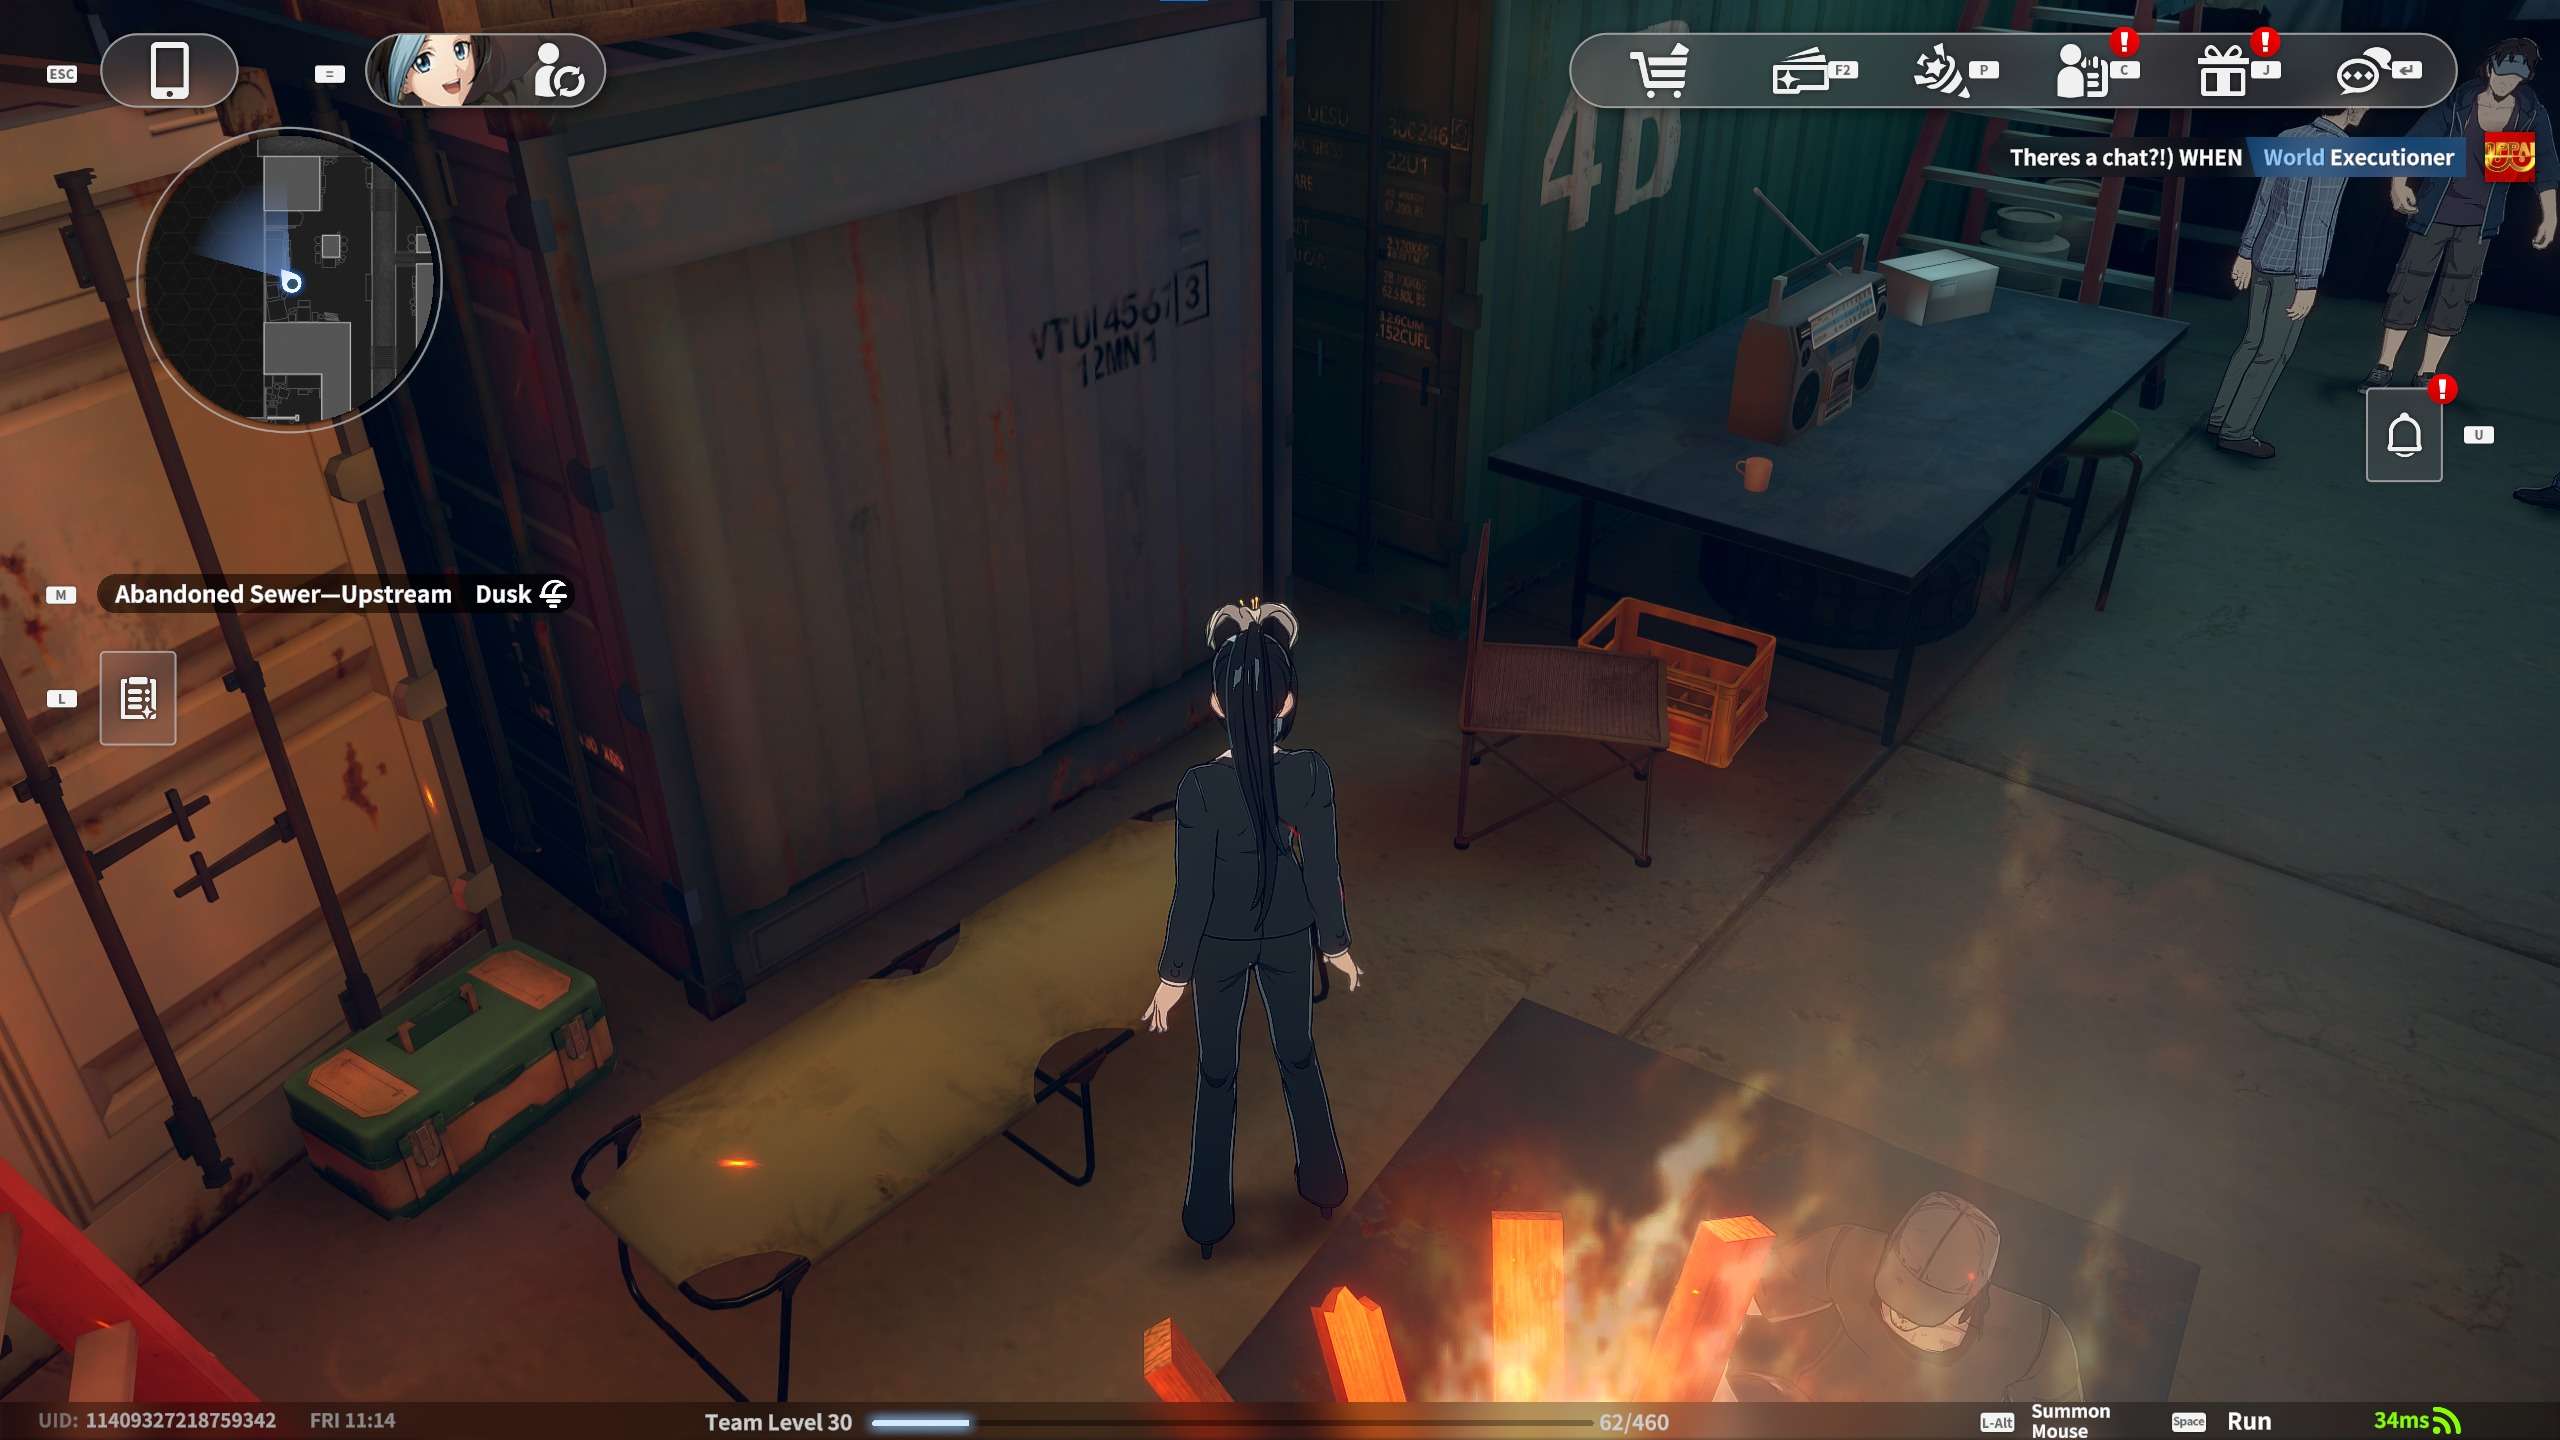
Trading Card #1: Sandbag card next to the 4B box. On top of the sandbags.
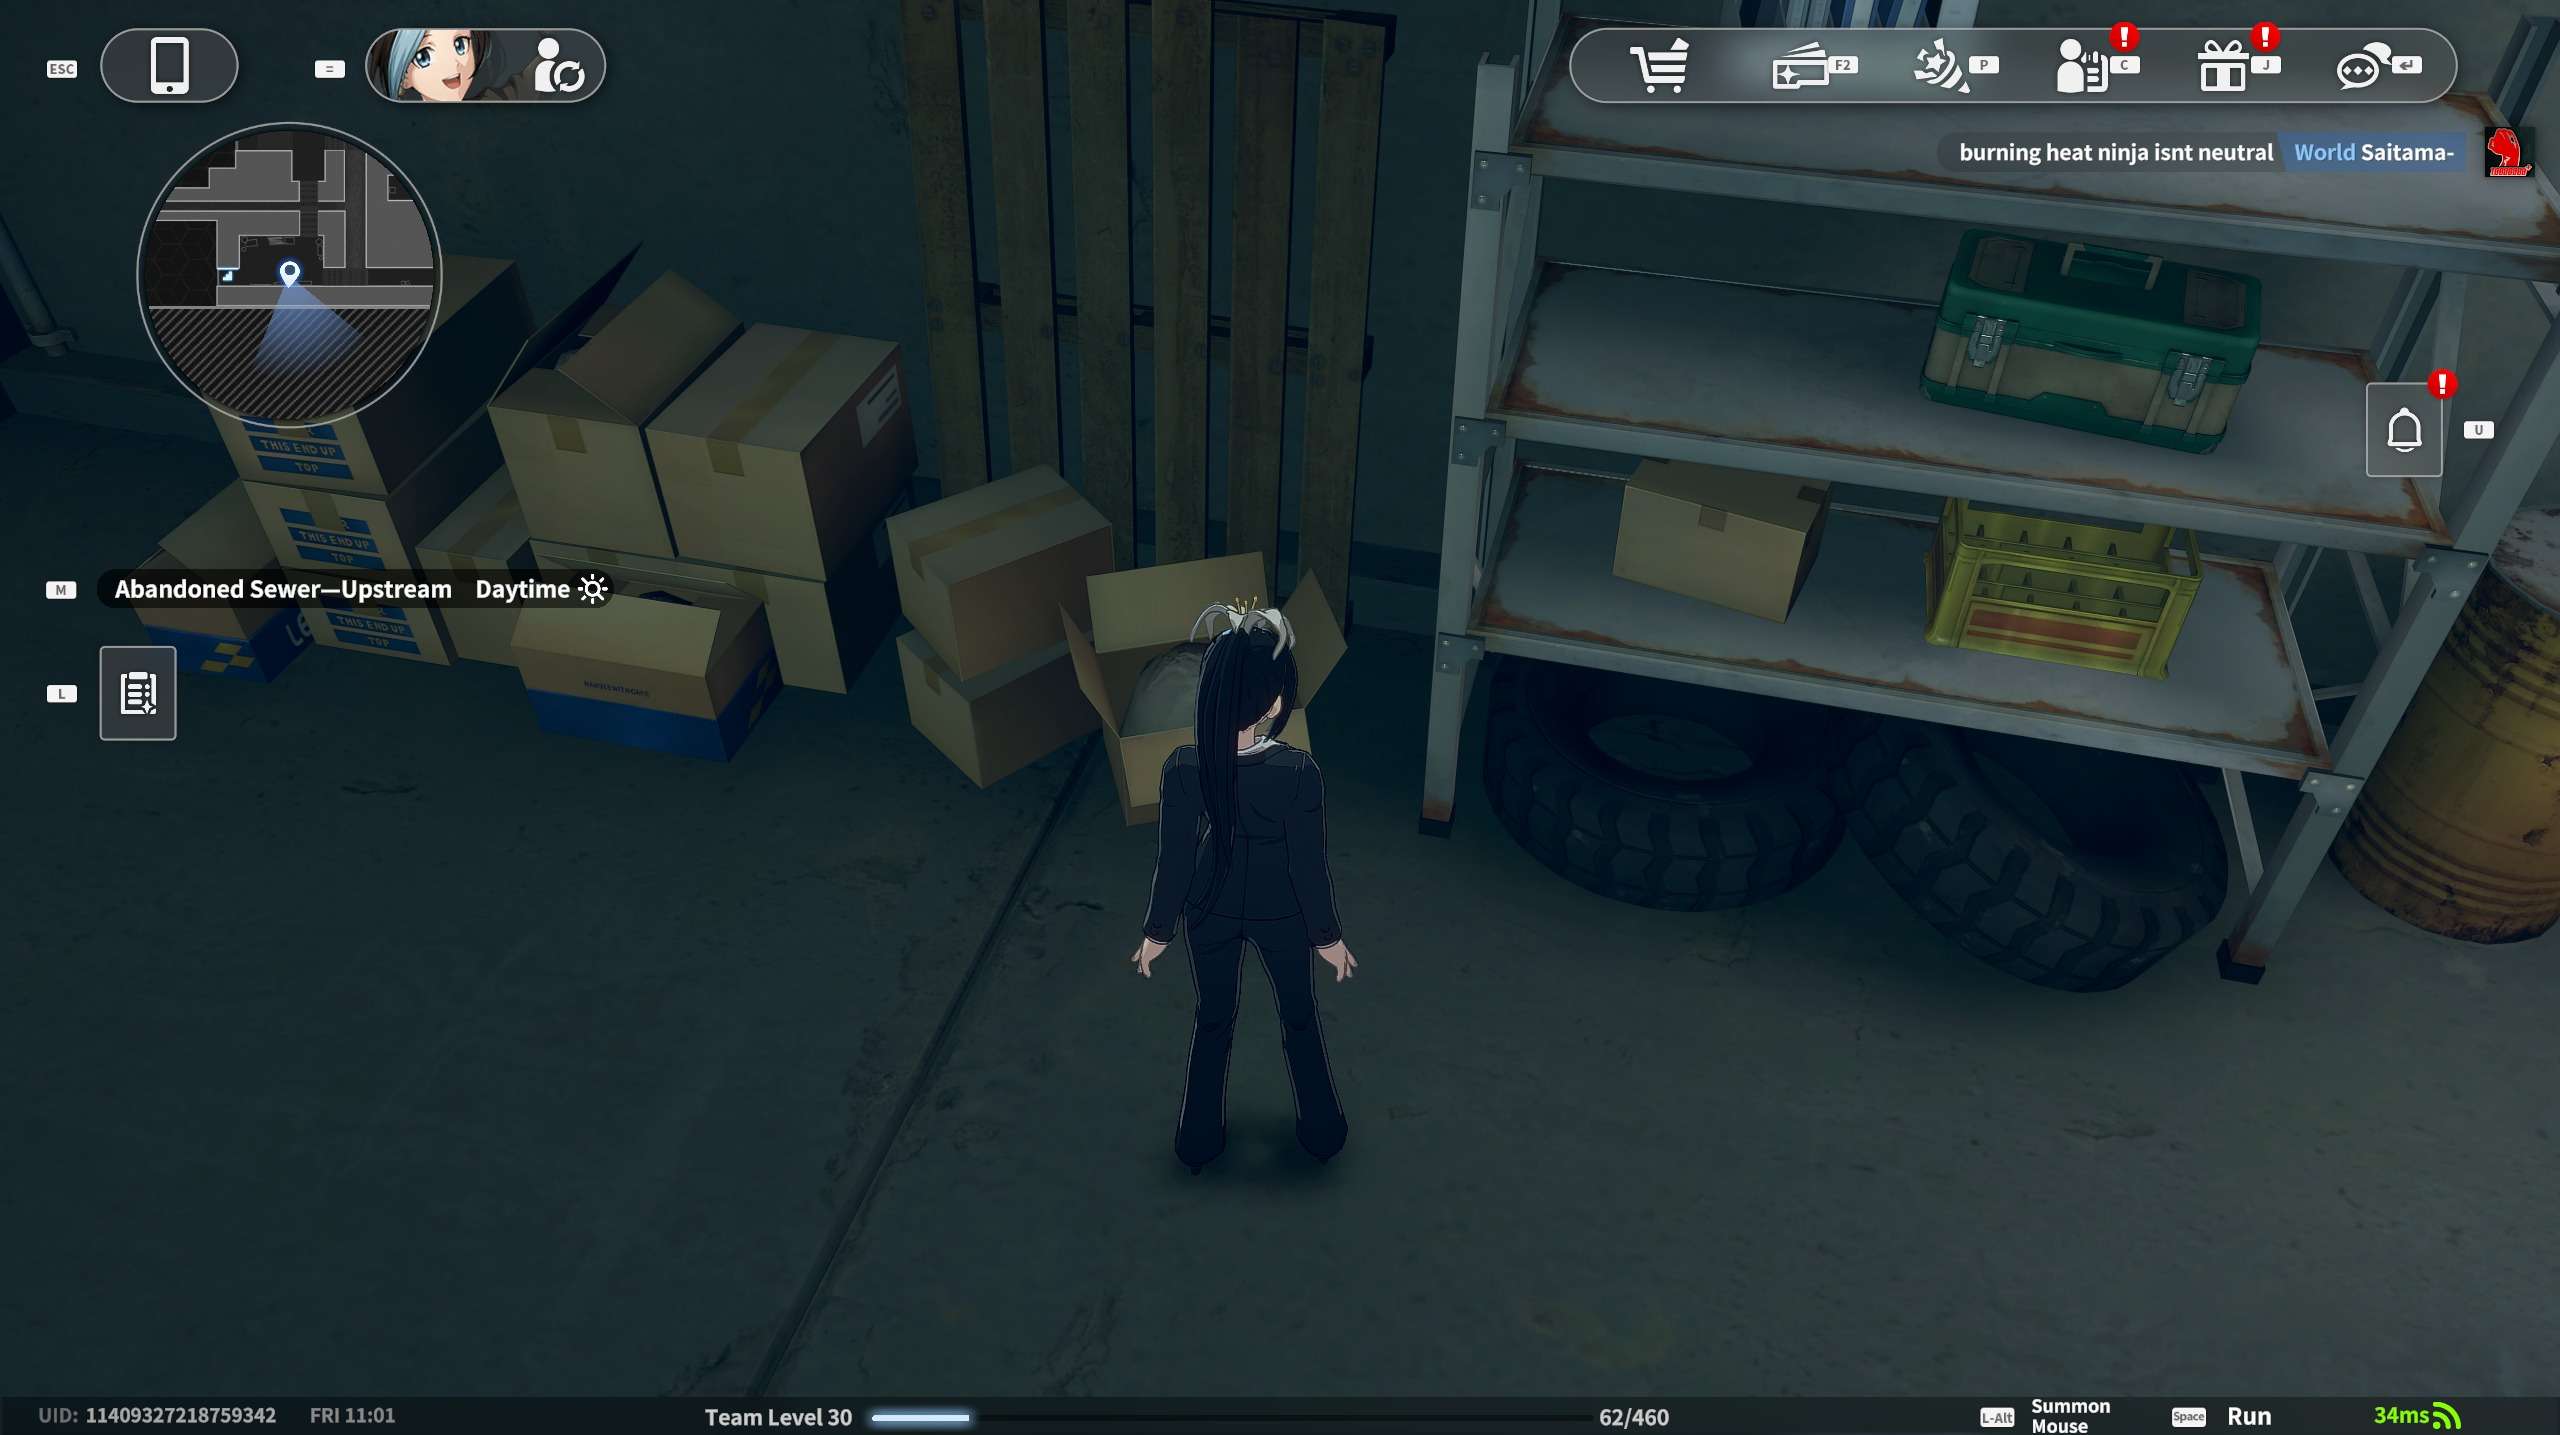
Trading Card #2: Inflatable card by the miscellaneous tires. Between the boxes and the shelf.
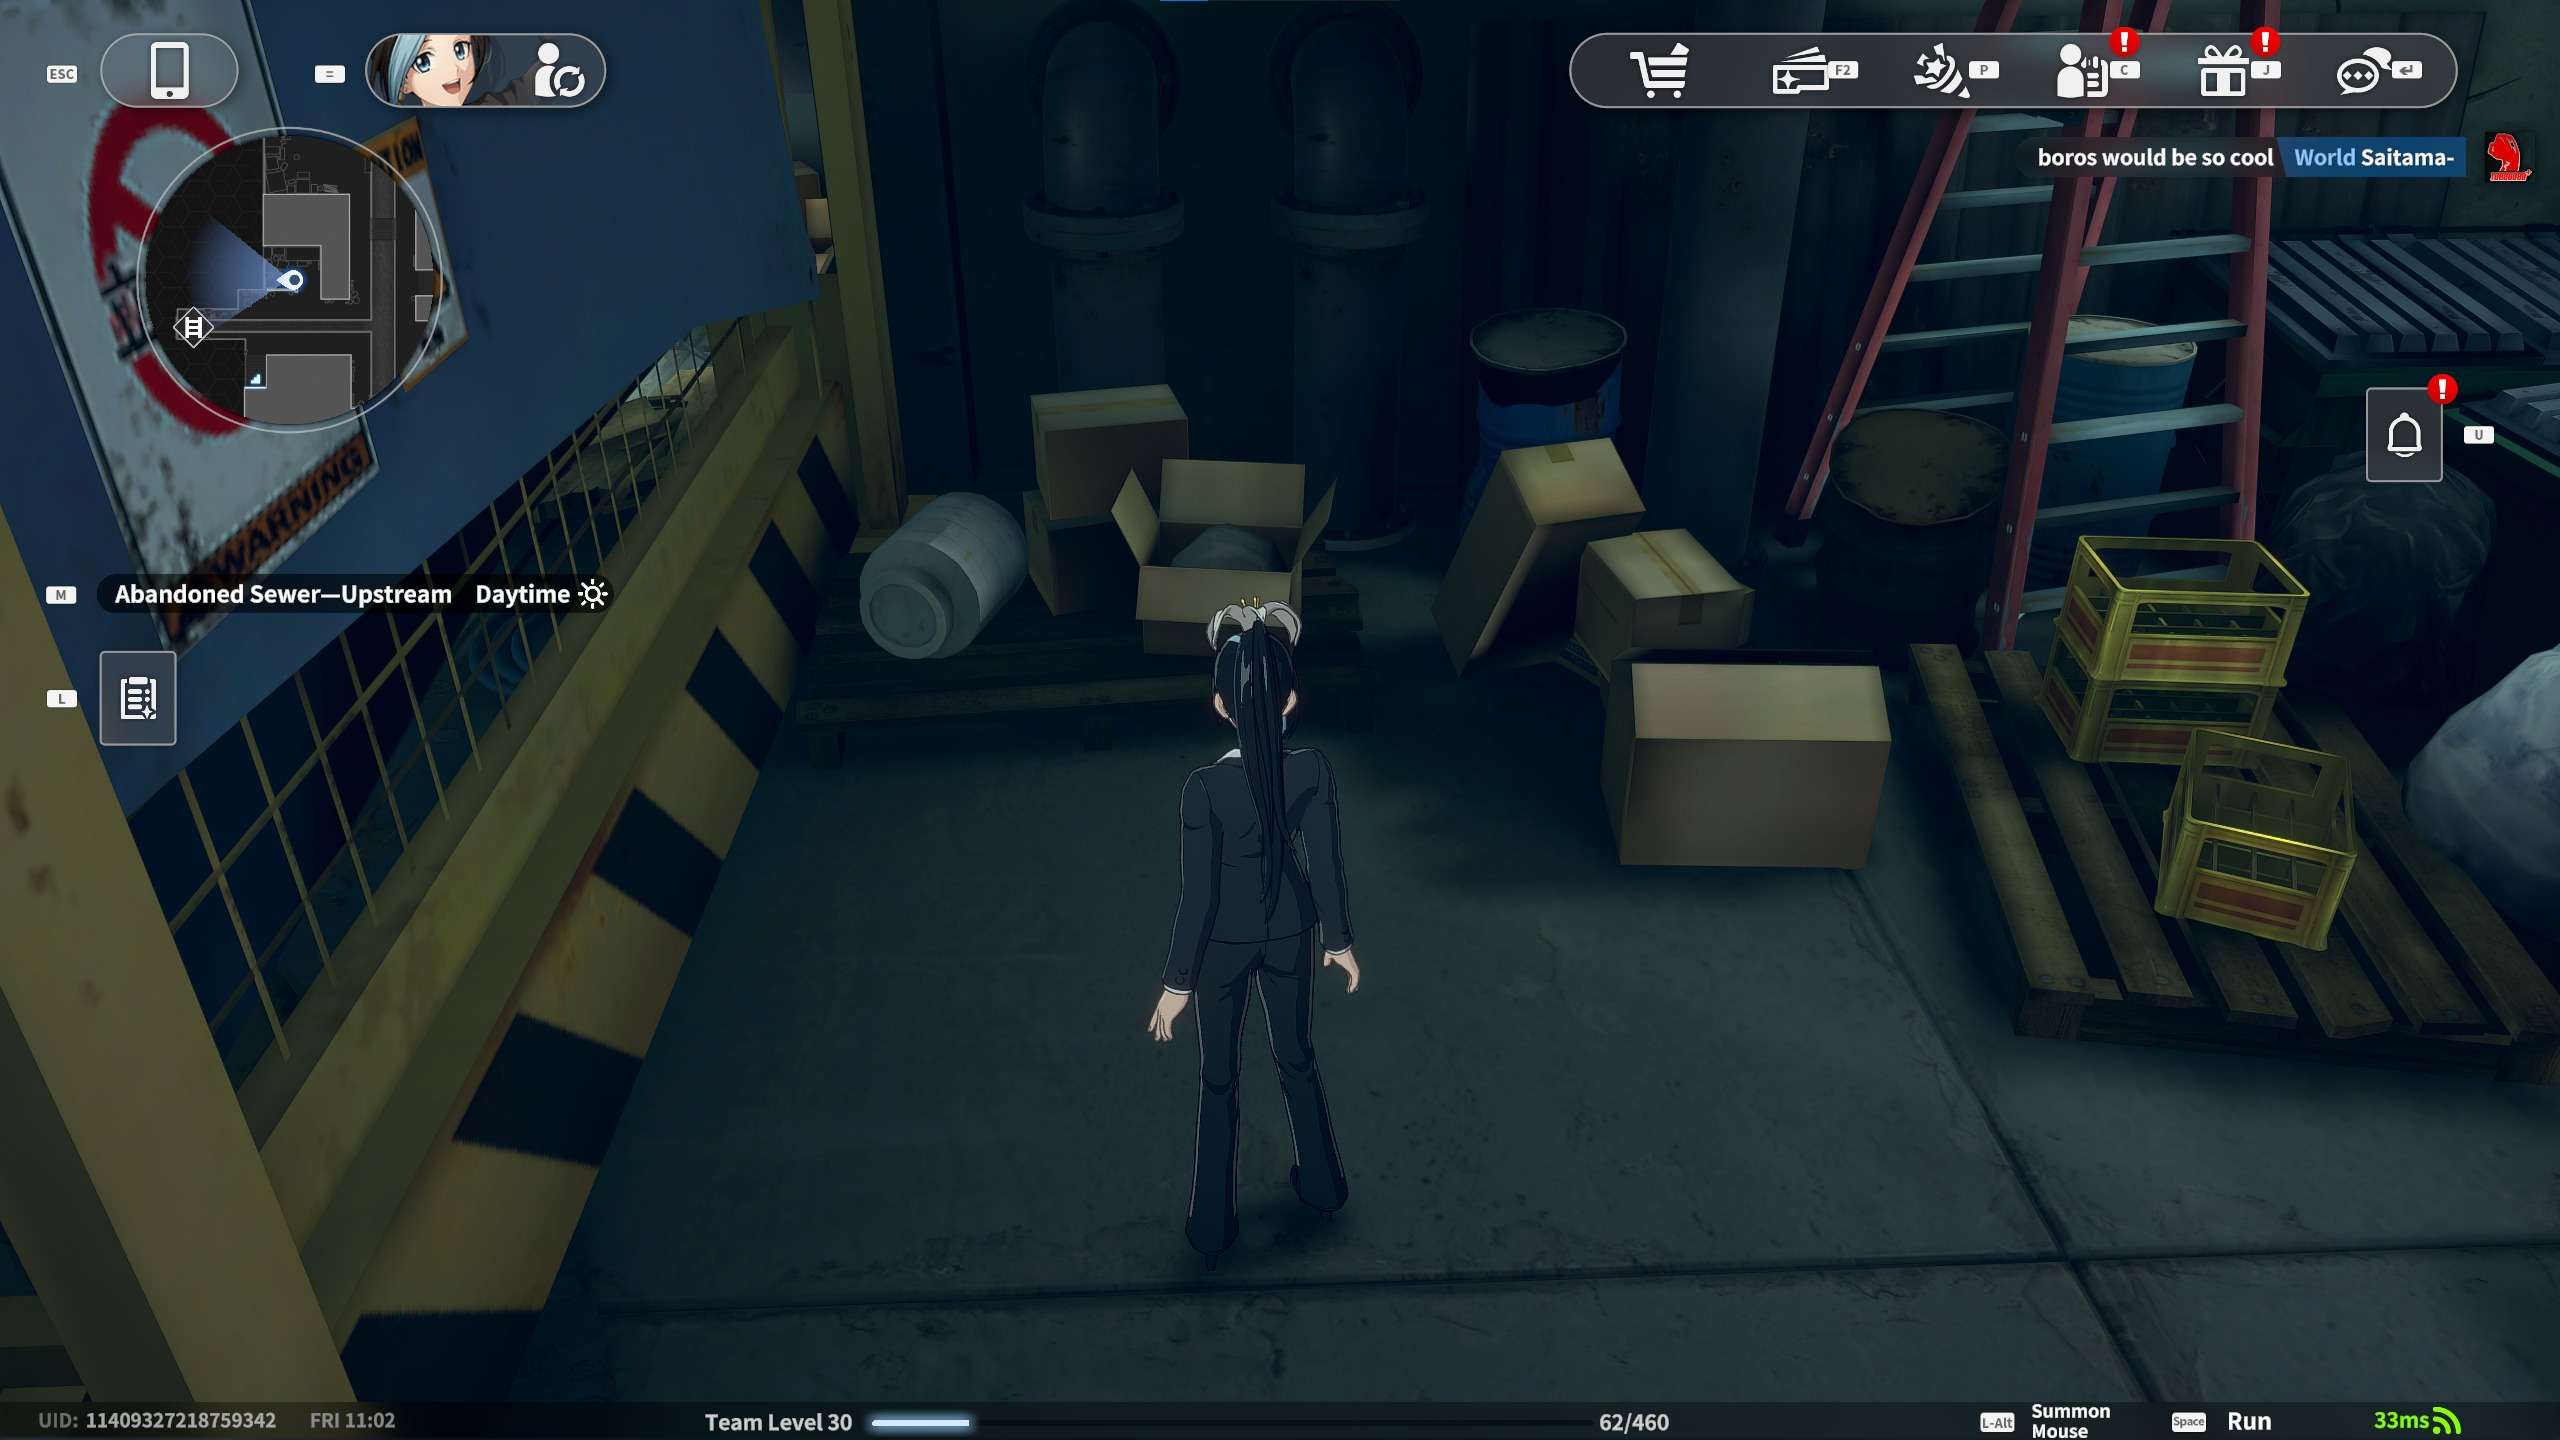
Trading Card #3: Hidden card in the pile of cardboard boxes. Between the boxes on the floor.
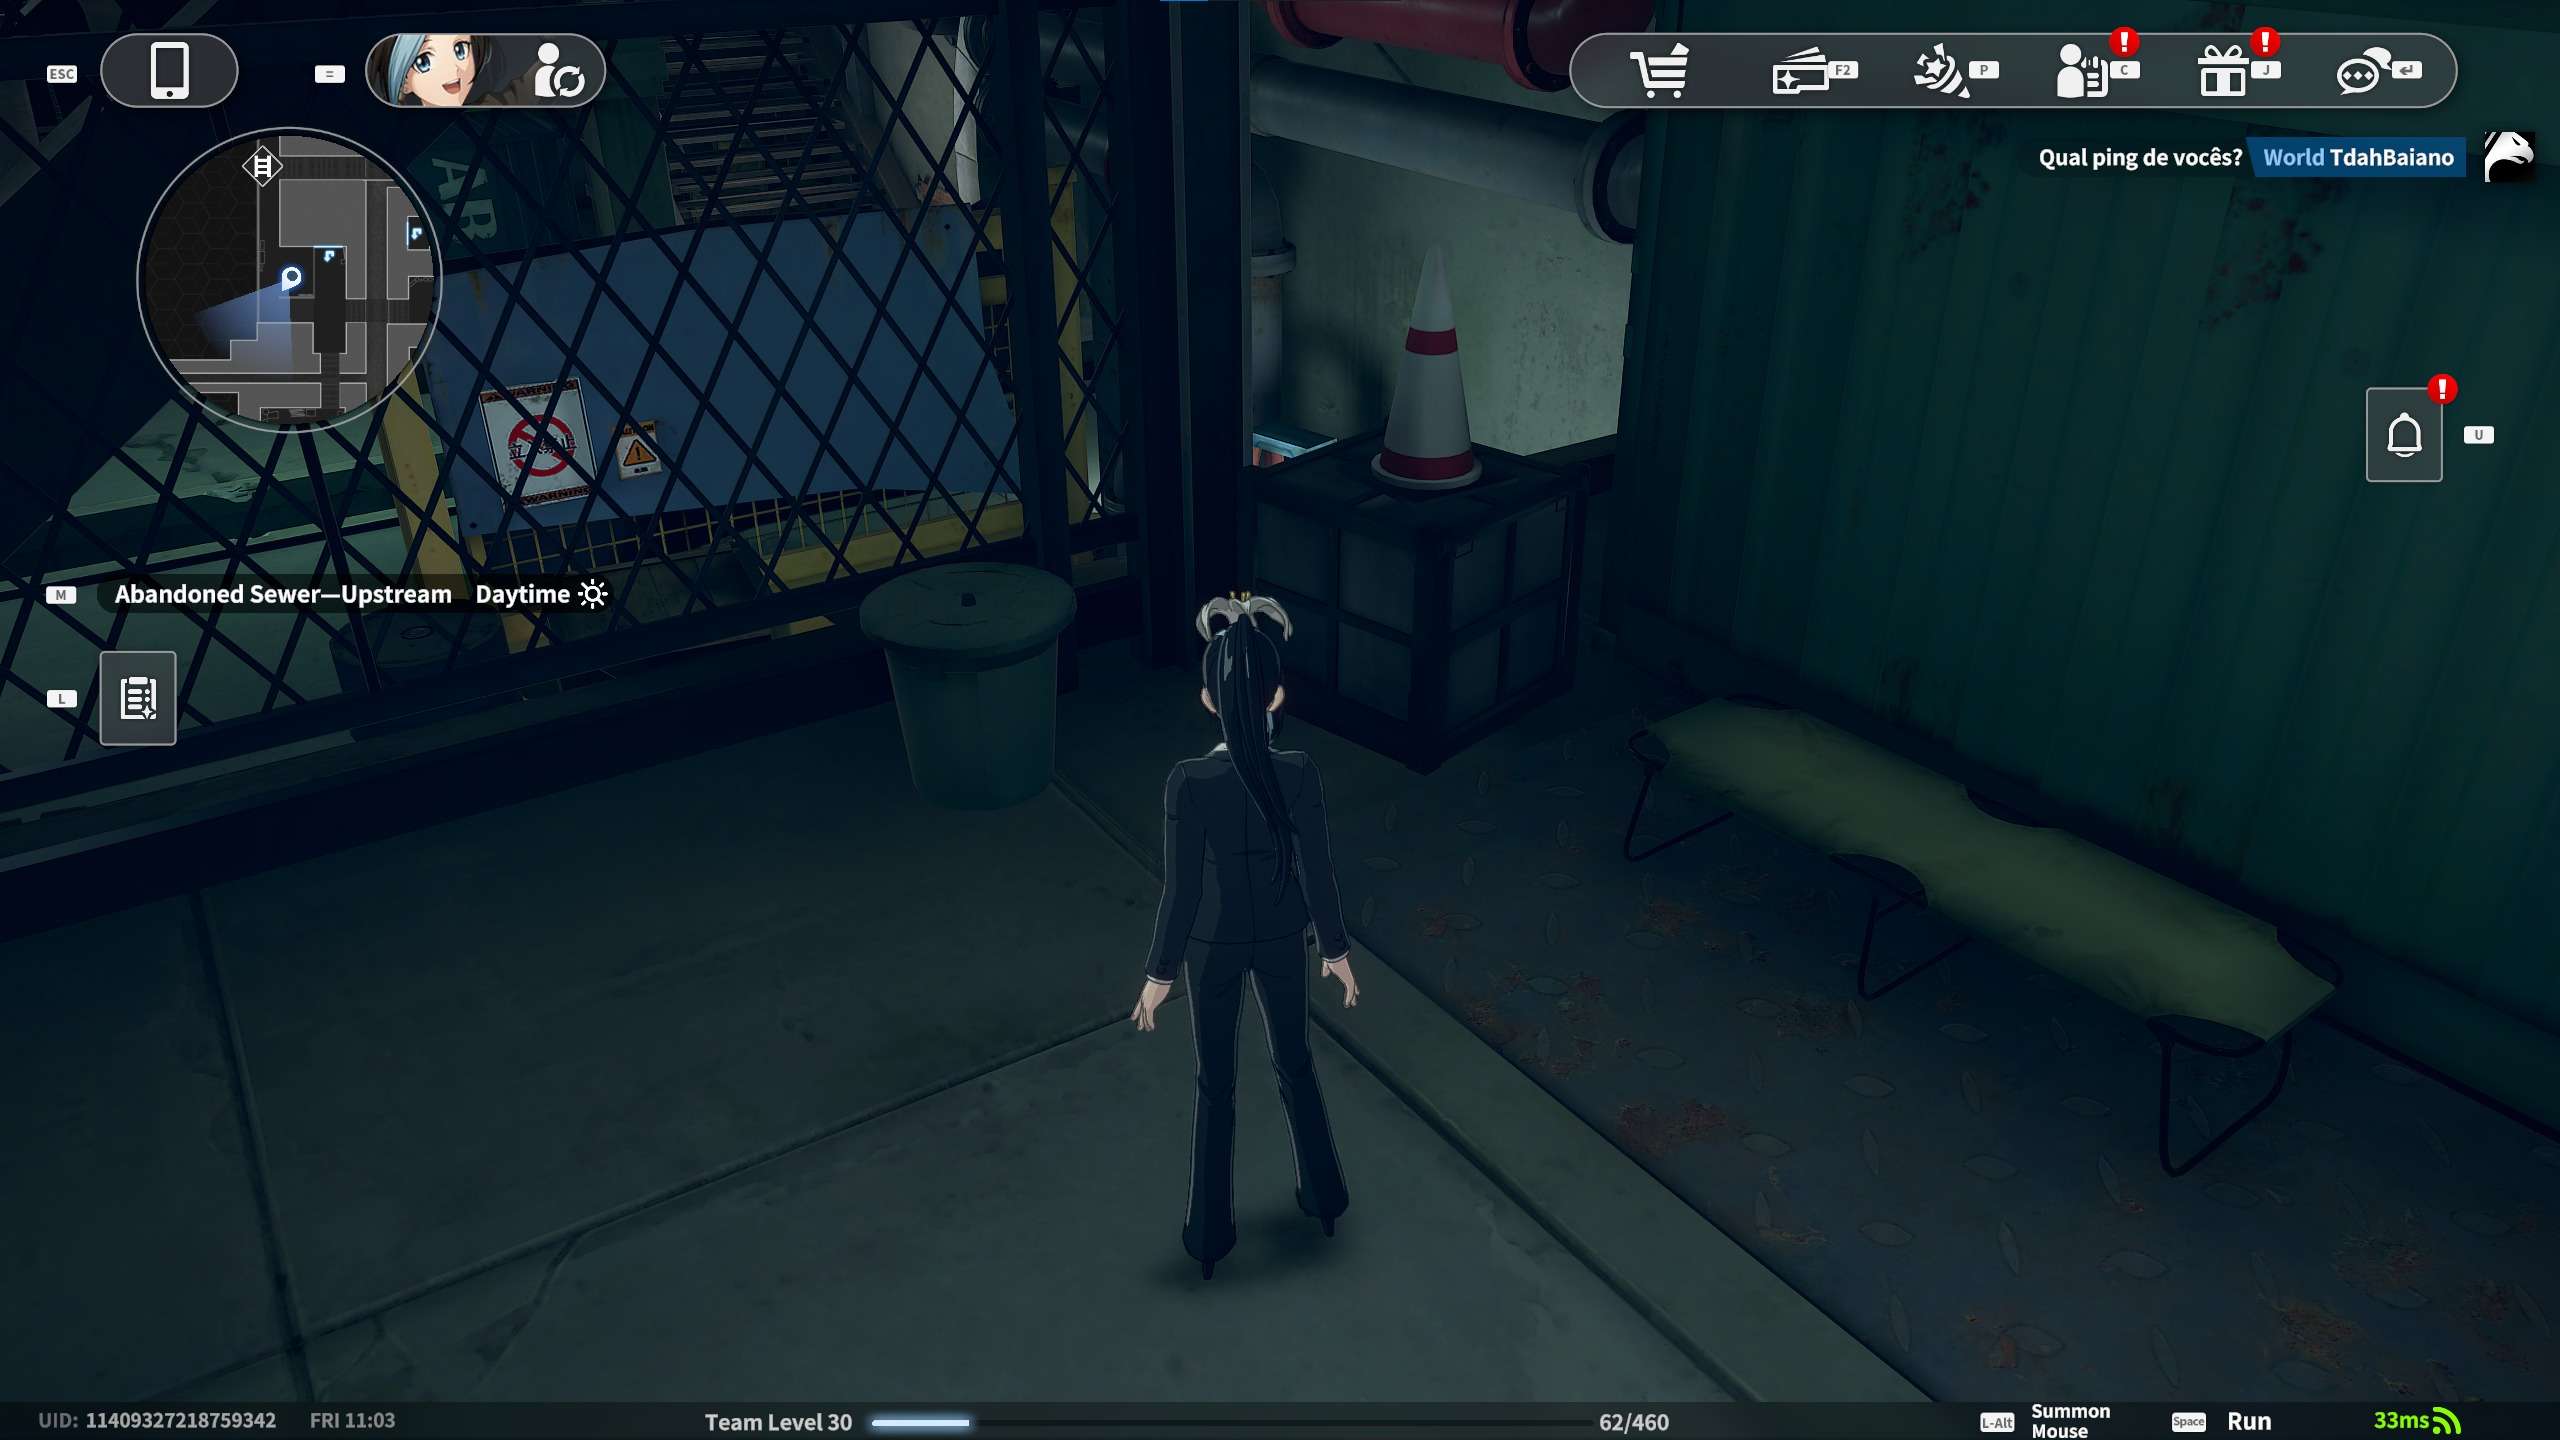
Trading Card #4: Obstruction card in the discarded roadblock. On the box with the cone.
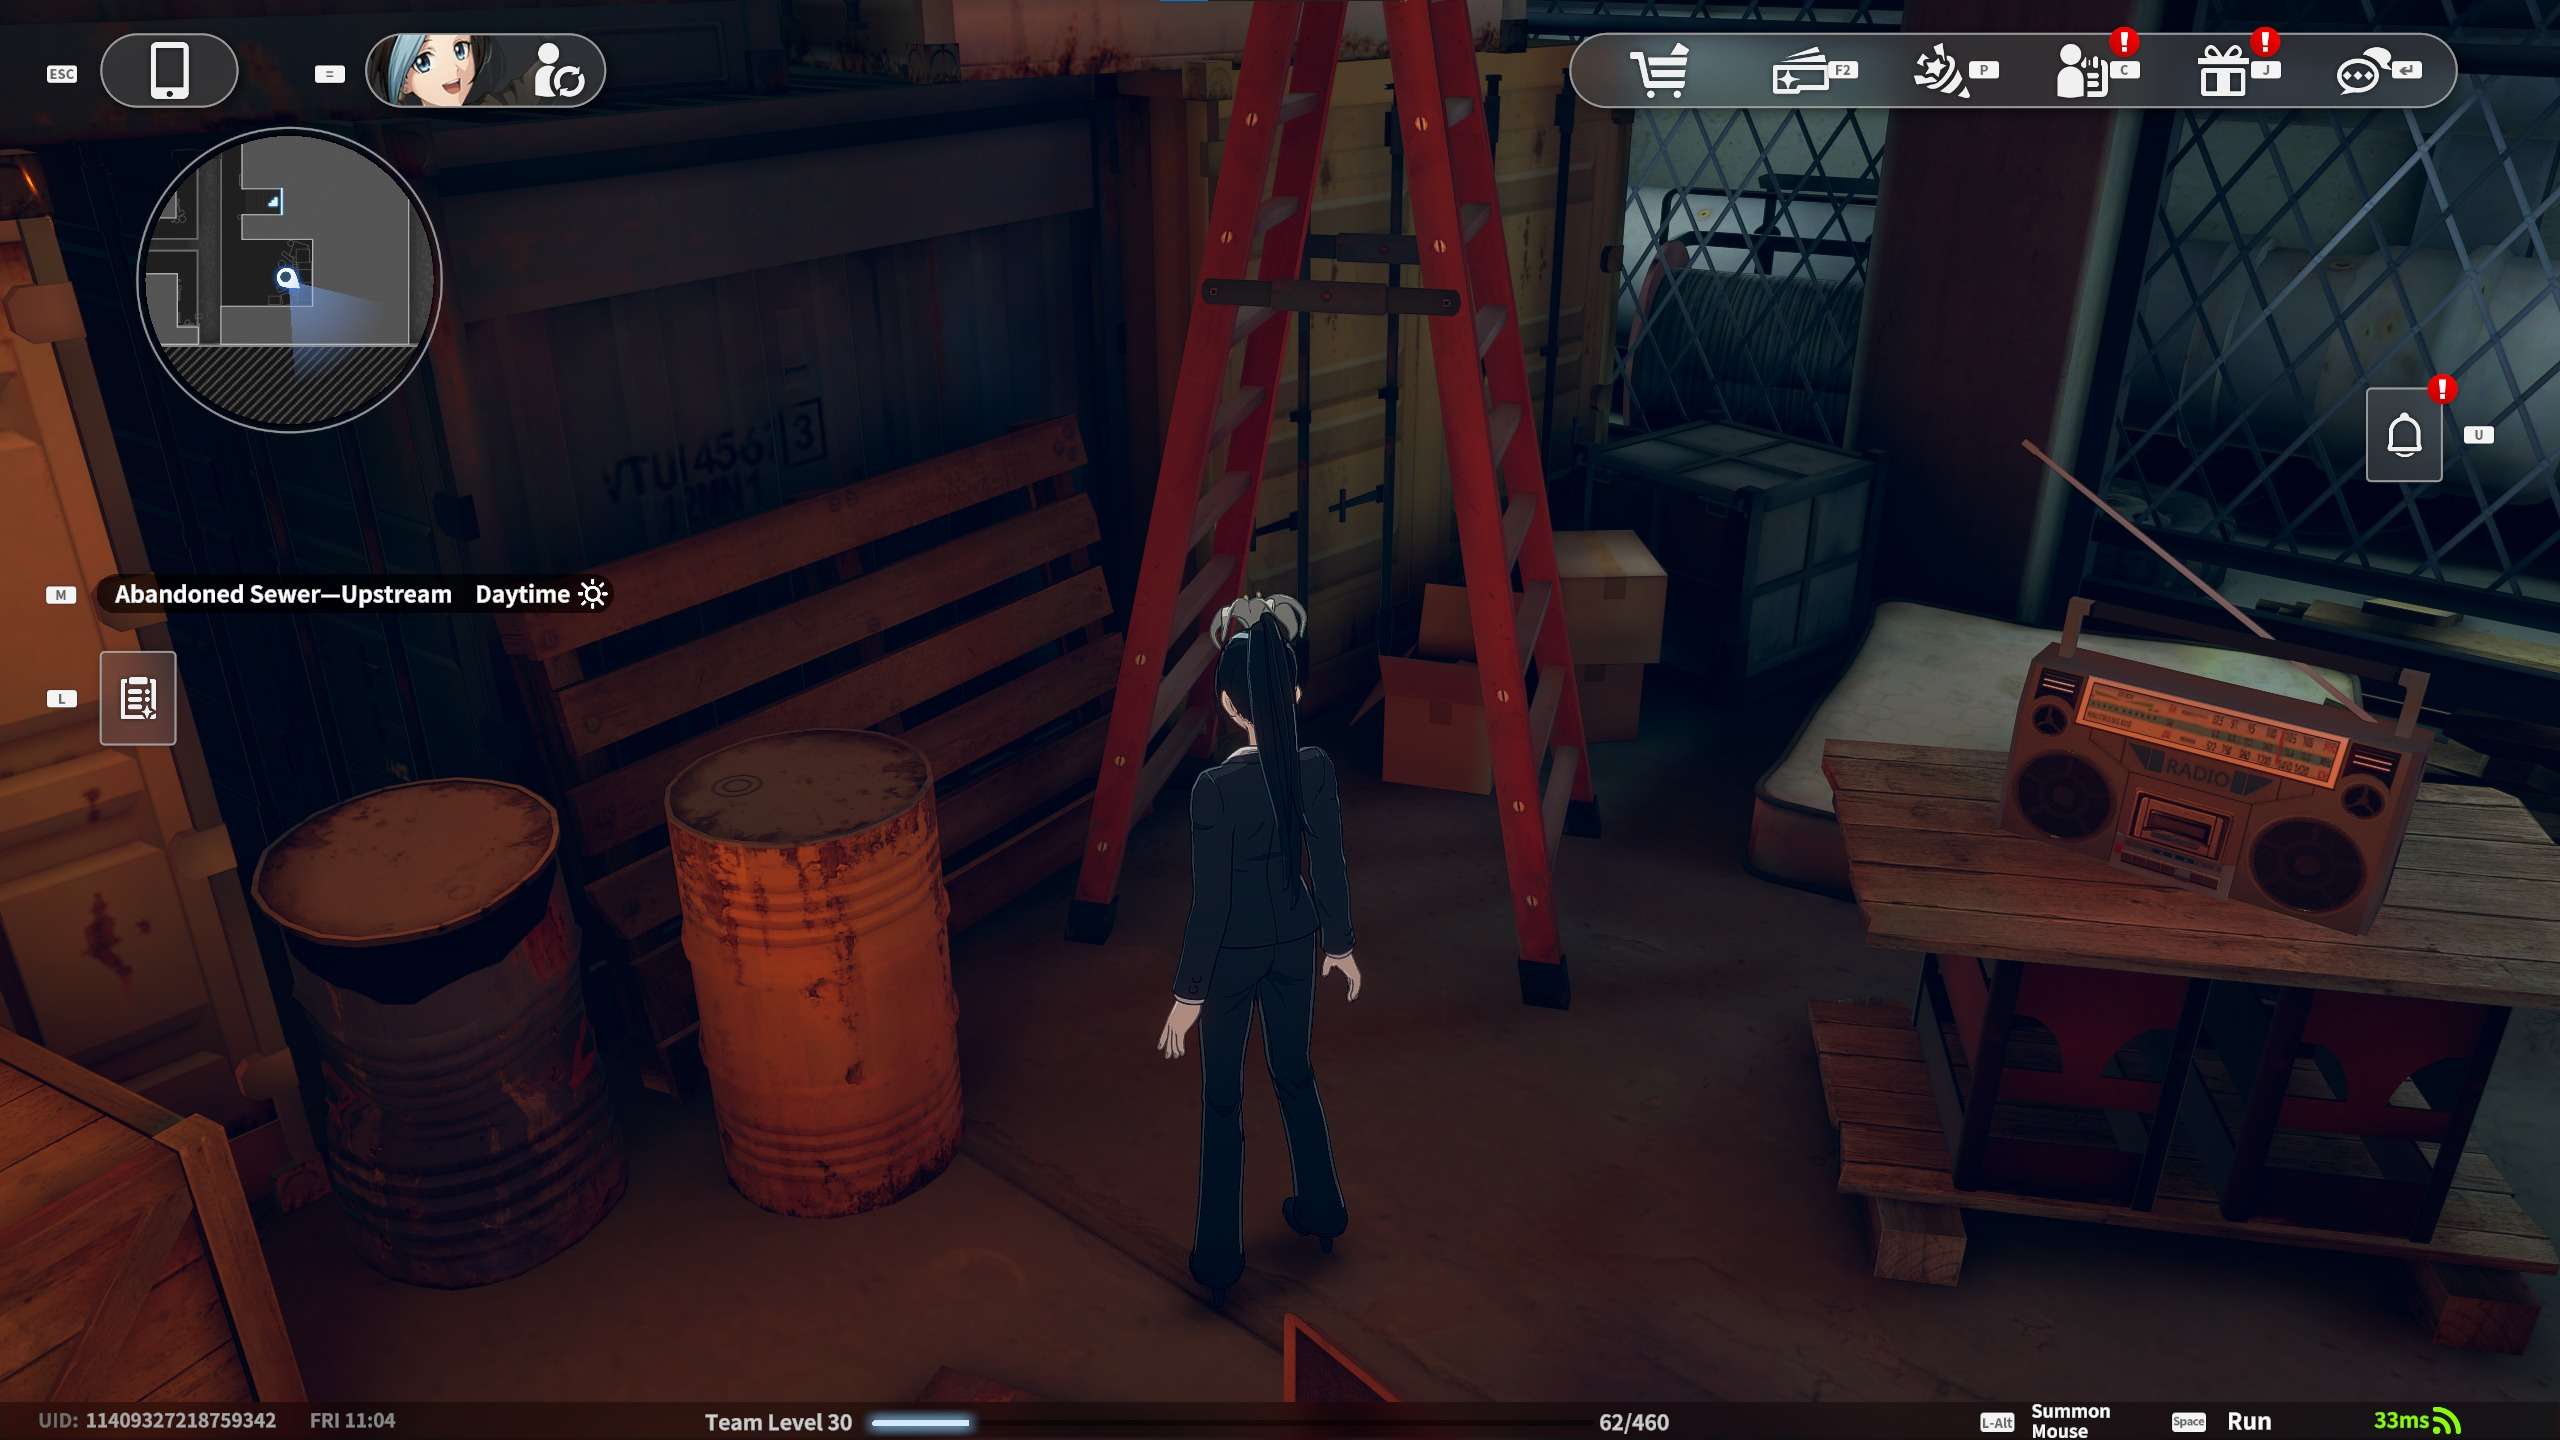
Trading Card #5: Surprise card under the handrail by the bonfire. Under the ladder: Enjoy your 7 years of bad luck.
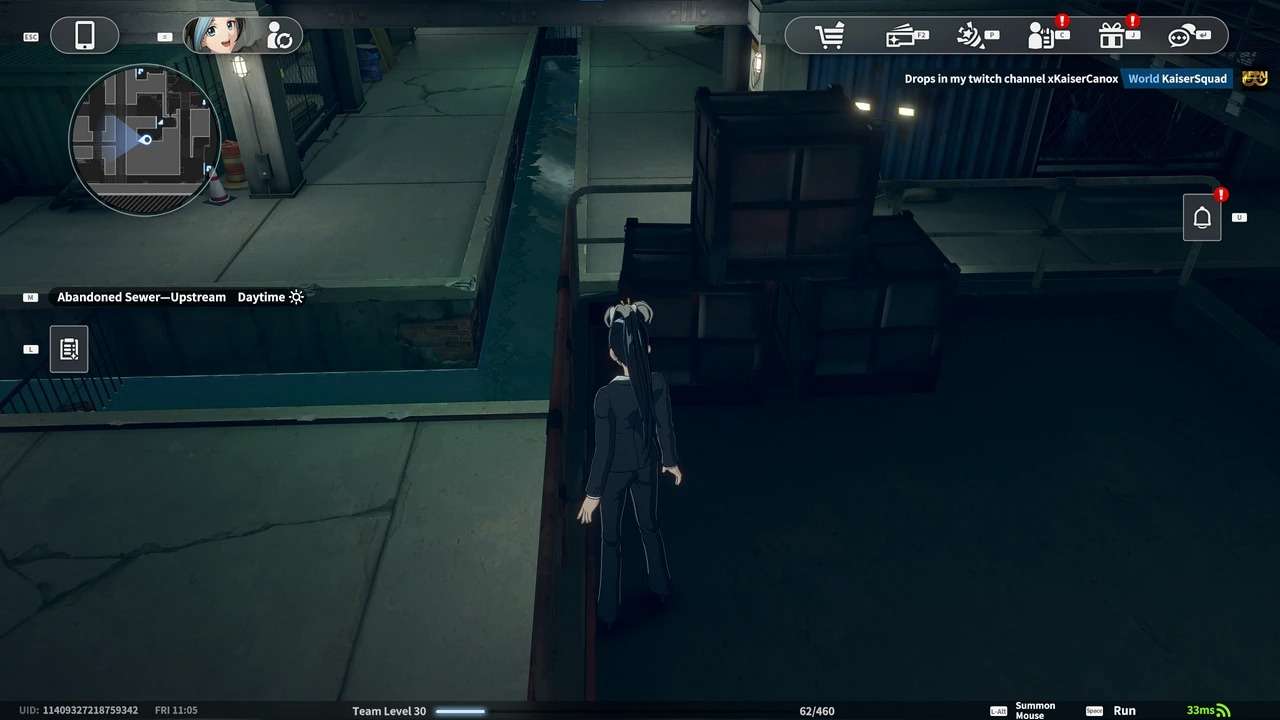
Trading Card #6: Concealment card next to the three stacked crates. On the floor between the boxes and the railing.
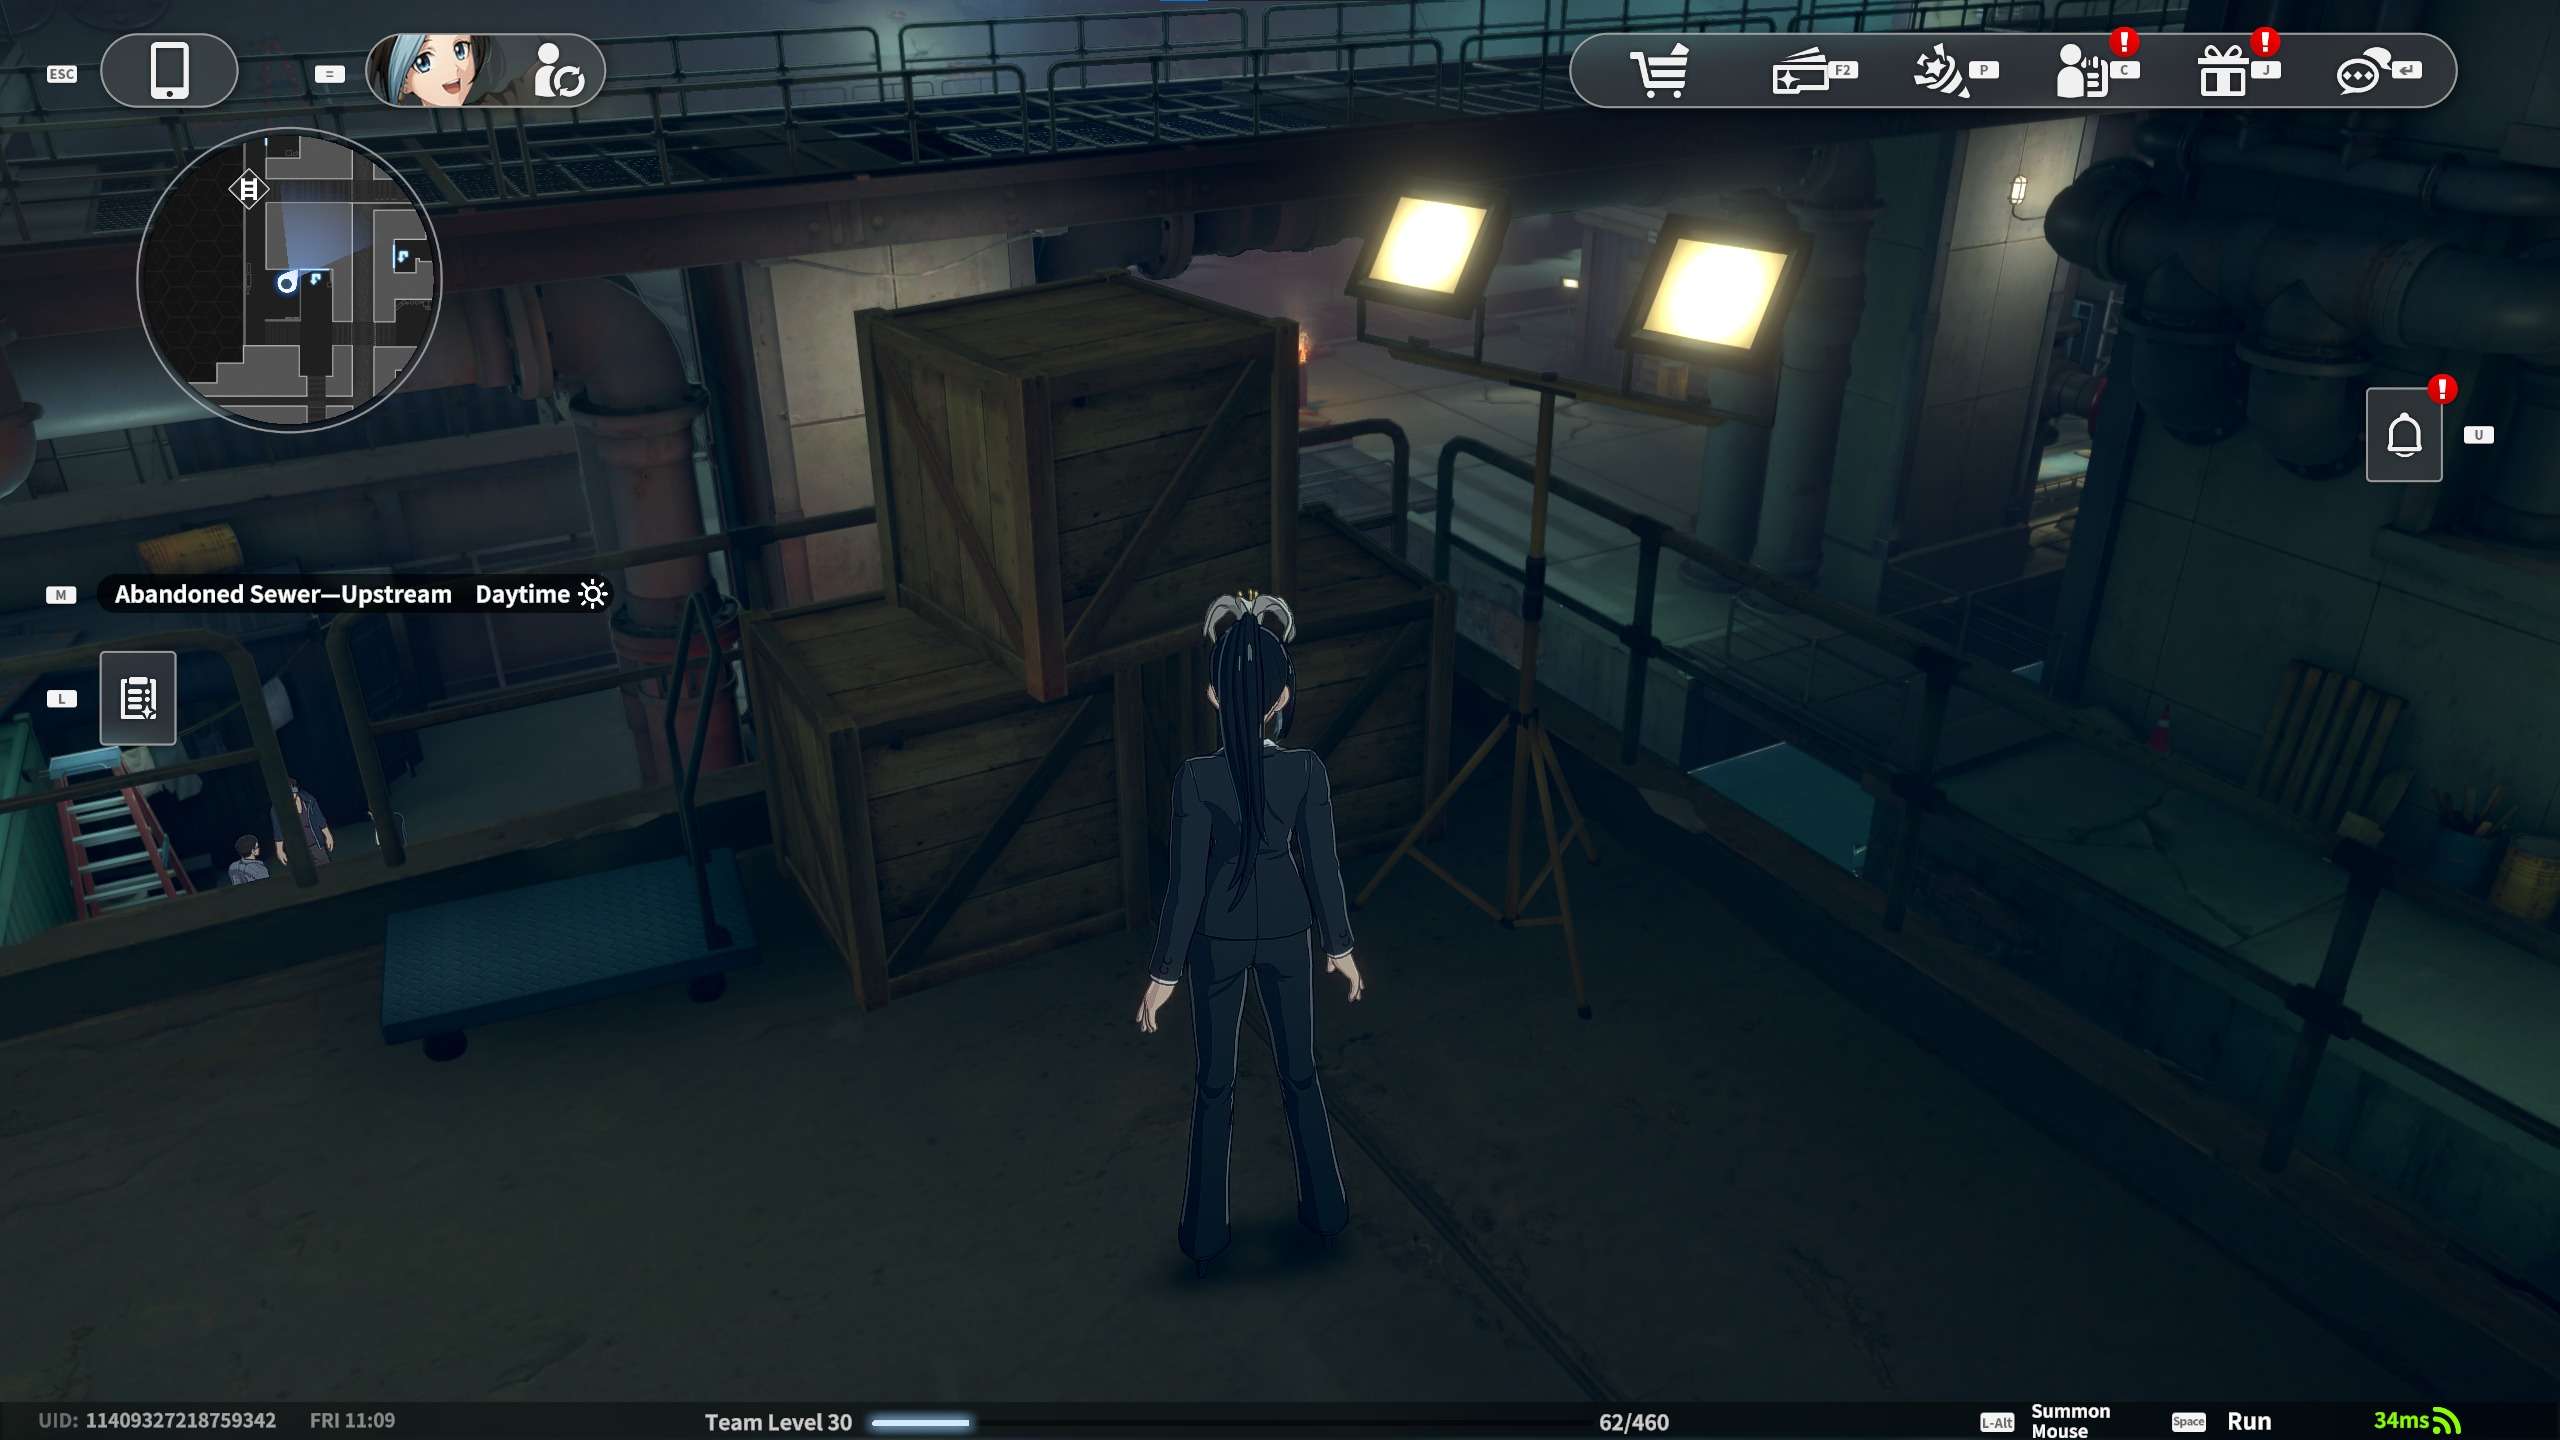
Trading Card #7: Shadow card under the double-headed lamp. On top of the boxes.
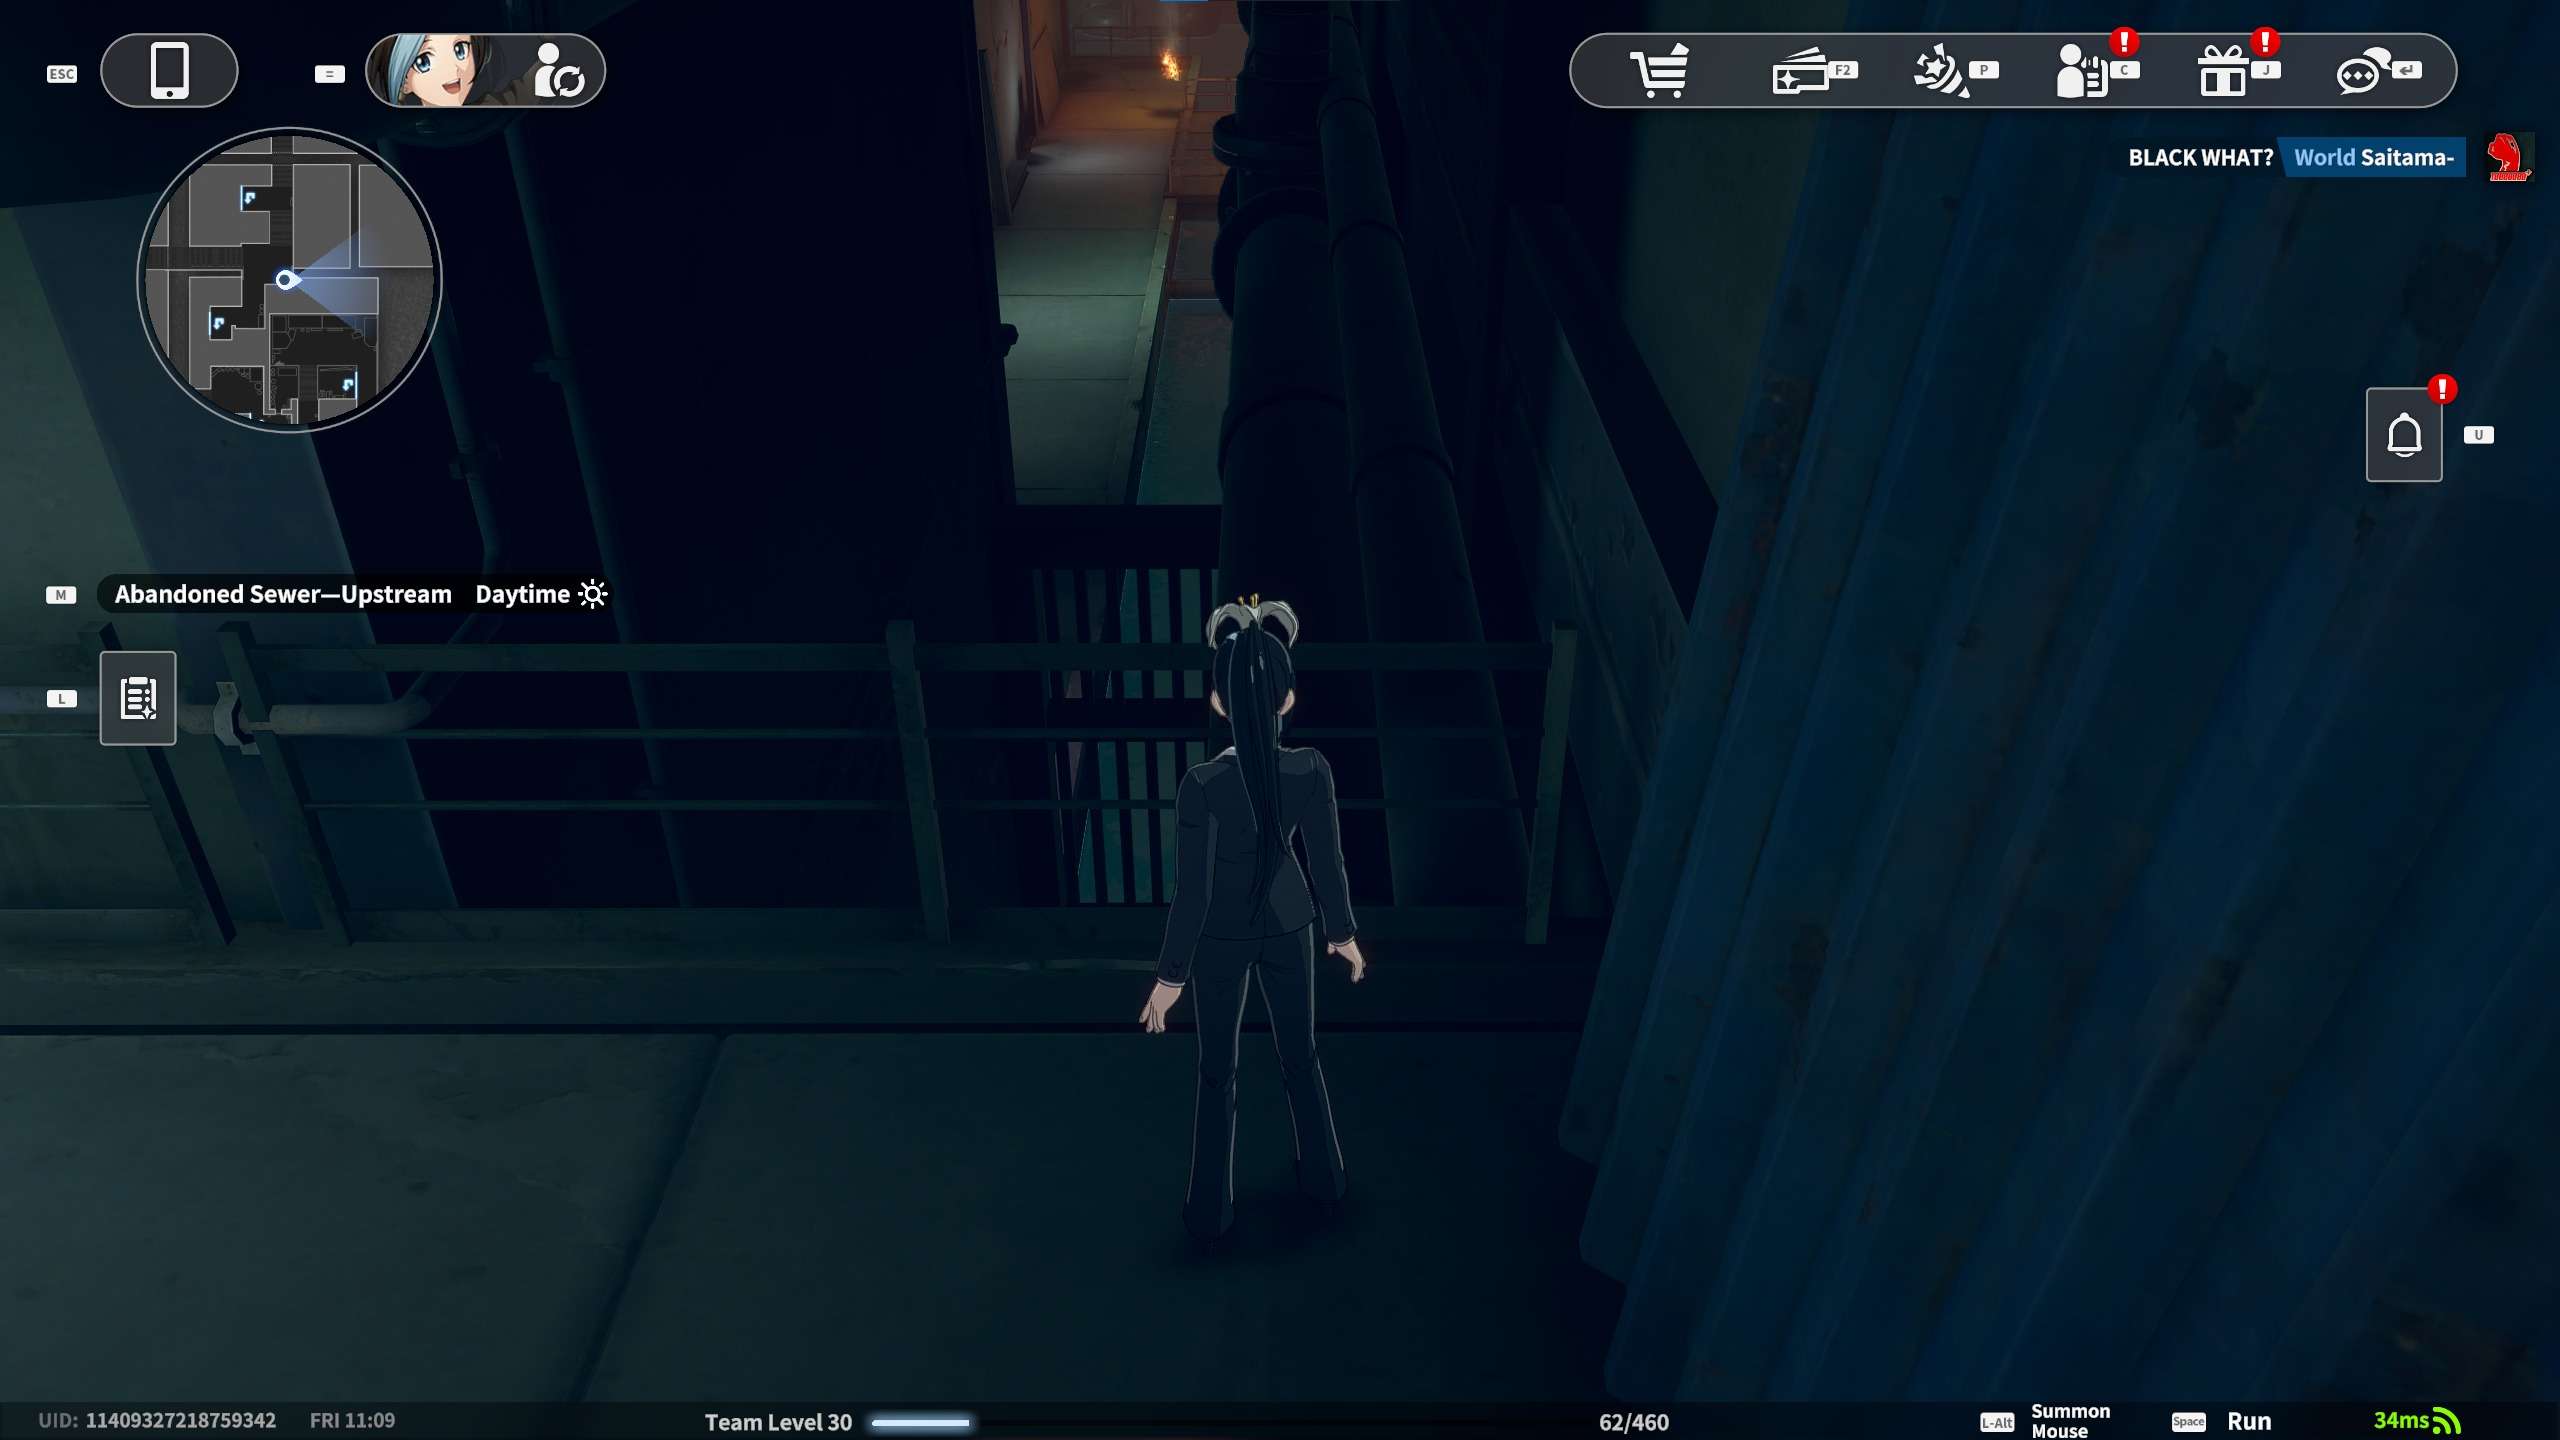
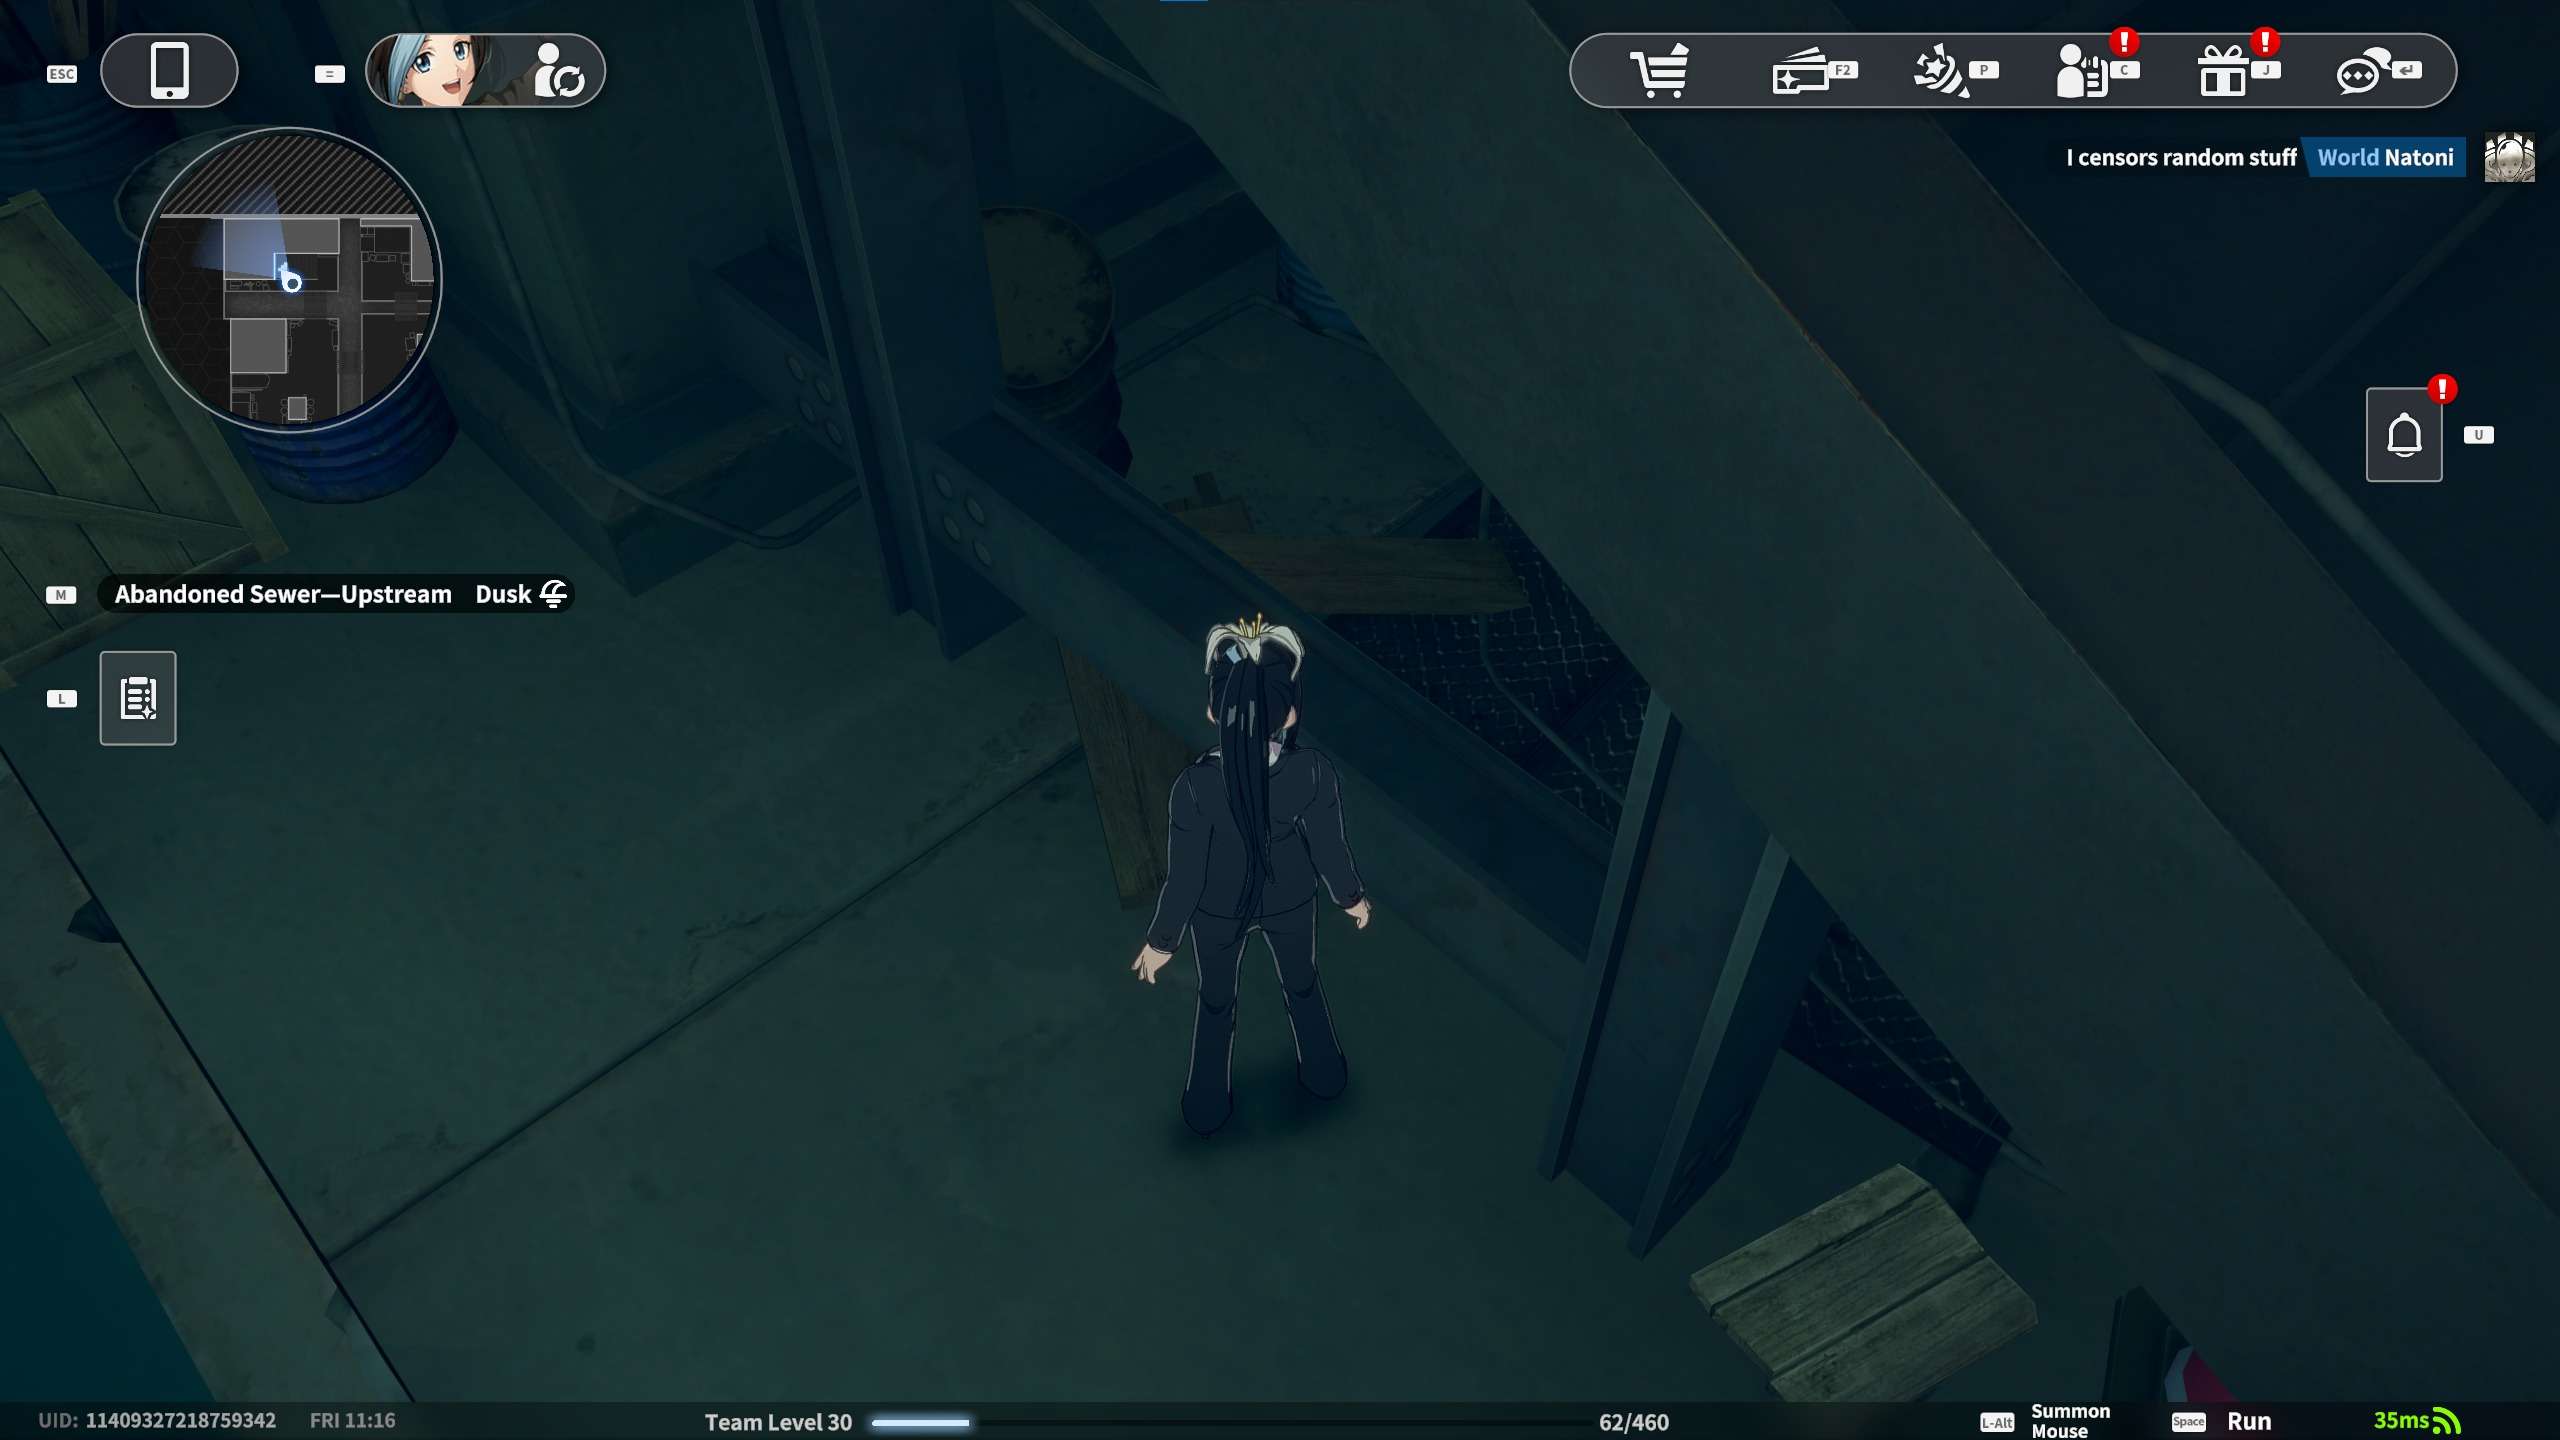
Trading Card #8: Seriously hidden card in the corner. Over the railing on the pipe.
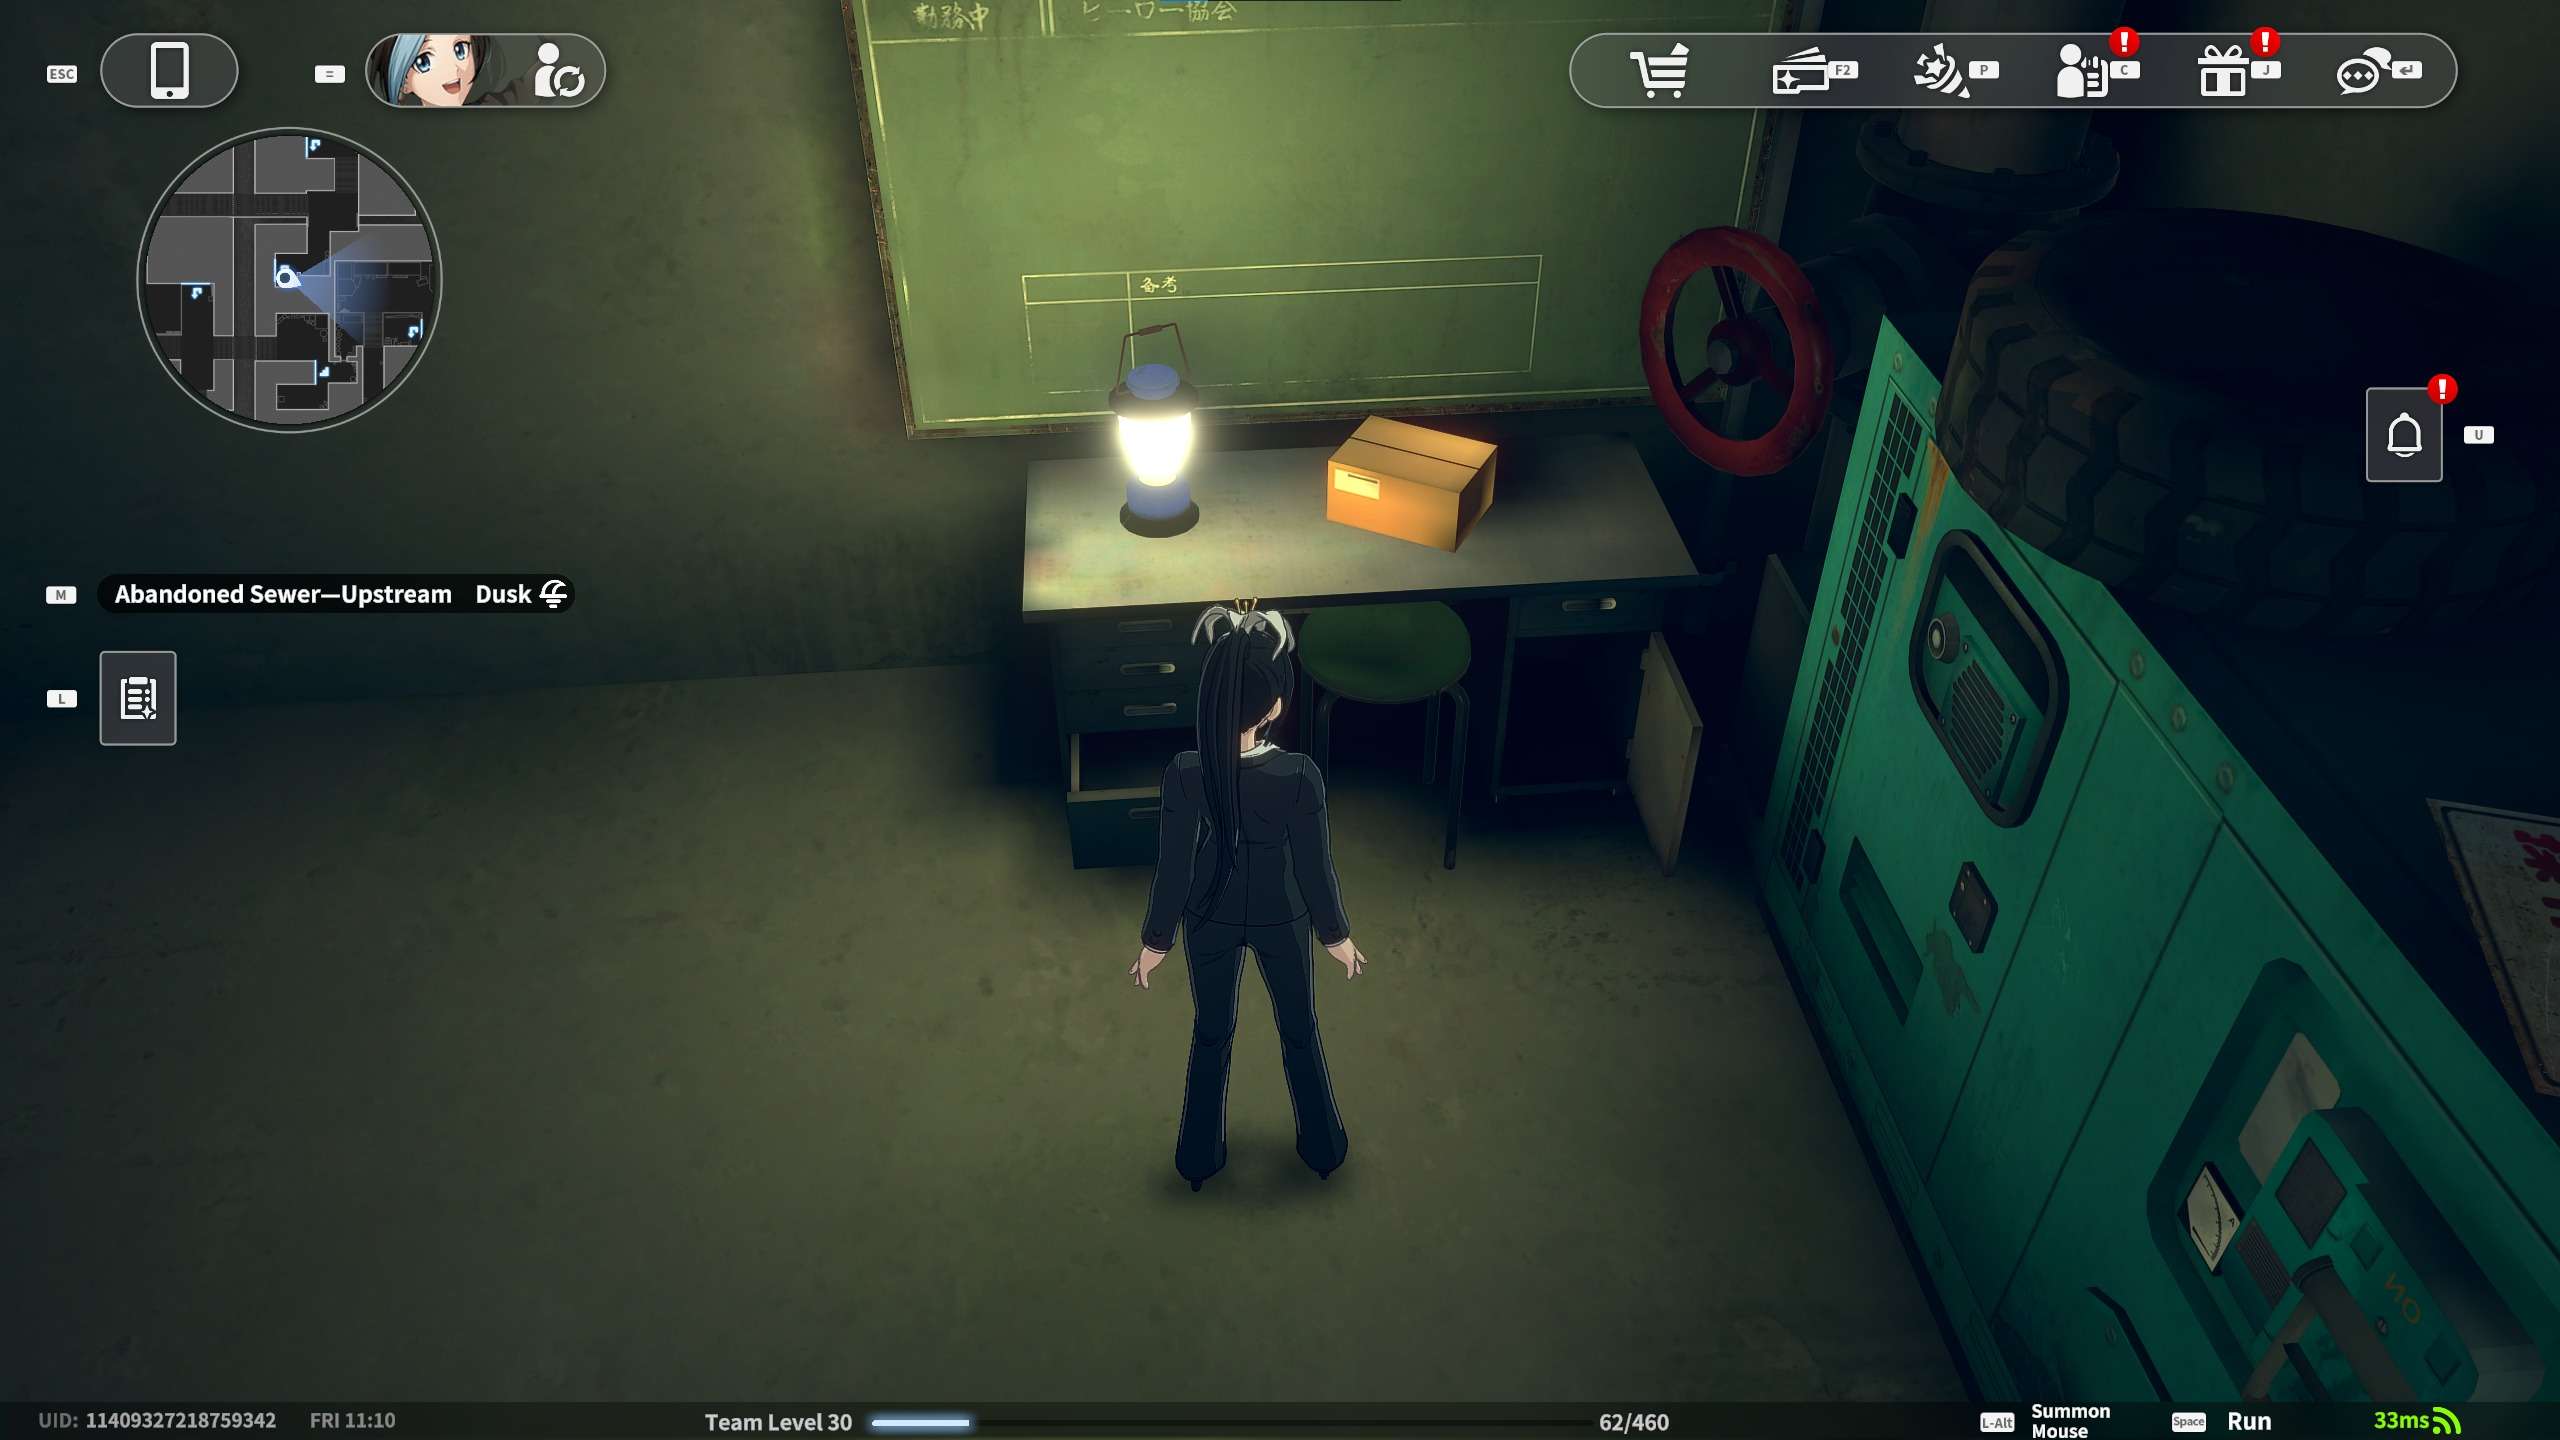
Trading Card #9: Planning card under the office desk. Under the desk.
Trading Card #10: Drifting card behind the yellow barrel. On top of the yellow barrel, hard to see.
Trading Card #11: Warmth card near the iron barrel by the bonfire. Behind the chair.
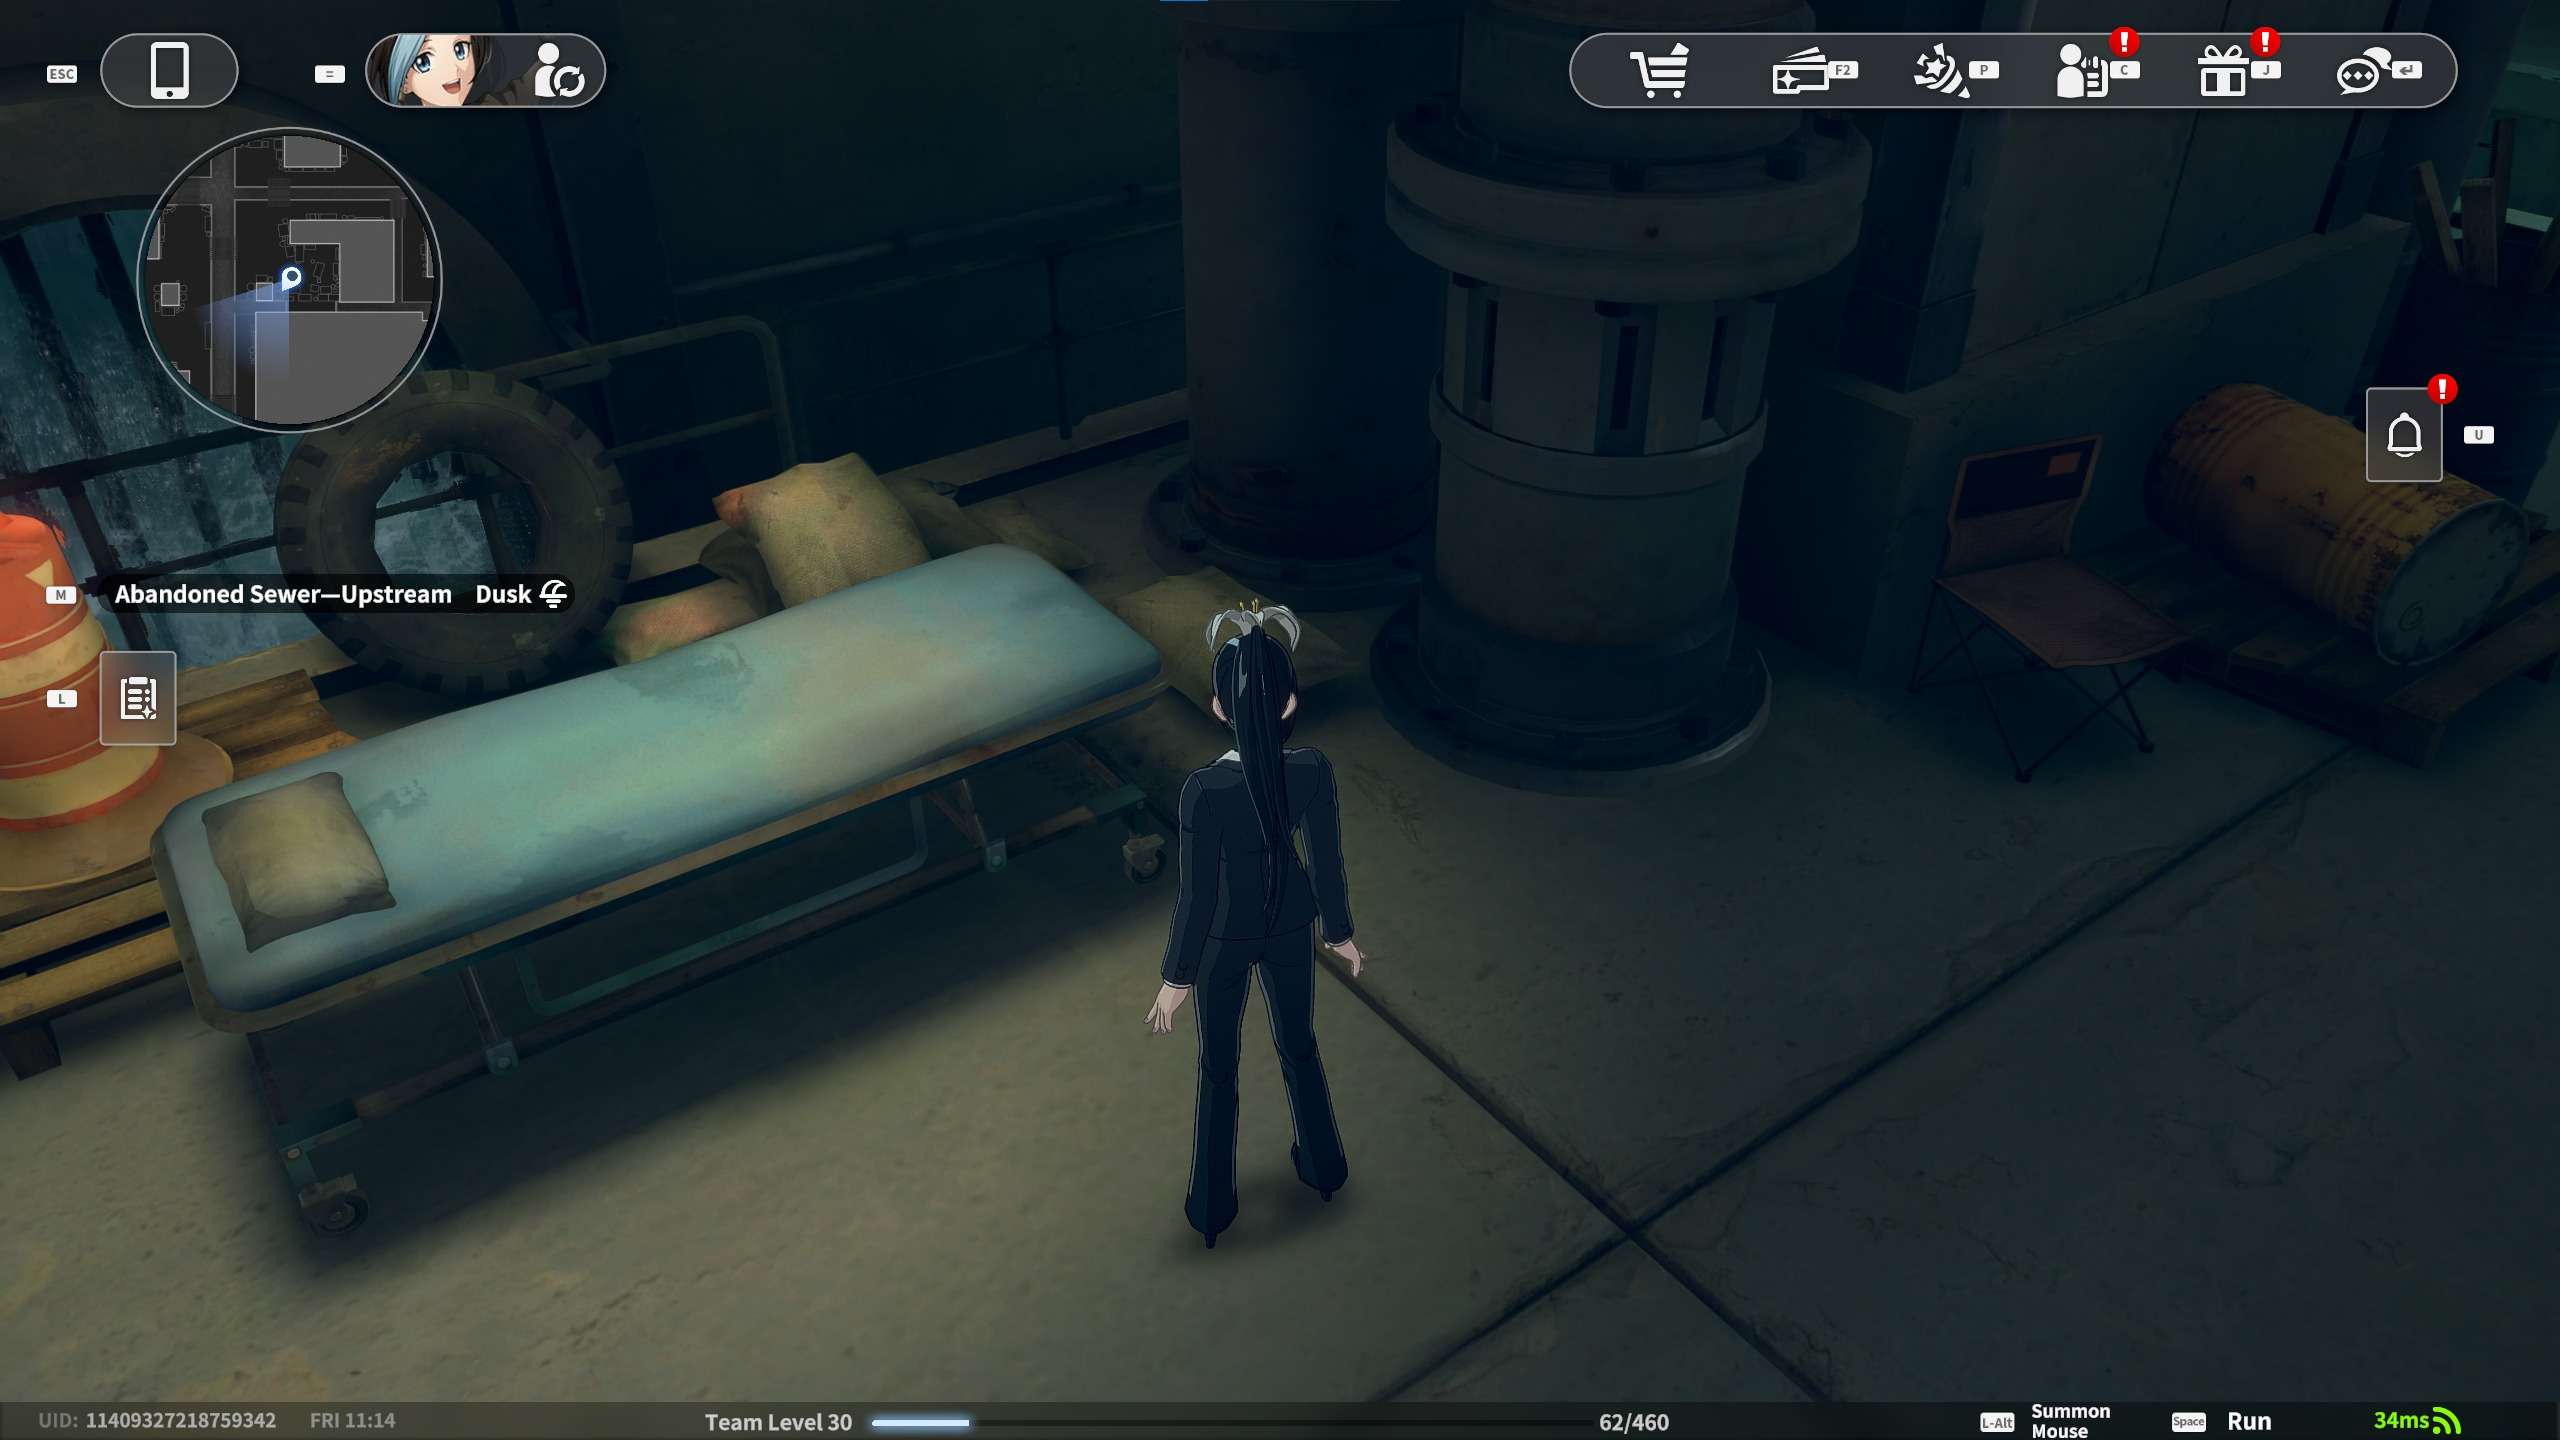
Trading Card #12: Resting card on the old bedside. In front of the pipes on the sandbag.
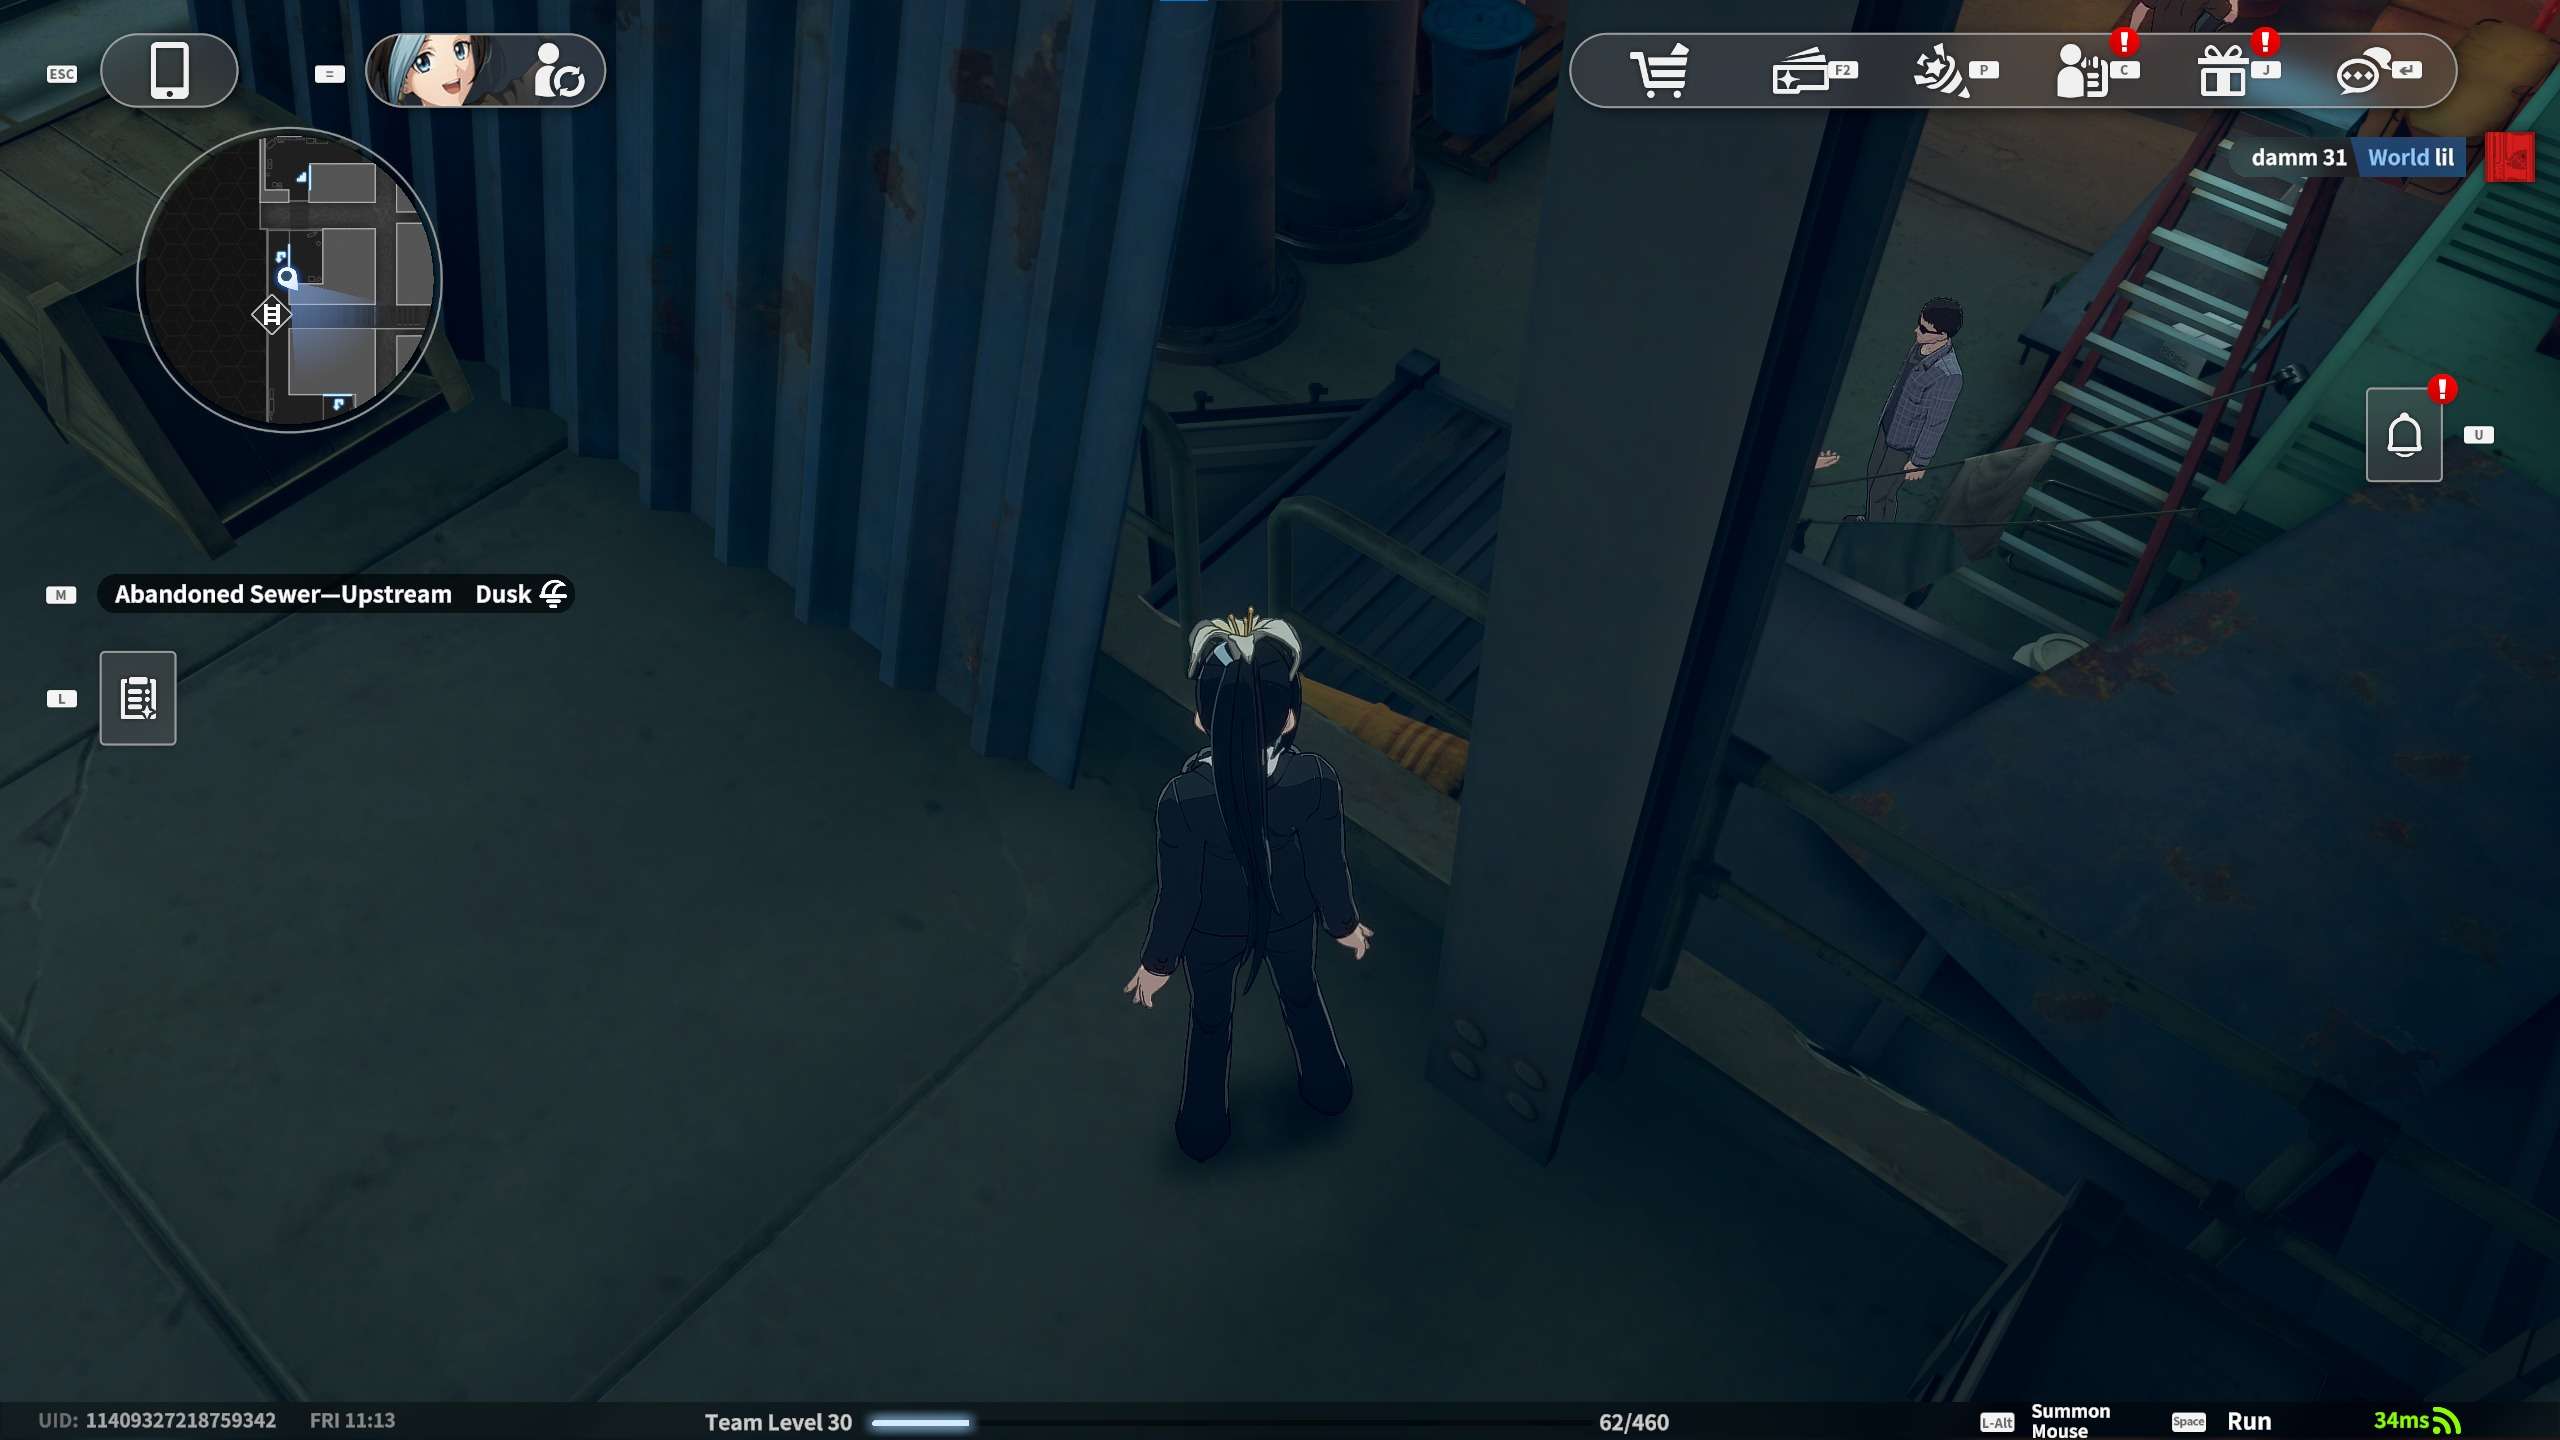
Trading Card #13: New passage card under the staircase. Behind the beam under the stairs.
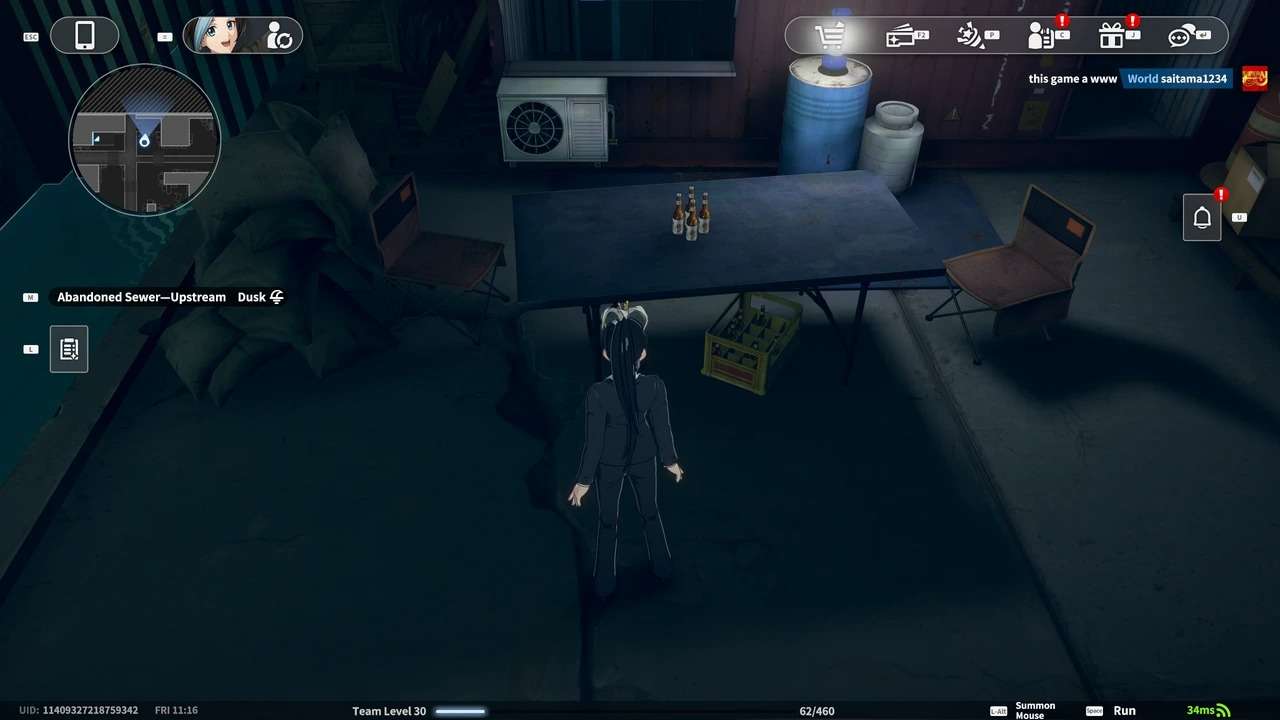
Trading Card #14: Legacy card by the empty beer bottle crate. Under the table.
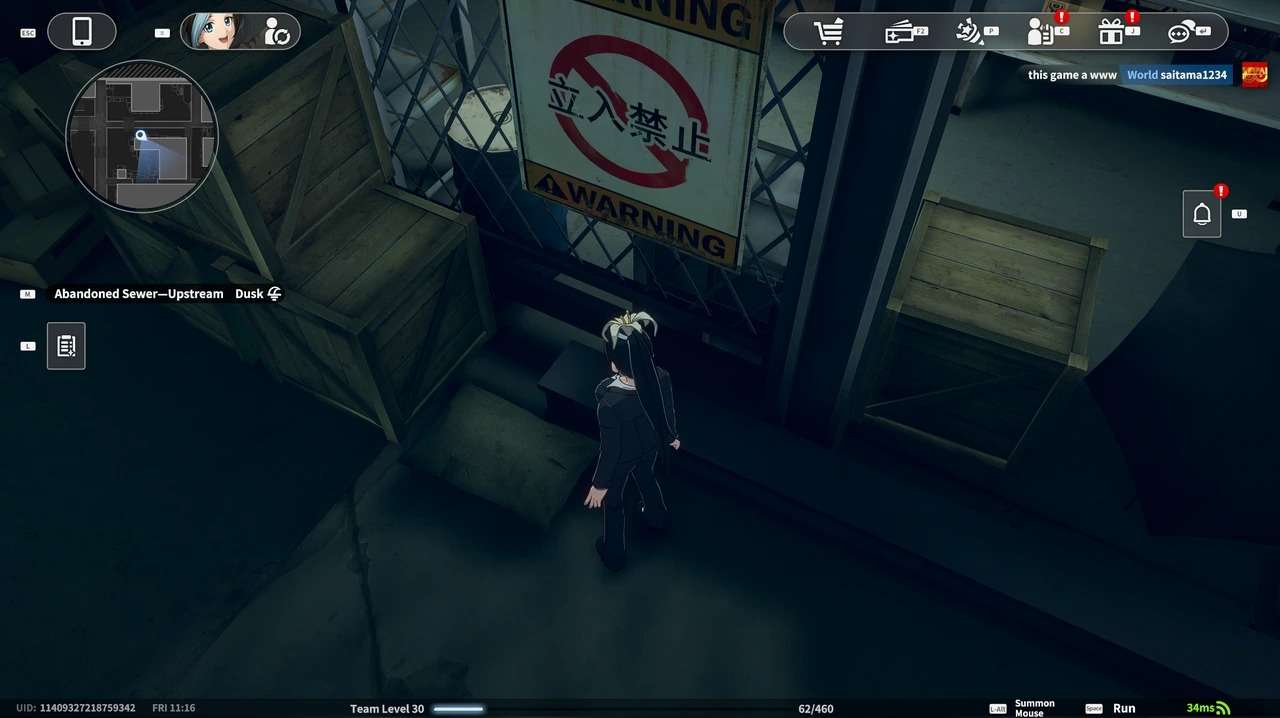
Trading Card #15: Limitebreak card under the “No Entry” sing. Past the fence on the floor, have to run at it the pickup, it’s a bit buggy.
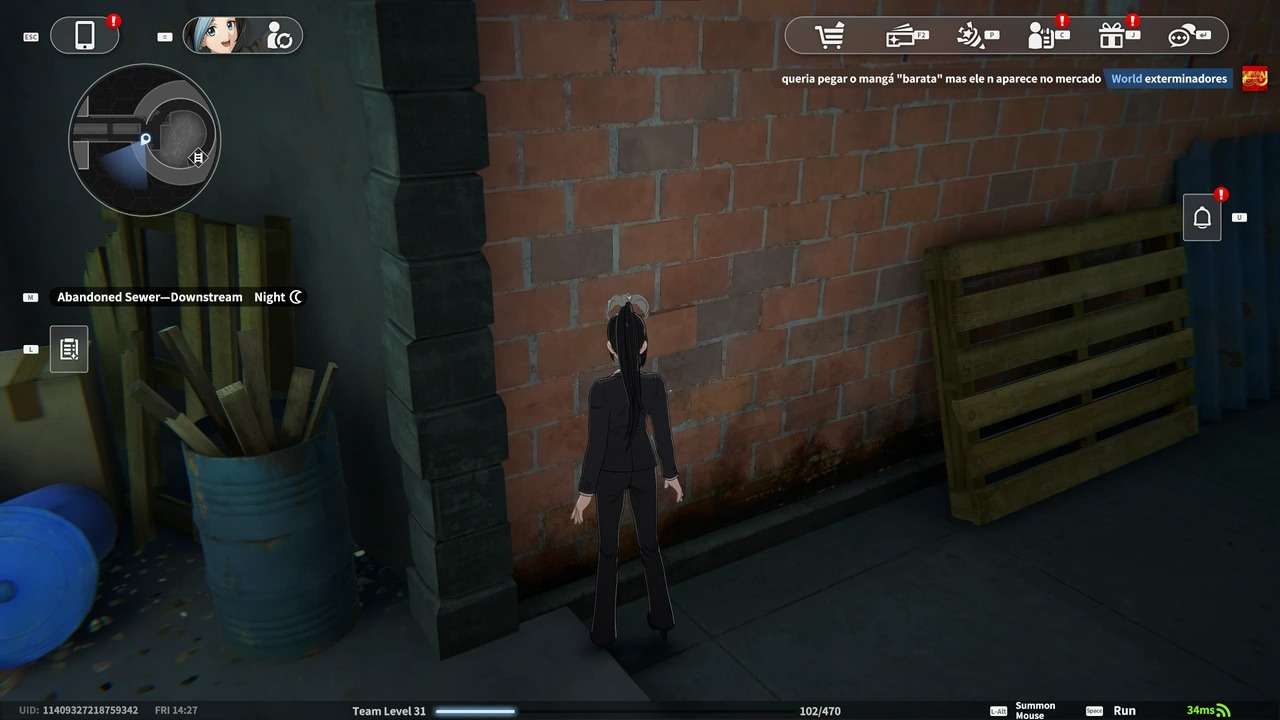
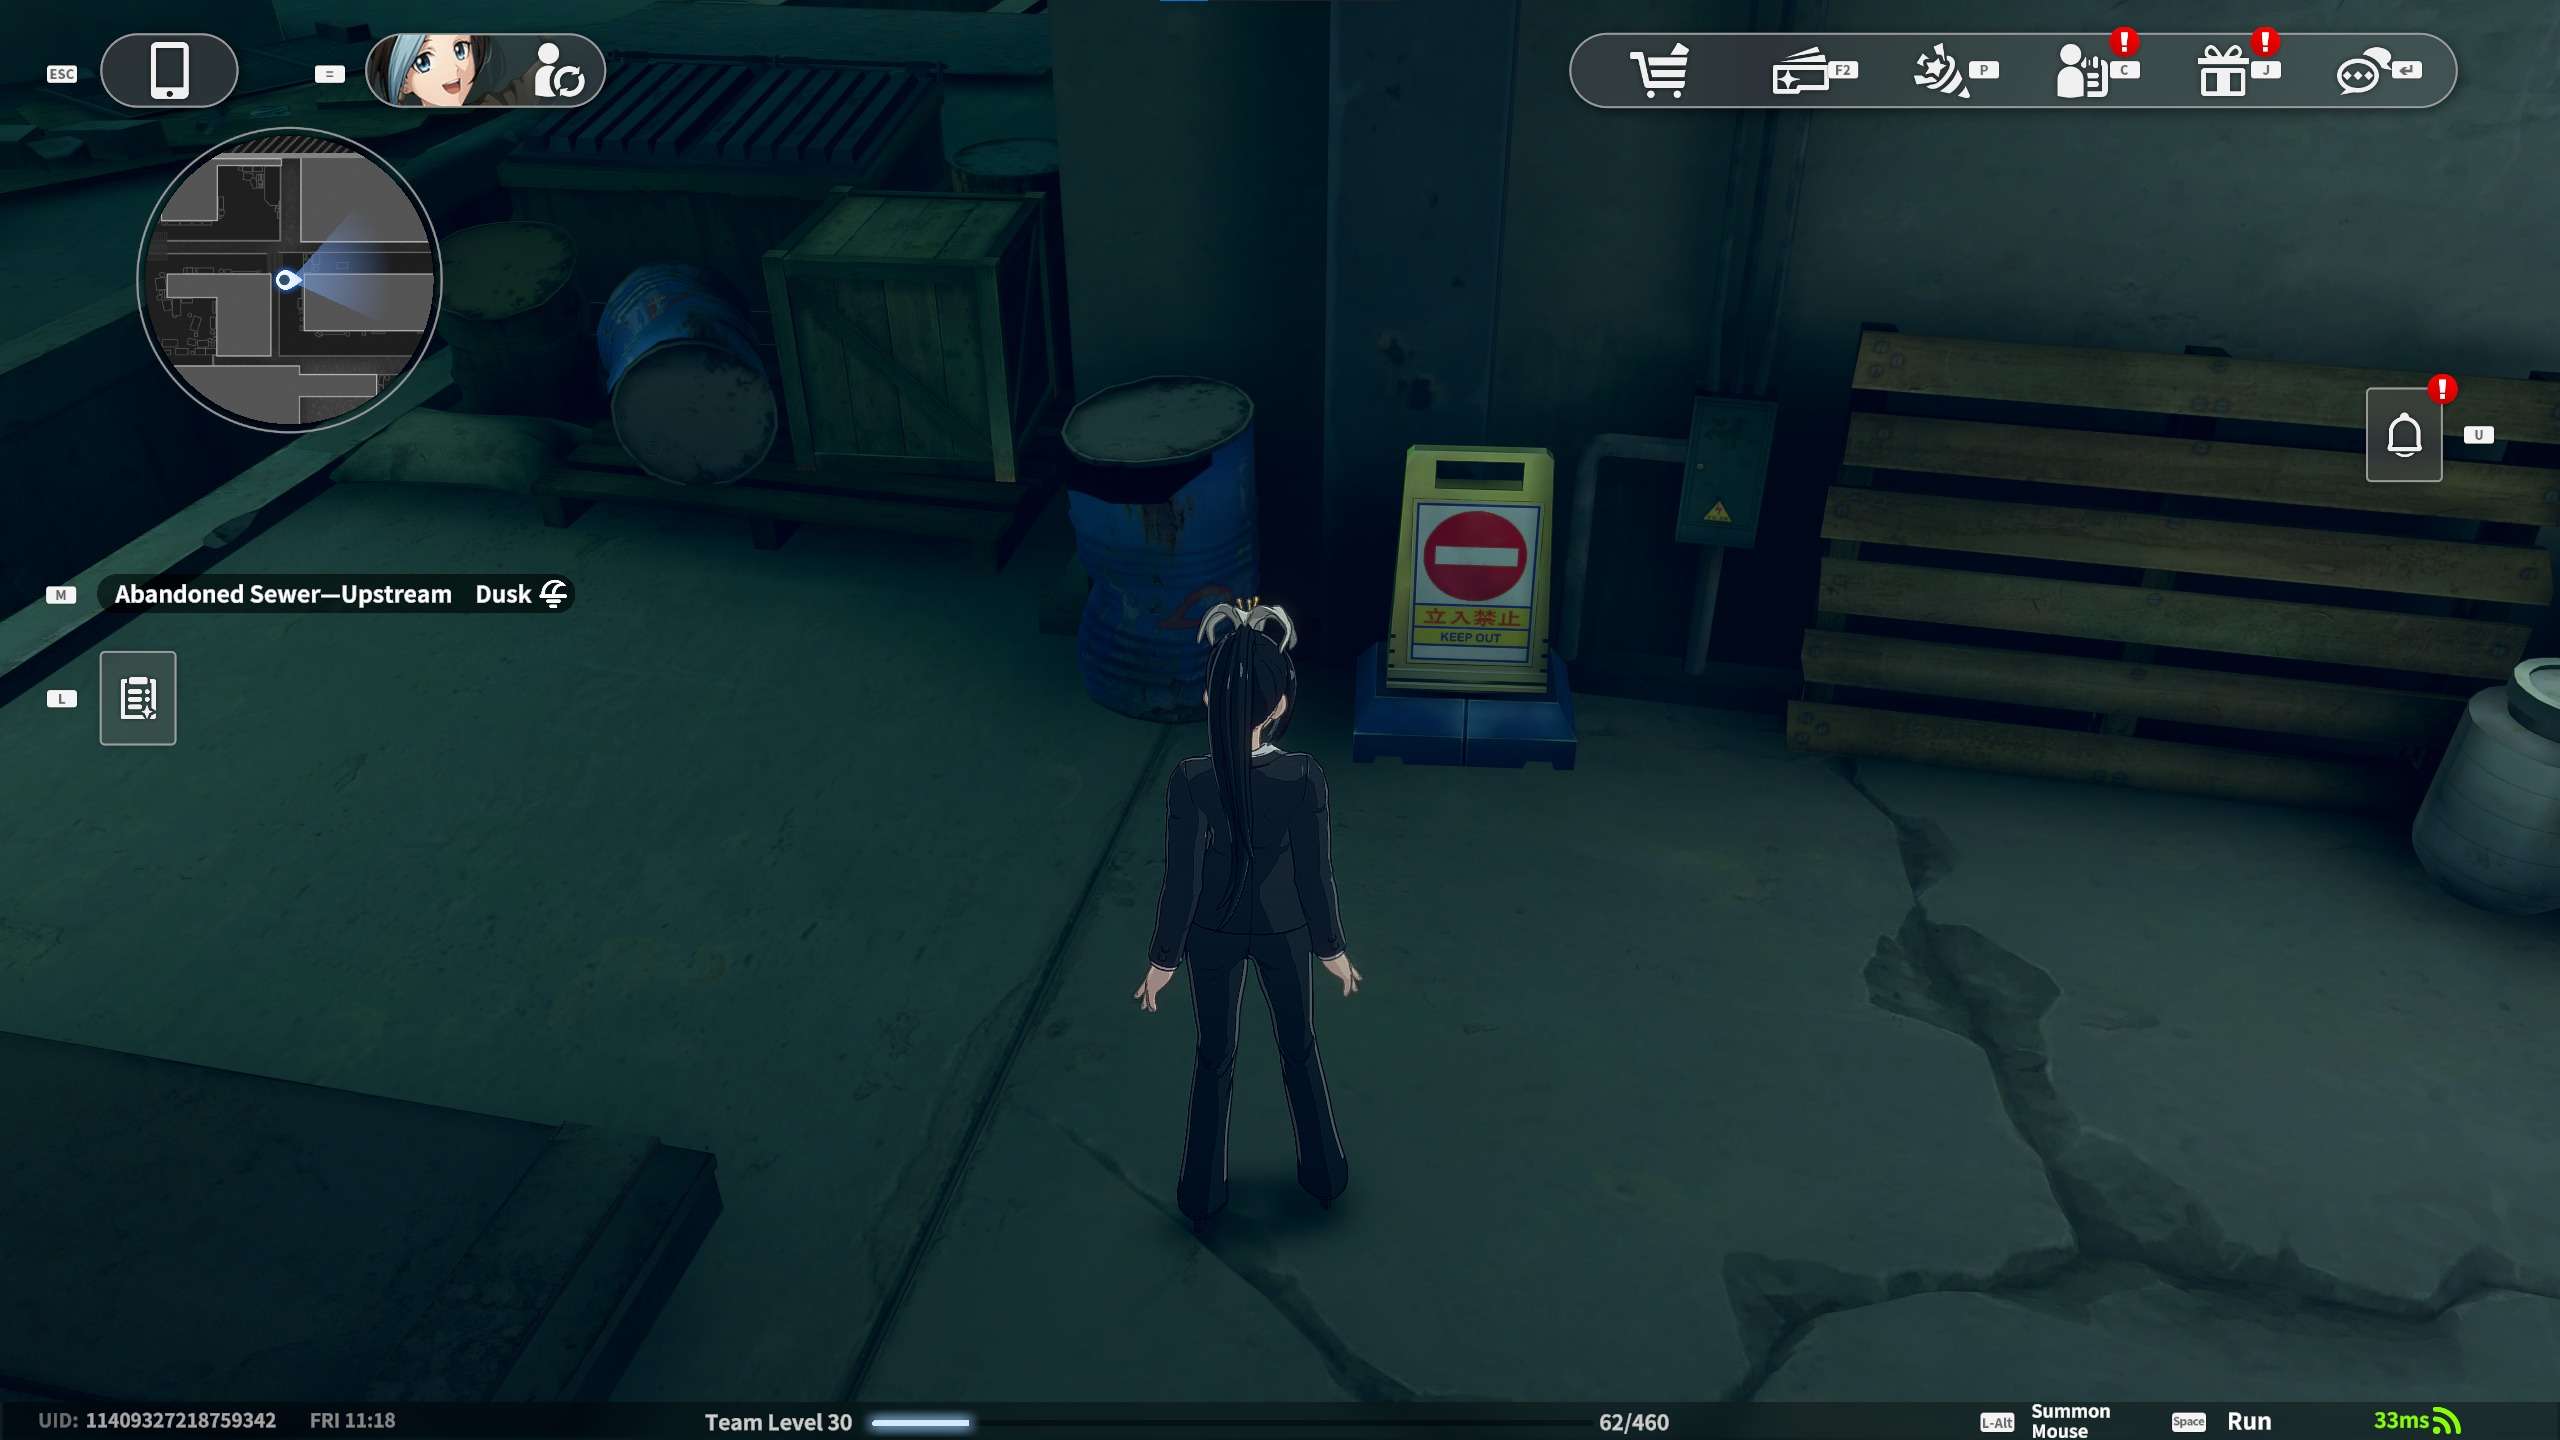
Trading Card #16: Line-up card against the wall. Between the sign and the barrel.
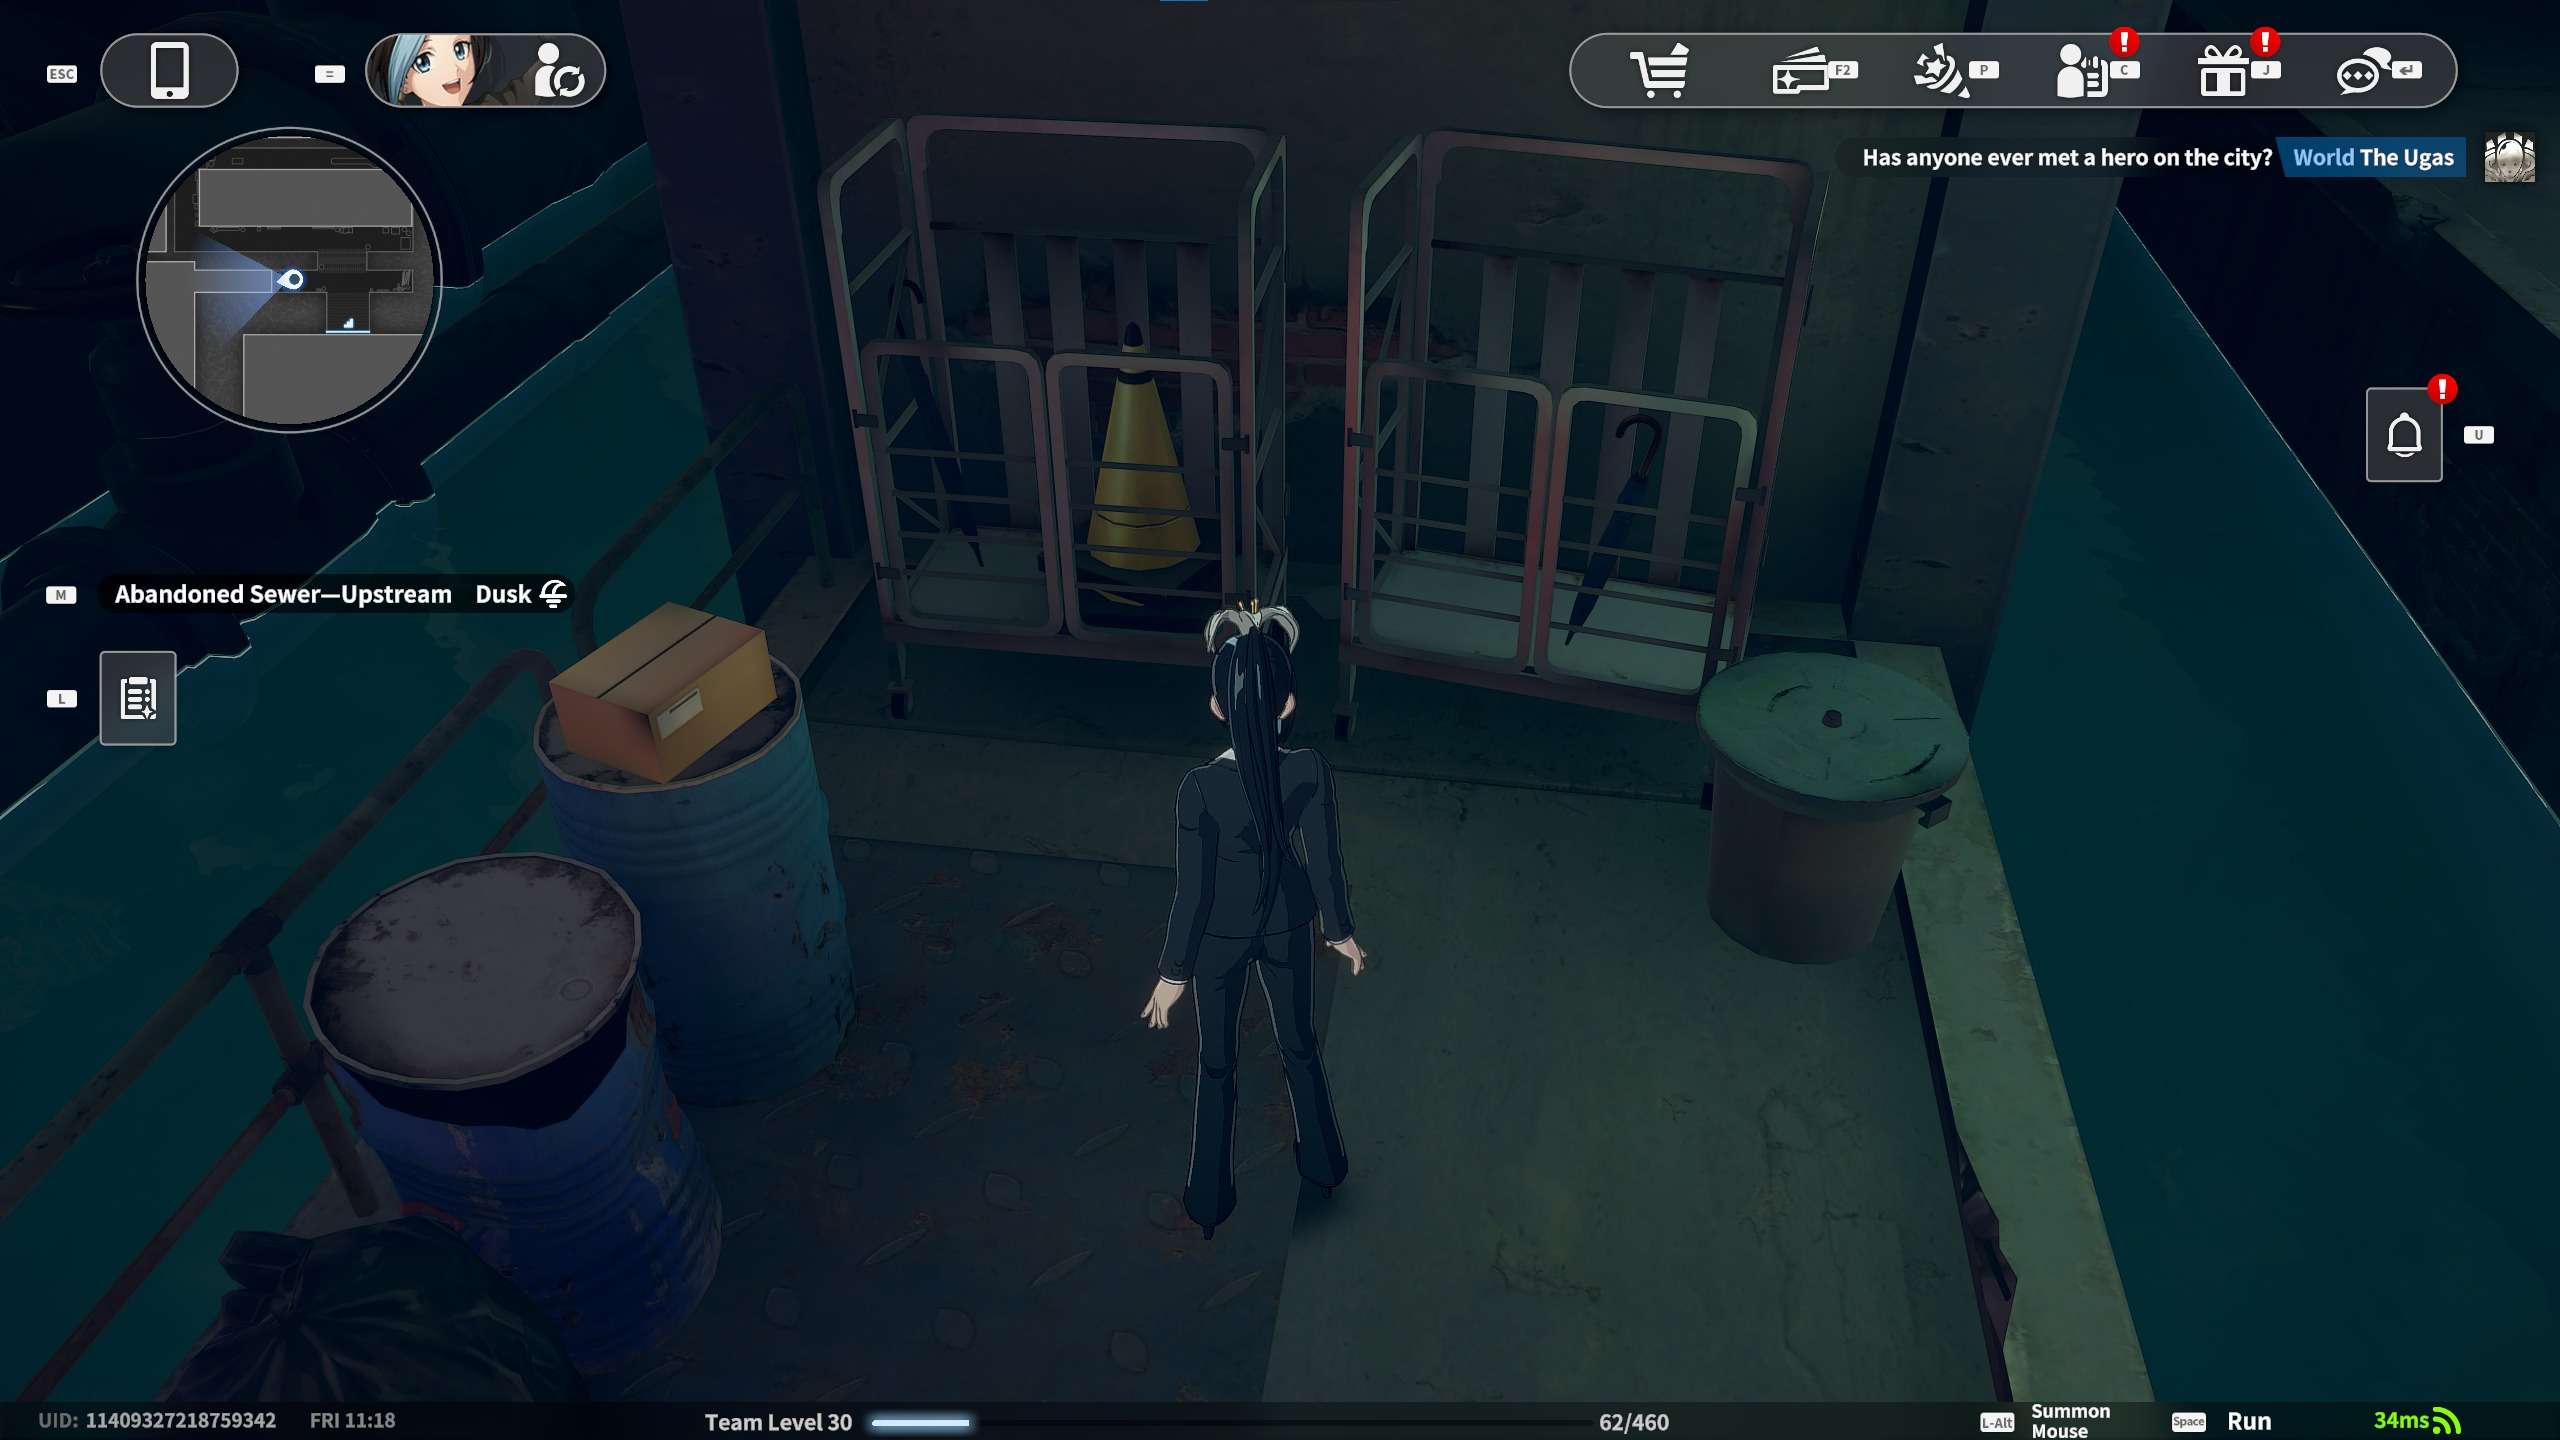
Trading Card #17: Camouflage card next to the parallel iron cages. Between the carts.
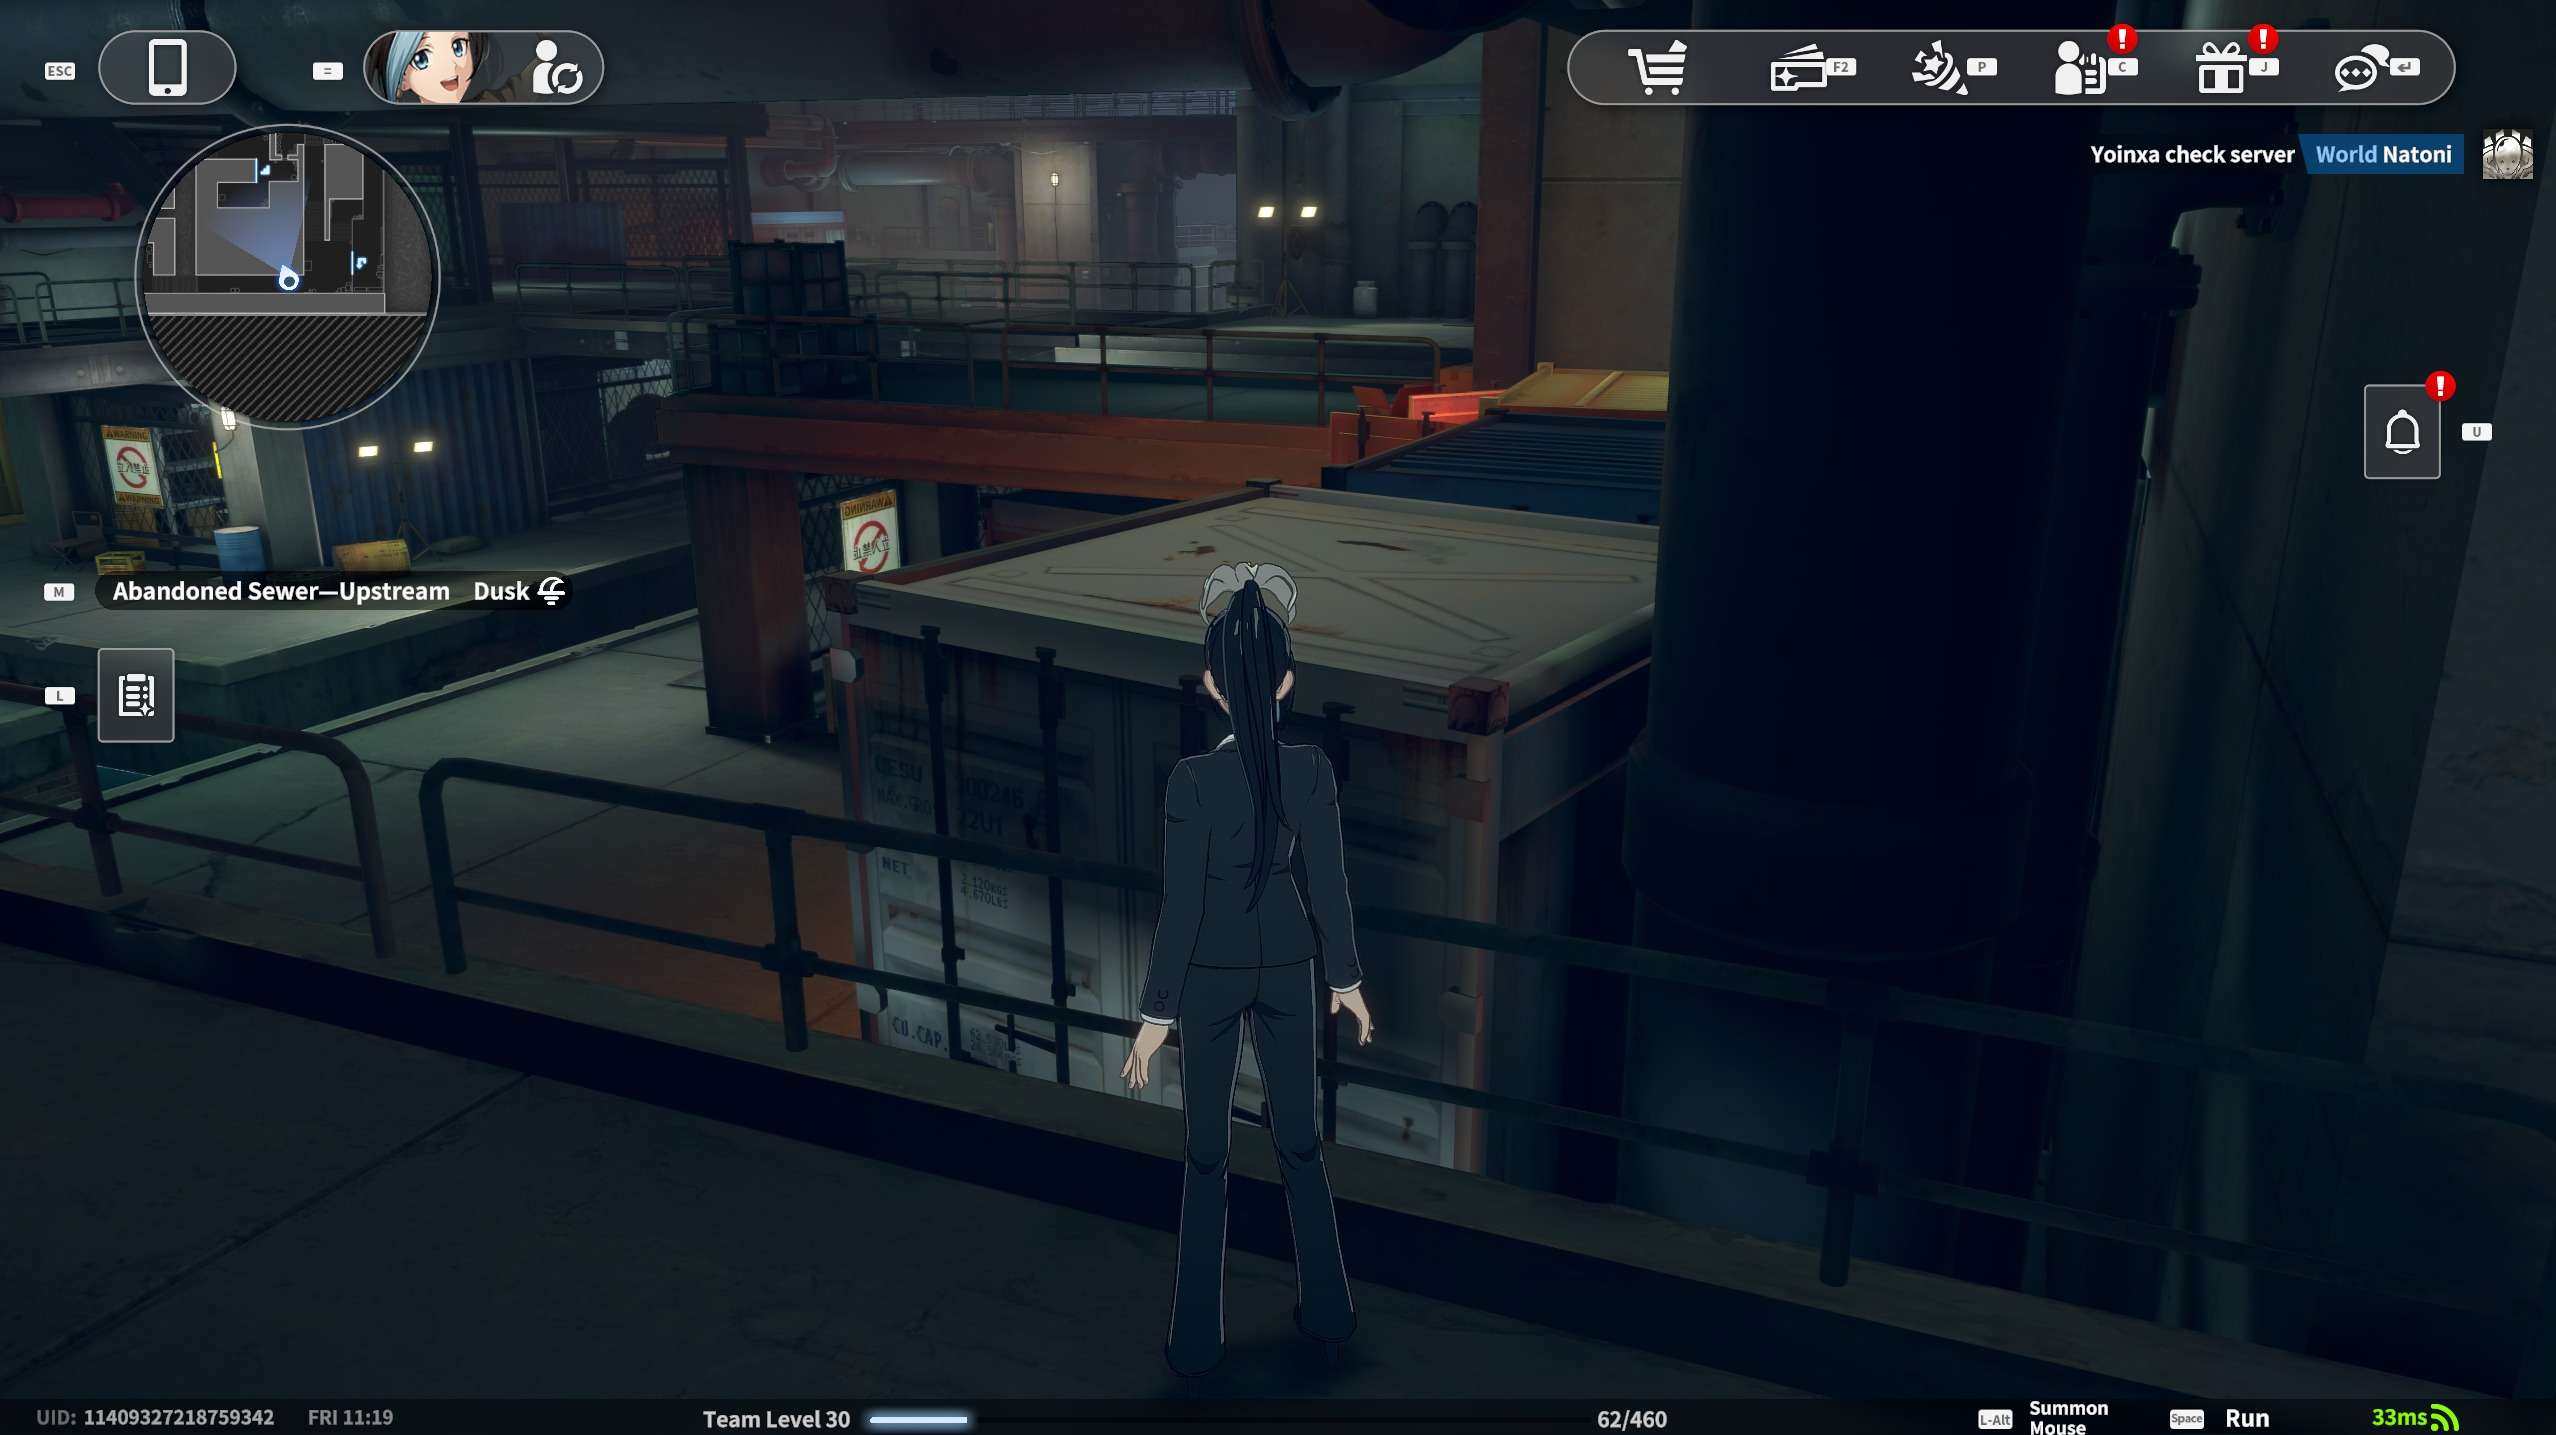
Trading Card #18: Trial card by the double railings. On top of the white container.
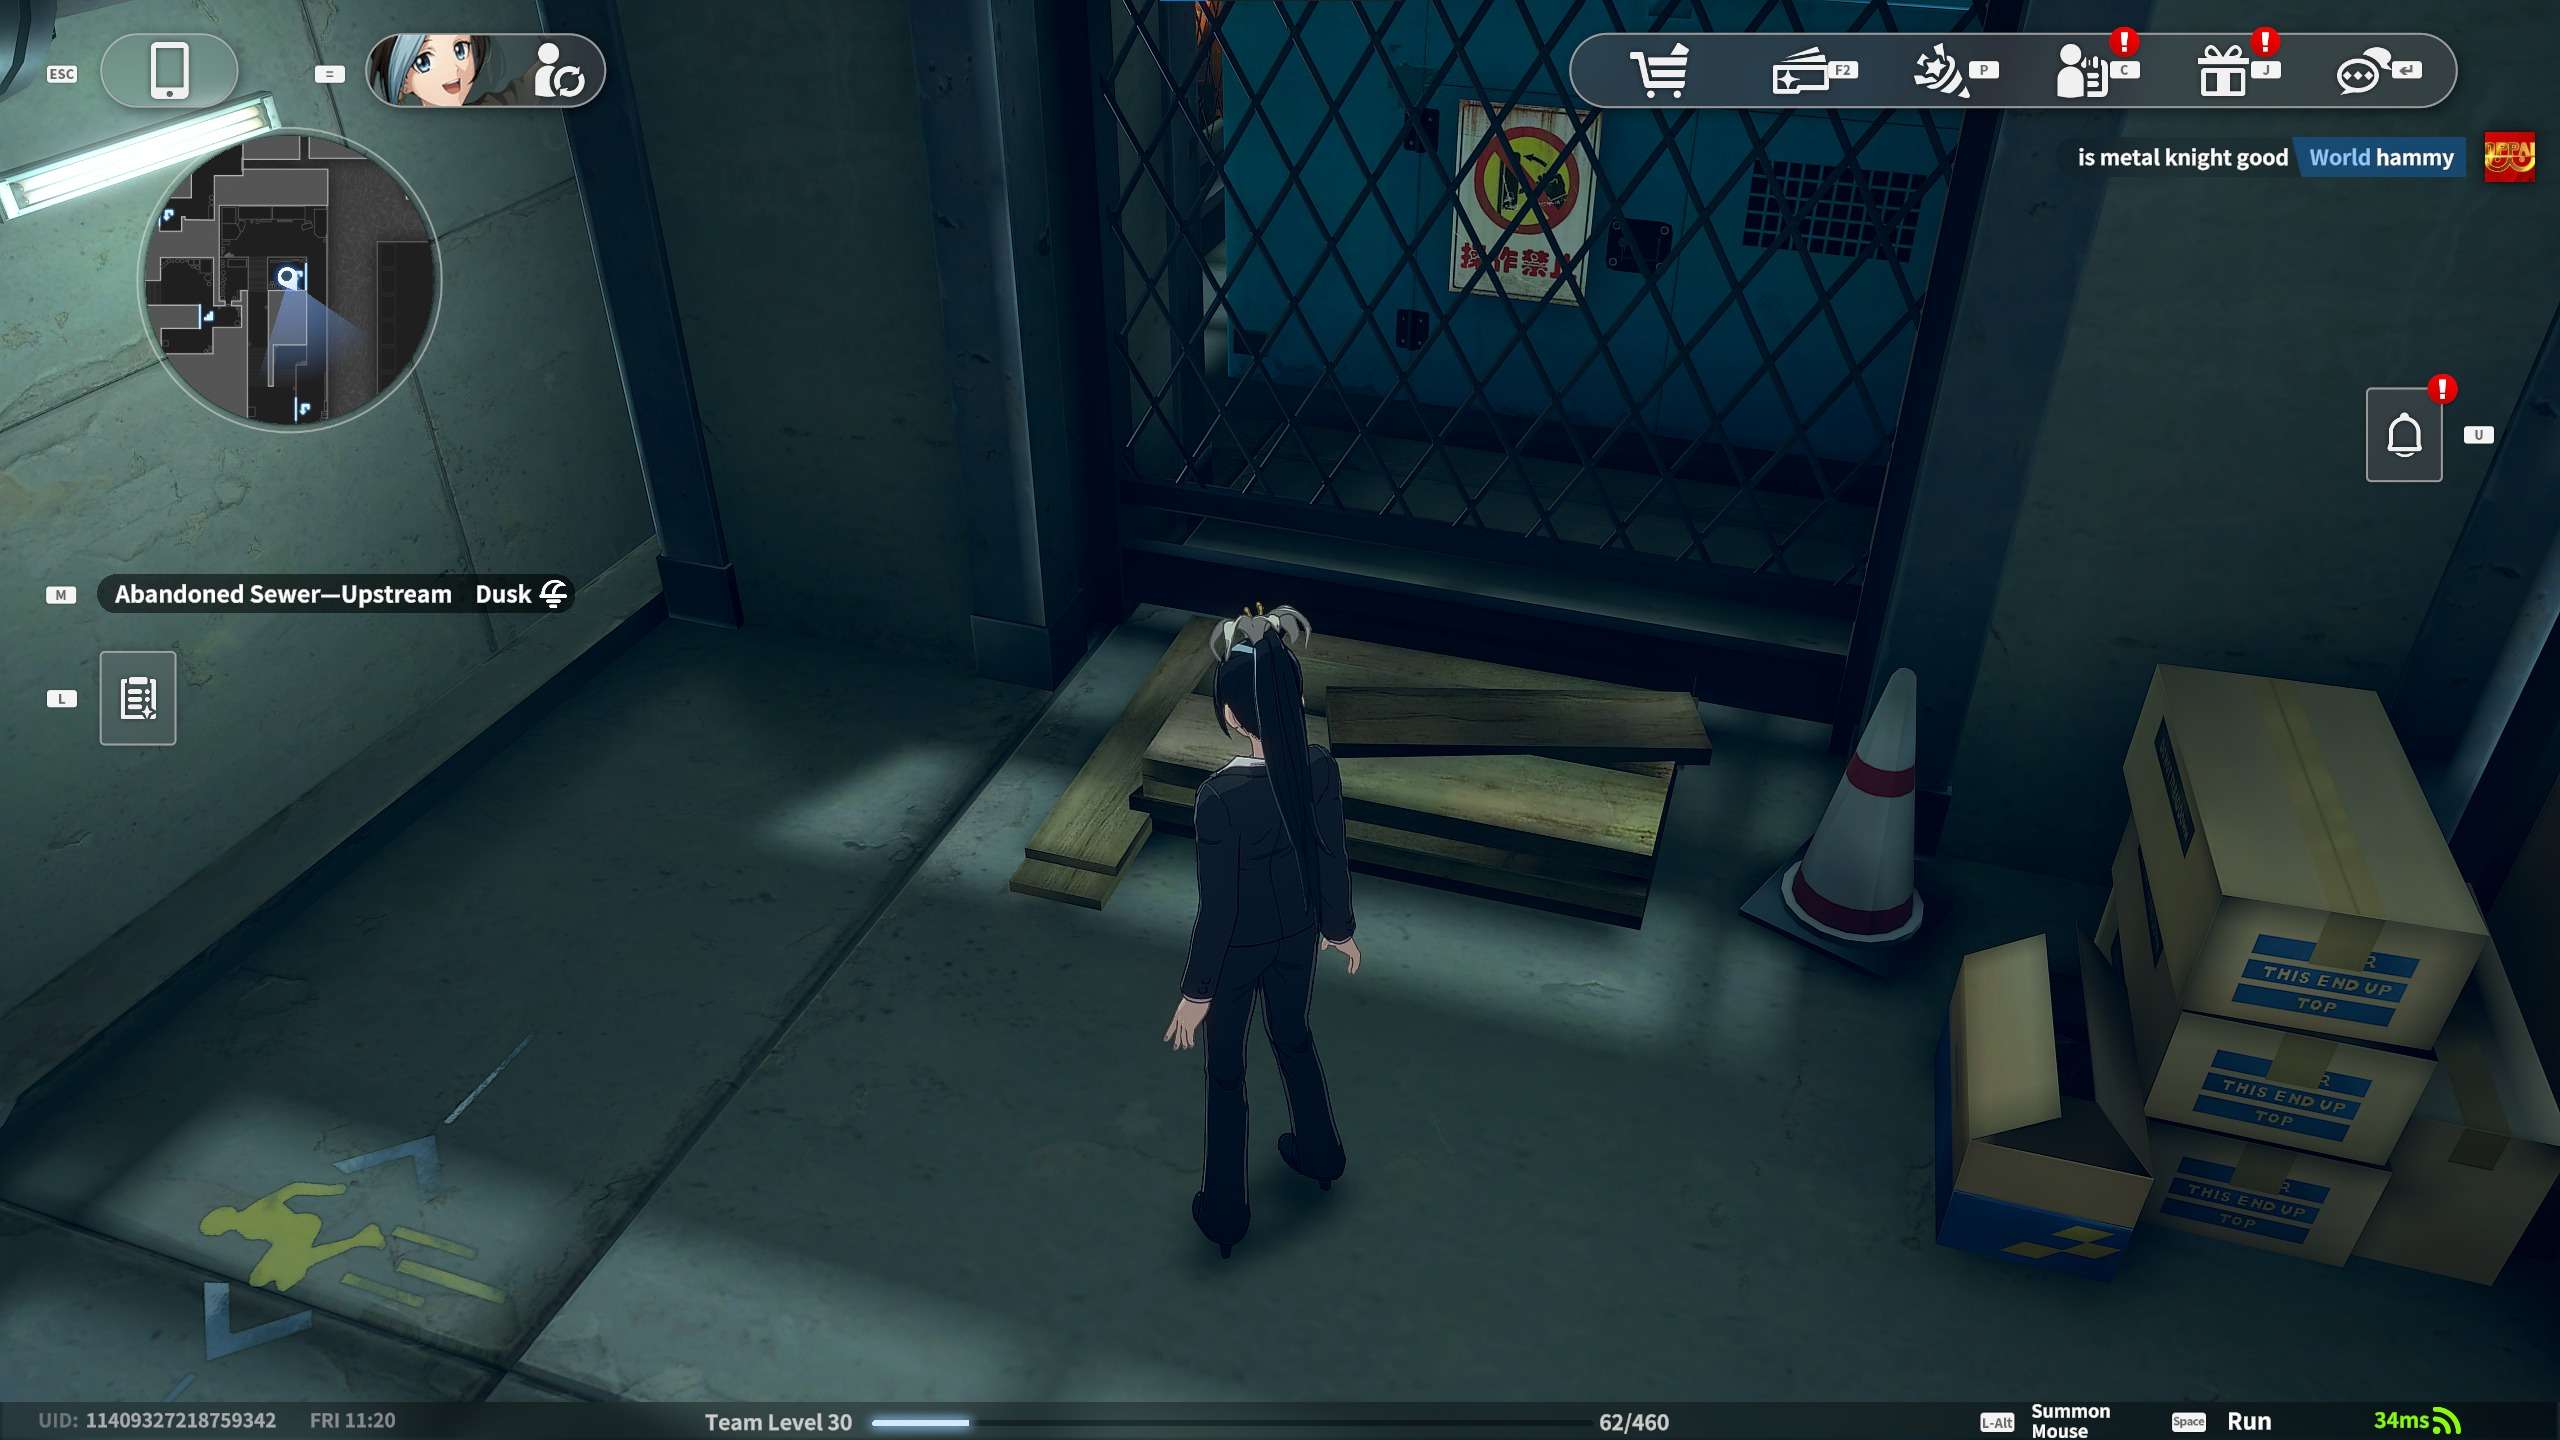
Trading Card #19: Plank Hide Card On the wood pile.
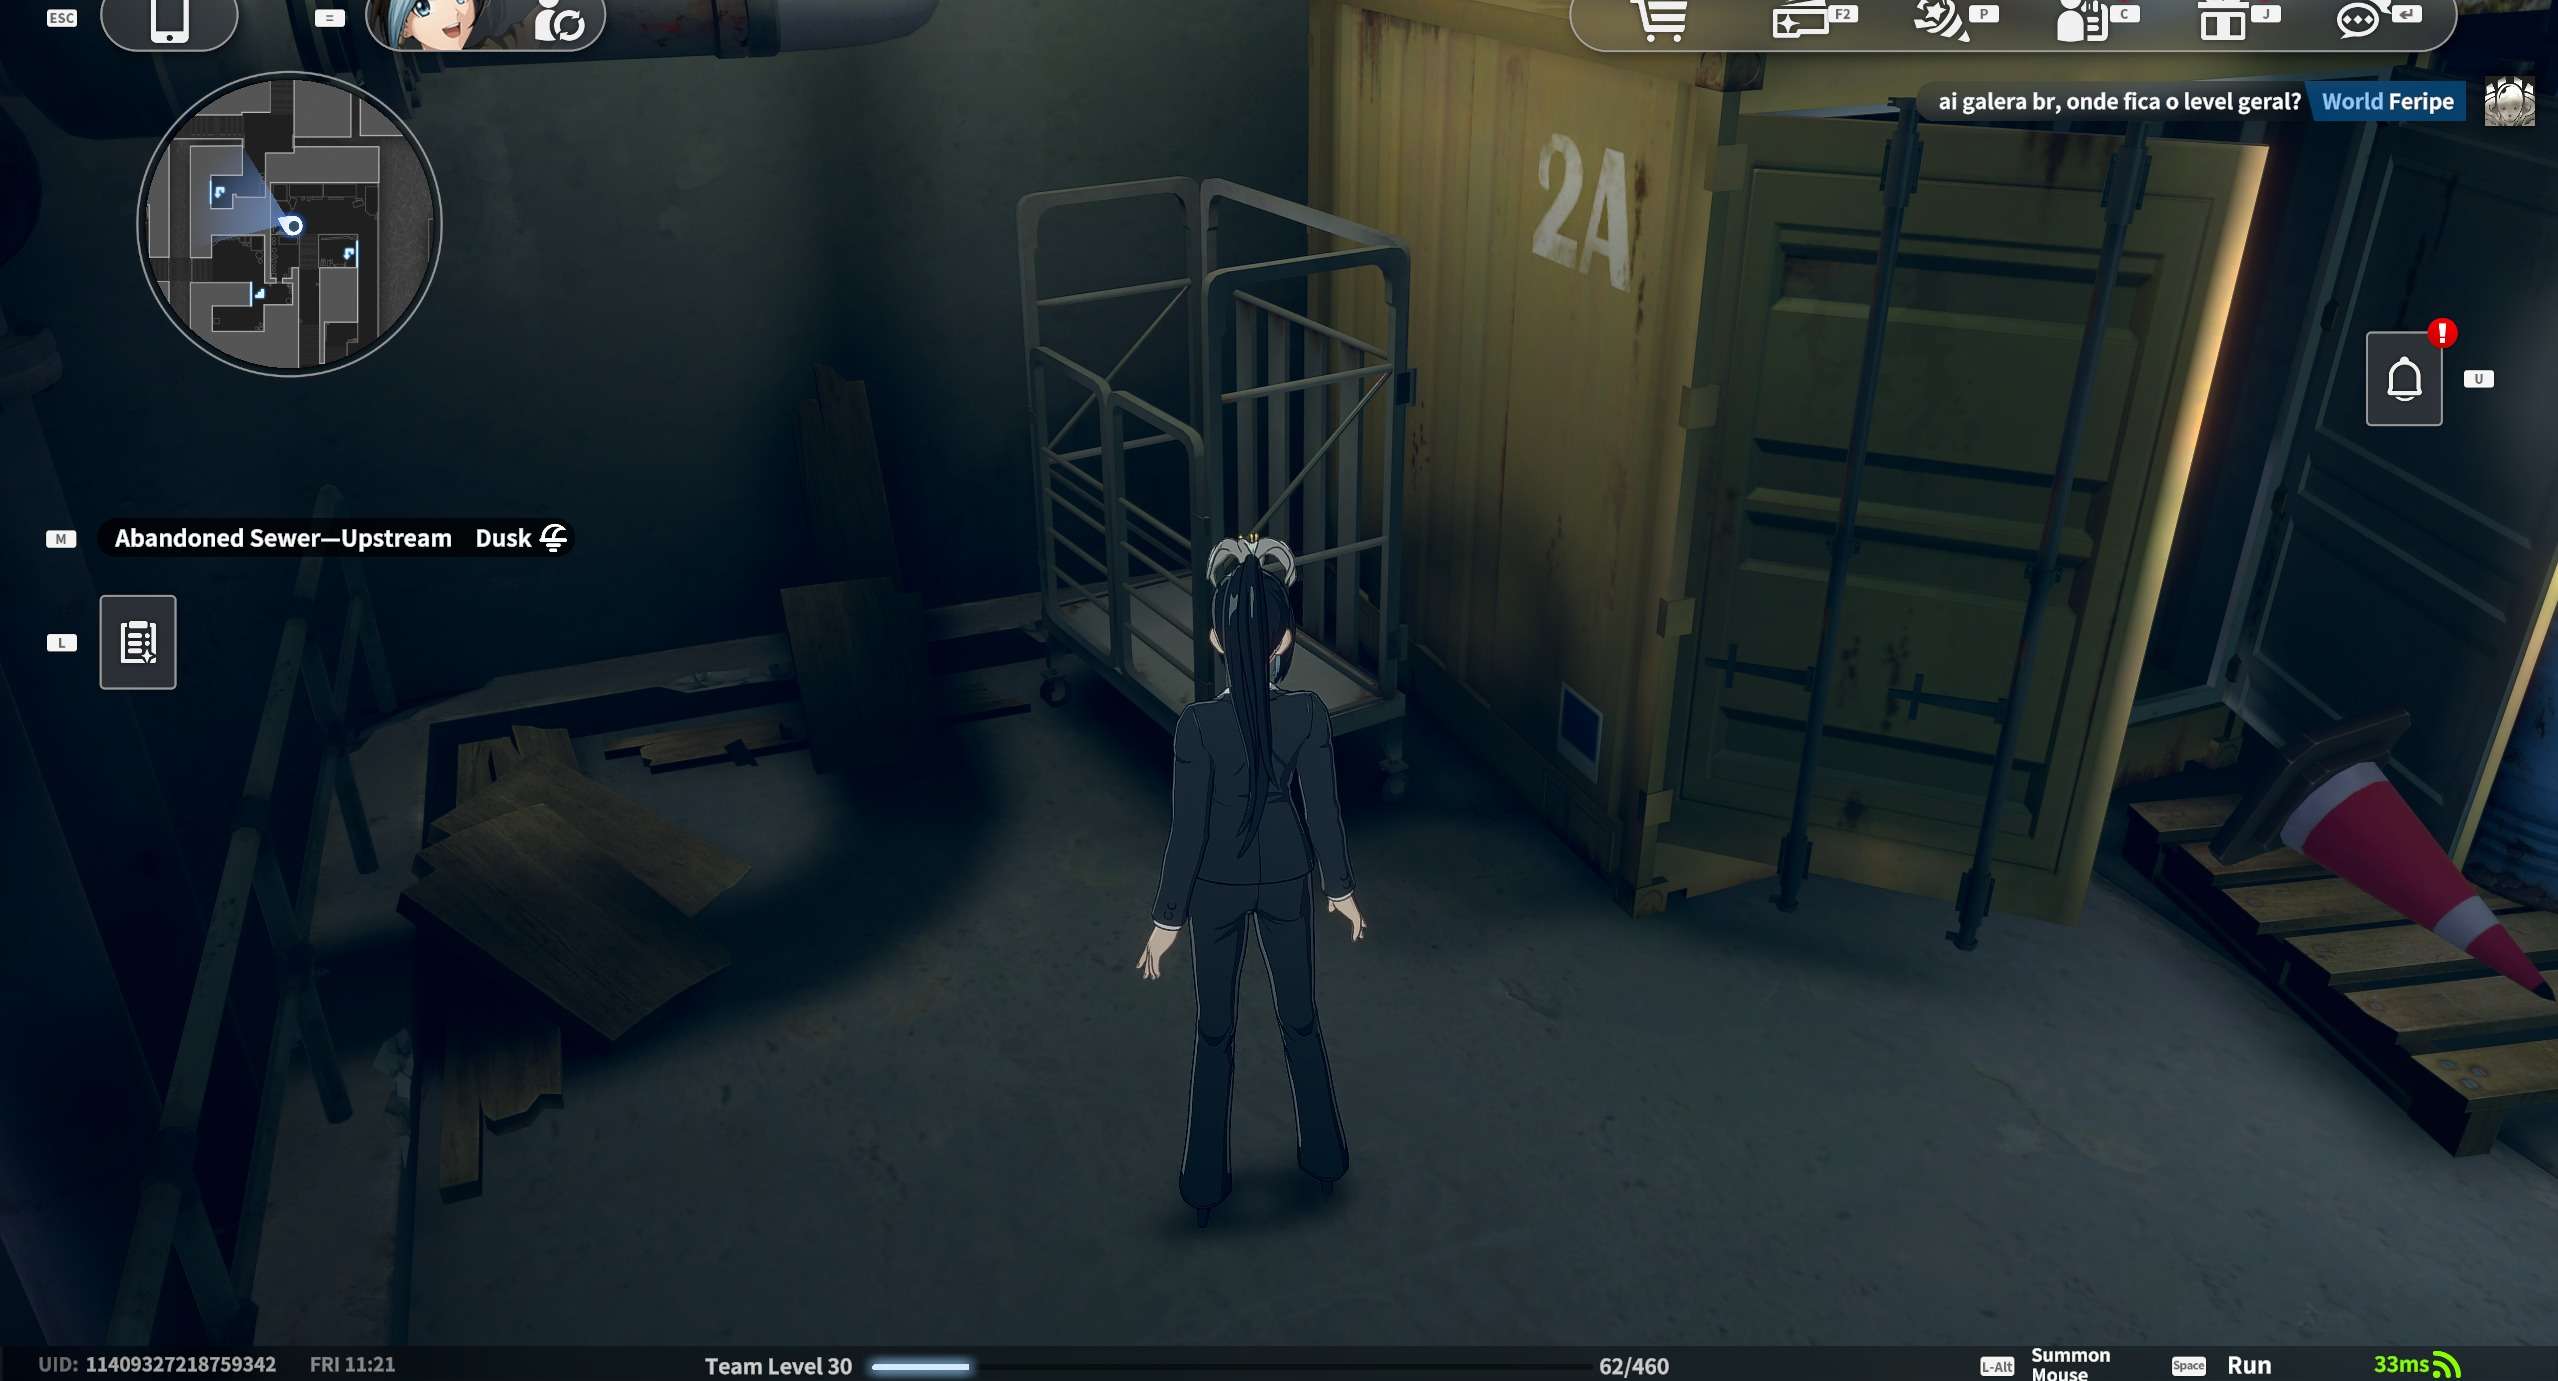
Trading Card #20: Cage by the Container 2A card In the cart.
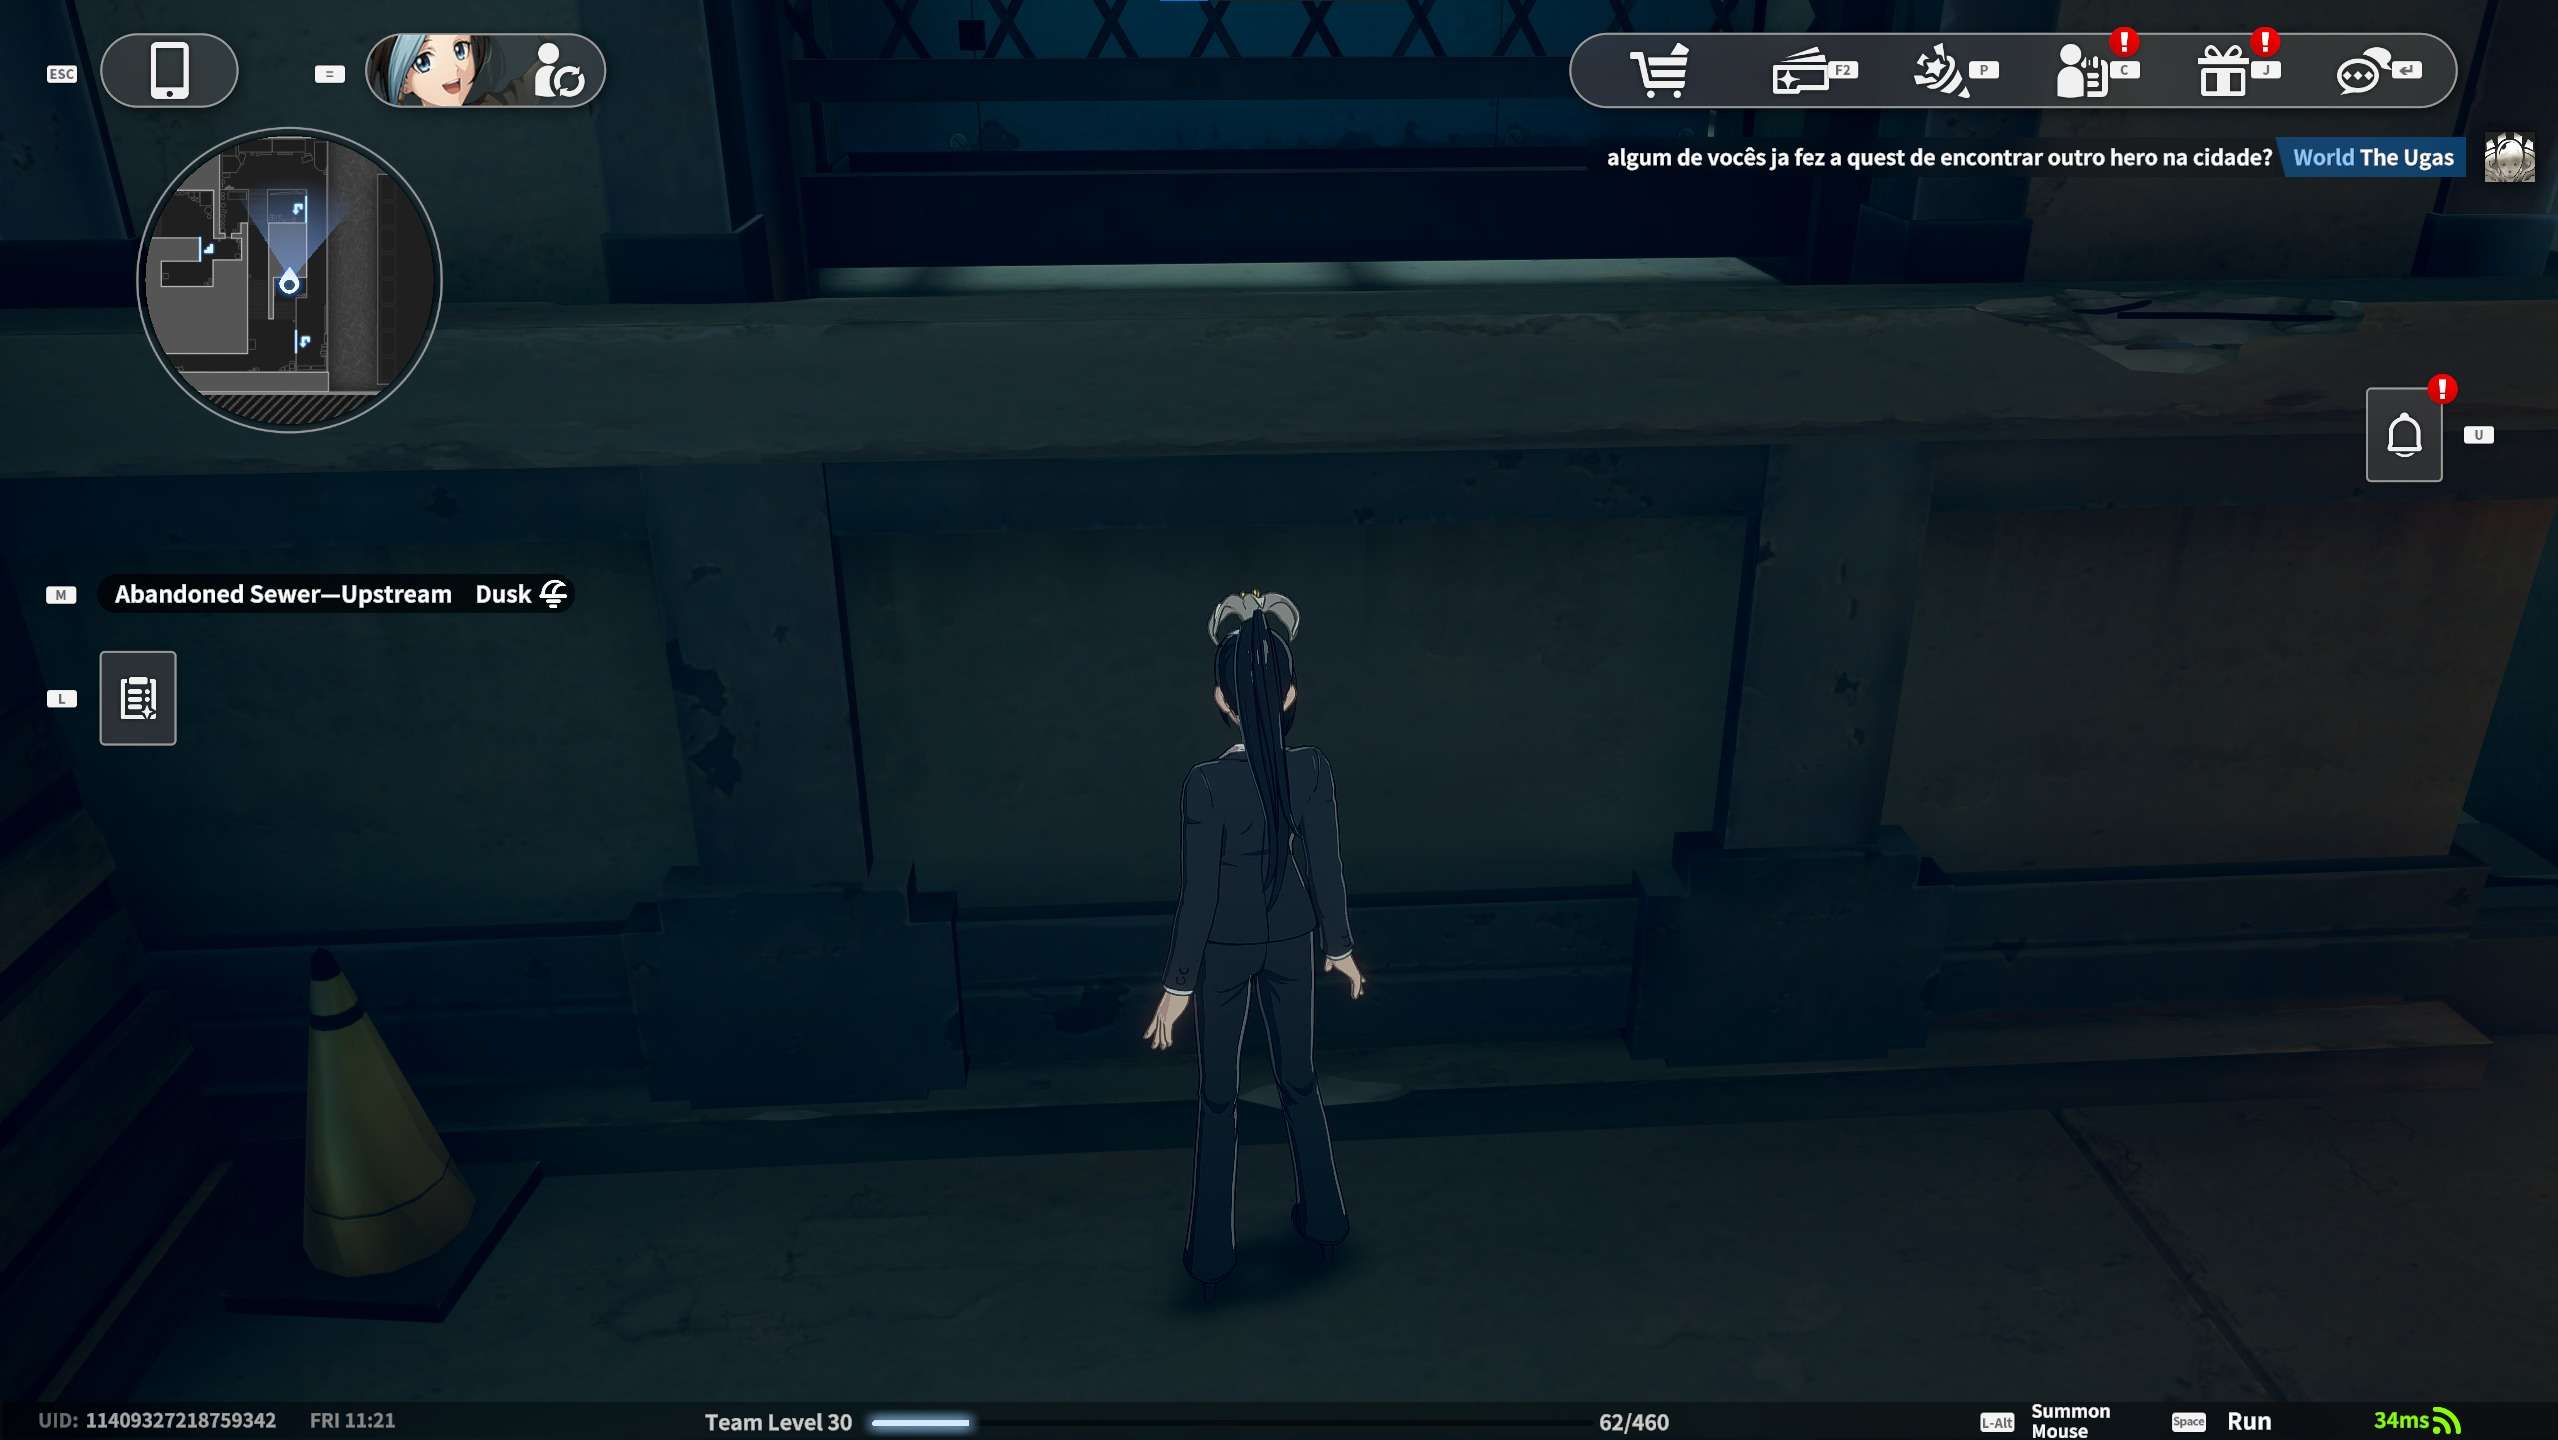
Trading Card #21: Wire Mesh Edge Touch Card On the ledge, a bit hard to see, get close to grab it.
Trading Card #22: Basketed Shelf Goods Card On the shelf.
Page for Door Code:
- Dirty Paper(s) Along this wall to the right of card 16.


Be the first to comment