Guide covering the methods of achieving every Dead End. This guide will explain the steps to each Dead End while providing minimal details of the actual End, so that the reader can experience it for their self.
Guide to All Dead Ends
Foreword
Expect spoilers for major areas and segments of the game. I highly recommend experiencing the full story before reading this guide. Hunting for Dead Ends is also a good time, so I recommend only using this guide if you’ve exhausted your options.
True End 1-1 Against All Odds
I put this here to avoid any confusion about a missing 1-1 Dead End. Beat the game to get this ending.
Dead End 1-2: Salt is for Cooking
This Dead End has a unique CG.
- Properly set up the ritual at the beginning of the game, and go to sleep.
- After waking up, mess up the ritual by either giving the wrong response through the phone, or being too slow and missing the bus.
Note: As far as I know, typing wrong numbers into the phone doesn’t break the ritual rules. I put in random numbers three times without any issues.
- Interact with the computer and follow the instructions to reverse the ritual.
- Go to bed to trigger the Dead End.
Dead End 1-3: A Walk in the Dark
- In the second dream sequence (or later) travel down the stairs that lead outside the central area and into the void.
- Once you travel far enough, the Dead End sequence should trigger.
Dead End 1-4: Carried Away
This Dead End has a unique CG.
- Board the bus and continue through the segment as normal.
- After waking up surrounded by monsters, stay on the bus until the timer runs out.
- Past that point, the rest of the sequence is pretty straightforward.
Dead End 1-5: Become Snack
- Enter the train station in the first area of the Forest.
- Purchase chips from the outside vending machine and eat them when prompted.
Note: You have to eat them when asked. You can’t keep the chips and eat them later.
Dead End 1-6: Ground Swallow Me Up
This Dead End has a unique CG.
- Enter the fairy circle in the area directly after the Daylight Gate.
Note: There is a special method that avoids this Death End, by opening the mirror attached to the central tree and dumping Alba’s entire stock into it. If you want the Death End, enter the fairy circle without doing this.
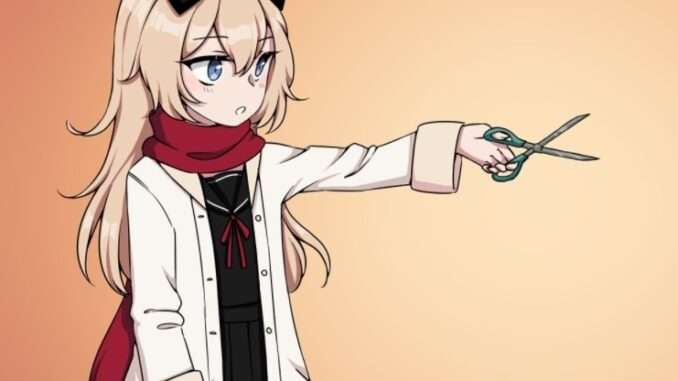
- Use the scissors on the plant that appears to have something inside of it.
- Explore the entire area, then proceed down the hole that goes deeper.
- Sneak through the next few puzzles. Fairy heads with teeth see in a vertical line below them. Fairy heads with eyes see in a horizontal line directly below them. Fairy heads with teeth and eyes see in both directions. Black plants block the field of view of any fairy head.
- Reach the end of the area to trigger the Dead End.
Note: If you didn’t pick up the scissors from the Train Station, walking into the fairy circle will automatically trigger the Dead End, skipping the optional area and puzzles included. This will also skip the Dead End’s unique CG, and the previously mentioned method of “avoiding the Dead End”.
Dead End 1-7: Mortal Immortalized
- In the Forest, go to the sculptor’s house and interact with the NPC inside.
- After triggering the chase sequence, run to the first room of the building and travel through the left exit. Traveling through the bottom exit will complete the chase sequence, and you will need to interact with the NPC again to get the Dead End.
- After traveling through the left exit, the Dead End will trigger.
Dead End 1-8: Part of Your World
- At the Lakeside, travel to the shrine and take the goldfish out of its bowl. You can also read the note in the shrine that tells you what color petals and algae are required to fix the faucet, and then place a wrong colored item into the fishbowl.
- After leaving the shrine, explore the rest of the Lakeside.
- Travel back to the entrance of the shrine area. There should be a white rabbit near the shore before the entrance. Interact with it to trigger the Dead End. If you don’t see the white rabbit, make sure to explore all of the central area and interact with the red rabbits.
Dead End 1-9: Doubt
- Meet Sai in the facility.
- Travel back to the cell block where you first woke up. Sai will hold the door to keep you from getting locked in.
- Climb back through the vent that you first used to escape.
- Loop back around to where you left Sai. This should trigger the Dead End.
Note: You can explore a decent amount of the Facility on your own by ditching Sai, and can even get a unique conversation on the phone with Hiro if you enter the bathroom without him. I believe Rune also gets new dialogue options.
Dead End 1-10: Sensory Overload
This Dead End has a number of unique CGs.
- Find the gated door at the top of the central area of the Facility.
- Power it using the number 5 fuse at the electrical panel.
- Travel back to the gated door, open it, and head inside.
- Interact with the black cloak left on the chair, and, when prompted, put it on.
Dead End 1-11: Deep Sea Misadventure
- In the Facility, power the elevator at the electrical panel.
- Enter the elevator and travel to floor B4. The Dead End will trigger whether you drained the lower floors or not.
Note: Thank God the devs didn’t give this ending a unique CG.
Dead End 1-12: What’s At Stake
- Inside Miss Knives’ House, gather and activate all five blessings, and grab the sixth blessing to light the fireplace.
- After lighting the fireplace, insert the five blessings in the wrong order. This will trigger a cutscene that leads to the Dead End.
Dead End 1-13: Stuffed Animal
- After completing Miss Knives’ House and returning to the Facility, backtrack to the central room.
- Travel back to the spot where Rune originally was, and go up the path above him.
Note: Most of the Facility will be locked off, so you can find the Dead End in a short time by backtracking and exploring everything you can access.


Note about Dead End 1-9: The dead end won’t trigger if you do nothing but return to Sai after going through the vent. You also get unique dialog for doing this and cannot go through the vent again without reloading a save before/starting over.
i didn’t get lighter from spider now i m stuck with 5 blessing but dont have the lighter and can’t find it – any tips where’s the lighter?
The lighter can be found by completing the six painting puzzle behind a previously locked door on the first floor of the house. You should ignore the sixth painting until properly ordering the first five.
Thank u brother u r a god. I don’t know why i didn’t figure out the 1-6 thing myself ha. I just though that i’m missing 6th item, but did it and whole house got burnt and hands gave me the lighter than i finished the game. Thank u very much
you need to go into the room (a bit upper from the room with the giant painting that chases u/where u found the mirror) that was previously locked (it’s unlocked now) just enter it and go up then put the blessings (in the paintings with the hands) and put in the correct order of each blessings (first mirror, second sketchbook, third the compress, fourth the leg and fifth the knife) then just interact with the 6th painting and you’ll get a lighter!
Note for Dead End 1-6: If you never pick up the scissors from the train station and proceed in the forest til you get swallowed by the circle, you never free yourself from the plant and get unique dialogue while being digested alive. The ending still triggers that way.