
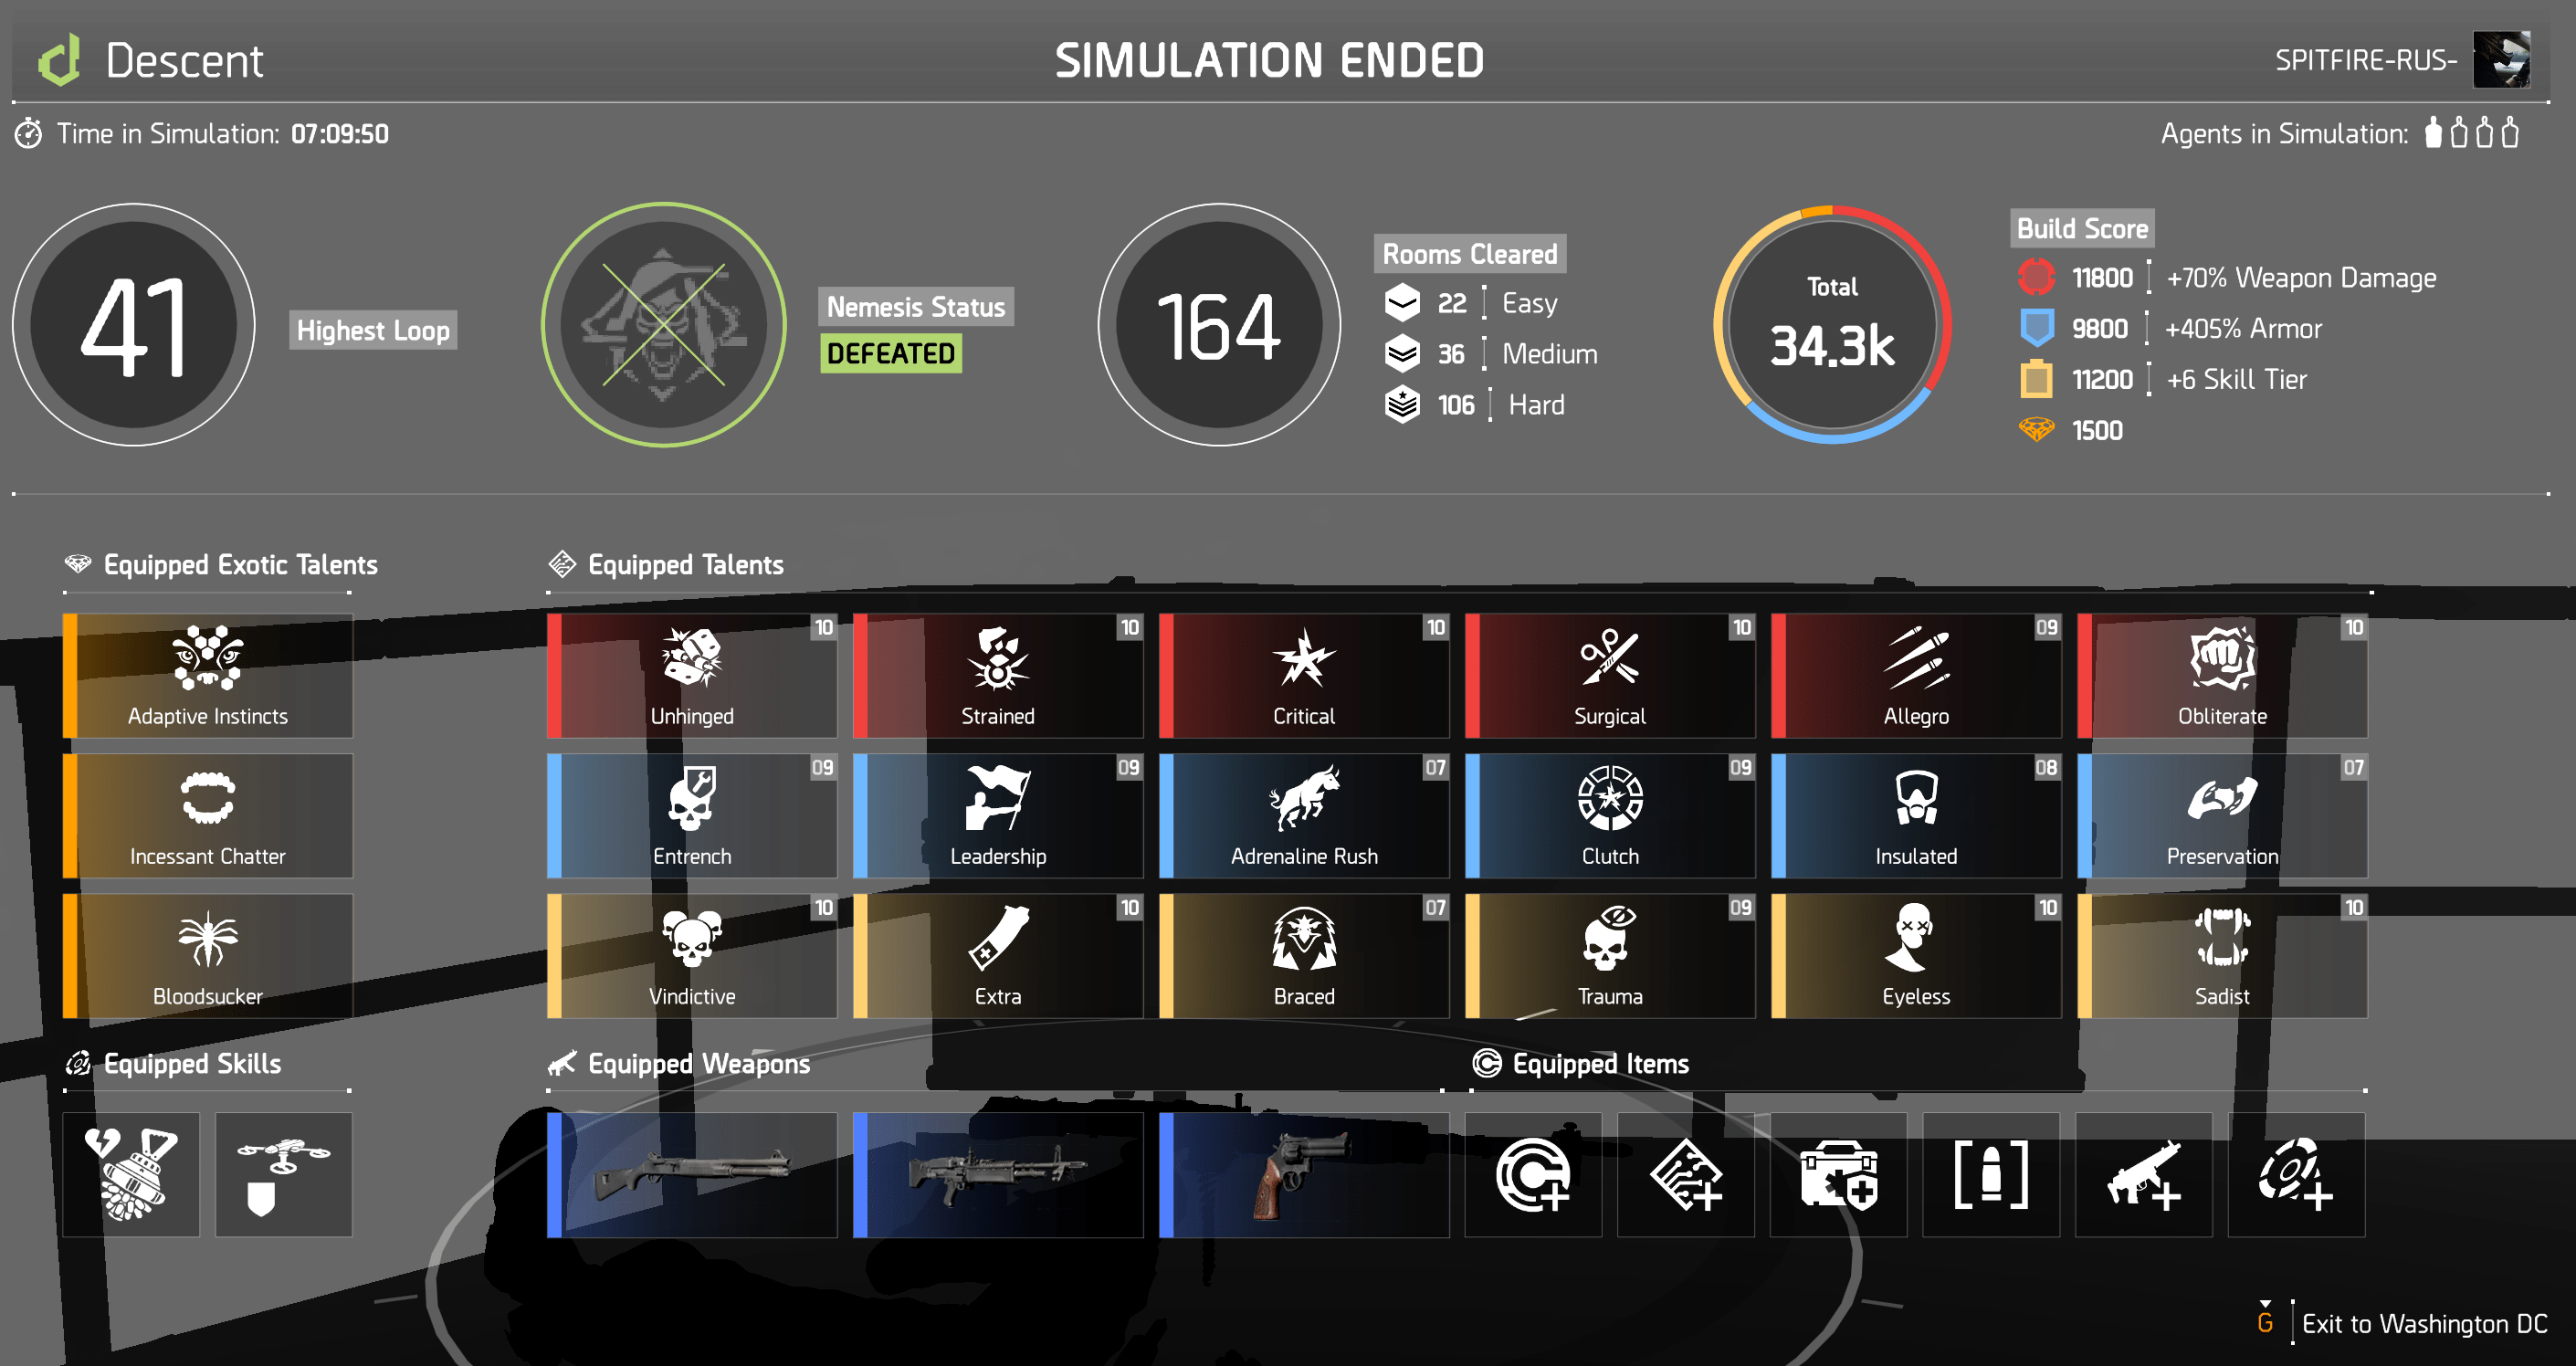
I will share my experience reaching 40 loop. My build will help you to do it relatively fast and relatively easy.
Intro
Greetings, agents! Today I will share my experience reaching 40 loop. My build will help you to do it relatively fast and relatively easy.
If you are going to do such task, you will need about 6.5 hours non-stop. For 30 loop completion, you can do that in about 5 hours.
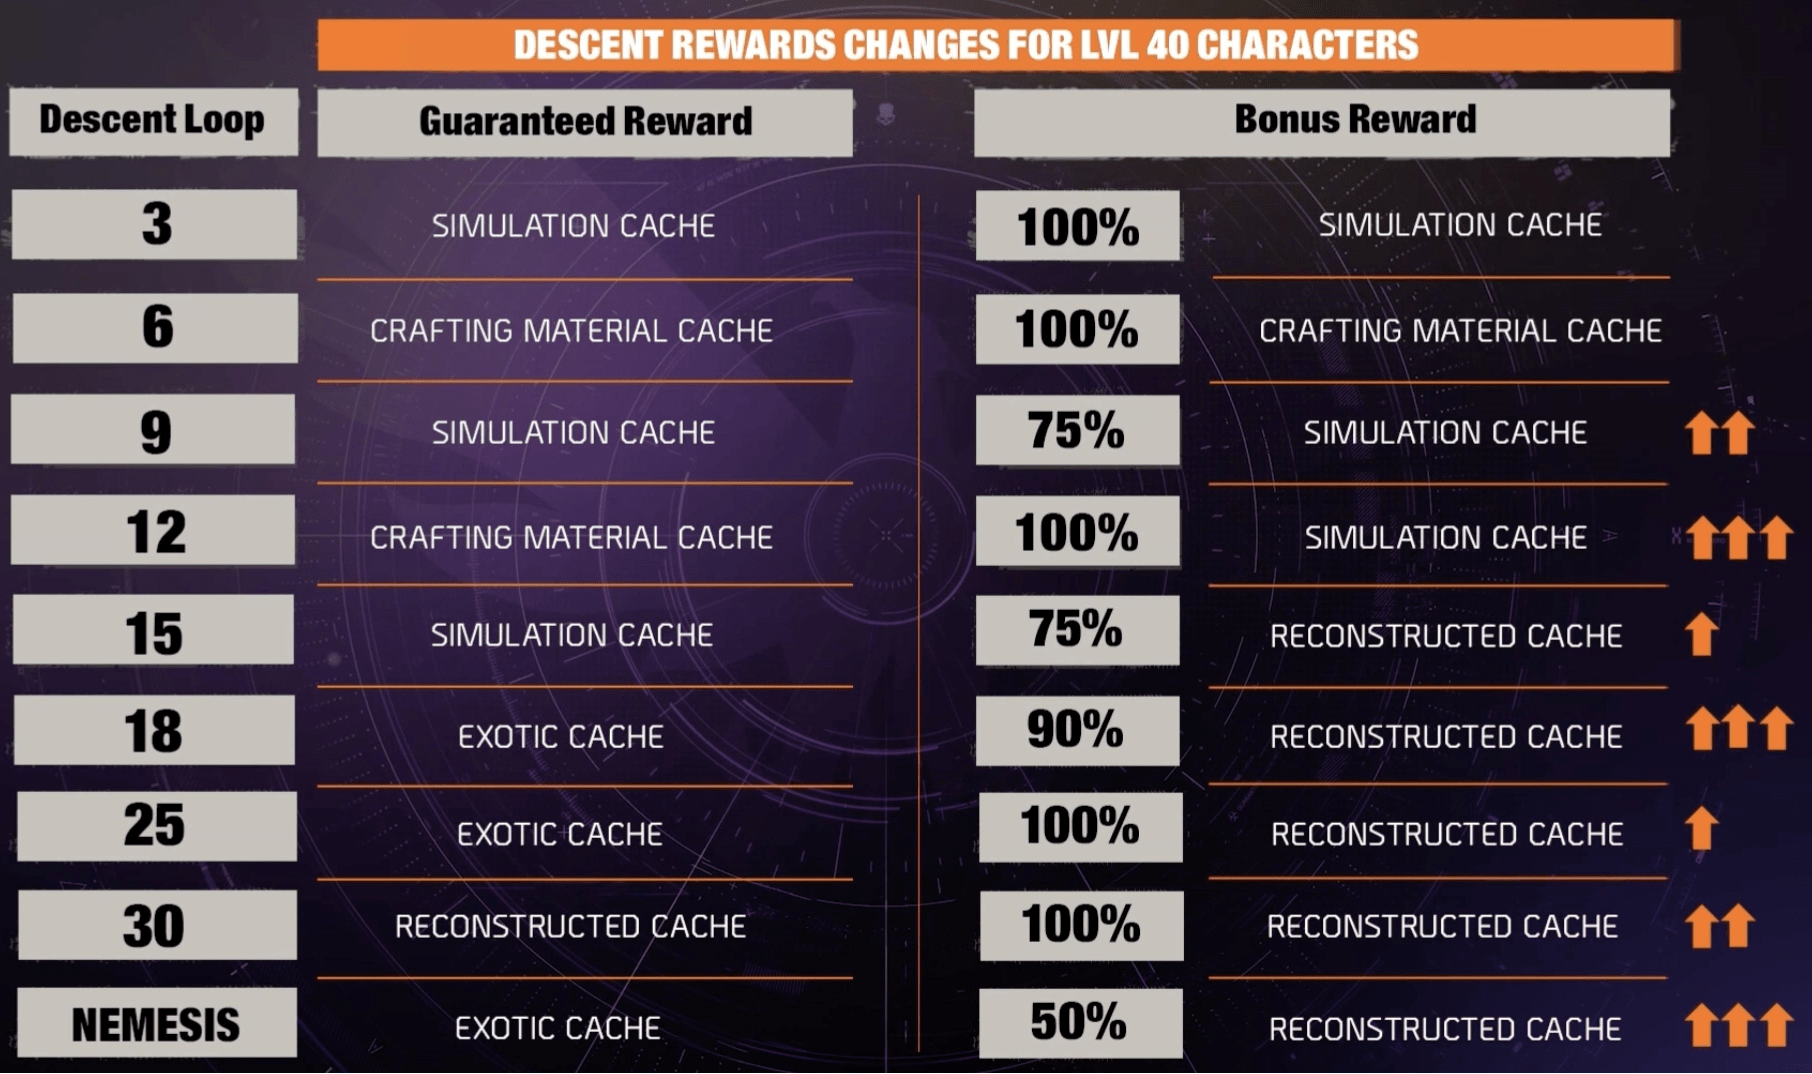
Why all these hassle? 40 loop for the seasonal badge, 30 loop can provide you with max 6 reconstructed caches which can help you to greatly speed up your expertise leveling – you can craft named items and donate them. And for the blueprint collection ofc.
The difficulties you will face:
- From loop 15 you start encounter rogue agents, from 25 loop they will encounter much frequent, sometimes 2 rooms straight.
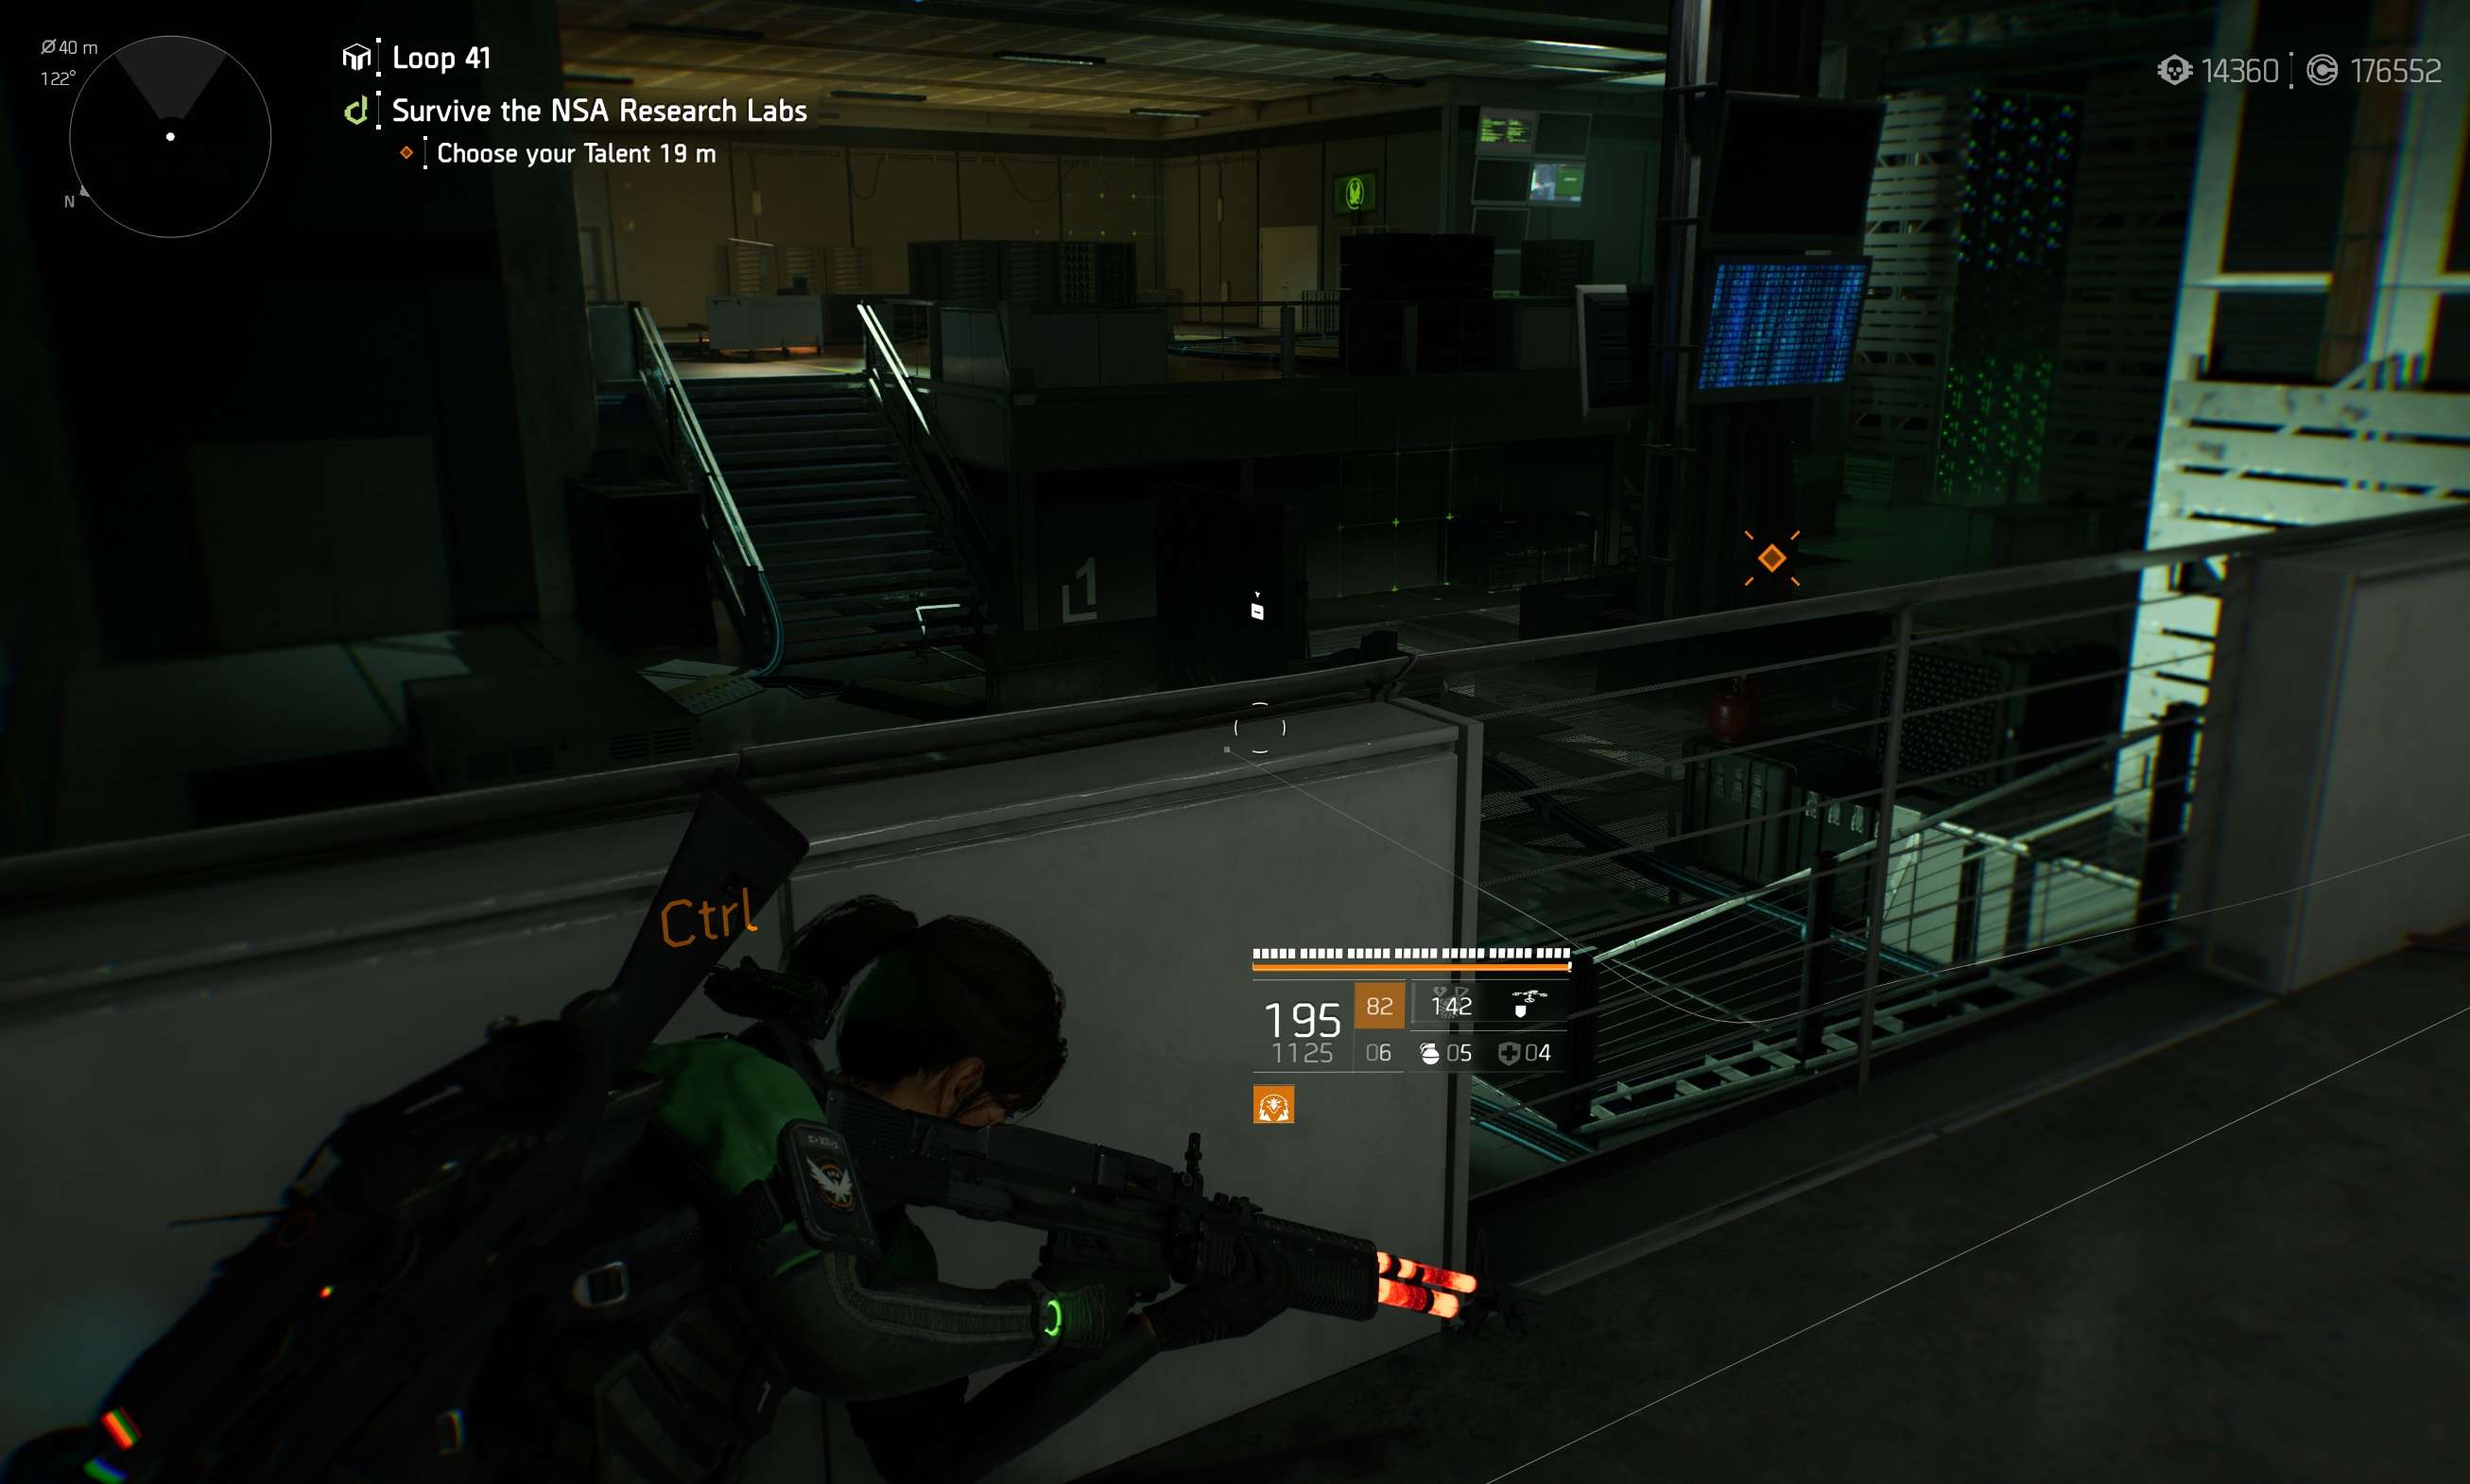
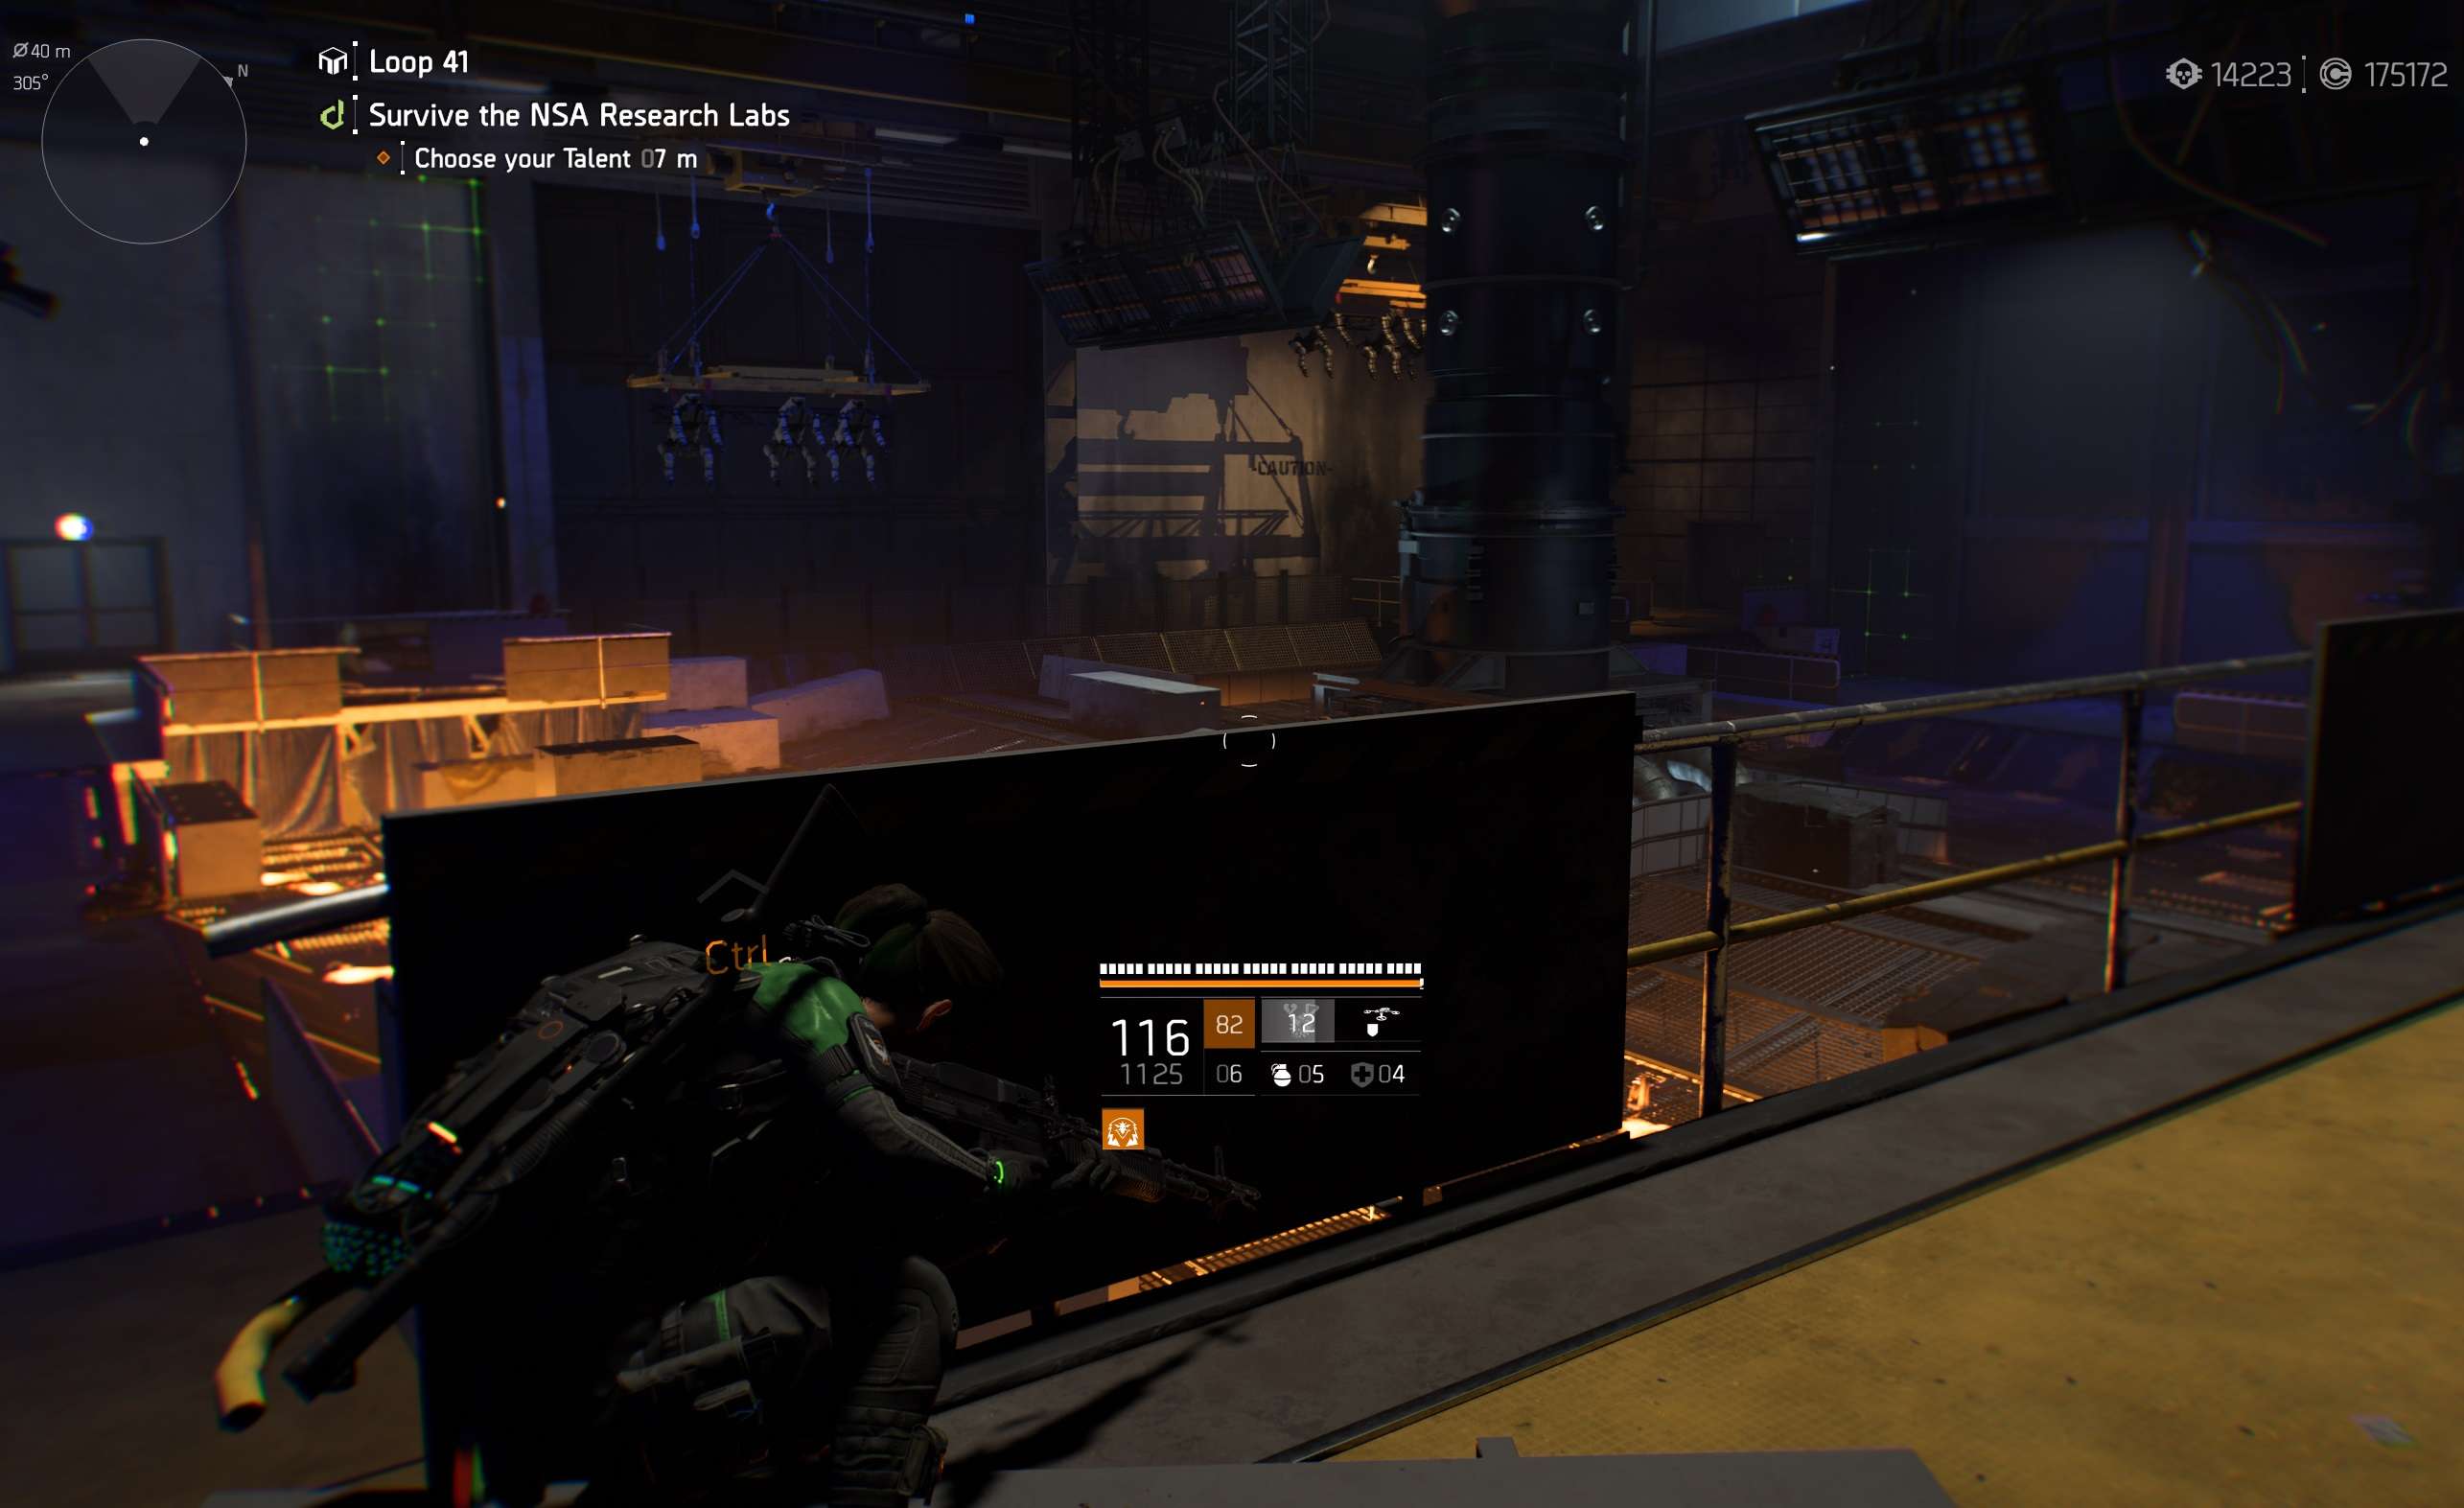
- From loop 31 difficulty rises sharply – enemies have much more health and the main problem here, besides rogues, is damage from snipers which can 1-shot you.

About the Build
I tried to combine all multiplicative damage, survivability, and easy to play – you literally can just push one button and kill everything on sight. In case SHTF, you can pop defender drone to get 55% damage reduction. I popping it on ready just in case.
Our main weapon is any LMG with 100 base mag. M60 preferable. Second weapon – any, you won’t use it anyway. Skills is revive hive and defensive drone.
Stat Selection
Because we have a lot of damage, much more that we actually need, 2/3 stats go for armor, 1/3 goes for weapon and skill tier. Skill tier is important because at 6 tier we revived with 60% armor and drone gets 55% damage mitigation which a lot.
Talents
The most important exotic talent is Instant Chatter – it allows to fire at 100% increased fire rate at max stack and give us 50% magazine size back, so we can fire continuous as far as stuff keep dying :). To get max 5 stack just reload in boss room near mobs spawn or anywhere where there are 2 spawns near each other.
The 2nd important talent is Trauma – this is ours CC for Nemesis and rogue agents later. Plus it activates Vindictive talent which gives us crit chance + crit damage and others two utility damage talents.
The others talents just synergises each other: we stack crits, total weapon damage, bleed and blind damage.
Exotics
- Adaptive Instincts – For additional weapon damage and crit damage
- Bloodsucker – Helps to stay on foot at 31+ loops and prevents enemy snipers from 1-shot you
Offensive
- Unhidged – A huge chunk of flat weapon damage for the cost of stability and accuracy. Negatives we counter fire from cover and using Braced utility talent
- Obliterate – 195% total weapon damage at max stack and level.
- Surgical – 50% crit chance at max level so we get 60% cap with passives.
- Strained – +250% crit damage at full stack and level. Do I need to say more?
- Critical – MOAR crit damage! May be you can swap it for something else.
- Allegro – Because we like BRRRRRAP, more DPS
Utility
- Extra – Just to get 200 size mag so we can kill anything without bothering with reloads. Even rogues.
- Trauma – CC for rogues and activates other damage utility talents – Sadist and Eyeless
- Vindictive – Just another damage from utility
- Braced – To counter Unhidged
Defensive
- Leadership – Most important in case SHTF: when we encounter rogue or we just healed from revive hive, we can get from cover to cover movement 200% bonus armor. So it buys to us some time to kill most dangerous stuff.
- Clutch – Very helpful to heal on crit
- Entrech – Heal on HS, which is good, but has cooldown, which is not so good.
- Preservation – Heal on kill
- Insulated – Just a little more survivability
- Adrenaline rush – Some defense from rushers
The amount of healing is so fast that you don’t need any armor kit.
The Journey to Loop 40
The last part how to get to 40 loop fast.
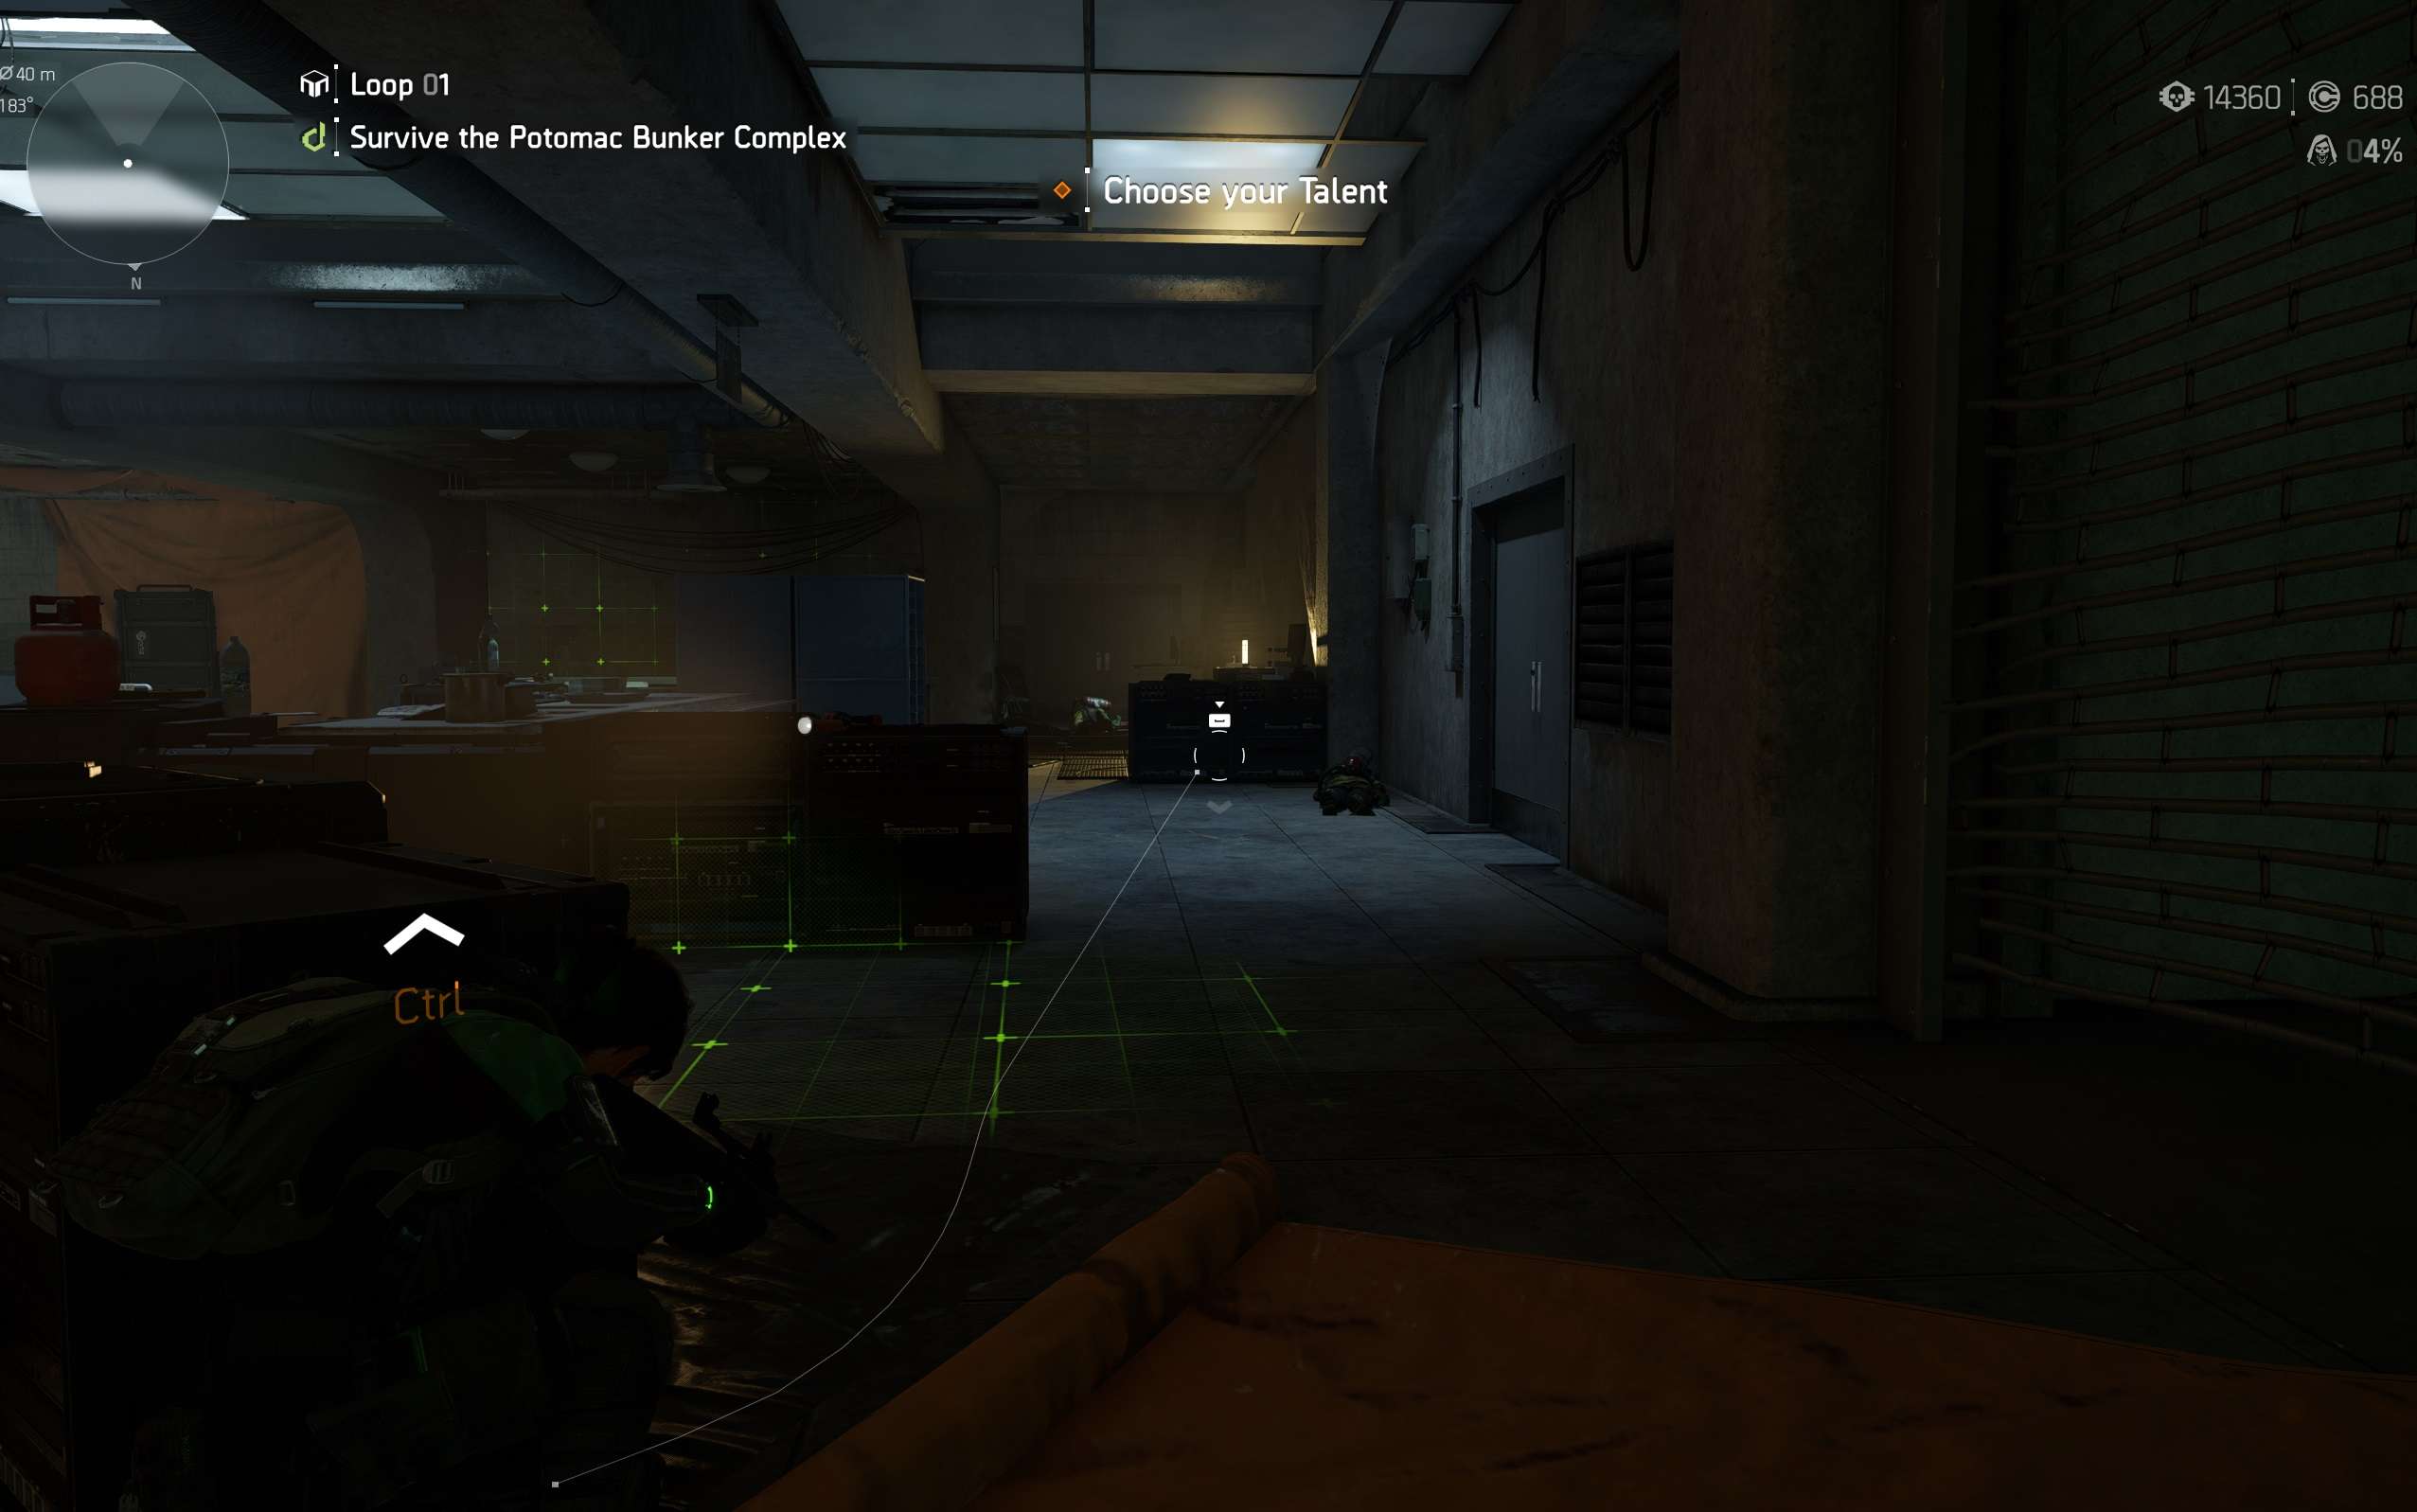
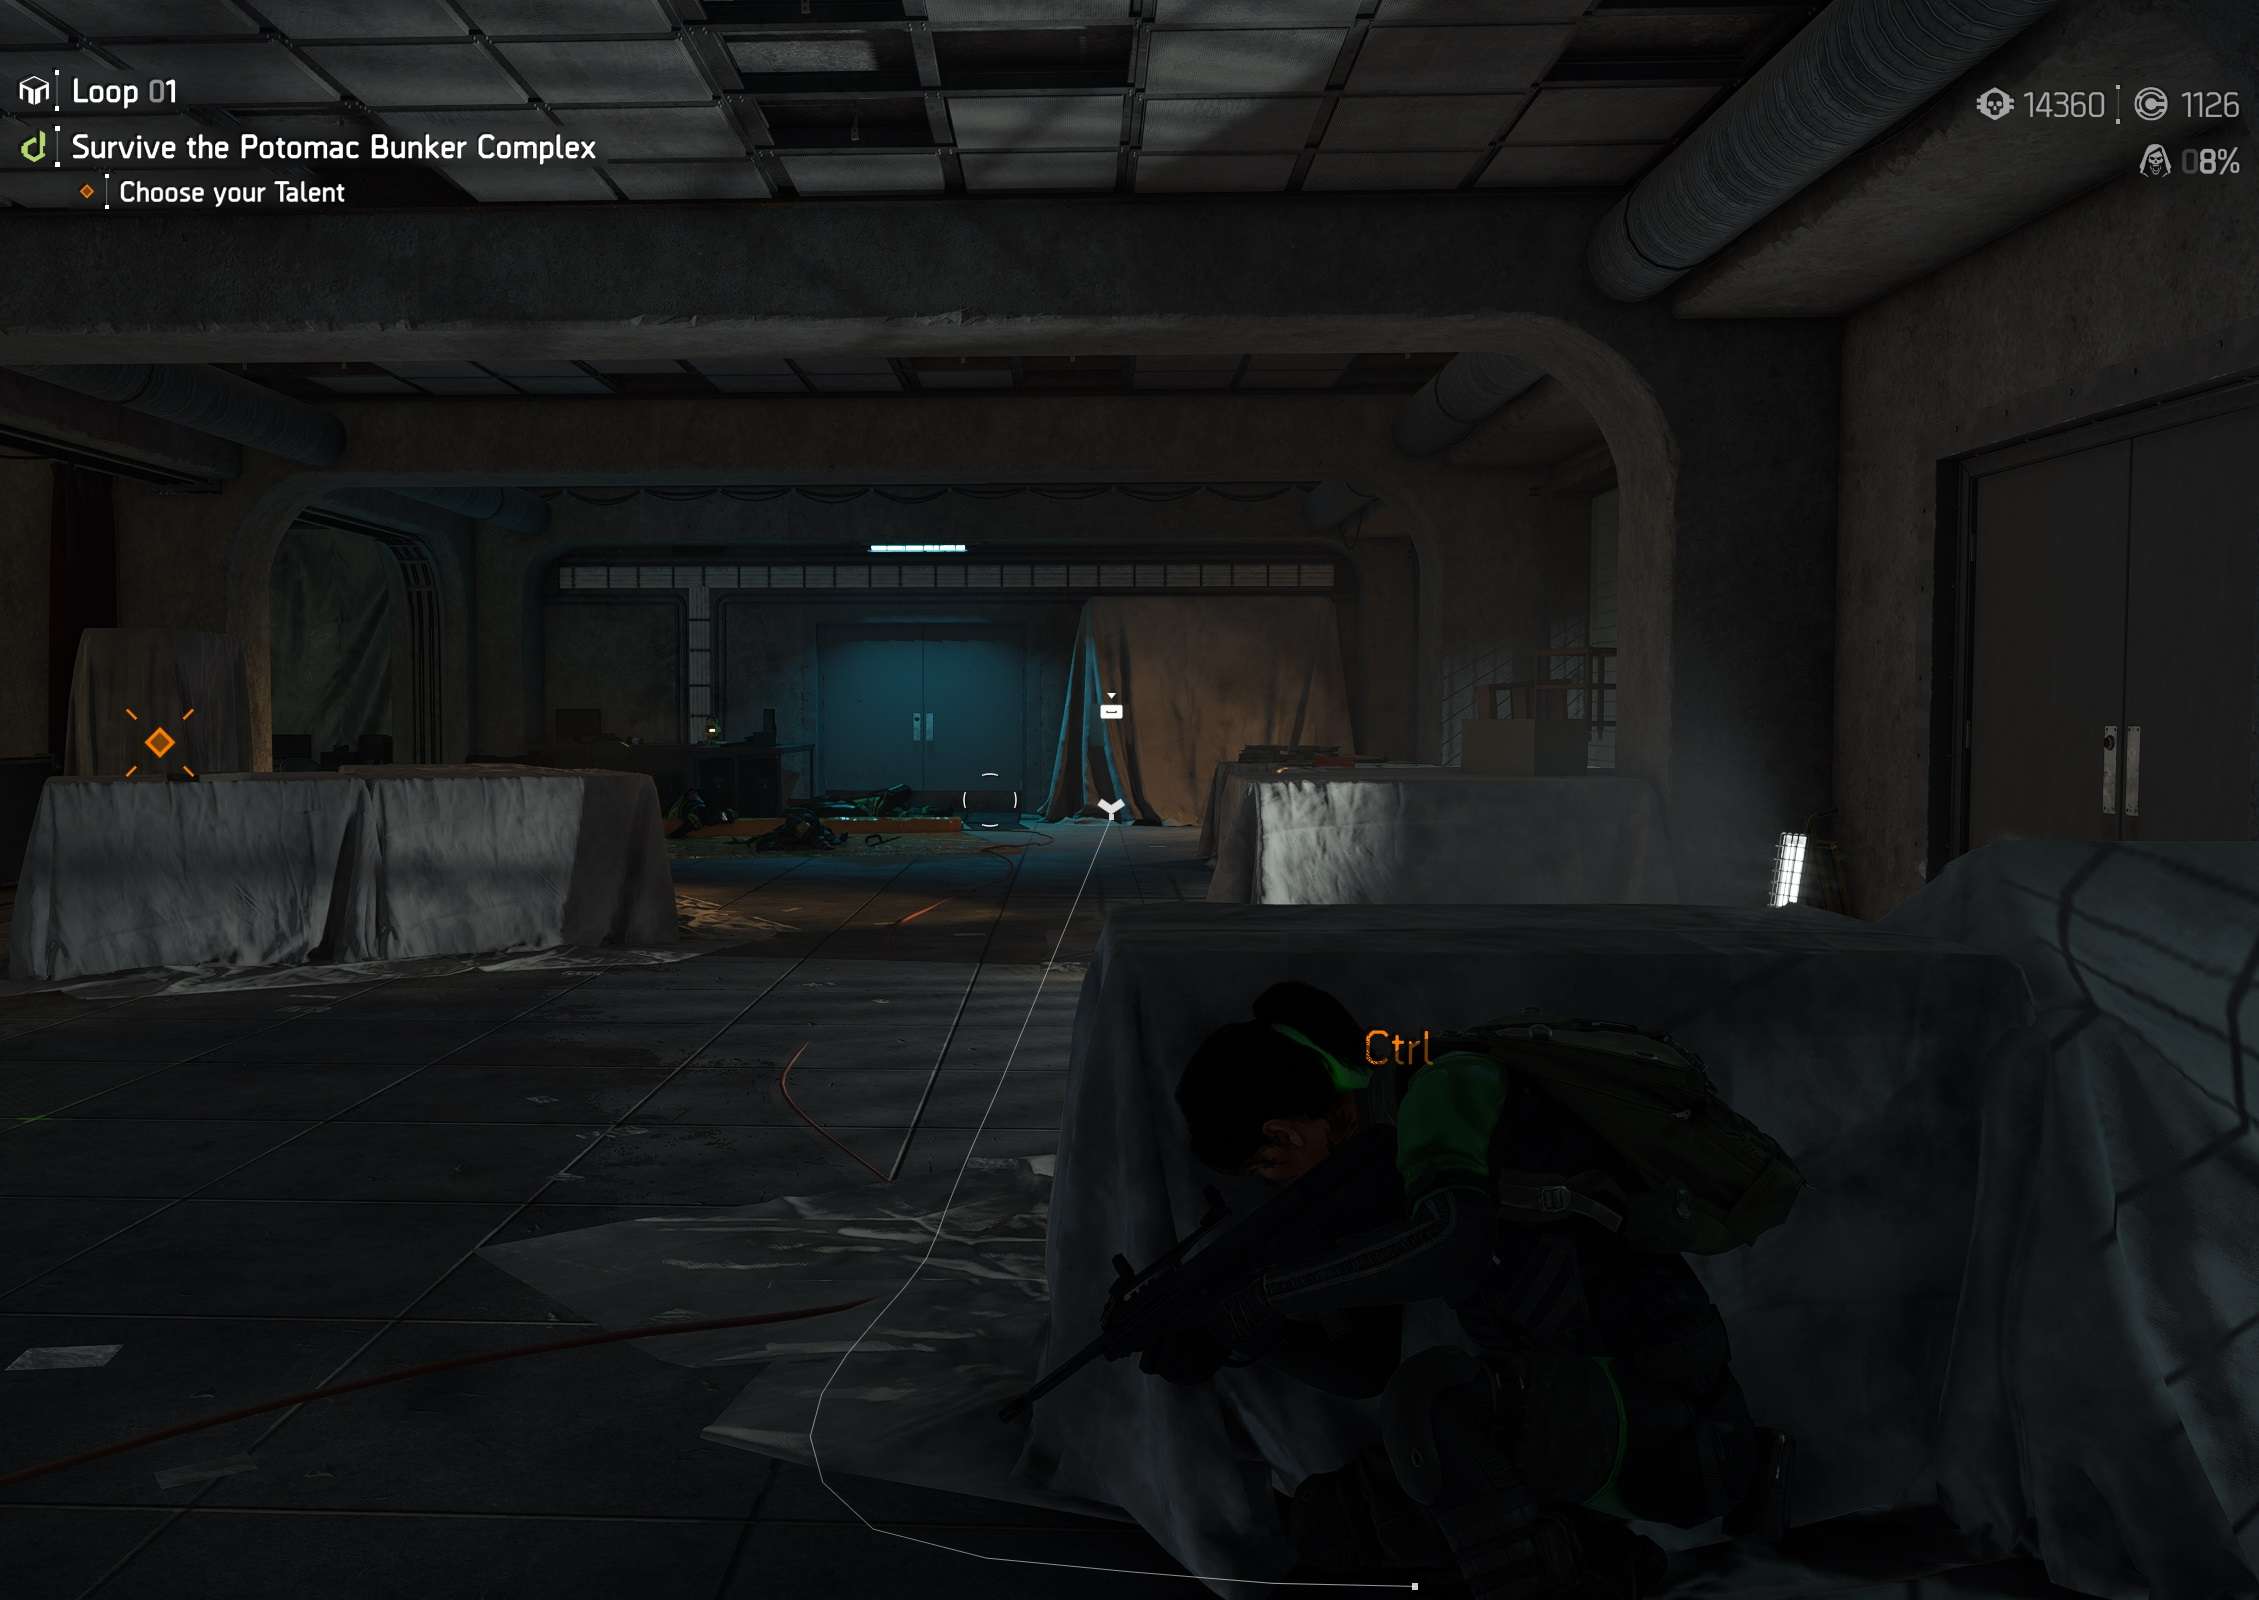
Before Nemesis. I choose the lightest rooms so I can encounter Nemesis after 5 loop. The weaker the Nemesis the better. Don’t forger to buy special ammo before the encounter.
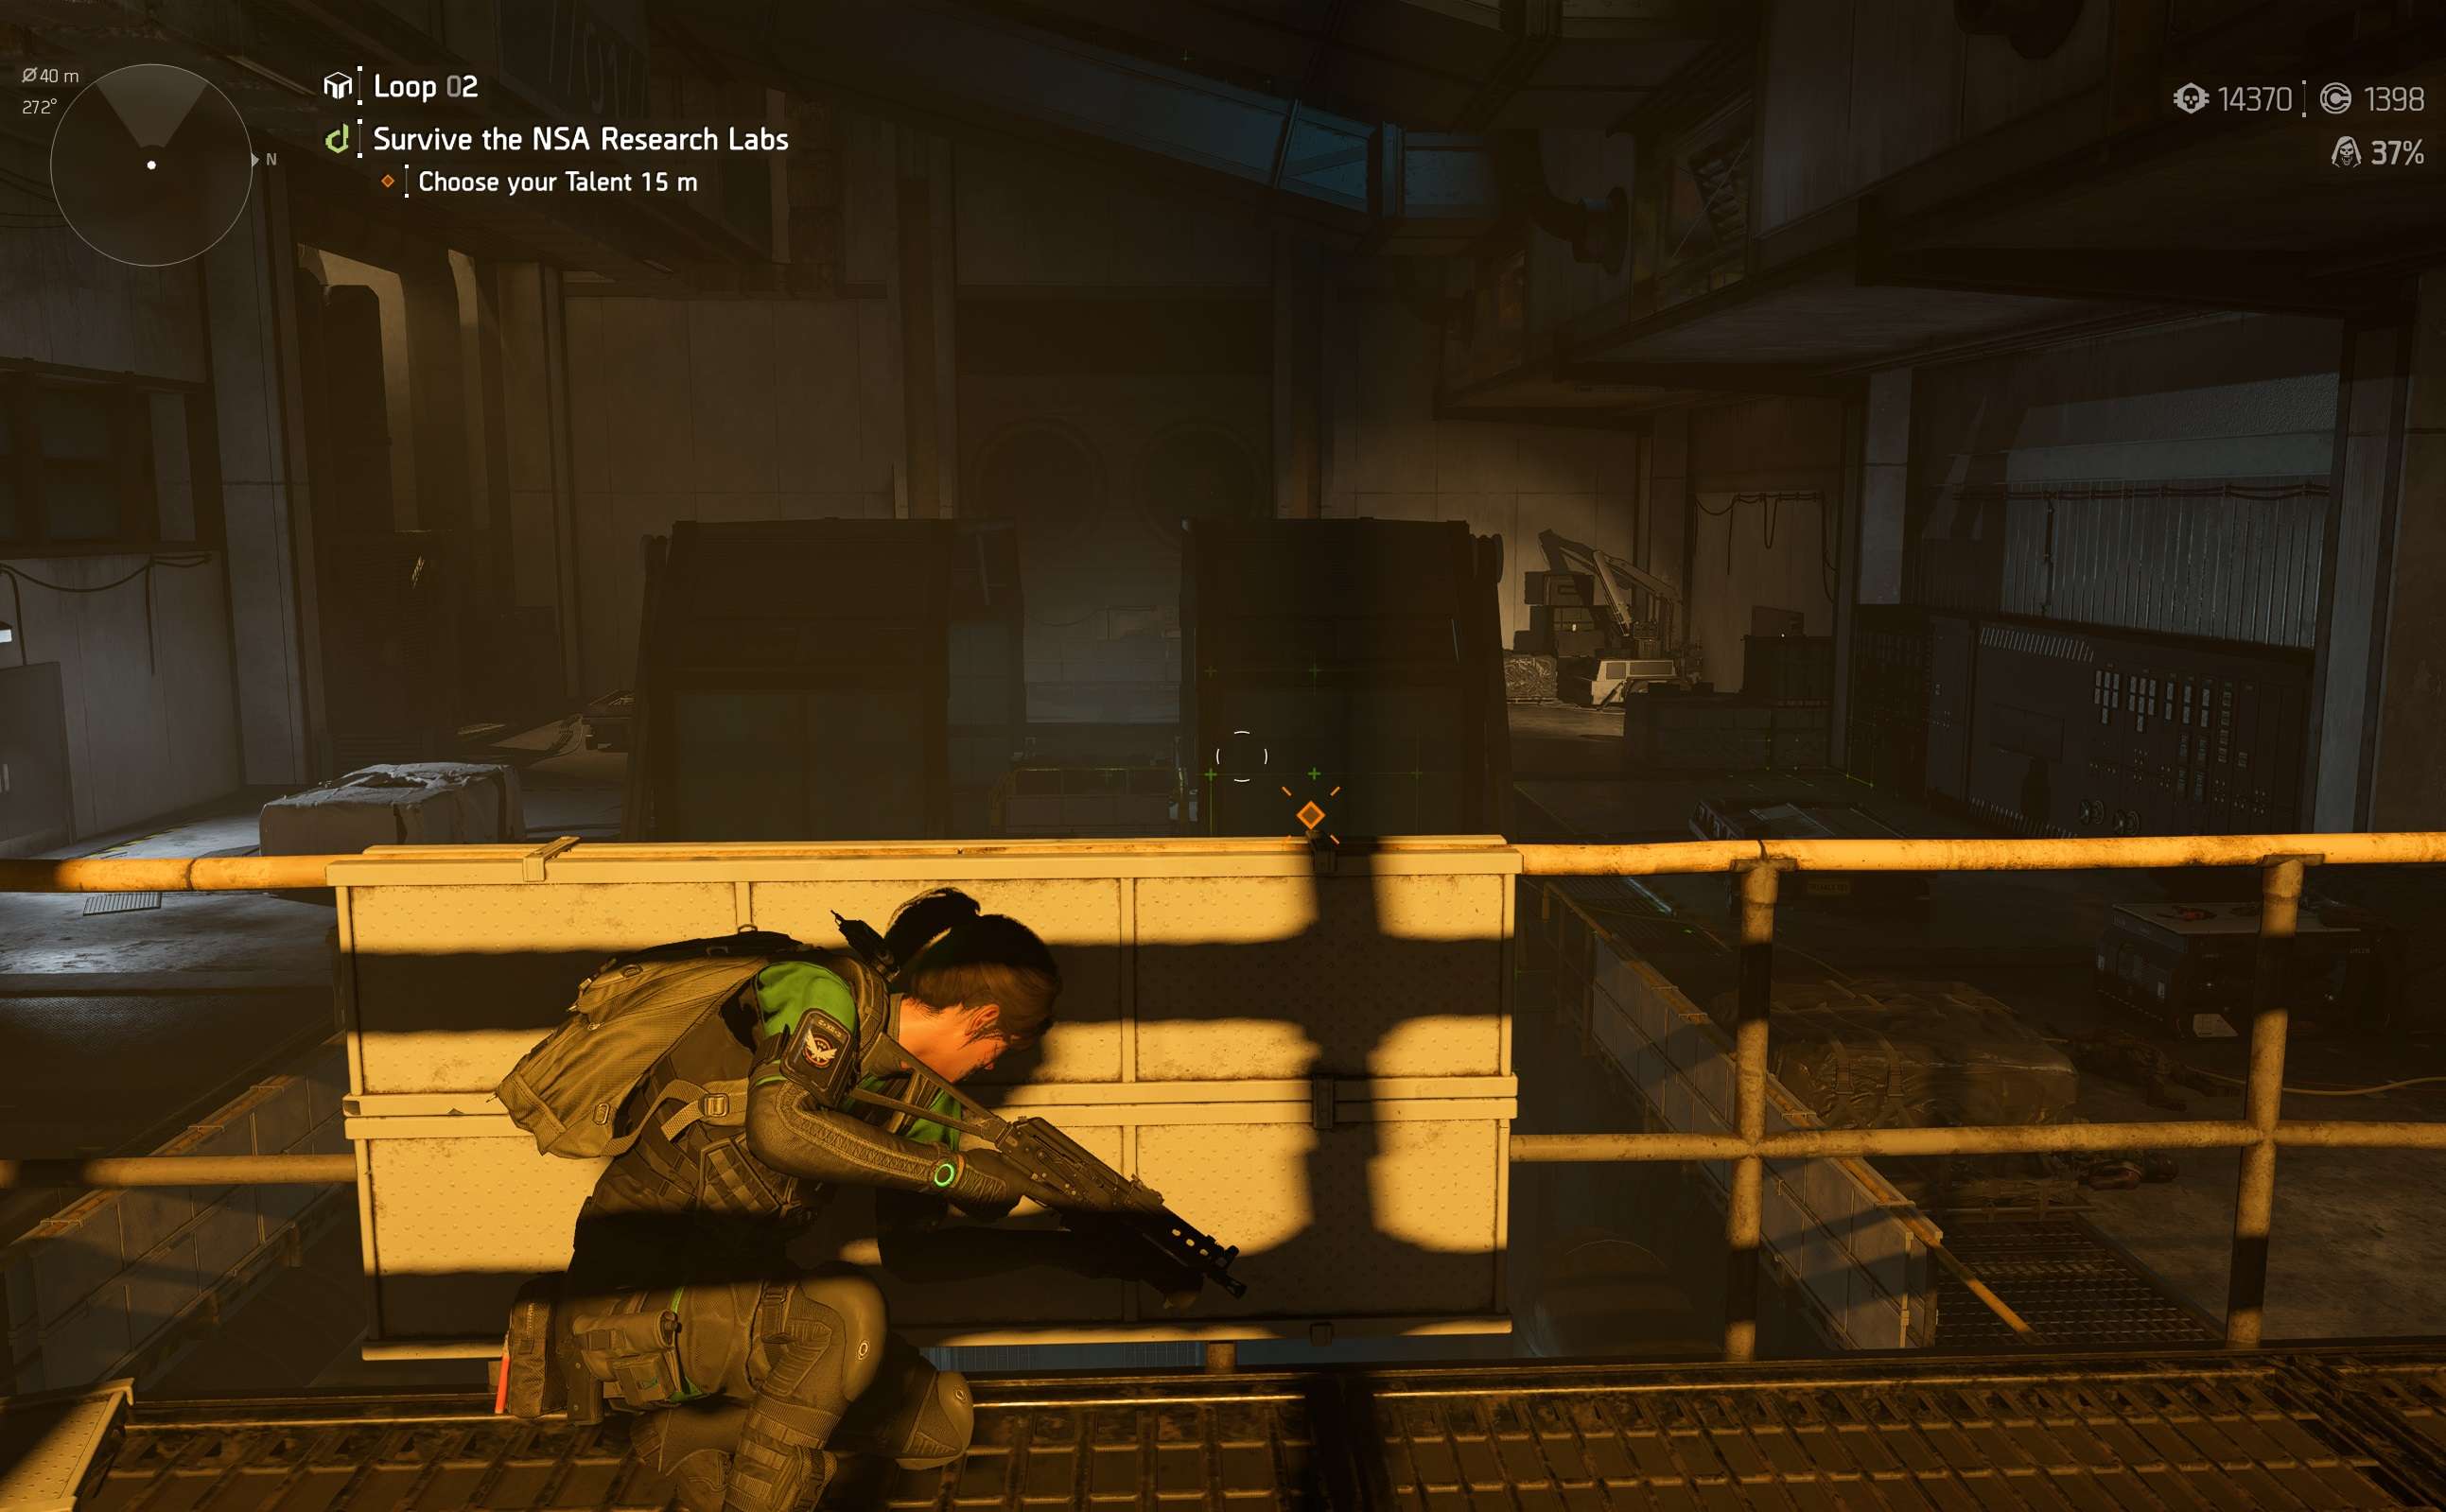
After Nemesis we start speedrunning. Always choose boss rooms because they have only 1 wave. The rest we choose the rooms with max open space and elevated positions so we can cover the most spawns and room space. More shooting and less running equals faster clear times. My preferable list is following with screenshots of positions
1st Layout And Reverse Variant Of It:
Servers
Emp Lab (anywhere elevated)
Combustion Lab
Ventilation
2nd Layout Rooms:
Cafeteria (where 3 spawns located)
Officers Lounge
Warehouse

Medical Unit (just at the entry of the room)


Be the first to comment