
General Tips
I made sure to regularly address the spiritual needs of all my tribesmen; I held rituals nearly every other day. By Act 5, I only had 16 insane members out of 86, though the count of the insane gradually increased throughout the cataclysm event. By the end of the game, I was left with 20 sane tribesmen remaining.
I focused heavily on wood resource gathering, then shifted my focus towards hunting and farming after the locust Act and during the cataclysm event it was all hands on farming. I let the insane take food.
Save your influence points, I used influence points just once to reduce fear (cost 50 influence points) the rest was spent on random encounters.
Sending someone on a regular expeditions takes 2 days per travel, then 2 days to come back. Two journeys events means 6 days of needs decaying. If you have not done a ritual before sending your guys on a mission, they will most likely return with weird gazes.
Rare journey events happen on the 4th journey event. Some events always name a particular kind of worker, like a hunter, of an explorater. They do not seem to trigger if you do not have anyone working in this role. For instance, the event giving free ore requires someone working in an explorer platfork
Explorer platform allow sick people to avoid dying, the death chance is never triggered while traveling.
You can survive the locusts by using the Shepherd tier I perk that gives food satisfaction on yellow rituals. You just need an insane amount of yellow medecine.
Tips to Pass the Eclipse
Eclipse & Early Game Prep:
As others have said, you want to have 1 or 2 farm-huts completely encircled by farm tiles right next to your main campfire. Recommend that you leave one forest for lumber nearest your main fire as well, perhaps with ONE torch if it’s not close enough to just increase the power of the main fire. …and of course your main tent-cluster, stockpile, granary, tinker, and shaman hut round out the nearest buildings. This absolutely allowed me to keep producing while only burning 48 wood per 24h. (Or 72 w/ one torch in nearest forest that had been saved.)
Flood Prep:
Encircle this “uber-hex” with flood-proof stones, and then create paths to other stone-encircled work areas. Note that the AI currently does NOT just stay on the stones during deep water; feature request to have that adjusted/fixed is in the feedback-forum. i.e., they’re fine for flood stage 1 & 2, but then on 3 they just mass-Lemmings-suicide repeatedly out of the stone paths and dry-zones.
Tips for Gathering Resources from Distant Areas
You can run a path of beacons to the medicine patch so that they’ll continue to harvest it at night but be careful about the amount of wood the beacons will burn and in later acts make sure your medicine harvesters dont miss out on the rituals (if they’re too far away from the ritual they won’t be able to make it by the time it starts and wont be able to participate).
Advanced Tips
Act 1:
- Don’t chop wood within your fire radius, save it for the eclipse.
- Build the stone pit as soon as you can, don’t waste stone on explorer platforms, you can use lumber camps to clear the fog and then destroy them (I recommend getting a macro to automatedly click delete since there’s no hotkey).
- Get stability to level 2 but always keep 20 influence to avoid messy tents.
Act 2:
- Get 5 tinkerers as soon as you can, max out improved tools, then more masons.
- Tier up, get forestry and start cutting wood closer to your camp, as long you spread out your lumberjacks the forest patches will grow faster than you cut them.
- Build some yellow mushroom farms and protect them from the flood, you might need some beacons too.
- Get Pair tinkering, this should be about when the flood starts, research all tier 1 and 2, make 2 explorer platforms and send 1 person with 24 wood 24 meat to the same region, explore twice then expand.
- Save all your yellow mushrooms, use them for the production bonus once the flood ends to get back on your feet.
- When you find the dying person choose the deconstruct bonus, you can sell 2 thinkerers for 58 stone, so you only lose 5 stone each. You may also break the flood barriers to get even more yellow farms.
- Lumber camps should refund 4.2 wood now so you can easily explore the entire map just building and destroying these.
Act 3:
- If you saved enough food for the locusts you can make 8-10 explorer platforms and send 2 people to explore each region with 24 wood and meat, they should explore twice before coming back, that way they’ll arrive right after the locust event ends, bringing back 12-18 meat each.
- Send them right before the second locust trigger to arrive near the time the event is over.
Act 4:
- With the extra meat you get from the explorers coming back you should be able to quickly start expanding and get copper for T3 upgrades.
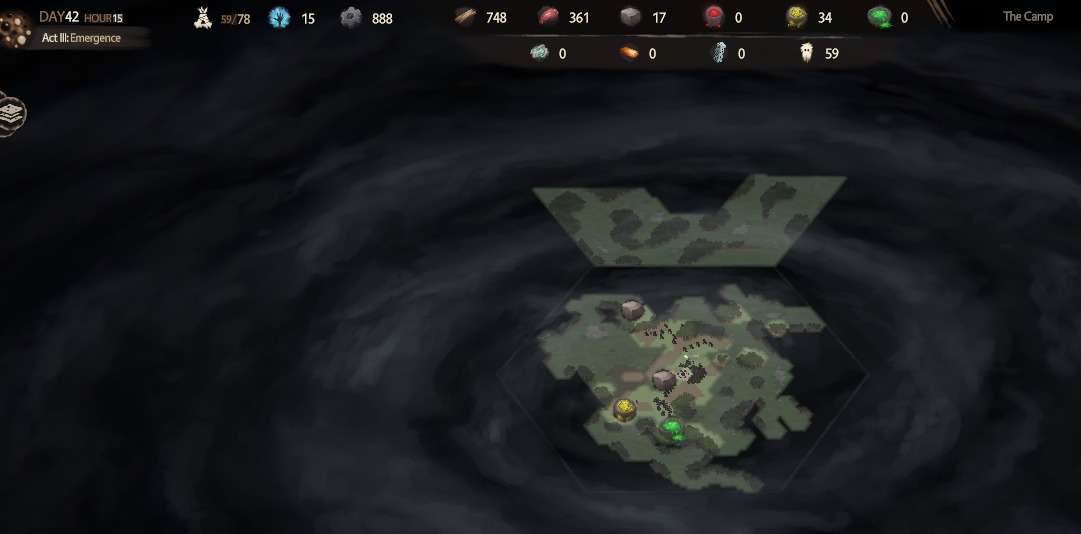
Heres an example of what lumber scouting looks like, i started with 800 wood, foundall 3 resources using 250, and you get 34% wood back once you destroy them so I only used 165 wood.
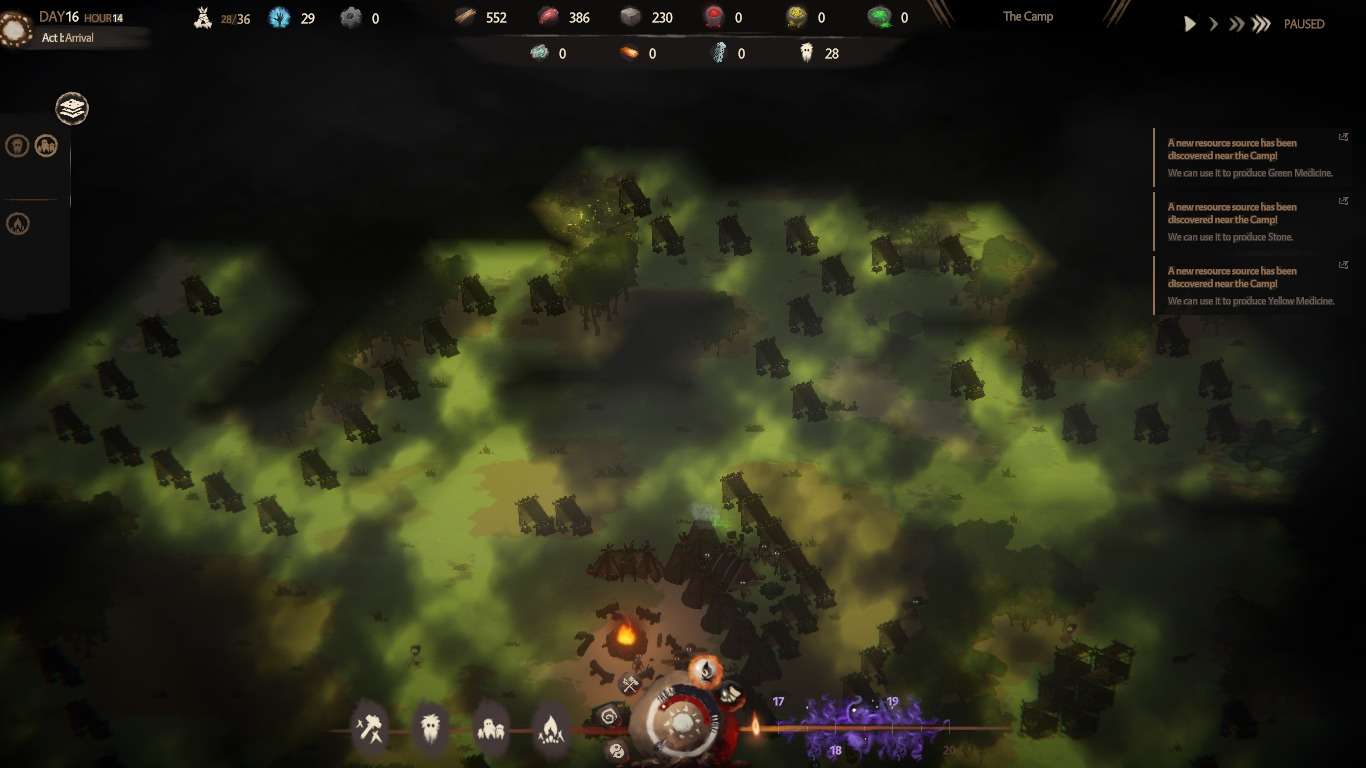
Rule of thumb is.. most resources are spawned around 15-20 tiles away from the firepit.
Gameplay FAQ
How to cure wierd gleams?
By killing the tribe member that has it. Doing so can be rather difficult so it’s usually better to prevent tribe members from getting it by holding rituals in the shaman tent in order to prevent your tribe’s spiritual need from getting too high.
How to deal with the locust?
First, you have to know that whatever the amount of bases, the total amount of hives accross games is always the same.
Second, you can at most reduce each of the three waves to 50 % loss of food.
- Expanding just after the end of ACT 3 helps a lot. If you expand, make sure you have a high enough visibility (>75%)
- Amass as much food as you can before act 3 (obviously)
- If you have 0 food after a wave, you can ignore the hives and go for the herd, loosing 150% of zero food is not a big deal
- If you are heavy on yellow medicine AND have zero food, get Feeding the Feeble and just spam rituals. having zero food is not an issue if your guys are not hungry.
- If you switch the profession of all your guys to hunter, it is pretty easy, I managed to get them all with only 30 guys last game (without speed upgrade).
- When the hives appear, count them. If you missed one, you will have a bad time (spam wood camp until you find it if necessary)
How to get people to go to other camps?
- Select the second tab in explorator’s tower.
- Send 3 guys in a direction (personnal tip, do it at the start of act 3 for the discovery x2 bonus).
- You will have an event every two days where you have to go forward (and discover new areas) or go back to the camp.
- 12 areas discovered means 100% discovery.
- When you have 6 areas discovered (50%) for one outer area, you can unlock it for 200 food, 100 wood and 50 influence by clickong on it in the zoomed out map.
- It will then suggest you to send 12 people to that camp.
- Later in the game you can use trade posts to send 2 people in a direction.
How to keep discontent low?
Early game you need to make sure that all of your people’s needs are being met (food, sleep, social and spiritual). Food and sleep usually take care of themselves so long as you have food and tents but in case they arent doing so you can close whatever job the person whos starving themselves is doing so they’ll go eat (or sleep).
Social is increased by making sure that your people stay in close contact with one another and spirituality is in increased by performing a ritual at the spirit lodge (which just so happens to bring a lot of people close together increasing social as well).
Later game you can spend influence on increasing stability which lowers discontent and there are spiritual aspects which lower it as well. (I think theres also events which lower but I’m not 100% sure about that.) There definitely are events which increase it so making sure you can solve those with influence or resources is important.
How to get more tribe members?
Consider the starting perk that adds population growth at light intensity 2 or more. Keep the fire going during the day and your daytime population growth will greatly increase (there is a tool tip that shows your population growth so you can observe this in real time).
Also, make sure that you have more huts than you need because you won’t grow unless there are spare beds.
Lastly, once you figure out how to spam your growth, make sure you don’t grow too much that you can’t feed your people or it will lead to a Malthusian collapse.
Whats does weird gleam trait do?
It causes your charaters to “act weird”. During the day when acting weird they just sit around meaning they arent doing their jobs meaning your overall productivity is down. During the night when acting weird they will go wander off into the darkness rather than take care of their needs resulting in them potentially building up discontent and other negative status effects. Also once they stop acting weird if they’re in the dark they have the normal chance of getting taken and if they wander off during the Act 2 finale they ignore the order to stay out of the water and get snatched that way too.
Is there a way to send more people to an outpost from the main camp?
You need to construct a trade post (100 wood 10 stone) so that you can send caravans to your outpost which can bring I think two passengers per trip.
How tribesmen personality stats work?
Some of them (possibly all of them) unlock personality traits when at + or -3 for long enough (also might need to be in the correct job to unlock them though thats certainly not the case for all of them and the one in question may or may not actually be a personality trait). In addition to that I could be wrong about this but the similarity of personalities seems like it factors in to whether interactions tribe members have with each other are positive, neutral, or negative leading to them possibly becoming friends or enemies.
How does a hunter work?
The herd typically stays in roughly the same area but when you overhunt it it disappears for a semi-long period of time until finally a single beast spawns. All of the hunters you have enabled will then chase after the beast and kill it after which they’ll sit around because there are now no more beasts. To prevent this from happening if you ever notice that overhunting has gotten to the point where only a single beast spawns you should disable all your hunters and give it around half a day to a day to repopulate the herd after which point things should be fine for a while.
Be the first to comment