
Table of Contents
Hide
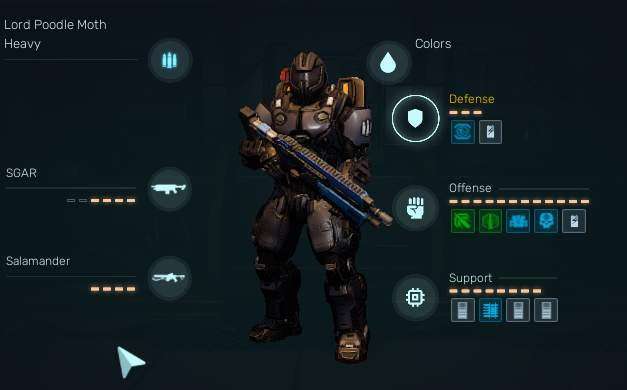
Guide to Heavy Support Builds
Foreword
- Primary Role – Crowd Control.
- Secondary Role – DPS.
- Alternate Role – Biomass Control/Support.
Basics
The heavy support role is versatile. It can:
- Deal significant damage
- Provide suppression (which gives damage bonuses to teammates and slows down enemies)
- Be played in many different ways
This role has several variations that work well. Some of these classes are complicated, but I’ll focus on explaining the ones I personally prefer.
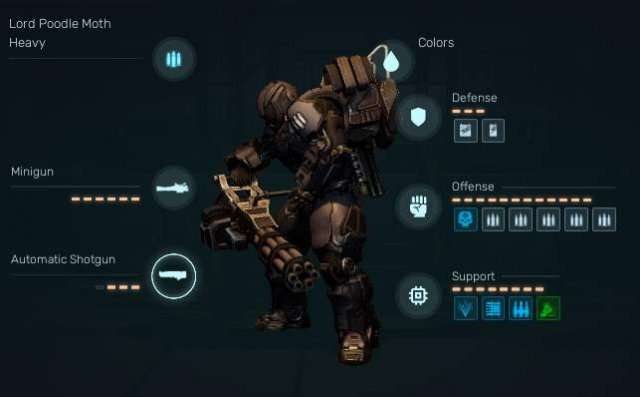
First Build
- 7 Points and you get to play heavy!
- Wired armor is your friend.
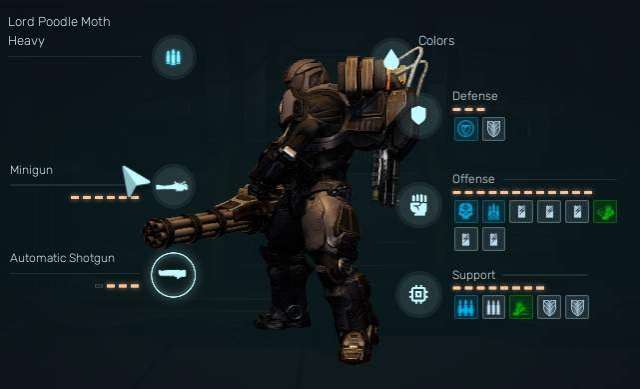
Dakka Build
- This is about Full Dakka
- This build is worthless if you don’t put 5 points into stabilizer and manual fire
- 1 point into wired armor for free bullets.
Advanced Builds
AceAceBaby Build
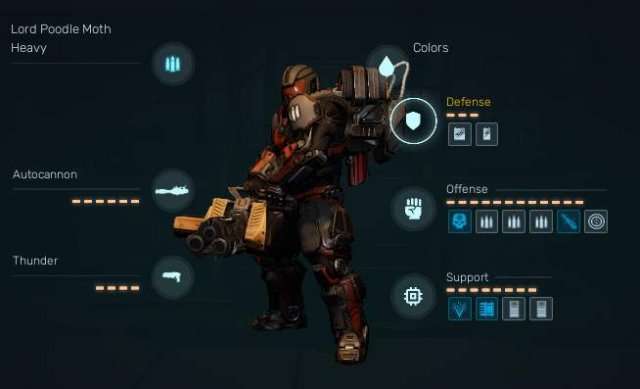
- High crit stacking potential.
- Pairs very well with a recon to decrease kinetic resistance.
- Somewhat ammo Efficient.
- Shots go boom as well?
- Stonewall level 5 is a boss killer.
Biomass clear/ Leader
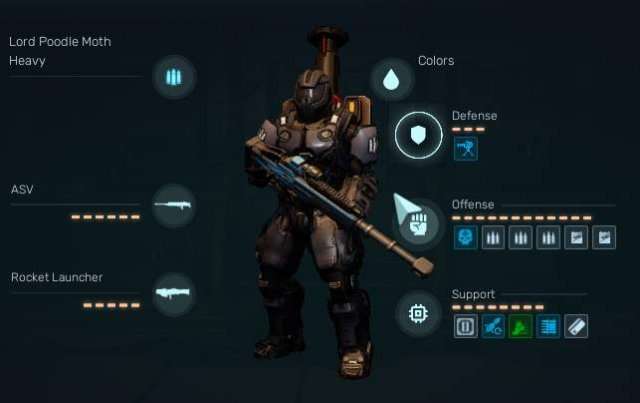
- Ability to turn on auto aim and stare at map and team positioning to coordinate.
- 1 point into rocket manufacture to hunt down biomass.
- 5 points in shoulder turret + auto aim does wonders for killing things.
- 1 point into ammo link means more than 50% less time spent reloading.
AutoAim King
- Put points into HLSF and stay near team.
- Turn on Auto Aim.
- Profit
You can really use whatever build you want, Mini gun would benefit from wired and stabilizer.
Components
Defense
Smoke Grenade
- Uhh I don’t know why you would, but i guess you can?
Safeguard
- This one is pretty good against bigger mobs, helps keep them supressed and get them supressed
HSLF
- This is a team buff that increases your whole teams auto aim ability.
Shoulder Turrets
- Overall a decent modules, It helps with trash mobs and ammo saving early.
Critical Hit
- Low energy cots, I usually dont put to many points here but if your going crit stacking.
Heavy Weapons
- Low Suit energy cost, I tend not to play with it too much, can be combo’d pretty effectively with wired armor for RPM increase without eating energy
Supressive Fire
- I tend not to use this because it eats ammo like crazy, I foresee this being a boss killer combo, between this and Stonewall.
Targeting Systems
- Strong option for a second for a buff focused heavy. Activate this when the dogs start rolling in.
Stonewall
- This one gives a huge dps boost when active at the cost of movement speed and energy. Be careful and make sure your team has your back.
Battle Drone
- This guy can grind down bosses and clear trash mobs, If you don’t want to focus on a heavy weapon but still want to have some good burst damage this guy is worth playing with.
Rocket Ammo
- Click every minute for trash clear or Biomass control.
Wired Ammunition
- Free bullets, more points more DAKKA.
Stabilizer
- Makes bullets shoot straighter and crit harder.
Ammunition Link
- 1 point reduces spent time reloading by over 50% whats not to love. Other bonuses too…
HLSF
- Double Post.
Smokewall
- Spooky Fun. Might be useful, havent Really used it.


Be the first to comment