
The guide will focus on a specific team setup that’s proven to be very effective against all enemies in the game. By following these suggestions, you should be able to overcome challenging encounters without much difficulty.
For this Guide you will need:
- Steven (Obviously)
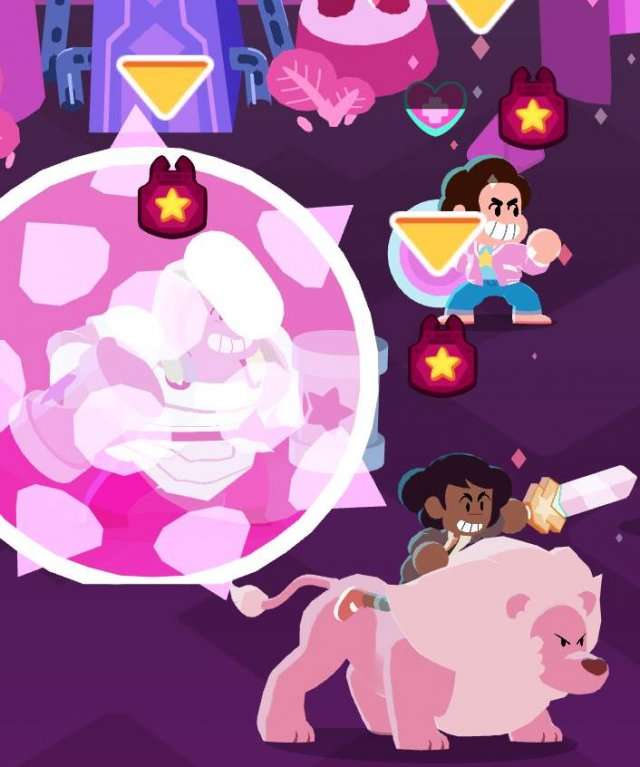
- Connie & Lion
- Garnet (Optional)
- Bismuth
Team – Setup & Upgrades
Small Heads Up
Here’s how my team is organized and what Badges and Upgrades each character has. Keep in mind that these Upgrades and Badges are optional and NOT required to perform this combo, but they do make it much easier!
What Badges Do Every Character Need?

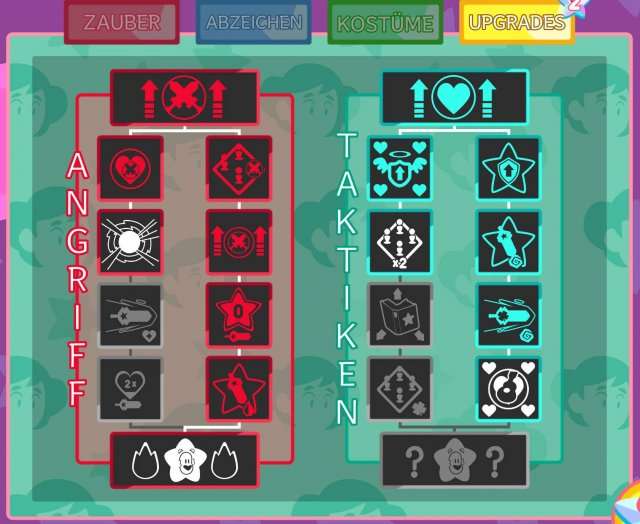
Steven:
XP Badge & Harmony Badge (This is for sustain so he doesnt die)
Connie:
Attack the Light Badge & Flanker Badge (For dealing 10% more Damage)
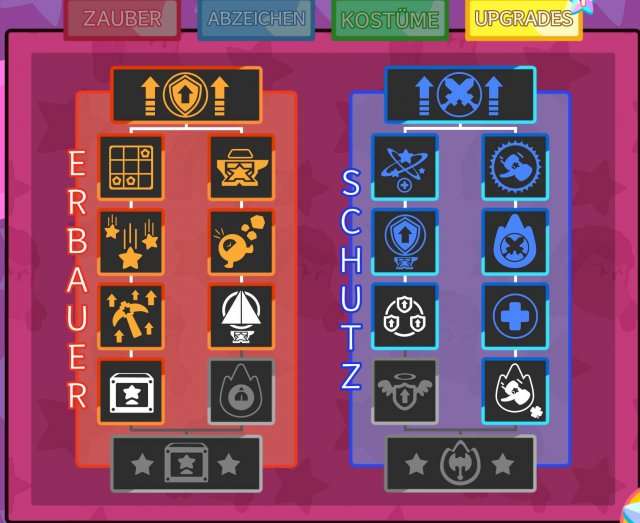
Bismuth:
Hardhat Badge & Protected Badge (This is to protect Bismuth from getting her smithing ability canceled)
Garnet:
Frontline Badge & Recharge Badge (This is our Tank, so we give her more HP and Regeneration)
What Upgrades Do Every Character Need?
*As said, Upgrades are not necessairy but they help a lot!
Steven:

Connie:
Bismuth:
Import Upgrades:
- Forever Burning (very very helpful but still not obligatory).

Garnet:
Positions and Tactic
Now we get to the bread and butter of this setup!
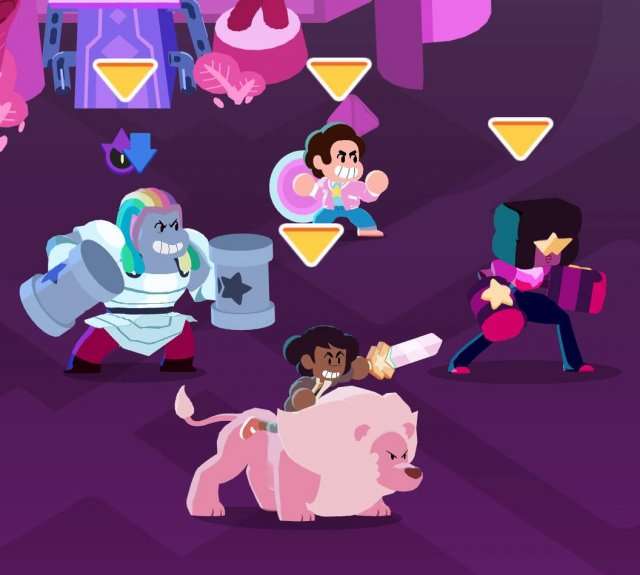
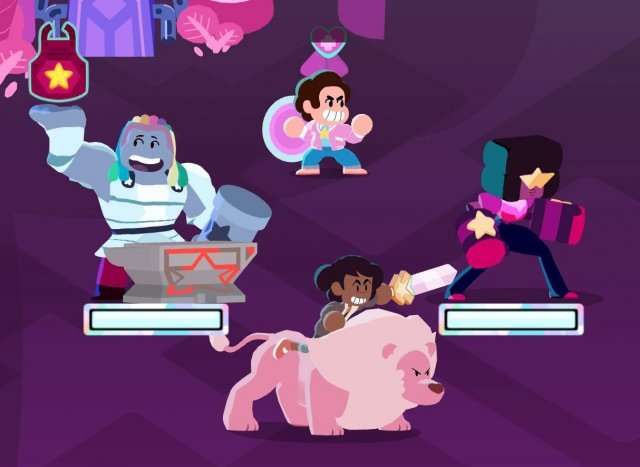
The positioning of the characters are as follows:
- Garnet in the Front.
- Steven up or down.
- Connie & Lion up or down.
- Bismuth behind.
Like this:
Now lets go over what to do in the rounds.
First Round
In the first round, make sure that Bismuth gets to do her mining ability (the top one), like this:

Now it is important that you find one Armor-Ore and one Sword-Ore. To get those easily you can mine the ore in the middle to “crack” the ones that touch it, making it easier to find the other ores.
Like this:
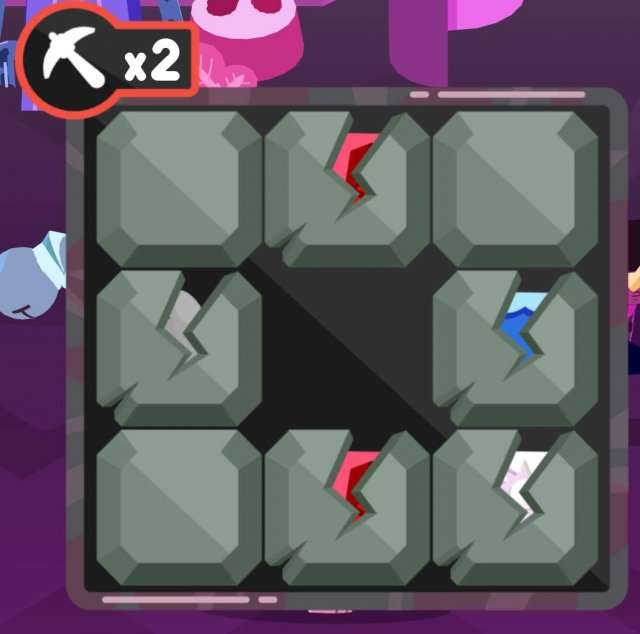
As may know, this is completey random, but you dont have to worry as you can do this ability as often as you want because we dont need stars until the next round.
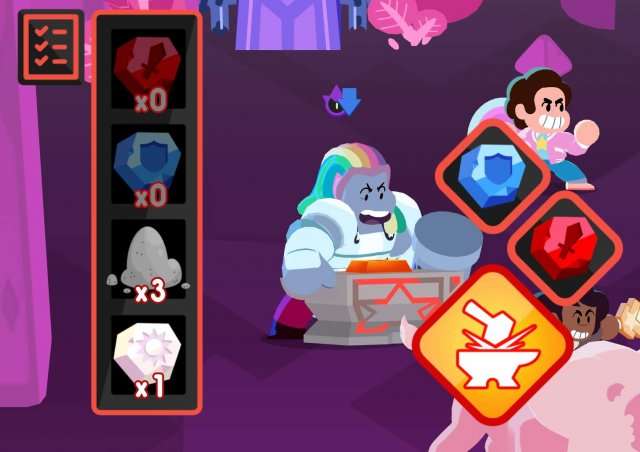
When you have one Armor-Ore and Sword-Ore, you can open the smithing ability (the right one), like this:
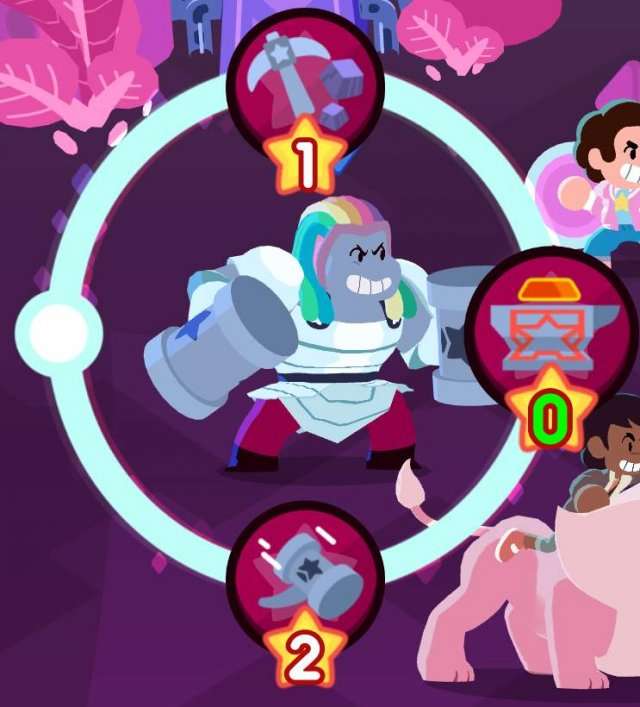
In this ability you can combine two Ores, in our case we want one Armor-Ore and one Sword-Ore!
Now that Bismuth is making the item, we can either protect her with a shield from Steven or make sure Garnet gets attacked with Provocation etc. etc.
I decided to protect Bismuth with Stevens shield, as she can not Block attacks while in the smithing state.
Second Round
After Bismuth is finished with making the item, the item will buff the Characters that are adjacent to Bismuth, in this case Steven and Connie & Lion.
This buff that Steven and Connie & Lion got, makes it that all abilities cost 1 Star less, this is extremely strong as Steven’s Heal and Connie & Lion’s Pounce Attack (the top one) now only cost One!

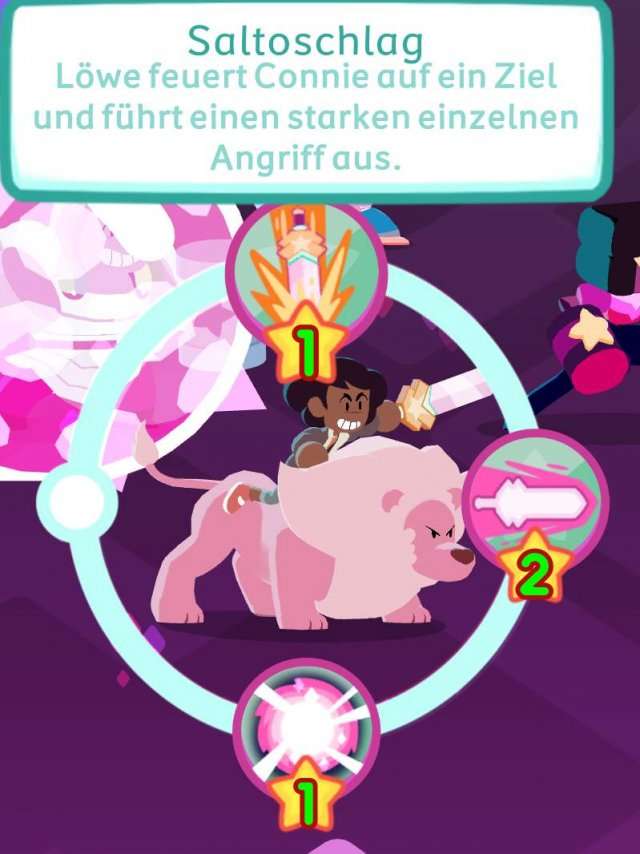
This buff lasts for 2 Rounds, so you can do 10 Attacks with Connie or heal 10 times with Steven.
Connie and Lion are extremely good damage dealers and can do up to 40-60 damage per attack!
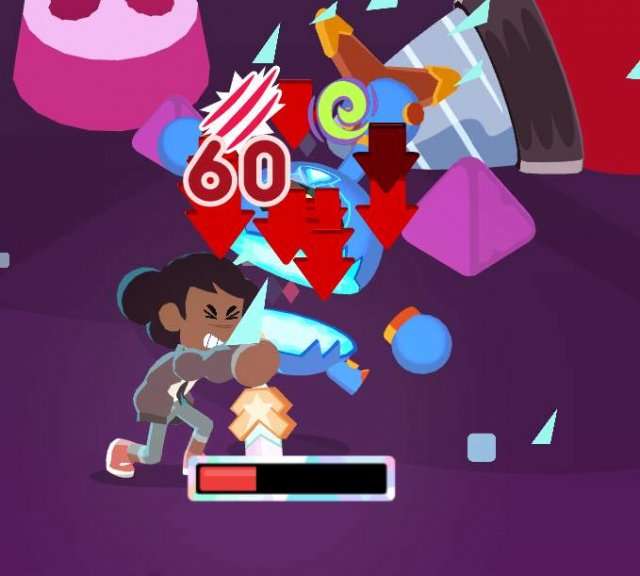
This attack almost one-shot an enemy.
Be the first to comment