
This is the official Neon Nights Pinball guide from Pinblend Studios which includes how to complete the main missions and basic controls.
Contents
Guide to Basics
All credit goes to zer0tobackdown!
Basic Controls
- Enter = Launches the ball with the plunger
- S = Left Flipper
- L = Right Flipper (yes, the irony of using the L for right)
- P = Pause
- C = Camera
- K = Shake Left
- D = Shake RIght
- Space Bar = Shake Up
Service Station Mission
The service station mission is one of the easier missions to complete, which is why it is connected to the multiplier bonus (2x, 4x, 6x, 8x, 10x) as the reward for completing the mission. In order to complete this mission you must roll the ball through each of the gas station pump lanes and light up the red arrows below the activation “rollers”. Once all 4 arrows are lit then three “ss” targets will pop up in front of the gas station. You have a limited time to knock these targets down, indicated by a timer in the top left corner of the LCD scoreboard screen. This is a fairly large area and the ball travels through this area quite often. Once all SS targets are knocked down before time expires it will complete the mission and also light the “Service Station” led on the table.
Helicopter Rescue
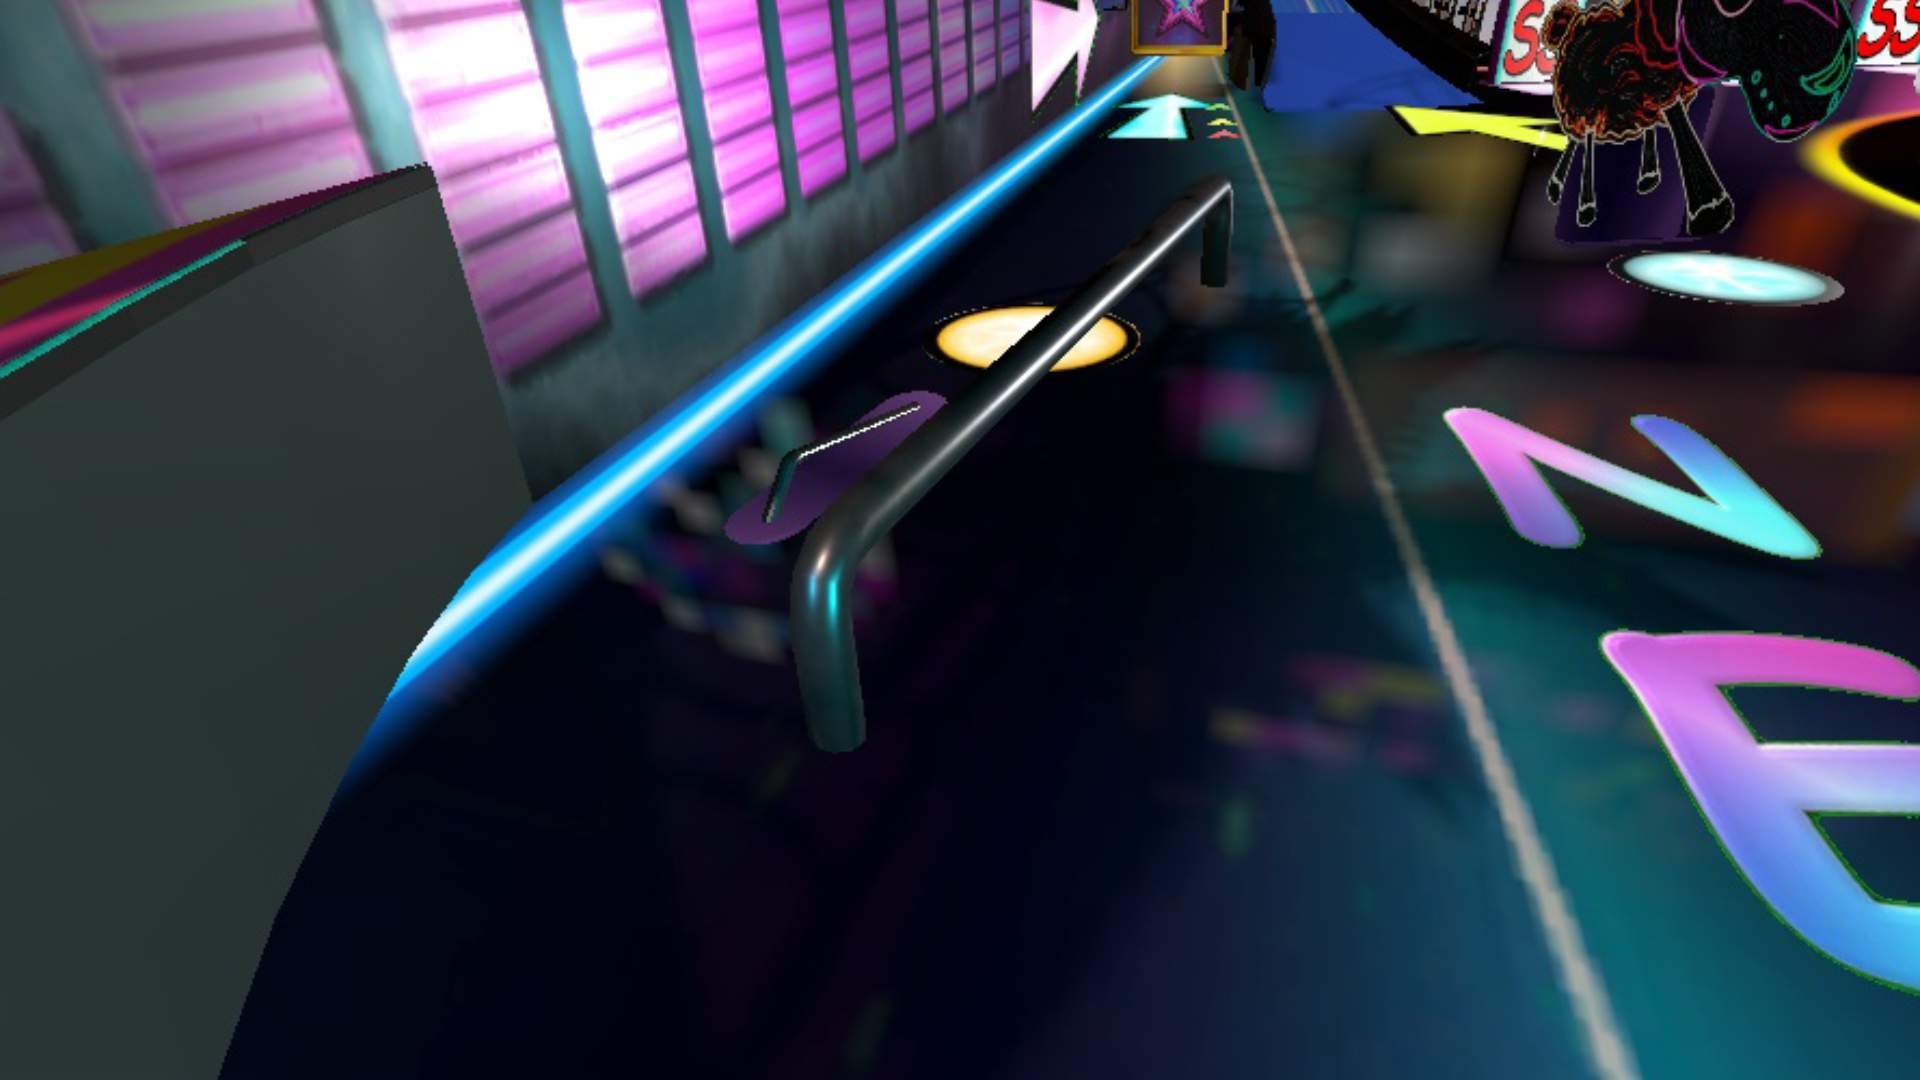
The helicopter rescue mission takes place on the upper left side of the table in a hidden area in the upper back left corner. The first stage of this mission is completed by shooting the ball into the spinner located next to the blue ramp (shown in photo). The LCD screen will display how many spins are left to activate part two of the mission, which also takes place in the same area of the playfield. Once you have completed the required spins a prompt will display stating that the helicopter mission has started, which has activated stage two of the mission.
When stage two is activated the giant pink led arrow that is placed on the sidewall will start blinking. To complete stage two simply shoot the ball through the spinner three more times into the same back left corner. Each successful shot will light the very small leds on the playfield that are next to the original giant blue arrow.
You will know you successfully shot the ball far into the back corner hidden area if the ball launches out of the helicopter.
This entire mission is completed by sending the ball into the same back left corner.
Closing Time Mission
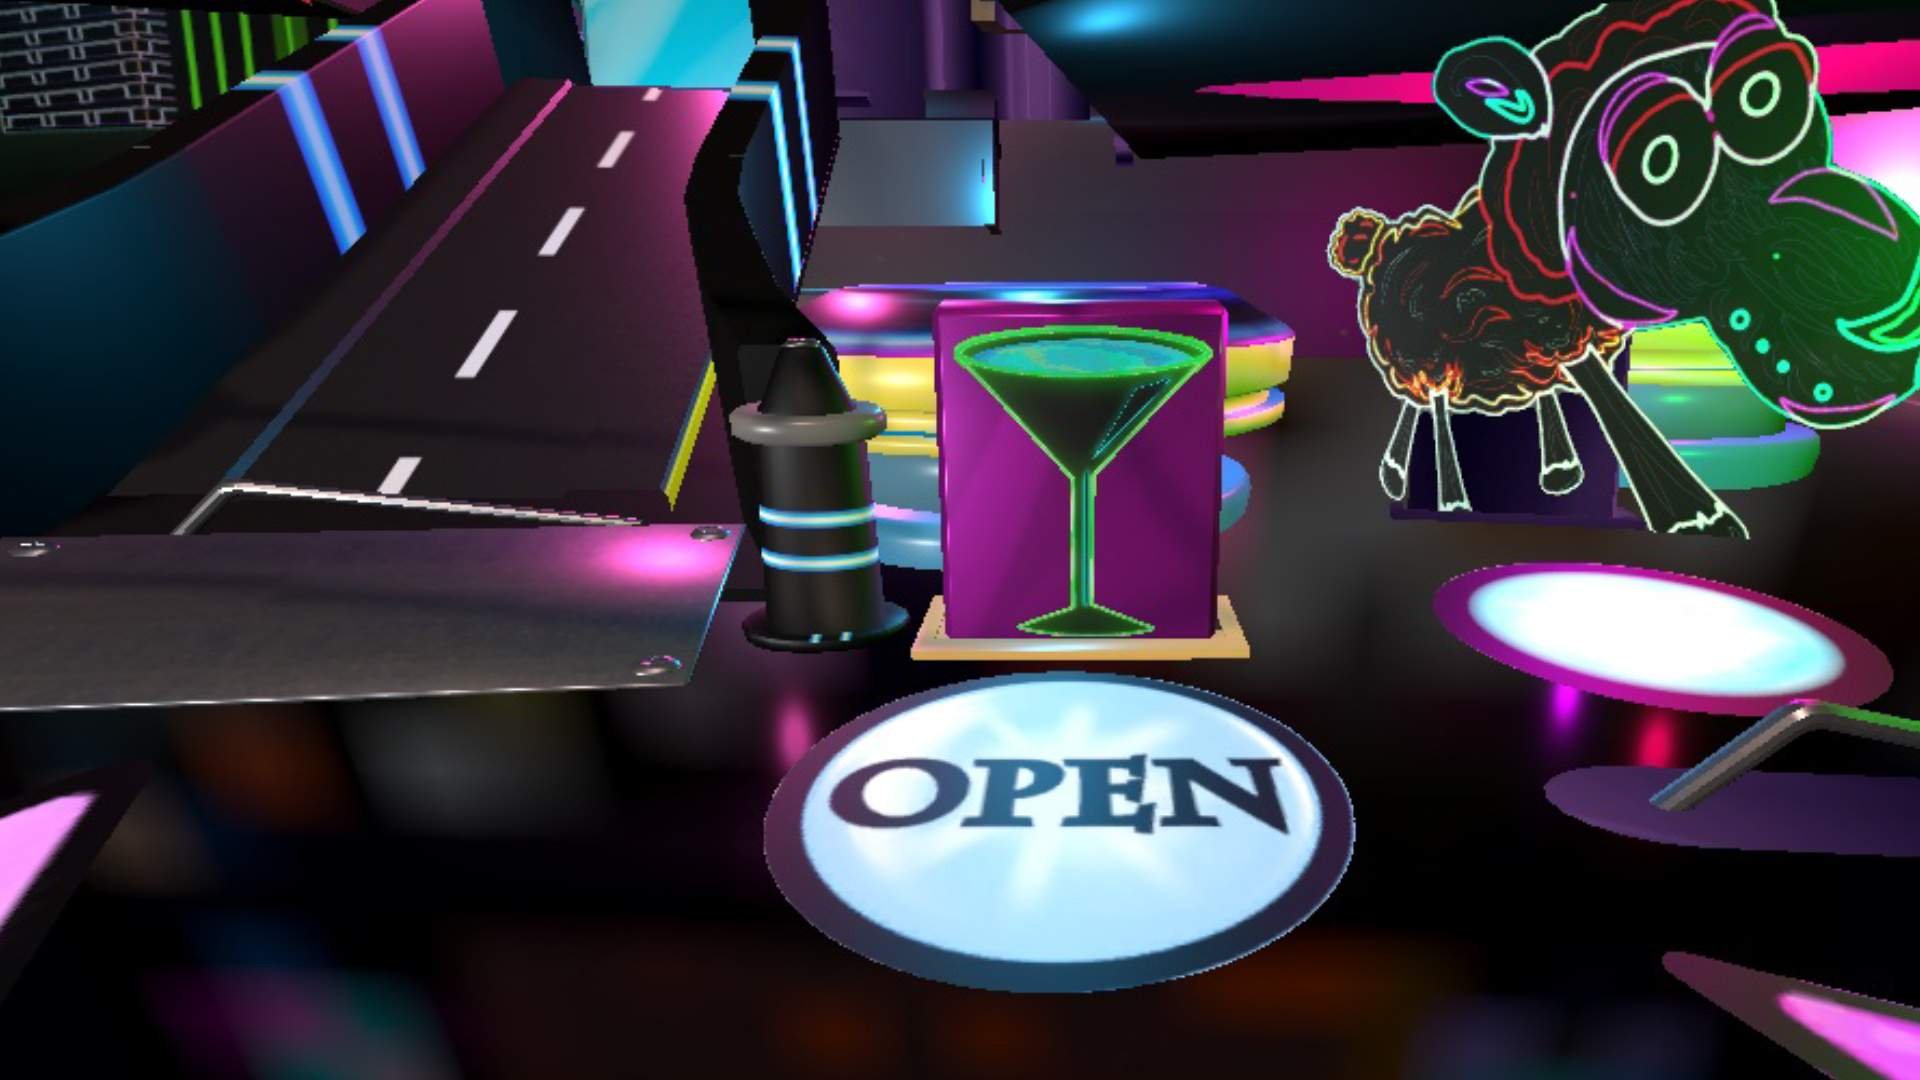
Closing time is my personal favorite mission on the table. To begin this mission you must knock down the martini glass drop target that is located directly in front of the three bumpers under the bar. Once the martini glass target is down the “open” sign above the bar door will light up and also start the timer to complete the mission. You will also notice the blinking arrow pointing at the ramp to the bar which also indicates the mission is now on a timer, and the time left before the mission fails is located in the top left of the LCD screen.
Before the timer runs out you have to successfully shoot the ball up the ramp into the bar so that the ball rolls out of the other door, simply shooting the ball into the first door will not count if it rolls back out. You must do this twice before time expires to complete the mission.

Night Owl Mission

This is a tricky mission to both activate and complete. To start this mission you must first hit the stop sign located in the center of the upper area next to the ramp leading to the middle purple building. Once the ball rolls across the area directly in front of the stop sign it will lower the red door located to the far right flipper on the bottom area shown below.

Once this door is down you will need a little luck to land the ball down in this cup area. Once the ball enters this cup it will be launched back out and up the ramp leading to the purple building in the center. This begins the Night Owl Mission. After the ball has entered the center building it will launch back out into the top right upper playfield located above the bar. This part of the mission does have a timer and completing the mission weighs heavily on making the correct shot on the upper playfield, which is indicated by the blinking purple area pointing to launching the ball out of the right side shown below.
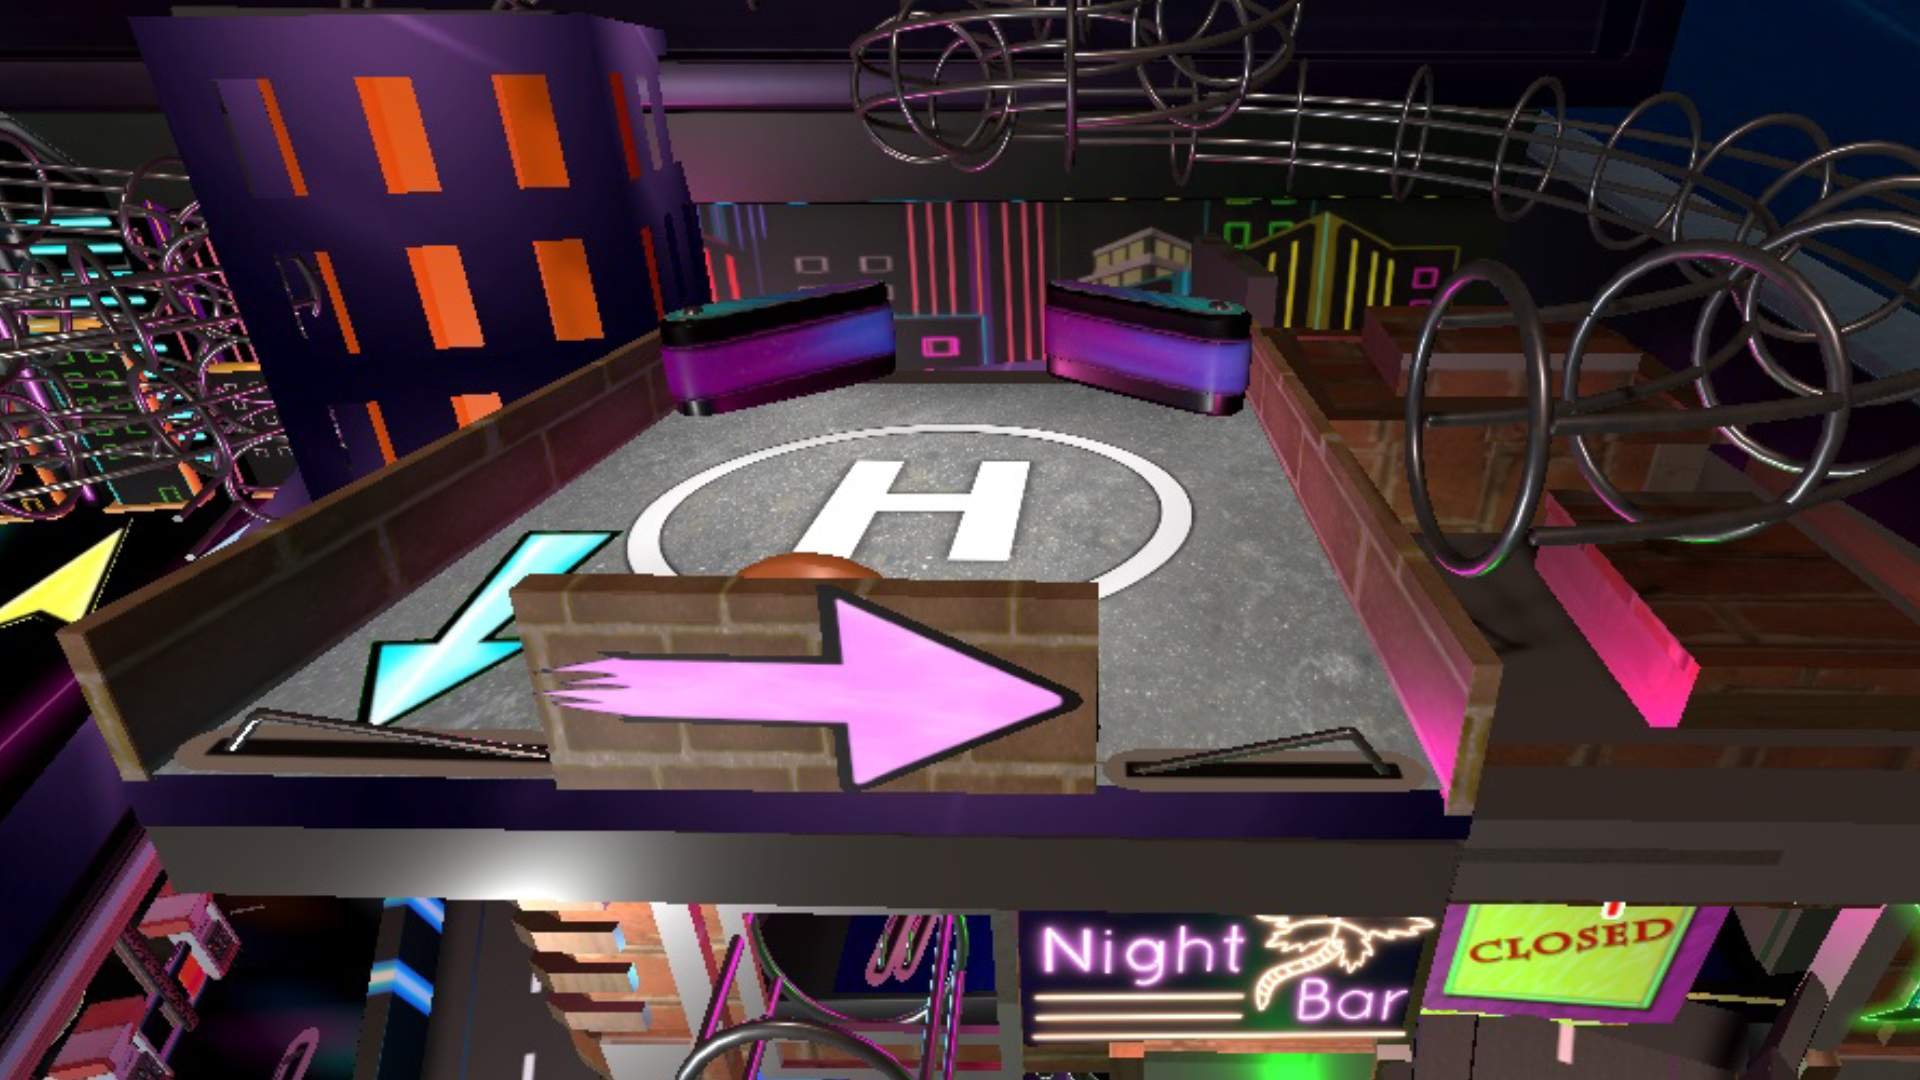
The final shot to complete this mission is located on the left ramp, indicated by the blinking yellow arrow shown below.

If you manage to make both the upper playfield shot and the left arrow shot before time expires than congrats, you just completed the Night Owl mission!
Great Escape Mission

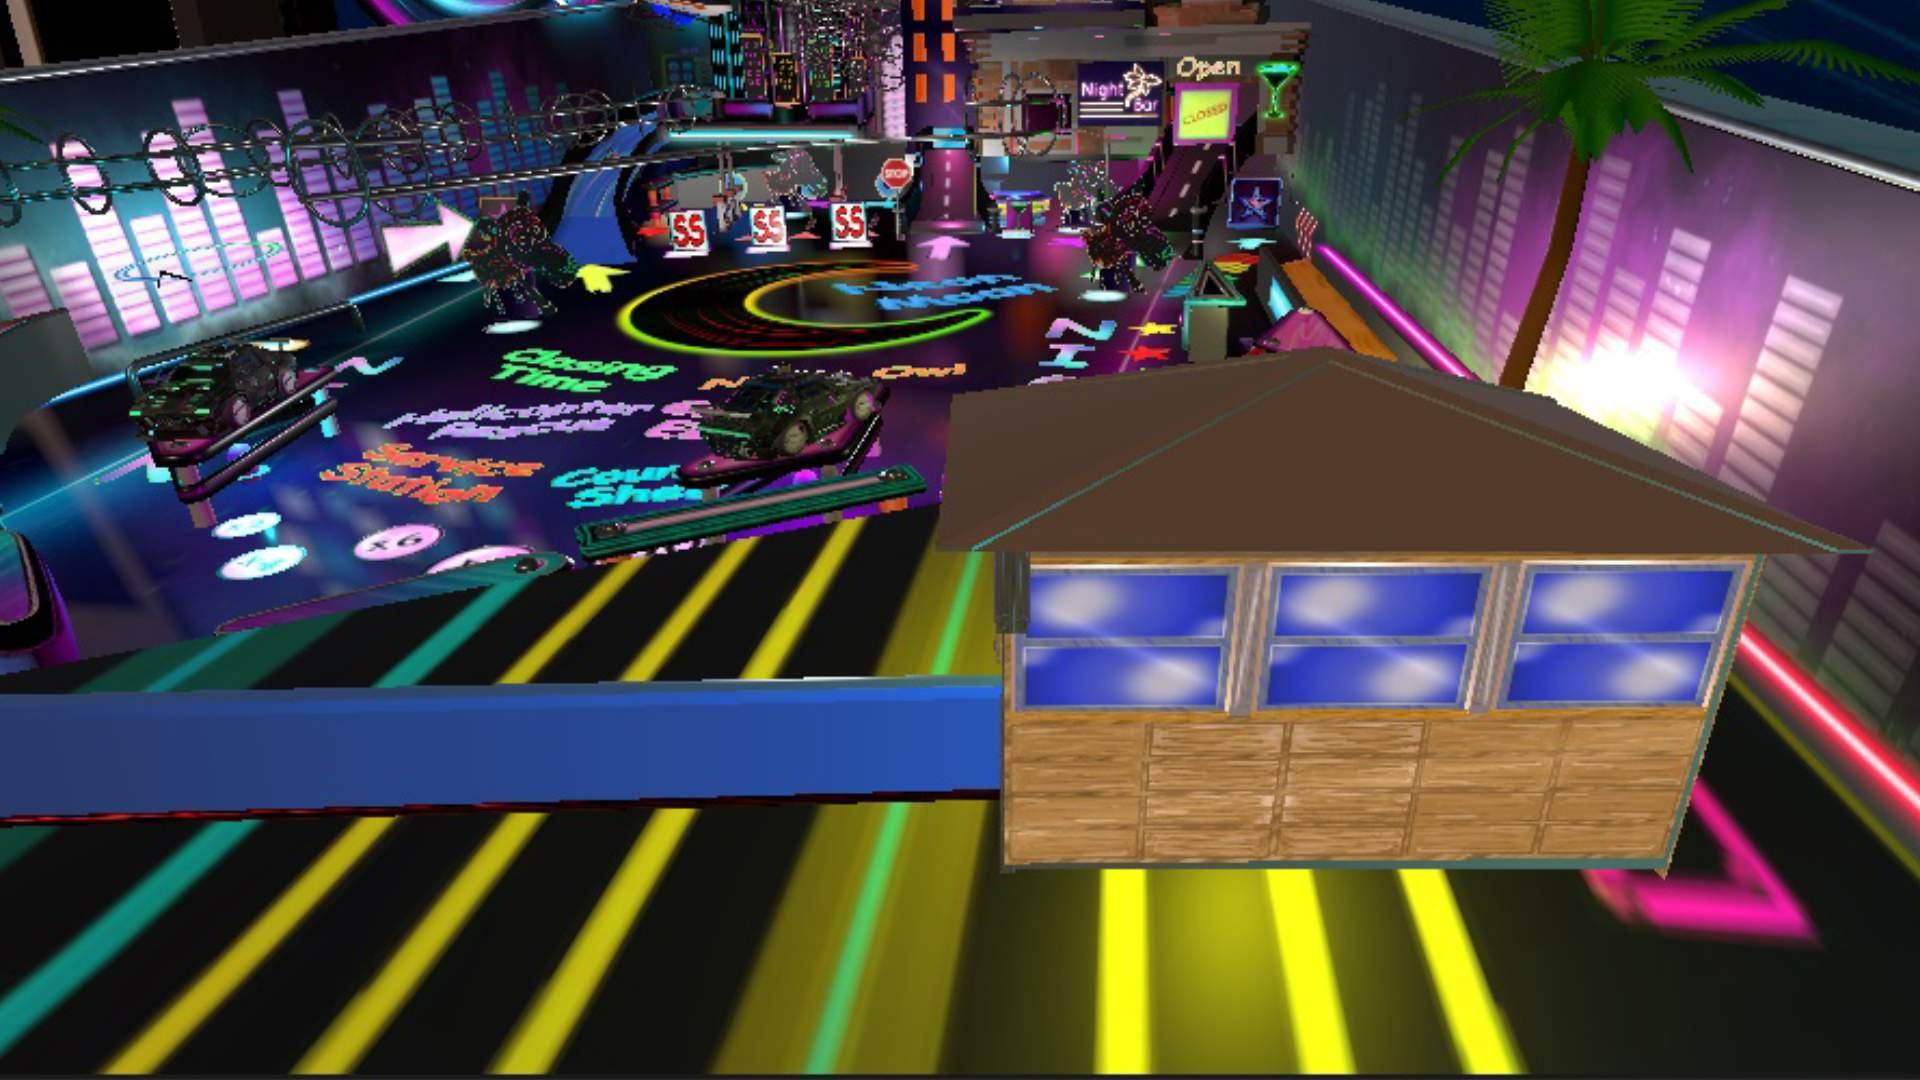
The great escape mission takes place in one area which is found by simply shooting the ball up the left ramp onto the upper left playfield, shown in the picture above. Once on this playfield you will need to hit each building in order shown by the led light indicator below each target. Once the four buildings are knocked down the wall/gate located next to the left flipper will open up.
To complete this mission the ball must roll across the gated zone where the purple arrow is poitning, and the easiest way to get through this zone is by shooting the ball up and holding the left flipper so the ball rolls down the flipper and through the zone or by shooting the ball into the left wall and letting it drop. This is a tricky shot to complete, but also well worth the effort as this is how you activate multiball.
Once the ball has rolled through this zone it will successfully complete the mission and light the led Great Escape to show the mission has been completed.
Please note, it is possible for the ball to roll through this gate off the left flipper and not complete the mission if the ball is moving to slow, there has to be a little force to complete the mission.It is rare but it can happen, the engine has a hard time detecting the successful rollover through the zone if the ball is moving at a snail pace. It is also possible to complete the mission by rolling near the gate but not actually dropping it down through the chute, again you need to have a little momentum to both complete the mission and drop the ball into the chute for multiball.
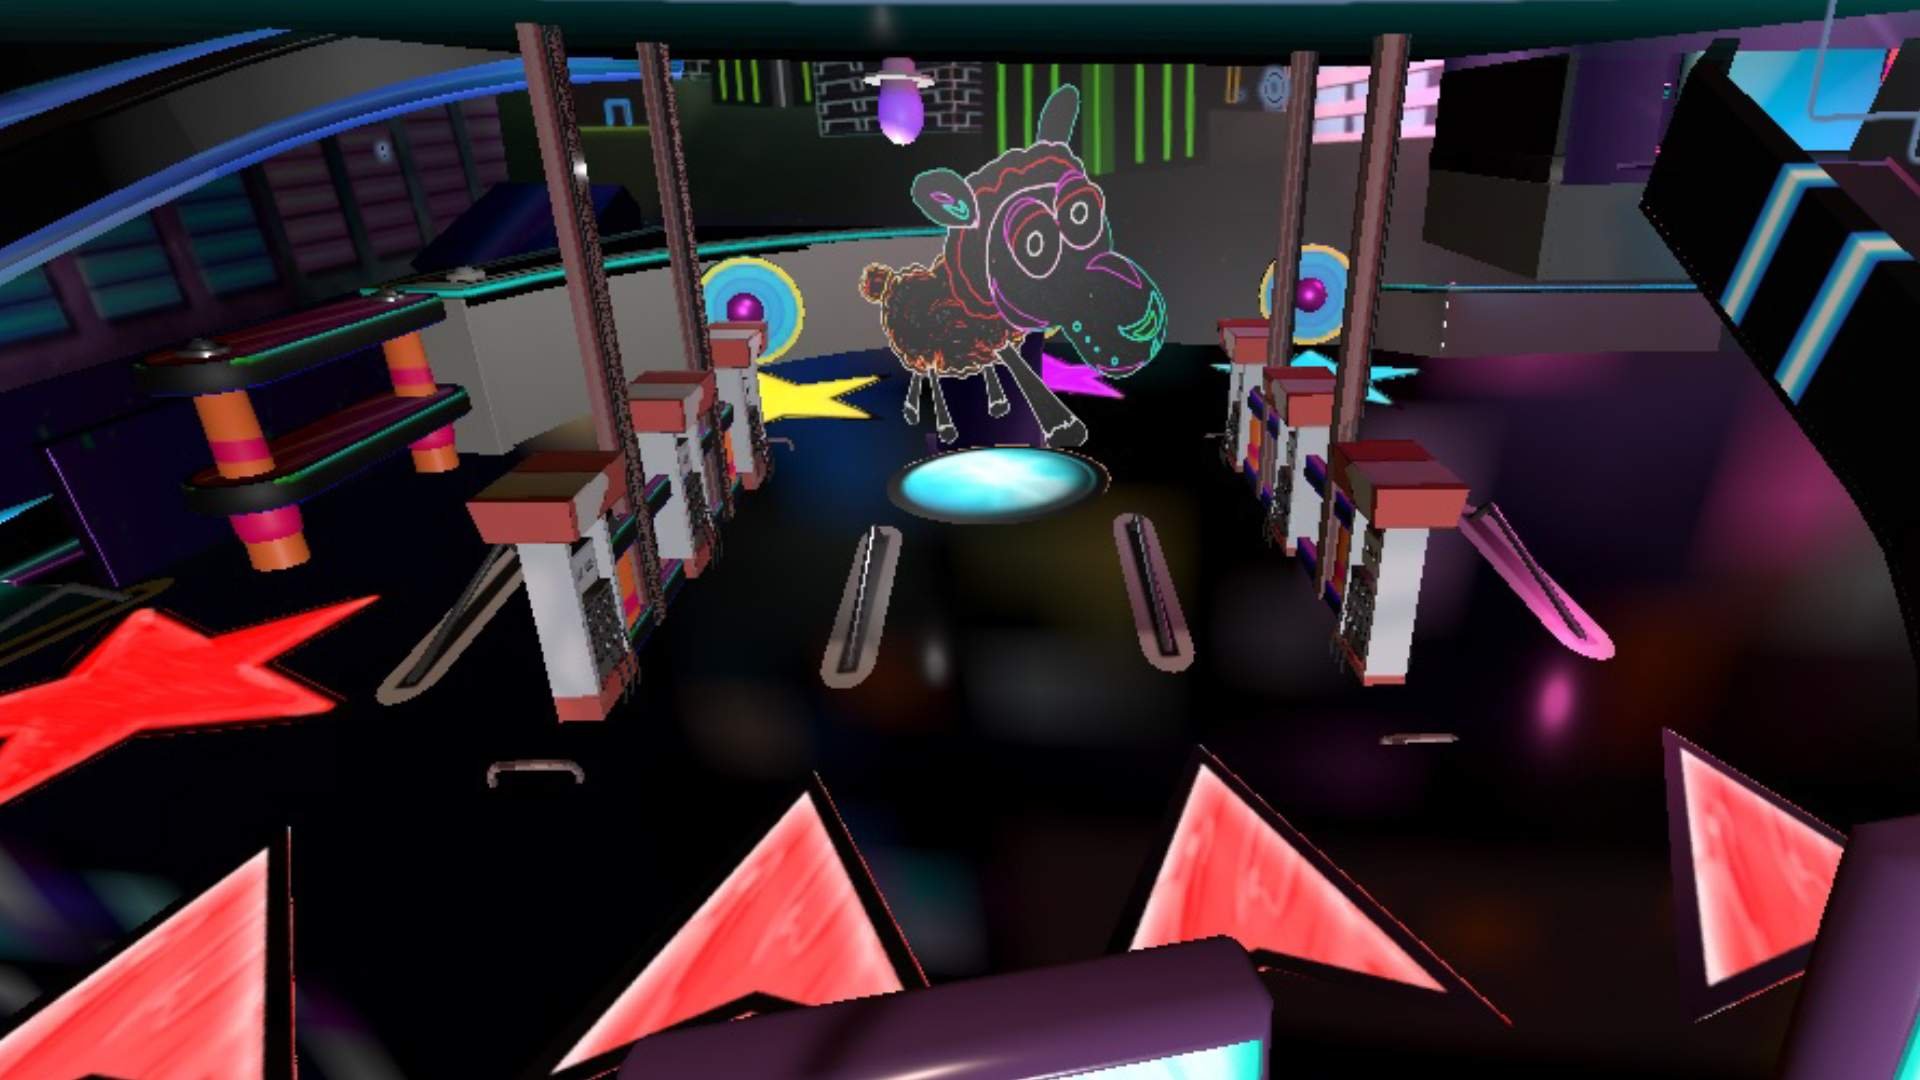
Counting Sheep Mission
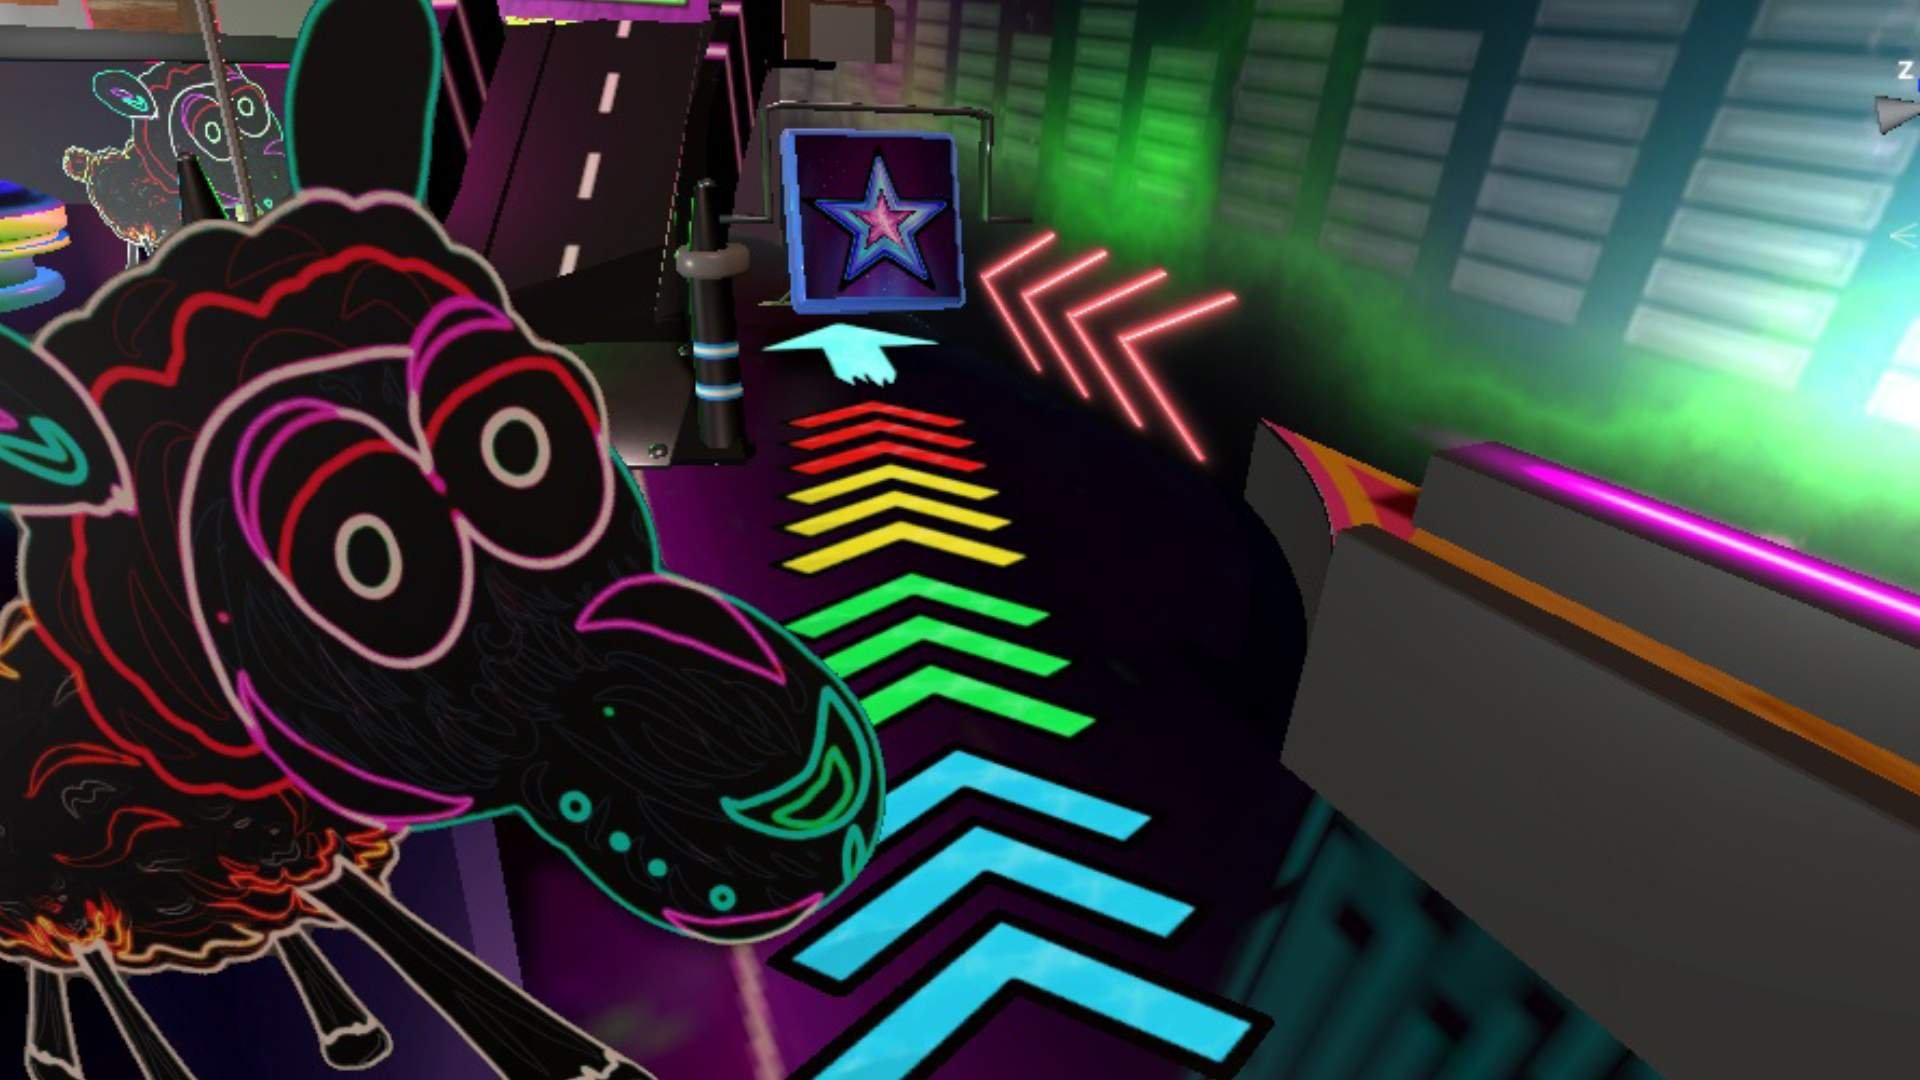
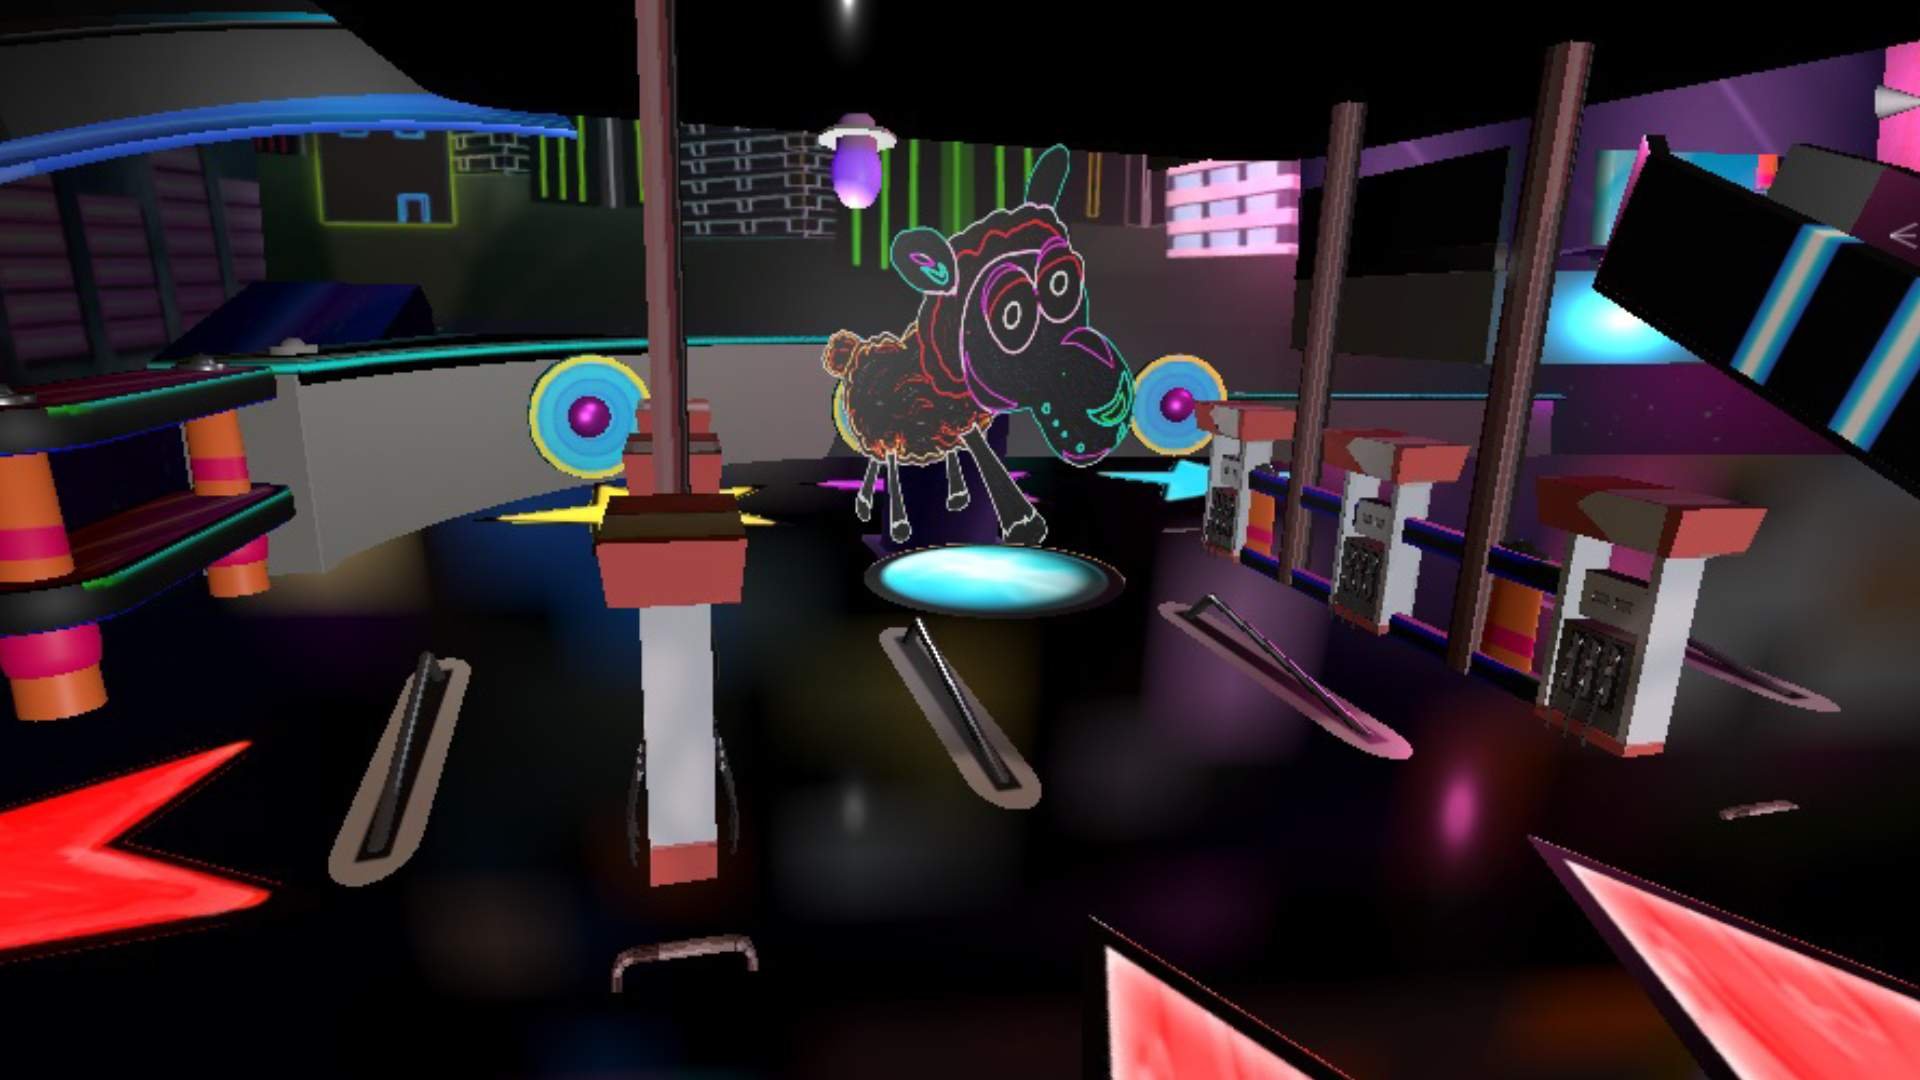
Baaaah! The counting sheep mission is both an easy and fun mission to complete, as its activation is most likely going to happen for most people without even trying. The spinner located on the right side of the playfield has to be rolled through a set number of times, indicated by the led arrows located below the spinner. Unlike the helicopter rescue mission, the spinner itself and how many times it spins does not matter, only that the ball rolls through this zone a set number of times. Once all the leds are lit and the spinner is hit one last time it will start part two of the mission, which pops the sheep out of the table. There are four total sheep, two located in the middle zone of the playfield and two tucked away in the back area, one is in the middle of the bumpers located below the bar, and the other is behind the gas pumps in the service station area as shown below.
Once you have knocked all four sheep down congrats the mission is complete and the counting sheep led should now be lit.
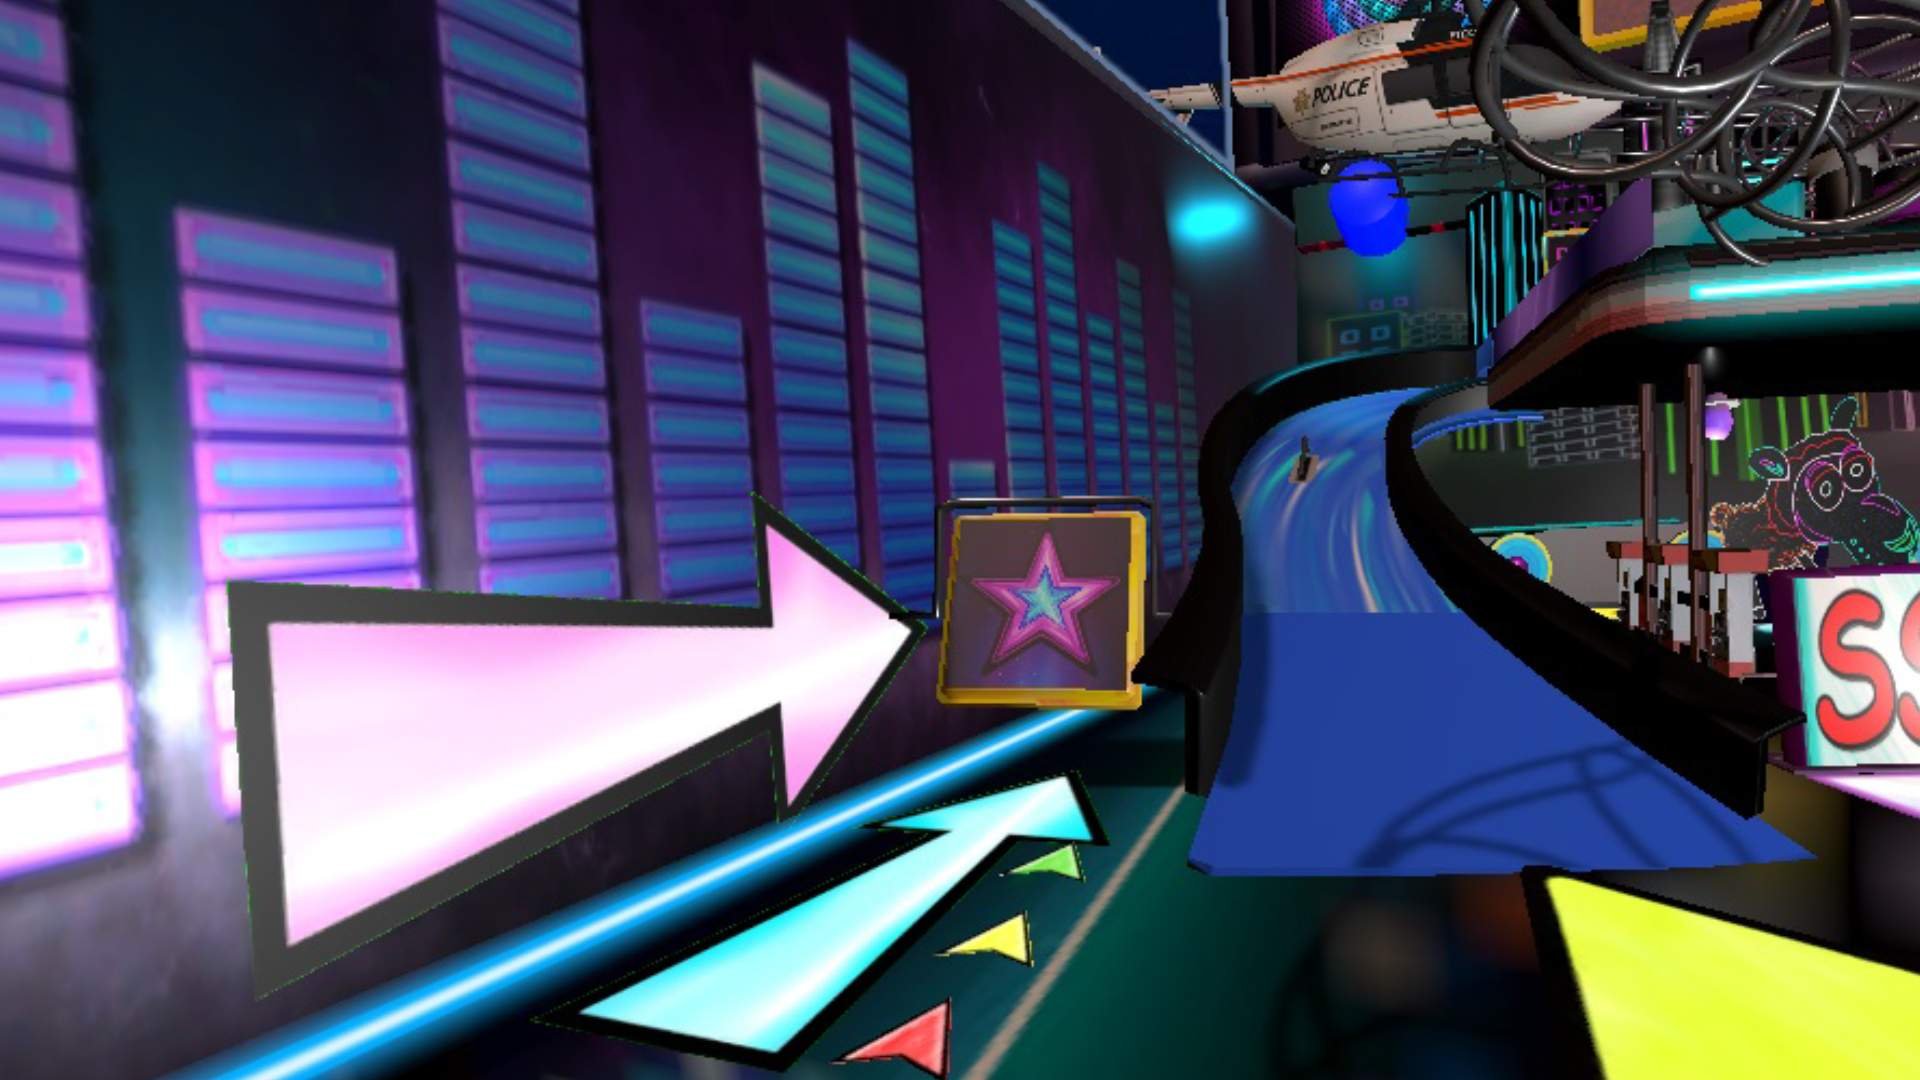
Neon Moon Mission
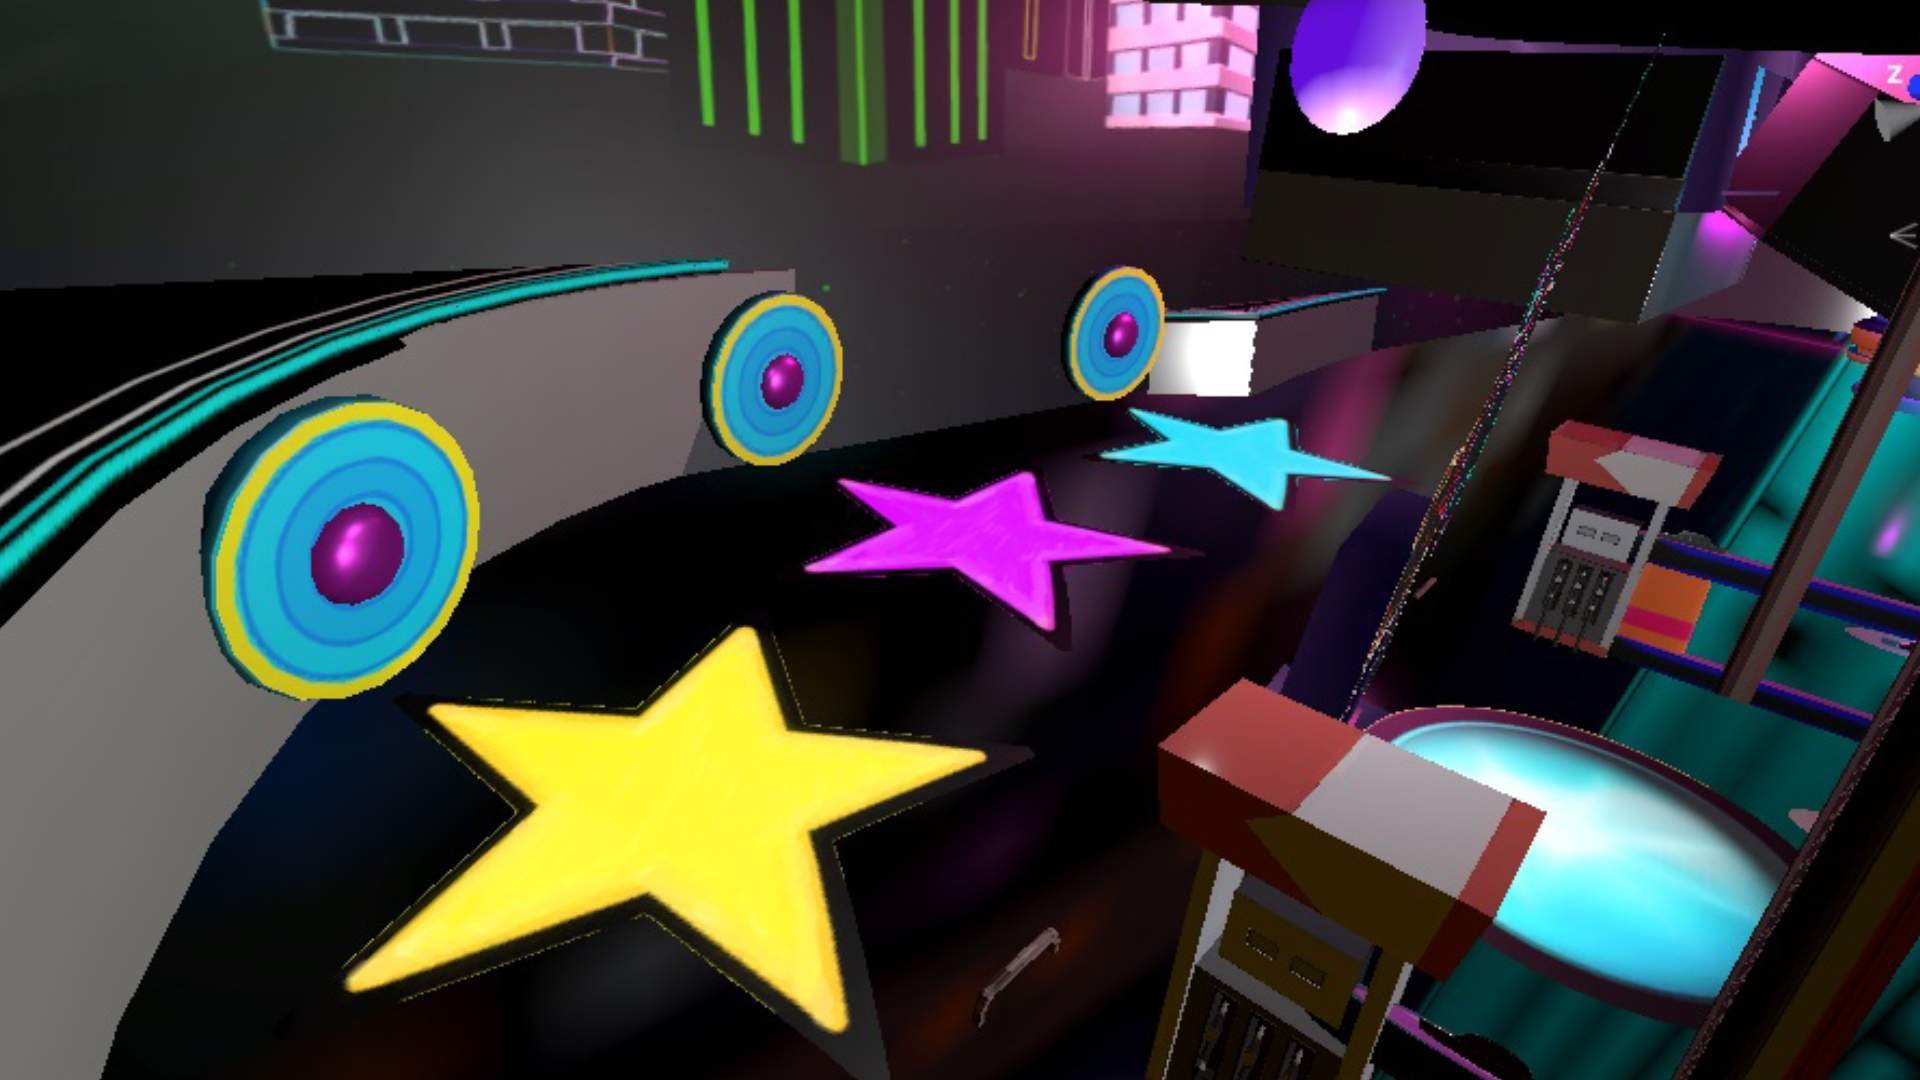
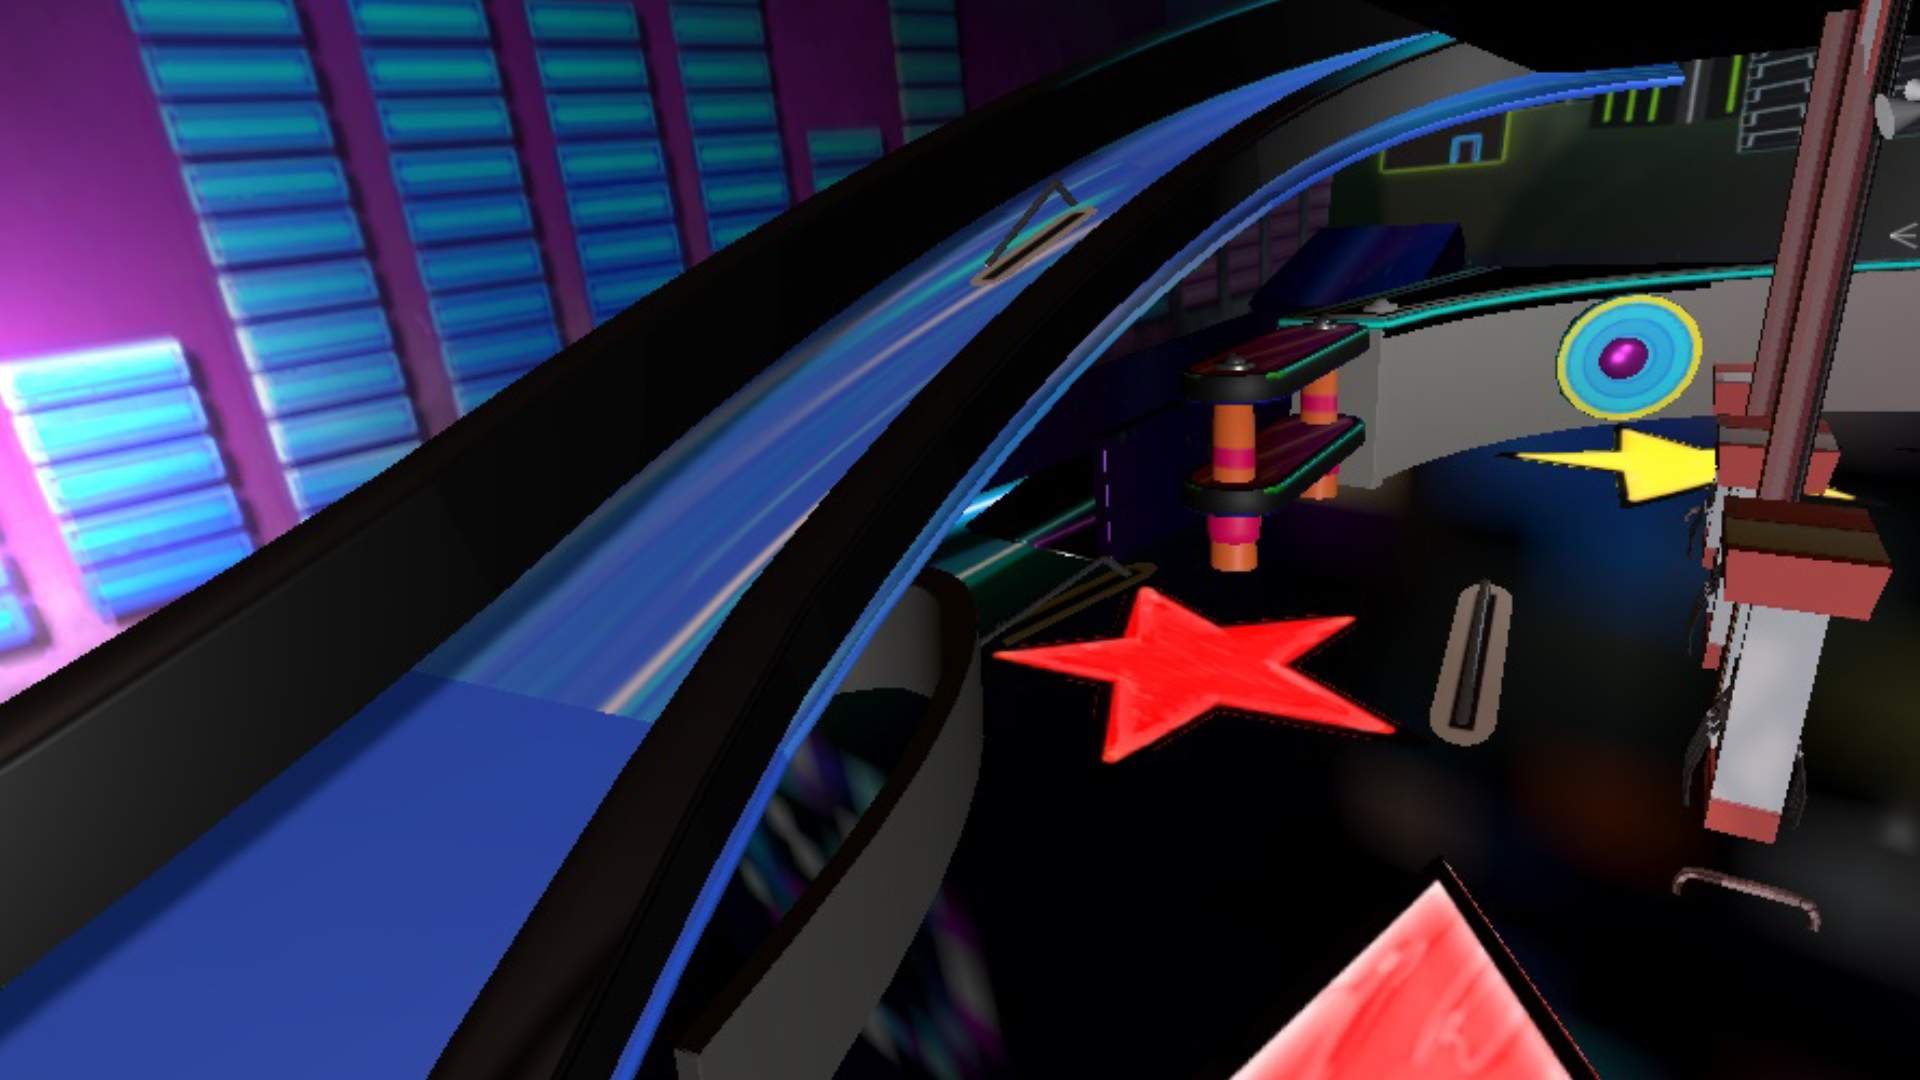
This is an interesting mission because it is spread out across the table and most likely won’t be the focal point when scanning the table for mission objectives. This mission involves hitting six targets to activate the second half of the mission, and those six targets are stars shown in the photos below. Once a star has successfully been hit the led star will darken.
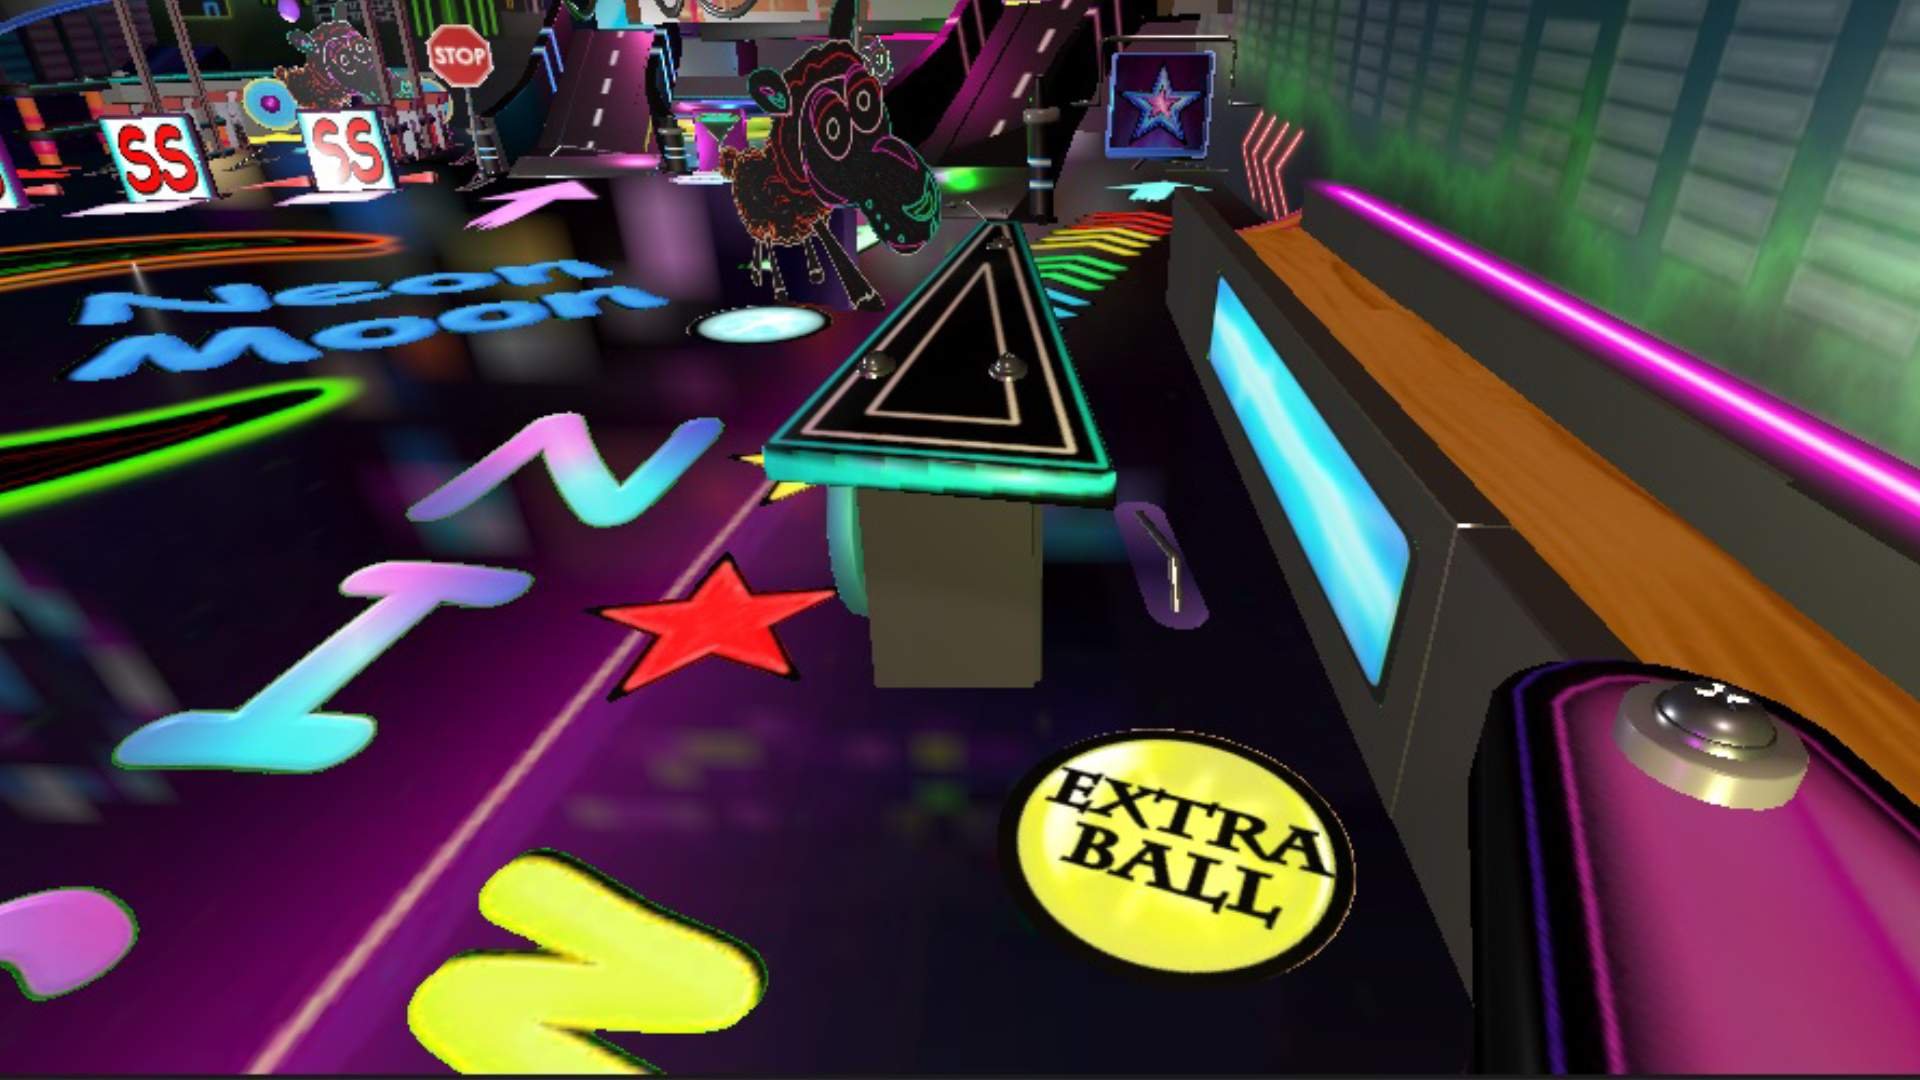
The first two stars are located next to the extra ball lane.

There are three stars located behind the gas pumps in the service station area.
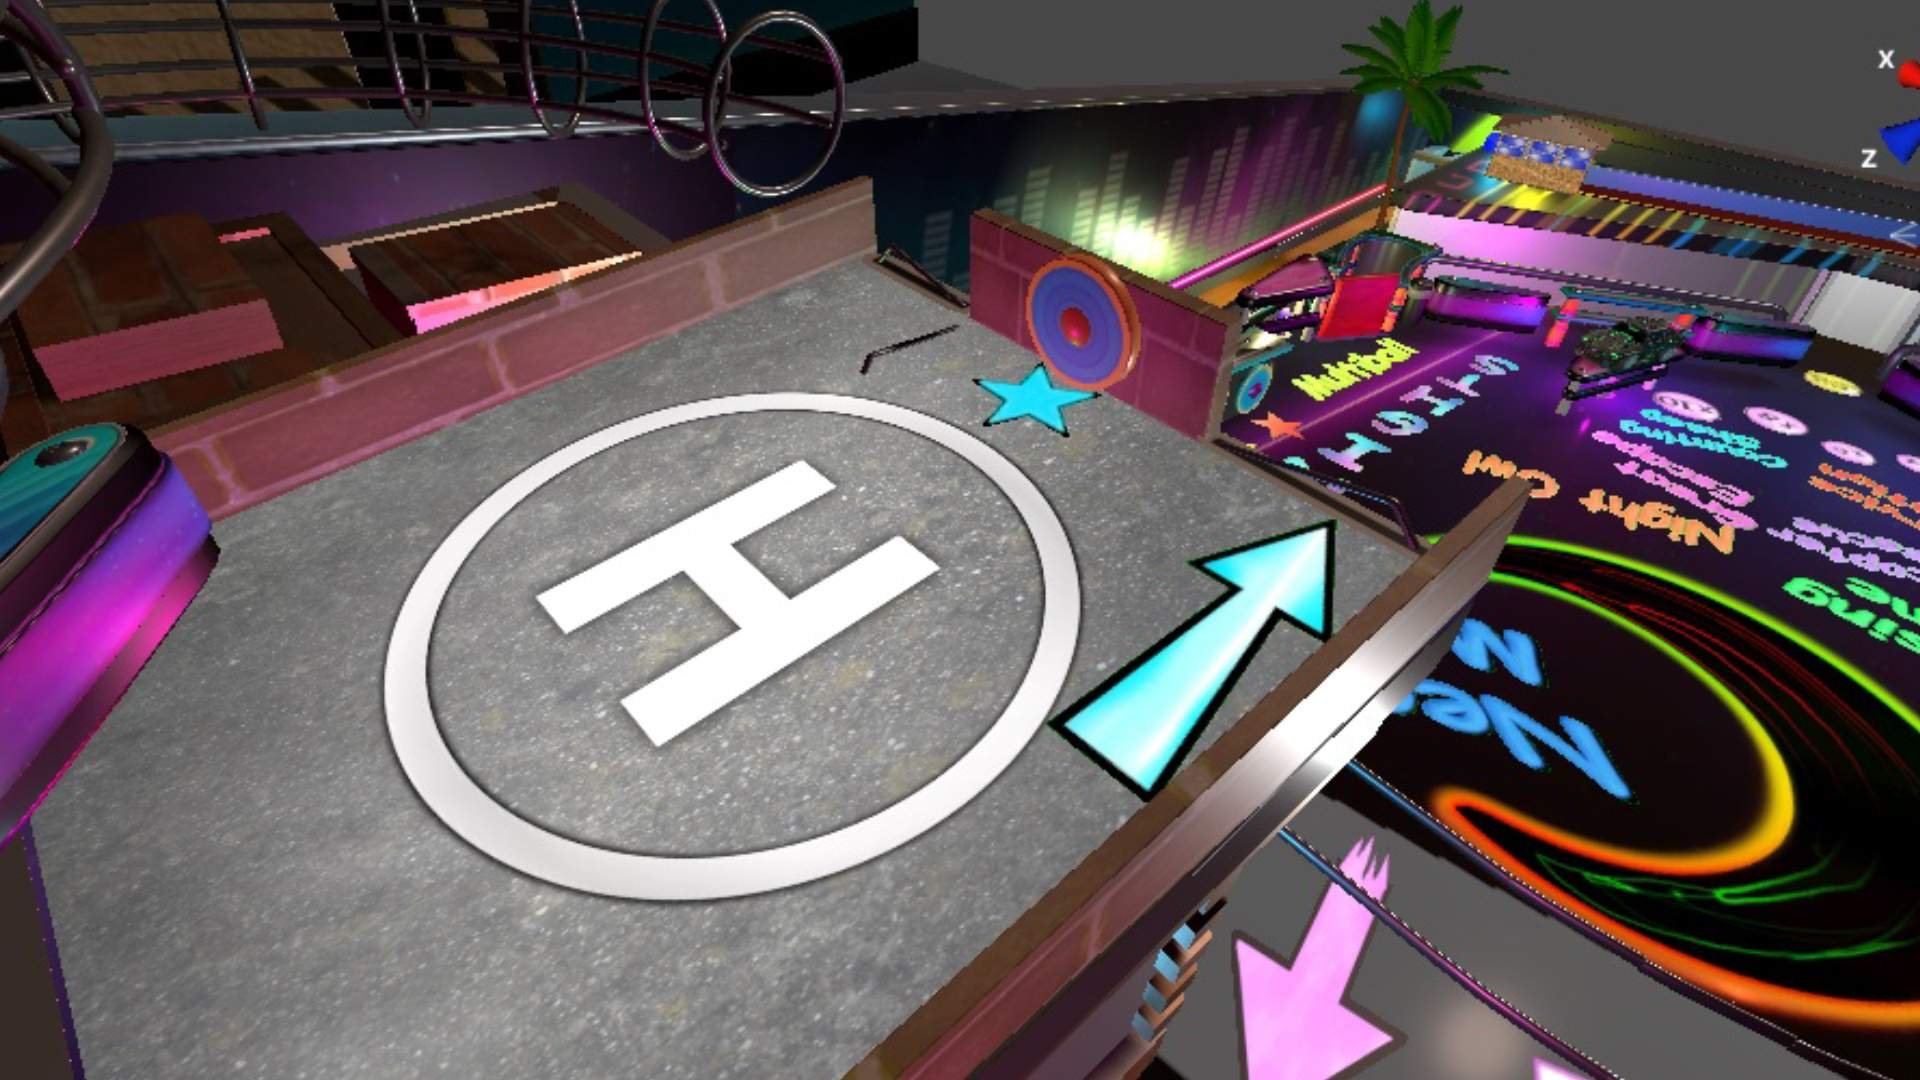
The final star is hidden in normal camera view mode but shown when multiball starts and is visible from the top down camera view, it is located on the helicopter pad on the bar rooftop.
Once these 6 stars have been “collected”, it will trigger part two and you will have two final stars left to collect to complete this mission. The first star is located under the bar in the bumper region.

Your final remaining star is located under the left ramp between the helicopter rescue alley and the service station.
Once all stars are collected congrats you have completed the Neon Moon mission and will light the Neon Moon letters led in the center of the table.
Extra Ball, Multiball, Bonus Multiplier, and the Key to a High Score
This is a pretty forgiving table in terms of difficulty, so the extra ball is a little harder to earn than most other tables you may be familiar with. To earn an extra ball you must light all of the “Nights” letters, and these letters are lit by rolling the ball through the far right lane where the extra ball led sticker is found. Once all the letters are lit and the ball rolls through this zone again it will award an extra ball.
To activate multiball you must bring down the gated area found in the great escape mission, please see that section for more info. Once the gate is down and the ball rolls down to the bottom of the table it will activate multiball.
There are three ways to increase the bonus multiplier. First, you can hit the bumpers located under the bar a set number of times. Second, you can complete the service station mission. Finally, the NEON letters located above the left main flippers will activate a bonus once all letters are lit and the ball rolls through the zone one last time, and that to light the letters and complete the zone the ball must simply roll down the far left side of the table shown in the photo below.
The key to a high score on this table is not so much focusing on completing missions but to focus on getting the multiplier maxed out as quickly as possible and then trying to activate multiball by doing the great escape mission as much as possible. Multiball = faster scoring across the board if you can keep the balls in play!
Be the first to comment