
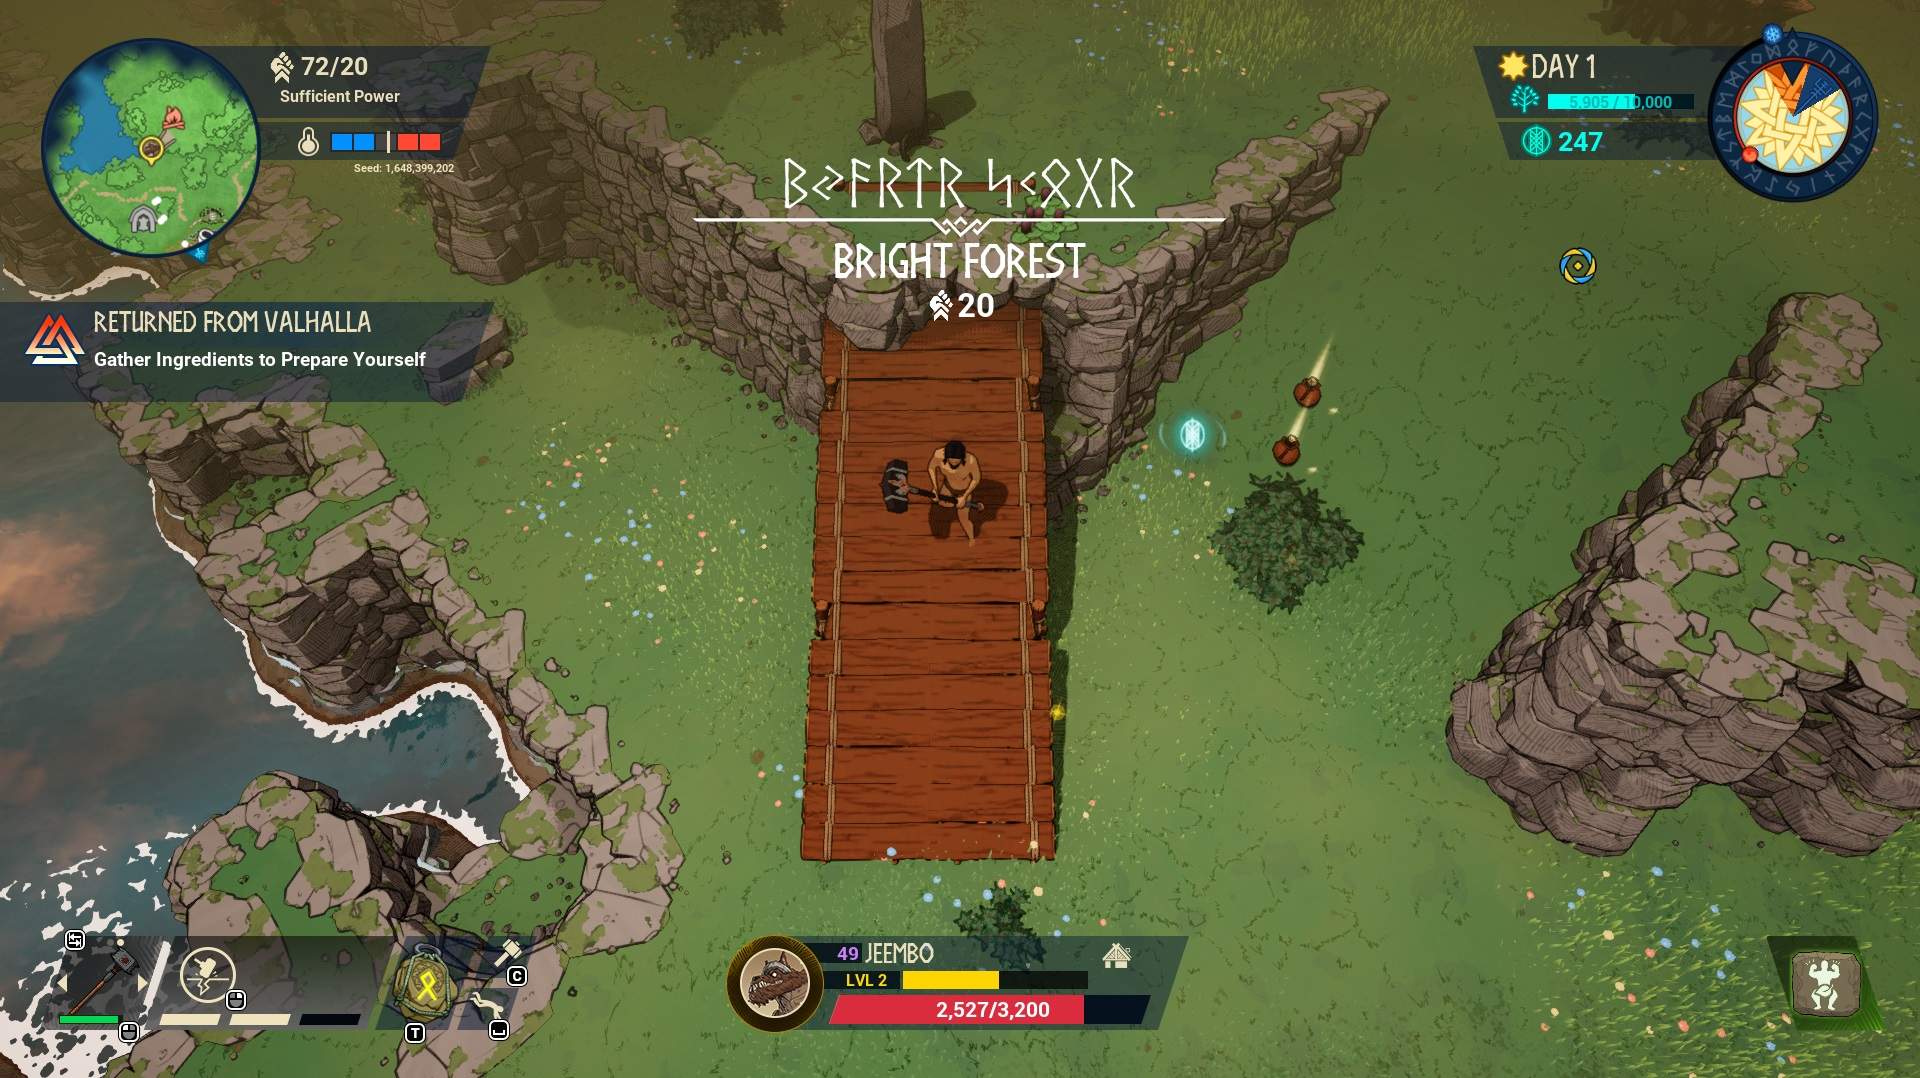
Ramp building with visual/text/video examples.
Building Ramps Guide
Examples
Here are the basics of what you need to know.
Avoid building around mines, trees, plants (enemy’s <– you know these jerks will knock them down.)
Trees/mines/stone/plants will not allow you to build over them harvested or not, if at all possible try to select a place to build where the obstruction is minimal in this regard. (Usually isn’t an issue).
Ideally you want your ramp to be the first thing that pops up when you press your hot key (LB for controller) (C mouse and keyboard) I usually ditch /store the non ramp pieces as they just slow things down.
You want to be aiming for either the side/edge of your intended destination or look for a gap between the terrain. Here are some visual examples.

In the pic above we can see this concept at work, the ramp is at the edge, as long as it clips into/through/over the top of the intended height & has room to run on to (like the large space on the left) you’ll be able to reach the top.
This example will not work, while the height (going through the terrain/so we can see it is good, but we don’t have any space available that isn’t clashing with the top edge of the cliff)

This one is an altered/correct version of example 2. This one will work because we have the proper height & also a way to get on to the terrain (the far left really small corner is enough. I could have moved this board another notch left and it still works but I’ve done this enough knowing it would succeed) Want to see this in live action? The link below will show this.
As you can see here is the example 2 & example 3 pictures in live action, number two doesn’t work because of no access without hitting the top of the terrain first (which blocks our movement) where as with example three we have a small pathway to reach the top.
Here is another example of the building using most of the concepts described. The last one you can see I ran into the tree which would have prevented me from building, yes I didn’t build in the same area, I was more trying to show that this building can be done quickly, accurately in rapid succession using these methods) so I decided to go up another way using a method not seen live or in screen shots only described (probably poorly) which is why I decided to do visual examples.
The final example shows how the tree obstruction can be worked around (although it would have been much easier and more time friendly had I just moved further to the left or right either one of those edges (again try to avoid trees/stone/mines/plants at the top or bottom at all costs).
Any questions comments please feel free. I’d love any feedback, this is my first guide so hopefully I got the formatting correct the first time. I’ll probably clean up the guide a bit (make sure everything proof read, remove extra lines but for now I wanted to get this guide out asap to help the community as quickly as possible.
This might become obsolete if they ever add something where it can only snap or make the building easier, but for now I believe this is some of the best ramp building available given the current system.
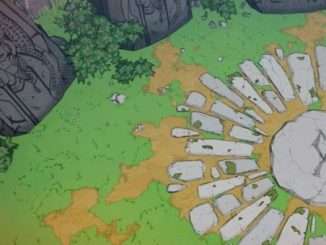

“the ramp is at the edge, as long as it clips into/through/over the top of the intended height & has room to run on to (like the large space on the left) you’ll be able to reach the top.”
So that’s why my ramps fail. Favourited.
Thanks!