
This guide explores some of the best spots in the game to farm souls and most main tiers of titanite in the game. Coloured titanite is not a priority. The purpose of this guide is to alleviate as much of the grind in the game as possible.
Contents
- Important Equipment
- Undead Burg (Souls / Very Low Level)
- Undead Burg (Souls / Low Level)
- Undead Parish (Titanite Shards)
- Darkroot Basin (Souls)
- Darkroot Garden (Souls / High Risk)
- Blighttown Swamp (Large Titanite Shards / Green Titanite Shards)
- Ash Lake (Twinkling Titanite)
- Painted World of Ariamis (Souls / Best Spot)
- Painted World of Ariamis (Souls / Souvenir of Reprisal)
- New Londo Ruins – Lower (Titanite Chunk / Titanite Slab)
- Crystal Cave (Twinkling Titanite)
- Lost Izalith (Demon Titanite)
Important Equipment
All credit goes to Steels12!
All the equipment in this section are suggestions. None of them are necessarily mandatory, I just personally find them to be some of the most effective aids to grinding.
Covetous Silver Serpent Ring
Not the easiest item to get for early game grinding it is undeniably one of if not the most important item on this list. This ring is found in the Tomb of the Giants and increases soul absorbtion by 20%. Trust me, this shouls be a priority.
Covetous Gold Serpent Ring
The Covetous Gold Serpent RIng is an amazing item to have when you need to find items as it increases the item drop rate and can save you a LOT of time when you seriously need some items badly.
Symbol of Avarice
This item is a rare drop from a Mimic. It gives both a boost to item discovery rate and the amount of souls enemies drop. It’s important to note the Symbol of Avarice DOES stack with the silver serpent ring (totalling in a +44% soul absorbtion) but it does NOT stack with the gold serpent ring.
Warning: The Symbol of Averice will slowly damage you for as long as you have it equipped. Keep an eye on your health.
Undead Burg (Souls / Very Low Level)
One of the earliest bonfires in the game can be used as the start and finish for a small course that can be used if you need some quick souls at a very low level. It’s relatively low risk and a good way to gain any quick stats you may need for the equipment you can pick off of the enemies in this area.

Starting from the bonfire the most efficient path in my opinion is as follows:
- Exit bonfire room
- Go right down to the small courtyard area
- Proceed over the bridge to the top of the Undead Merchant’s building
- Down the stairs past the hidden Hollow
- Go up the ladder past the four naked hollows
- Jump off the roof (drop kill the firebomb hollow)
- Take out the three remaining hollows in that section
- Return to the bonfire
- Repeat as needed
Keep in mind you’ll be killing all the enemies you encounter for their souls and a chance as some fairly light equipment.
Undead Burg (Souls / Low Level)
Starting from the bonfire in Undead Burg, head up the ladder and onto the bridge that the Hellkite Dragon is, don’t worry, he’s not hard to miss. This grind spot is a simple but time-consuming way to obtain 555 souls every minute or two. Although not an effective way to grind at a point, it can help if you’re desperate for levels.
The grind spot here simply involves you trotting onto the bridge, then ducking back down the stairs while the Hellkite Dragon kills the armored hallows on the bridge with its fire breath. Then just go down, rest at the bonfire, and go back up for some more souls. Simple as that!

Undead Parish (Titanite Shards)
Using the bonfire in Andre of Astora’s building as a checkpoint you can quickly go back and forth over the bridge, killing the three armored hollows outside the church and the four hollow balder knights in just a few minutes time. Balder knights seem to have a fairly high rate of dropping titanite shards which can be good for lower level characters, not to mention that without the Lordvessel you can’t warp between bonfires, so being so close to a blacksmith is helpful.

Darkroot Basin (Souls)
Head out to the Darkroot Basin past Andre of Astora. Keep to the left (if you see a hydra you’ve gone too far) and there’ll be an illusory wall covering a bonfire beside a large locked door fairly early on in the basin.

After the bonfire, head past the door and down the small forest path. This grind spot can be a bit tedious but it’s worth it for those early and mid-level souls. The tactic here is to simply murder everything in the area.
The enemies that enhabit this area are the giant stone guardians (which are easy to fight once you learn their attack style, and drop a whopping 600 souls EACH), living trees, tree lizards (which can poison you if you’re not careful), and odd frog… things. The biggest soul givers are the Guardians and the Trees. This tactic can rake in about 5,000 – 6,000 souls in about 5 minutes time (with a small boost of souls if you go and kill the Moonlight Butterfly).
I typically clear ou the main area around the ruins leading to the moonlight butterfly, but you can also go past the living tree near the entrance of this area for a few more guardians further into the garden.
Darkroot Garden (Souls / High Risk)
Starting from the Bonfire behind the illusory wall in the Darkroot Garden (see prior point if you need to find it), head on in through the locked door. If you need the key then you can buy it from Andre for 20,000 souls (which is worth it as this is not only a nice grind spot but also leads to a boss you will need to kill later in the game.). The rest of this grind spot is up to you, the area ahead is riddled with enemies (whom will not be hostile if you join their covenant) that drop anywhere from 1,000 – 4,000 souls each. Be wary that some of these enemies (most of the spectral enemies to be specific) will not respawn, not to mention these enemies vary in skills and powers, going anywhere from an armor-clas warrior to a cheap-shot, homing-missle mage. It’s easy to get ganked in this area so if you have any way to effectively pull aggro you’ll likely have an easier time.
Blighttown Swamp (Large Titanite Shards / Green Titanite Shards)
Once you finally make the trek down to the bottom of blighttown you can head to the left (towards the giant tree, it’s quite hard to miss). The slugs around the tree are good to farm for both large titanite and green titanite shards (which drop 5 at a time). If you head up into the giant tree you’ll happen upon a dead guy. Ignore him and his crappy item and roll through the illusory wall to the left of him. Once you collect the humanity from the chest, roll through the SECOND illusory wall behind the chest. once you trot into the Great Hollow the first thing you should happen upon is a bonfire which can be used as a place to rest and respawn the slugs. Happy hunting!
Ash Lake (Twinkling Titanite)
I personally recommend that you save grinding here for when you’ve obtained the Lordvessel, or else you’ll have to hoof it through blighttown swamp AND the great hallow, not to mention survive the return trip.
Ash Lake is a place with only four notable enemies: a big ‘ol Black Hydra, and three gigantic clams. The Hydra is a lot less menacing then it seems and doesn’t respawn. The clams however are RIPE with twinkling titanite, if you equip the covetous gold serpent ring or the symbol of avarice (the effects don’t stack) you can easily farm both Twinkling Titanite and Purging Stones. Keep in mine humanity item discovery bonus DOES stack with most items, so pop em if you’ve got em.

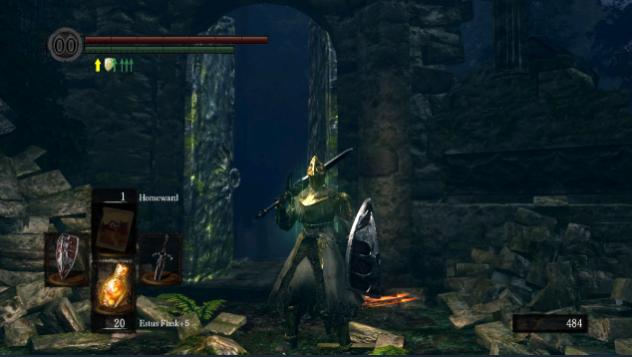
Painted World of Ariamis (Souls / Best Spot)
The Painted World of Ariamis can be a dangerous and harsh place if you’re not cautious, it can also be (in my opinion) the BEST place in the game to farm for souls. Using the Covetous SIlver Ring and the Symbol of Avarice, you can get around 10,000 souls in about 30 – 60 seconds.
Once you’ve run through the Painted World you should have noticed the Phalanx surrounding the statue in the courtyard, that’s your target. These guys are slow, don’t hit too hard, and have low health, not to mention they drop 500 souls EACH. If you have a nice reaching sword then you can usually kill 6 or 7 of them at a time (be mindful of their shields). Taking only a few seconds to run back to the bonfire and then running back will hinder you little.

Painted World of Ariamis (Souls / Souvenir of Reprisal)
Head on over to the Painted World and across the small courtyard. Ignore the Phalanx and continue into the base of the tower. From here head on up the stairs to your right until you’re at the top of the bridge. Keep heading up one last flight of stairs and you’ll soon be able to see you can enter the tower once more via a doorway on your left.
Warning: The fall from here on out can and likely WILL kill you, be careful as Crow Demons have very camera-unfriendly jump attacks. I recommend you aggro them OUT of the tower and deal with them between the top of the bridge and the tower where there’s more open space so you can avoid falling to your death, and also, the Crow Demons usually fall OFF the stairs when killed on them, so you can also avoid having to hoof it down to the base of the tower for your loot.
From what I’ve read it has been confirmed that the Symbol of Averice almost guarentees at least one souvenir from one of these runs, so have fun and don’t let your health get eaten away!

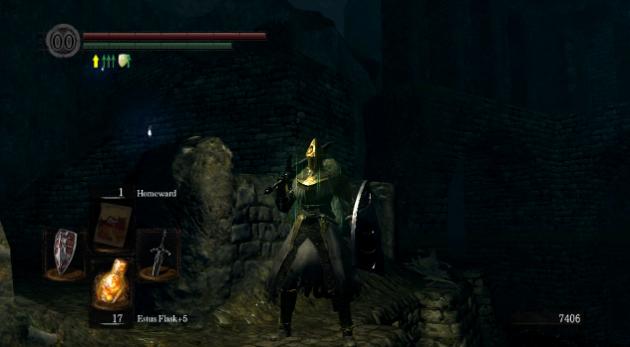
New Londo Ruins – Lower (Titanite Chunk / Titanite Slab)
Once you’ve managed to drain the New Londo Ruins you’ll notice this place is riddled with ghosts and Darkwraiths (one of the reasons I love the Cursed Greatsword of Artorias, bonus damage to darkwraiths and it can kill ghosts). Essentially all you’ll want to do here is go from beginning to end, killing ALL the darkwraiths you can as they all have the chance to drop not only titanite chunks, but the uber rare titanite SLABS.
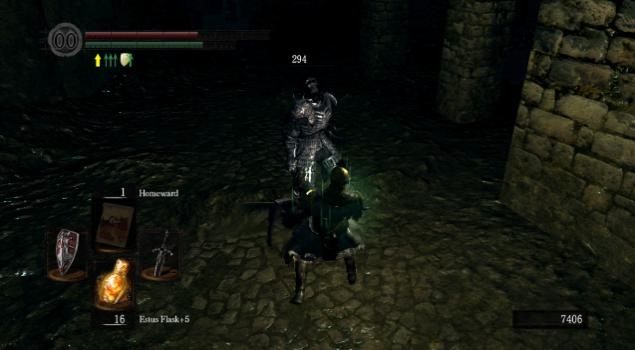
Note: A quick way down to the midst of the lower ruins is to start at the small courtyard right off the two wooden bridges at the beginning of New Londo Ruins. Then from there head to the right of the courtyard (close to the stairs like in the picture below) and hop off the ledge, you’ll land in a larger courtyard with a darkwraith roaming around, it’s about at the halfway point of Lower New Londo Ruins.
Crystal Cave (Twinkling Titanite)
Although closer to the end-game content, the Crystal Cave IS home to a small batch of Clams. If you want to get Twinkling Titanite without dealing with the entirety of the Duke’s Archives then just stick with the Ash Lake farm spot. If, however, you’re up for going through the Archives, Caves, and Seath himself, then read on.
The best way to farm from here is AFTER you’ve killed Seath the Scaleless as his death leads to the creation of a bonfire originally intended to let you OUT of the Crystal Caves, we’re going to use it as our gateway IN to the Crystal Caves.
Warp over to the Crystal Caves and just step a few feet from Seath’s chamber and you should immediately have a clam or two agro’d on you. Be wary of getting swarmed and don’t forget your Humanity and Items to rake in as much Twinkling Titanite as possible!
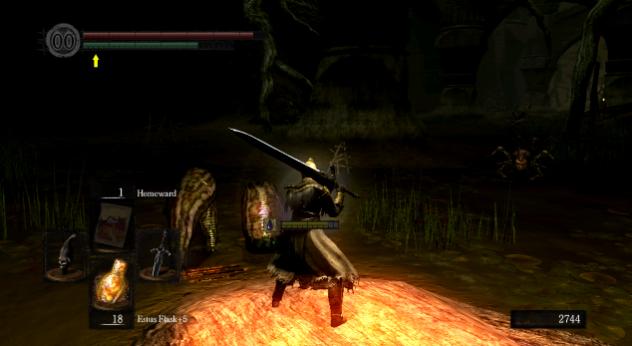
Lost Izalith (Demon Titanite)
Starting from Quelaag’s Domain, head down through the Demon Ruins until you happen upon the door to the Demon Firesage (the fatter, redder version of the Asylum Demon). I recommend killing him as a shortcut back to the second bell and a bonfire lie in the room behind him.
Daughter of Chaos way
If you happen to be in the Daughter of Chaos covenant and have given Quelaan 30 Humanity then you can use the shortcut off to the side of the Demon Firesage’s room. It cuts right into the heart of Lost Izalith (roughly skipping the most troubling half of the Demon Ruins) and subsequently lets you save Solaire if you choose to do so. Keep heading straight until you happen upon a bridge!
Normal Way
Head on through that fat demon’s lair and kick his ♥♥♥. Keep going and you should happen upon ANOTHER boss fight, this time with the Centipede Demon. Once you’ve dealed with that head on up to Lost Izalith (this involves crossing a lava lake full of severed dragon). Keep going through Lost Izalith until you reach the Chaos Eater (the wierd squid thing with lots of eyes). Kill him and head through the tiny little room thing and you should happen upon 3 paths. One leads up stairs and towards the Bed of Chaos, the other leads to mediocre treasure. The real place you want to go is down the branch into the courtyard of Demonic Statues. Head through the lot of them and you should happen upon a bridge!
This bridge (as ridiculously difficult as it can be to reach it) houses the ONE Titanite Demon in the ENTIRE game that respawns. If you didn’t follow the Duaghter of Chaos way, I recommend you rush past him, open the door, and use the bonfire past the Firesage Demon’s room. That’s pretty much all there is to it. It helps if you don’t kill Quelaan for her Firekeeper Soul (like I did) as her bonfire in Quelaag’s Domain is the only warpable bonfire in all of Lost Izalith / The Demon Ruins, that way you can use her bonfire as a quicker way to get down to farm Demon TItanite (although the Titanite Demon drops 2 Demon Titanite every time, so you wont need to kill him THAT many times).


Be the first to comment