
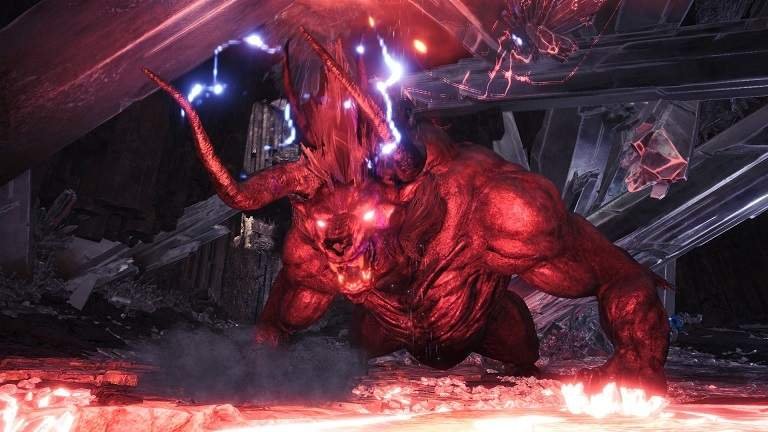
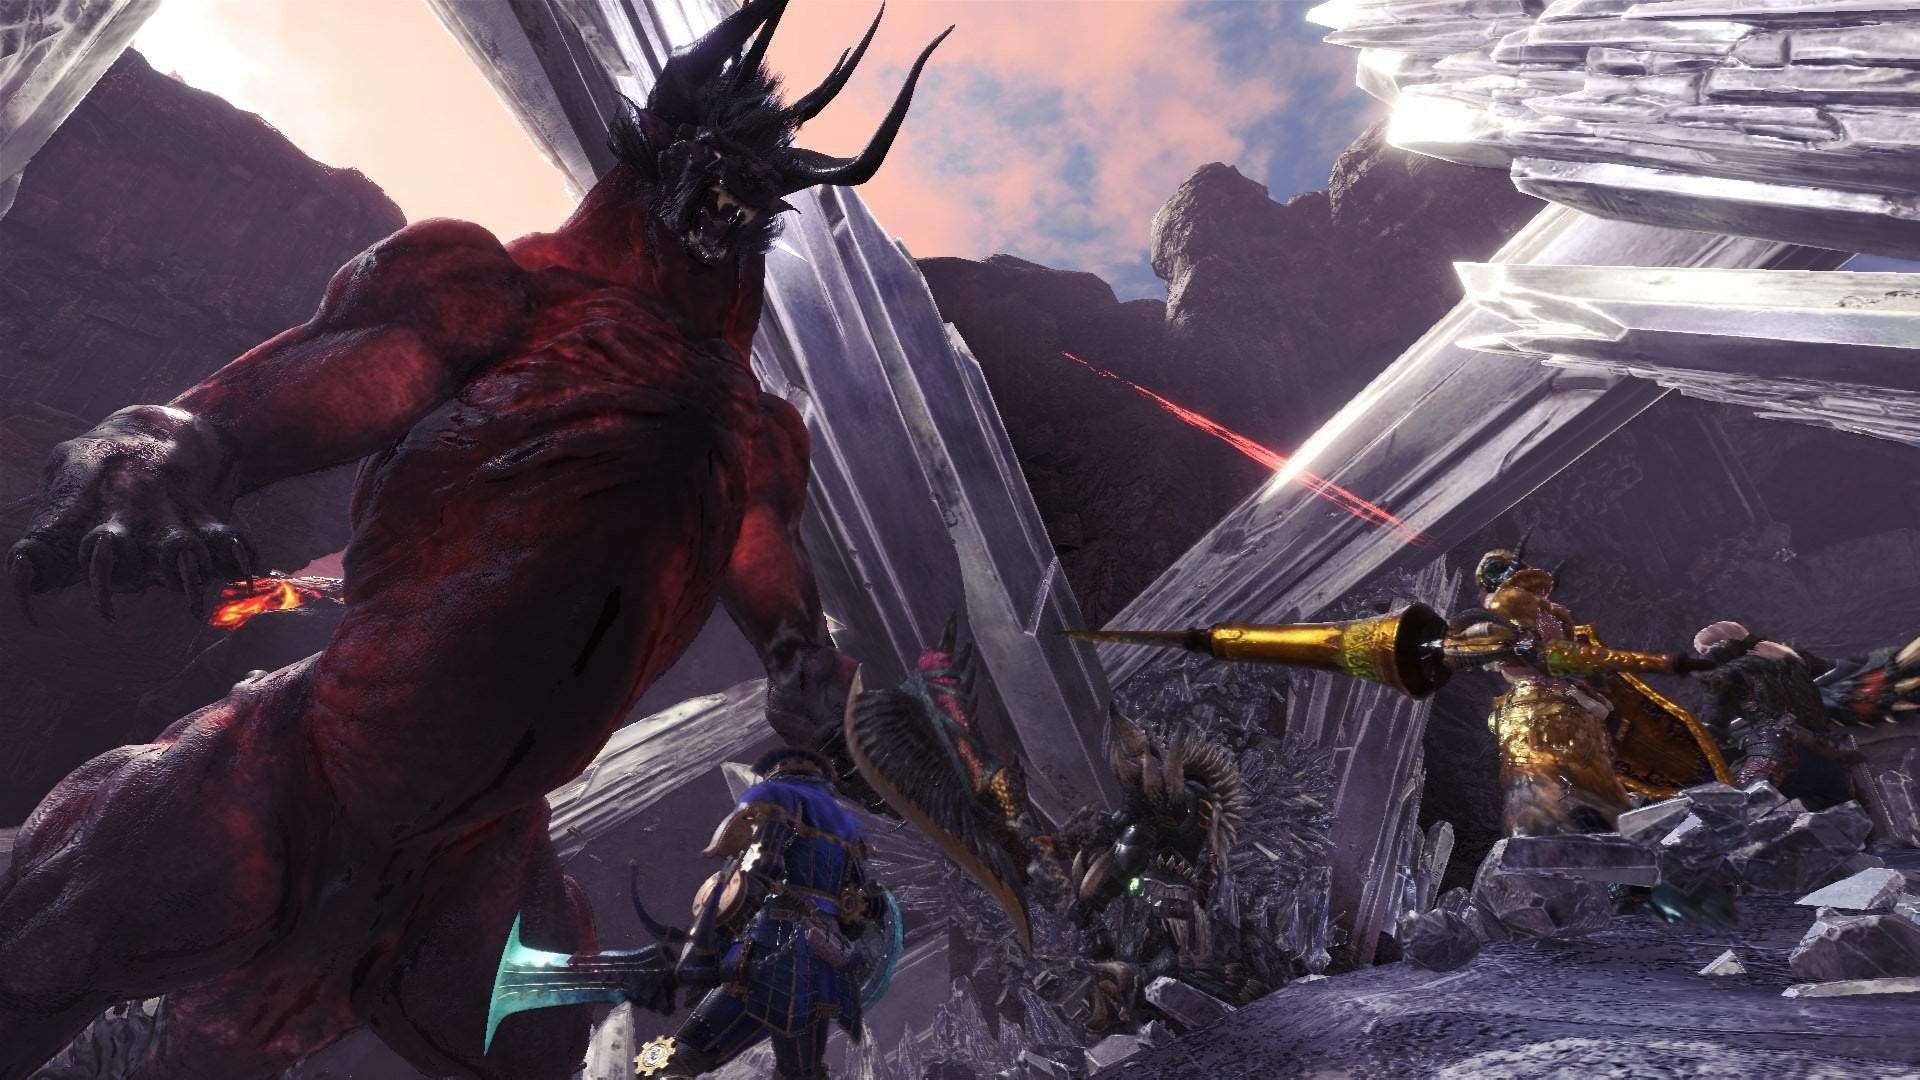
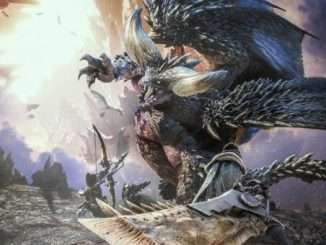
A Visitor From Eorzea (Extreme) Guide. Basically a guide for extreme behemoth.
Other MHW Guides:
- Achievements and Trophies.
- All Camp Locations.
- All Palico Gadget Locations.
- Elder Dragon Investigations.
- Where to Find Kirin (Elder Dragon).
- How to Get the Sinister Cloth (Death Stench Armor Set).
- Armor Skills (Guide).
- Bow Guide.
Quick Note
I know Iceborne is coming out for console (PC next year ;-;) but even still, there’re some people out there till now has yet to complete this quest because of how hard it is.

This guide focuses mainly on the phases extreme Behemoth (Extremoth) will go through. As of builds and skills, I am sure there are many out there on the internet. (Seriously, just go search it, it isn’t that hard).
Lastly, I want to say that I am making this guide based on my “multiple experience” against Extremoth with randoms and friends; there are no perfect values and information. Everyone has their own ways to present guides so…I just did mine by this way.
New Changes And Mechanics
Unlike the normal Behemoth, you’ll be fighting against a tempered Behemoth (Extremoth). This means that you can’t flash him forever. This got the flashing limit to only 2 times and he will then be resistant to it. This means to save your flashes for emergencies only!
Ecliptic meteors on all areas now (except Area 3 unless you failed to meet a certain condition).
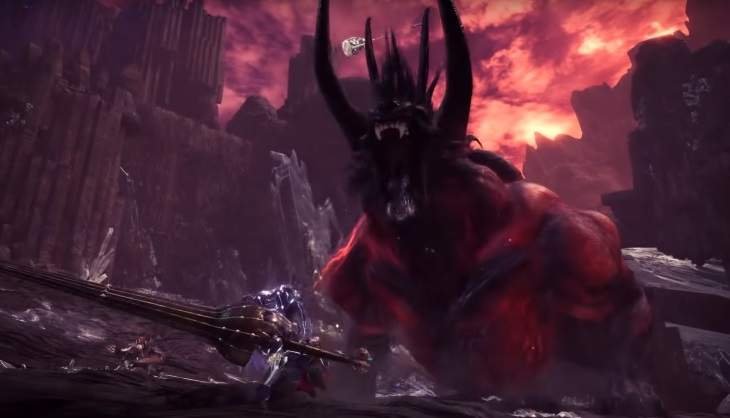
Yes, he has a new move now and only one. This new move will only occur in Area 3 onwards. This new move being the Extremoth punching the ground with his fist then slamming/squashing the ground next. It also inflicts bleed aliment so yeah good luck if you survived that.
I’ll make this clear first. Getting hit by the punch is way better than the slam/squash. Upon being hit by the punch, it pretty much just damages you and pushes you away. It’s way better as you’ll just take of course, a huge damage. The slam/squash however is just scary, you take more damage and not only that, it’ll stun you as well. That’s the difference between the punch and the slam/squash, as of the similarities, they have the potential to One Hit KO (OH-KO) even with health boost level 3.
New Mechanics
Meteors has a defense down debuff upon being hit by it. And it will shoot down 3 times on all areas now (Except for Area 3 if I remember, at most only once there).
Charybdis will cast way faster now.
There’s a DPS check phase now and it occurs at Area 3. Details are all provided on that section.
Team Requirement
Note:
There really isn’t a need of a team requirement if all the players know what they are doing or what their roles are. This is simply a meta what many have used. This goes the same to normal Behemoth as well.
Requirements:
This is the same as the normal Behemoth. But Extremoth is a MUST if your team don’t know what they are doing.
You’ll need 2 DPS, 1 tank and 1 healer. All 4 are important; no one is insignificant in the hunt. (Unless you’re a corner healer, serious though…you might be the one that cost the game when you do this in Area 3.)
In the normal behemoth, you can just do the usual 4 DPS and still win the game if all 4 are really good *Ahem* longsword mains *Ahem*. This applies for Extremoth as well, meaning it actually works but with a bit of struggle.
Buffs And Damage
Buffs And Damage:
Known as also the DPS role, this section will explain about what kind of buffs recommended and the role of the DPS.
Buffs:
Here and now you have your trusty weapon, what else can you do to improve your damage instead of only skills?
Usually the buffs are being given by the healer. That being the usual: Demondrug/Mega Demondrug, Demon Powder and Might Seed.
These are the offense buffs. Meaning, by having these you’ll have your damage multiplied by a bit more. An example being a longsword Helm Breaker damage with these 3 buffs combined will be 100+ per hit than your usual 70+/80+ damage. (Example longsword set based on Taroth Sword ‘Fire’ built.)
Why are might pills hardly used? Look below about the multipliers and you’ll understand why.
These are the multipliers:
- Mega Demondrug: +4% (7 Attack) Lasts till death
- Demondrug: +3% (5 Attack) Last till death
- Demon Powder: +6% (10 Attack) Duration: 3 minutes (180 Seconds)
- Might Seed: +6% (10 Attack) Duration: 3 minutes (180 Seconds)
- Might Pill: +13% (25 Attack) Duration: 20 seconds
Damage:
We’ve talked about buffs now let’s move on to damage. It’s simple yet also hard. Positioning is the most important of course. It determines your safety and damage. For damaging, hit the weak spots. That being the front legs and the head (If you wish to gain enmity). And safety, don’t just greed DPS, look out for your health and the monster’s movement as well or else you’ll be punished.
Play it smart and don’t do risky moves until an opening.
Enmity And Tanking
Enmity And Tanking:
Fighting against the normal Behemoth, most of you should’ve already seen and even experienced the enmity.

Gaining The Enmity:
This time, gaining the Extremoth’s enmity will greatly benefit the team thanks to the spam of Charybdis and Meteor attacks. Because of this, one must take up this role to have the Extremoth target him/her to prevent the area from being another Kushala nest. The faster to gaining the enmity the better, this works especially well on Area 2.
Another way to gain Enmity are the dragon pods dropped from the Behemoth. Equip it and shoot 5 of it onto the monster and he will immediately go straight at you. However, should he be in a string of attacks such as summoning a comet or roaring, it will only occur after that. Chances are also where someone else will gain it instead of you so make sure no one attacks the head when you’re shooting the pods or no one else is doing the same thing as you as well.
Tanking The Attacks:
Now that you’ve gained the enmity, great! Time to block and survive. Most of the time situations are often being thought like that in a tanker’s mind. Blocking until the enmity stops and repeat. You are not wrong to think of it that way.
However, to prevent having your team to move around here thanks to his dumb bulldozer attack (Charge Attack), why not move to a corner of the area (where there are no charybys!)
By doing this yes, as a tank your survival will be at stake (with that Thunder and Meteor spam attack) but it will be giving your teammates a much efficient way to deal with the monster. Play the tank role at your own choice of style, you do not have to follow this way.
Important: Even with a shield, from my experience of what I’ve seen so far, the HBG shield doesn’t seem to be able to block the pin attack. I suggest gaining the enmity immediately with dragon pods or shooting the head.
Another thing, even as tank, the new punch and slam/squash attack will seriously destroy your health a lot. So be prepare to make sure your surroundings are clear and fine during Area 3 and Area 4. Happened to my friend before and he’s probably traumatized lol.
During The Tanking Process:
Healers Assemble! This is the part where your tank will depend on you. As the tanks would usually be using HBG, Lance or even Gunlance (?), their blocking will prevent their deaths and the damage they take depends on their stamina and health as well. This is where their weaknesses come, while tanking the damage, they are incapable of letting down their shield to even heal. Thus, slowly being beaten to death.
Healing, Support And Items
Healing, Support And Items:
Healers. The role that everybody loves but no one wants to play. We’ll be going through the items and buffs you’ll be giving as a healer.
Healing:
Wide range skill up to the max and speed eating of course. The usual weapons are hunting horn or sword and shield. What weapons you are using is up to your choice. Now for healing…
Don’t corner heal! I haven’t experienced one yet but I can already feel the pain of having one in a Extremoth hunt. Never corner heal unless your tank is seriously getting ♥♥♥. In fact, healer or not, anyone in the hunt is to deal damage and kill the monster. A lack of one man’s power will drag on the hunt and possibly fail the quest.
When to heal? Keep a look out on the battlefield while dealing damage as well. If not, look at your teammates health. Should they not be in a OH-KO attack, that’s where your job comes in. Heal them at all cost. A healthy hunter makes a healthy damage (Peak Performance and Maximum Might lol).
Support:
You’re technically supporting the team just by healing them. So…what else is there to support than to heal? Damage? Buffs? This support role would usually mean to flash the Behemoth when he is casting Charybdis in the normal one. So as for Extremoth your only way to support other than healing and damaging is the hunting horn buffs actually (oh right, don’t even think about corner horning as well.)
Items:
What to bring during the hunt? Answers are as obvious as the usual. Offense buff items and healing items (Max Potions, Mega Potions, Potions, Astera Jerky, Dash Juice as well as their crafting materials.)
That’s basically it for items. You can choose what to bring as well as a healer, just remember that your items are papers going into the shredder when playing this role so prepare to lose a lot of your materials.
What about defense buff items? Sure. More safety but more items consumed as well. (To be fair the damage from the Extremoth is already total balls. Other than negating the defense down from the meteor attack with Armorskin, there isn’t a need for the powder and seed already.)
TL;DR Ver For Roles
You probably came here to learn about the roles of hunters and phases the Extremoth will go through, not dumb detailed crap. Understandable, here is a short version.
DPS: Do damage as much as possible. (Damage buff yourself if you wish to.)
Tank: Gain Enmity and take in damage. Some shields like HBG will not block the pin attack (I don’t know about the others like Lance.)
Healer: Provide buffs, supports and most importantly, heals. (No need to worry about defense buffs, just have enough healing and offense buffing items.)
Everyone: Try not to die and play safe while doing your job (Skills and brains or I just don’t know what to write here).
Area 1 / Phase 1
Area 1 / Phase 1:
- The Extremoth has a total health of 51200 HP (51.2K.)
- Number Of Comets: 2
- Ecliptic Meteor: 1
The first phase is the same as normal Behemoth. But do not enter alone if you wish to play safe. Wait for all your teammates to be ready then enter the crystal area. Don’t bother equipping flash yet, using the 2 flashes is just a waste and it’s really worthless for the sake of Charybdis spams.
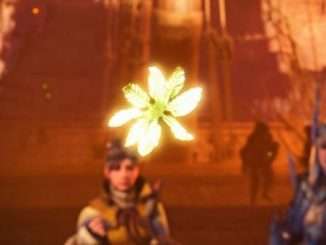
First, have someone attack the Extremoth. Next thing he will do is dropping a comet. This is important, the person being target by the comet can decide the placement of it. Let it drop on a place and try not to let it break.
Next, just gain the enmity of the Extremoth. Anyone can gain it but best leave it for the tank if you’re still not used to the attacks of the monster. Once the enmity has been gained, do damage and try not to position yourself in front of the tanker.
Try to slice of the tail at this area so the spin attack will have a shorter range.
After doing enough damage, he will drop a second comet. Afterwards, feel free to drop the boulders any time as they each do 2590 damage (and wake up being two times of that) and with enough damage this will trigger the Ecliptic Meteor.
FYI: You are free to drop the boulders any time you want, by following the above is just to help obtain additional damage for Area 2 so the fight can be shortened by a bit.
Area 2 / Phase 2
Area 2 / Phase 2
- After Area 1 / Phase 1, Extremoth should have a rough estimation of 39K – 35K HP left.
- Number Of Comets: 1 or 2 (RNG)
- Ecliptic Meteor: 1
After the first phase, here comes the second phase or the magic spamming phase. This phase will first have us moving out of the crystal area and better pray that he doesn’t cast Charybdis but other attacks first as sometimes some players will accidentally lead the tornado to the entrance…
Next up is where enmity is most important now. If not, have fun fighting a muscular Kushala Daora.
Now there are no boulders so the only thing to do now is to do your usual damaging, tanking and healing. Keep this up and a comet will be summoned.
Very important: Chances of a second comet is really just RNG. So far I have fought the Extremoth a lot and I rarely see 2 comets being dropped. So whatever you do, keep that comet safe!
This phase might be harder as it would depend highly on the team’s damage. Thus, the longer the fight, the dangerous it gets. It applies to the 4th Area as well but not as bad as that.
Exceed the threshold once again and there comes the Ecliptic meteor.
Area 3 / Phase 3
DPS Check Area / Phase
Let the games begin!
Remaining health of the Extremoth should be around 28K – 25K HP.
Number Of Comets: 0
Condition met.
Ecliptic Meteor: 0
Failure to meet condition.
Ecliptic Meteor: Infinite (Will cast again after 30 seconds until the conditions are met).

All is going well so far… No faints, weapons sharpened, time is still good, Extremoth health is half… Here comes the real deal. Area 3 known as the DPS check area.
Extremoth will also start using the new move in this area. Goes the same for the pin down attack.
Conditions:
You are to deal as many damage as possible within 5 minutes. This is to prevent Area 4 / Phase 4 from being a long and hard fight than what it is already.
How much damage to do? Depends on your Area 2 damage just now. Assuming the rough estimation of 28K HP, your team has a lot to do.
To meet the condition, you need to lower the Extremoth’s health to 16K HP or lower to make him leave to the next area.
Upon completion, the Extremoth will leave the area without casting Ecliptic Meteor; meaning you have passed the DPS check.
And upon failure…you’ll get this.
Area 4 / Final Phase
Area 4 / Final Phase
We’re in the endgame now…
- Extremoth health: 16K HP or lower.
- Number Of Comets: 2 or 3
- Ecliptic Meteor: 2 or 3
Alright this might be the longest section of all.
You have passed the DPS checkpoint. Good job, but don’t celebrate just yet. With the time you’re left with and the ultimate battle awaits you, this is where the tables might turn.
First of all, he might cast Charybdis. Hope you still have those 2 flashes on. Flash him to prevent it from blocking the narrow entrance if needed. If not, save the 2 flashes on emergencies. Emergencies meaning, when teammates are low but are in the effects of the Enmity or when the Extremoth is about to kill them when they are stun. Flash it and pray that he attacks the other direction.
In this part, you will be meeting 3 thresholds. He will summon a Comet and then Ecliptic Meteor after doing enough damage. Get pass the 3rd threshold and survive the Ecliptic Meteor, enjoy your Drachen layered armor. But be warned, the battle is going to be more intense. Best to end it quick in the safest way.
Oh right, he will use the new move more often now than Area 3.
The Threshold:
You are allowed to do as many damage as you want now. But if your damage is too much or too high that exceeds over the threshold, an Ecliptic Meteor will cast and no comets will be summoned. There’s really nothing I can say but to control your damage to be high but not massive, that goes especially on crowd-controlling (CC) him too many times.
However, a huge thing here. The reason why I said 2 or 3 Ecliptic Meteors as well as Comets is because of the damage the team is doing. Hence…
After the first Ecliptic Meteor. If you manage to do enough damage after he summoned a second Comet, you can actually kill the Extremoth afterwards if you can deal enough damage during that time. Or you can of course survive the attack with the jump emoticon.
Surviving The Ecliptic Meteor:
You get one Comet per threshold. Done. If that Comet breaks which is not suppose to, then there goes your chance to hide. Then there’s the jump emoticon.
Jump Emoticon:
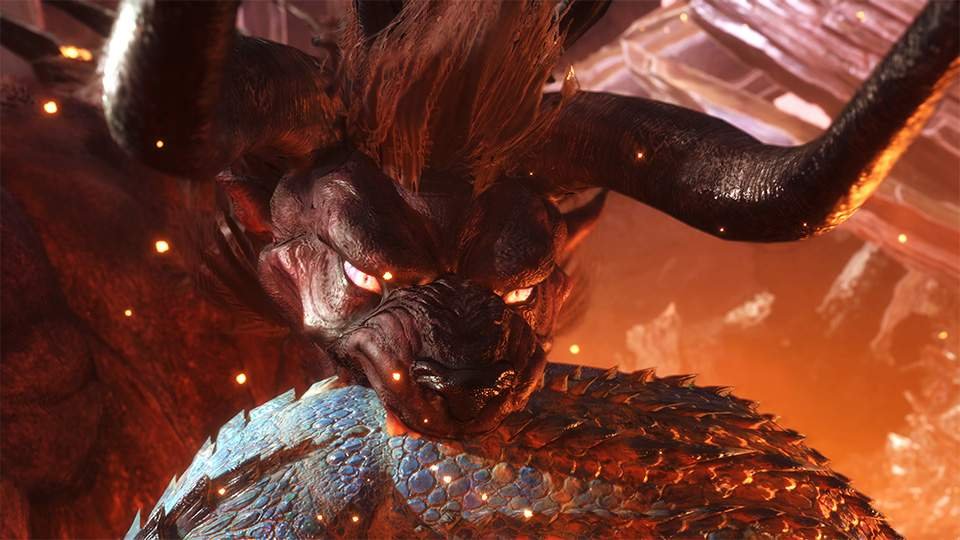
You just couldn’t resist it can you? Well, not when you’re on the 3rd Ecliptic Meteor of course or when the Comets are all broken. Use this emote and time it right, a hint is where your character flinches a bit and then jump after that animation ended. Another being the timing of the rock dropping out from the hurricane. If you succeed it, you will land in front of the Behemoth (Extreme or not) dealing a few damage on the head and horns.
So…what does this have to do with the ‘You just couldn’t resist it can you?’ quote? …lol.
Misuse Of The Jump:
Expert jumper or not, no one will really care if this happens. You are free to jump anytime during the fight with the normal Behemoth, even when behind the Comets. Same goes for Extremoth in Area 1 and 2 especially 3 when you failed the DPS check. But in Area 4, if you’re already behind the Comets, DO NOT JUMP!.
Why is that so? Like I said, upon jumping and doing a successful one you land right in front of the Extremoth. But why only on the third threshold and not the first or second?
Third threshold means you’ve slayed the monster already so it’s safe. But the first and second is taking a gamble of your life for the rewarding feeling of successfully dodging the Ecliptic Meteor with the jump even when you are already safe behind that Comet.
The gamble of doing that is there is a chance he will do that new move after you’ve landed in front of him. Like I said before, even with health boost 3 that move has a potential to OH-KO you. Hence, by doing this where your team only has one last faint left, you cost the game when it could’ve been a successful run.
I personally have not experienced this but I have seen some people doing it and this happened to them. To be honest, it’s really sad, just don’t take unnecessary risks.
Summary…
All in all, Extremoth agree or not, it’s pretty much the hardest monster to fight in Monster Hunter World for now in my opinion. I second AT Nergigante for that since they’re just almost the same. *Nergigante is casting Ecliptic Meteor…*
Other than Extremoth making others angry, frustrated, tired and sick of it, it’s also a fun monster to hunt against when you’re up for real challenges.
There are ways to make yourself better for fighting against this monster and that is to just constantly practicing against the normal Behemoth. The difference is…wide. After experiencing Extremoth, normal Behemoth just doesn’t feel the same again really.
Other than that I wish all of you good luck on hunting Extremoth.
Iceborne Master Rank Gear?
Ok to be fair the Master Rank gear when Iceborne comes out will probably just destroy and eradicate all these guides since it’s probably going to be overpowered.
You will probably just see 4 DPS in master rank gear and weapons entering Extremoth quest and destroying him. I already expect something like that to happened, but just in case it doesn’t I guess there are these guides for us to still read.
Nerfs and buffs are about to happen as well so, more of the reason why these guides might be situational in future when fighting Extremoth.

Be the first to comment