
More Factory Town Guides:
- Starter Guide.
- Transporting Goods Vertically Directly (Elevator, Escalator, Lift Substitute).
- How to Take Cargo from Factory to Proper Silos in an Efficient Way.
- How to Build a Vertical Pipe.
Following the changes of Patch 0.128, my previous design for a 52 House Hub became outdated, though the new shop/house mechanics paved the way for a more ergonomic design.
Preface
Factory Town originally began with a fairly straightforward economy; the player could choose to supply items directly to a house or indirectly to a shop, and both methods would yield the same profit and increase in town happiness. Additionally, shops could supply any house within a horizontal radius, so a market at sea level could supply a house high up in the sky, as long as the house was relatively close laterally.
This was the case until Patch 0.108; now shops would only supply houses connected by path tiles or navigable scaffolds. Additionally, houses and shops produced much less happiness, and houses no longer consumed items instantly. This change brought the economy down to earth and made specialized local markets for each kind of shop preferable to centralized house hubs, with players bypassing shops altogether in many arguments. In an older guide I showcased a design which could still connect many houses to all 4 shops for compact a way to sell goods and generate a moderate amount of happiness.
The design, which never left its prototype phase, became outdated as of Patch 0.128, where the game mechanics were again tweaked; a) shops had a reduction in vertical access to houses, and b) houses not in direct contact with a navigable path to the shops bounding square were not recognized (additional changes to the interactions between these buildings respective inventories were also changed but did not effect the functionality of the design.) The old design could then only support about half of the original 52 houses.
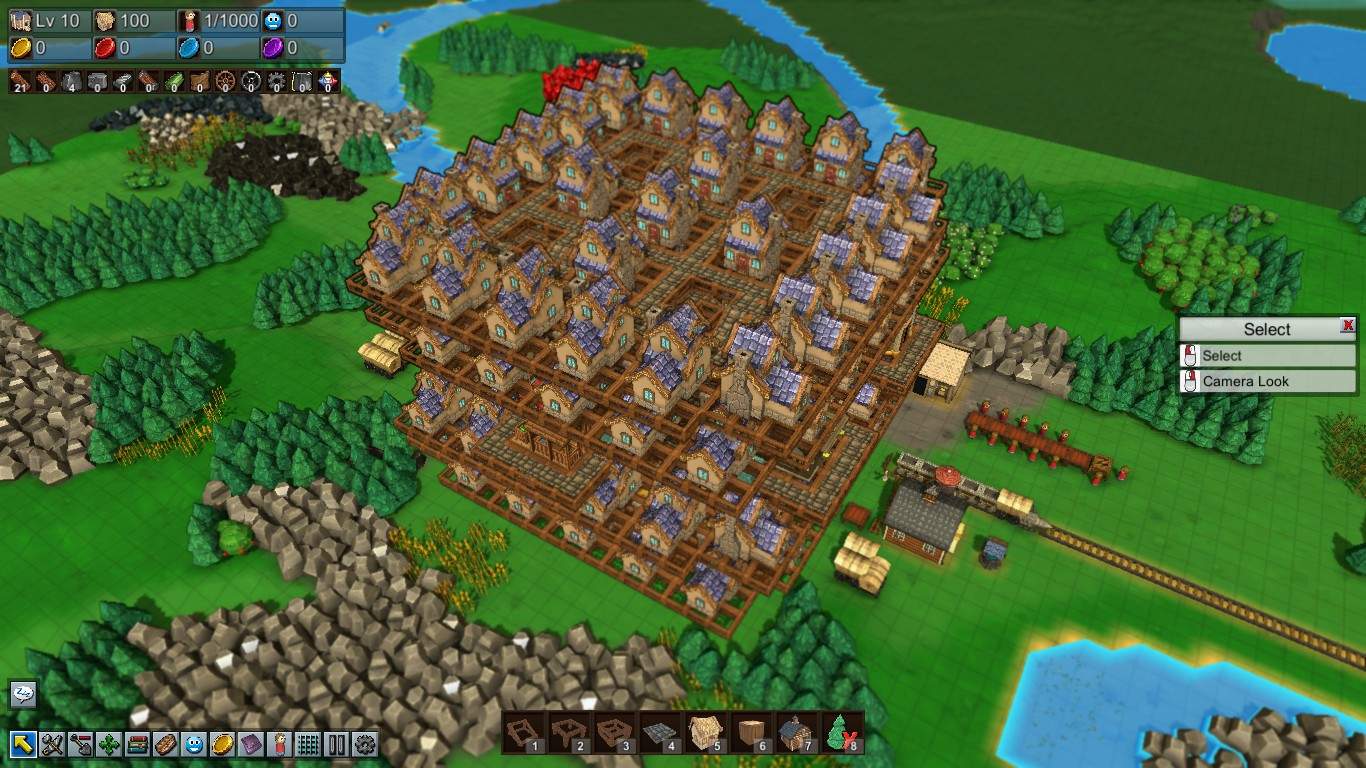
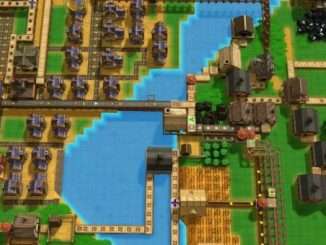
There were some positive changes however; happiness was revitalized with houses able to generate significant amounts of it on their own, and more categories of goods could be consumed simultaneously, boosting the amount of coins earned over time. With this addressing one of players main concerns with 0.108, all that remained was finding a reasonable design for the ultimate house hub. You can see the final product below, once again in its full (creative mode) glory!

The design contains all 100 houses and all 5 shop types within range of each other in the smallest volume possible. Additionally, each of the shops can be relocated depending on the players needs, and the introduction of omni-pipes means one can supply each shop with every good (albeit overkill and redundant) for the absolute maximum possible income and a maximum happiness generation of 5000 (insert DBZ reference.)
The Build
A word of caution, this design is intended to be at the very least mid-game, and the scope of the construction is very demanding and requires great care. If you’re trying to get the basic structure out of the way you will need several plank factories to keep the pace. At the very least, play normally until you’ve unlocked barns and foresters. Also, due to the scale of the structure, you need to be very sure that your build site is where you want your hub to be. On the upside, once the basic structure is complete, all houses and shops will be path-accessible from the ground, so delivery of items early game will still be logistically feasible.
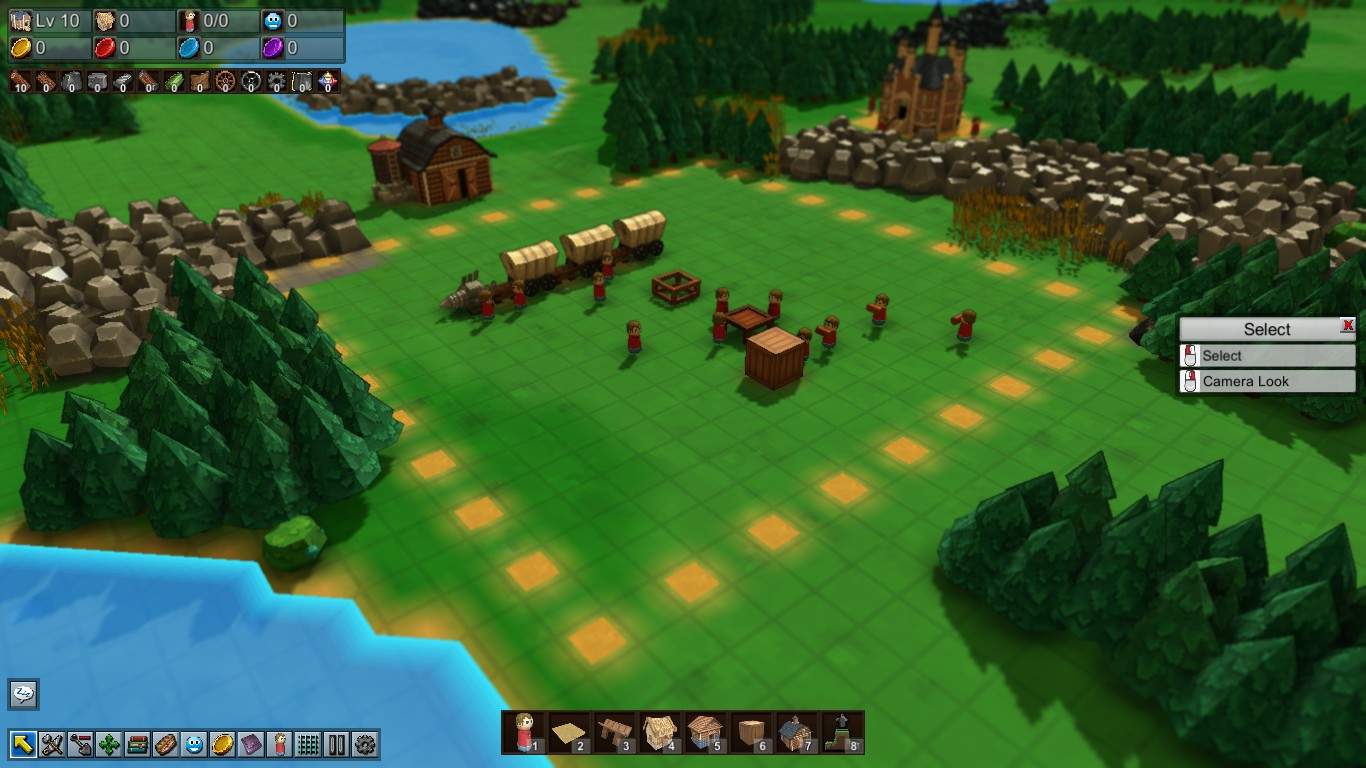
For starters you will need to find or make a plot with a 19×19 footprint. You can center this design directly on your base if you wish, though this will make your base largely inaccessible without special changes to the design, so building this above it is recommended instead. This should be what your plot looks like:
First, find the middle of your plot and place scaffolds 5 high at the corners of a 9×9 square centered on this point, like so:

Technically, you can place your 4 pillars on either the corners or the centers of the edges of this bounding square, but for this example I”l be using the corners. There’s no intrinsic advantage to one or the other, but some shop locations will be more accessible with different layouts.
If you’ve seen my previous guide this next step will be very familiar; using ramp frames and arches, build a helical ramp around each pillar, and place path tiles on all ascending tiles. Note: you can use roads instead of paths. Build another helix opposite the one you’ve constructed on each pillar so that there are 8 ramps in total. Using one-way logic tiles on the first and last ramp tile, you can make 4 upward and 4 downward ramps so that there are plenty of lanes for workers and wagons to travel for deliveries (Not shown here):

Surround the 4 pillars with a ring of scaffolds, then surround this ring with another with one tile in between. Fill the inner ring with a grid of scaffolds similar to a pound symbol (#) and fill the 5 empty squares with scaffolds so that your finished layer mirrors the one below:

Cover the first ring and the inner grid with paths (or roads). This is the path layout for every layer, so it will not be covered again. I recommend using one-way tiles to make the outer ring a one way path to prevent jams (Not shown here.) Each sequential ramp will start where the last one left off. Note: if you are using the ground level for houses be sure your workers/wagons have a reliable way in and out of the structure; you can place 2 houses on the top layer to leave a suitable entrance and exit. However this guide will assume the easiest build and leave the ground level empty, placing the first houses on this first level above the ground:

Complete these steps again to build up 2 additional levels so that you have 2 levels for housing, leaving the top one empty. I recommend placing the center 5 houses as you go, as these are the most troublesome to place from the outside, though they can be accessed for upgrades later by removing some of the outer houses. You can fill in the outer houses later. Note: you should place Level 1 houses before upgrading, as the hitboxes of Level 3+ houses will sometimes prevent placement.
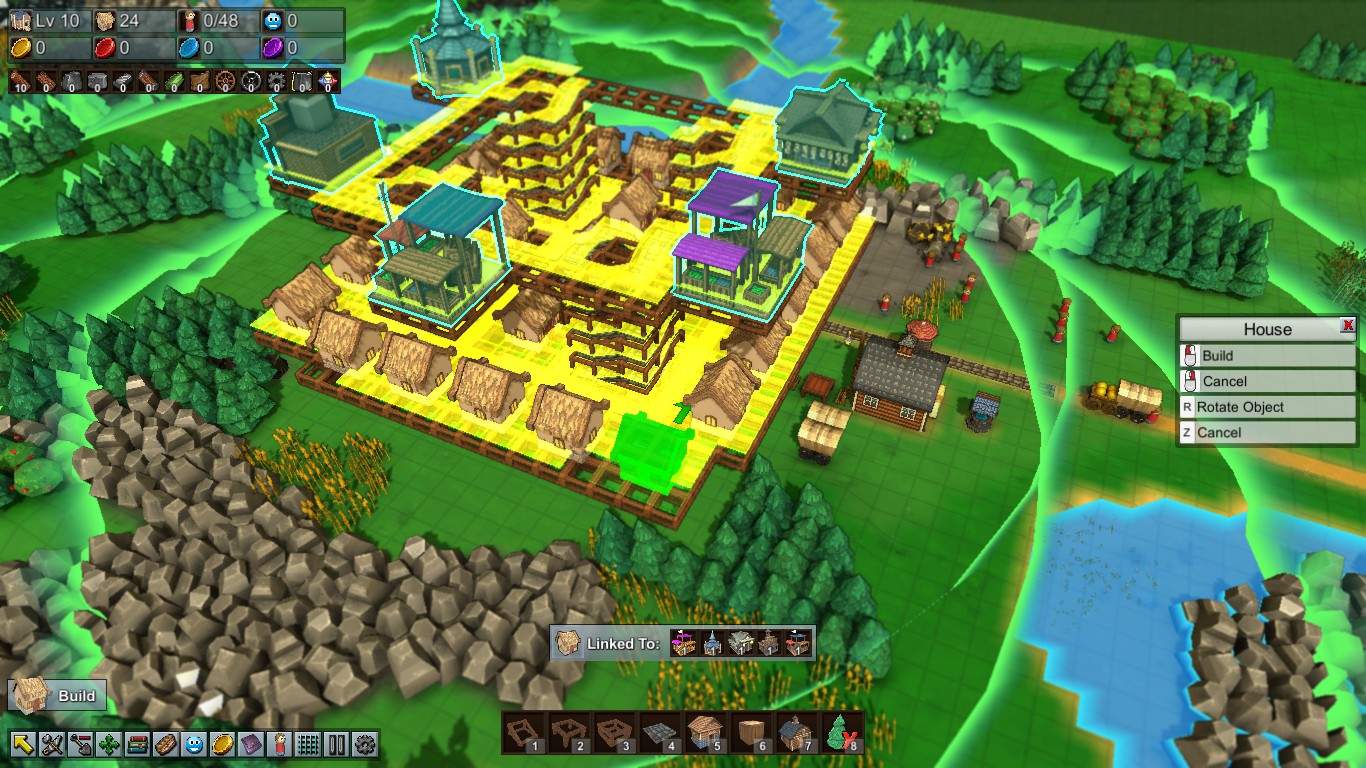
You should now have room for 50 houses while this third layer is reserved for shops. To place houses start with one house on the outer ring so that its left or rightmost tile is on the edge of the ring (so that one path is accessible to the house) and place 4 more houses next to it. Repeat for all 4 sides. Note: placing houses with shops installed causes lots of updates, so for those with lower end PCs I recommend temporarily removing shops before adding lots of additional houses. For each layer you can switch the side of the ring you start houses on to break up the exterior, but this is up to you. I’ve done so for this example.
As long as the shops are contained within the bounds set by the houses and connected by paths to the inner columns, you can place the shops anywhere on this level. Placing them along the outer edge is best for accessibility, and the shops can be easily relocated in this way. Below is an example setup. Note: If using wagon/caravan delivery, it is strongly recommended that you have the one-way tiles mentioned above directing the flow of traffic to avoid getting stuck, as once jammed the vehicle AI will have difficulties path-finding out of the structure otherwise. One solution is to limit each column to access 1 or 2 shops and use a caravan to deliver lots of goods to a single shop.
All that remains is repeating the process for the next 2 levels. If you decided to abandon 1 or 2 houses at the ground for entrances and exits, lose 1 or 2 of the top ramps and place houses in their place instead. Since this is high up, any deliveries not directed to the shops will have low priority here, so traffic shouldn’t be an issue (though double helices will further reduce the issue.) This should be your final result:
Closing Remarks
This is likely the most compact hub design for its versatility and total shop coverage. This is due to each layer connecting 20 houses in a tight ring while still having room for 5 additional houses and 4-8 fully navigable ramps. This can be compacted to 4 layers by placing 6 additional houses on the 1st, 2nd, and 4th layers and the remaining 7 on the shop layer with the 5 shops at the expense of the inner delivery capacity, however this is not recommended for obvious reasons. Beyond this, any other design is simply a block of interconnected houses connected on the outside to each of the shops (which is honestly just not as cool.)
One important mechanic making this design possible is the following: any string of paths connected to a shop will connect adjacent houses to said shop as long as they remain within the bounding cylinder, a change from pre-0.128, where paths would eventually reach an upper limit to their usable length. Because of this mechanic, while the 0.108 model could have been constructed like the improved 0.128+ model, the distance along a path to some houses would go beyond this limit, resulting in the taller design over the stouter one.

Be the first to comment