In this guide you can find some useful tips and info about gameplay mechanics for newbies.
More Transport Fever 2 Guides:
- All Medals Playthrough Era 1.
- All Medals Playthrough Era 2.
- All Medals Playthrough Era 3.
- Buses and Trucks List (Europe).
- Railway Vehicle List (Europe).
- Air Vehicle List (Europe).
Beginners Guide
Introduction
If you are familiar with TF1 – forget about it. The mechanics in TF2 are different. Completely different.
Playthrough Tutorial
I have created a two hour long playthrough with the first gameplay elements.
Supply and Demand
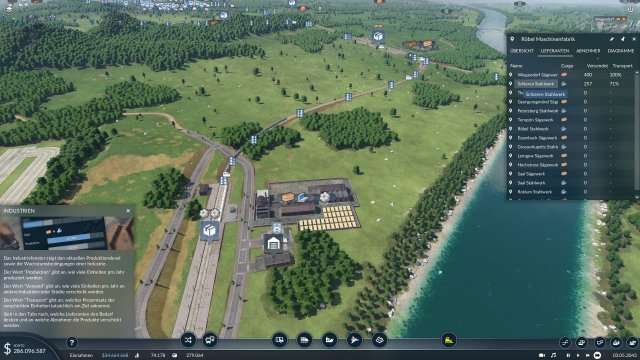
Production increases only when goods are delivered to industrial and commercial areas. Reaching specific delivery milestones triggers automatic upgrades.
These triggers are (thx to Cent):
- Production for each raw material has to be at 100%
- The factory has a permantent level of production.
- You can fill 100% of each level with raw material no problem –> if you take 200 cereals to a food factory level 1 = no problem. (no demand needed to grow production)
- To raise the supply percentage of a factory that makes a final product you need customers in cities. You need at least 80% to be in the levelup area
- To get to the next level, you also need the transport percentage of the current level above 80%, which will trigger the level up
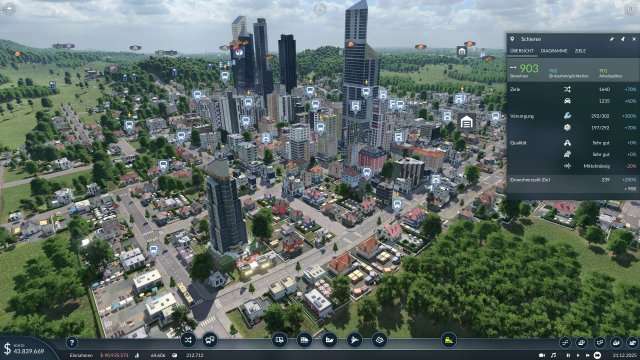
To see demands and supplys use the appropriate ingame windows to find the closest one:
Tiers
Secondly .. fabrication is devided into 3 tiers.
- Tier 1 – raw material like wood.
- Tier 2 – processed material like boards.
- Tier 3 – assembled material like machines.
- Tier 1 can only produce 400 pieces max (no upgrades) [farms produce 200 max.].
- Tier 2 can produce 400 pieces (2 upgrades @ 200 each).
- Tier 3 can produce 400 pieces (4 upgrades @ 100 each).
You have to meet the demand and the transport of produced goods for the factory to grow / upgrade.
Visualisation of a tier upgrades:
Planning
Start small and dont invest into expensive vehicles at the start. The maintain costs might kill you if you dont meet the requirements or if your production stop due to some issues.
If you want to start with transportation of people, have an eye on the frequency of your transports. The faster the frequenzy is, the more people want a ride…
Focus on one industry at a time until its running smoothly and profitable. Dont split up your resources in the beginning. If cash is rolling in later in game, you can expand.
Look at the cities demands and choose a city where the needed resources are nearby. Shorter travel times and routes mean less maintain costs.
Later in game your trains will become longer (20+ wagons). Lay out your tracks correspondingly. Dont make crossings where your long trains can get stuck or your income and production will cease. Use the modular station building to meet your requirements.
The use of waypoints can be helpful if you want to create a high speed passing line next to another track. Trains will follow the waypoint but wont stop there…
Longer tracks and deliveries yield more income! Shipping stuff around half the map might be more lucrative than you think in the beginning.
Transportation
Check your transport hubs for warnings. These indicate cargo loss from excess. Increase transport vehicles or storage capacity to prevent this.
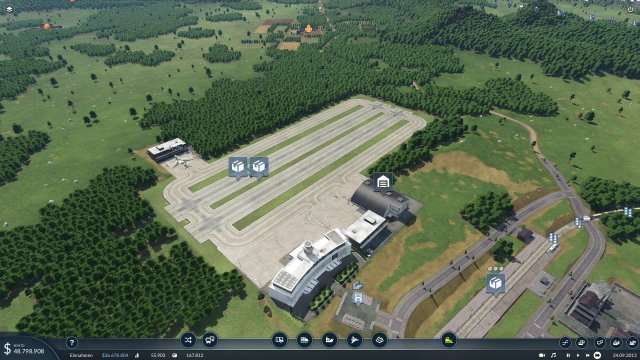
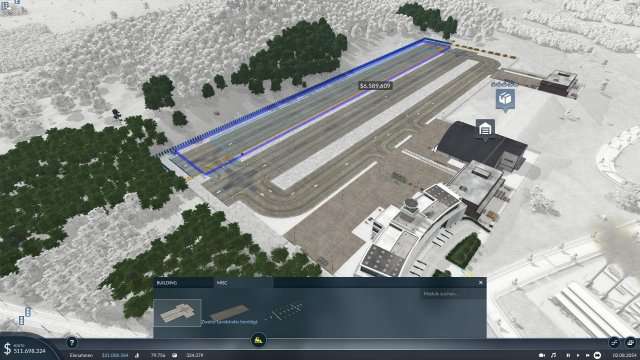
Airports
Airports are really expensive. Only use them if you have a decent economy. I have read that you cant upgrade them – thats not true. You can:
They can be upgraded with more runways and taxiways in the “misc” menu. The placement isnt shown as “blue dots” like on train stations. You have to try & error at the sides of the airport to place new runways…
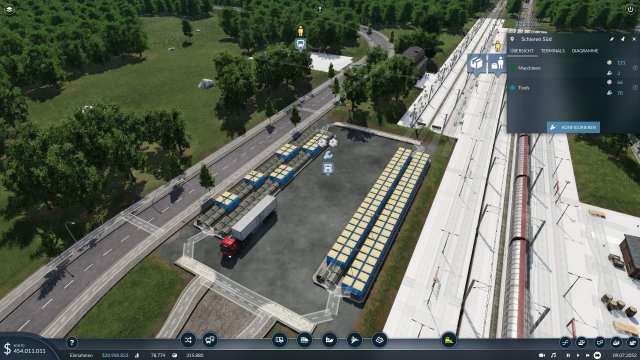
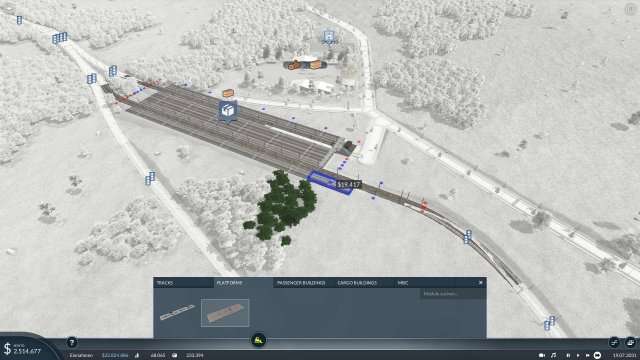
Train Stations
In order to increase the storage of a trainstation, you need to expand the rails and the platforms via the configure menu. Do not extend the rails manually outside of the station or the game wont recognize it. Per one platform, cargo storage is increased by 20 units.
Building
- Basic track building and crossings / switches:
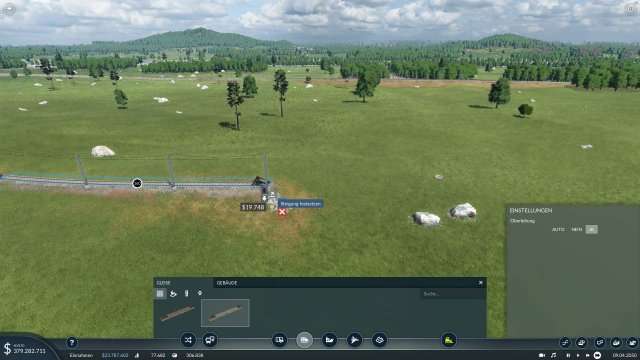
- To electify some tracks, use the upgrade tool in the track section (second icon).

- Select the left option and click on the track you wish to upgrade, thats all.
- You can rotate buildings (by default) with M and N. Fine adjustments are done with SHIFT+M/N.
- To raise or lower a track, press the small arrow at the end of the built track, then use the arrows with mouse or press (by default) , and . to adjust the height.
- When placing, or switching signals, dont fiddle around while zoomed in. Zoom out far enough to see the symbols of the signals and delete/adjust them. Its much easier this way.
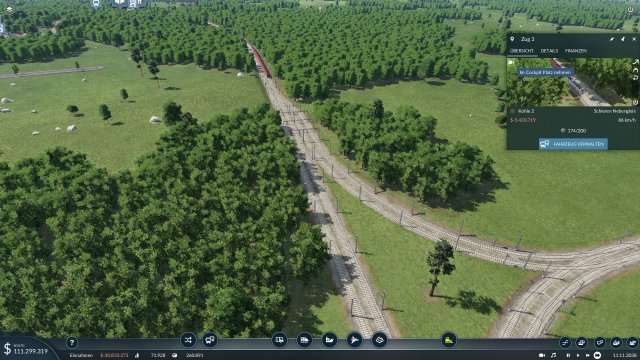
Vehicle Administration
- Since last patch (Dec 2019), its possible to modify and adjust trains on the fly (aka on the track) again. You can also switch waggons between different trains (up/down).
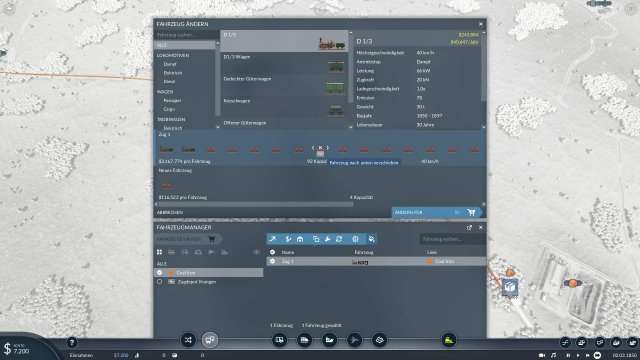
- If you set the maintance costs from normal to high or even very high (vehicle administration), the durability wont drop and the vehicles last like forever. Keep in mind, in TF1 older vehicles became more expensive with age. This is no longer the case in TF2.
- The automatical replacement functionality like in TF1 seems to be gone (who knows why…).
- Dont hesitate to delete older vehicles if you can replace them with a newer, more efficent one. I.e. trucks with more capacity which equal 2 older trucks.
- If you want to sell all vehicles of a line at once, go to vehicle manager, press the circle next to “name” to select all and then the $ symbol:
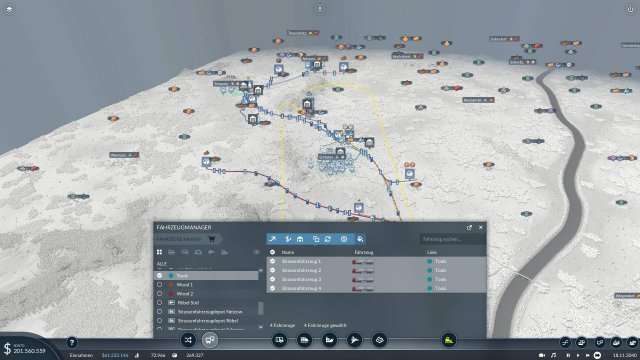
- Not longer needed since patch Dec 23rd.
UI
You can make screenshots and videos by pressing the camera symbol in the bottom bar. It includes different settings. UI is disabled by default with the built in screenshot editor. Using F12 (steam default) saves images with UI. The screenshots are saved under (XXXXXX is your id):
- C:]Program Files (x86)]Steam]userdata]XXXXXXX1066780]local]screenshots
Bonus Tip
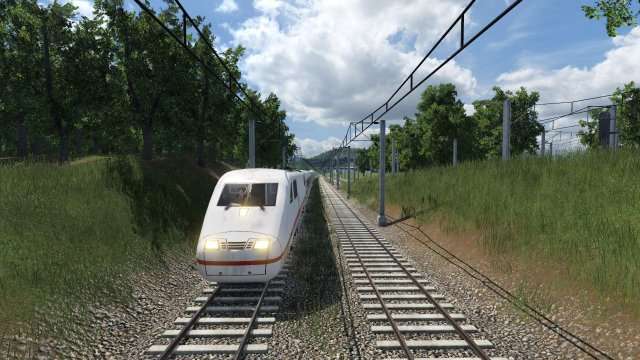
To “ride” a vehicle, select it and then hover over the 3D view in the small window. (Mouse wheel zooms in and out also!). Then click the small camera symbol.
While in ego perspective, you can change view with mouse and position with WASD.
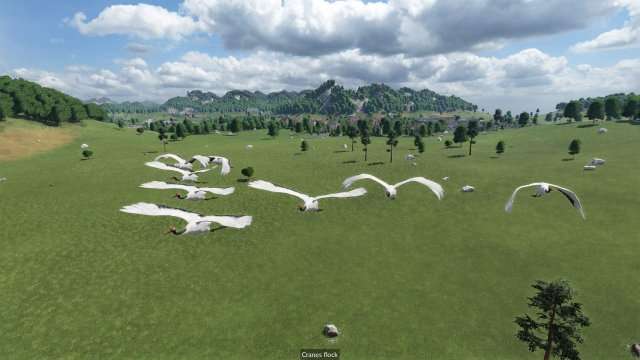
This works also with wildlife
Be the first to comment