
This guide will provide you with information on the entirety of the game and tips that will help you be more successful in your expeditions.
What Is GTFO?
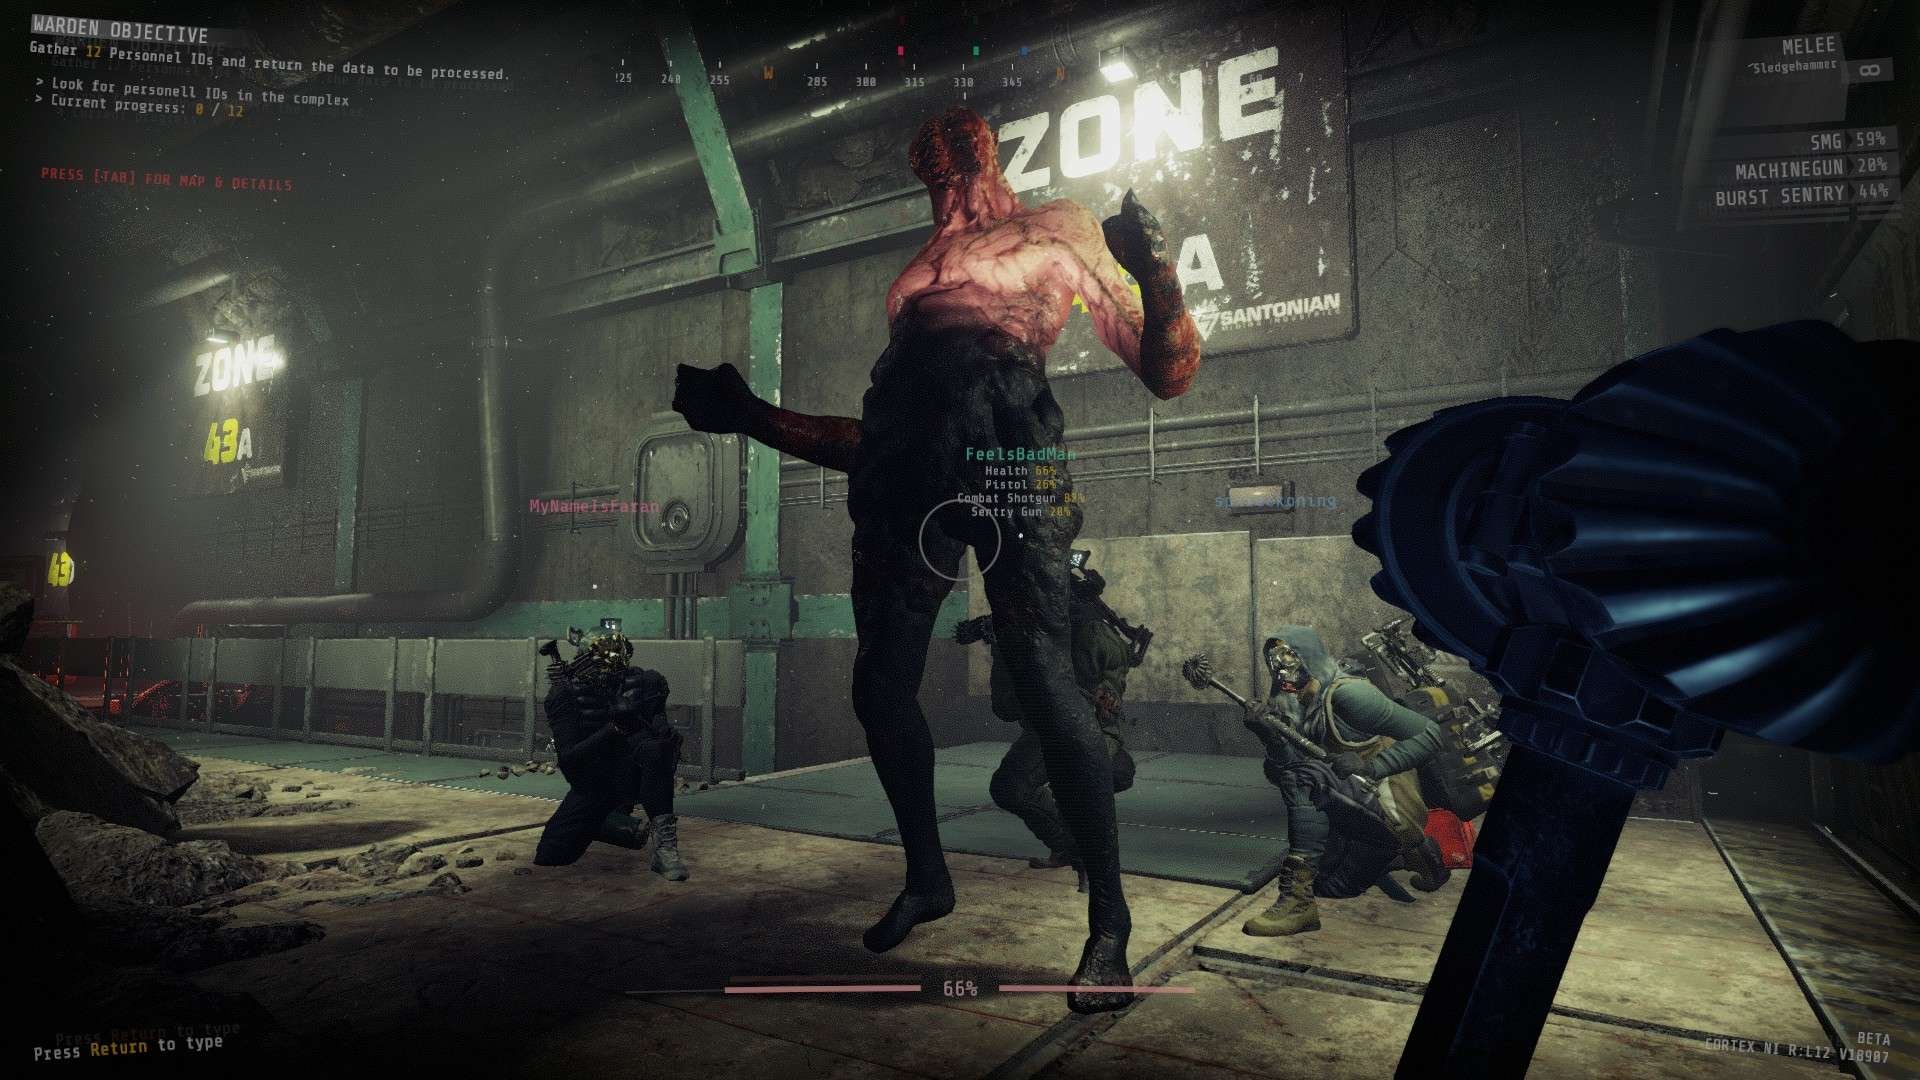
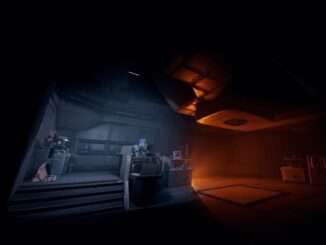
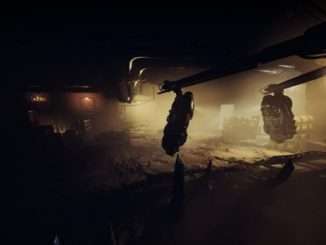
GTFO is a 4 player co-op horror fps. In the game players are tasked with retrieving or getting to objective item(s). while working towards the objective you will need to fight your way through hordes of enemies using whatever tactics you see fit.

Objective item found in top left corner.
Enemies
There are currently 5 types of enemies within the game.
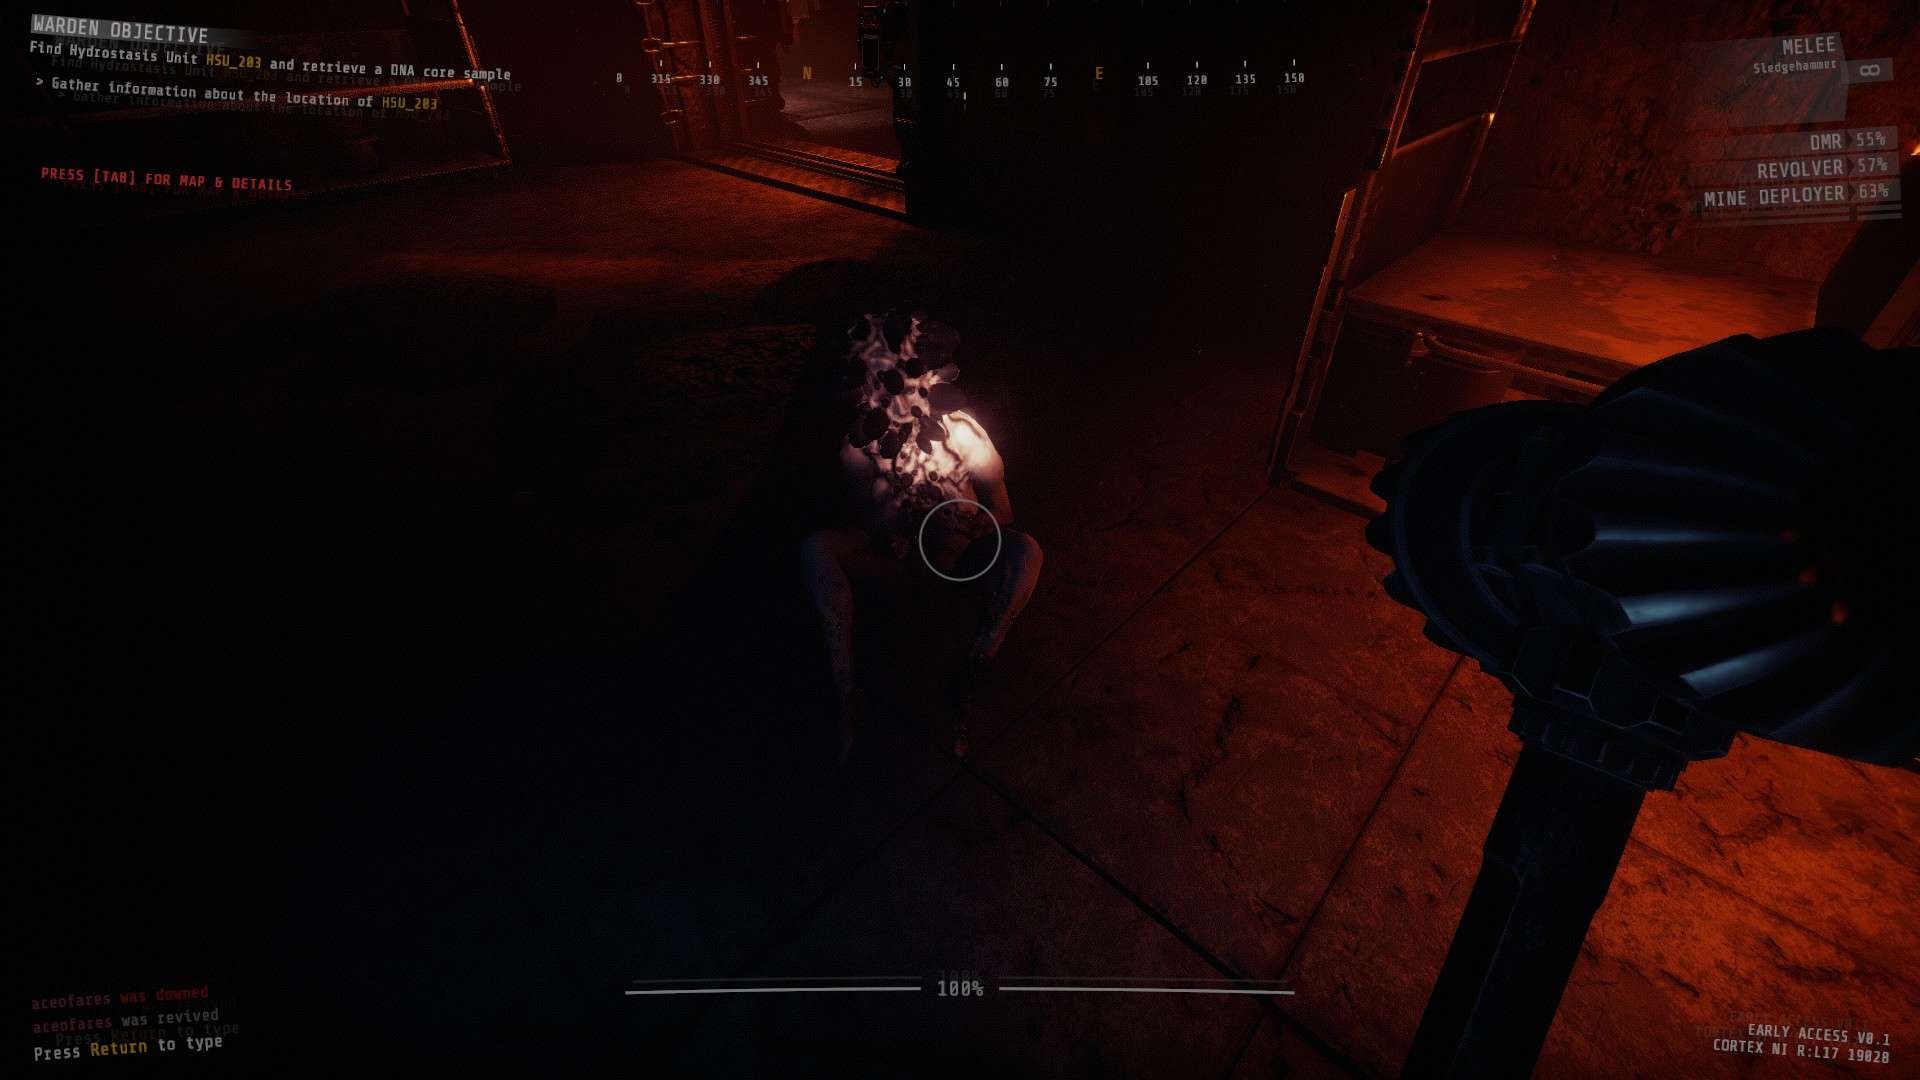
Striker
The striker is the most common enemy within the game and will launch attacks at you dealing 12% damage to your health. The striker has 2 stances: standing and crawling. While standing the striker will run towards you and attack you with what can only be assumed to be its tongue or some mass of muscle.
Shooter
The shooter is the 2nd most common enemy within the game when alerted it will keep distance from the player and shoot beam of light that curve towards the player and deal 5% damage to your health. While the shots will curve towards you they are relatively easy to side step unless you are being shot from multiple angles. This enemy requires a fully charged sledgehammer to kill.
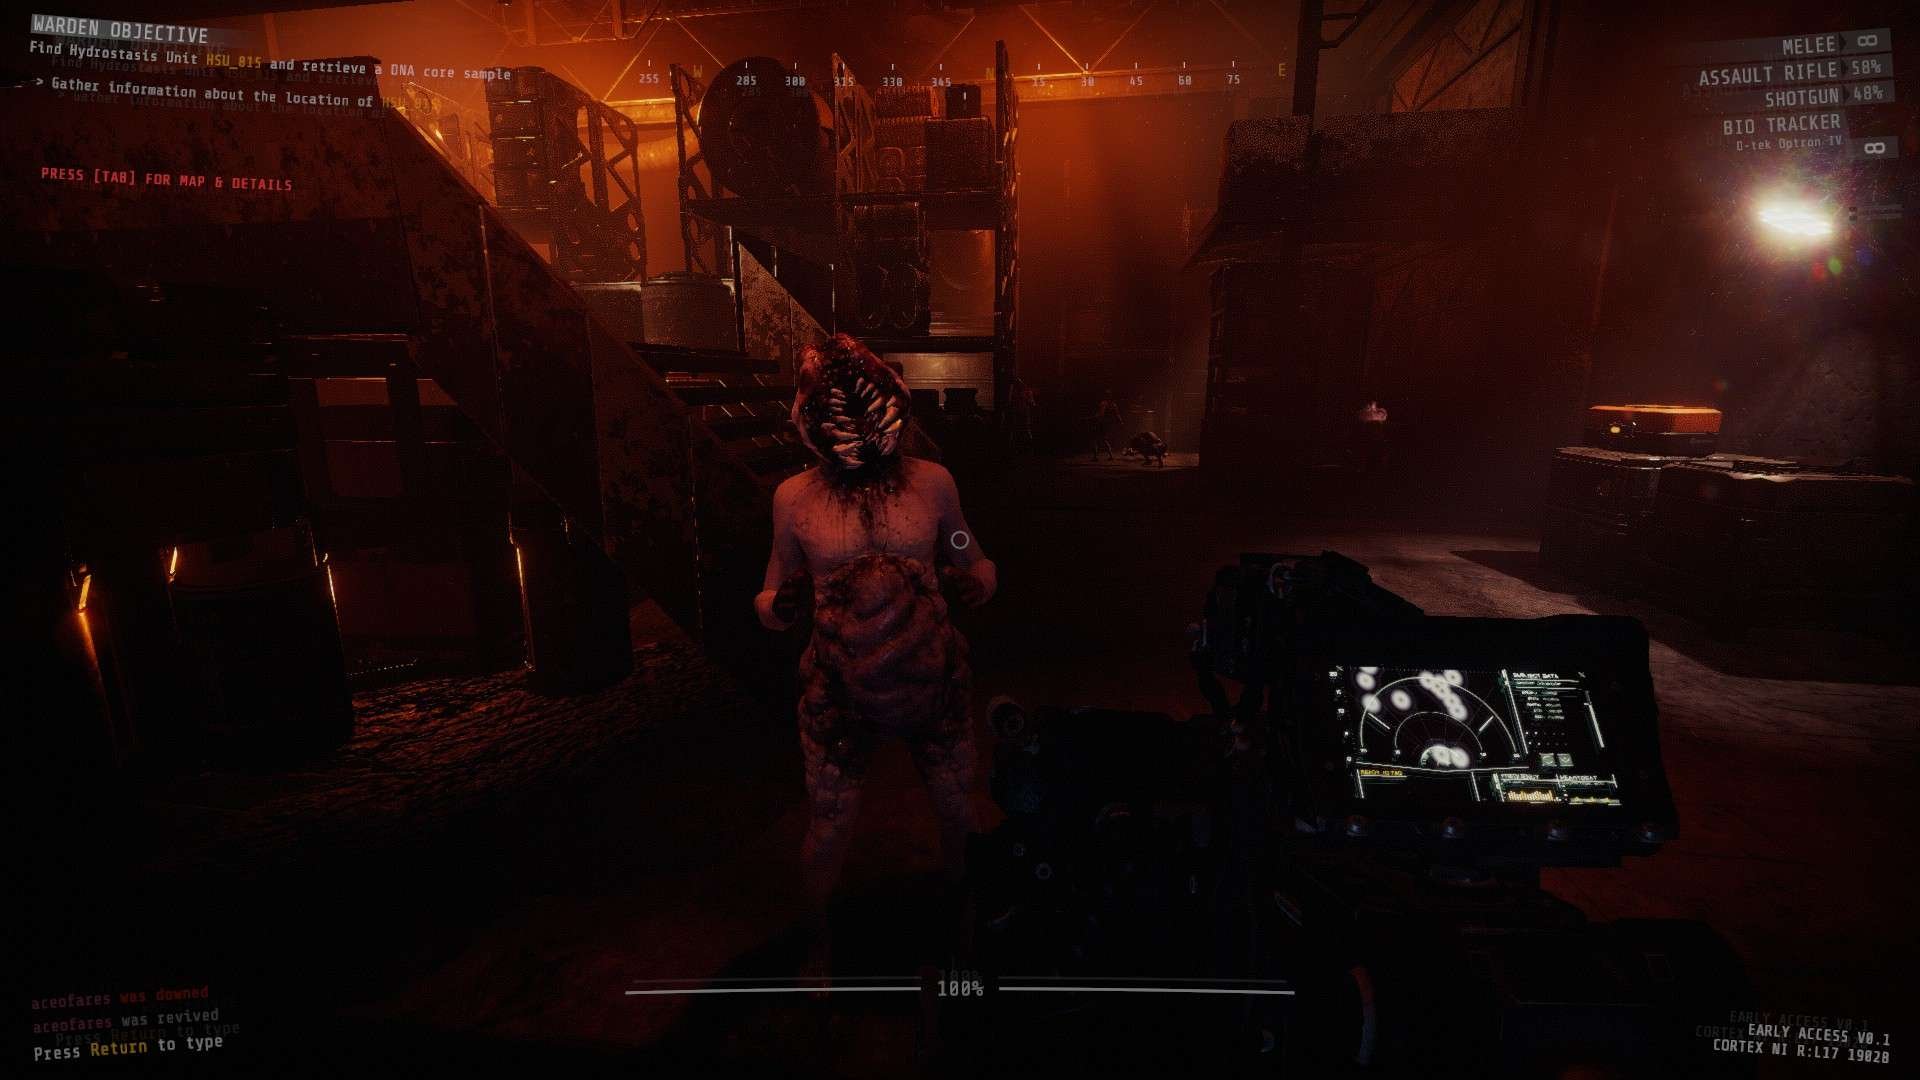
Big Striker
The big striker is the larger version of the striker. Like it’s predecessor it can shoot a mass of flesh out of its head at you, it can even do this after its has been destroyed. When you are next to the big striker its attacks will deal 40% to your health. You can stagger it with charged melee attacks and a team of fully charged sledge hammers can down it in one go.
Scout

The Scout is an enemy that does not spawn in a sleeper state(every other enemy in the game spawns in a sleeper state). The scout looks similar to shooters,however they are slightly taller. The scout can detect players by extending tendrils from its body outward in every direction if it touches the player the scout will scream and a blue light will flash from it. This will alert all nearby enemies and spawn an extra wave just like in alarm events. It is usually best to just shoot a scout in the head to kill it,however you can kill it with a fully charged sledge hammer when it is in a walking state(it has worked for me,however it is buggy and might not always work)
Big Shooter

The large shooter is the larger version of the shooter. unlike the shooter which shoots a single shot the large shooter will shoot a burst of shots at you. further confirmation is needed on how many melee attacks it takes to down it
Stealth
One of the most important aspects to the game is stealth. When you start the game all enemies with the exception of the scout will start in a sleep state.
Sleeping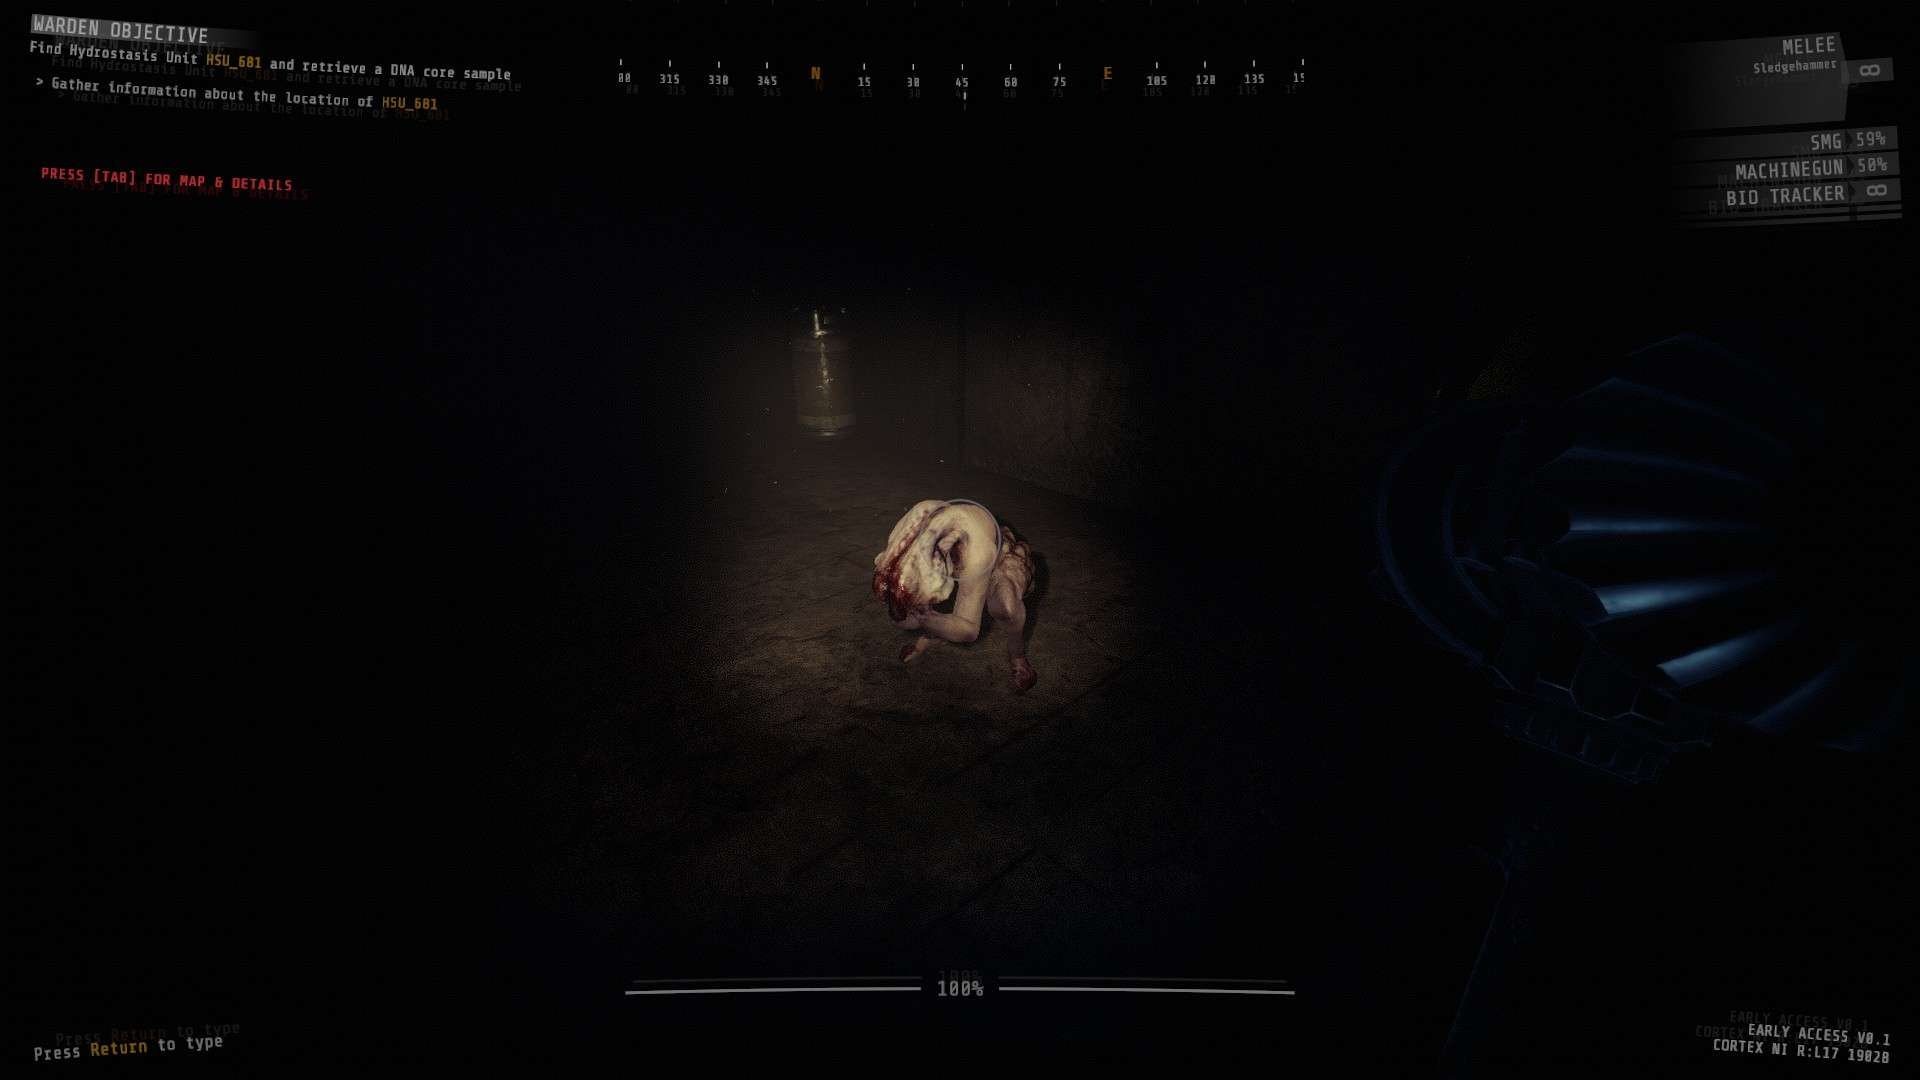
Stirring
When they are in a sleeper state there are 3 ways that you can alert them.
- Shooting your gun.
- When 5 meters away from and enemy moving and crouching/uncrouching while enemies are glowing will cause heartbeats.
- Shining a flash light on an enemy.
It should be noted that that you will only be detected from movement if the enemy is glowing red.
Now in order to kill the enemies you are going to need to take out your melee weapon and bash them in the head. You may have noticed that if you hold mouse 1 you will have a meter that starts to charge on your crosshair.
The more you fill the meter up the more damage you will do, however holding to long will cause you to swing.
A small tip is if you cant get the attack off you can swing at the air and it wont cause you to be detected.
The charge required to kill an enemy in stealth differs for each enemy class:
Striker
- Charge required with headshot: slight charge
Shooter
- Charge required with headshot: full charge
Scout
- Charge required with headshot: full charge
Big striker
- Charge required with headshot: full charge 4 players
Big shooter
- Charge required with headshot: full charge 4 players
Note: the strikers will sometimes survive a half swing so charging fully for a safety swing is usually a good idea.
Note: the scout can be killed in 1 headshot while fully charged, however it’s kinda buggy sometimes and might not work.
A small tip: If you are outnumbered by the nearby enemies you can go next to an enemy where you can see all nearby enemies and kill it when the other are not glowing.
Another small tip: If you fail to kill an enemy and they are alerted you have a several second window to kill it before it alerts all the other enemies on the map.
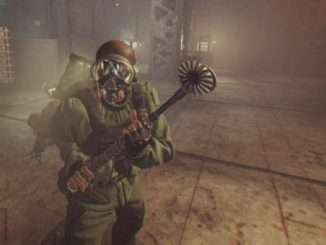
Weapons and Tools
A small chart of the differences between weapons:
Primary Weapons
Pistol
- Damage: low
- Ammo Reserves: high
- Recoil: low
- Range: medium
- Fire Rate: semi-auto
SMG
- Damage: low
- Ammo Reserves: high
- Recoil: low
- Range: short
- Fire Rate: full auto
DMR
- Damage: medium
- Ammo Reserves: medium
- Recoil: low
- Range: long
- Fire Rate: semi-auto
Assualt rifle
- Damage: low
- Ammo Reserves: medium
- Recoil: low
- Range: medium
- Fire Rate: full auto
Note: Low damaging kill strikers in 1 headshot, medium damage weapons kill shooters in 1 headshot and high damage weapons will kill scouts in 1 headshot. The game defines damage and range differently,however i found this to be the easiest way of understanding it.
Special Weapons
Shotgun
- Damage: medium
- Ammo Reserves: low
- Recoil: medium
- Range: short
- Fire Rate: semi-auto
Combat Shotgun
- Damage: high
- Ammo Reserves: low
- Recoil: low
- Range: short
- Fire Rate: full auto
Revolver
- Damage: medium
- Ammo Reserves: low
- Recoil: high
- Range: medium
- Fire Rate: semi-auto
Machine Gun
- Damage: low
- Ammo Reserves: medium
- Recoil: low
- Range: medium
- Fire Rate: full auto + charge up
My recommendation to new players would be to use the pistol and the mg as they are very easy to use and you wont have to worry as much about making your shots count.
Tools
The tools have many different uses,however to put it simply they slow down,kill, or detect enemies. those are the 3 jobs that they serve.
C-foam launcher
This is probably the first tool you see when you load into a lobby. to put it simply it shoots foam charging it up will shoot more foam, but don’t let that fool you it has a very important role in survivability. The foam when shot onto the ground can slow/immobilize enemies and give you just enough time to reload and kill the enemies rushing you. Along with the it can be sprayed onto doors to block up doors causing the enemies to take longer to break down the door which is very useful in alarm events
Bio Tracker
The bio tracker is a tool that tells you the locations of enemies within the area there distance from you and can scan form moving/awake enemies and ping them. It is very useful when trying to stealth or figure out whats in the next room. Only 1 player on the team should have this at a time, otherwise you are wasting a tool space.
Mine Deployer
This tool deploys laser activated mines. They deal splash damage so it can be very effective against groups of enemies. It can also be effective in damage enemies like the big striker and big shooter. be aware that if its not placed low enough a striker might be able to crawl under it.
Sentry Gun
There is a burst sentry gun and a shotgun sentry gun. The burst sentry gun can aim for heads and the shotgun sentry can kill enemies in one shot. Be aware that positioning for the shotgun turret is very important and can make it either very strong or very weak. Additionally you can get shot by your own sentry gun if you stand between it and an enemy so be careful.
How to Use The Terminal
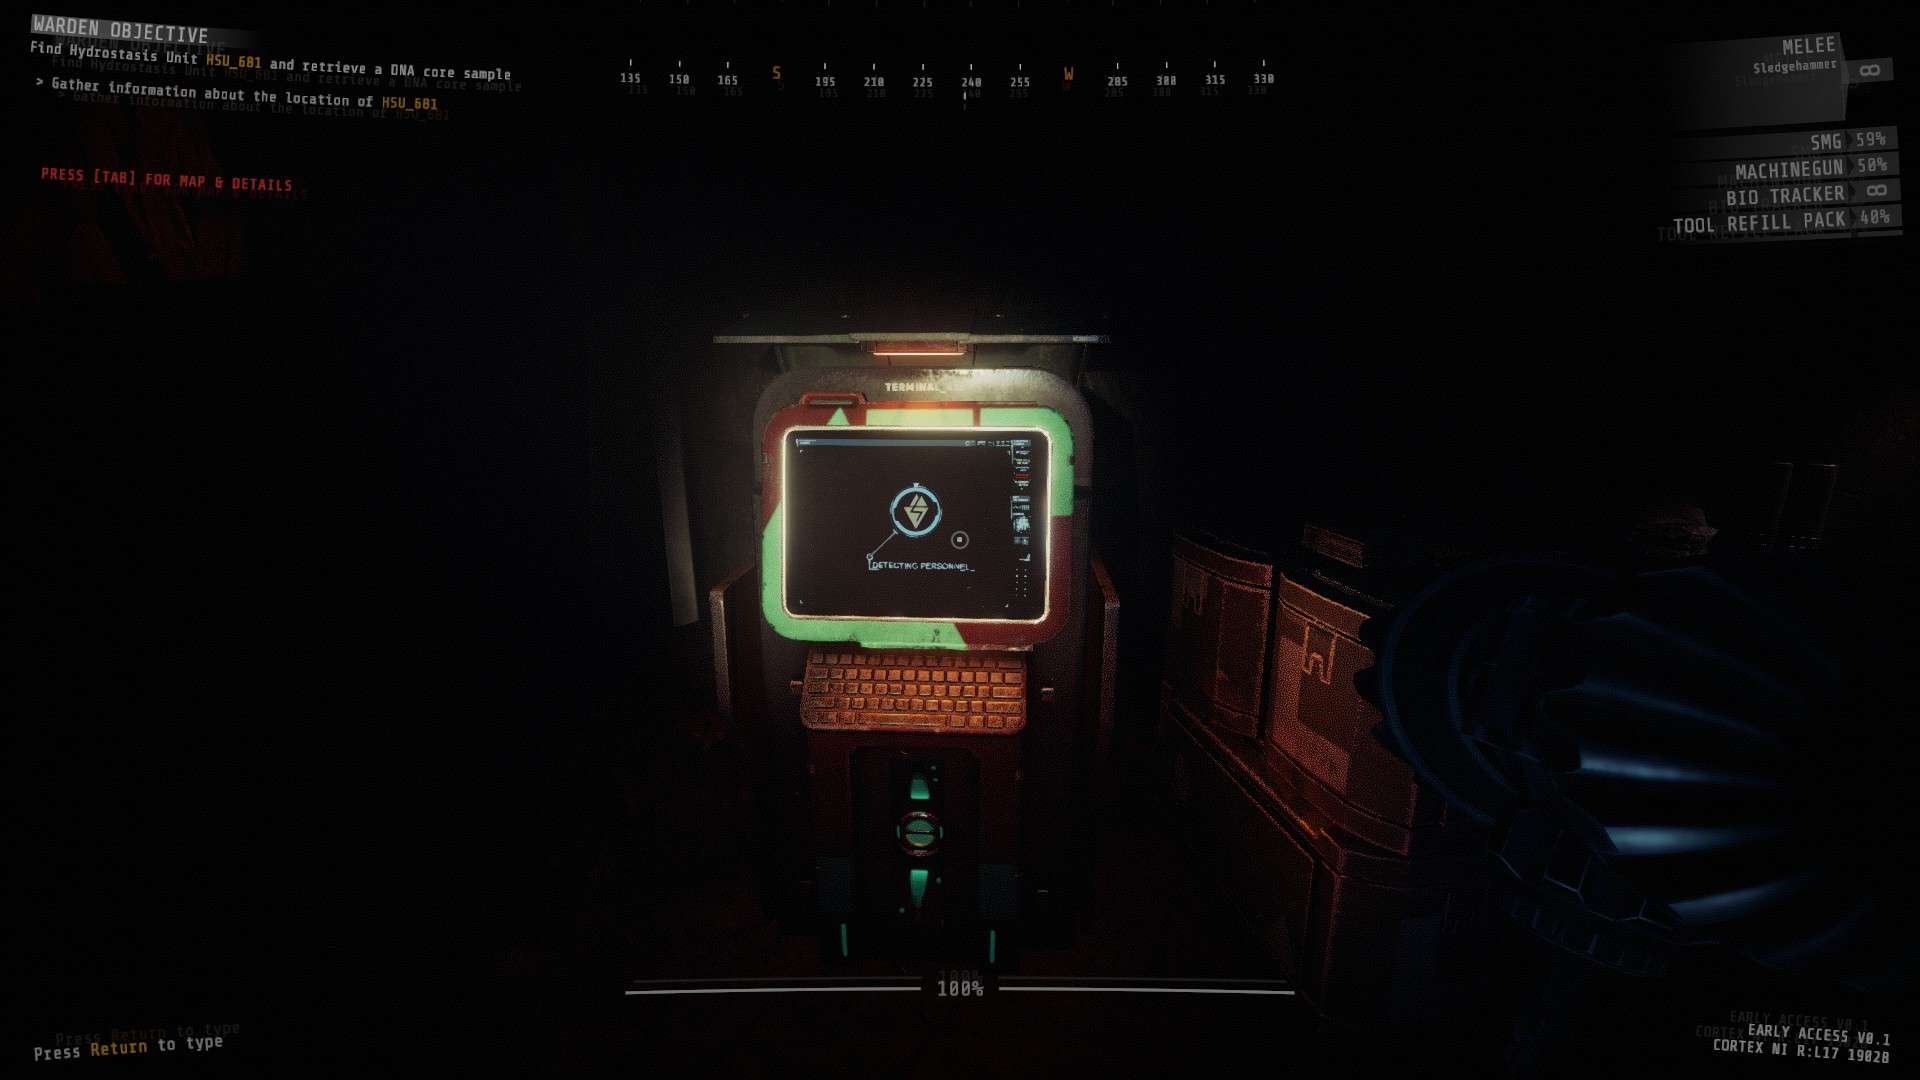
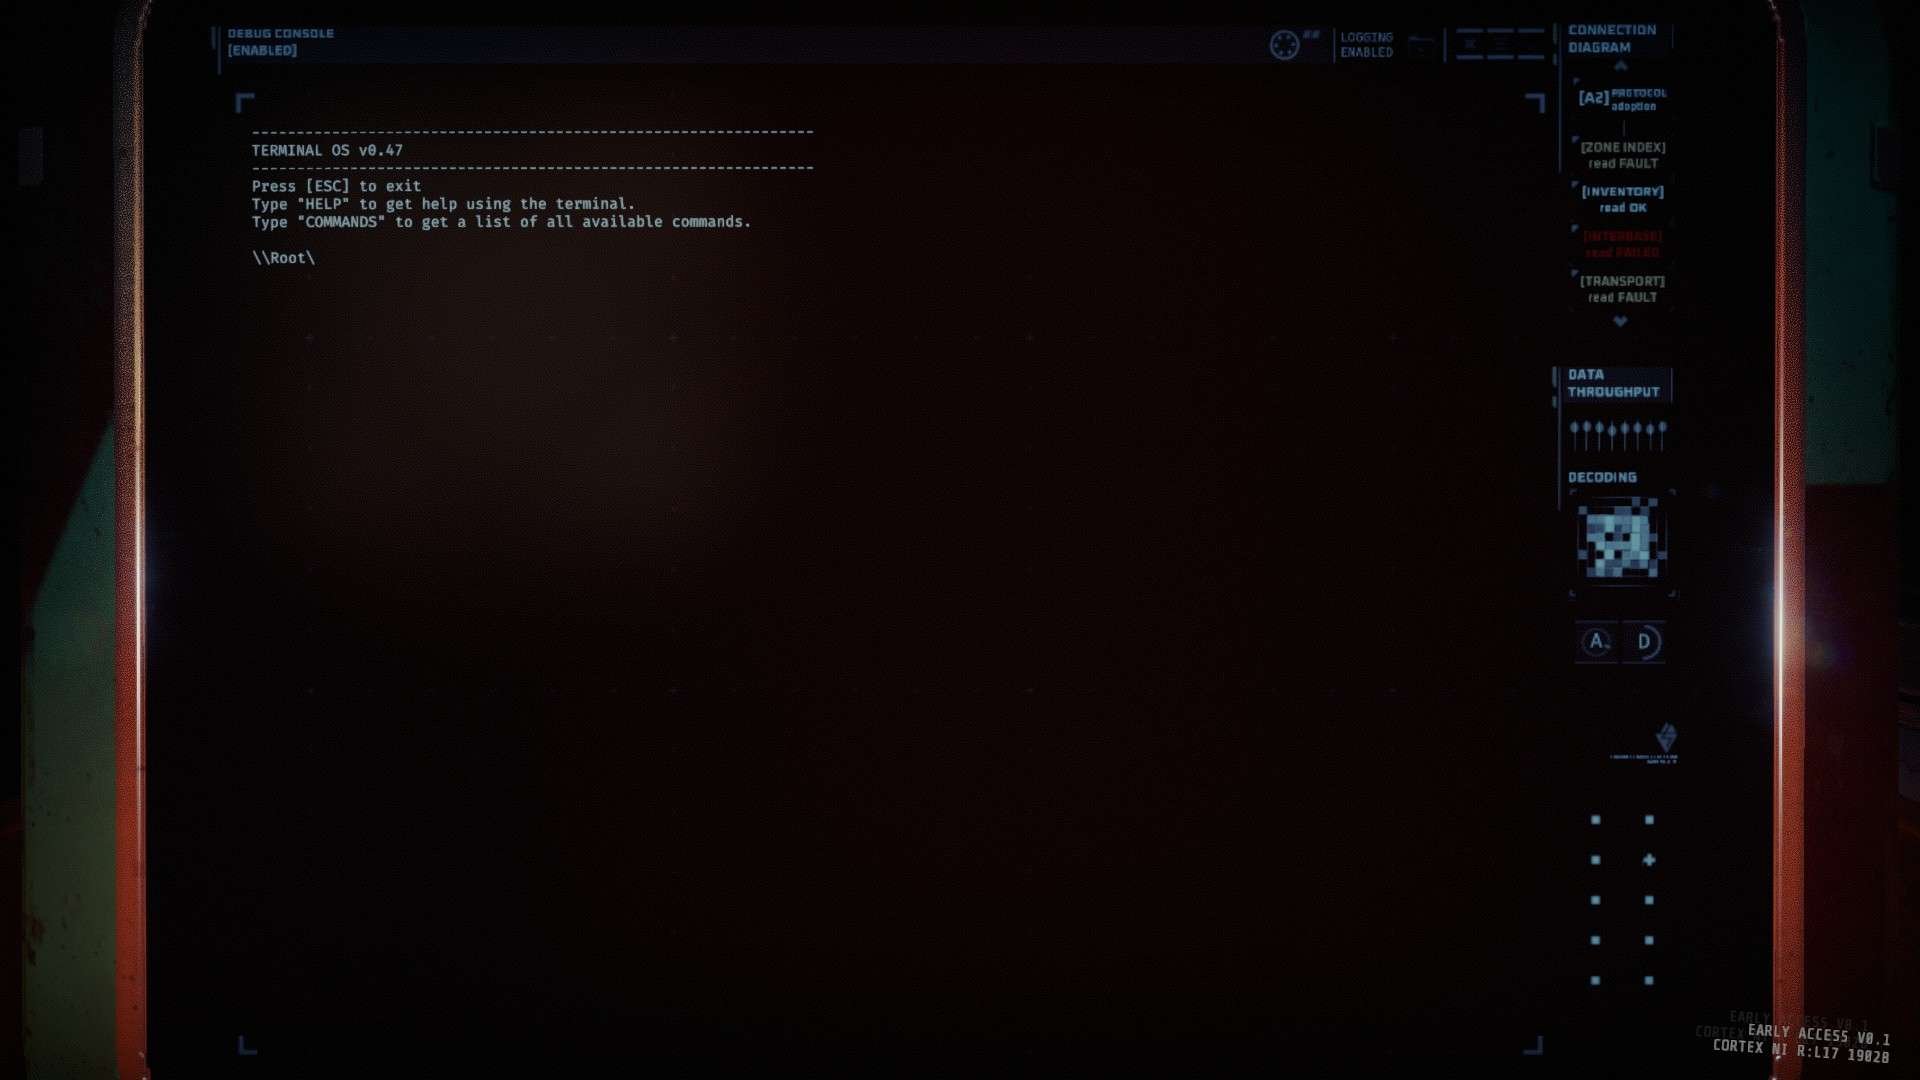
The terminal in GTFO is used to locate items around the map. There only a few commands that you will use on a normal basis.
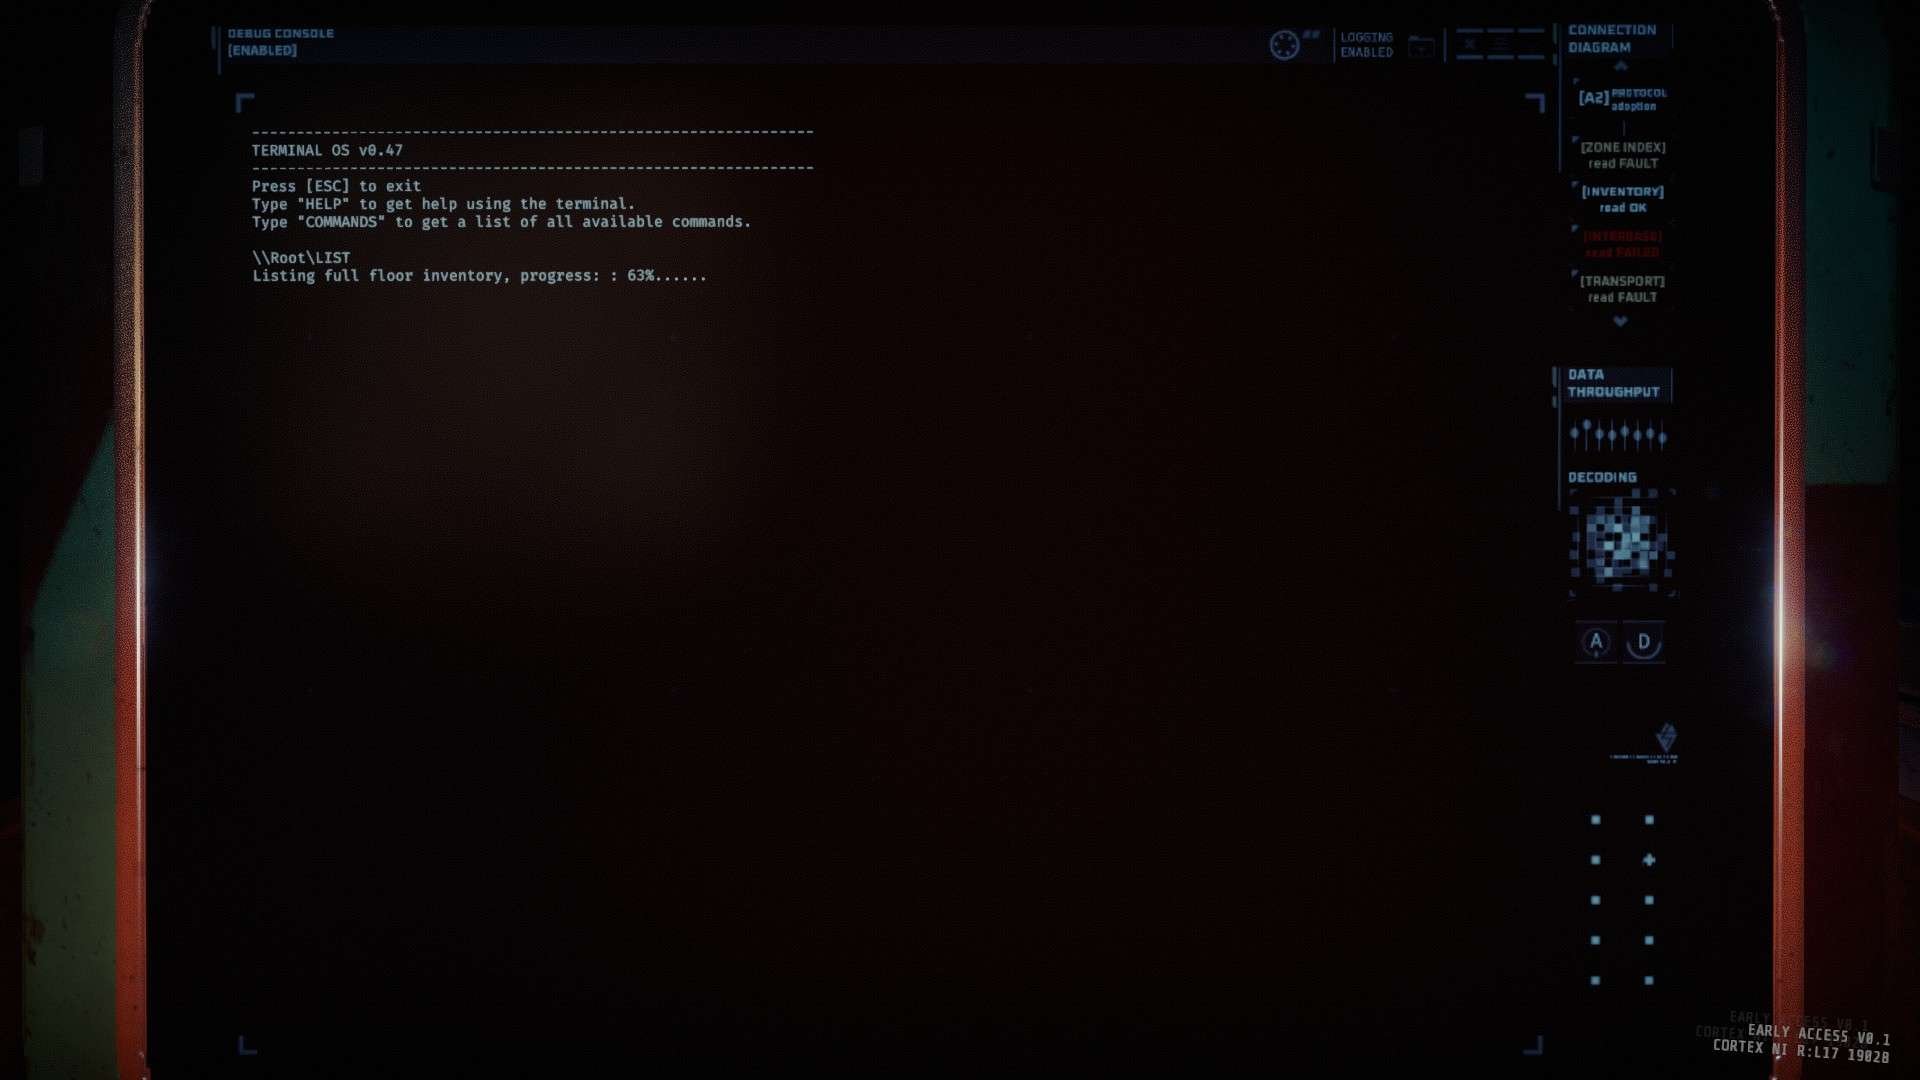
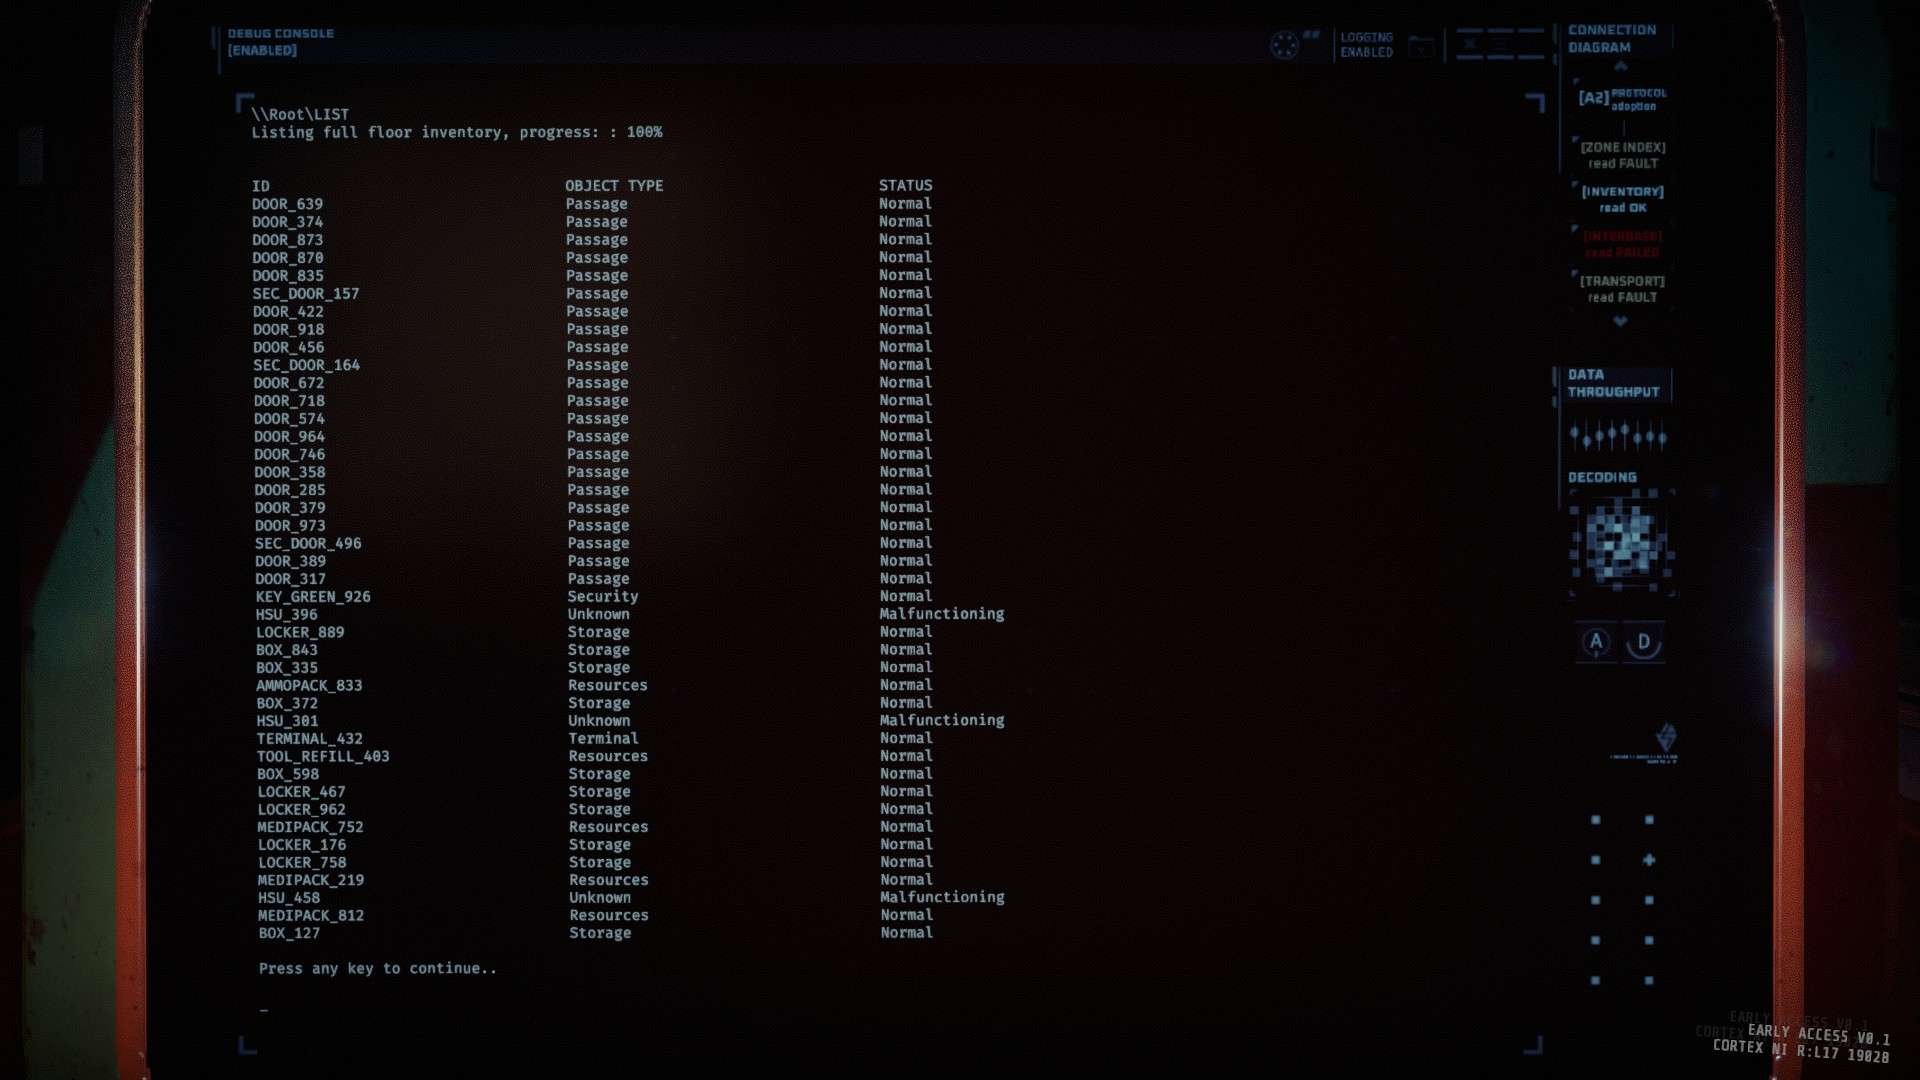
List will show all items on the map,however it will not tell you which zone it’s in.
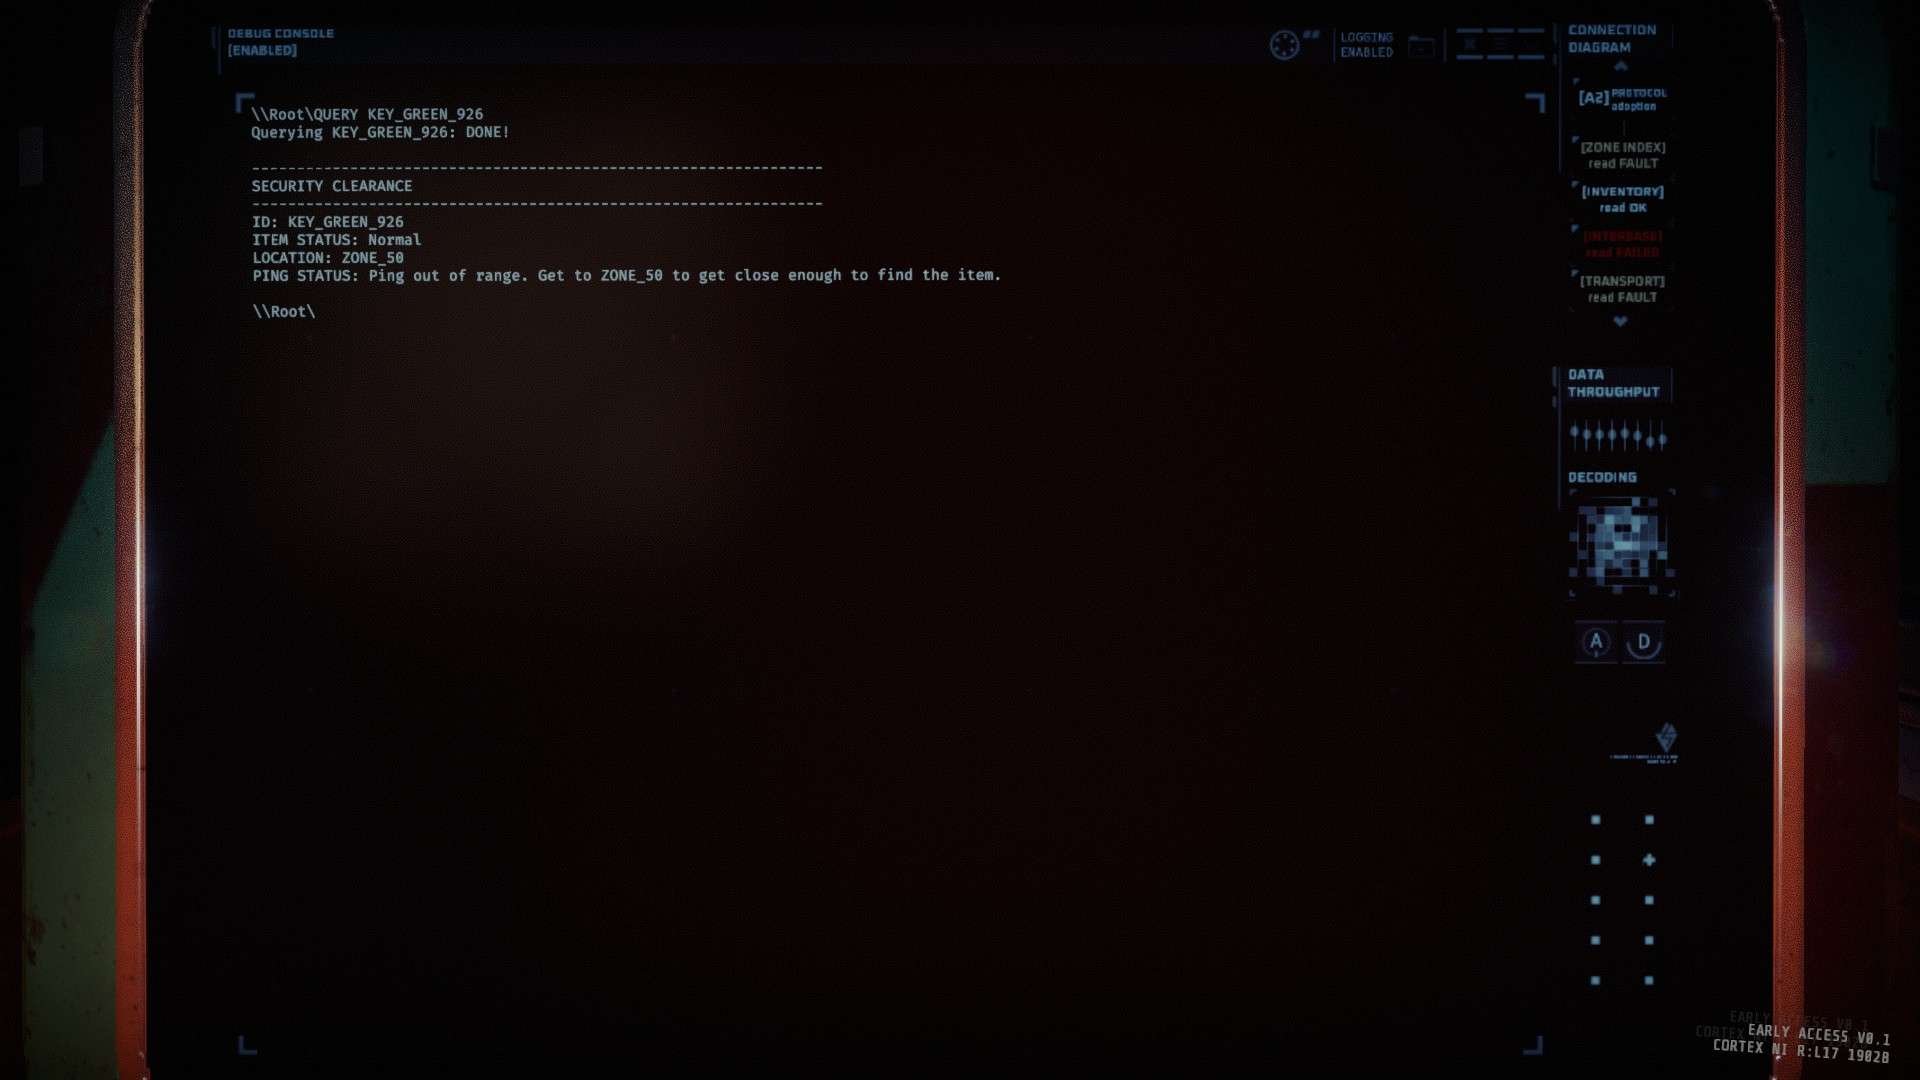
If you want to search for one of those items you can use |query| which tells you which zone an item is in.
If you want to find all the items within a specific zone you should use list zone (insert the number of the zone here).
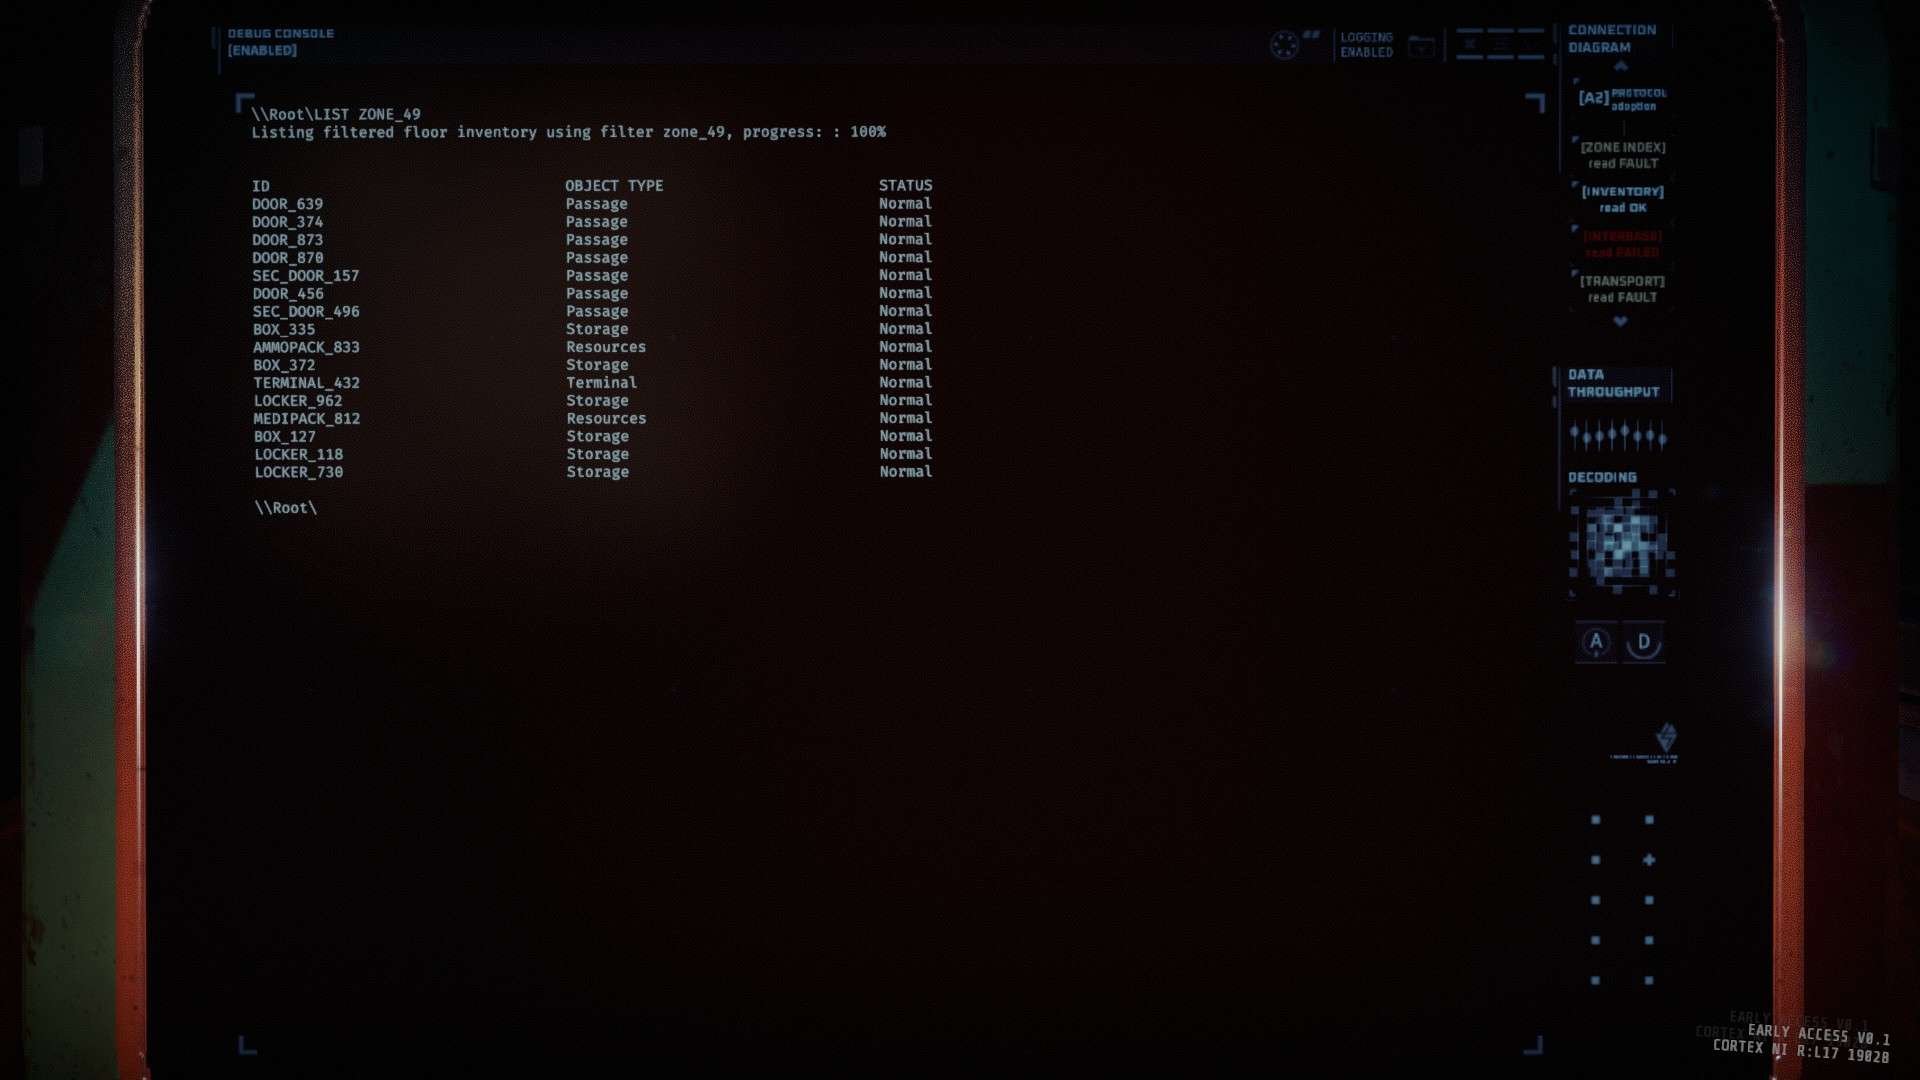
Be aware that if you only list the number of the zone and not the zone_ you will get anything with that number such as boxes and id’s that aren’t in the area.
Another tip: Pressing the up arrow key will copy the command you just entered back into the console. you can keep pressing up to go back to previous commands before that. This can be very useful when you don’t want to reenter a command and you just want to change a small thing on the end such as changing list zone_44 to list zone_43
Personally these are the only commands I use, however if you are looking for a more detailed guide you should visit GTFO – How to Use the Terminals.
If you want a guide on surviving alarms I would visit GTFO – Survival Guide (for All Alarm Events).
This guides is well made and helped me when I was starting out.
Be the first to comment