
This guide is for the minigolf amateurs. It will demonstrate hole in ones and best possible shots.
Where to Find All Holes in Kingdom Minigolf
Tower Unite gives players many different options. This is a simple guide. It is for players who are not very good, or players who want to get better.
Kingdom Minigolf Guide (All 18 Holes)
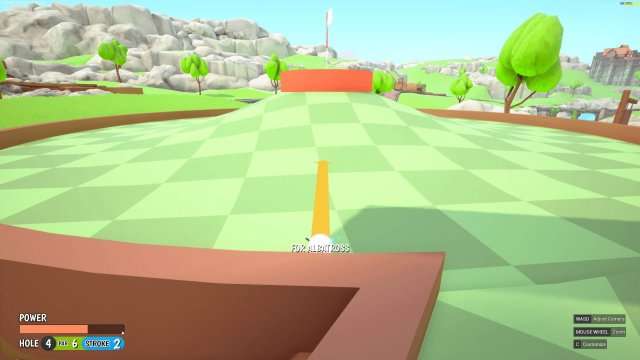
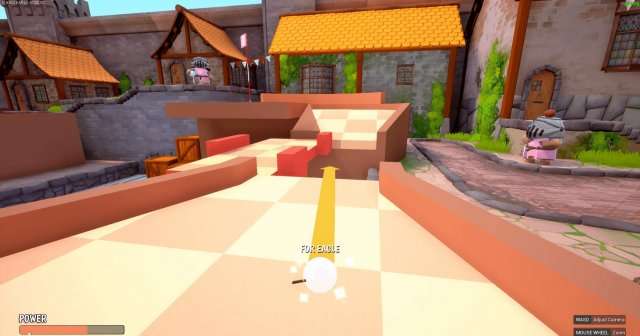
Hole 1
- Power: Between green and blue.
- Aim: Slightly left.
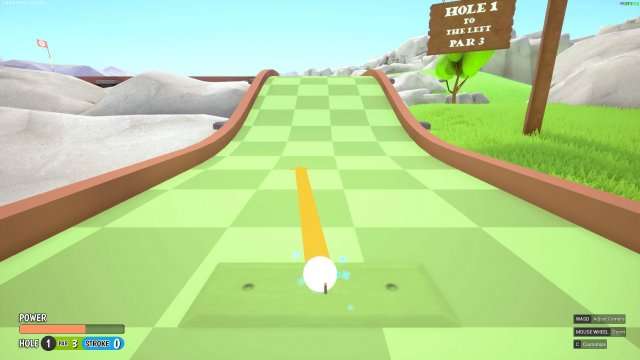
- Power: On the P in ‘PAR’.
- Aim: Towards the Flag.

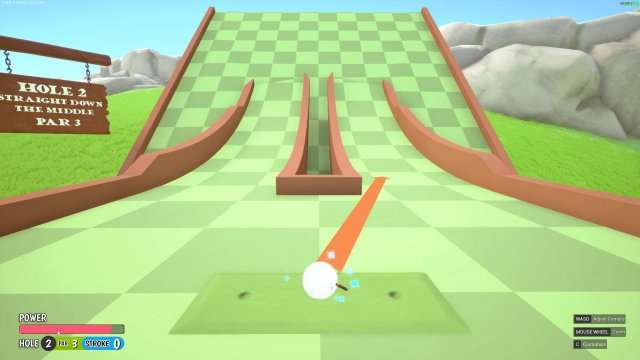
Hole 2 (Hole In One)
- Power: Right side of E in ‘Stroke’.
- Aim: Right of the corner as shown in picture.
Hole 3 (Hole In One)
- Power: O in ‘Stroke’.
- Aim: Slightly right, shoot once the moving platform is nearly in line with the ball.

Hole 4
- Power: Full.
- Aim: Straight, Shoot just after the moving platform starts moving towards the opposite side.
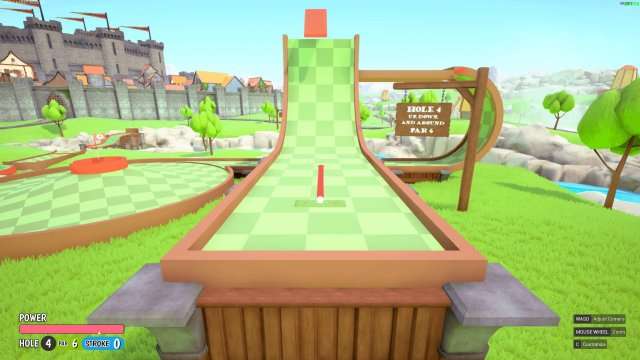
- Power: Full.
- Aim: Far Right, once the hole is 95% of the way to the furthest right, shoot.
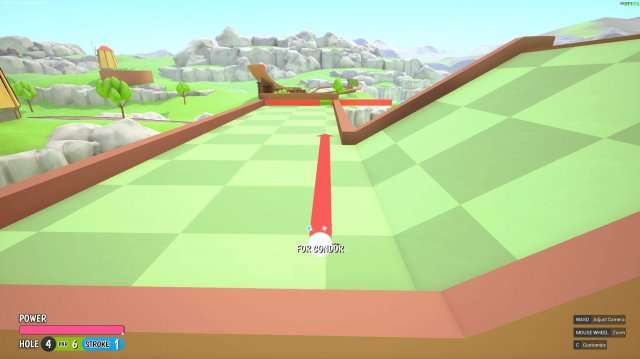
- Power: Above the S in ‘Stroke’ or about 2/3.
- Aim: Towards The Flag.
Hole 5
- Power: Full.
- Aim: Straight, once the moving platform starts moving left.
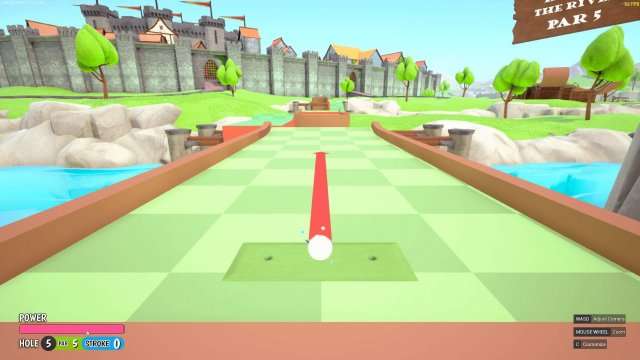
- Power: Full.
- Aim: Straight, once the moving platform starts moving left.

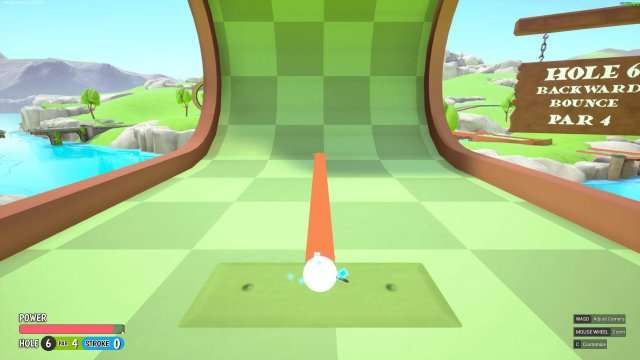
Hole 6 (Hole In One)
- Power: Halfway between the E in ‘Stroke’ and the 0 at the end.
- Aim: Straight.
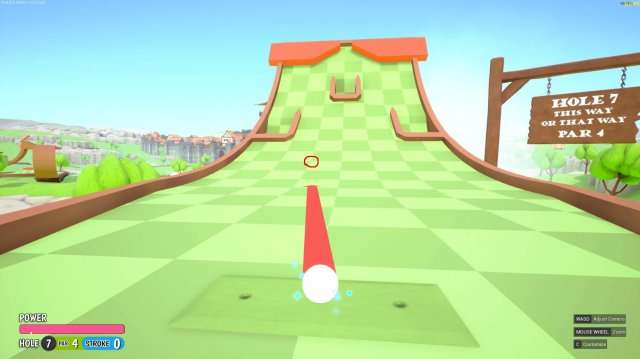
Hole 7 (Hole In One)
- Power: Full.
- Aim: At the corner shown in picture.
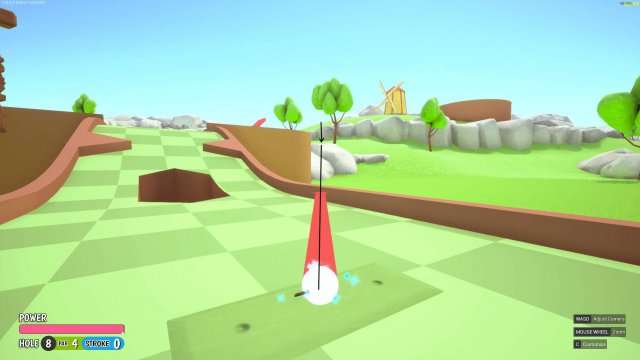
Hole 8 (Hole In One)
- Power: Full.
- Aim: Right, aim for the small divot in the rocks in the background like in the picture.
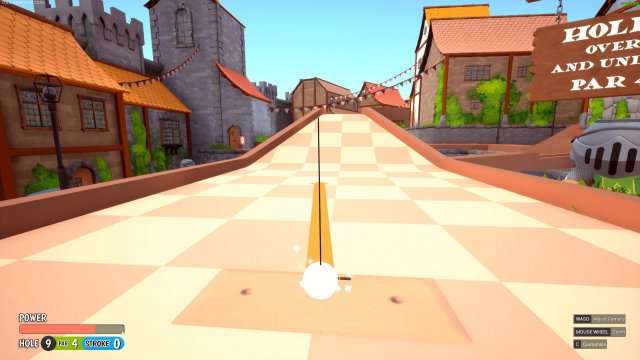
Hole 9 (Hole In One)
- Power: R in ‘Stroke’.
- Aim: At the corner as shown by picture.
Hole 10
- Power: Middle of K in ‘Stroke’.
- Aim: Straight.
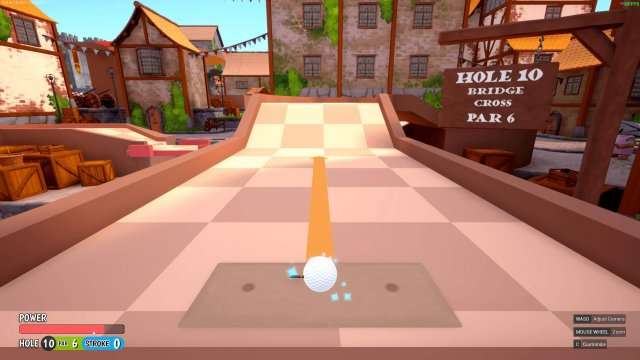
- Power: Between green and blue.
- Aim: Towards the curve at the back.
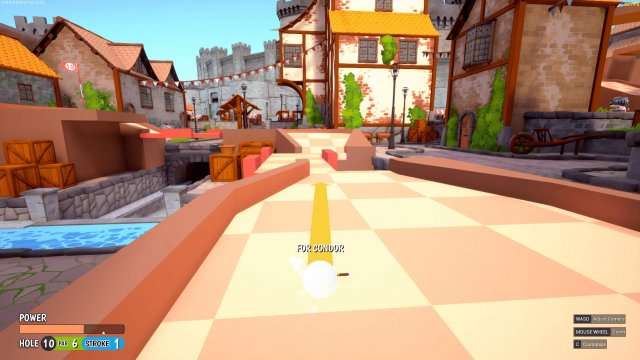
- Power: between 50% and 80%.
- Aim: At the back wall.
If you miss the hole on shot 3 you can take 1 more to get a 4.
Hole 11 (Hole In One)
- Power: Just left of the S in ‘Stroke’.
- Aim: Straight.

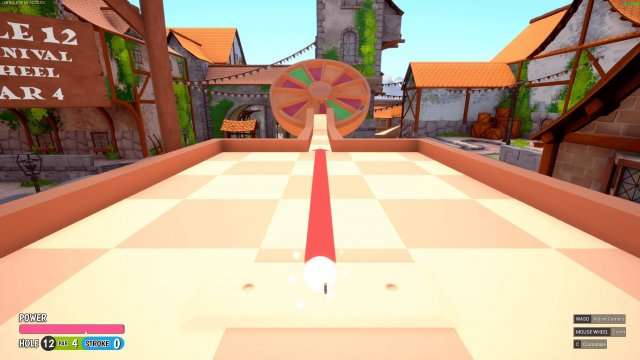
Hole 12 (Hole In One)
- Power: Full.
- Aim: Straight, Shoot once the red to the right side of the green is at the top as shown in picture.
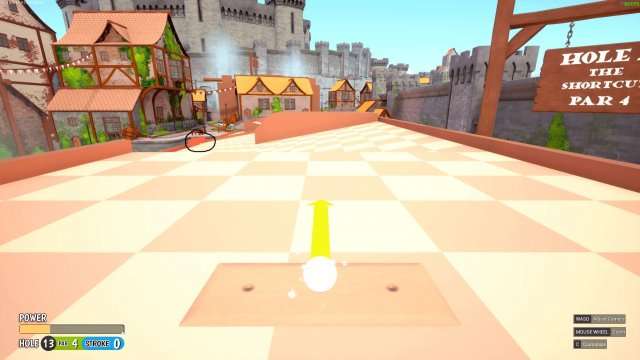
Hole 13 (Hole In One)
- Power: Between 1 and 3 in 13.
- Aim: Straight, Shoot just after the moving platform starts moving towards you.
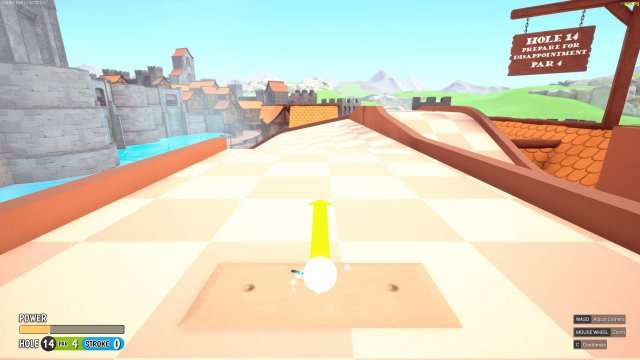
Hole 14 (Hole In One)
- Power: Between 1 and 4 in 14.
- Aim: Straight.
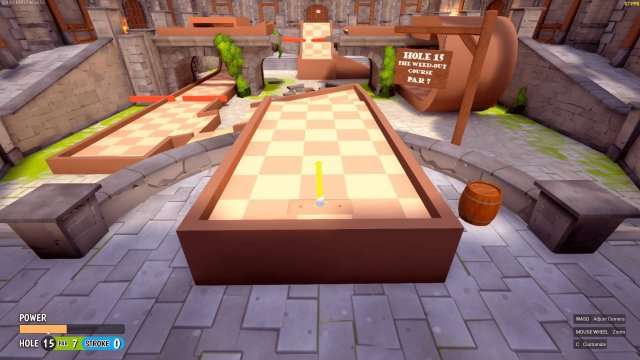
Hole 15
- Power: Middle of R in ‘PAR’.
- Aim: Straight, Shoot one second after the moving platform starts moving away from you.
- Power: Full.
- Aim: As far right of the speed boost as possible and shoot once the hole in the moving wall is aligned.
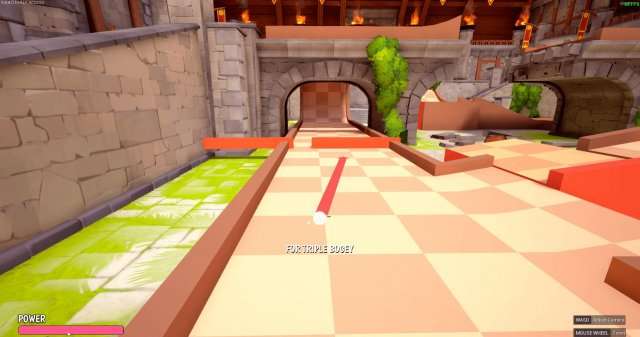
- Power: Full.
- Aim: At the corner shown in the picture.
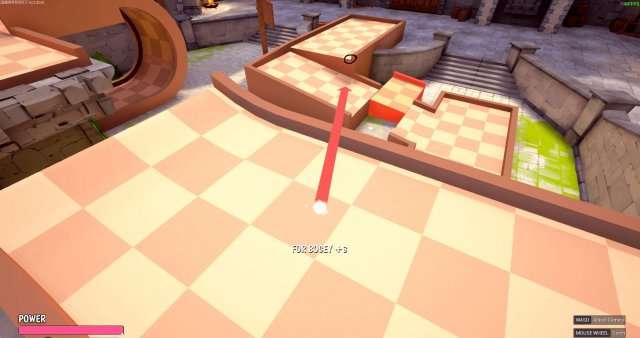
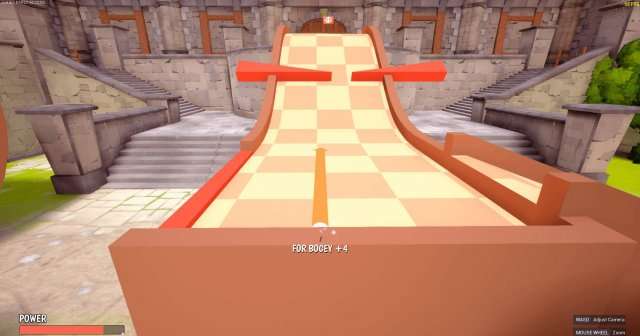
- Power: 80%.
- Aim: Straight, Once the Moving Wall is aligned.
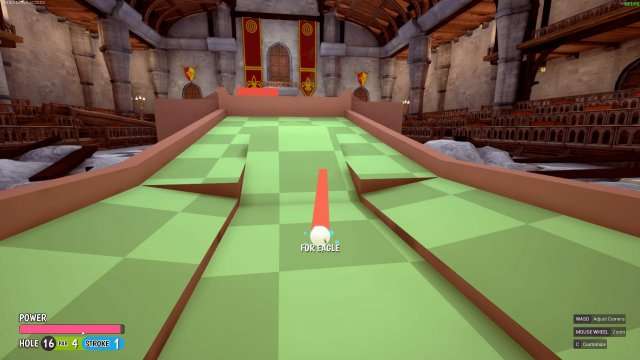
Hole 16
- Power: 50%.
- Aim: Straight.

- Power: Full.
- Aim: To the right as shown in picture.
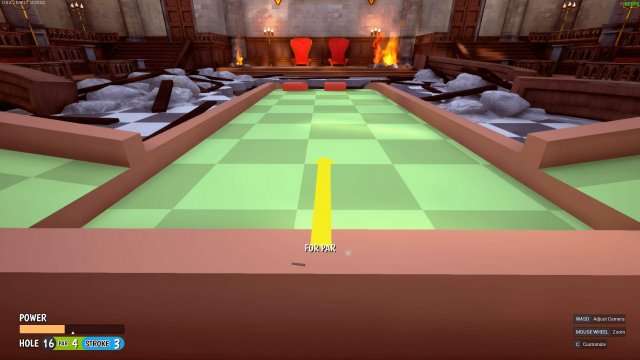
- Power: 30%-70%.
- Aim: Middle of the moving platform.
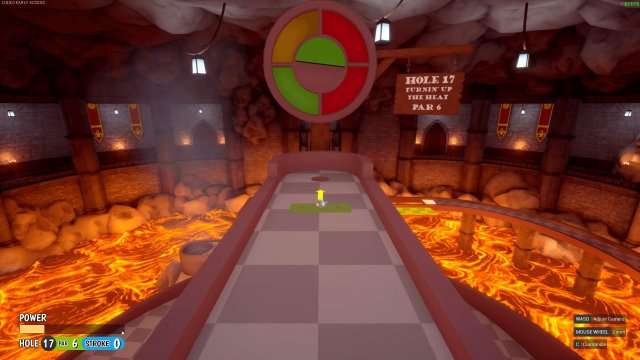
Hole 17 (Sometimes Hole In One)
- Power: Above the 1 in 17.
- Aim: Straight, Once the spinning semi-circle is facing upwards like the picture, shooting to late or too early will result in a 2 rather than a hole in one.
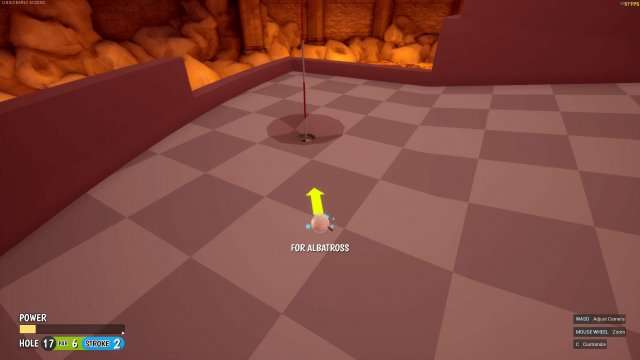
- Power: 15%.
- Aim: If you don’t get a Hole In One just aim At flag.
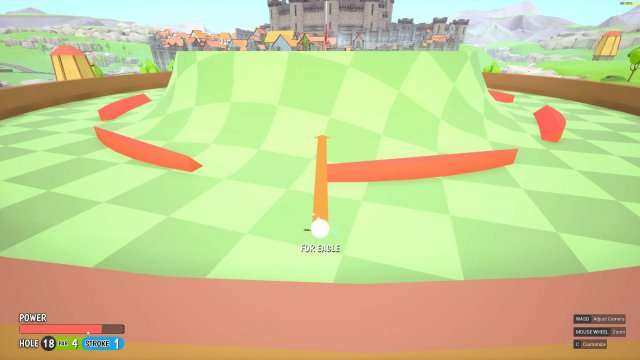
Hole 18
- Power: 30%-80%.
- Aim: Straight.
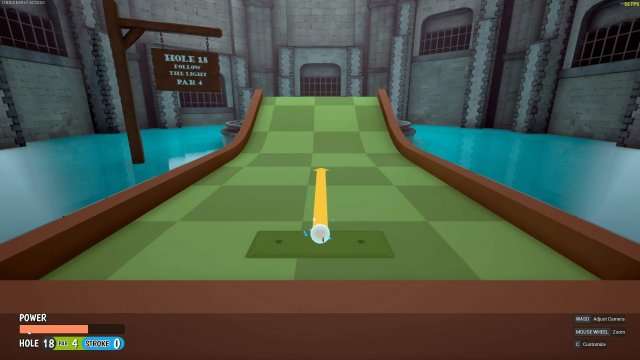
- Power: R in ‘Stroke’.
- Aim: At flag.


Be the first to comment