
In this guide, I’ll try to show you everything (or almost) you need to know about the game: objectives, biomes, plants, animals, possible crafts.
Guide to Basics
Basics
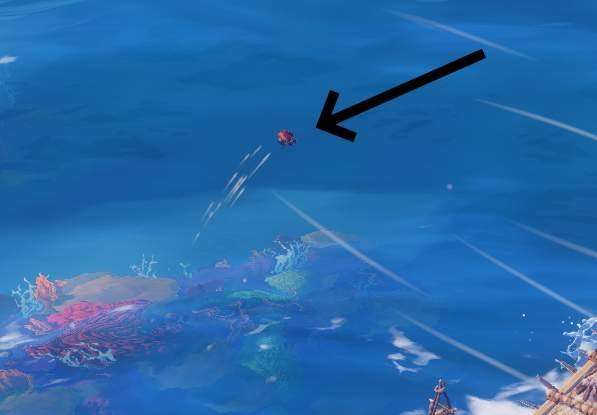
In Winbound, you control Kara, a young woman who is stranded on a desert island following a storm.
The game’s objective is survival and finding her people. You will navigate through different “worlds” consisting of various islands. To do this, you will need to hunt for food, gather resources, and construct a raft, which you will upgrade as you progress.
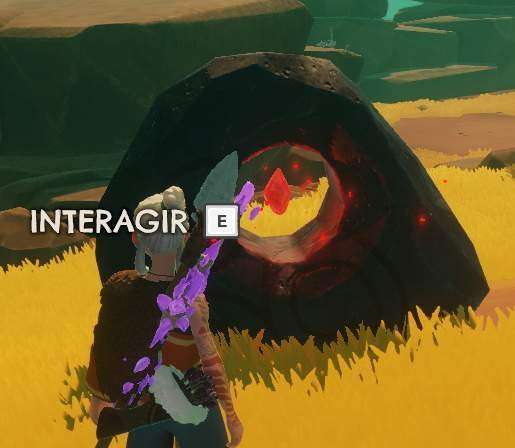
To advance through the game’s chapters, you must activate three mechanisms in each area. These mechanisms are located on separate islands, which you must locate. Other islands contain resources needed for survival and progression. You will gather minerals, plants, and animal parts.
- To start the adventure, 2 choices are available to you. Survival mode, or story mode.
- In survival mode, if you die, you start over in Chapter 1, keeping only the items in the kept item line.
- In story mode, you don’t lose anything and don’t start over in Chapter 1.
Biomes
During the chapters, you will have access to different biomes which will give you the opportunity to obtain certain resources available only in these places.
Biome list and spawn chapter (once a biome has been unlocked it will be available in subsequent chapters).
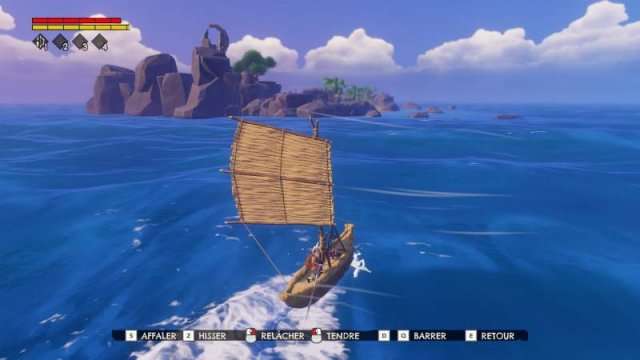
Temperate biome – Chapter 1
- Green trees
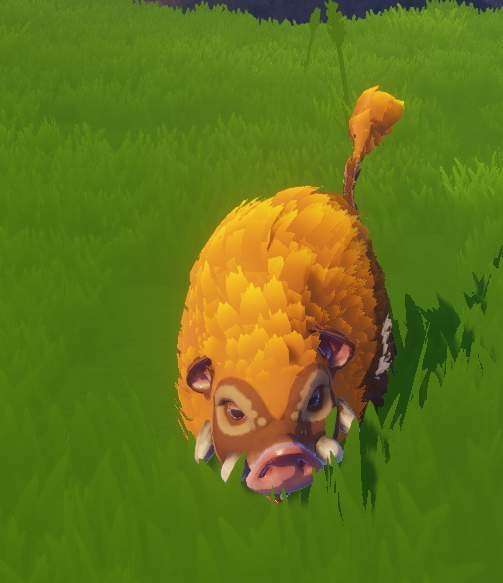
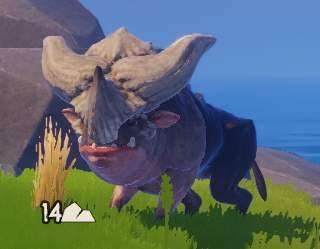
- Animal special: Gorehorn
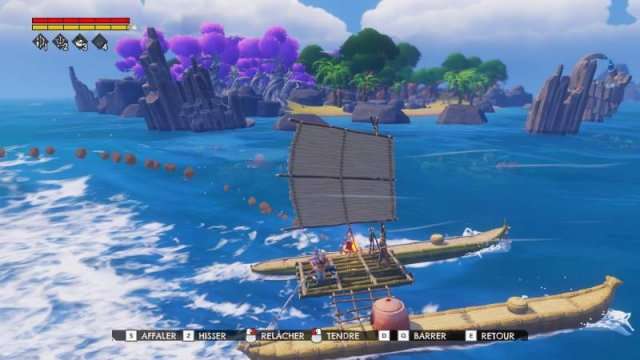
Tropical biome – Chapter 2
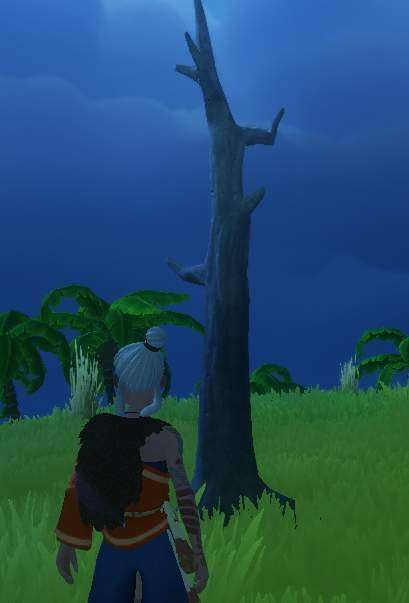
- Red-Orange trees
- Animal special: Plainstalker, silkmaw
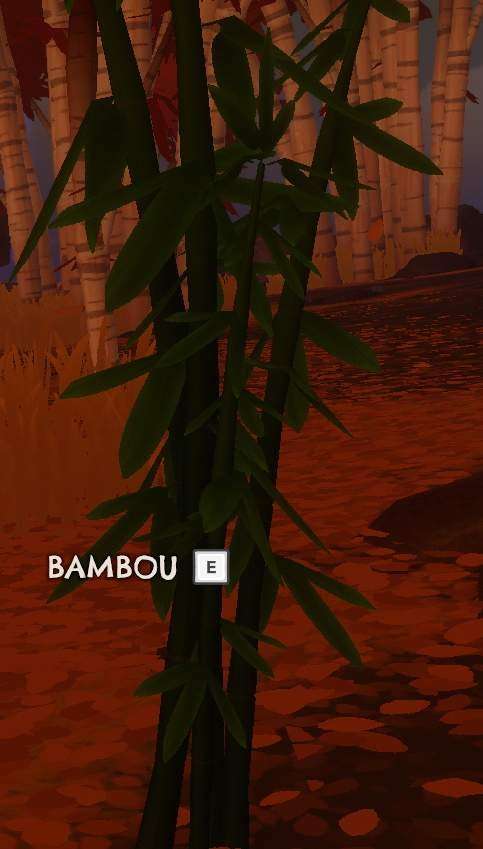
- Resource special: bamboo

Jungle biome – Chapter 3
- Purple trees
- Animal special: Gloomharrow, silkmaw
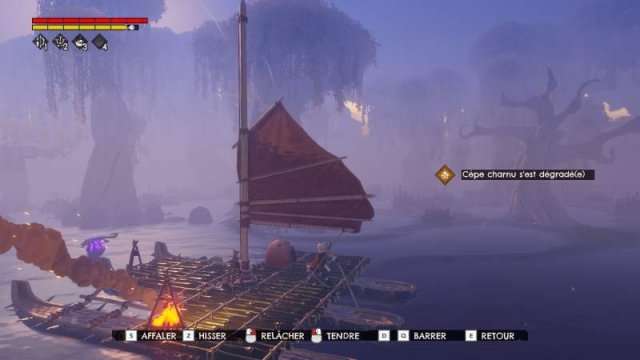
Swamp biome – Chapter 4
- Fog when approaching
- Animal special: Pondwomper, silkmaw, bumbler
- Resource special: crude metal
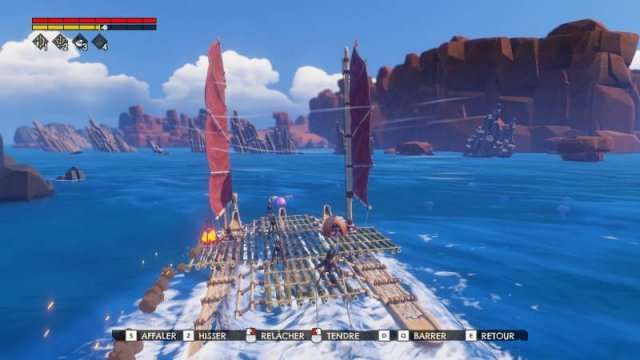
Desert biome – Chapter 5
- Cactus
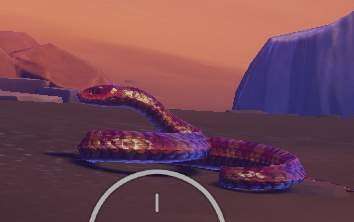
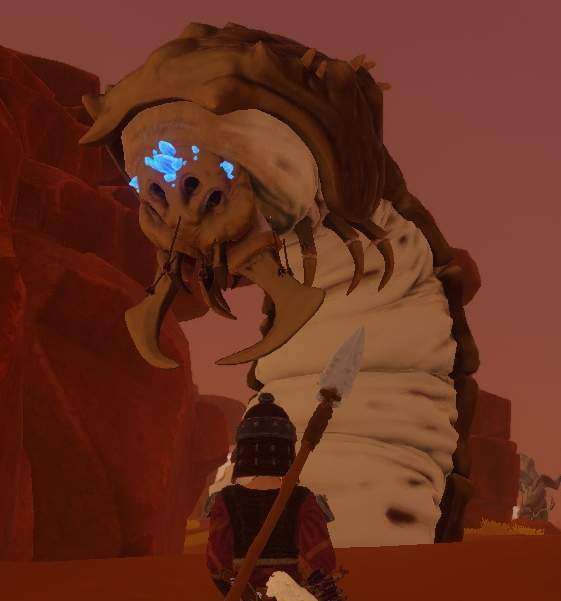
- Animal special: tremorlurk, plainstalker, slitherfang, bumbler
Ocean
- Corals
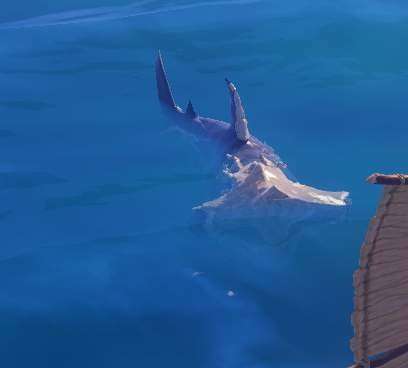
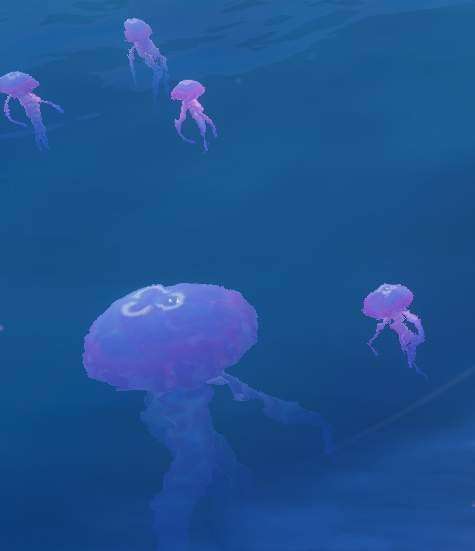
- Fishes, shark, jellyfish, crobster
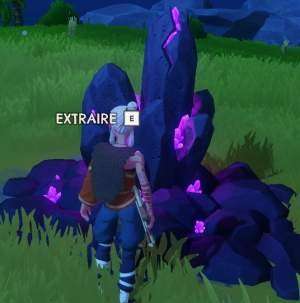
Minerals & Plants
In Windbound, you will have to collect various minerals and plants in order to be able to manufacture tools, weapons, armor, but above all in order to be able to build your boat (and improve it).
Basic resources, harvesting method
Rock (hand)
Thick grass (knife)
Palm frond (knife)
Stick (knife)
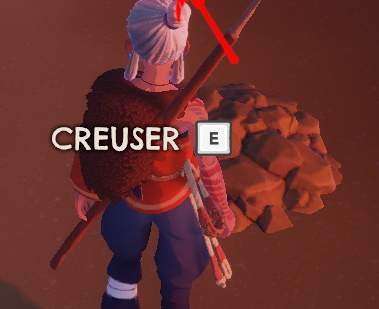
Clay (shovel)
Bamboo (knife)
Wood (axe)
Crude metal (hammer)

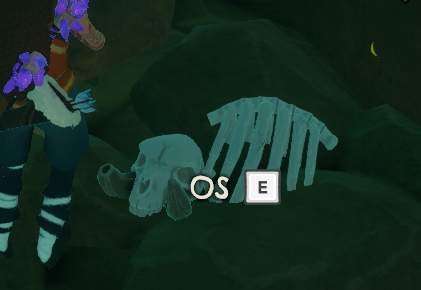
Bone (hand)
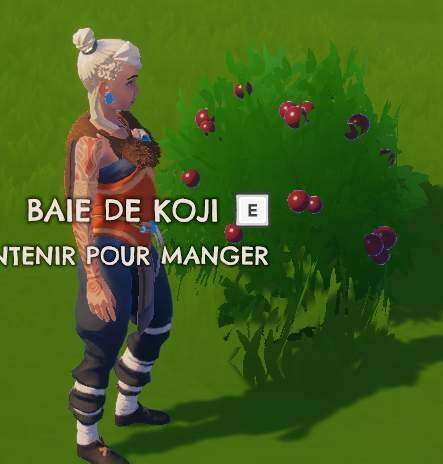
Kojiberry (hand) – edible
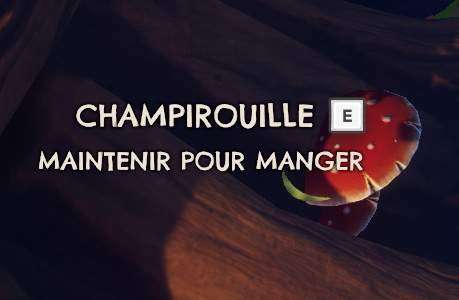
Rust cap (hand) – edible
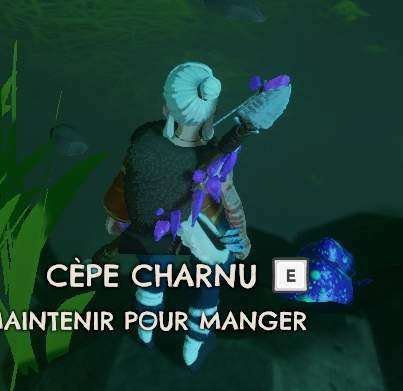
Fleshy porcini (hand) – edible
Truffle (hand after warthogs dig them up) – edible

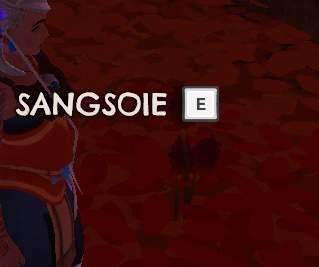
Bloodbristle (hand) used for potions
Sealily (hand) used for potions

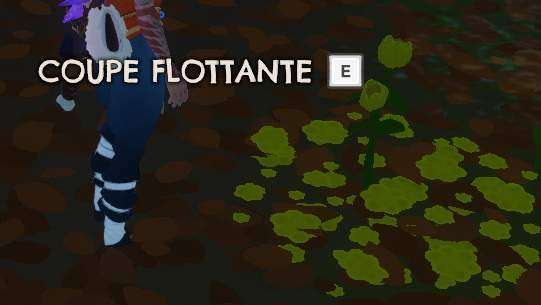
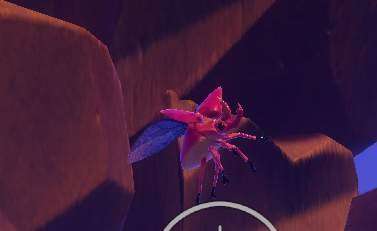
Fluttercup (hand) used for potions
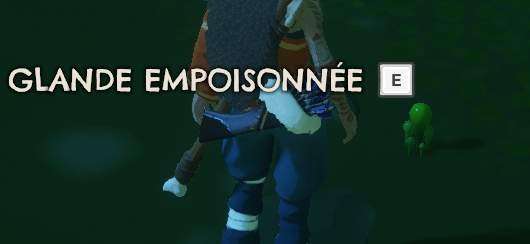
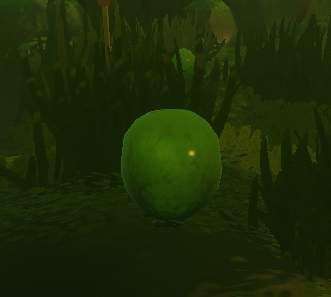
Poison gland (hand, night time) used for potions (by day it is swollen and explodes if you get too close).
Animals and Animal Resources
The basic resources that animals can give you are:
- Raw meat (to cook).
- Skin (to be transformed into leather).
- Bone.
The gain of these resources is random for some animals, and for some, they will give only one type of resource.
For example, an adult warthog might give you these 3 resources or less; a young warthog will give you bones, or skin, or meat. A stuffed bumblebee will only give you meat.
Some resources will only be accessible by killing specific animals. In addition, these resources will be very useful for some crafts.
The different animals that you will meet are:
- Warthog
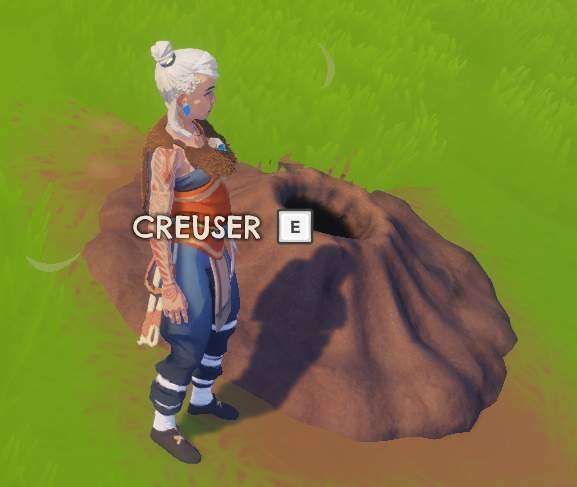
- Rabbit (burrow harvestable with a shovel)
- Resource special: Bleenk frond

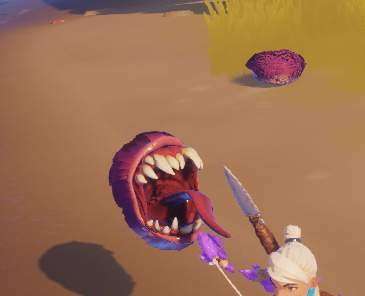
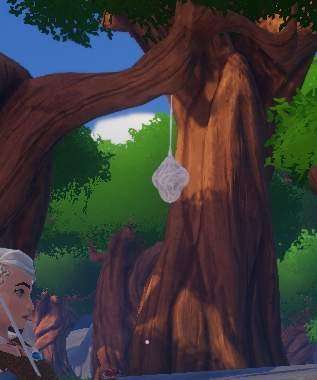
- Silkmaw (they are -group of 5 generally- in cocoons and come out as soon as you approach)
- Resource special: Silk threads
- Bumbler bee
- Slitherfang
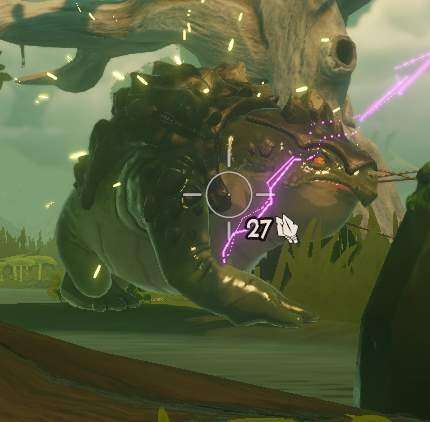
- Gorehorn
- Resource special: Gorehorn crest (shovel, hammer) + 2x big pieces of meat)
- Plainstalker
- Resource special: Plainstalker horn (bow)
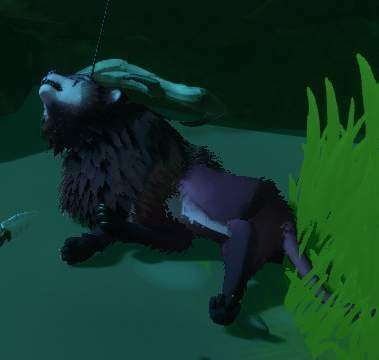
- Gloomharrow
- Resource special: Gloomharrow jaw & skin
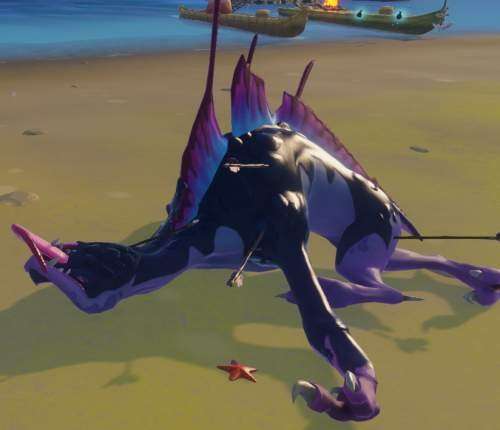
- Pondwomper
- Resource special: Shell fragment
- Tremorlurk
- Resource special: Leviathan heart gem
- Shark (attack your raft, may break it if not strong enough)
- Jellyfish (explode if you pass over it)
- Cromster
- Truits (present on the shore, gives fish and can give oil)
Special, Health/Stamina/ Sea Shards, Blessings
During your journey you will be able to find 3 gems (you can find them more than once) which will allow you to build arches and / or figureheads. These items will have characteristics that can be useful.
Strom’s eye gem
Tempest Bow (Arrows will be charged with a bolt of lightning and will deal additional damage over time to nearby targets. Base damage will be reduced)
Plainstalker figurehead (generates a field of lightning that protects your boat)
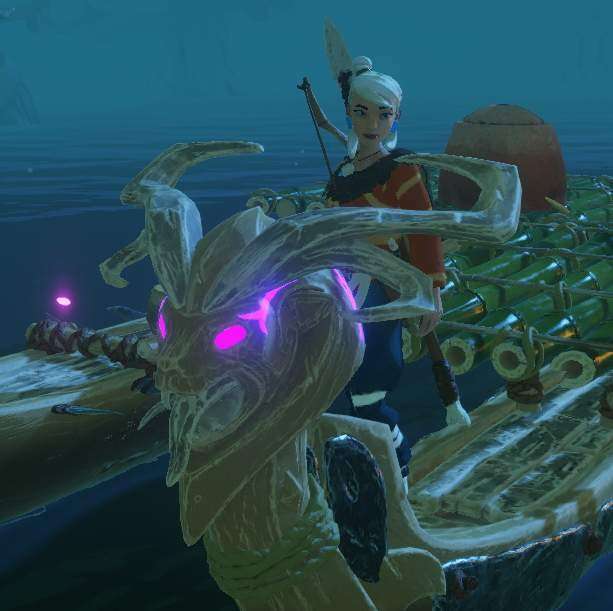

Leviathan’s heart gem
Torment Bow (Create an area that deals damage to creatures in the area. Base damage reduced)
Bloomharrow figurehead (hold the sail hoist button to load and release to activate a temporary speed boost – useful for sailing against the wind)

Bastion Bow (Create an area that will absorb all damage taken by the player while he is in. Base damage reduced)
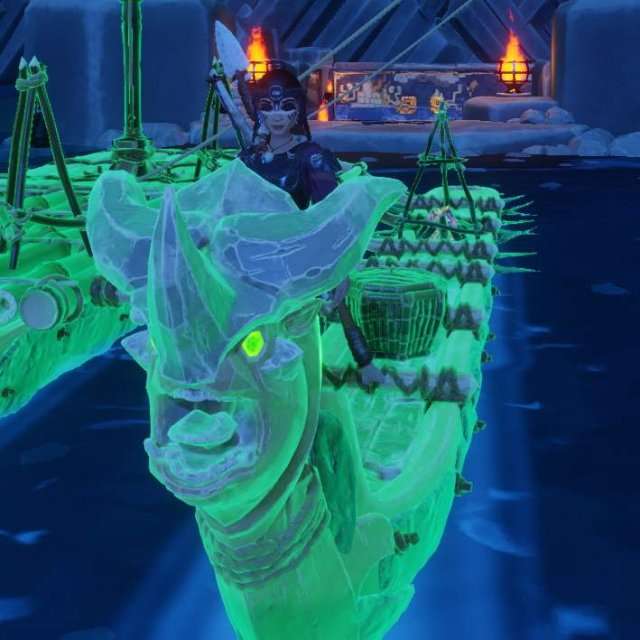
Gorehorn figurehead (protects your boat by absorbing a small amount of damage. When protection is active, the boat is green colored)
During my first game (story mode), I found these 3 gems in blue pots. In my second game (survival mode), I only found 2 gems (storm and leviathan) in blue pots (storm and leviathan), deposit (storm) and Tremorlurk (leviathan).
Health / stamina bonus
You will be able to find rock structures that will grant you an increase in your life or stamina bar.

Early game life / endurance

Endgame life / stamina

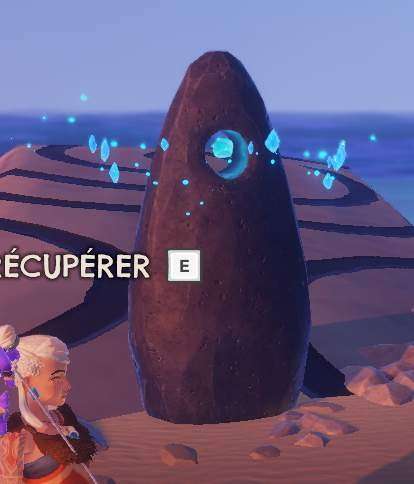
Sea shards bonus
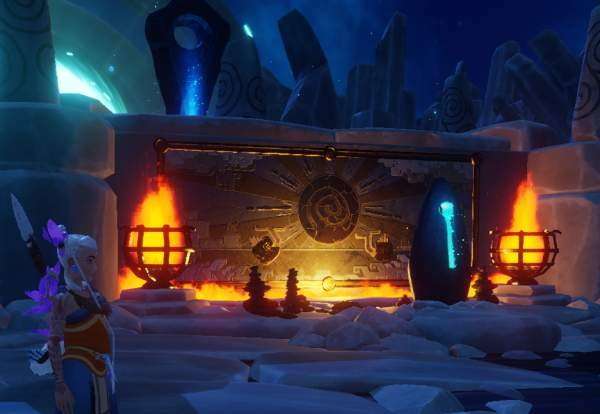
The sea shards are the “currency” of the game, they will allow you to make offerings in order to unlock useful blessings for your journey.
You will earn it by breaking the blue pots placed all over the place, by finding stelae and also by activating the initial and final mechanisms of each chapter.
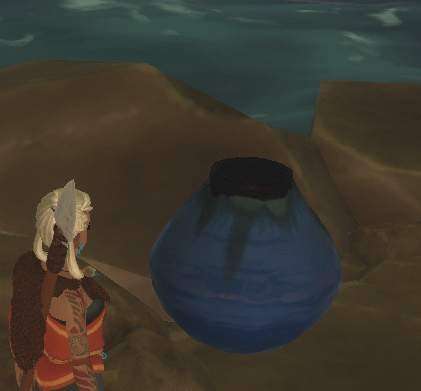
Blue pots can also give you ammo for the bow, slingshot, or gems
Blessings
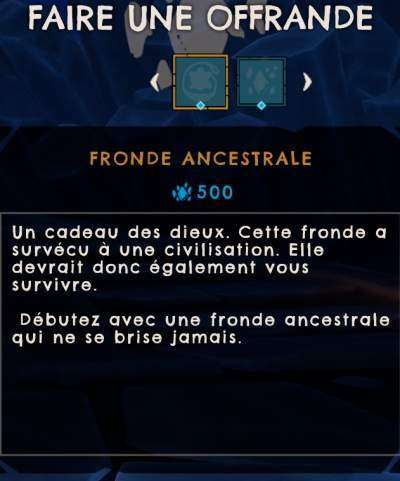
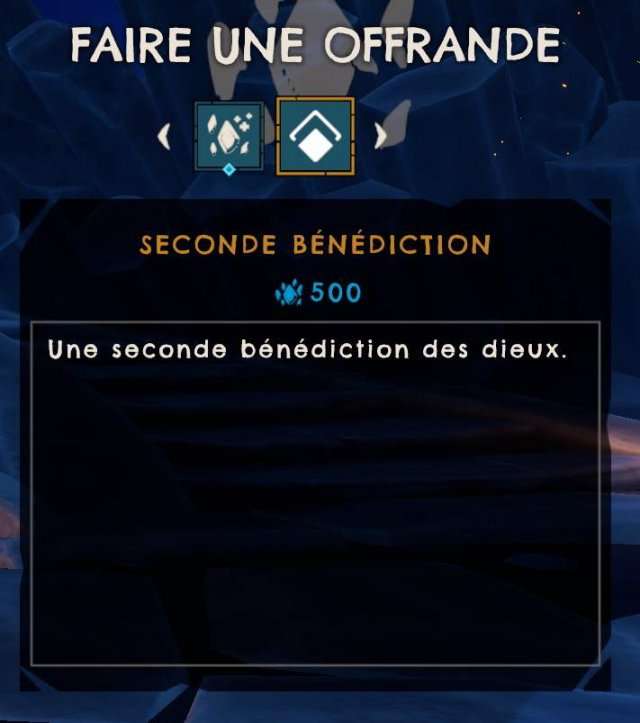
At the end of each chapter, you can unlock a blessing, in exchange for Sea Shards. Basically, only one blessing can be active. There are many blessings, each offering a bonus, more or less useful, depending on how you play.
Blessings examples
The only way to have 2 active blessings, and to be able to find the right offering
Crafts
- Many crafts are available in the game, but they will be unlocked as the game progresses.
- Some crafts are unlocked just by collecting a resource (grass => rope, stick => wooden spear …).
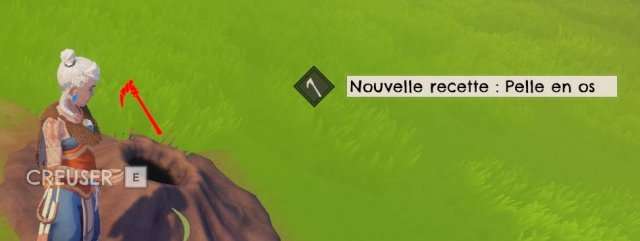
- For some, like the shovel, ax and hammer, they are unlocked just by wanting to harvest the resource that requires this tool. At the start of the game, you are going to want to collect a hare hole (or clay) and at this point you will see the drawing of the tool in red, which will unlock the craft. The same goes for wood (large trunks).
The majority of crafts will be done through your inventory, but some will only be possible in specific constructions.
Iventory craft
Survival
- Grass rope
- Oil
- Fire
- Hammer
- Shovel
- Axe
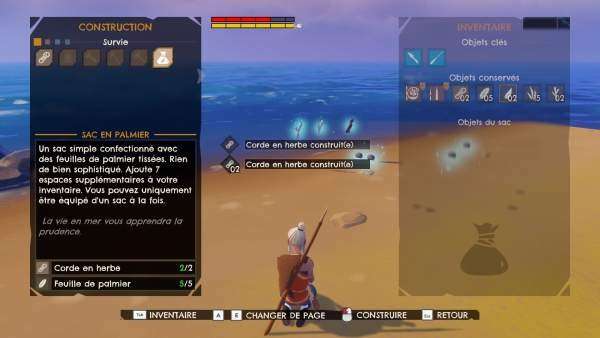
- Palm bag
- Heavy duty bag
- Food bag
- Stealth bag
- Armored bag
- Cat’s luck helm
- Shrouded hood
- Shrouded armor
- Glider
Weapons
- Stick spear
- Bone tipped spear
- Scatter rocks (sling)
- Poison bomb
- Oil bomb
- Grass sling
- Leather sling
- Basic arrows
- Bone arrows
- Stick bow
- Plainstalker bow
- Hunter bow
- Tempest bow
- Torment bow
- Bastion bow
Boat (elements to build your boat)
- Bamboo deck
- Wooden deck
- Grass mast
- Bamboo mast
- Wooden mast
- Grass canoe
- Bamboo canoe
- Wooden canoe
- Grass hull
- Bamboo hull
- Wooden hull
Boat accessories (items to add to the boat)
- Anchor
- Plainstalker figurehead
- Gloomharrow figurehead
- Gorehorn figurehead
- Wooden hull armor
- Scale hull armor
- Metal hull armor
- Fire (drying rack/clay kiln/cauldron)
- Grass basket
- Bamboo bucket
- Bag rack
- Wooden chest
- Bamboo hull spikes
- Wooden hull spikes
- Metal hull spikes
Other craft items
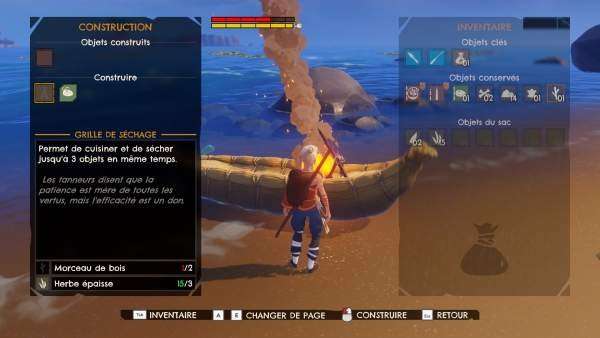
- Drying rack
- Leather
- Roasted truffle
- Roasted cromster
- Roasted fish
- Delicately roasted meat
- Generously roasted meat
- Clay klin
- Clay pot
- Metal spear
- Metal shards
- Metal arrows
- Metal helm
- Metal armor
- Cauldron
- Remedy of regeneration
- Stimulant of stimulation
- Philter of fleet-footedness
- Elixir of ardent antidote
- Brew of brisk-shot
- Dram of devastation
My Advice
If it can help, some tips for success.
- Take the time to visit each chapter, going around all the islands and islets. You will certainly have pleasant surprises (bonus life / stamina / shards …) on islands that do not have the tower to activate
- When you arrive on the second island, empty your inventory on the ground to go and collect what you need to make the palm tree bag. Make the ropes just when needed to save space.
- On the first canoe, first build the fire to cook your food (and make it evolve as soon as possible into a drying rack), then the mast. The basket has no real use at the beginning.
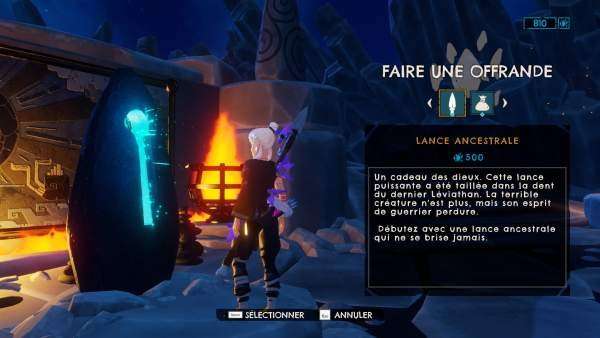
- Save regularly, generally each time you arrive on an island. During Chapter 1, you won’t necessarily have the 500 Sea Shards needed to unlock a Blessing. This first blessing is, in my opinion, very useful, especially if we can unlock the unbreakable spear (it will be very useful throughout the adventure against many creatures). In my survival adventure, not having enough Sea Shards at the end of the chapter (I didn’t keep track of how much I was after activating the third staircase), I let myself be killed in Chapter 2 in order to start over in chapter 1. If you do the story mode, you will have to let yourself be killed in chapter 1, or then not save once you have entered the passage to chapter 2 and restart the save.
- Before making bows with the gems, it is better to keep them to make figureheads, and to make normal bows (my favorite in the end is the hunter’s bow)
- As soon as you can make bag rack on your boat, do 1 to start and equip it to have additional storage space (more interesting than the basket / bucket / chest), especially as soon as you can the heavy duty bag (18 places).

- On my boat, I found myself with 3 bag racks (with heavy duty bag), 1 heavy duty bag on me, and the various craft stations.
- I always position the storage on the central line, in the event of destruction of one of the sides. Better to lose fires than the whole loot.
- Always have some food (or healing potion) on you when walking on an island. We quickly take nasty blows and risk dying. Do not hesitate, if necessary, to retreat, rebuild your health, and return to the assault.
- It’s never funny when you’ve made good progress and you have to start over in Chapter 1. Hence, once again, the usefulness of regular backups.
- Only run when necessary. Endurance drops rapidly. When you run out of base endurance (yellow line), the food line takes over. And when everything is empty, we die.
Be the first to comment