
An easy way to unlock all Protector Trials and obtain most/all, of the achievements.
Guide to Protector Trials Achievements
Сrеdit gоеs to Krbča!
Preparation
Unlocking the trials progress
The progress of the Protector Trials is not saved together with standard game saves but rather separately in an editable text file along with other game settings.
- Locate the file “Bioshock2SP.ini” on your computer. You can find it at the following path:
- C:\Users\YOURUSERNAME\AppData\Roaming\BioshockHD\Bioshock2\Bioshock2SP.ini
- If you can’t see the “AppData” folder, it’s because it’s hidden, and you need to enable the display of hidden files (How to display hidden files (Windows)).
- Open the file in any text editor. Right-click on the .ini file, and from the context menu, select “Open With.” Choose your preferred text editor (commonly used is Notepad). You can also open Notepad first and find the file in the “File -> Open” dialog at the mentioned path.
- Locate the line that starts with “ProtectorTrialsProgression.” Its value represents your progression in the Protector Trials, including the unlock status and higher score.

- Replace the line with the following and save the file.
ProtectorTrialsProgression=,LD;799999999799999999799999999799999999799999999799999999,Adm;29110Achievement Collecting
Start the trial
- To obtain the achievements you have to finish the trial with an “A” rating. Since you have all plasmids and weapons it is actually pretty easy to do.
- Start the game and navigate to the Protector Trials DLC (Extras -> Play downloaded content -> Protector Trials).
- Select the last trial “Persephone Cellblock F”

- Select the “Bonus Trial” and start it
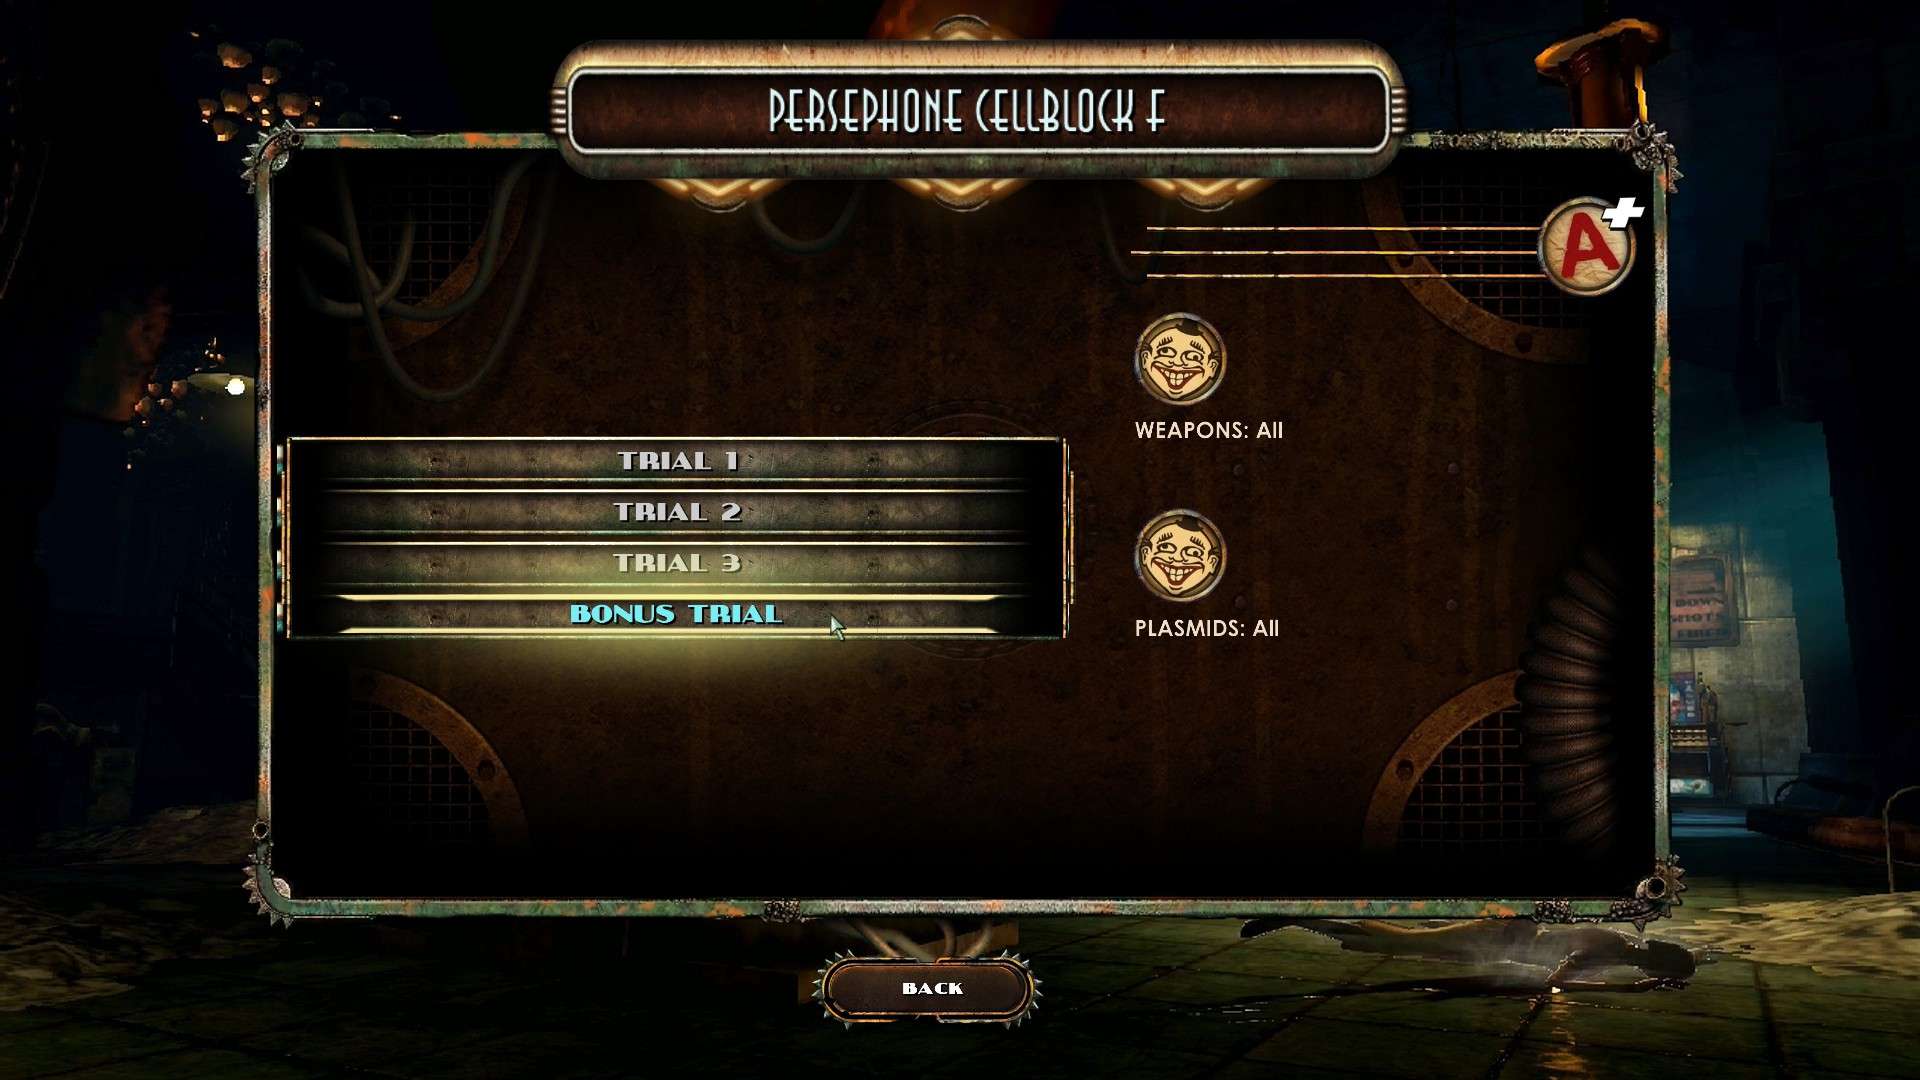
- The achievements will pop up after the trial finishes.
Few advice for the trial completion
- The enemies will come from essentially three directions.
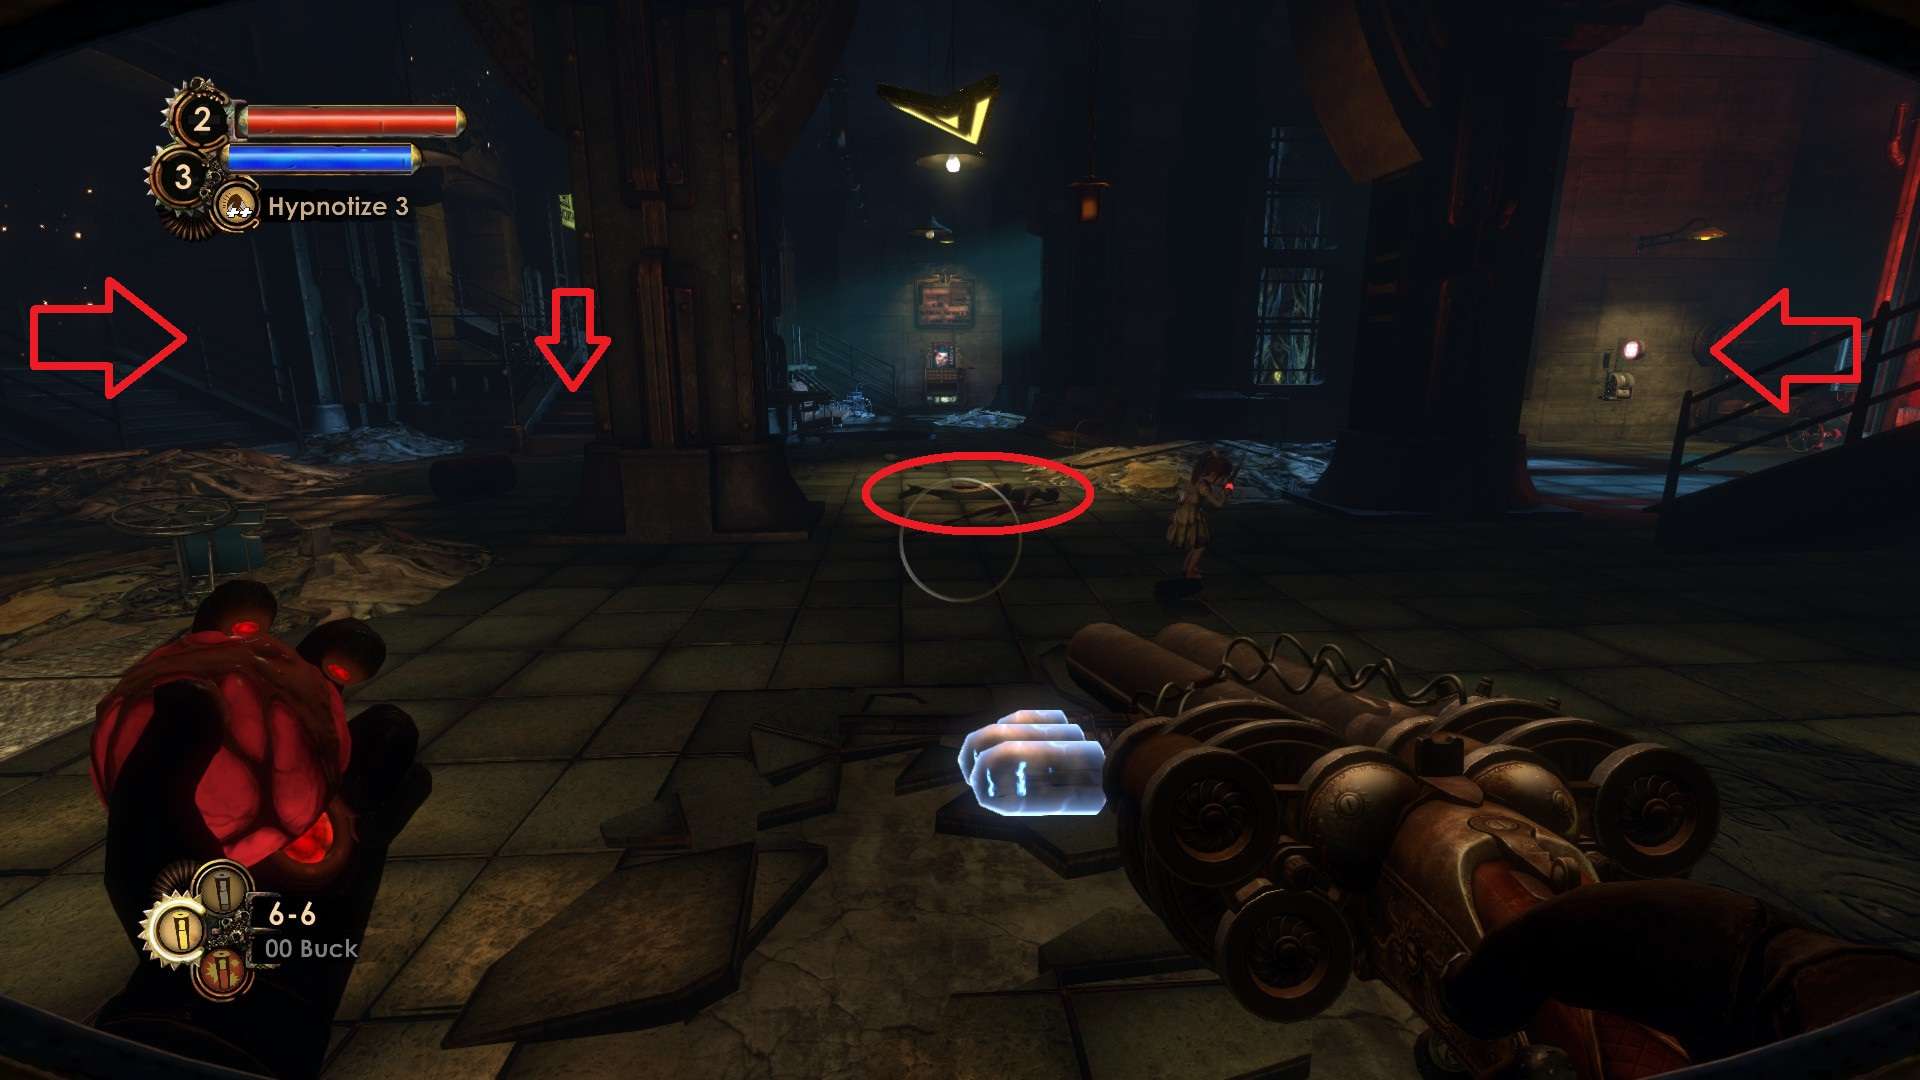
- In my opinion, the easiest way is to use the “Hypnotize” plasmid. Since it is at level 3, you can charge it by holding the right mouse button until it changes color to green. Then, target a tough enemy with it, and they will become friendly, assisting you. Repeat the same process when the big guy arrives, and he will help you deal with the remaining enemies.
- Keep moving around and shooting at the enemies that come closer to your little sister to prevent them from distracting her. Personally, I used the shotgun because it inflicts significant damage and is easier to hit enemies with while on the move. If you need to slow them down, simply use Electro Bolt.
- You should be able to finish the trial on your first try if you have already played the main game.

Be the first to comment