
Welcome deadly Grimmy travellers! In this guide we will together explore the current Egg achievement route, as well as what is exactly happening, once you get it. Sit tight, don’t oink too much and get ready for some fresh information which will help you in obtaining one of the currently hardest gems!
Egg Achievement Guide
What Is It All About?
Welcome back grims! This time in my guide we will focus on Egg achievement, which seems to be one of the rarest in Death and Taxes. As always I want to warn you all, that this guide will contain a lot of spoilers, so you read everything more further on your own responsibility. Otherwise, you will end up oink… Ekhm crying a lot. So if you fancy yourself a sweet treat – wait for Xmas. And if you aim for an egg (like Easter one lol), stay here, zip your belt and join me in my “achievement eater” mission.
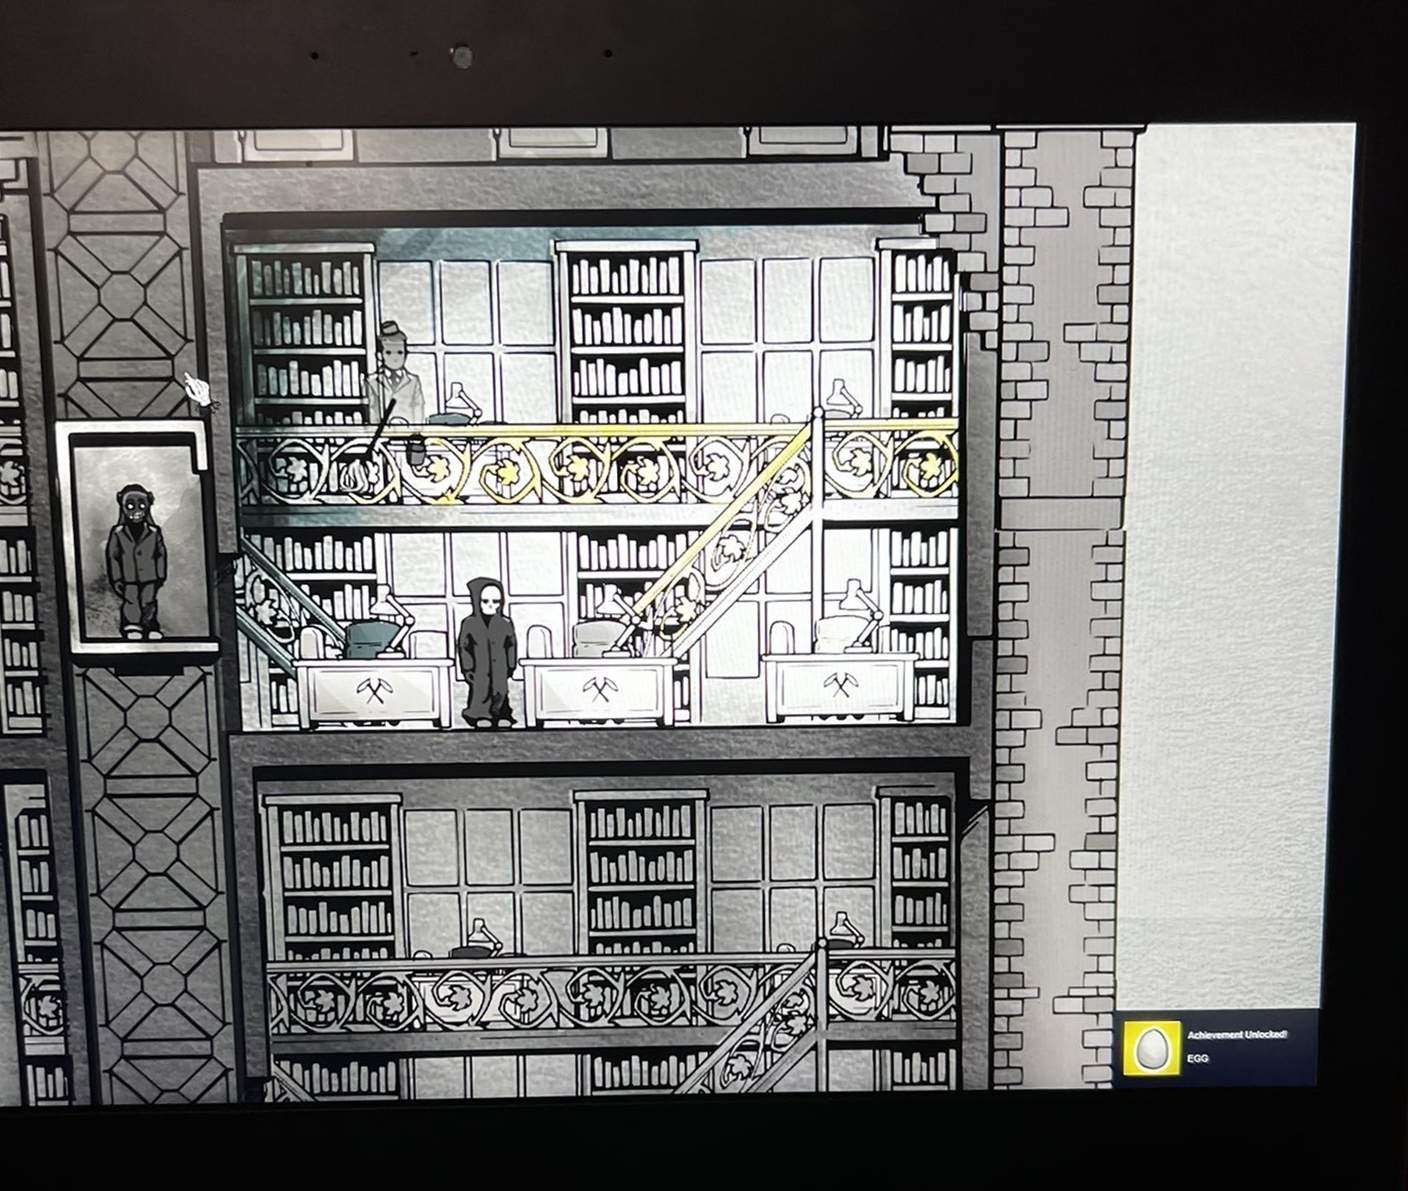
Egg seems to be still remaining as the rarest one, because of difficulty level of getting it. Some games were suggesting downloading a cheating software which could help, some other players were advising to access apps or websites, where some game information are marked with statistics, of profiles with humans we are dedicated to spare or kill – for example. As everyone knows, each profile generates different plus or minus result for Money/Health/Nature/Peace and that can affect whole world with how exactly ending will look like. However, we cannot ever in a game see what are exact numbers – unless we use a tool for “cheating”.
Until now creators of Death and Taxes have simple a bit way of obtaining the egg, and many people tried to update the others, what have possibly changed.
Since I am a gamer that avoids always cheating in games, and look for instructions and friendly tips only, I tried to figure out everything on my own, and even asked the game dev’s through the Twitter, how to obtain the Egg. I was given very simple and minimum information, which I decided to test out. I managed on my 7th route and I can finally share my thoughts, that may help you.
Lets begin!
Pre Route Preparation (PRP)
If you all have stopped Oinking so much from an excitement, it is a time to list what do we need to do before our route preparation.
Main priority is to get unlocked by us separate timeline, which is New Game+ option available together with basic New Game choice. If you have finished at least once Death and Taxes and you have chosen from Mortimer new chance, the plus option should be visible on your main Menu screen just like below:
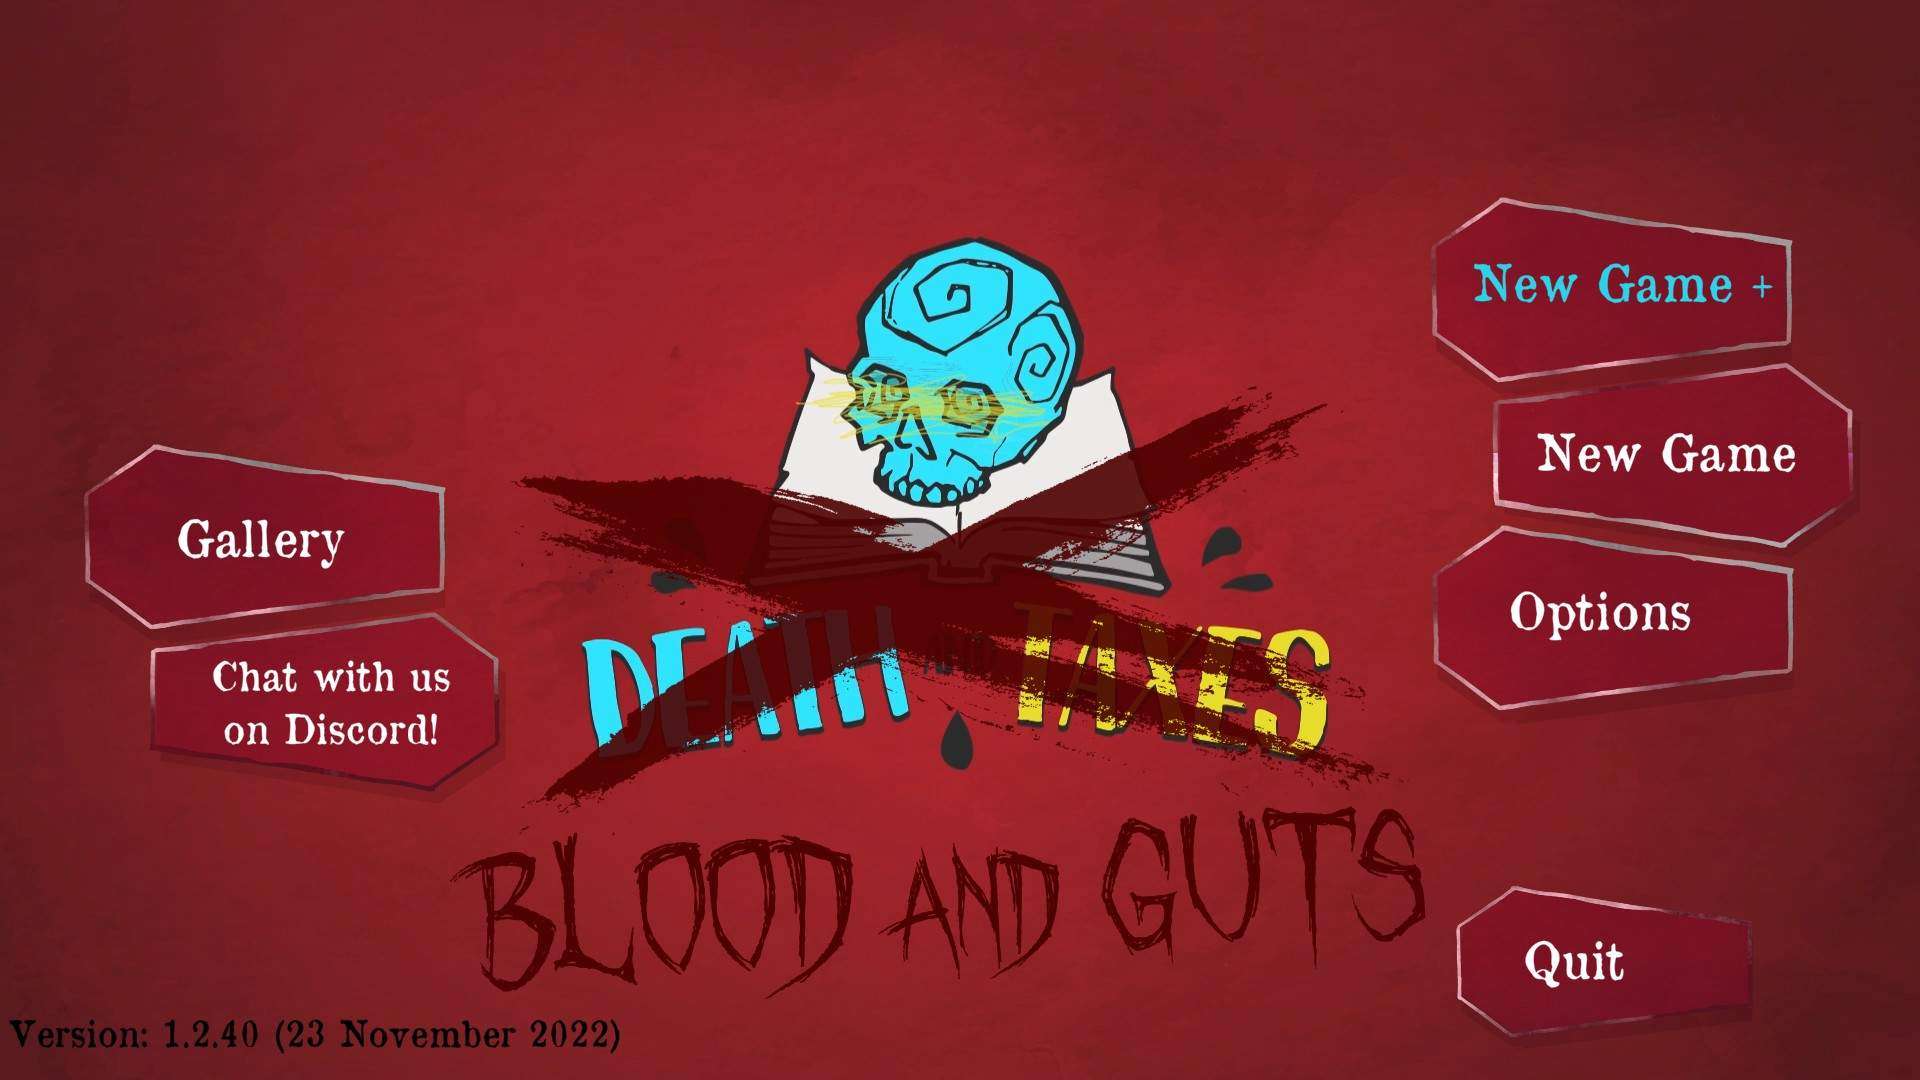
As the creators mentioned on Twitter, I need to use the New Game+, otherwise I may forget about my egg prize. I mean… I already have it, so without + timeline, you shall forget about the egg. Duh.
From the things I have used myself a lot, read about from other users for confirmation purpose, you gonna need to have:
- Rubber gum.
- Crystal ball.
- Lamp.
- Some money capital (for new rubber gum purchase, just in case).
And those are the only tools you will have to keep on your work desk, at all times. Rubber gum will help you in case of any mistakes during the route, crystal ball is a tool for a regular daily use on same basis as the lamp. Normally, everyone playing in the basic Death and Taxes level, are used to the fact, that profiles are looking like that:
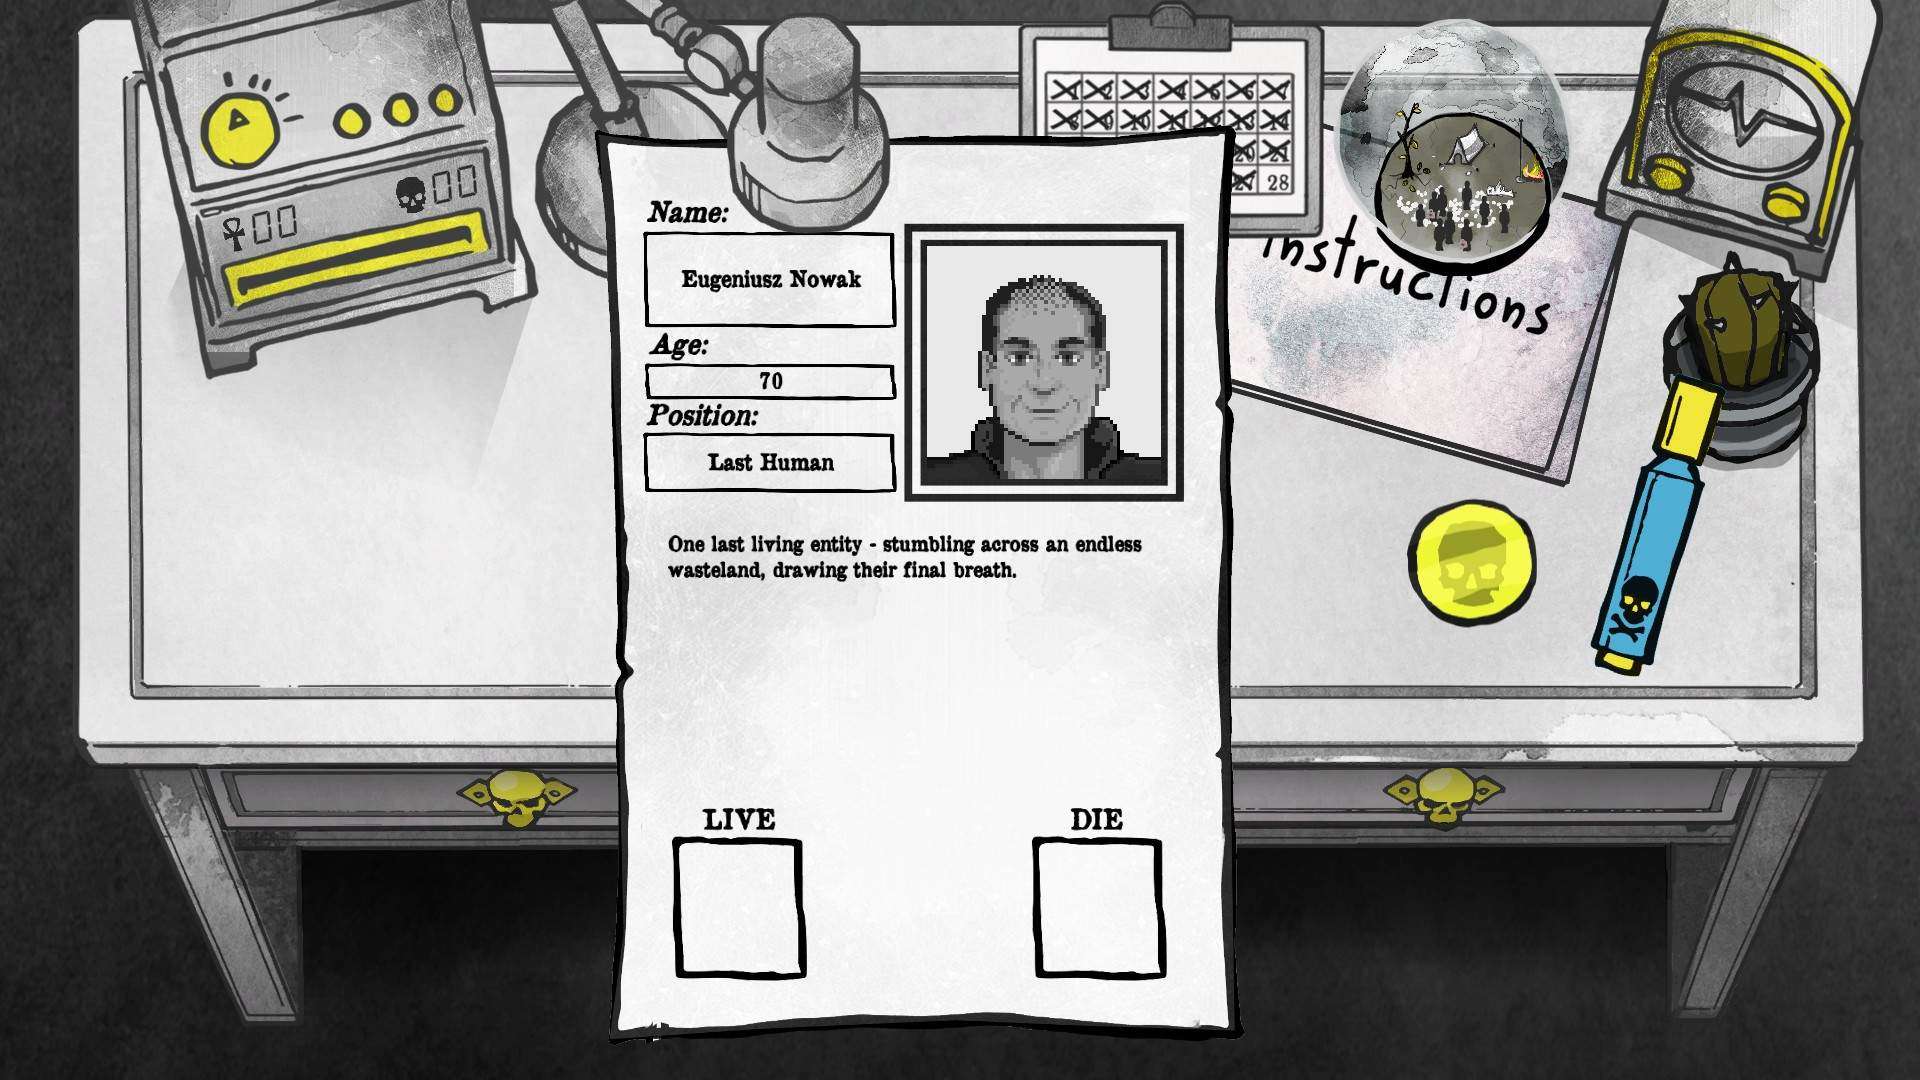
However, things are changing whenever you use the lamp. As one of the tools which you can buy in Mortimer shop, this thing doesn’t disappear as long, as you keep your additional New Game+ timeline in Menu, available for game-play. Lamp unveils hidden things on the profiles, and helps you in your decision making. You have to place the human profiles one by one, under the lamp light to unveil main statistics panel, and have access to the life/death ones, just like down below:
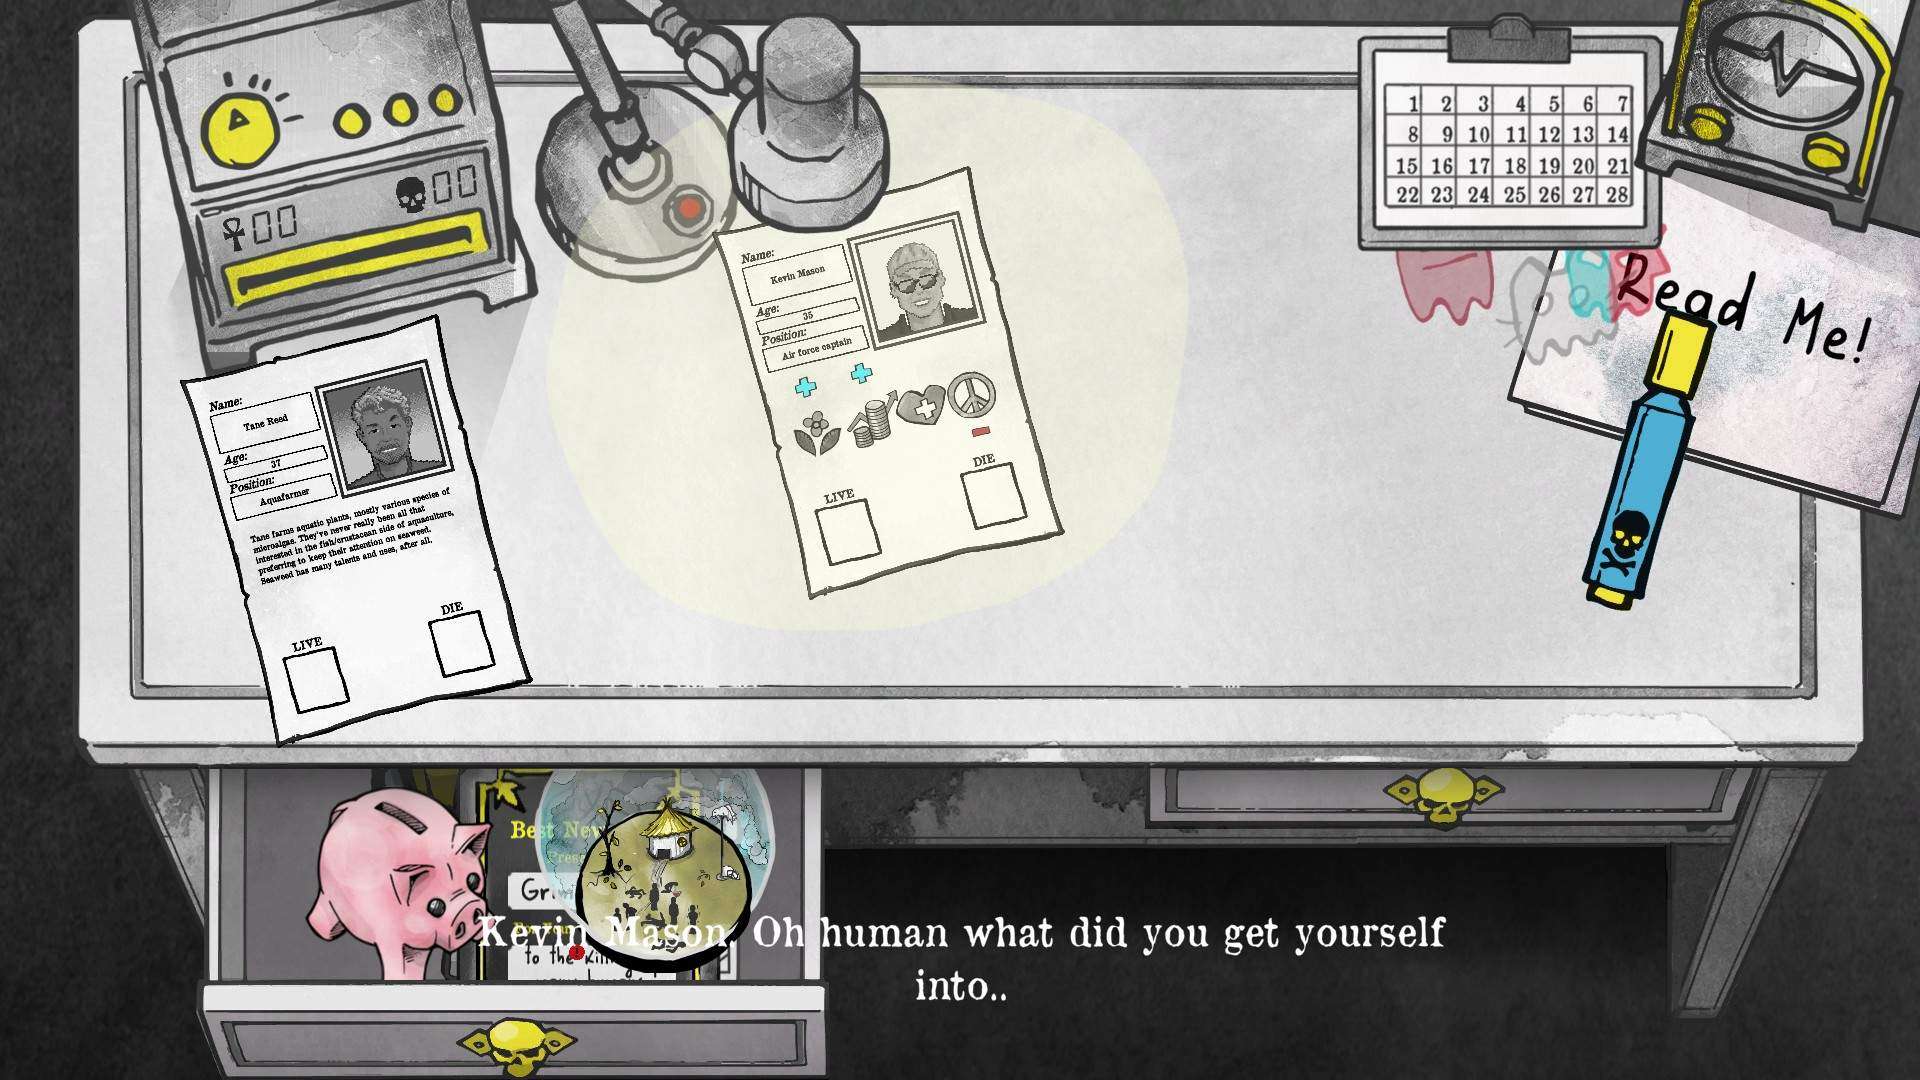
Once you start moving your mouse cursor towards the life box (on the left corner of page) or the death box (on the right corner of the page) you will see some plus blue marks, red minus marks or black question marks. Blue marks are your additional points, minus refer to what you loose, and question marks are the big gambling unknown – where you can loose a lot, or gain some proper points, depending on your choice.
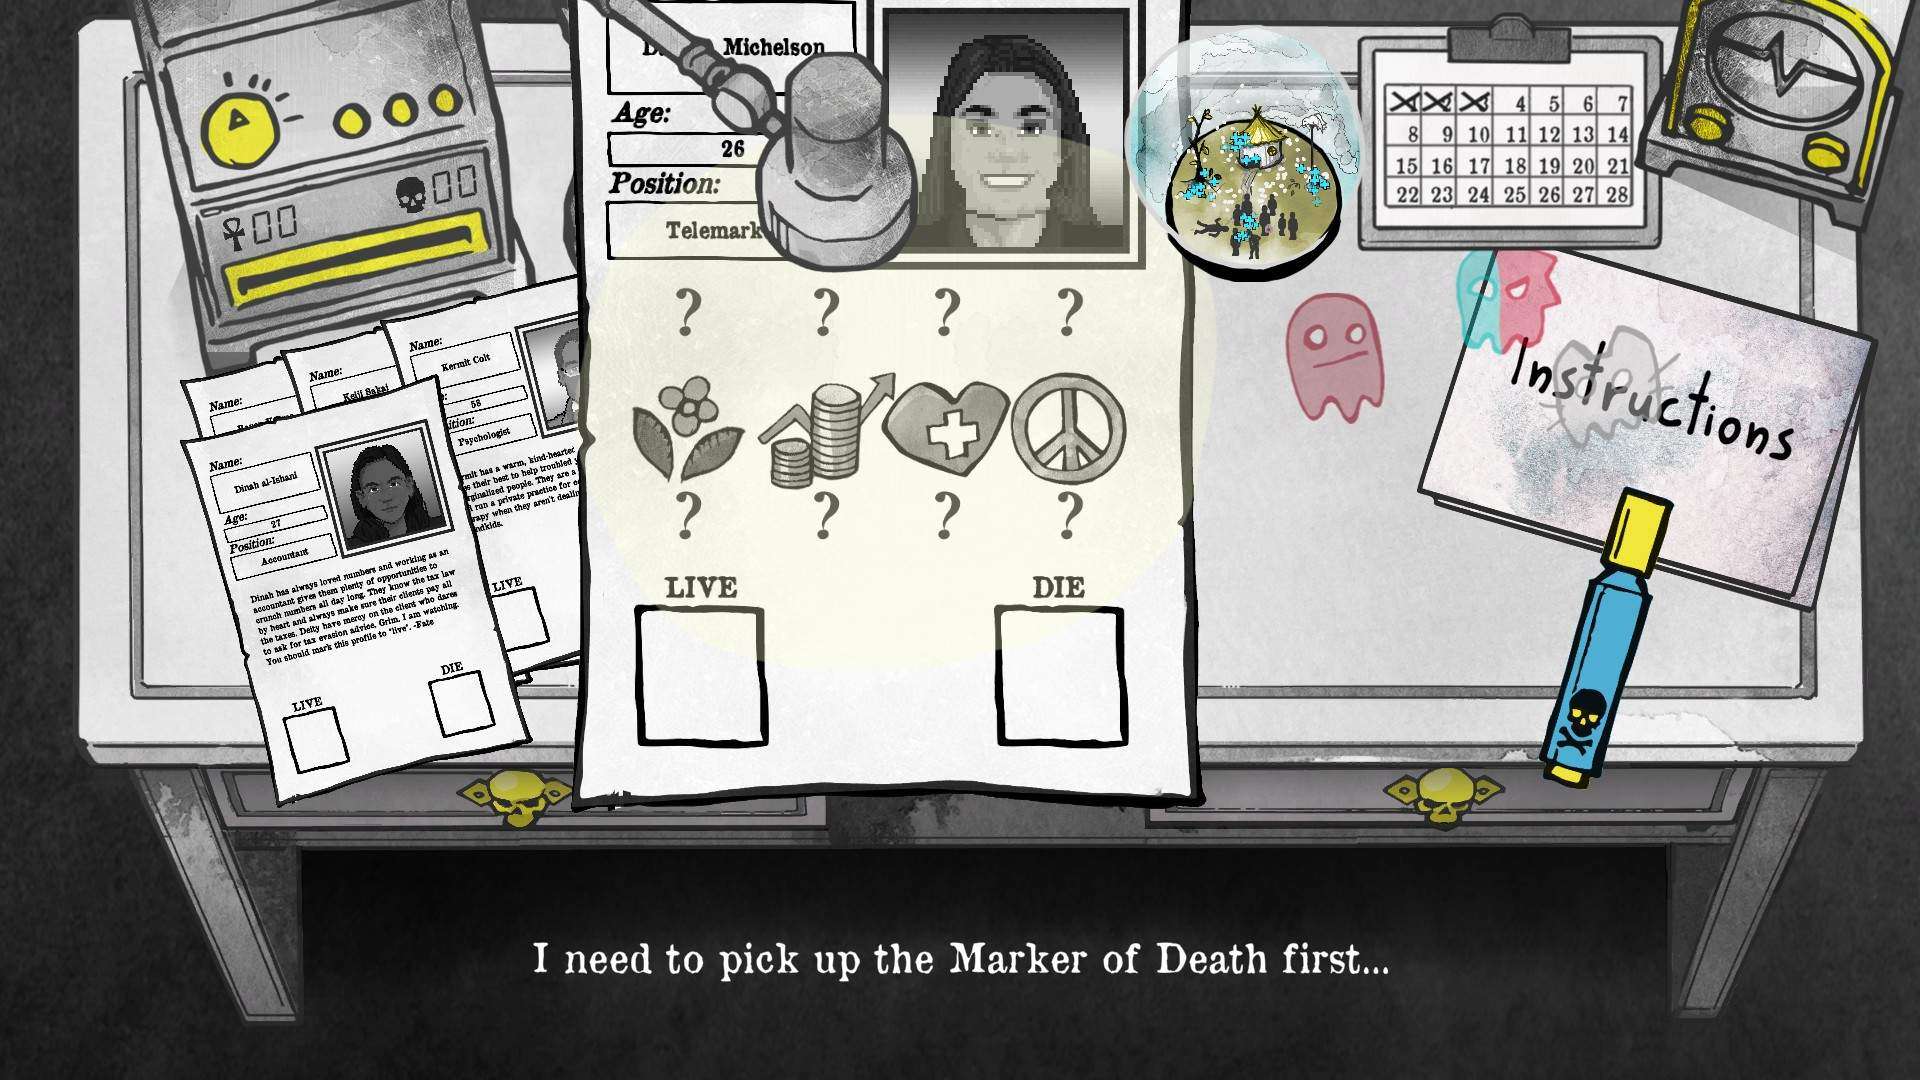
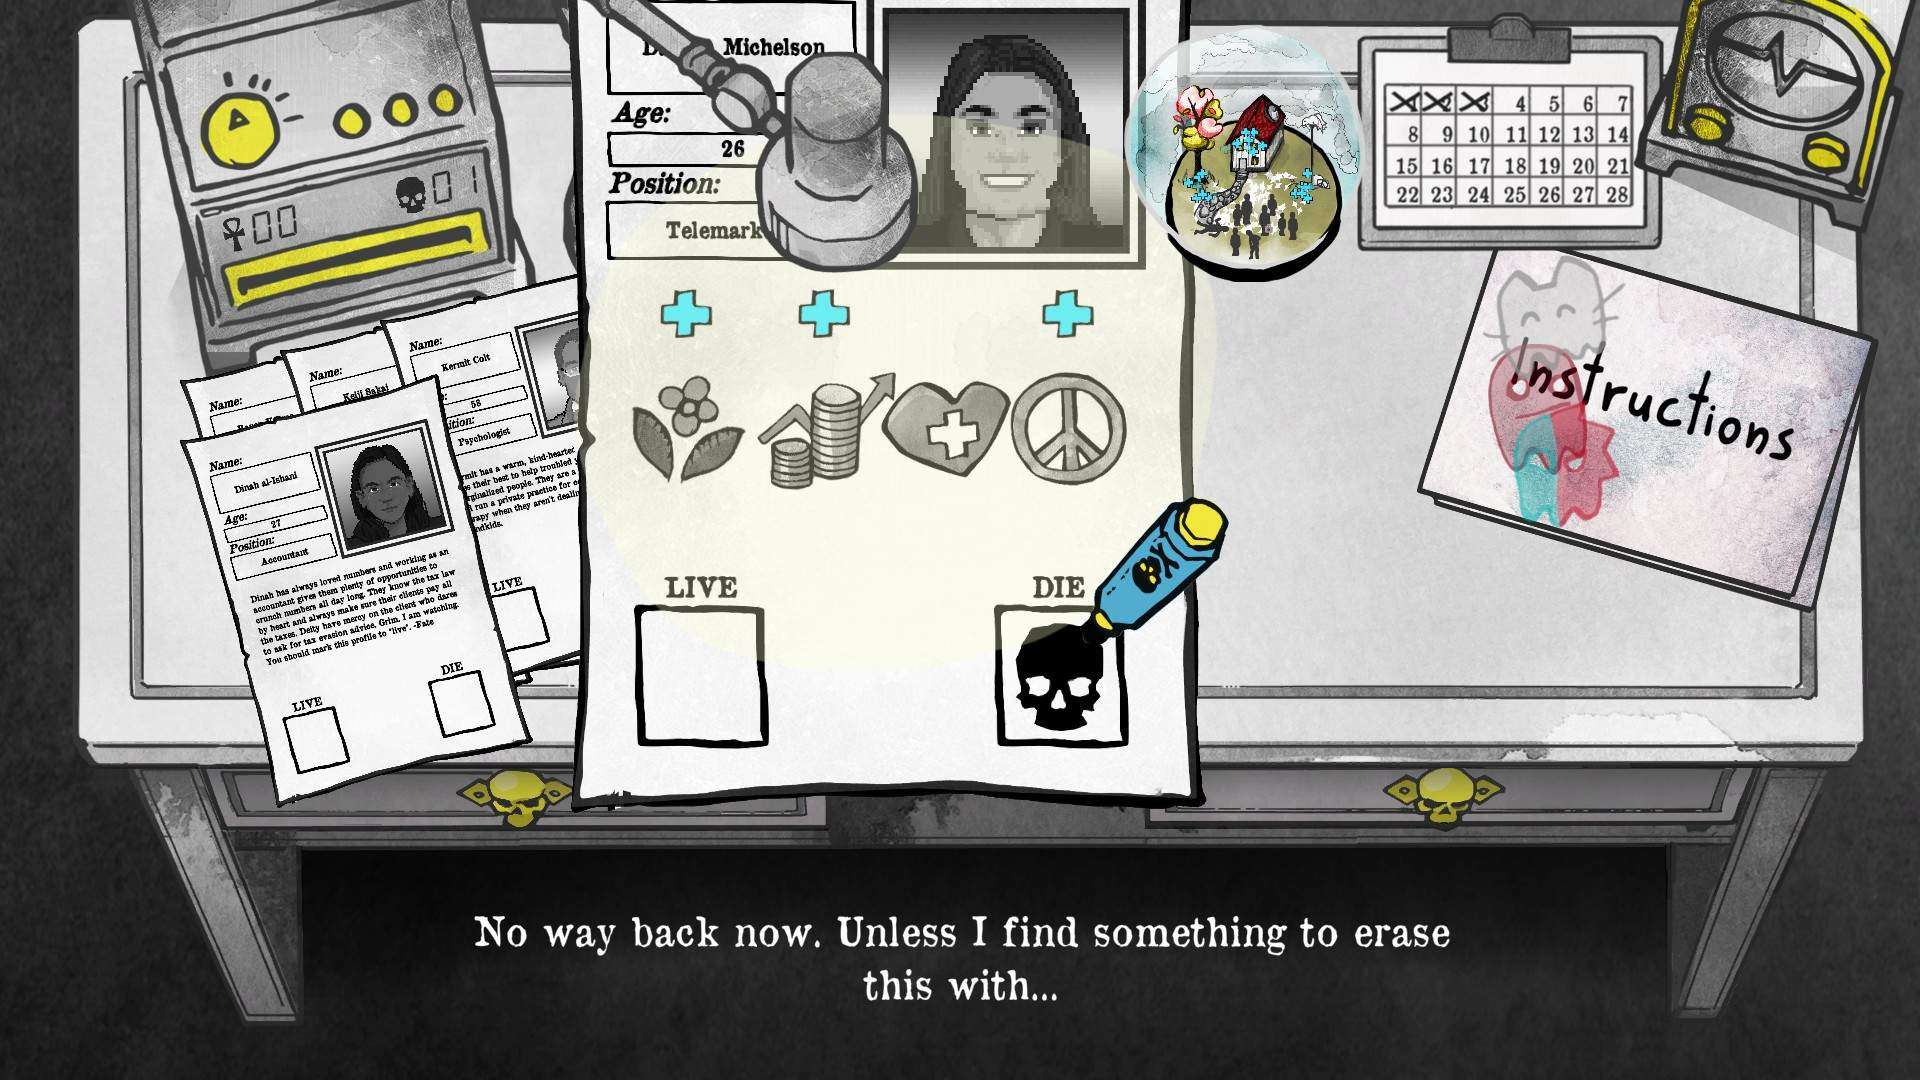
So, if you have decided to risk, you went for questioning marks option on profile and now you are on a very large points loss – this is why I advice you to ensure you got the money for buying rubber.
The best option is to save it for those profiles, which are completely blank (you cannot see potential results on them at all, and trust me, these kinds of profiles show up sometimes as well) or have questioning marks on life and death option visible only. Thanks to that, you will save yourself a time and you will be controlling better your points. You should always see result of your choices inside of the ball:
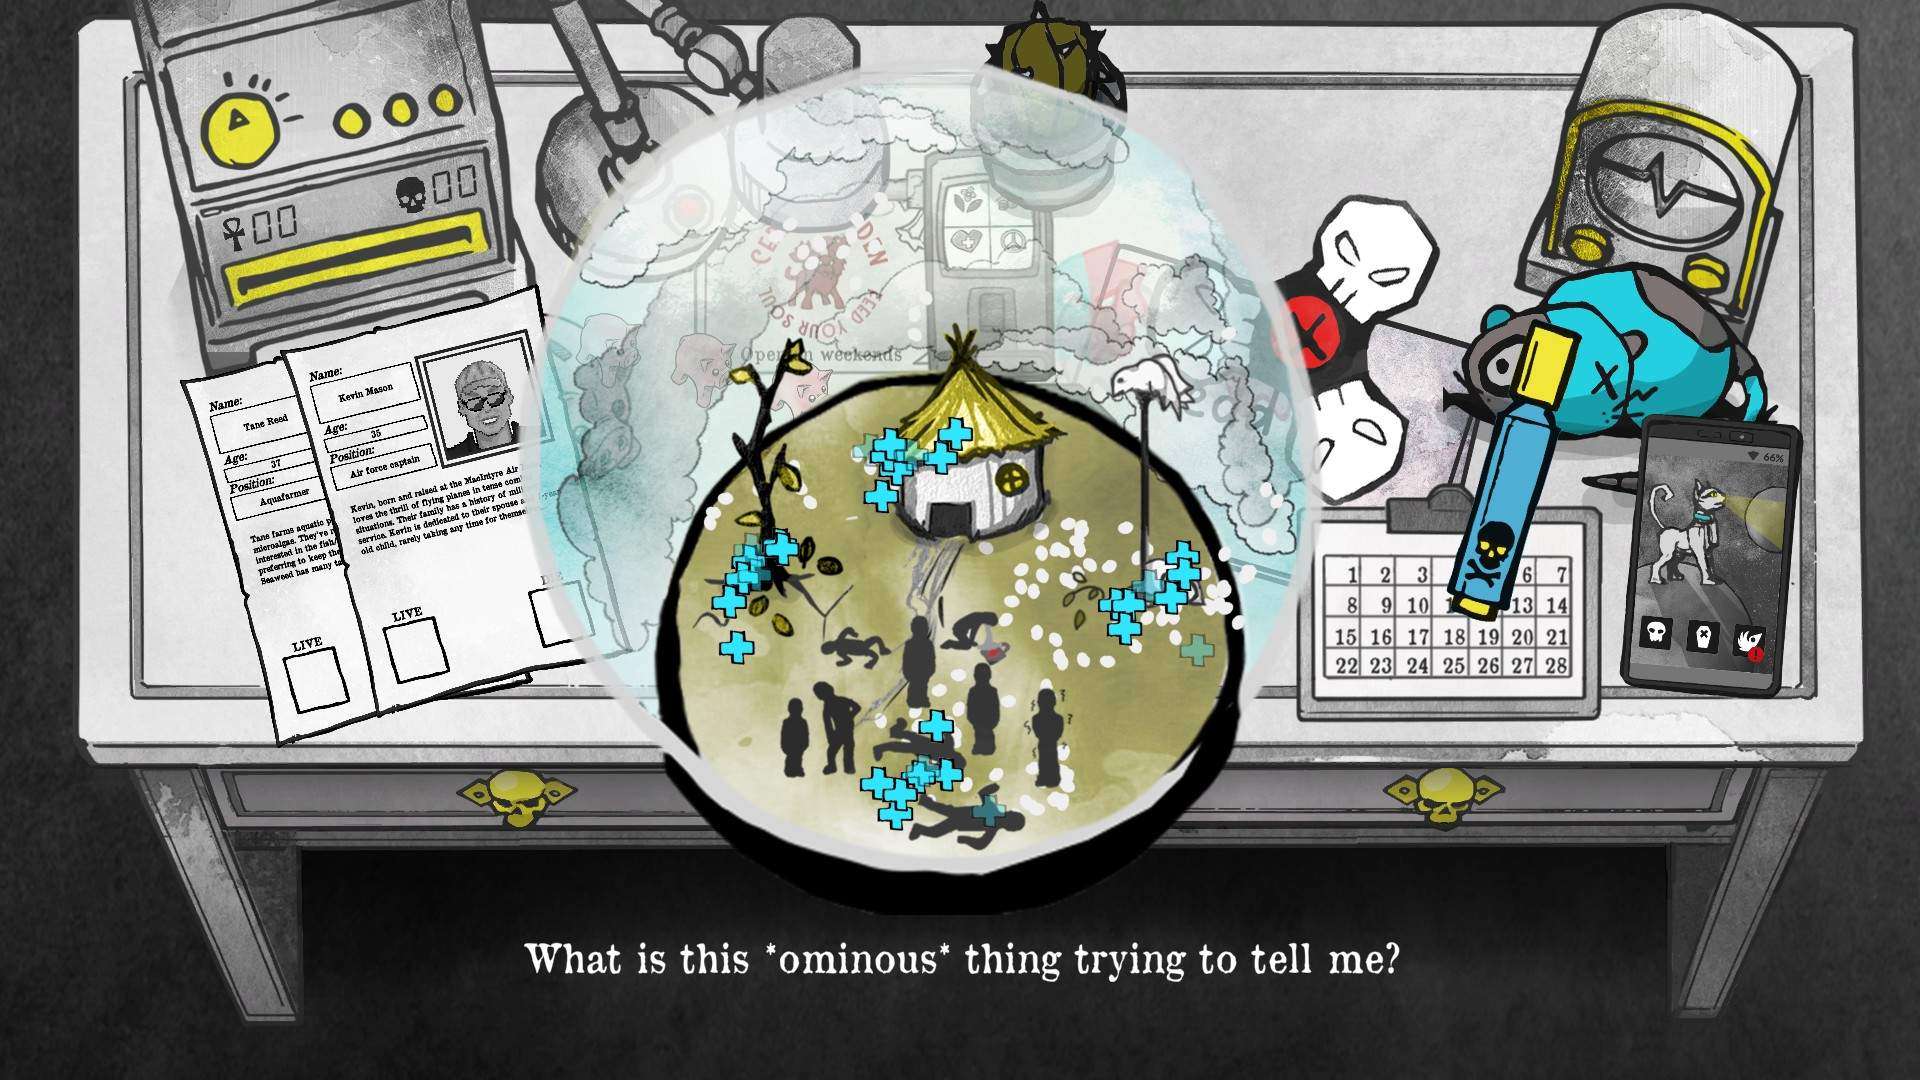
Which if unshaken, generates animation of the points. Main goal in this achievement is to get blue points only, and gain as many plus ones as possible. All 4 stats have to be as positive as possible. And on some profiles that is really hard to be marked, due to various stats. Everything depend on your calculations and luck, as every route can generate different profile order and so on.
Okay let’s start now the proper cracking of the eg… Ekhm, ekhm.
Mission Egg-Possible: How to Make It Happen + Bonus Good/Bad Grim
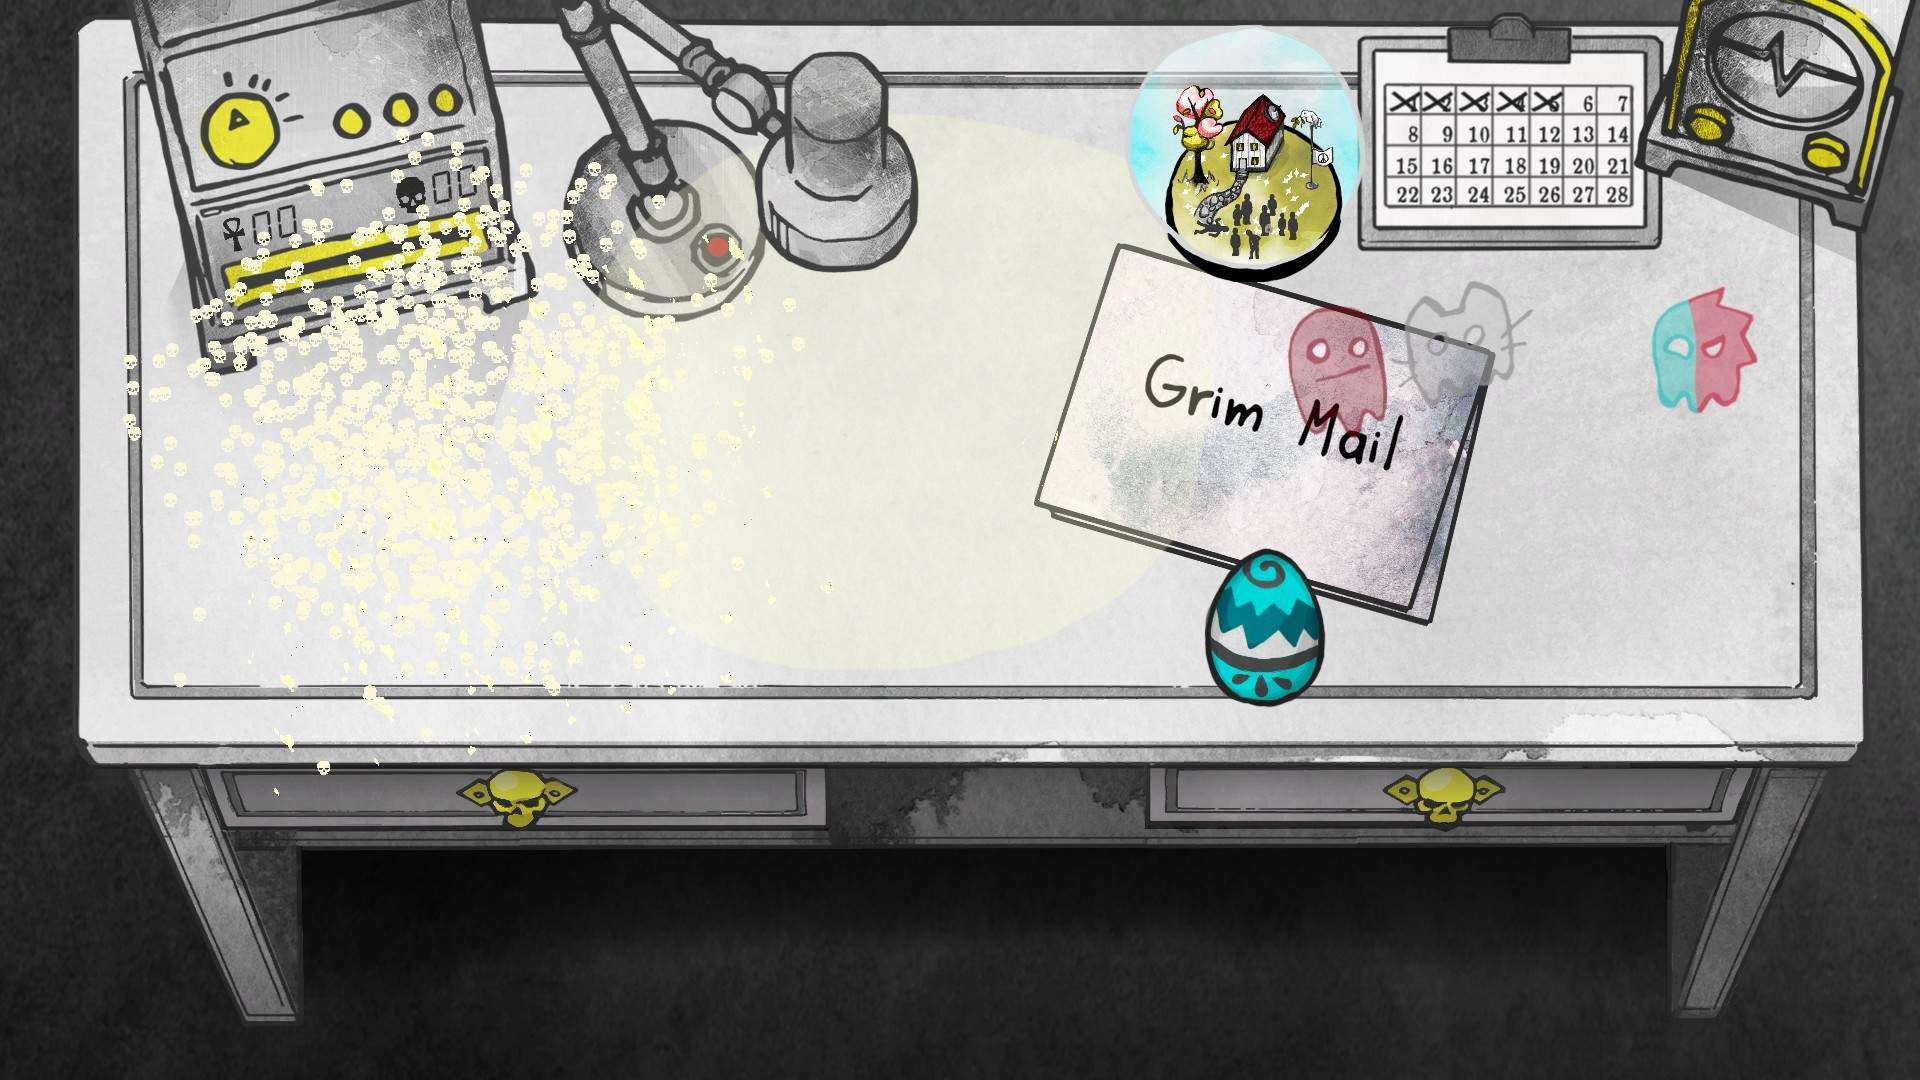
Alright. If you are ready, you read enough and heard enough piggy’ish noises in the game, it is time for some action. So far, I may say that I accomplished today Egg achievement, and I ended up on Egg route, or I’d rather say on “egg scenario path” side of story. It includes a gift, unlocked dialogue with Fate and some sort of “our profile marking” results appearing on the screen. I feel like Easter comes earlier than Xmas this year:
Anyway. Because I am curious girl gamer, I tried to repeat my route again – and for the second time in a row I ended up with the egg scenario thing. I can’t believe it myself (or some rich sponsors are paying me for selling you some coaching here) but that is possible, and I will present below what might happen – depending on your choices. Let’s go:
- Day one: Try to skip ASAP the chat with Fate. Go to the office. Look at the profiles and their stats. If sparing both humans will give you the best stats – go for it. If sparring just one gives you plenty of blue points – go for it. Don’t look at the numbers. After work, try to skip chat with Fate.
- Day two: Start the route from looking at the crystal ball. Ignore the death/alive profile numbers. Go just for the points stats not for following instructions on the note. Fate will ignore your mistake in numbers, but you need to avoid being chatty with him.
- Day three: Check the crystal ball, and which points you are missing. Start from the missing points (red ones) by gaining blue marks. Try to aim for all 4 elements in the ball emitting blue pluses only. You can still ignore the profile number, but I marked the correct one, and avoided chat with Fate.
- Day four: Check the ball. Aim for pluses only. If you see any questioning marks profiles, make sure you got the rubber. Check the ball afterwards if it’s gaining house upgrade, tree upgrade, etc. Keep avoiding the chat with Fate.
- Day five: On that day you have to ensure, to keep gaining the pluses only. If you struggle, start first from “beneficial only” profiles, by marking them positively. Then analyse those with the minus/plus combination stats, and keep rubber just in case, if you want to undo one profile, for balancing the stats. Cut the talk with Fate ASAP, and go to bed.
- Day six: After waking up, and going on the elevator towards the office, you should unlock the Egg achievement. Once you enter your office, you will see Easter looking like Egg (sic!) and also new instructions from Fate and very unusually looking profiles for marking.
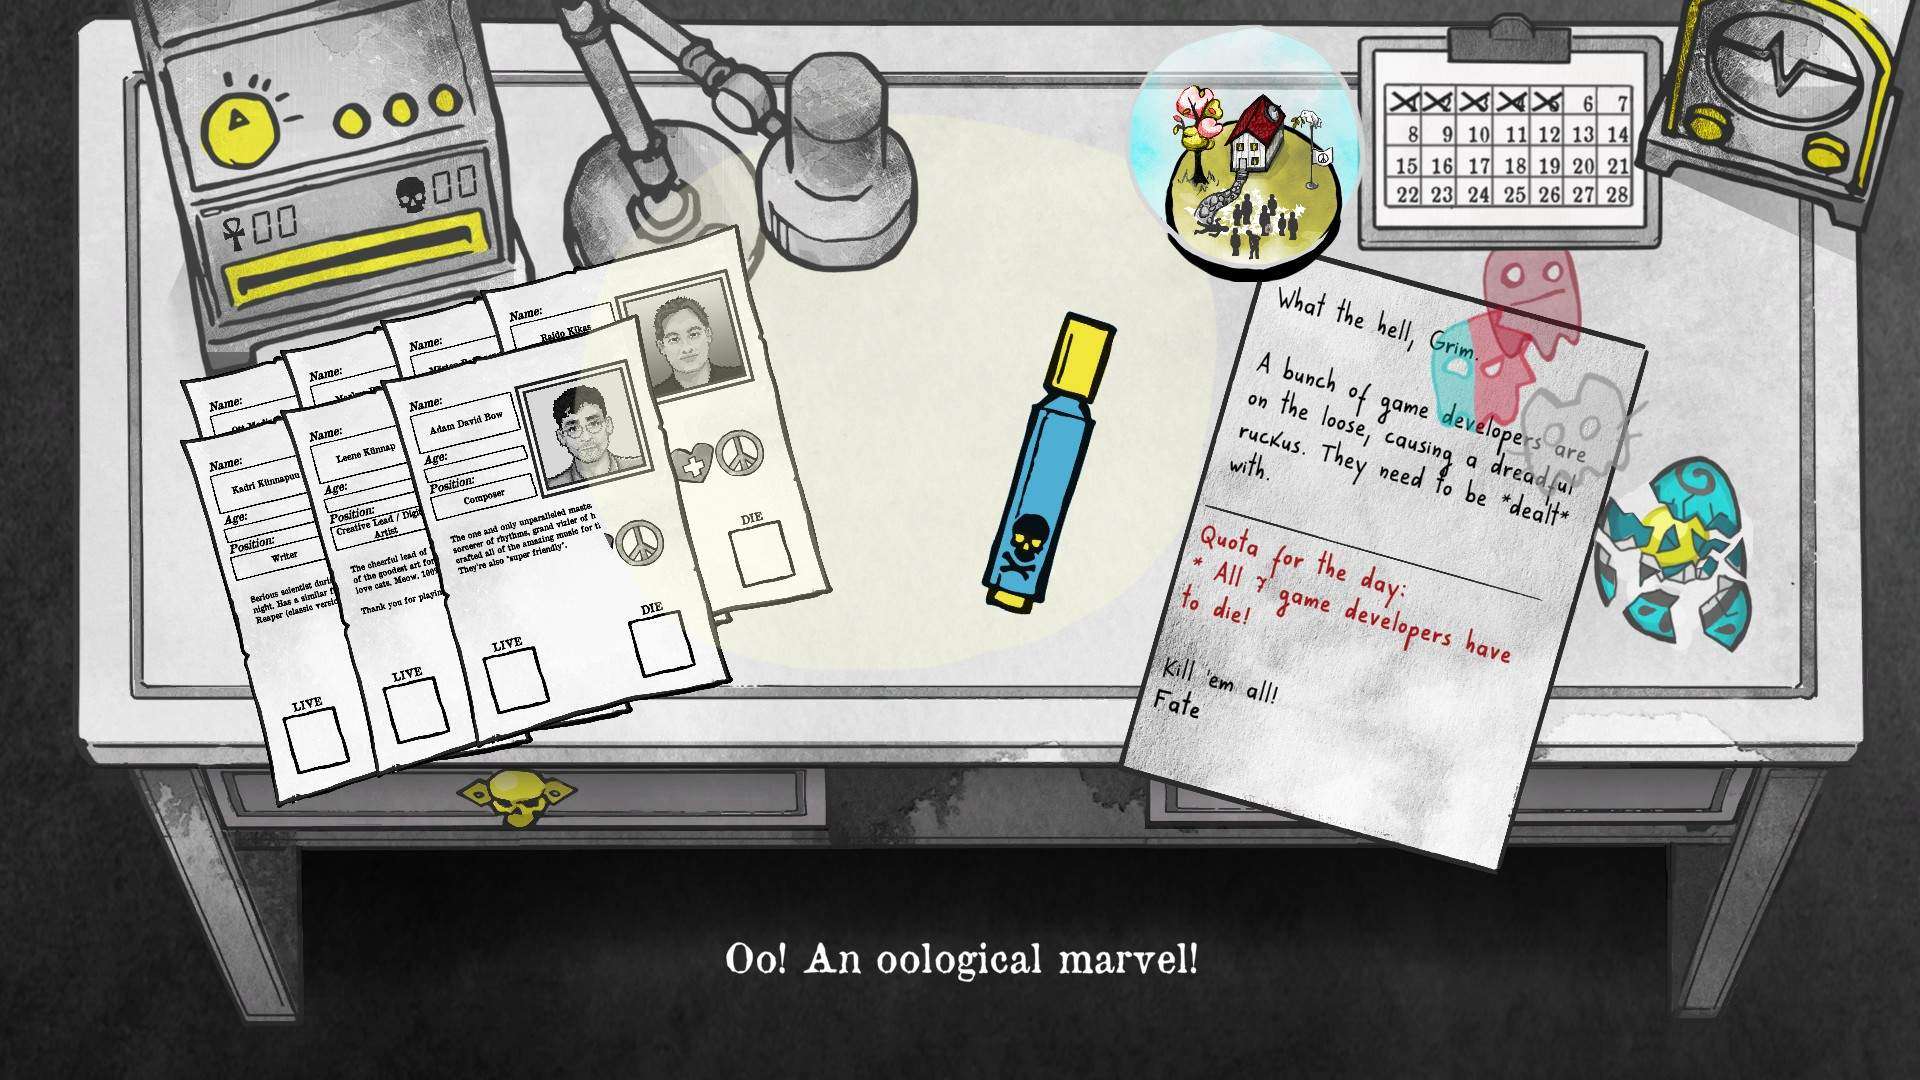
So as you may see on the screenshot from the above, this is how your desk should look like on the successful day 6. Of course, egg was not cracked like that, I just kept clicking on it, to see if anything happens. Originally it looked like that, during the clicking part:
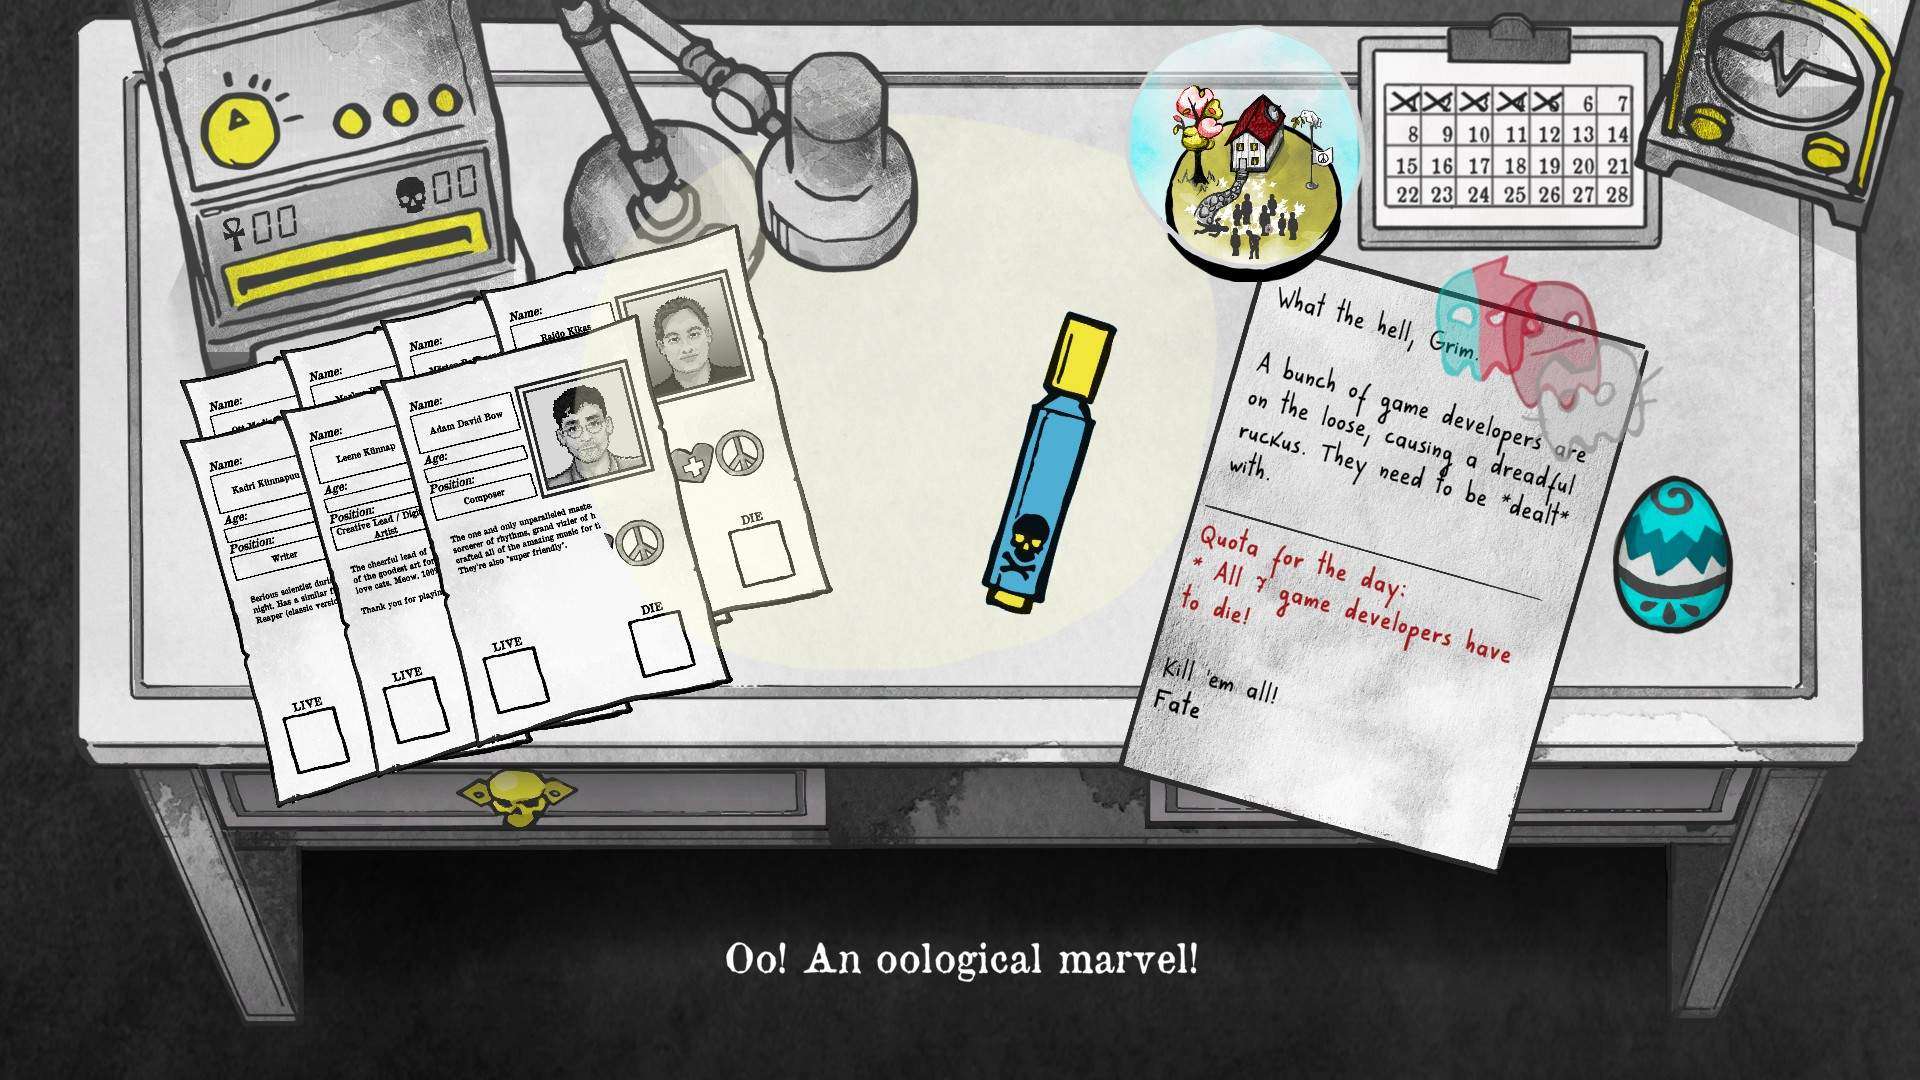
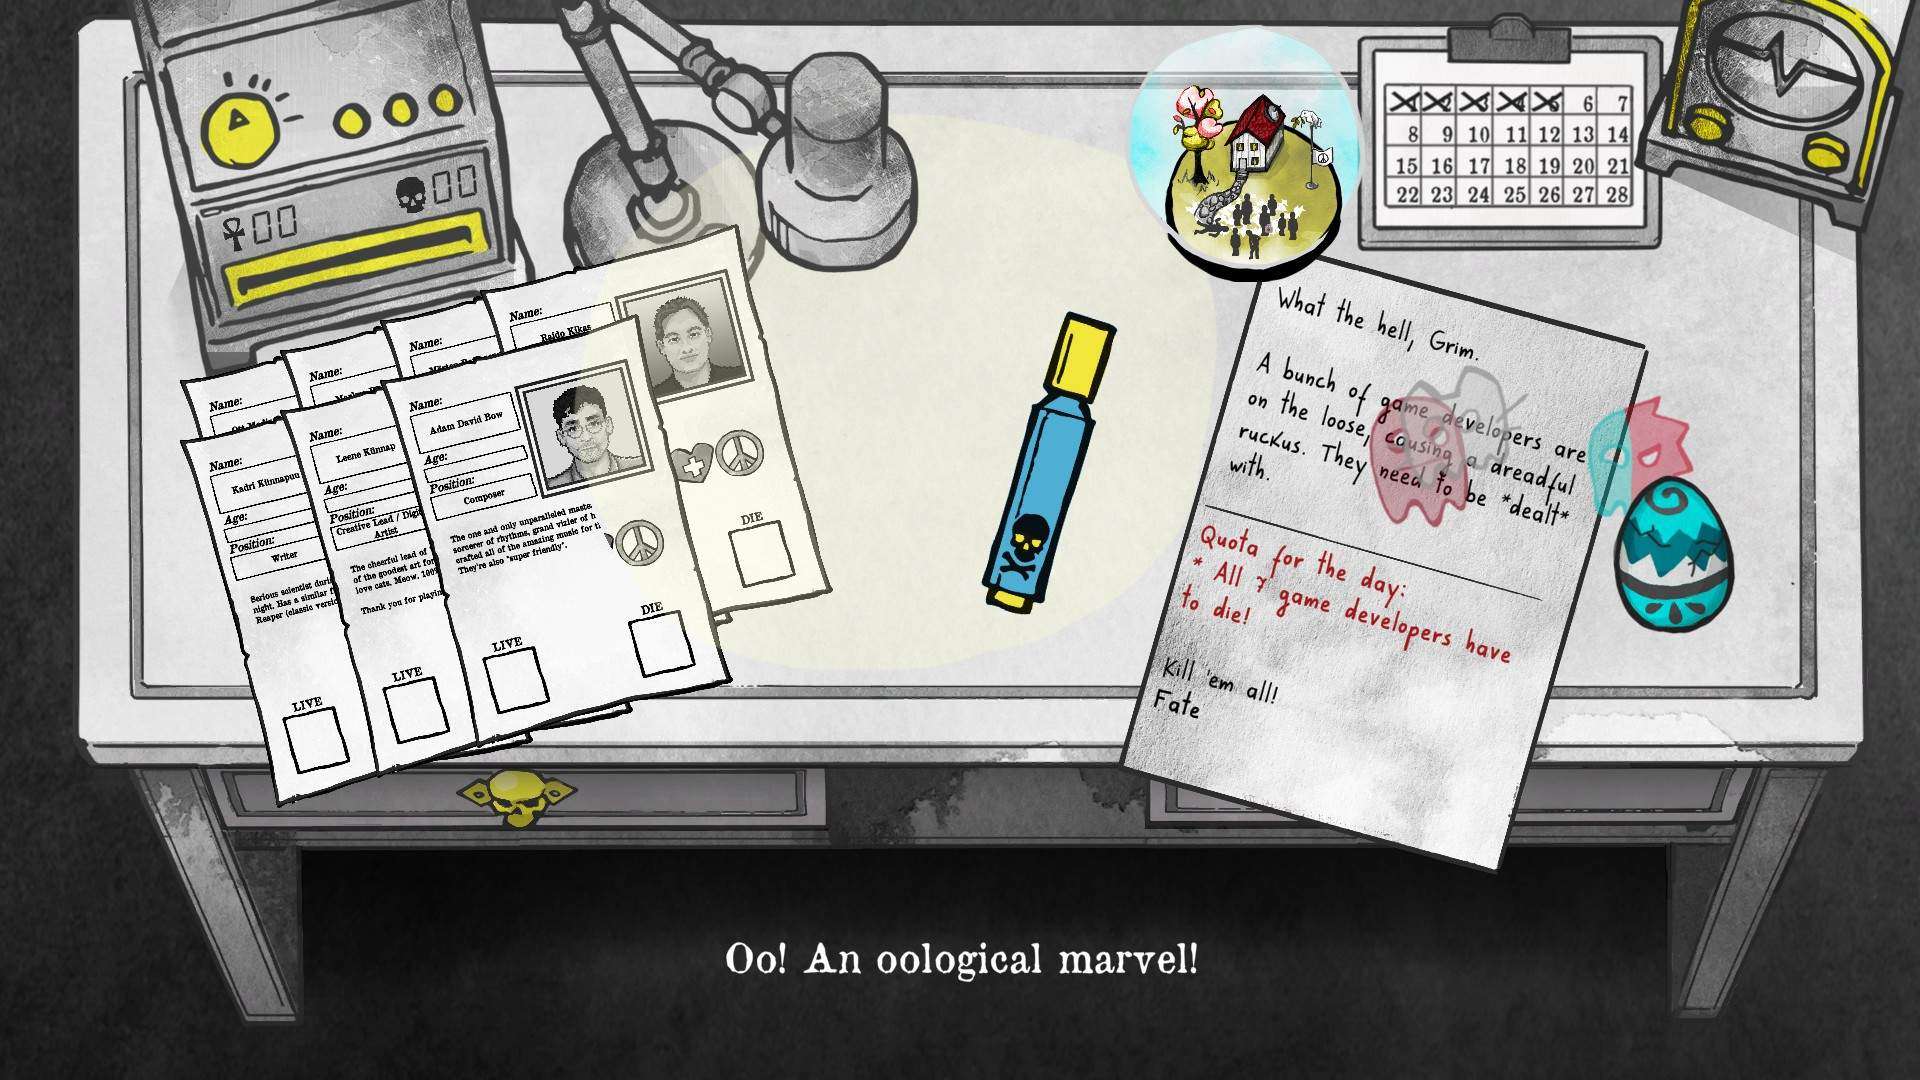
As I have already mentioned, despite gaining new achievement and option of cracking the blue egg (as blue as my hair lol), the showtime is not over yet. Now you may end up with possible two routes, where you unlock some dialogue with Fate leading you to two different results, based on your marking choices.
This is what I call the “bonus part” where you may end up like good grim or a bad grim – in terms of this fictional world and what might happen to it. Simply:
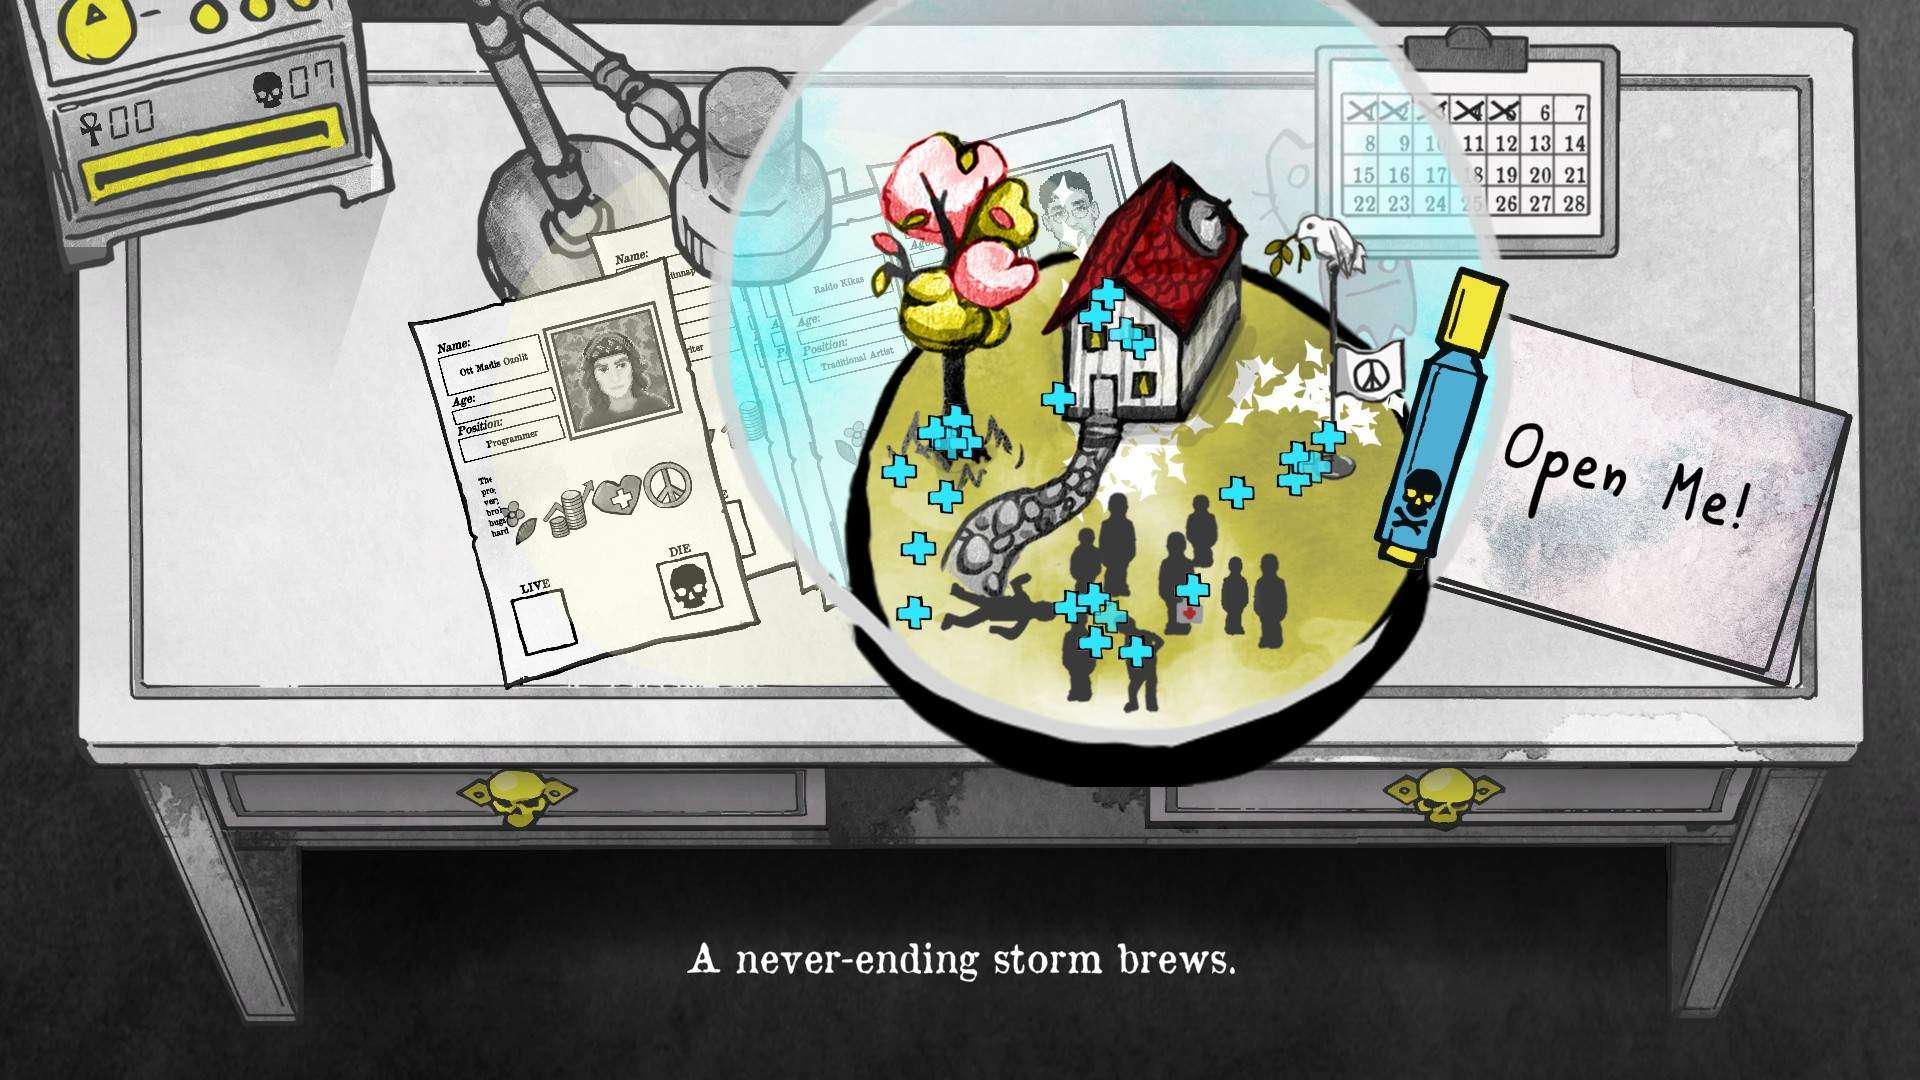
As you may see, the note states, that you have have to kill all the profiles. Instructions are weird, but clear. This was my first choice – to kill all of them (I have no mercy, sorry-not-sorry), send the profiles, and go to the Fate office. This is what exactly have happened, once I started with him my daily chat:





So by killing them all (no regrets lol) I have discovered, that fatal error took place, and since I killed important people, this world cannot exist anymore. After the last message, when you click continue, the game ends and leads you back to the main menu to make you start new game. Oops. Crack happens tee-hee
And… This is exactly what I did: I started new route, to again get egg achievement results and once again have the choice to spare or kill profiles of game developers. And when I decided to have mercy (just this once) this is what it lead me to:
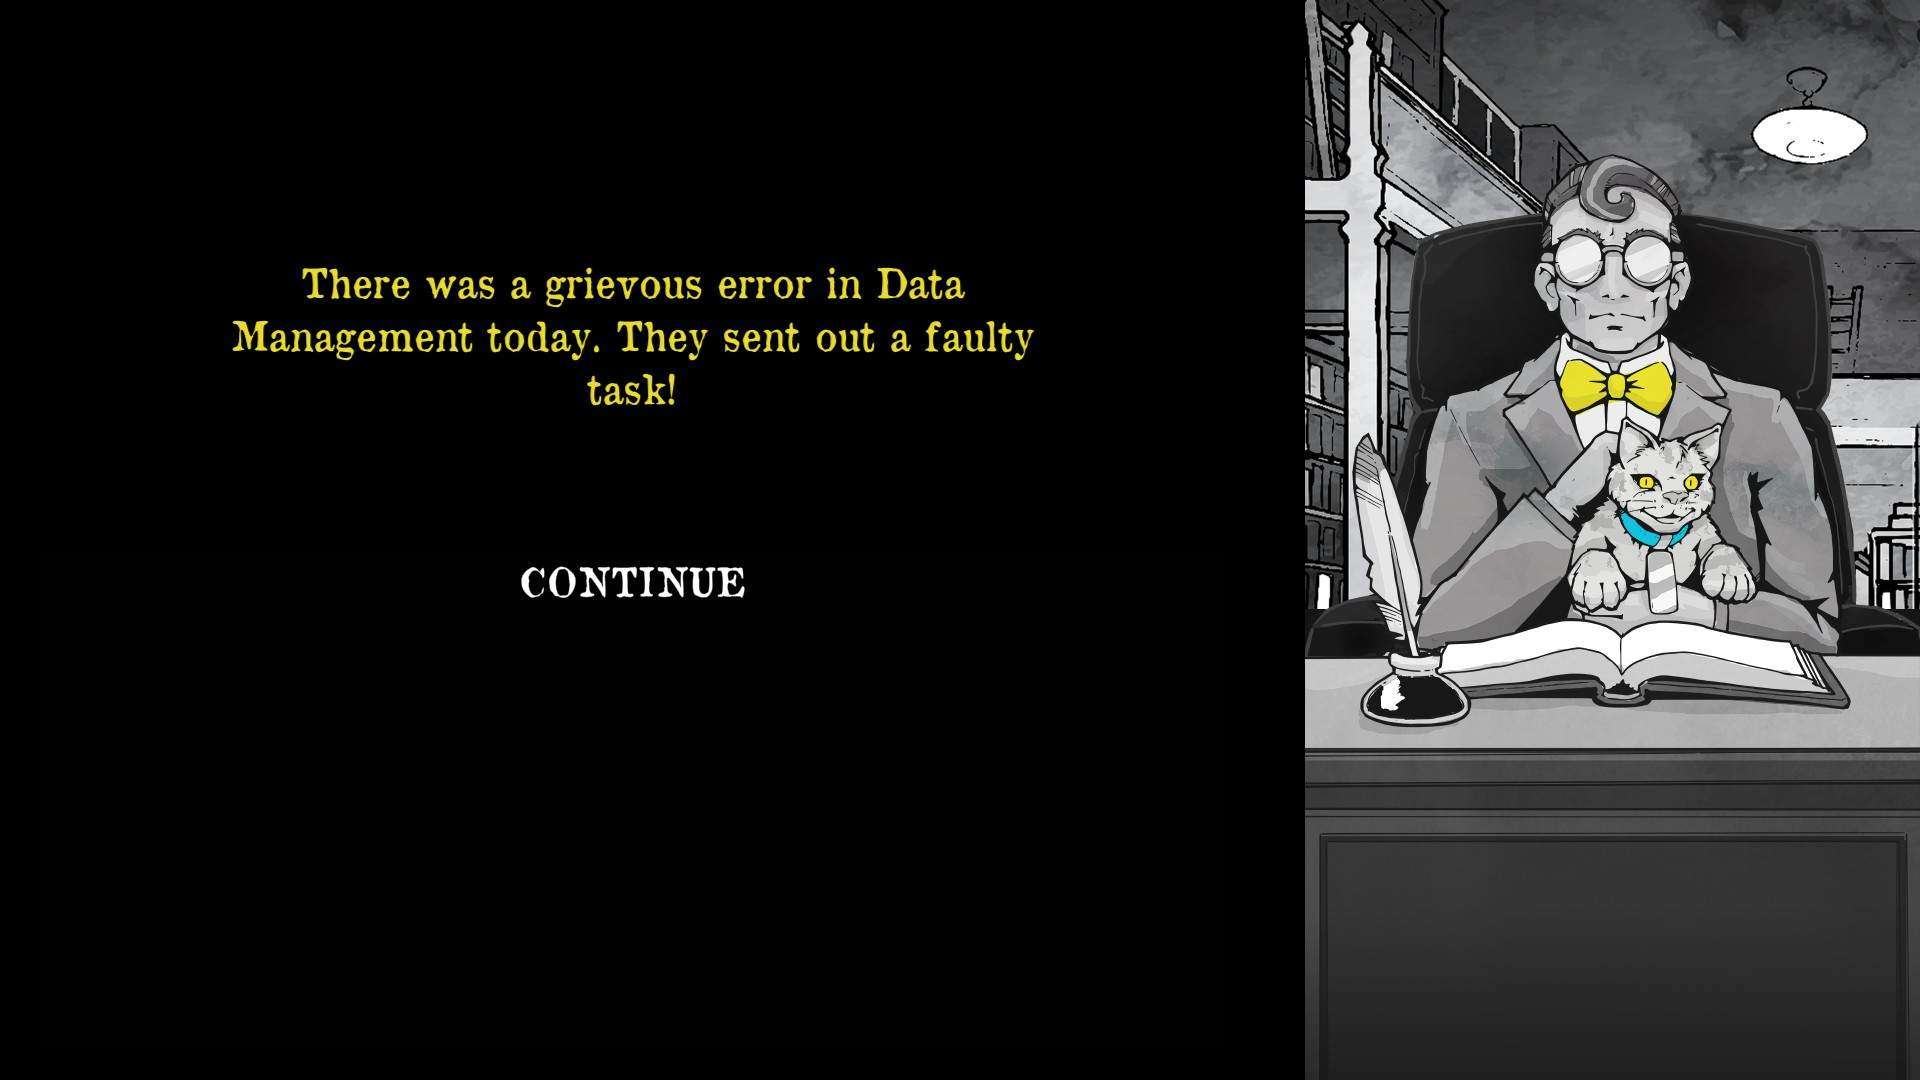
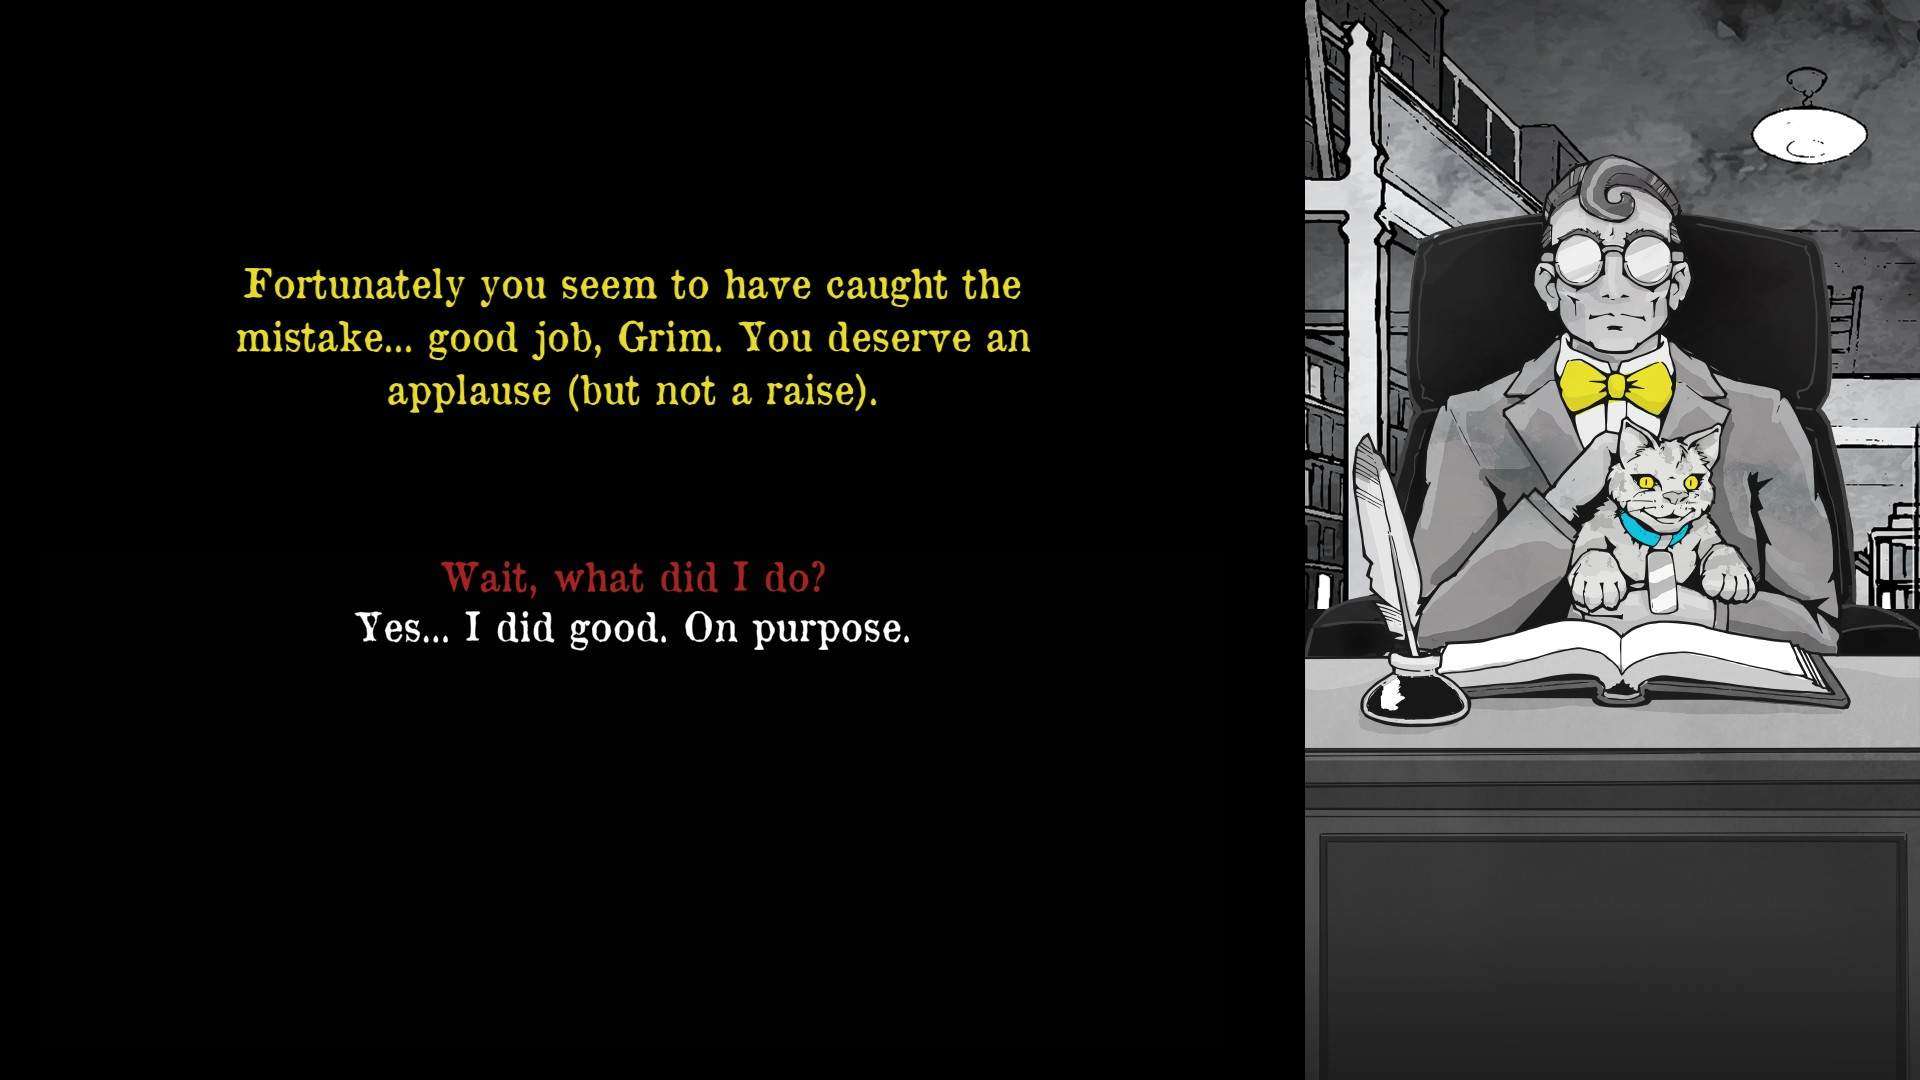
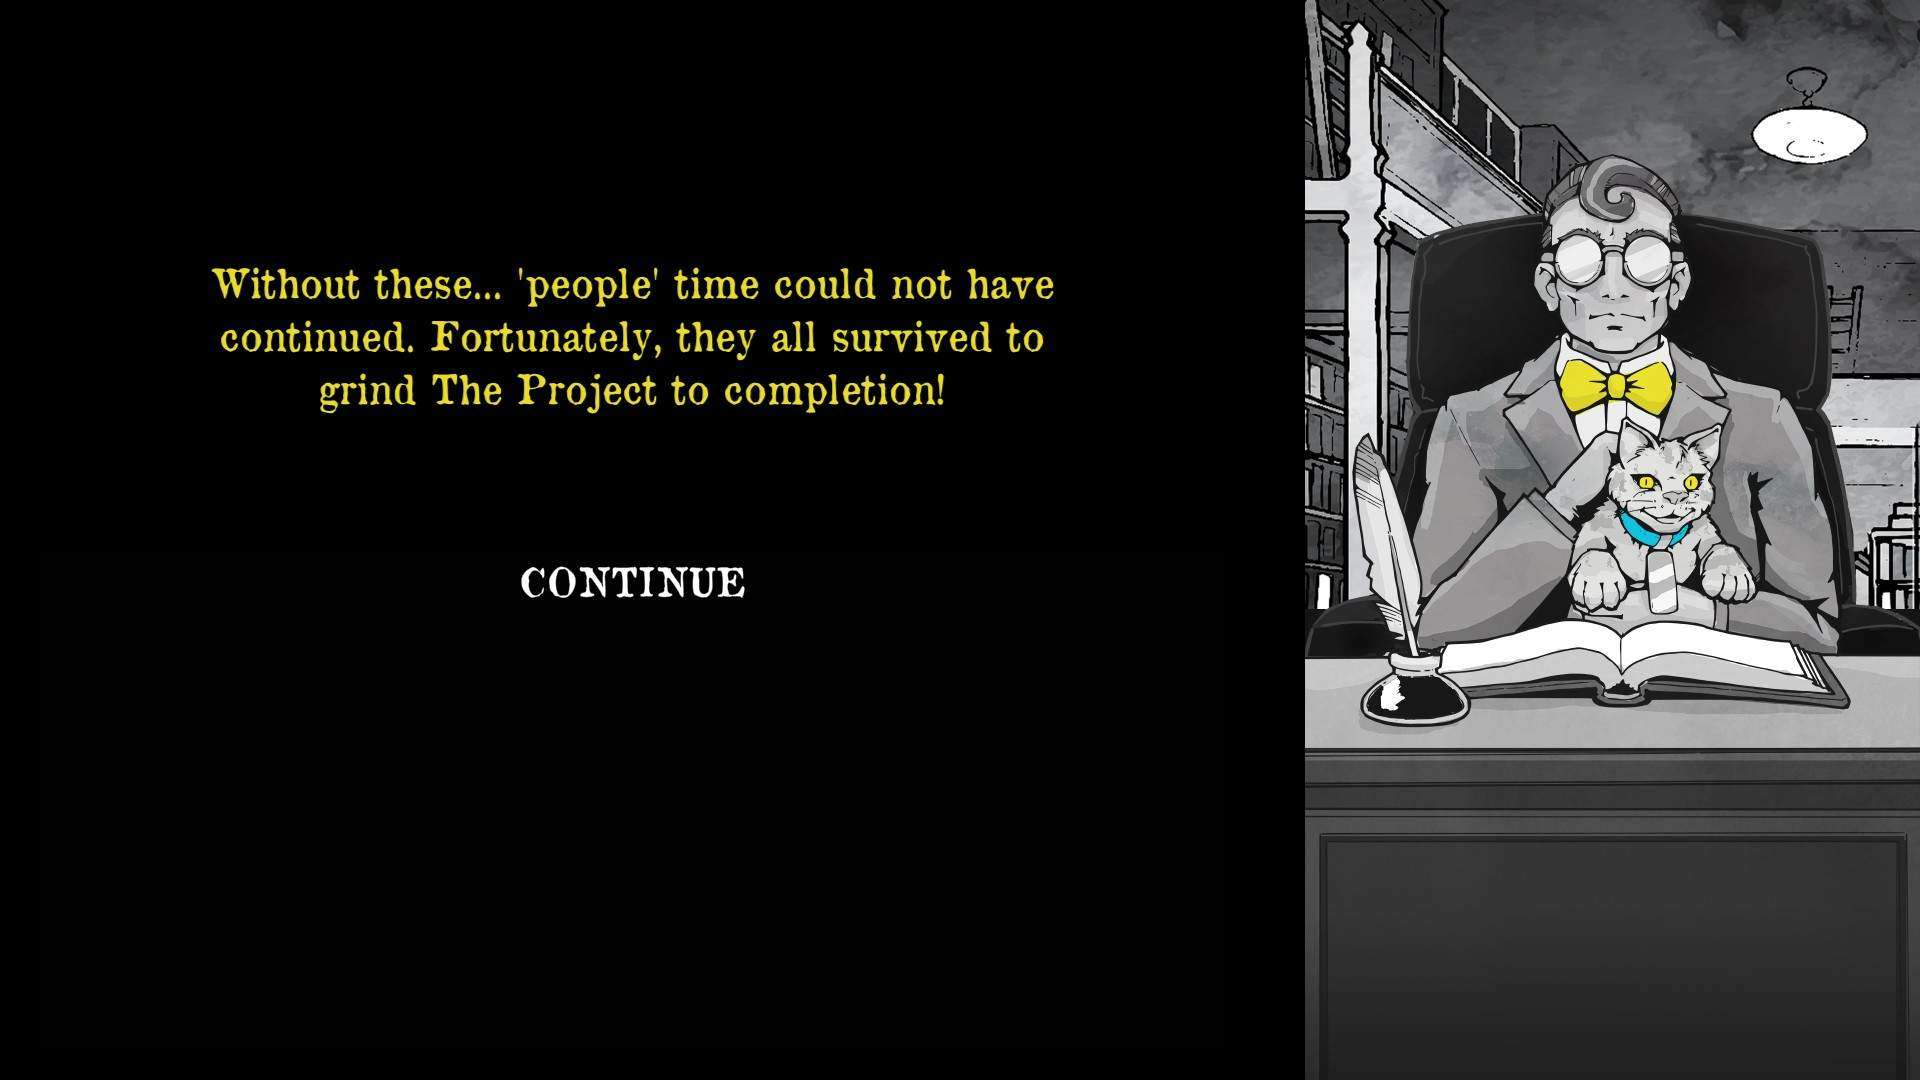

And that is how I managed to keep continuing that route without any interruption. As you can see being a good grim is beneficial for non-interruption of your route (unless you wanna start over). Next day is the 7th one, which is visible down below on example, how it may look like in your case. What is more funny, one of the stats seems to be covered with minuses, but bear in mind that I used Twitter power to obtain knowledge from creators. Once they confirmed with me “more than 101 points to obtain” from each of the statistic, I am entirely sure I went way higher with that:
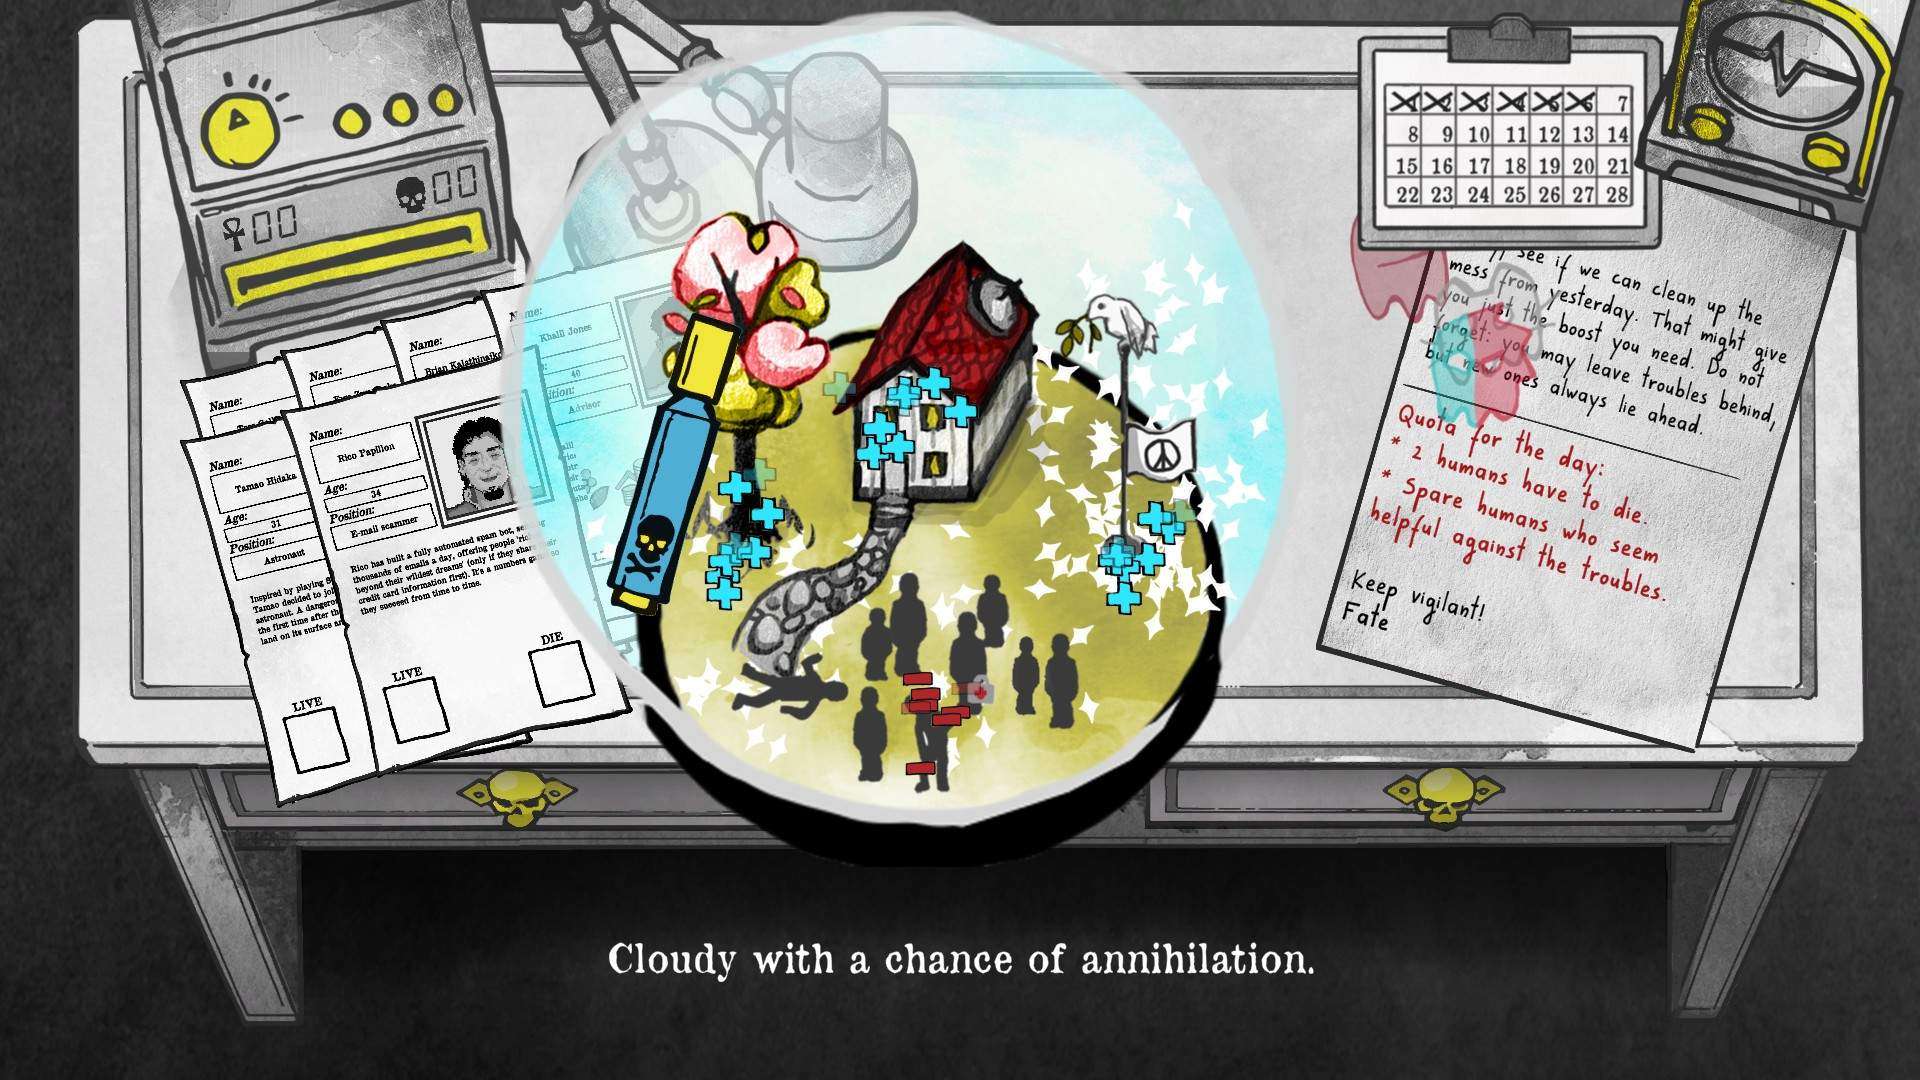
Remember: I managed to get my Egg on my 7th route. It was looking the way it was, due to lottery with how randomly profiles are generated, and what stats combination I might get from them all. I just kept playing, repeating the week and making sure that by day 5 I did everything that it takes, to win. And I even repeated it straight after, just to see what other result will come from my profile marking, and what I will get from my opposite choice.




Be the first to comment