

Advanced MDR Analysis And Build Guide For Warfare
The MDR has strong base handling for a rifle, but equipping the standard 30-round magazine significantly changes its stat distribution. The magazine removes 17 stat points, with the points taken from handling exclusively through firing camera stability rather than the recoil pattern.
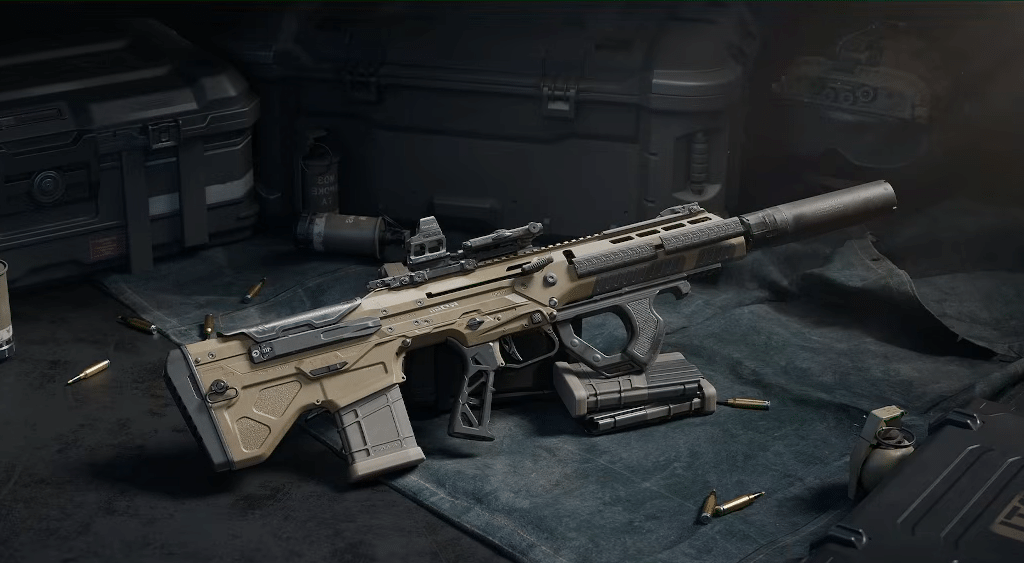
The MDR itself is not lacking in total stat points. It has exceptional handling stats for a rifle and two stock pads that together add 8 points, although the exact total may depend on unaccounted stat changes and does not include hipfire.
Its point distribution is similar to the sniper stock. It focuses heavily on handling and stability while taking points from control, without specifically allocating points to aim movement speed.
The main problem is the 30-round magazine. Without the magazine, the MDR can use the FFC and Long Barrel while both stock pads can be calibrated toward aim speed, producing strong stats at the cost of magazine capacity. This guide focuses on the 30-round magazine.
With the 30-round magazine equipped, the MDR has:
- Poor control, including firing stability and recoil pattern
- Average handling
- Low stability, described as being similar to the G3
The MDR’s vertical recoil is relatively smooth and can be controlled with practice, while horizontal recoil becomes a major limitation at longer ranges.
Key Attachments
The following attachments form the core of the 30-round MDR build:
- Long Barrel
- Phantom Vertical Foregrip
- Meo Riser
- Riser for a laser
- Two stock pads
- Mag Assist
- 30-Round Magazine
The two stock pads and Mag Assist are treated as fixed parts of the build.
Long Barrel
The Long Barrel provides considerably more stat points than the Short Barrel.
Phantom Vertical Foregrip
The Phantom Vertical Foregrip enhances aim speed without allowing less important stats such as sprint fire delay and aim movement speed to consume as many points.
This makes it particularly useful for guns with limited available stat points.
Riser
The riser can be used for a laser because all rail slots allow patches to be equipped.
It sacrifices firing camera stability exclusively in exchange for handling, making it slightly suboptimal. If you want to place a laser on the right rail for the MDR, it can still be used.
Recommended Calibrations
Sight
- Top: Left
- Bottom: Left
The MDR is intended as a close-range gun in this configuration, so minimal zoom is preferred. Lower zoom produces less visible recoil climb and makes recoil easier to manage.
Eye relief is commonly placed on the right, but the MDR has poor firing camera stability regardless. If you use the FFC and calibrate both stock pads for firing camera stability instead of aim speed, eye relief can instead be placed on the left.
Making the sight slightly smaller can also help with the MDR’s poor firing camera stability.
Stock Pads
- Top: Right
- Bottom: Depends on the build
The bottom pad is the main variable in the build.
Aim speed is the most important stat in the handling section. The importance of raw control is more debatable for this MDR configuration because firing camera stability has a much higher priority than it does on many other guns.
Foregrip
- Top: Left
- Bottom: Left
Rear Grip
- Top: Right
- Bottom: Left
Barrel
- Top: Right
- Bottom: Left
For the MDR, firing camera stability is more important than aim movement speed. Aim movement speed can be prioritized more effectively on guns with above-average base stats, such as the AK-12 and SMG-45.
Mainstream FFC Build
The first build uses the FFC to compensate for the MDR’s poor firing camera stability while prioritizing handling.
Attachments
- FFC
- Phantom Rear Grip
- Meo Riser
- Riser for a laser
Stock Pad Calibration
For both stock pads:
- Top: Right
- Bottom: Left
This is the configuration used by many MDR builds. Because the MDR has poor firing camera stability, the FFC is used to compensate for it.
The Phantom Rear Grip and foregrip improve handling while removing excess stability, while calibrating both stock pads toward aim speed makes the weapon’s handling more usable.
Patch and Calibration Strategy
Start by using handling patches.
Then replace the handling patches with stability patches one at a time until you can no longer feel a difference in handling.
After that, change the bottom stock pad calibration until the handling starts to feel slow.
Many players keep aim speed around 300 to 330 ms.
Control Patches vs. Handling Patches
Control patches can improve firing stability. However, a significant portion of the stat points from raw control goes toward controlling the recoil pattern rather than firing stability, which is the main stat that needs to be increased for this MDR configuration.
Handling patches put more points into raw aim speed. Those points can then be converted into additional firing stability through calibration.
For this reason, using handling patches and adjusting the stock pad calibrations can be preferable to relying primarily on control patches.
Resonant Ergonomic Grip
The Resonant Ergonomic Grip provides additional vertical firing stability, but it can also make the MDR’s existing horizontal recoil more problematic.
The MDR already has poor horizontal recoil. Increasing vertical firing stability can leave the crosshair jumping more from left to right instead.
This configuration is therefore more focused on close-range situations. At ranges beyond approximately 30 meters, consistently hitting shots can become difficult.
It can still be useful on close-range maps or for players who have difficulty controlling the MDR’s vertical recoil. In that situation, the barrel can be calibrated for firing stability instead of ADS movement speed.
FFC Build and Horizontal Recoil
The main problem with the FFC build is horizontal recoil.
Using the FFC means the build generally needs a foregrip that improves handling, leaving no attachment specifically dedicated to fixing the MDR’s horizontal recoil.
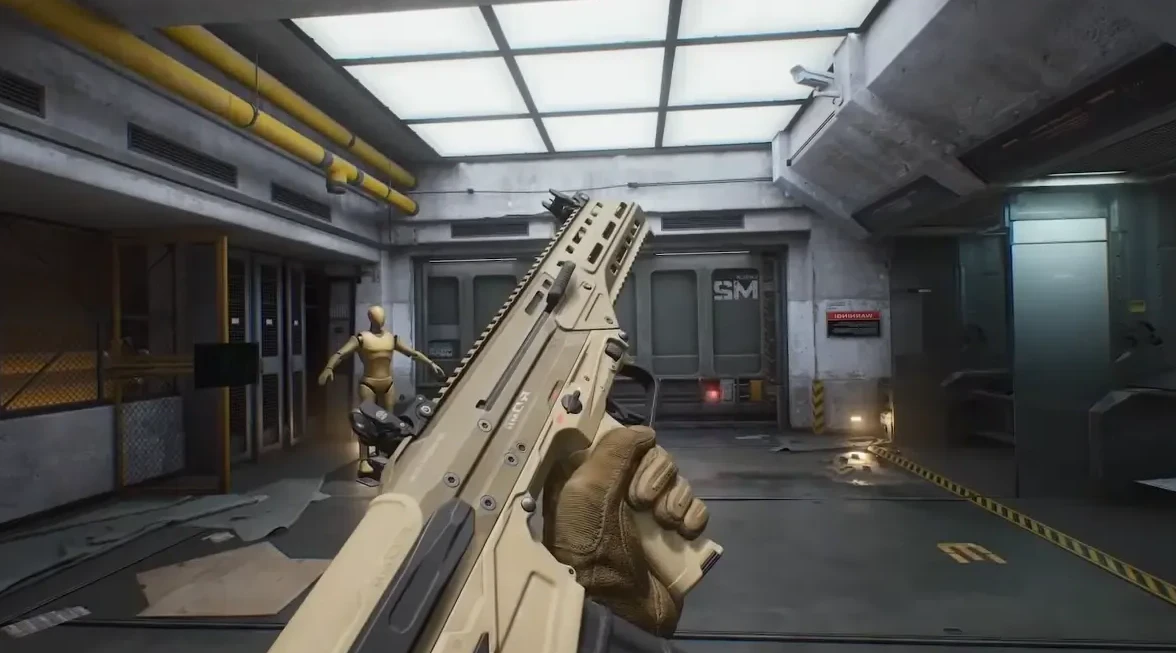
In the test range at 40 to 50 meters, this configuration produced approximately 35% to 50% hit rates because of the large amount of horizontal sway.
Horizontal Compensator Build
The second build focuses on horizontal recoil instead of relying on the FFC.
Attachments
Possible configurations include:
- Bastion Horizontal Compensator
- Phantom Rear Grip or Modular Grip with Light Grip Piece
- Meo Riser, or no riser when using the Modular Grip
- Panoramic sight when using the no-riser configuration
- Riser for a laser
The calibration and patch steps are the same as with the Phantom Rear Grip configuration.
When using the Modular Grip, patches can be focused almost entirely on handling.
When using the Modular Grip, not using the Meo Riser is also an option if the build has excessive stability.
Why the Horizontal Build Works
The MDR has very smooth vertical recoil. With practice, its vertical recoil can be controlled nearly perfectly, even if the recoil is difficult to see.
This makes horizontal recoil the main factor limiting the hit rate.
This is also why some strong players use CI and QCQ builds with two horizontal attachments and negative firing camera stability to compensate for handling.
In the test range, the Horizontal Compensator build produced approximately 45% to 60% hit rates.
Limitations of the Horizontal Build
The main weakness of this configuration is fighting enemies who expose only a small part of their body, especially their head.
If you are repeatedly being killed by an opponent using a headglitch, using a different weapon is suggested because the MDR’s headshot multiplier is poor.
Build Comparison
| Build | Main Focus | Main Limitation |
|---|---|---|
| FFC Build | Handling and firing camera stability | Significant horizontal recoil |
| Horizontal Compensator Build | Horizontal recoil | Difficult against enemies exposing only small portions of their body |
The FFC build provides a way to compensate for the MDR’s poor firing camera stability, but its horizontal recoil remains a major problem at longer ranges.
The Horizontal Compensator build addresses the MDR’s horizontal recoil more directly. Its smooth vertical recoil can be controlled with practice, but the configuration remains difficult to use against enemies exposing only their heads or other small portions of their bodies.



Be the first to comment