
Screenshot assisted guide for locating all the secrets in the fourth episode.
Locations of All Secrets in Episode 4
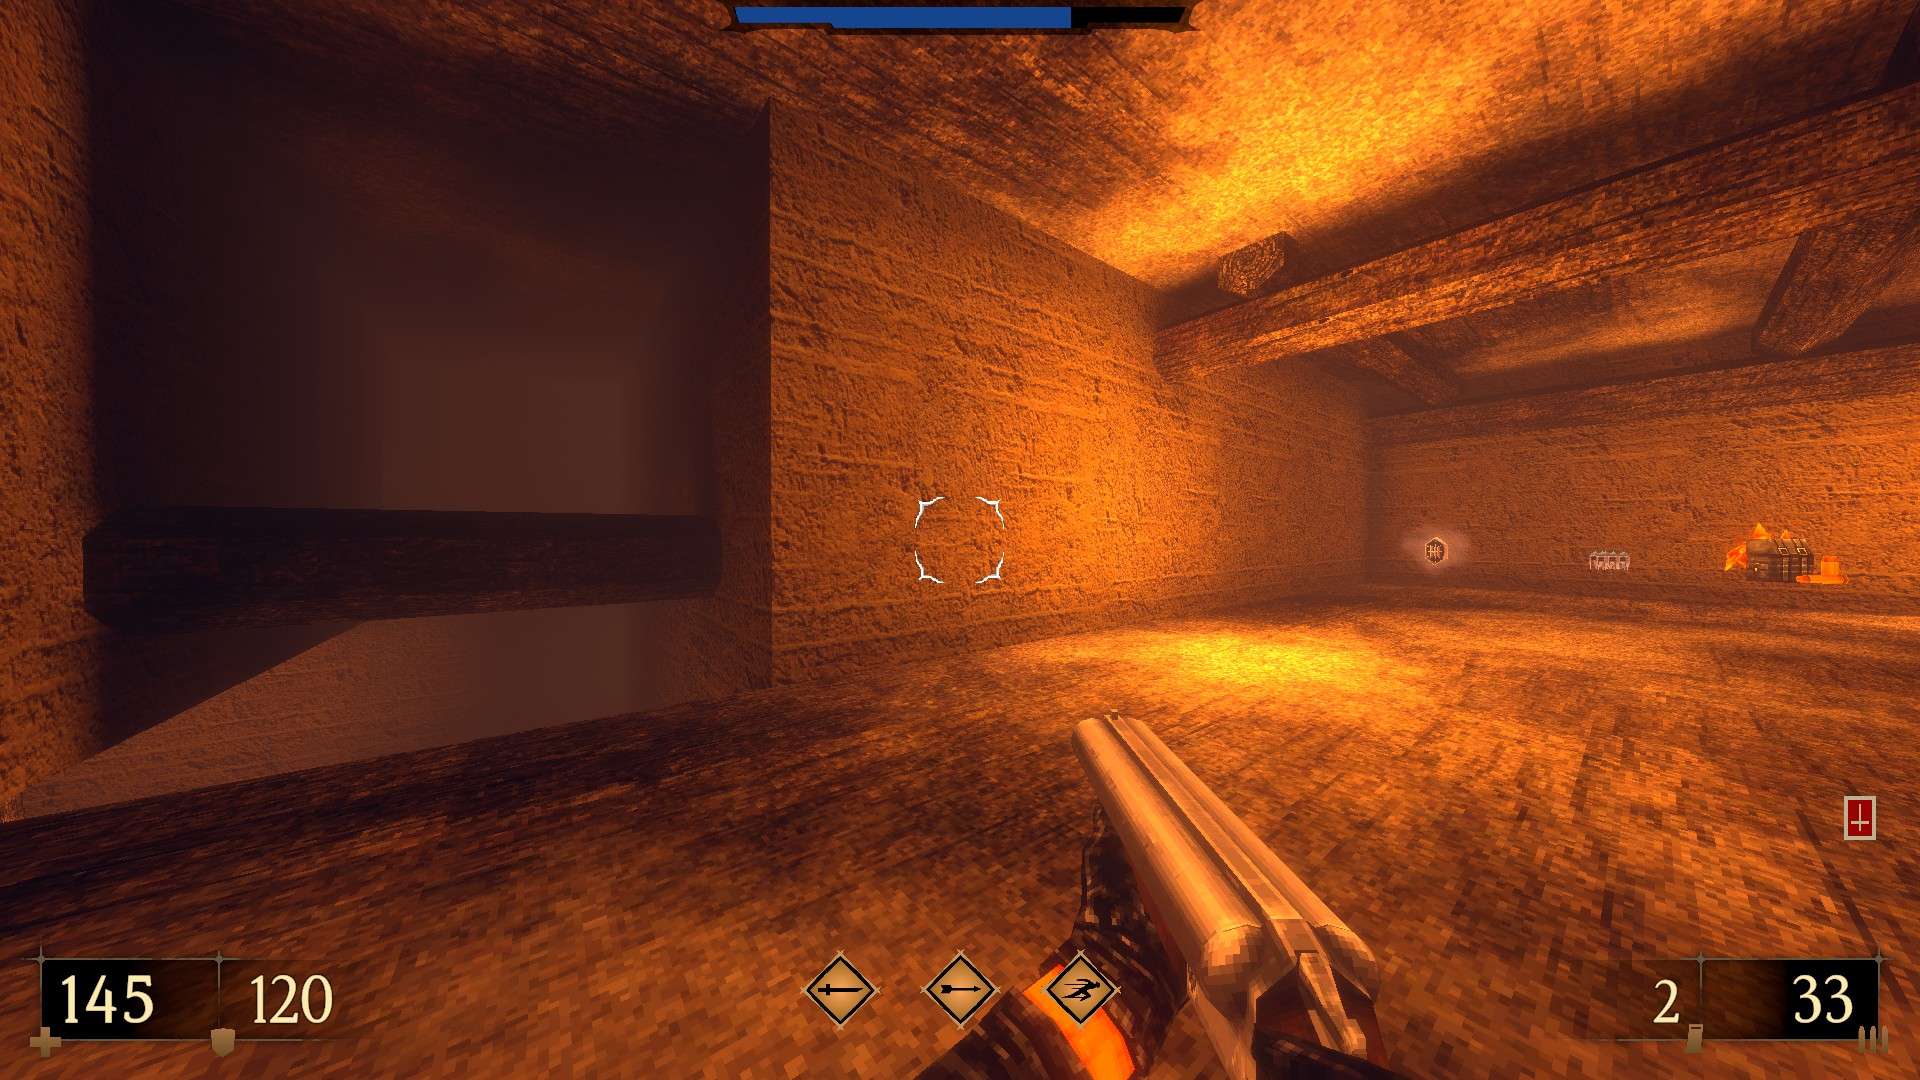
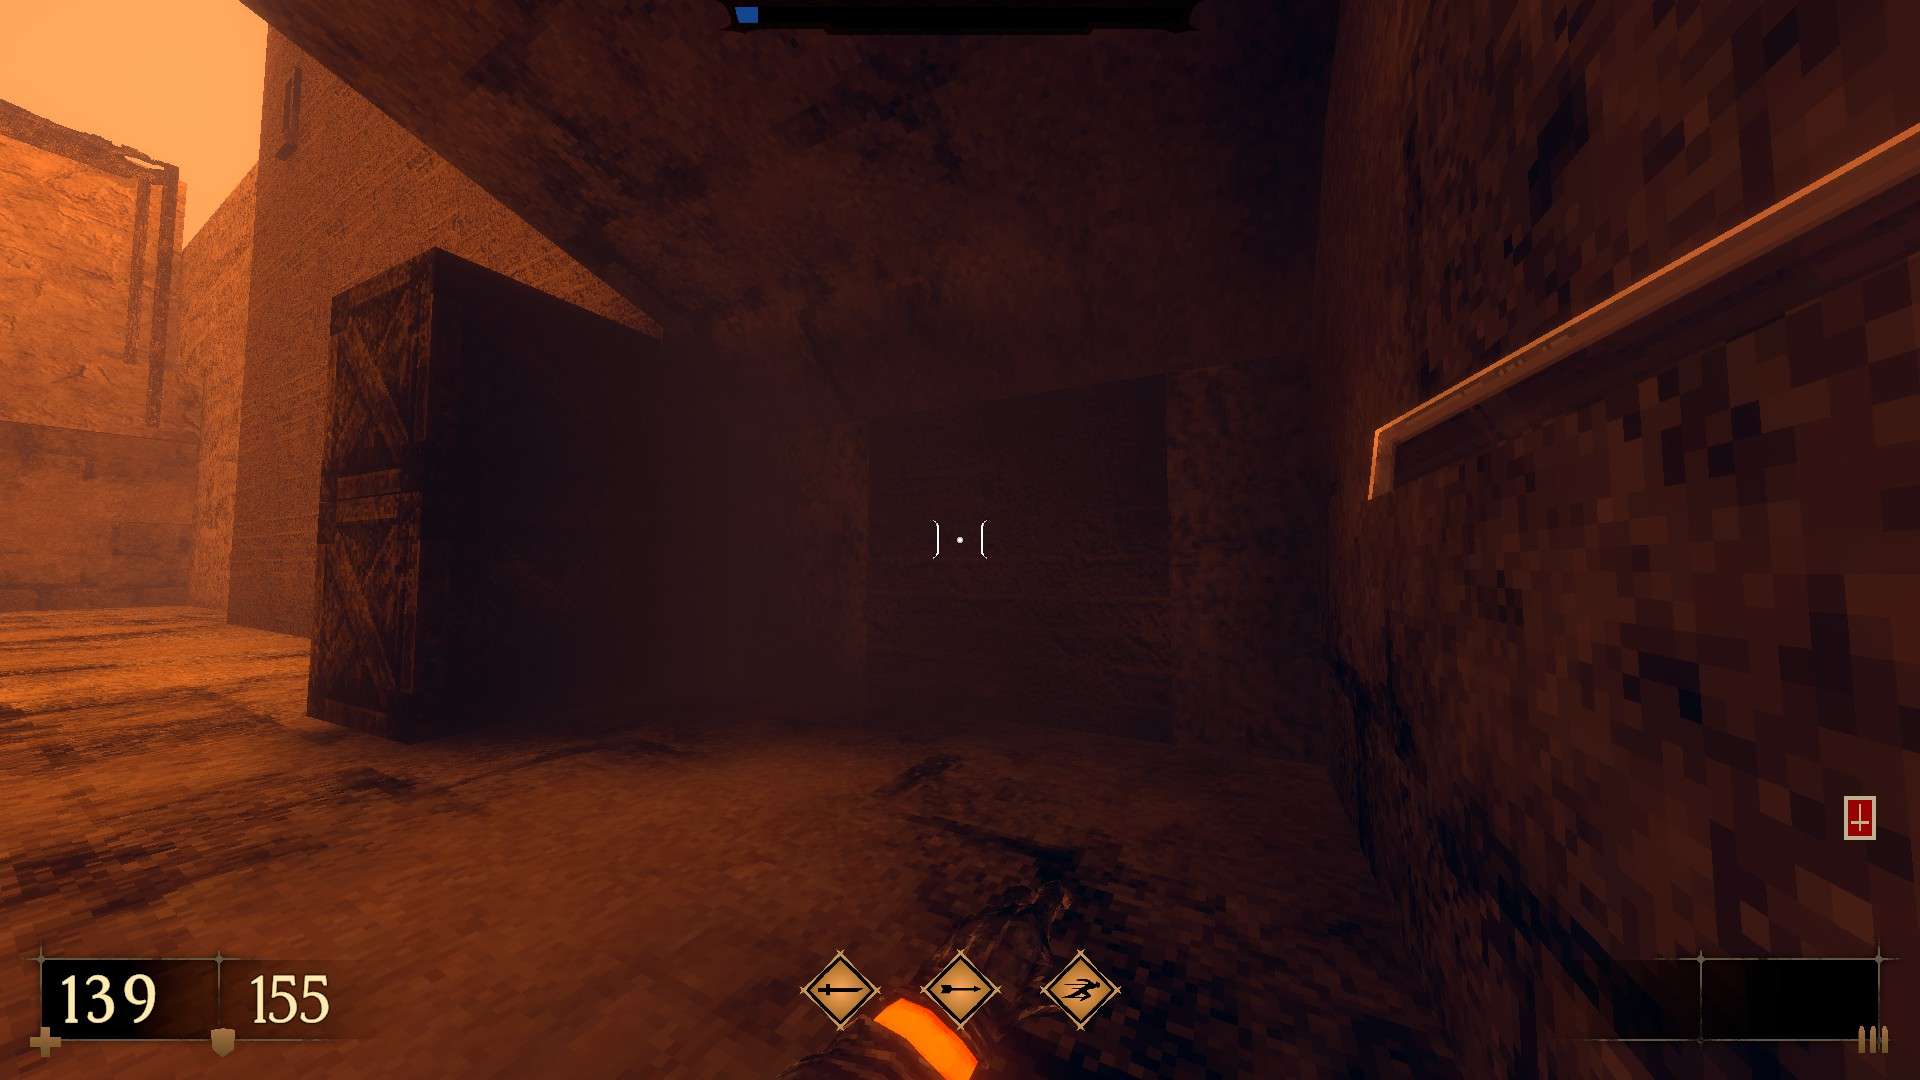
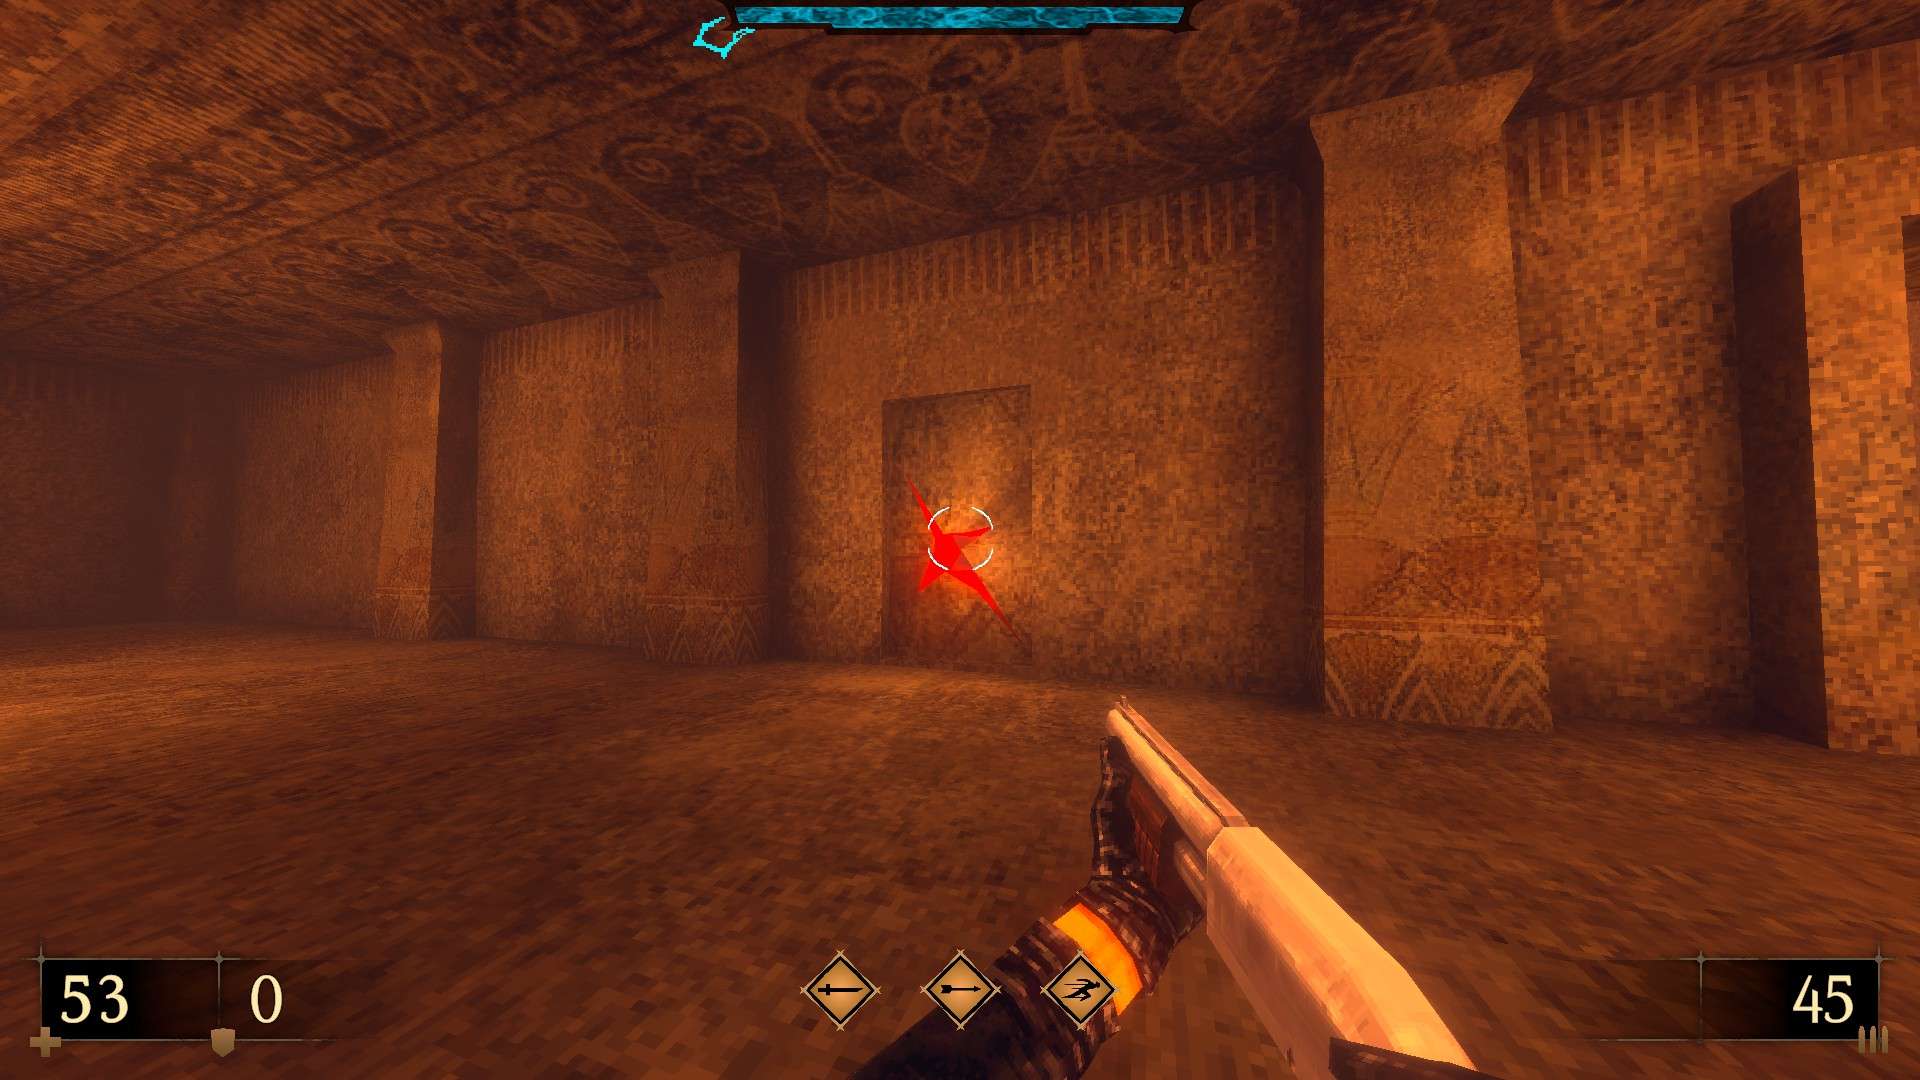
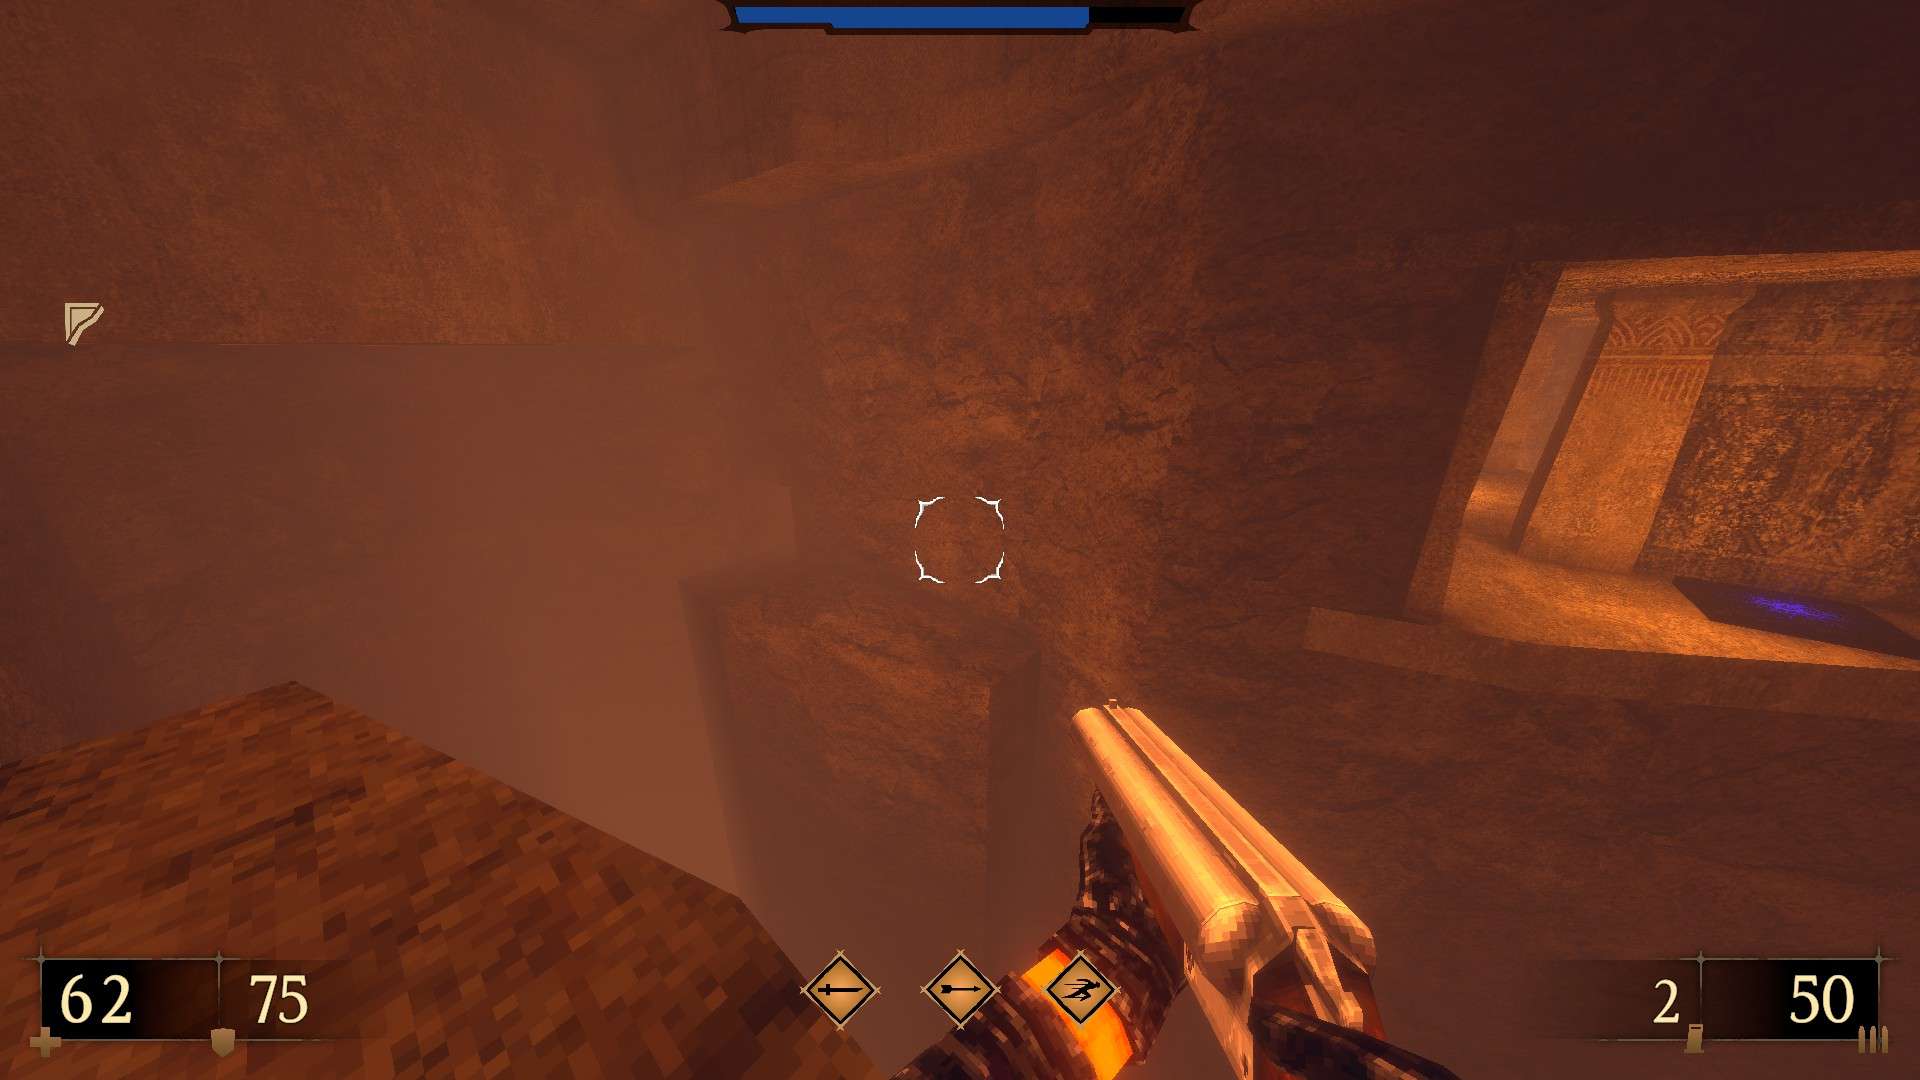
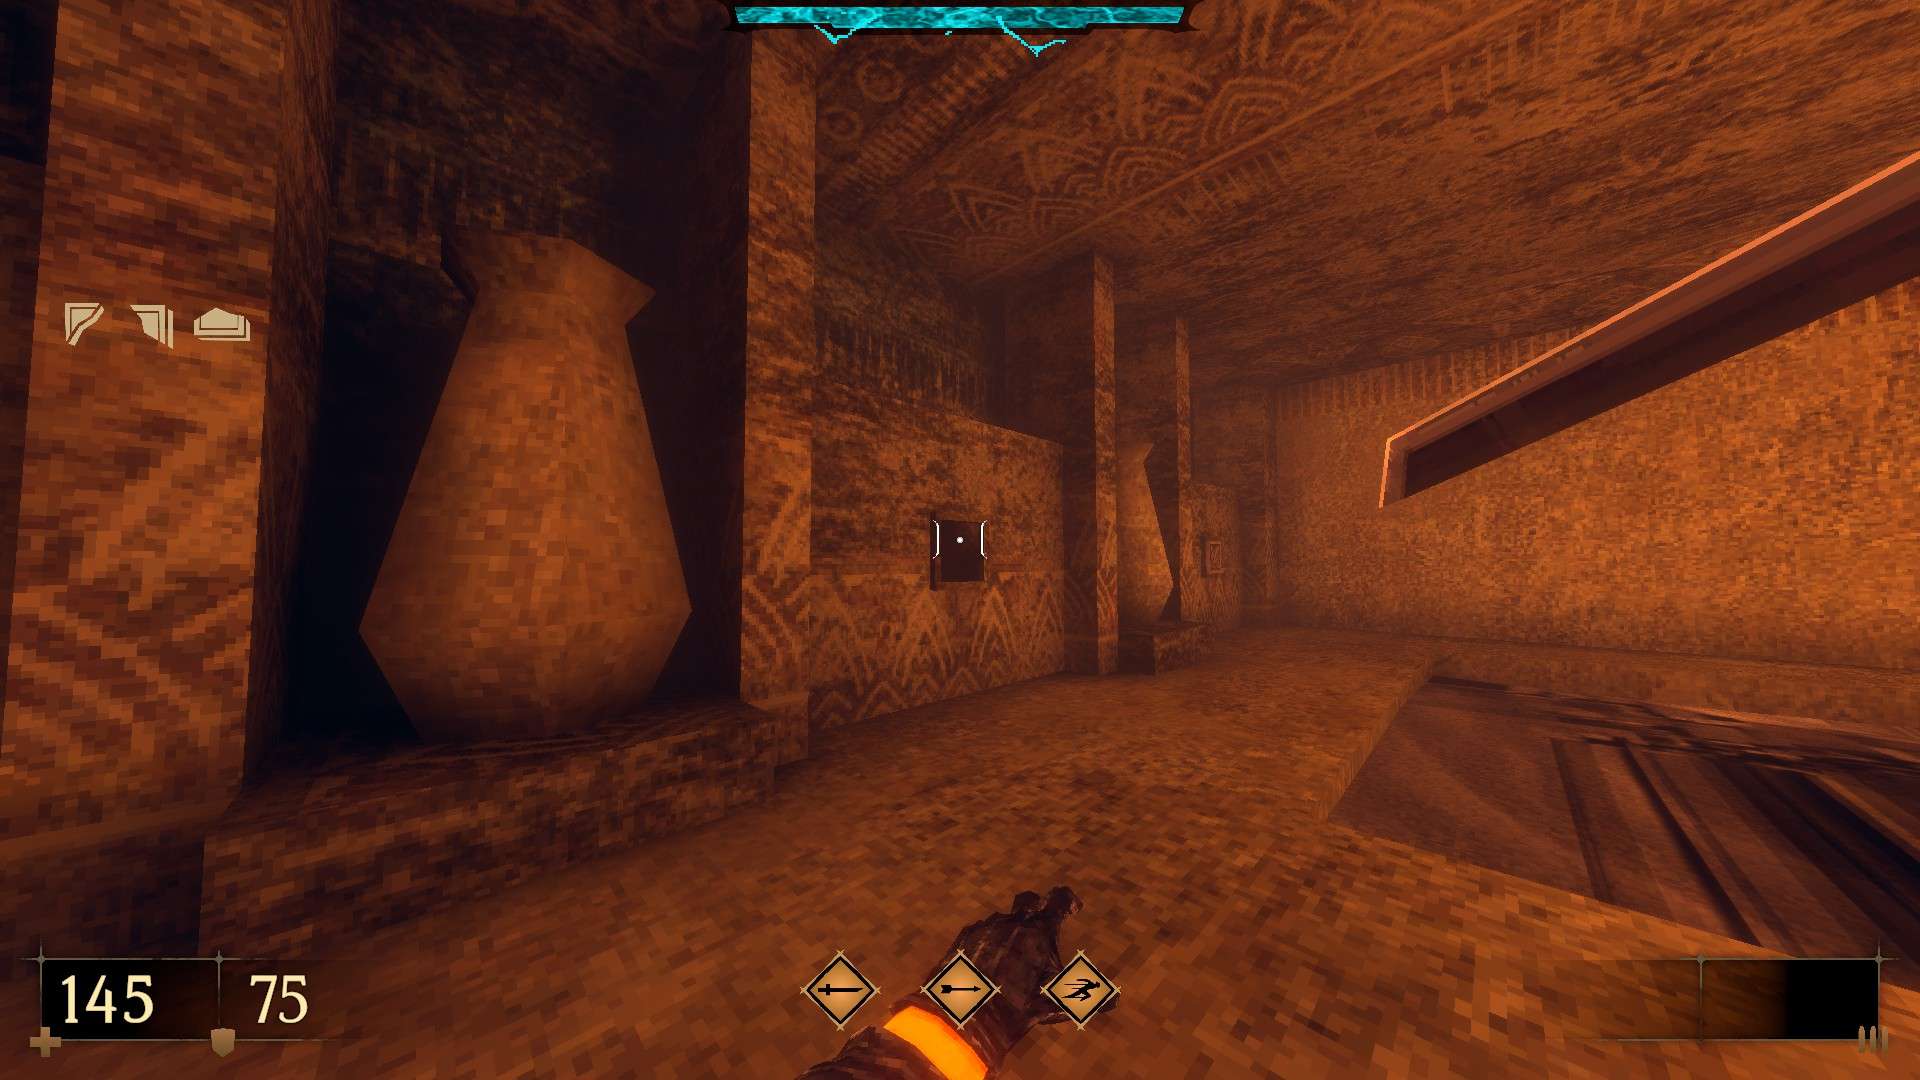
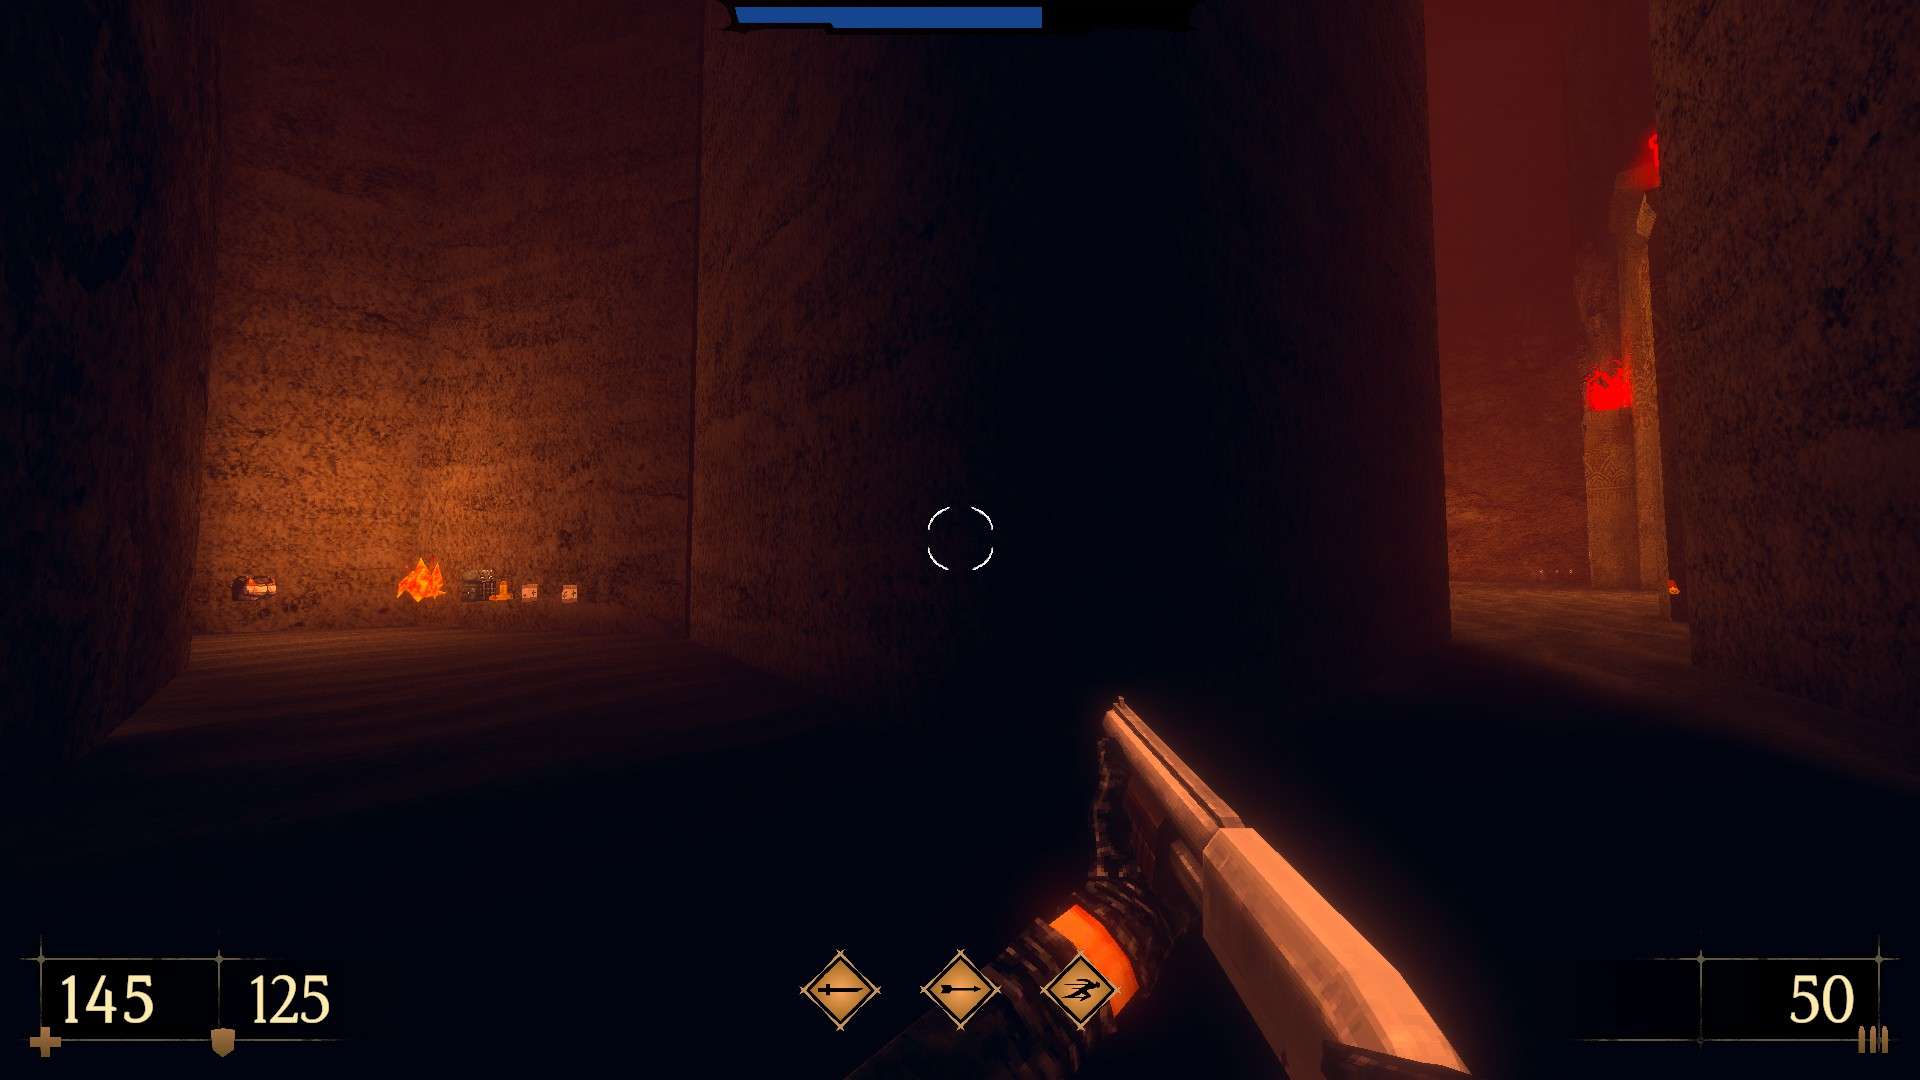
E4M1: Sand of Time
Important: Your emblems and character setup are kept separately from your game progression for the difficulty level you are playing on. This means that you can return to completed levels via level selection, grab the emblems and the blood gems you missed on your first run and return to your saved game to have an expanded selection for that matter. Throughout the guide, emblems and blood gems are mentioned in brackets in the descriptions of the secrets they are found in.
This level contains 8 secrets and a super secret.
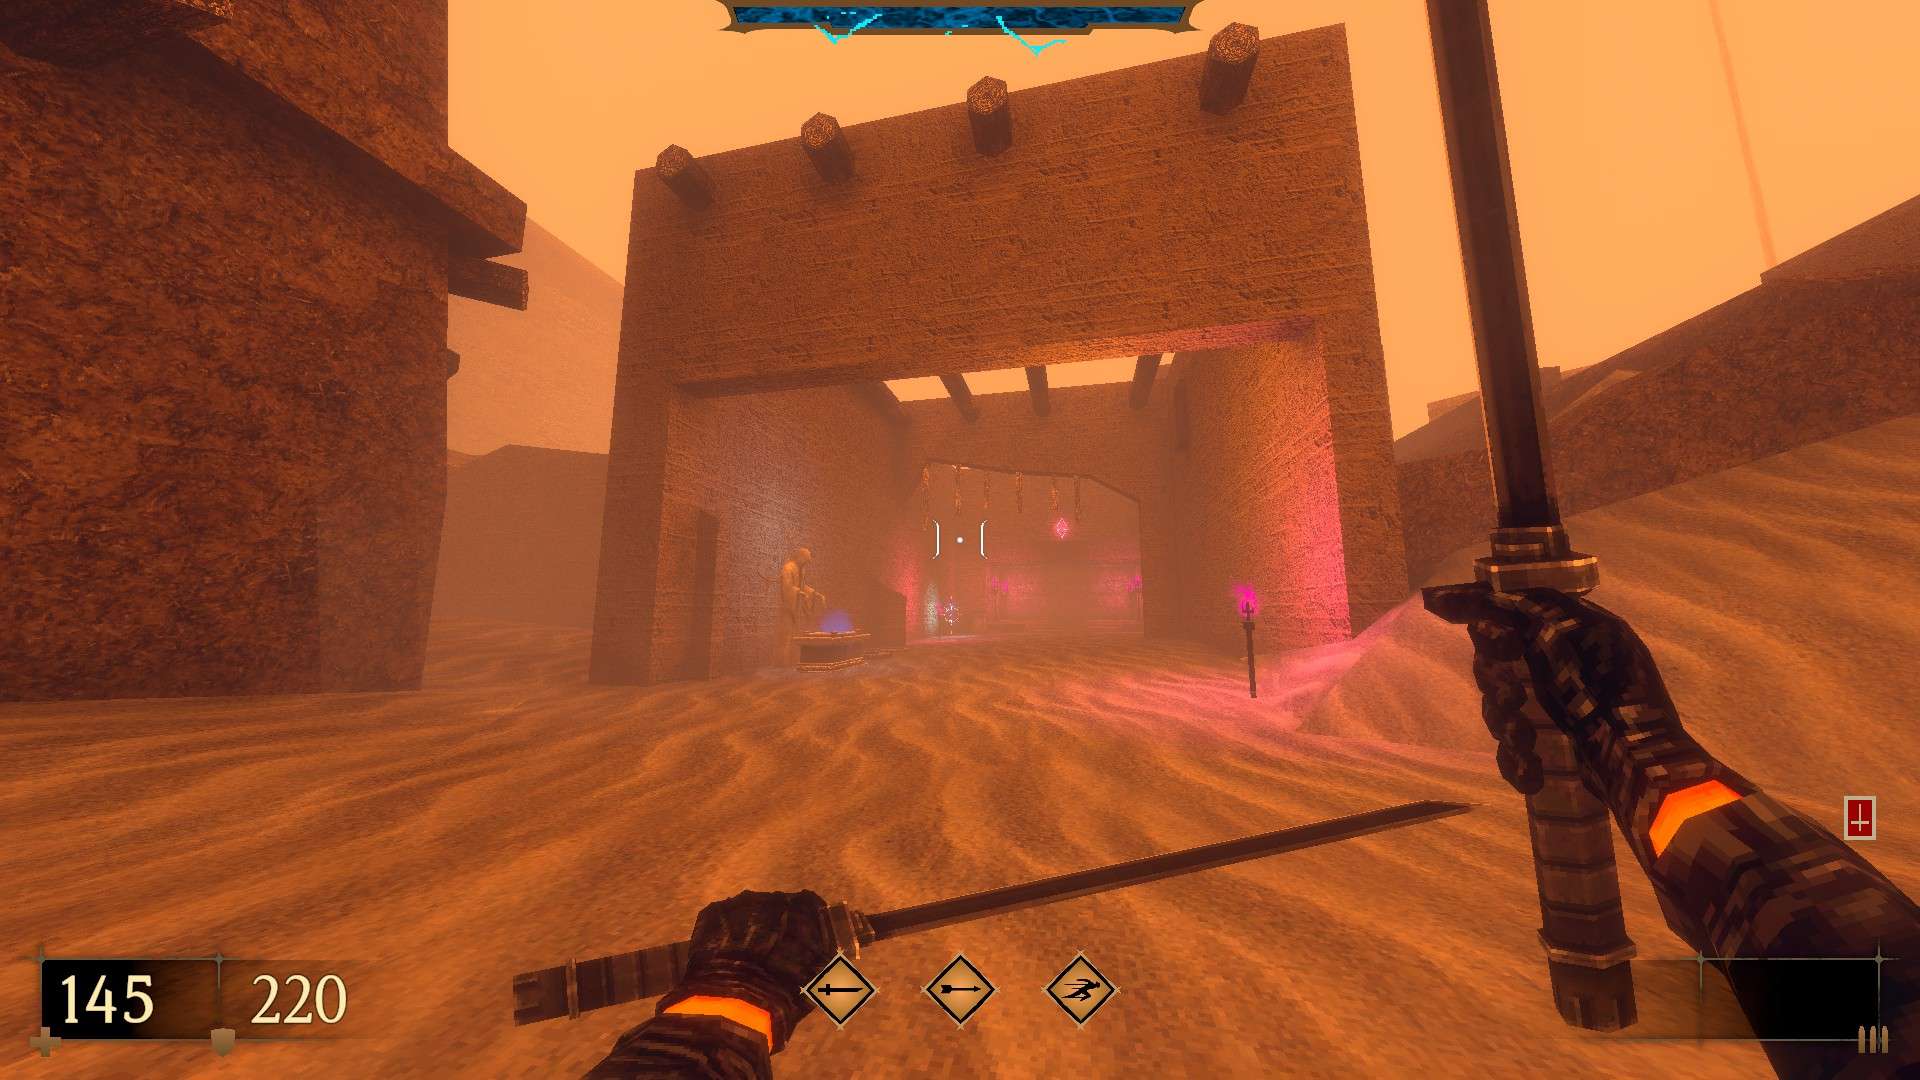
1/8 – Before going through the hall that leads to the underground tunnels, take the opening to the left and turn around to find a semi-hidden cache (Shotgun Slaughter II).

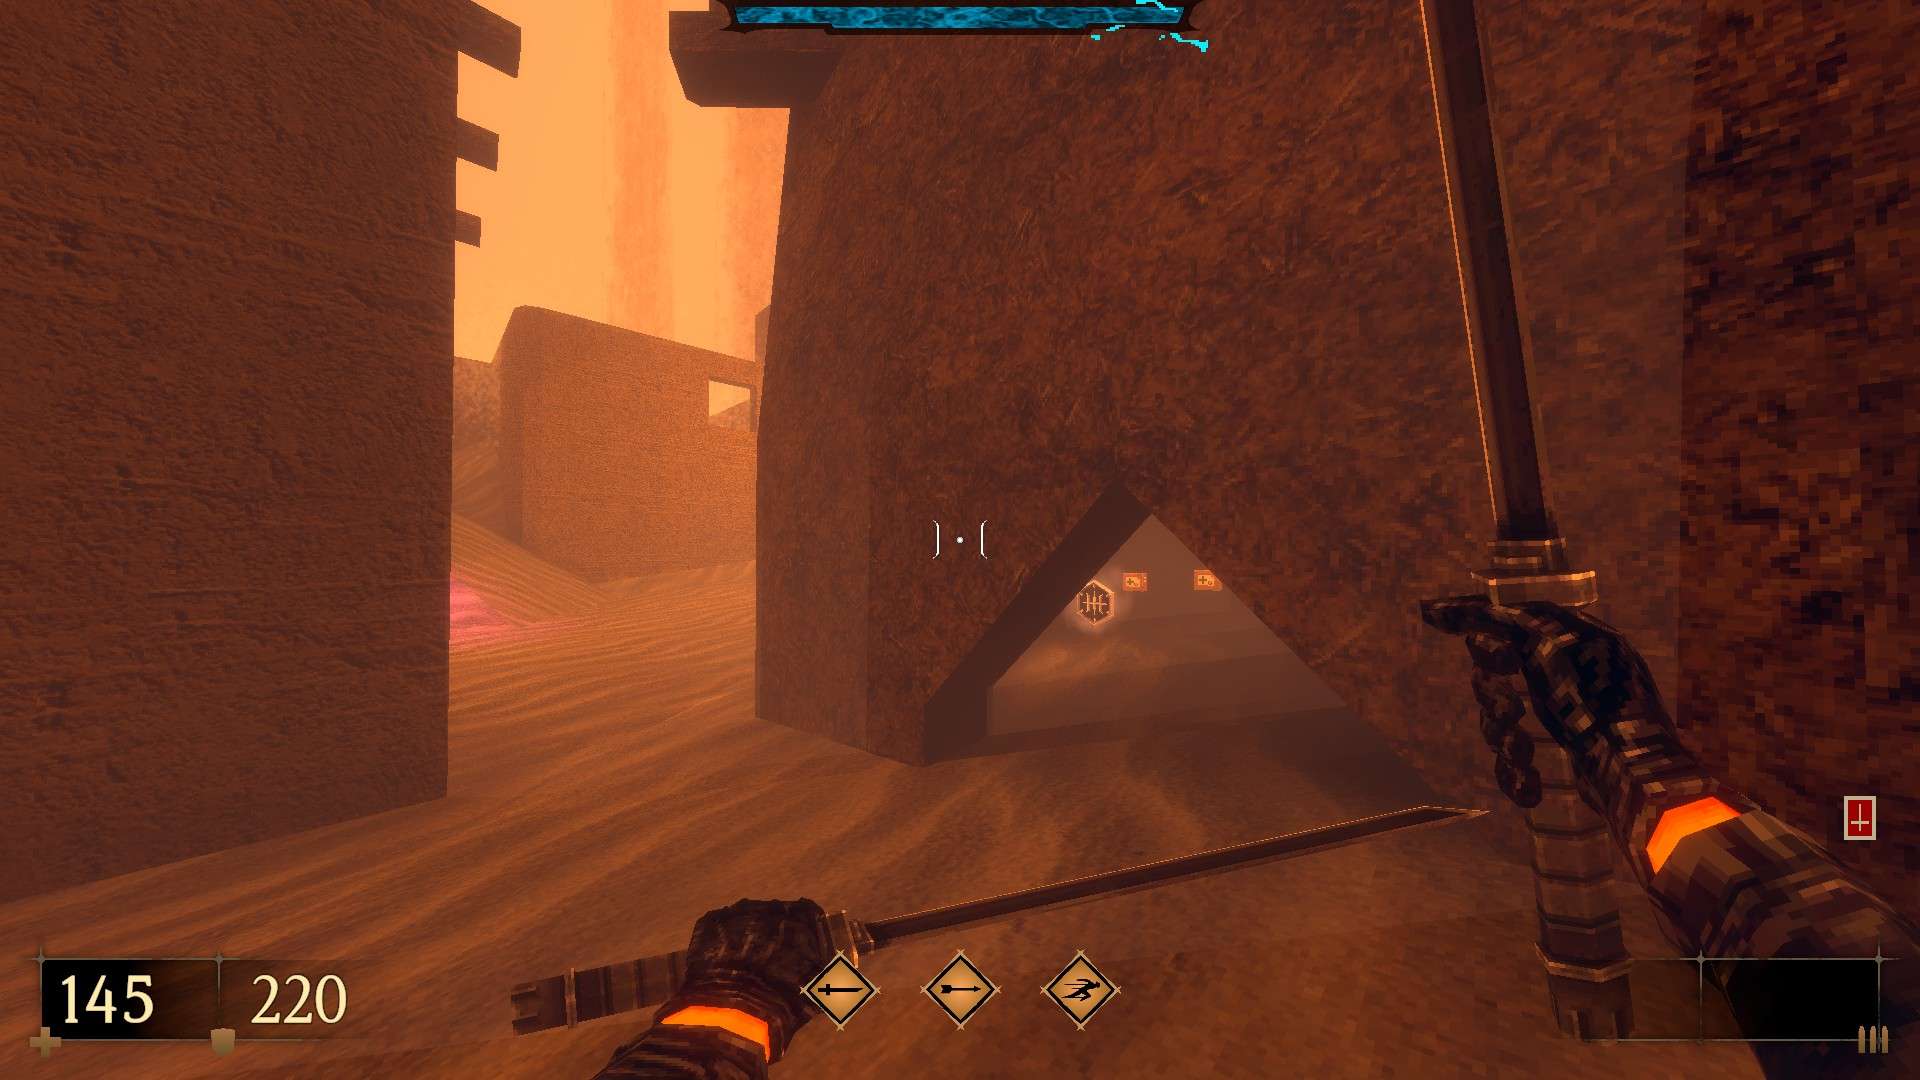
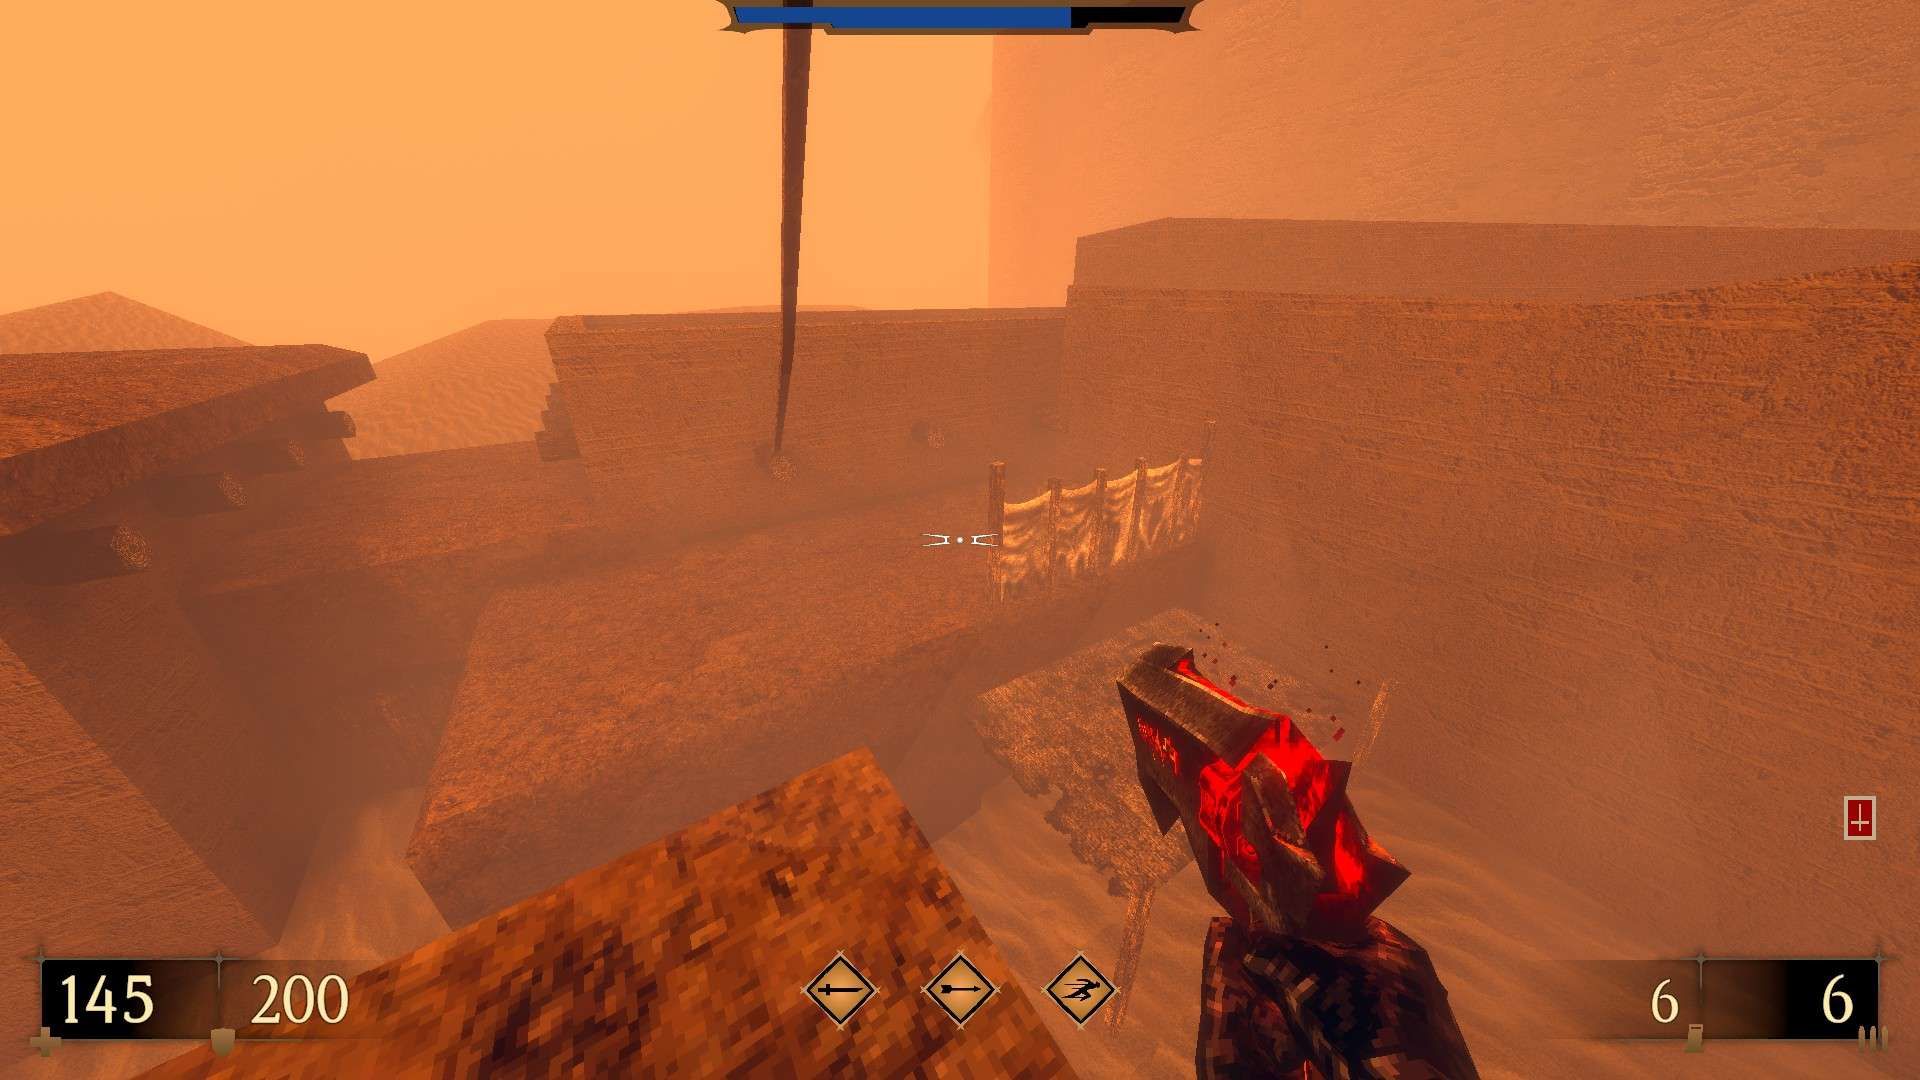
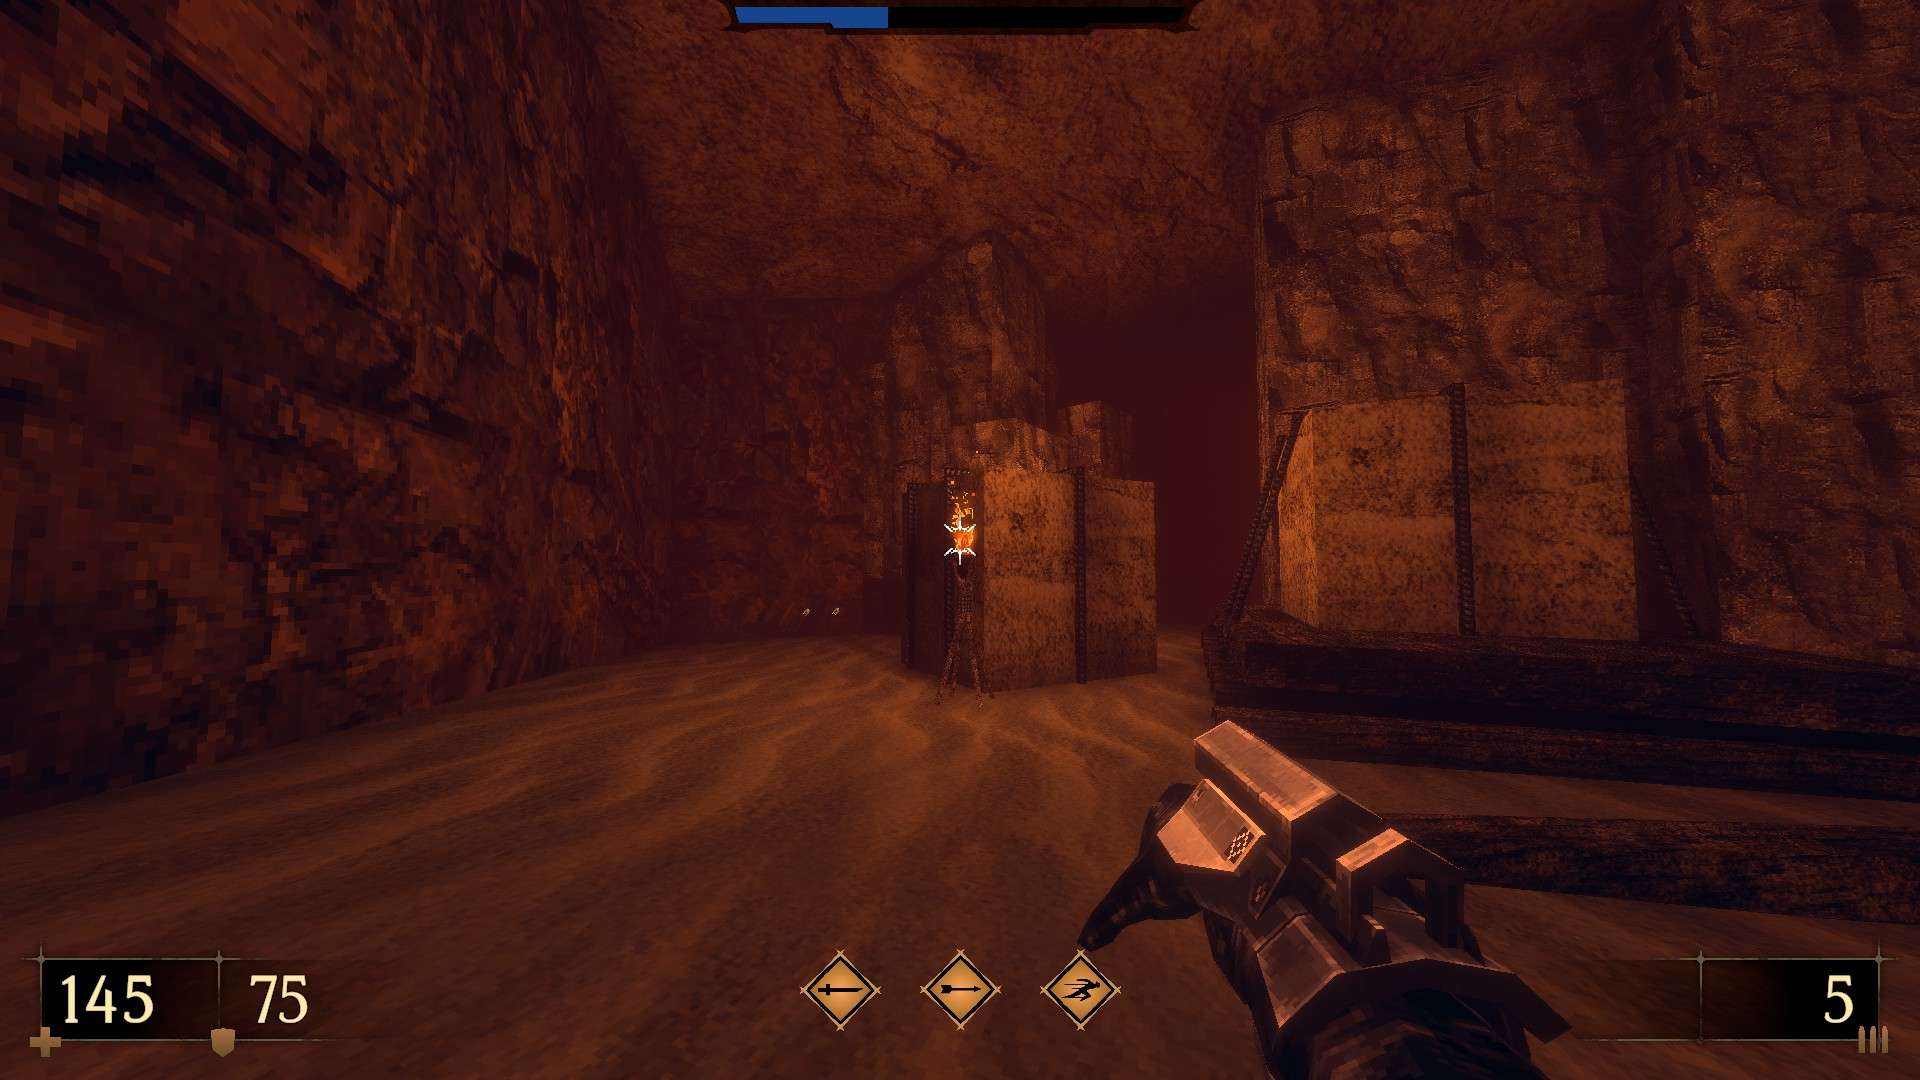
2/8 – Following from the previous secret, get on top of the wooden fencing via the pillar next to the tunnel entrance, walk on to the other side and dash-jump to reach an out of sight cache.
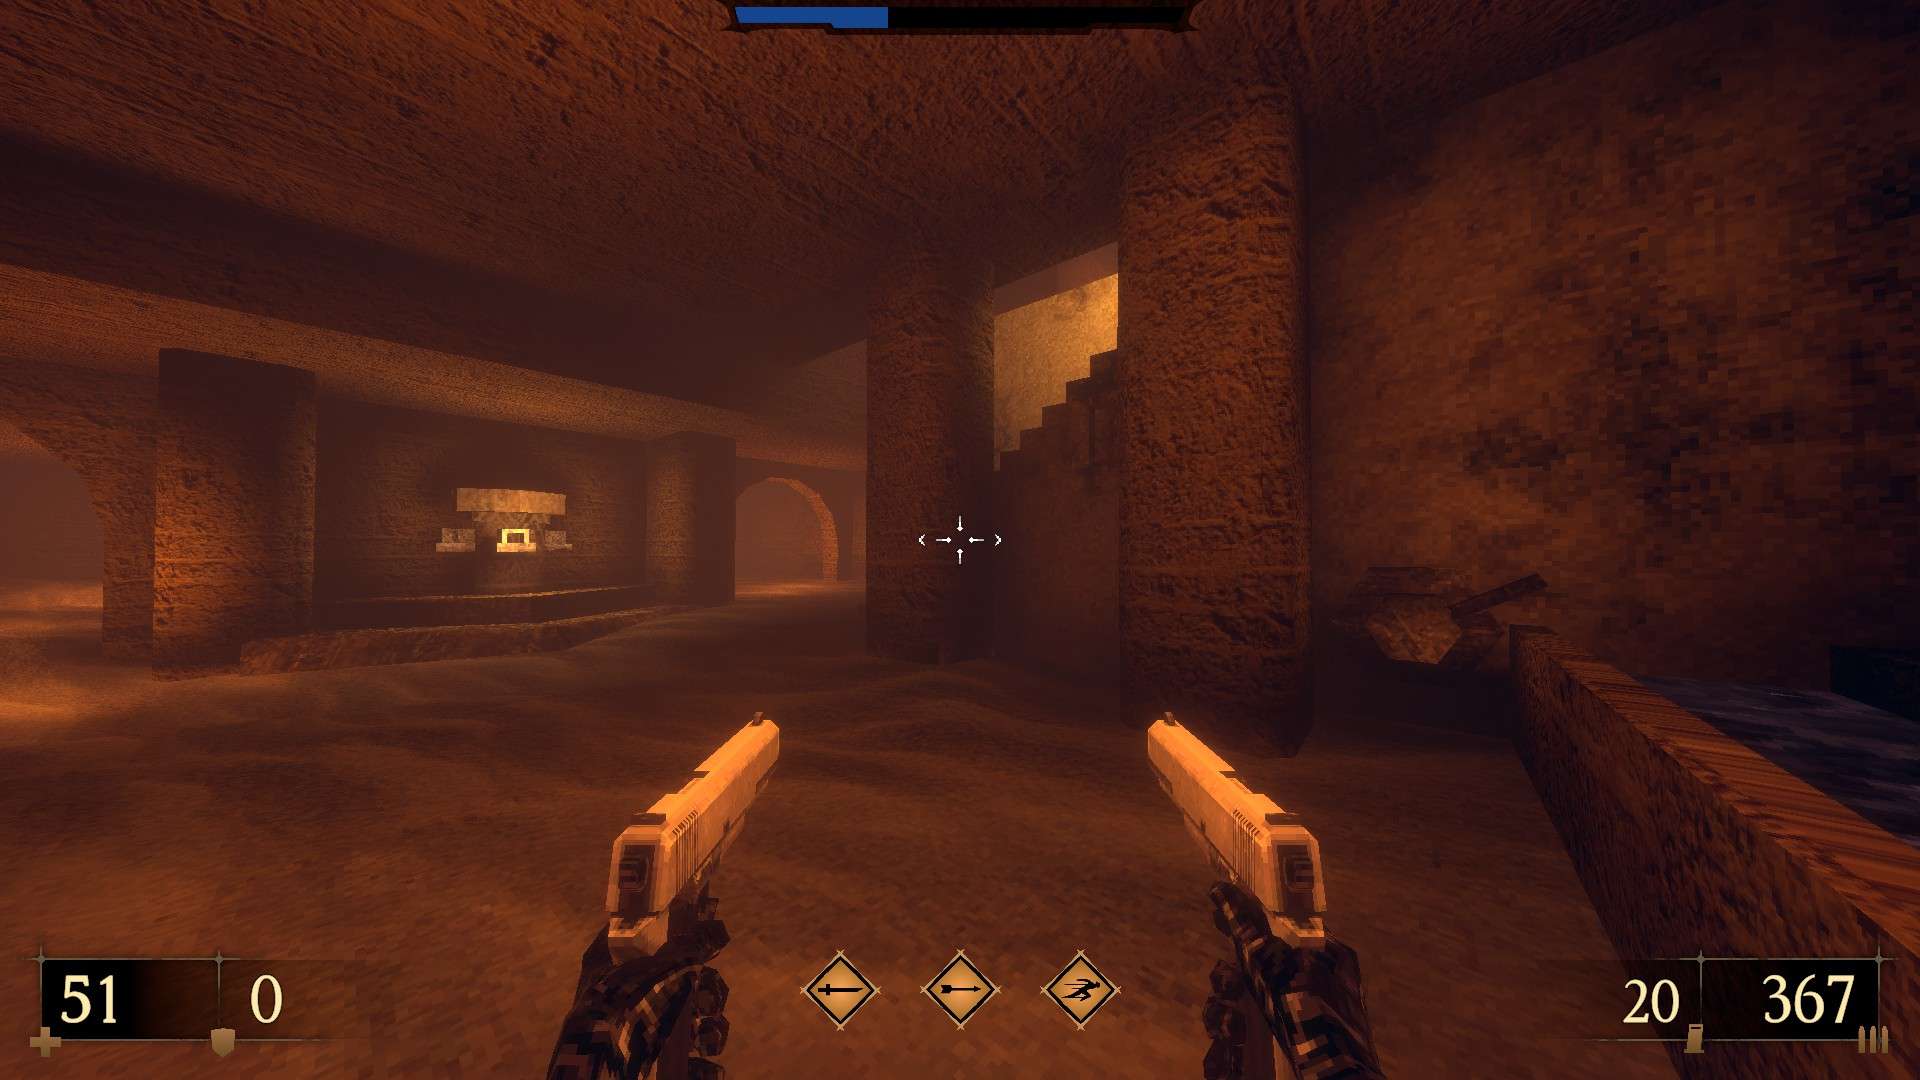
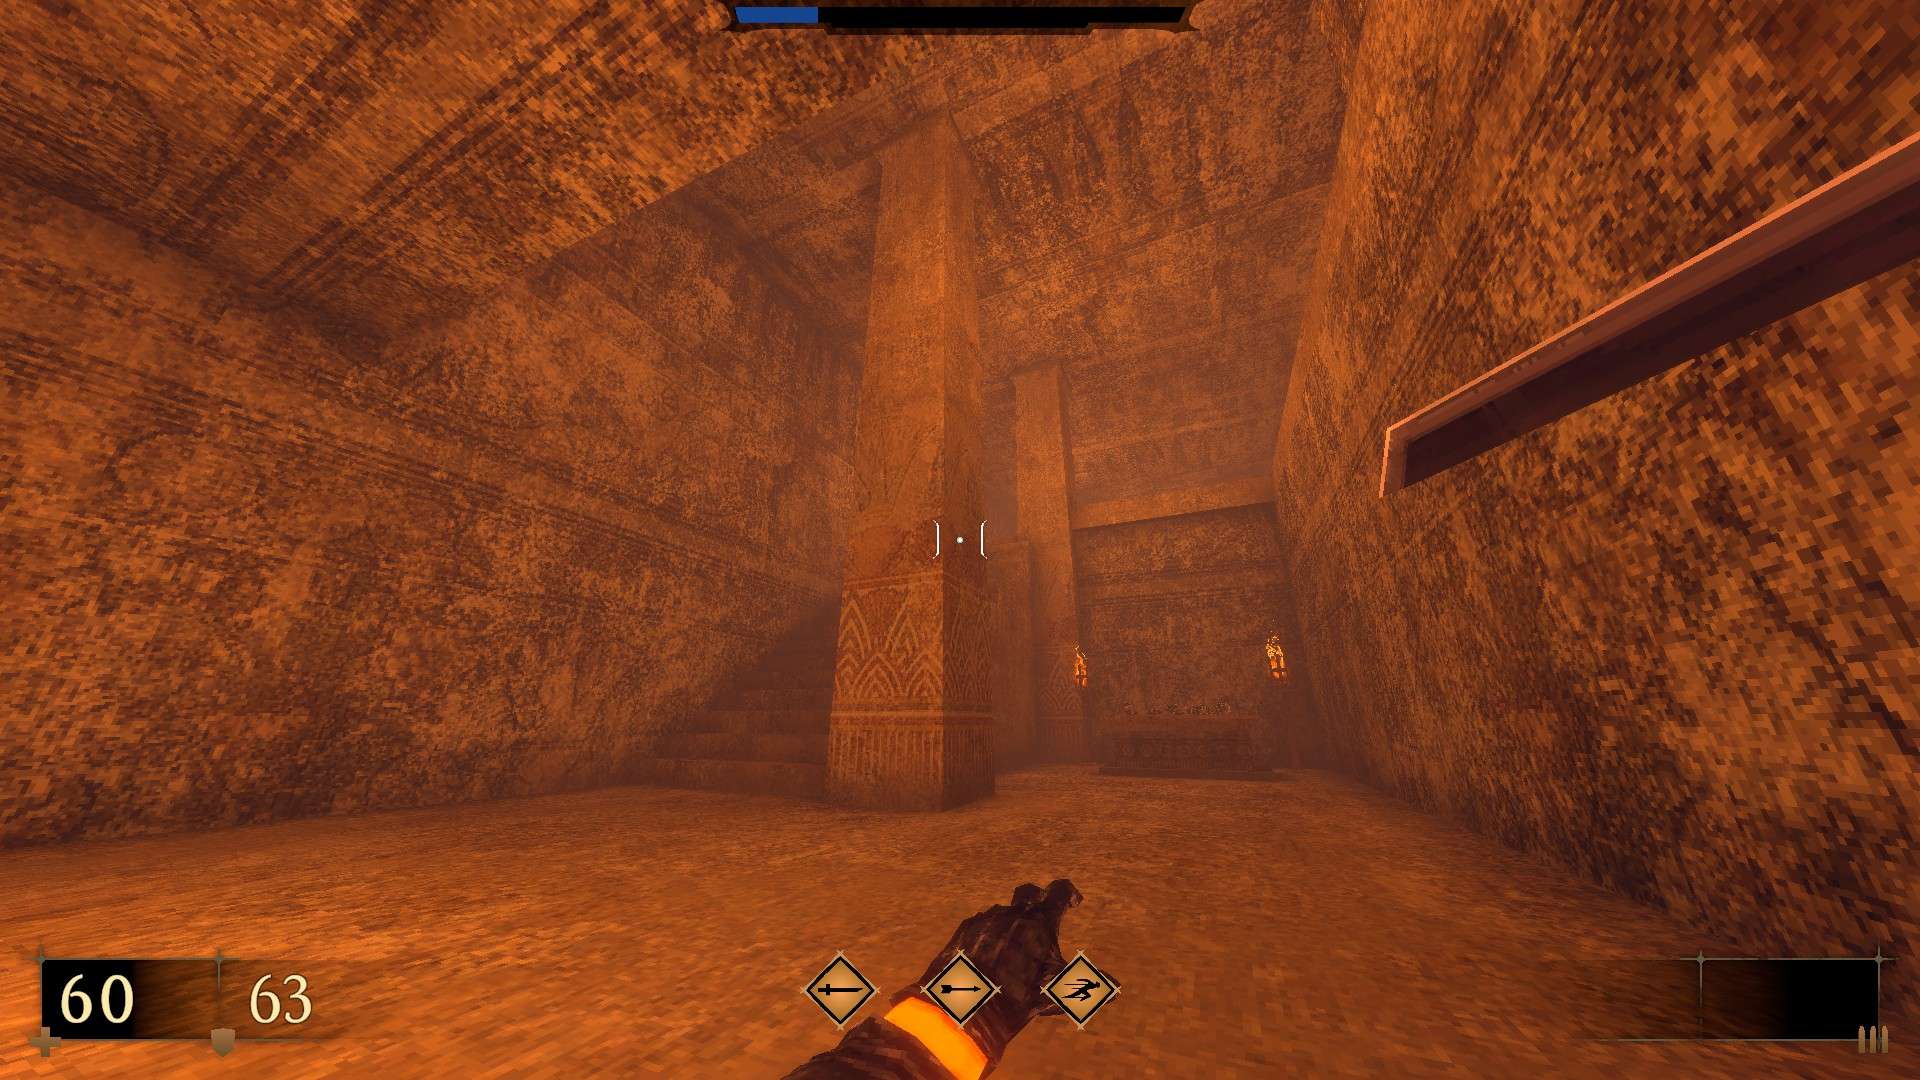
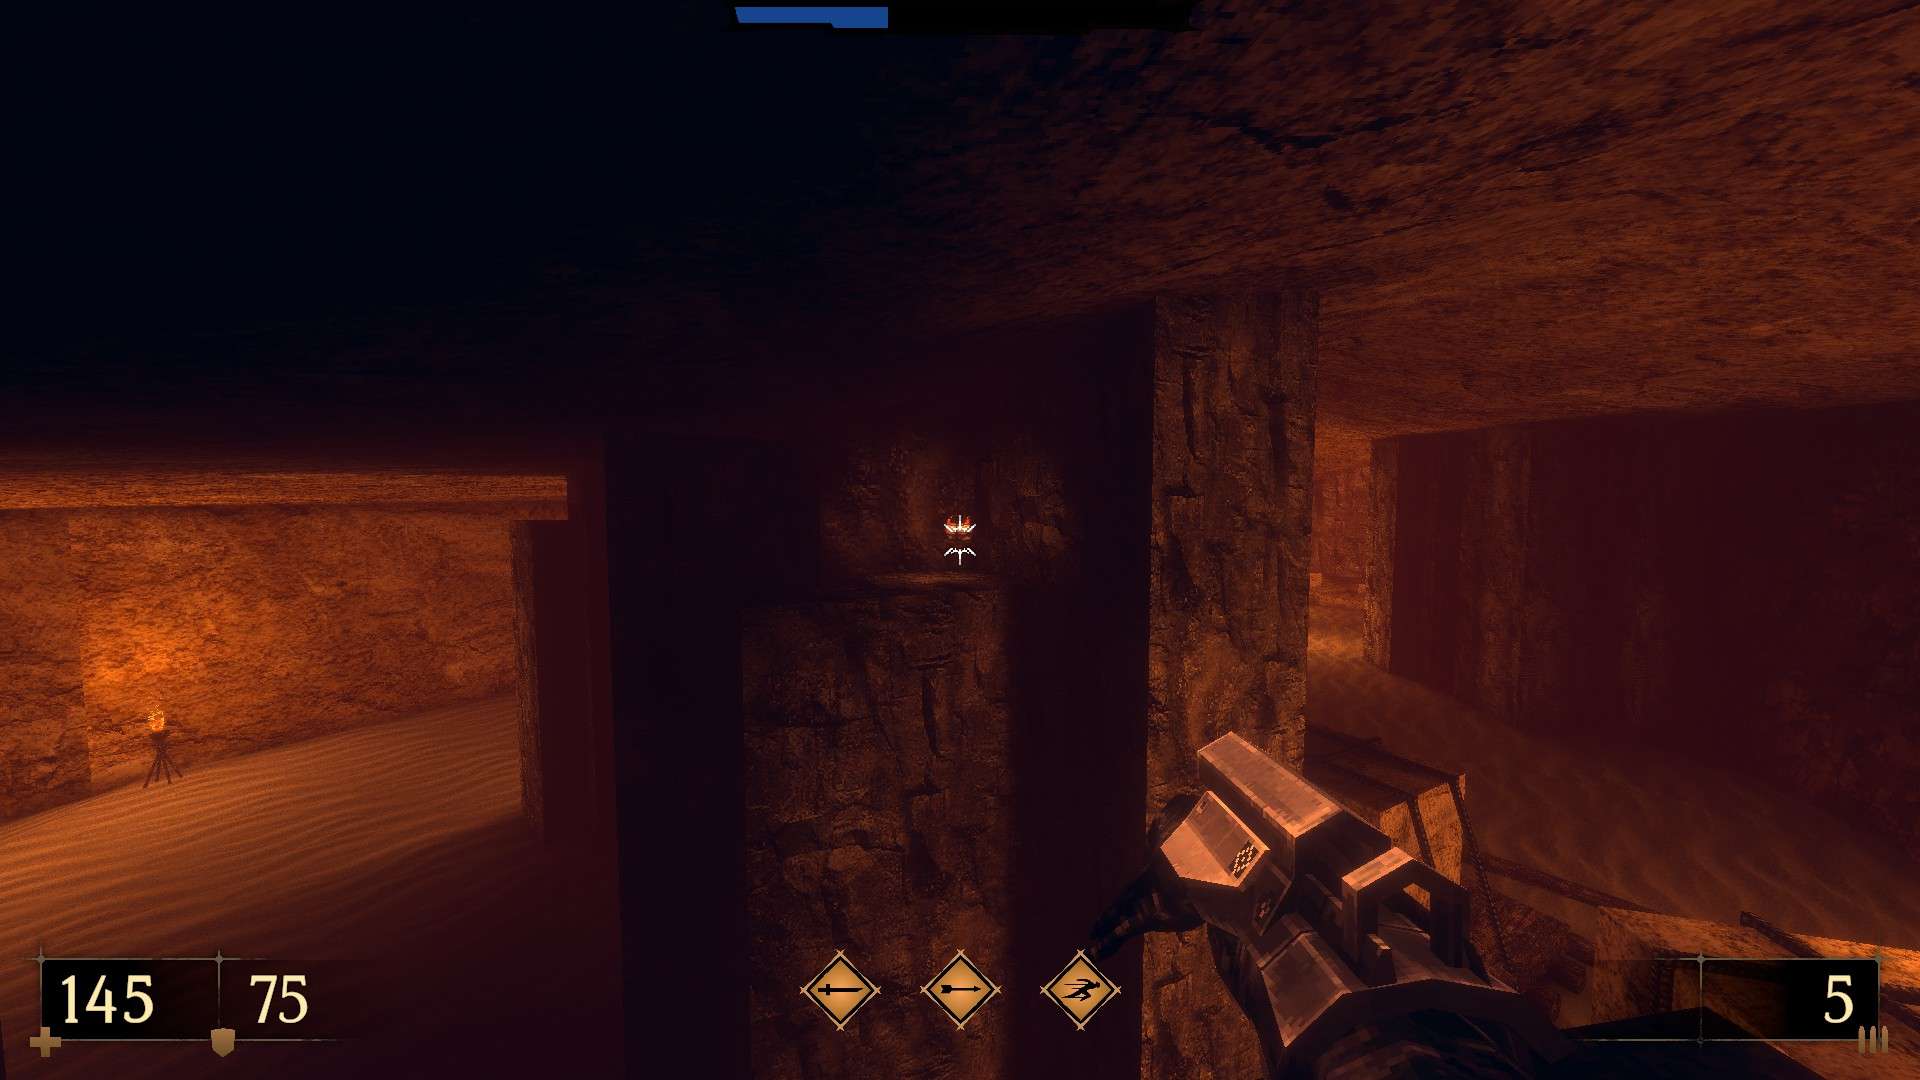
3/8 – Before dropping down into the second hall in the tunnels, dash-jump onto the surrounding ledge and follow it around until its very end. Use the slightly protruding part of the wall to find an armor and two health packs.

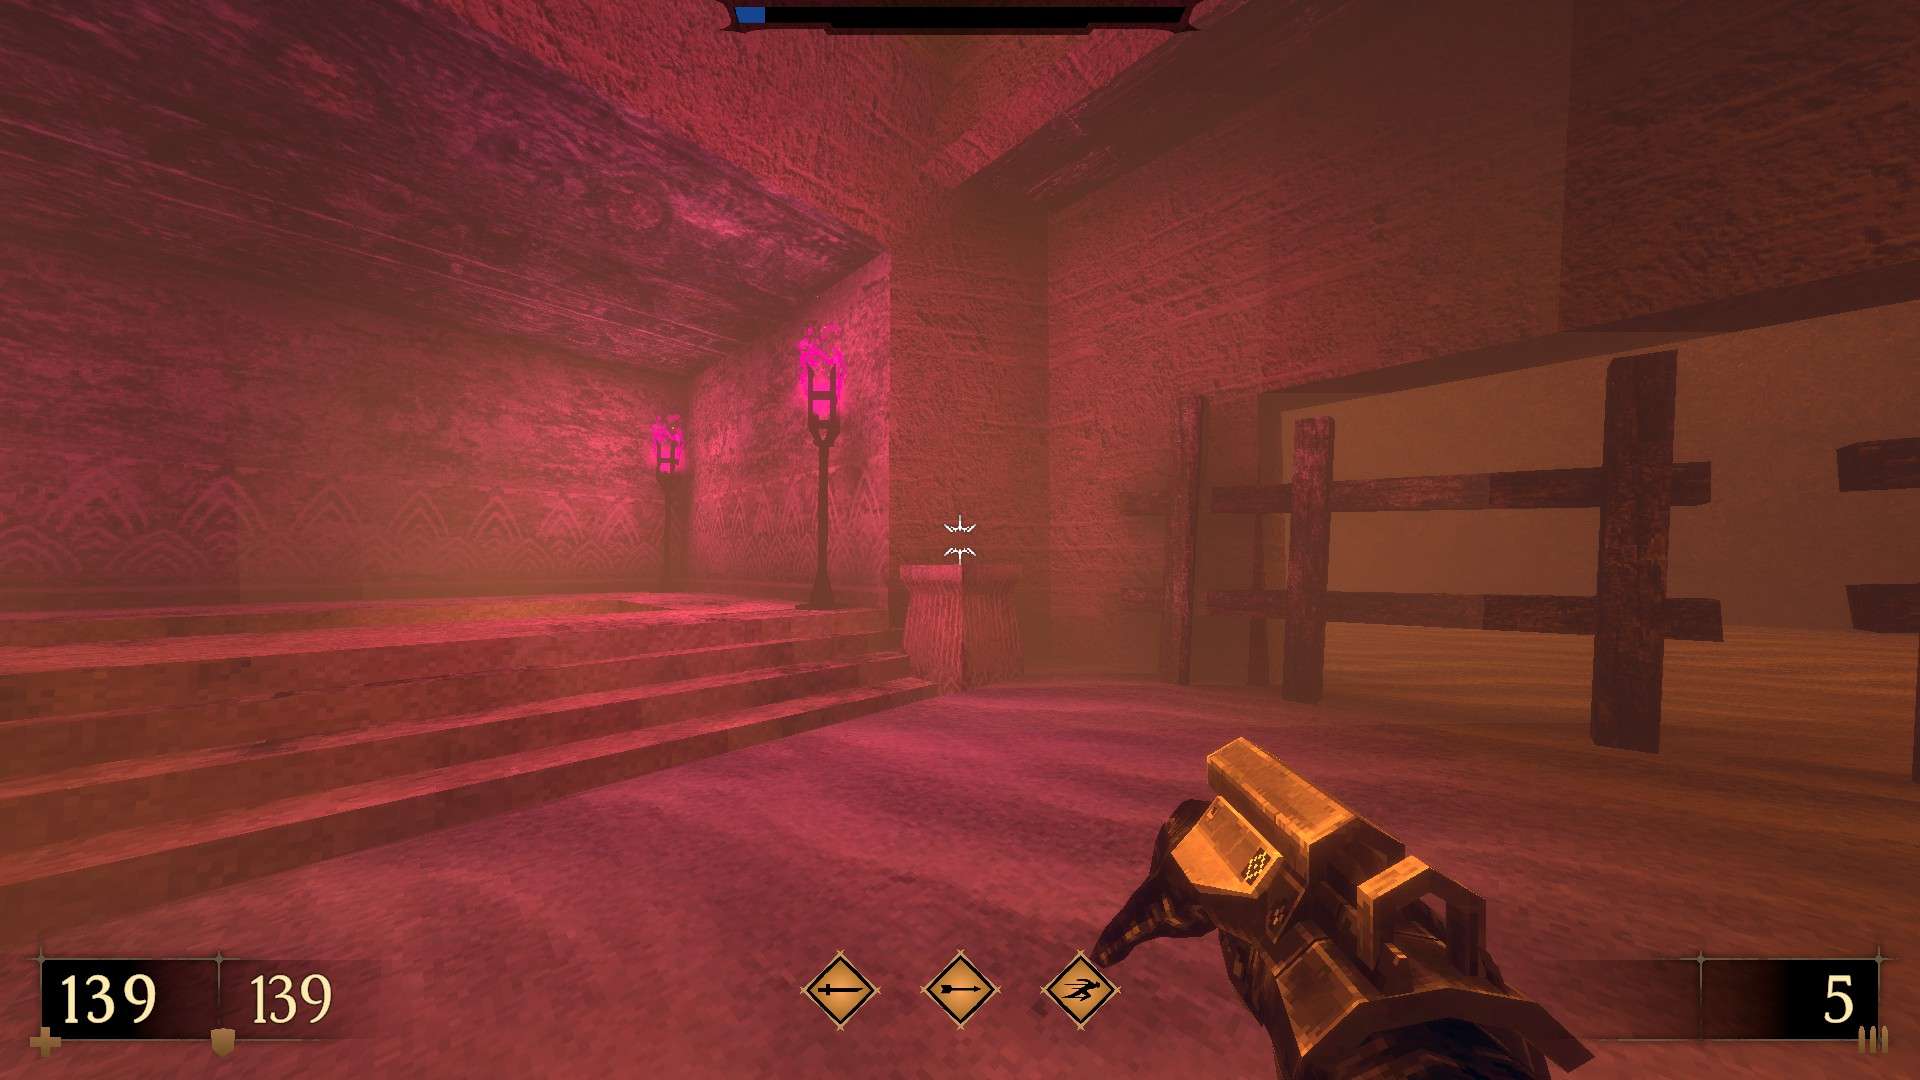
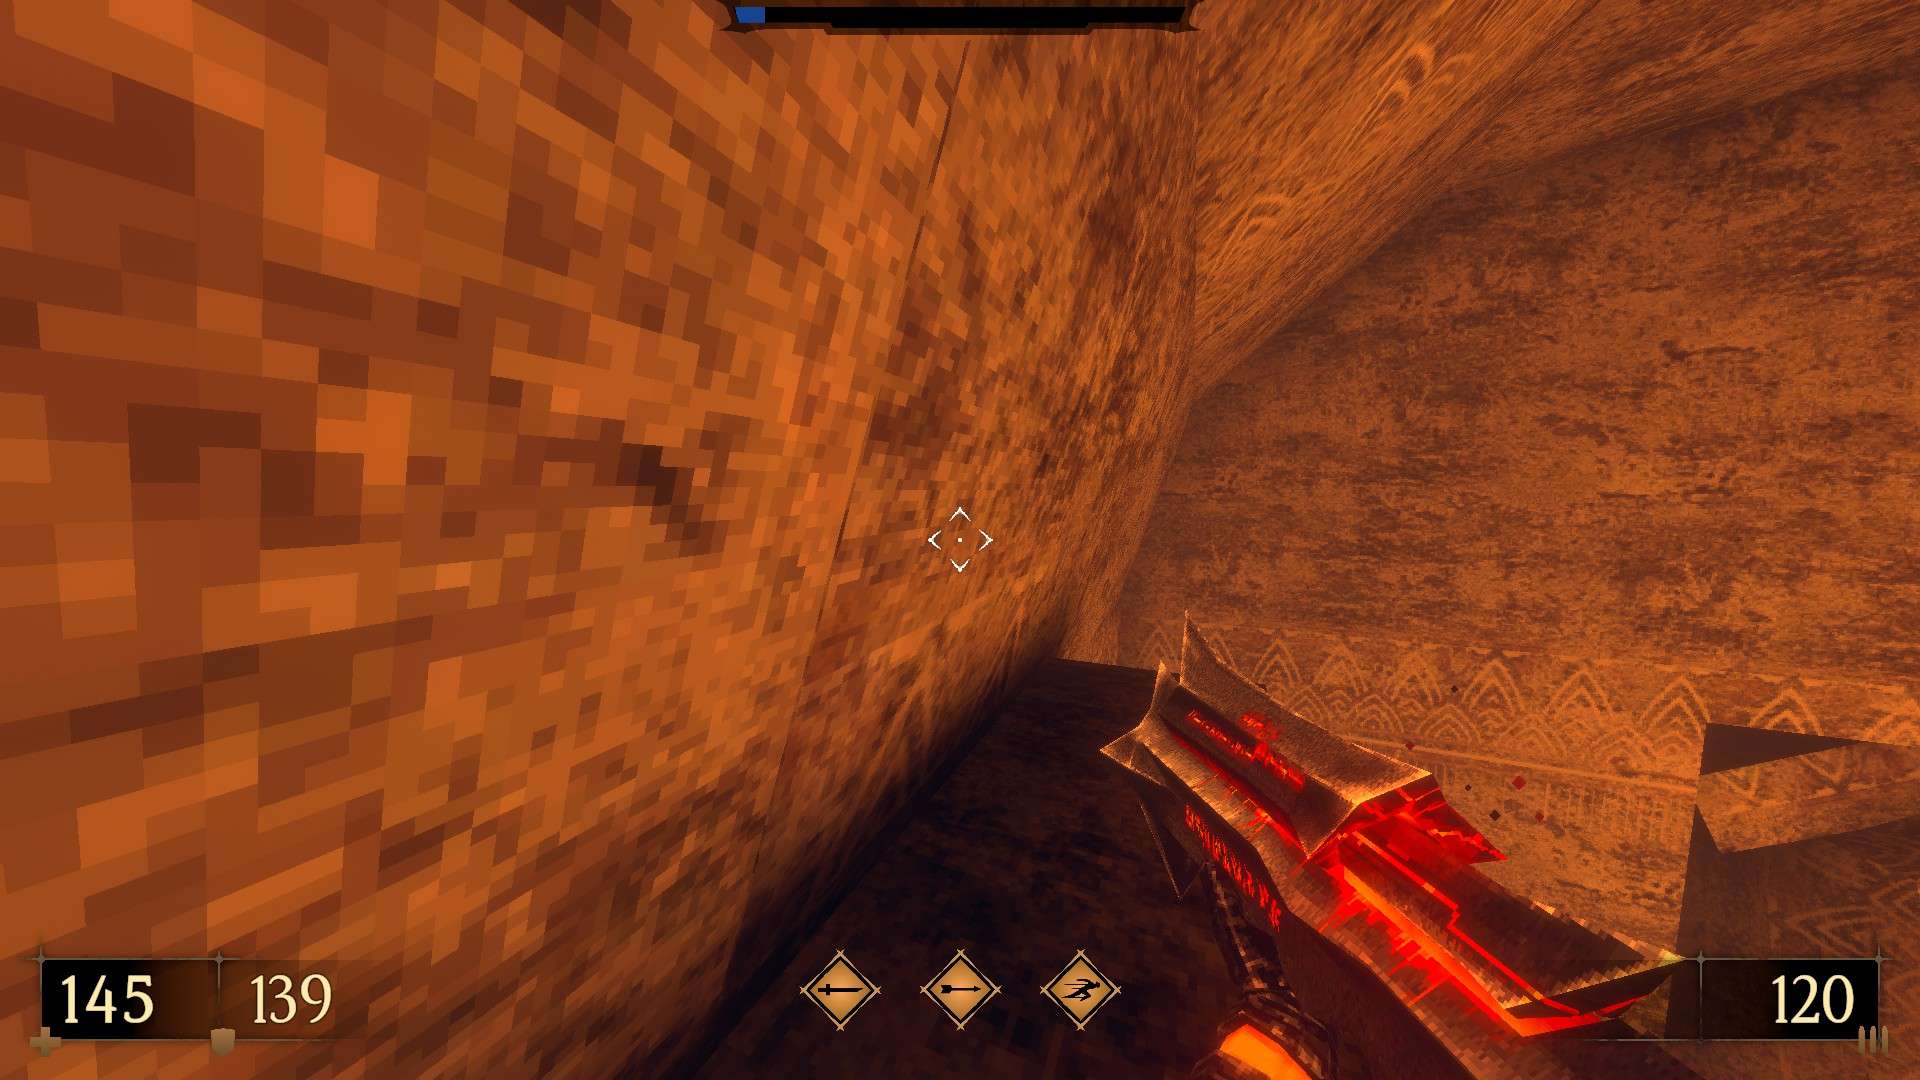
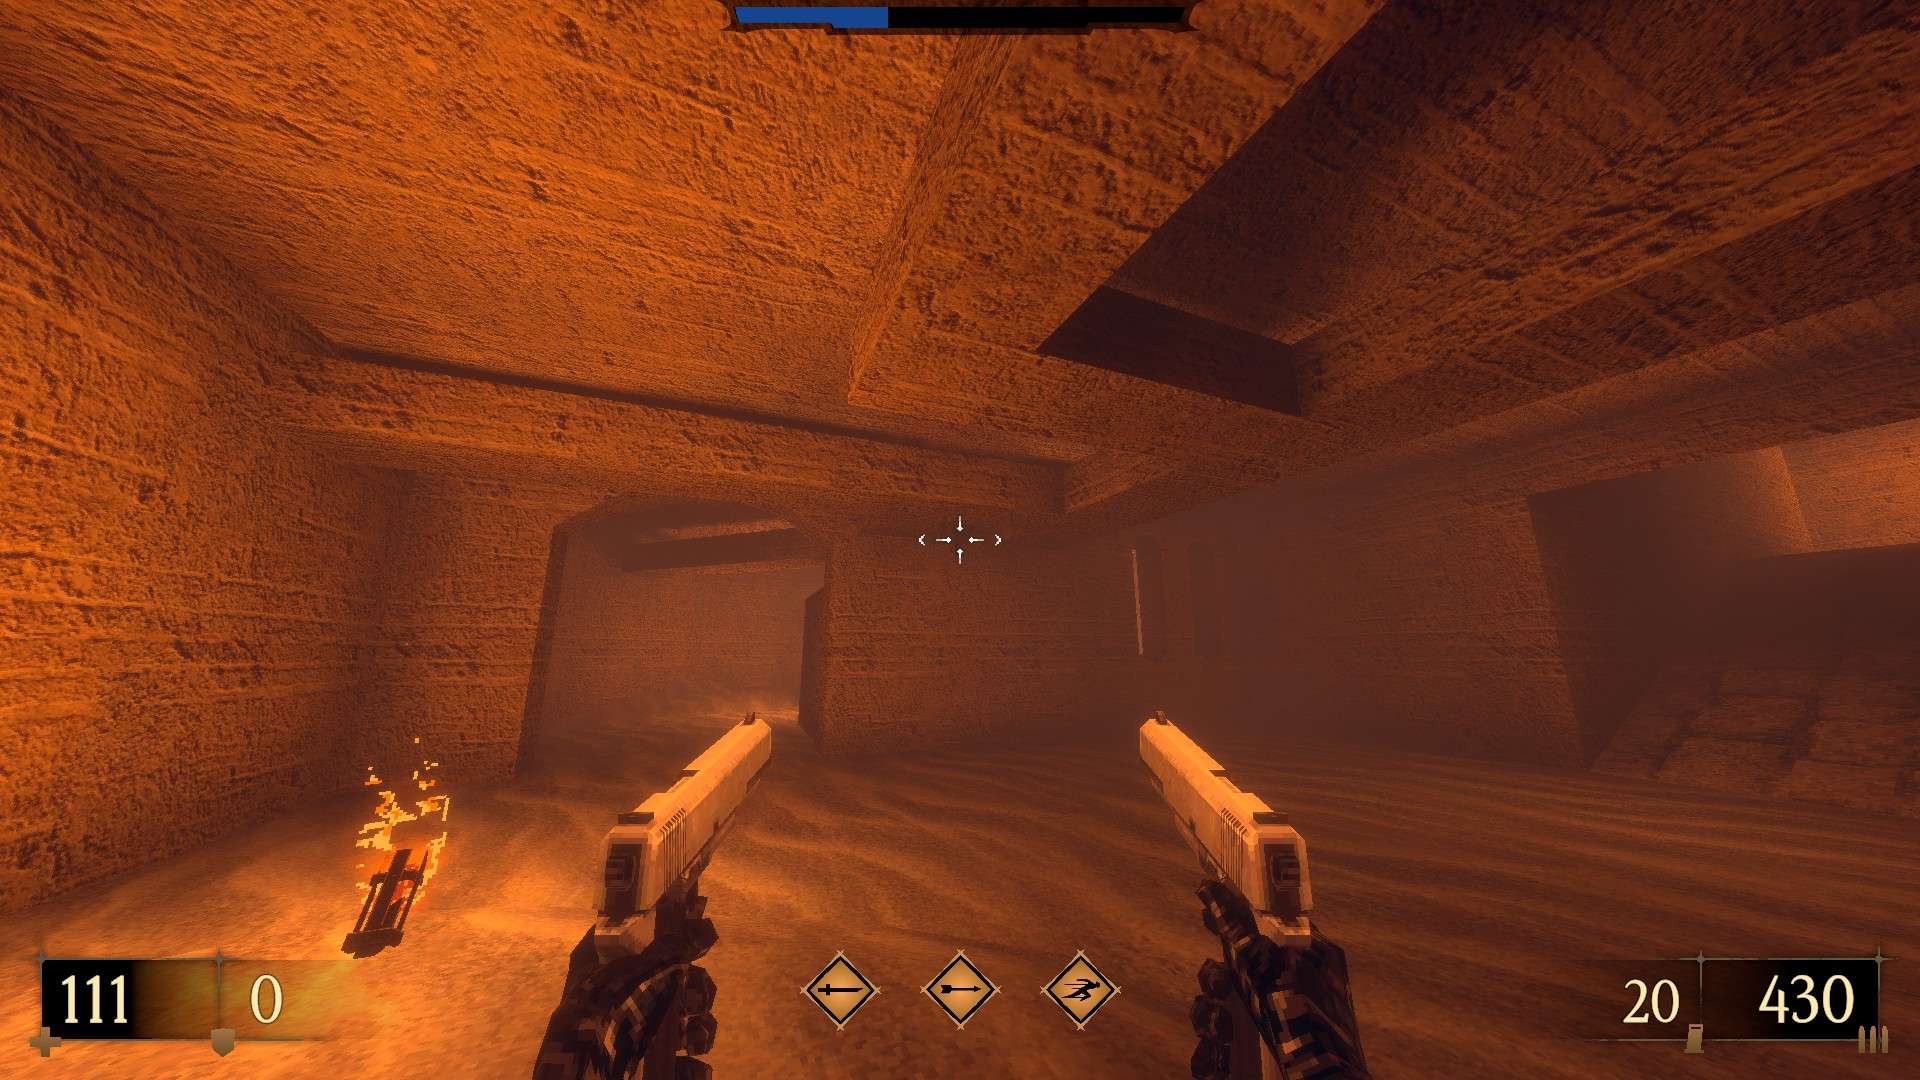
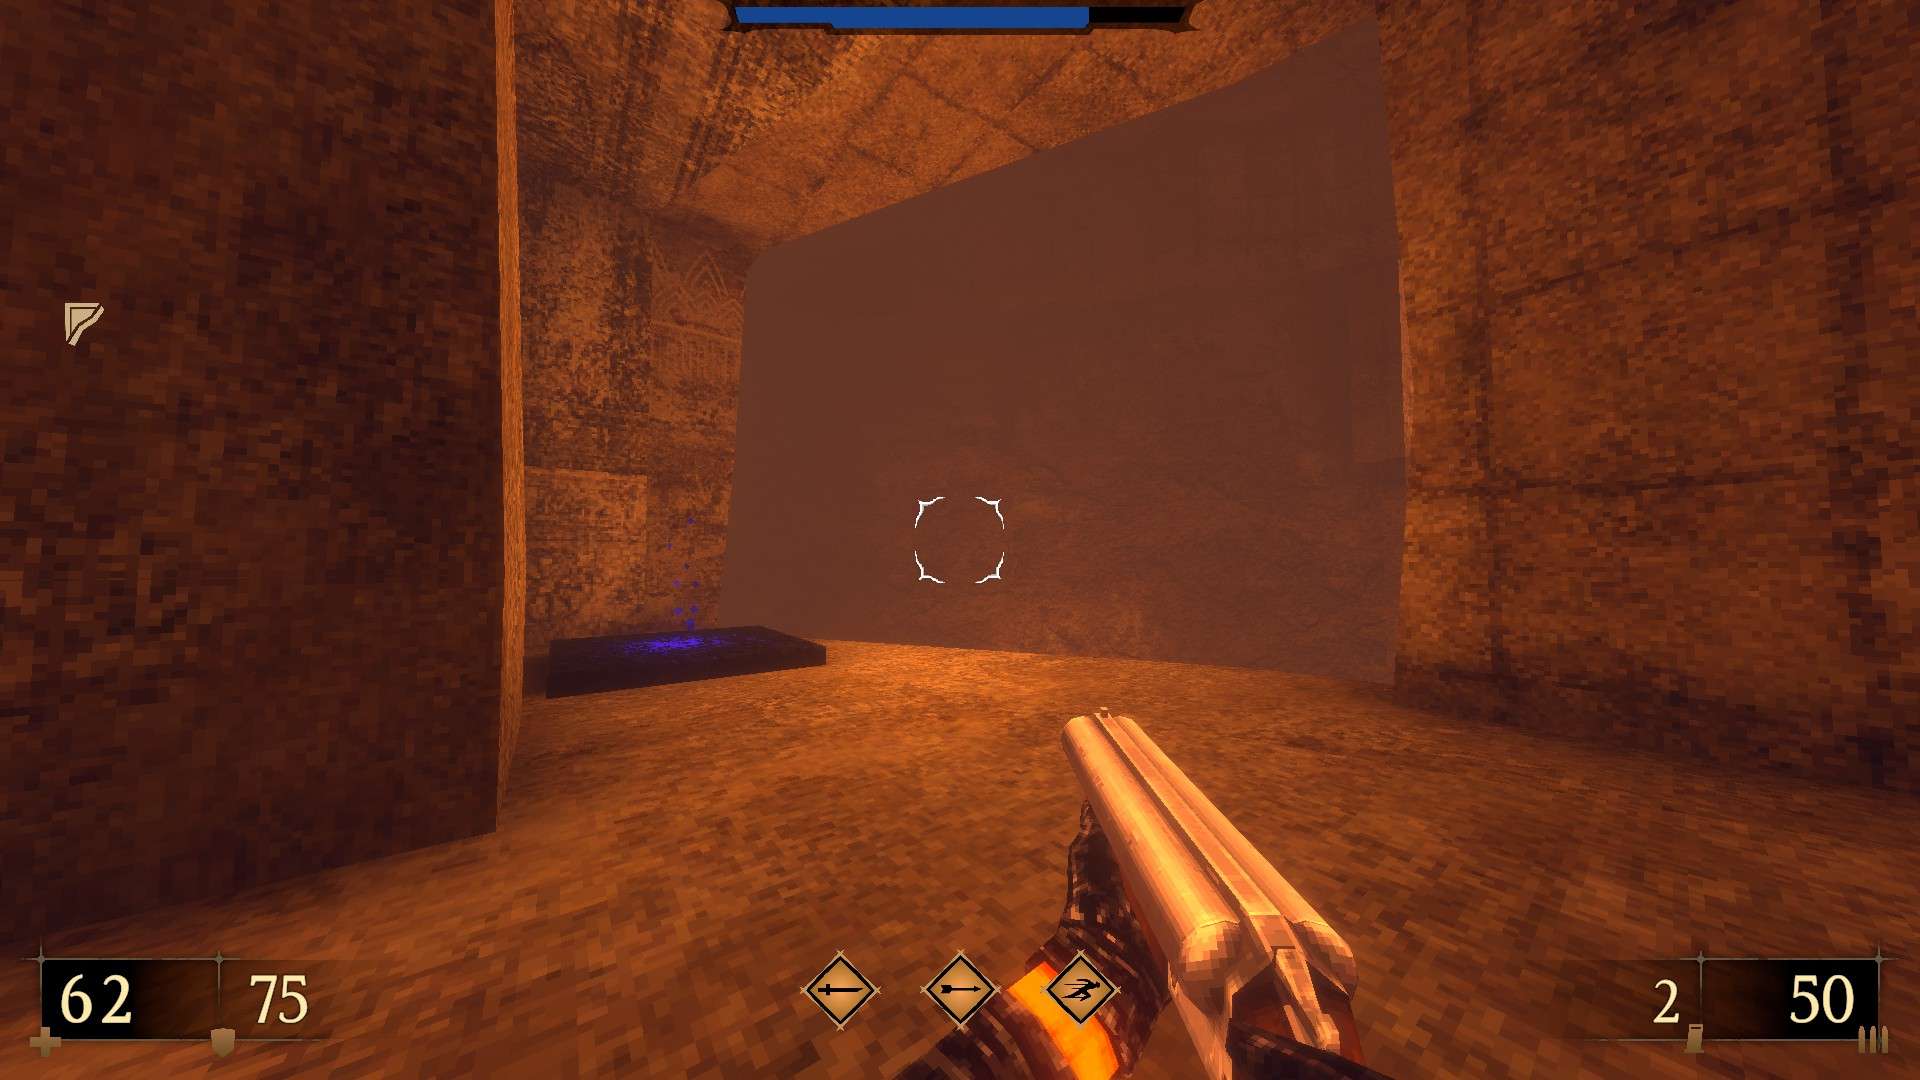
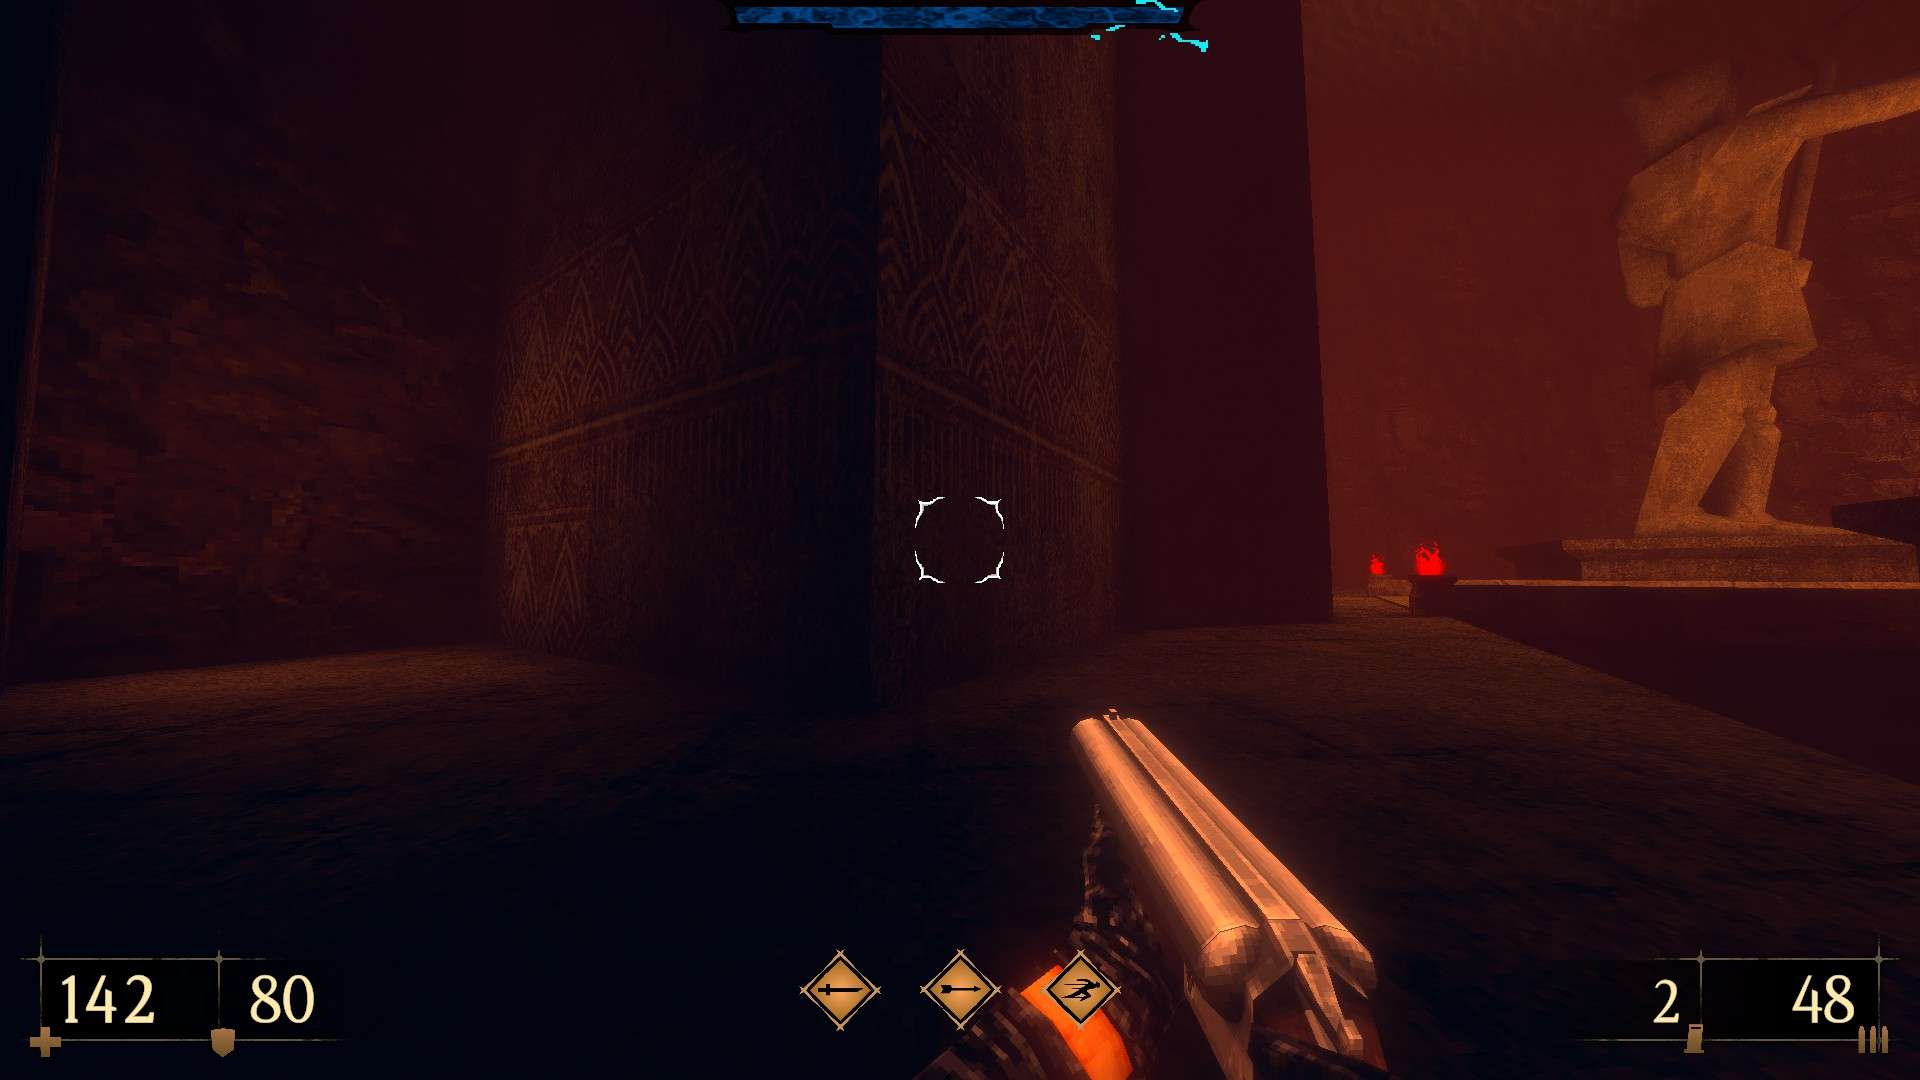
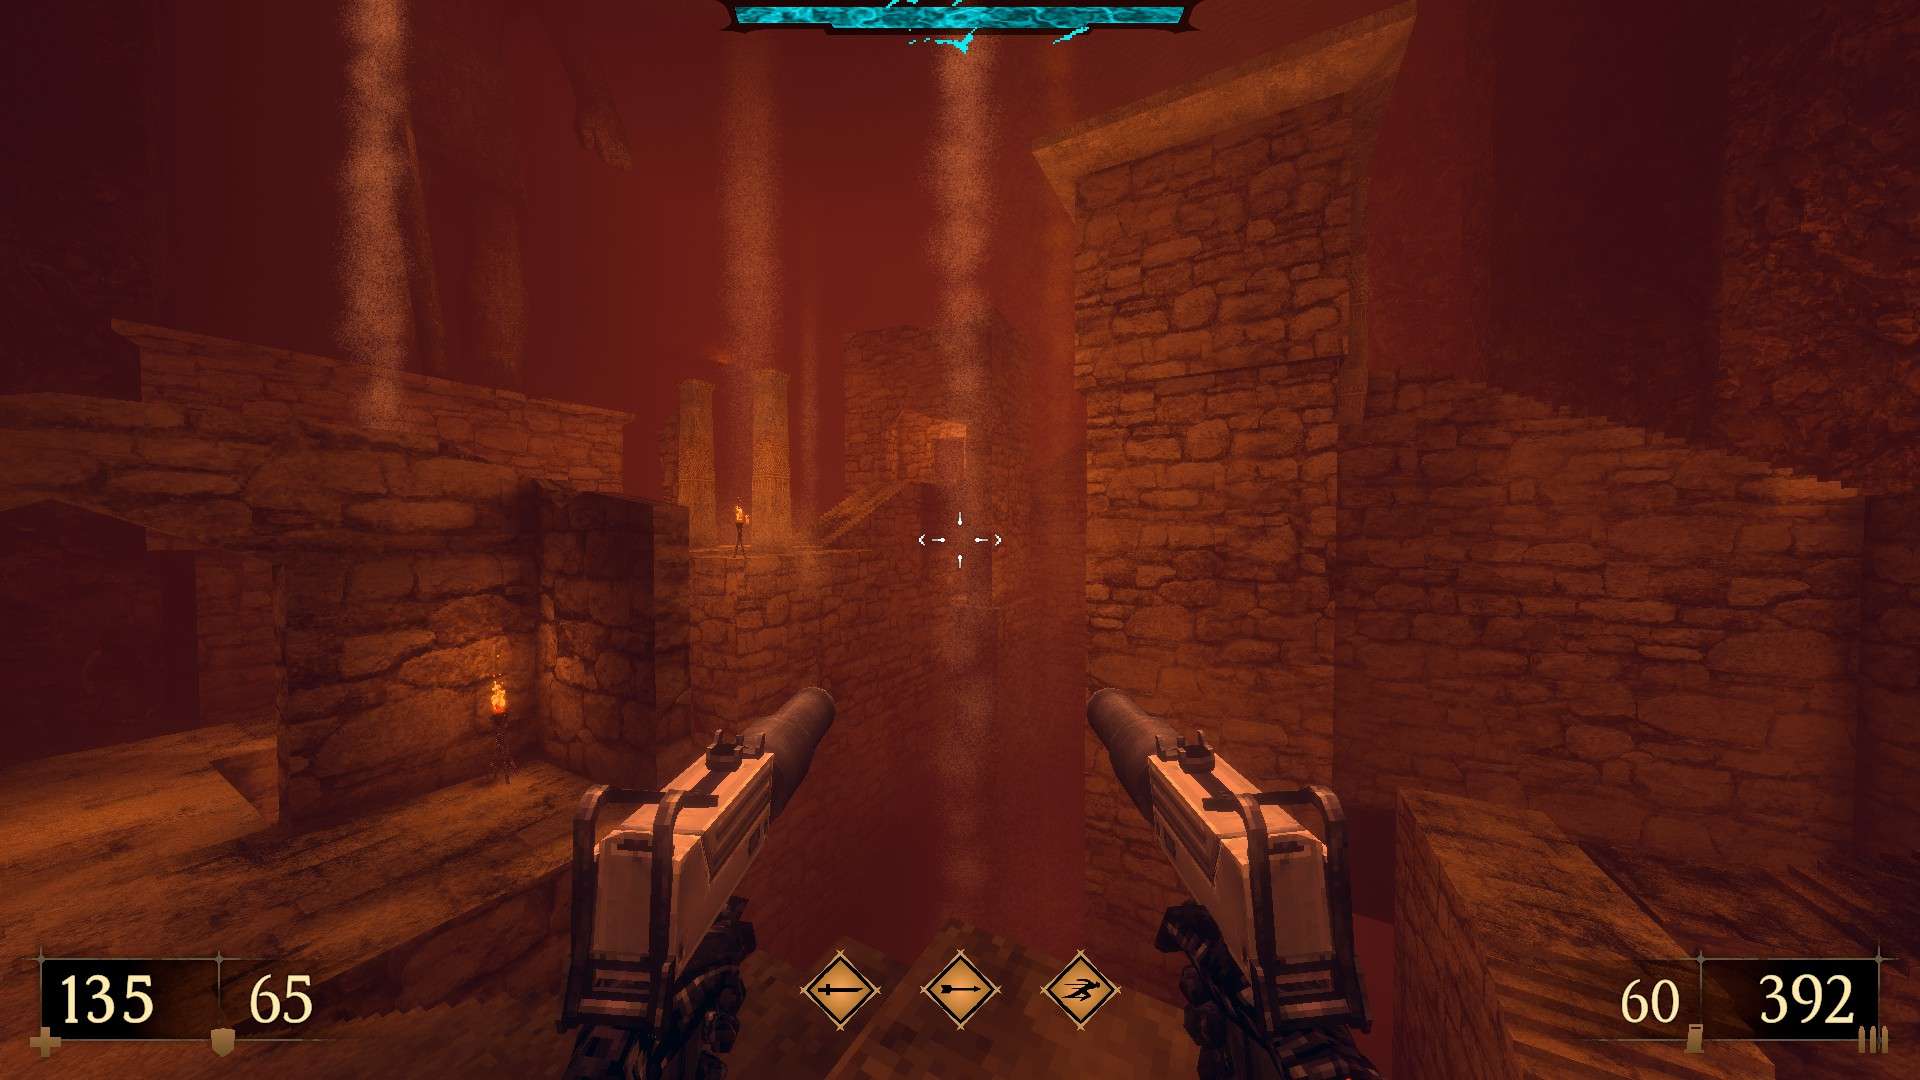
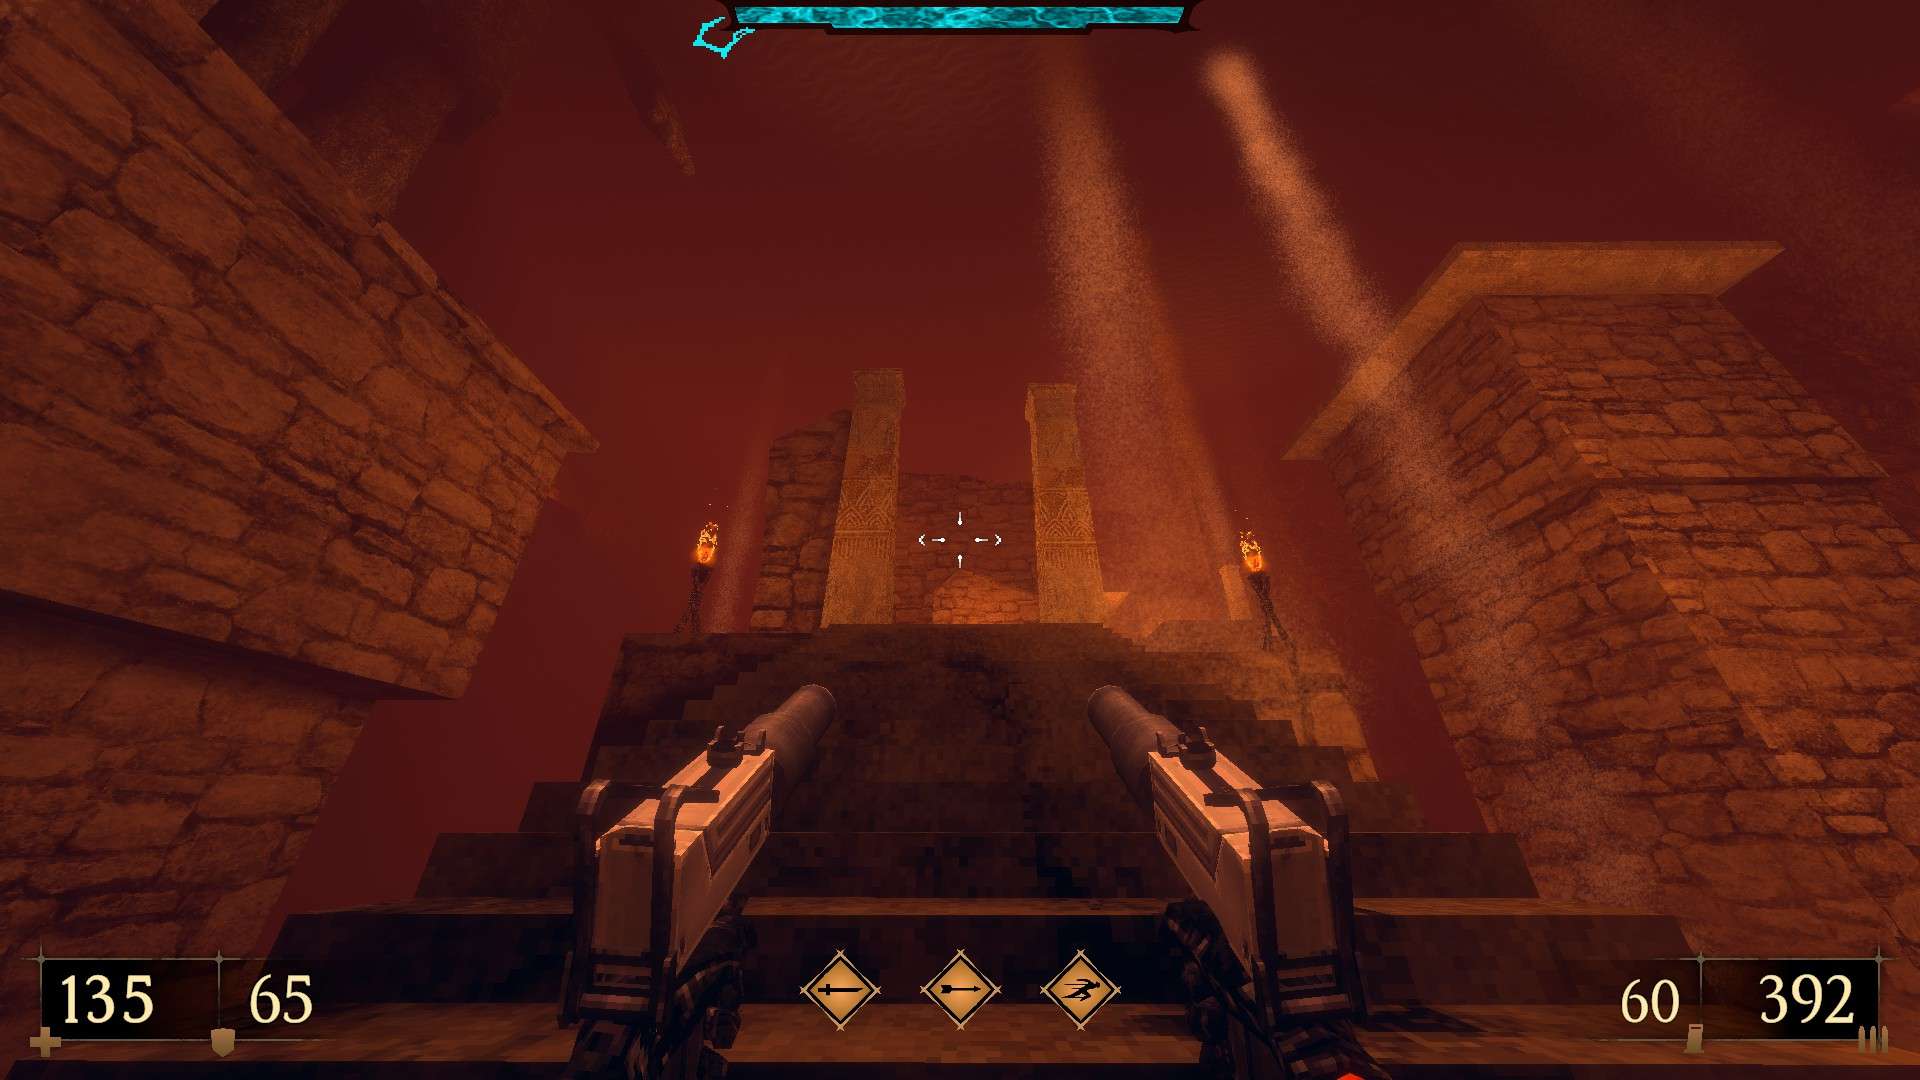
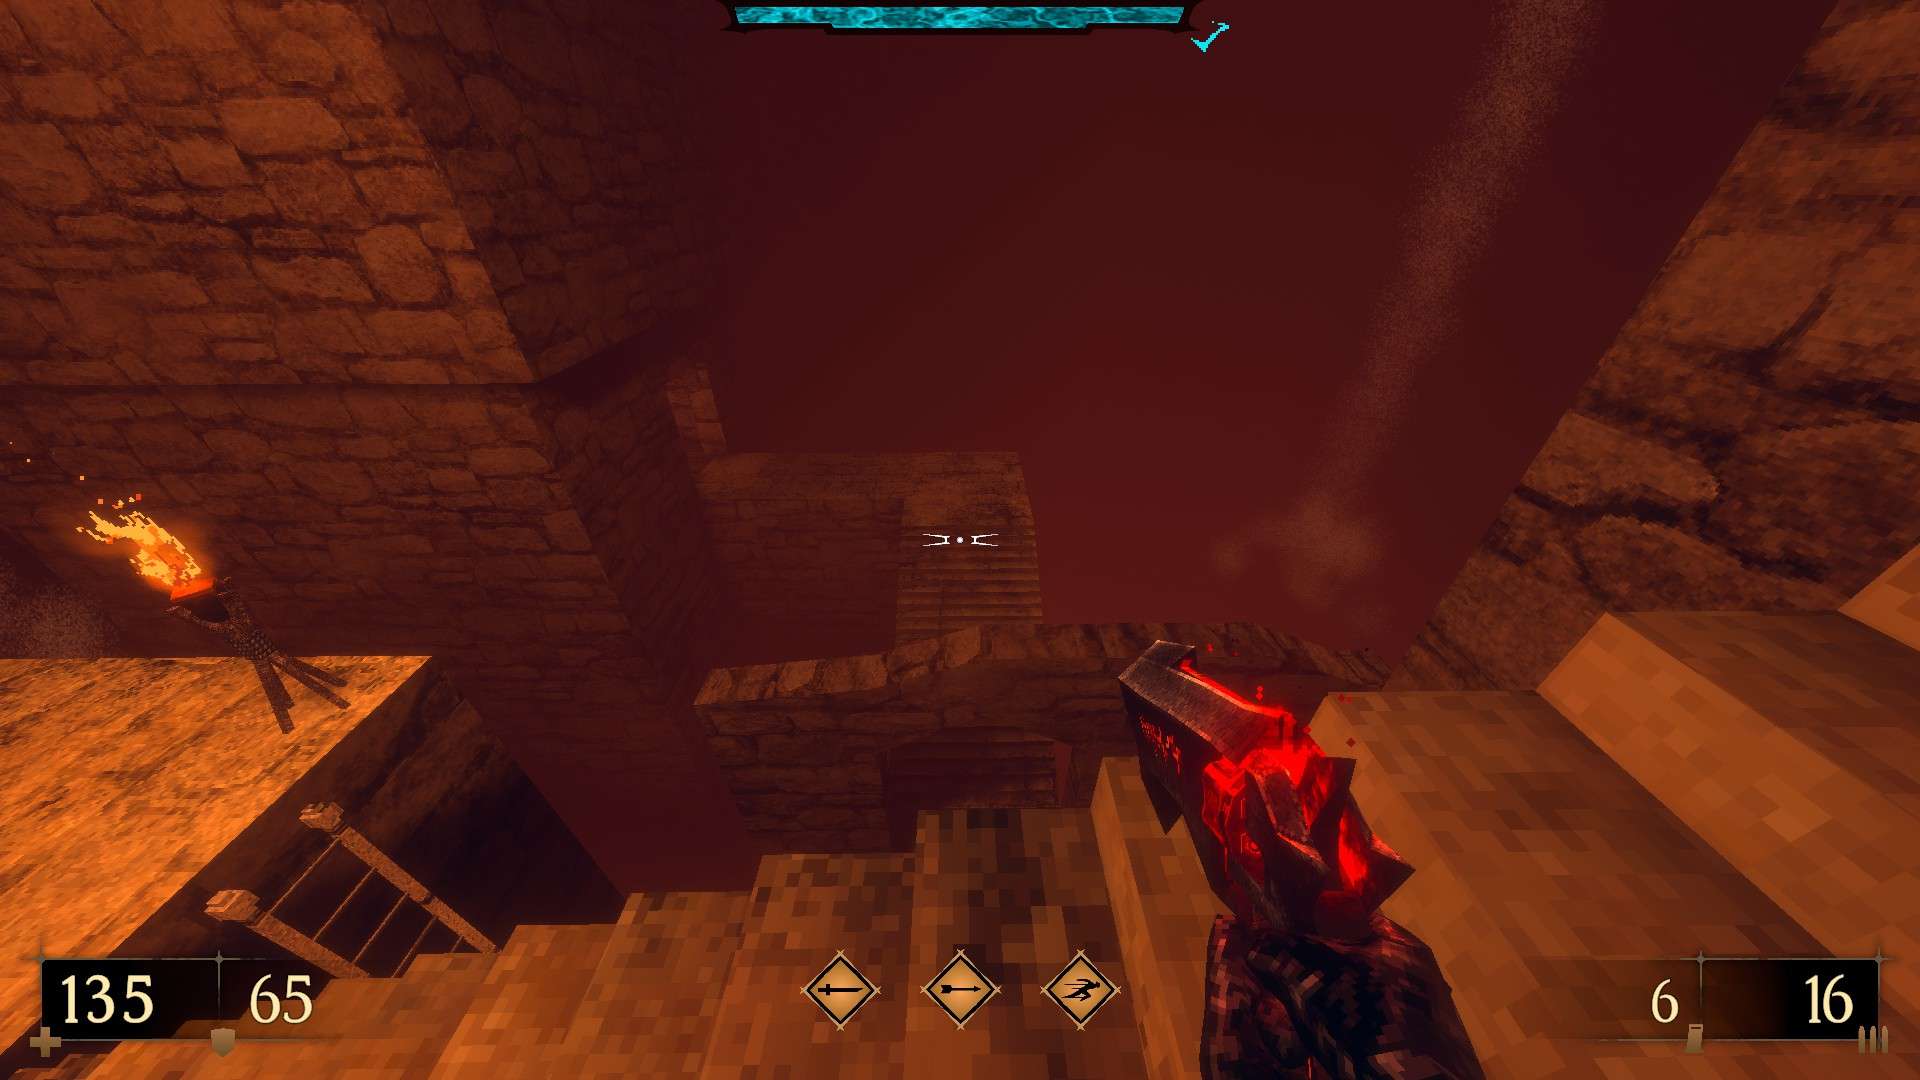
4/8 – Shortly after passing through the purple door you come across a chasm. Use the indented wall between the two torches on the right to reveal a hidden passage.

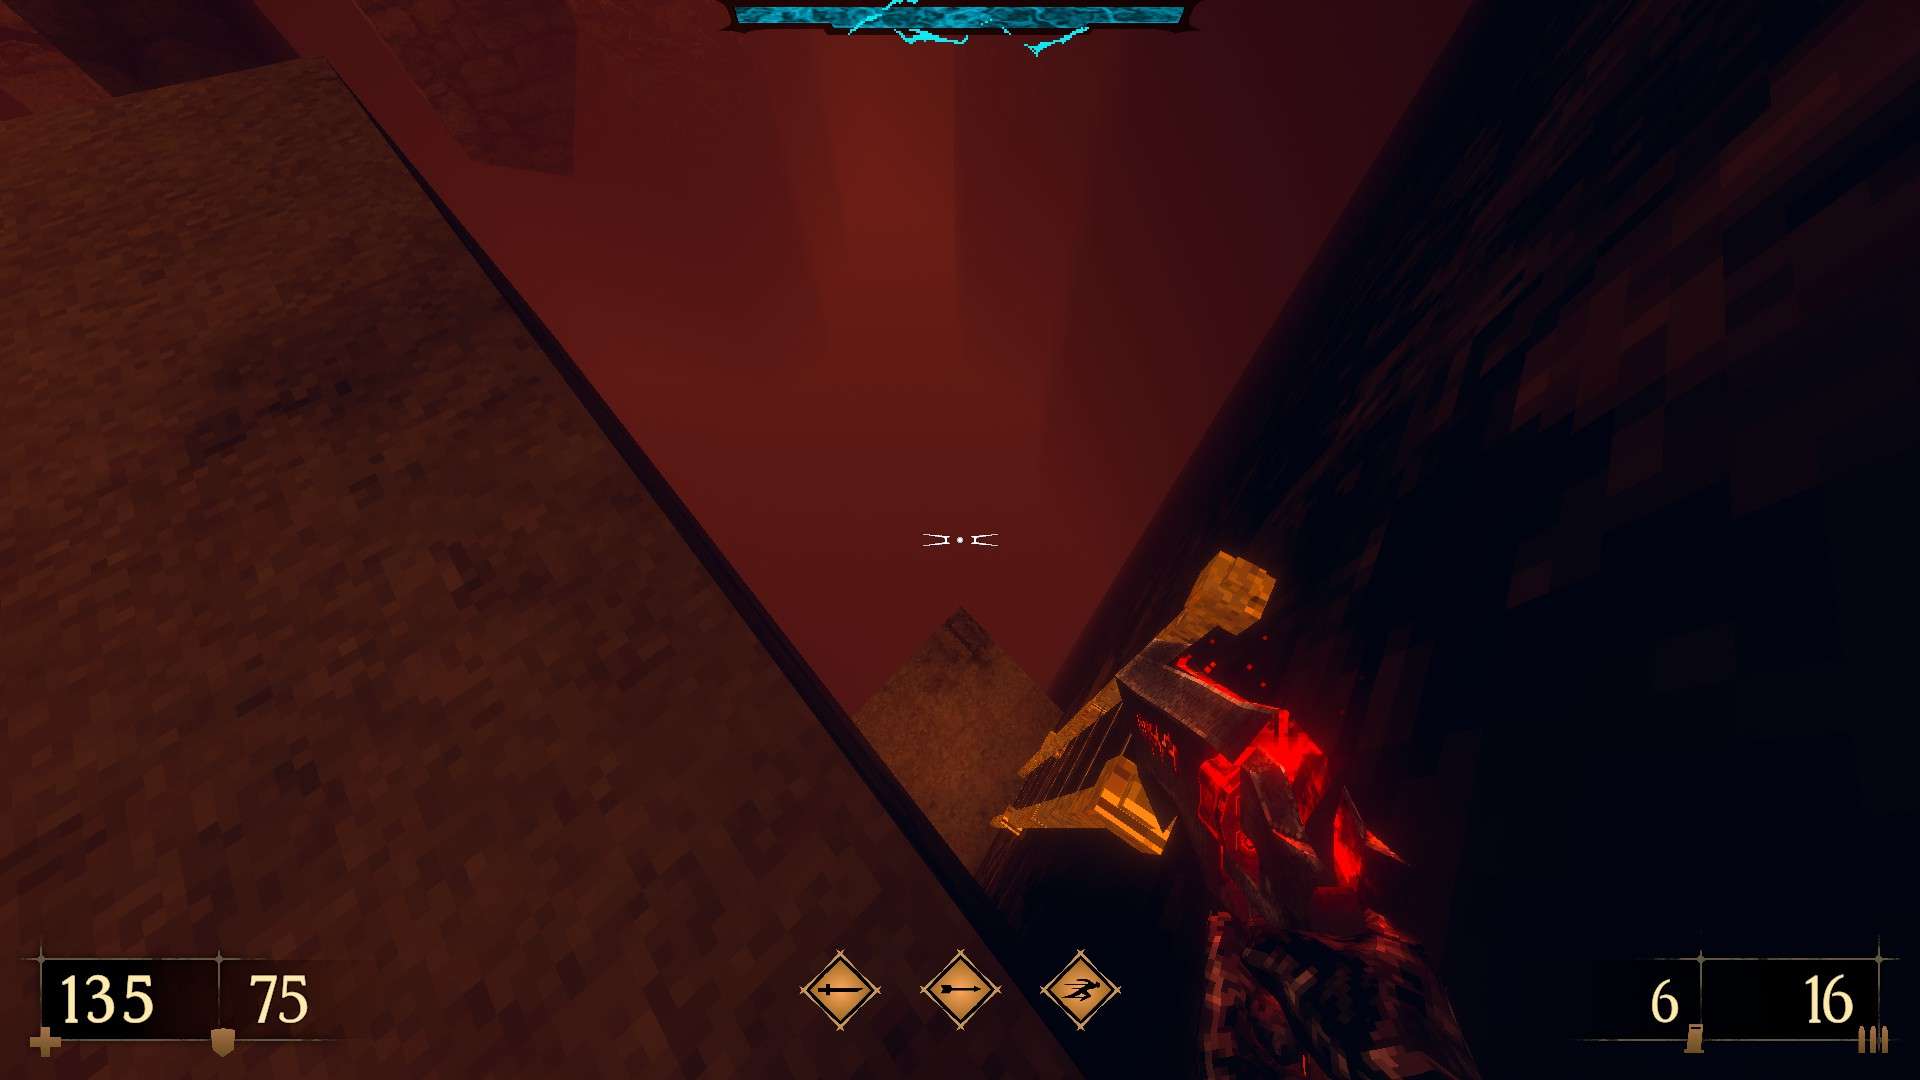
5/8 – From the red keycard balcony, dash-jump onto the roof across and turn the corner to find some hidden ammo.
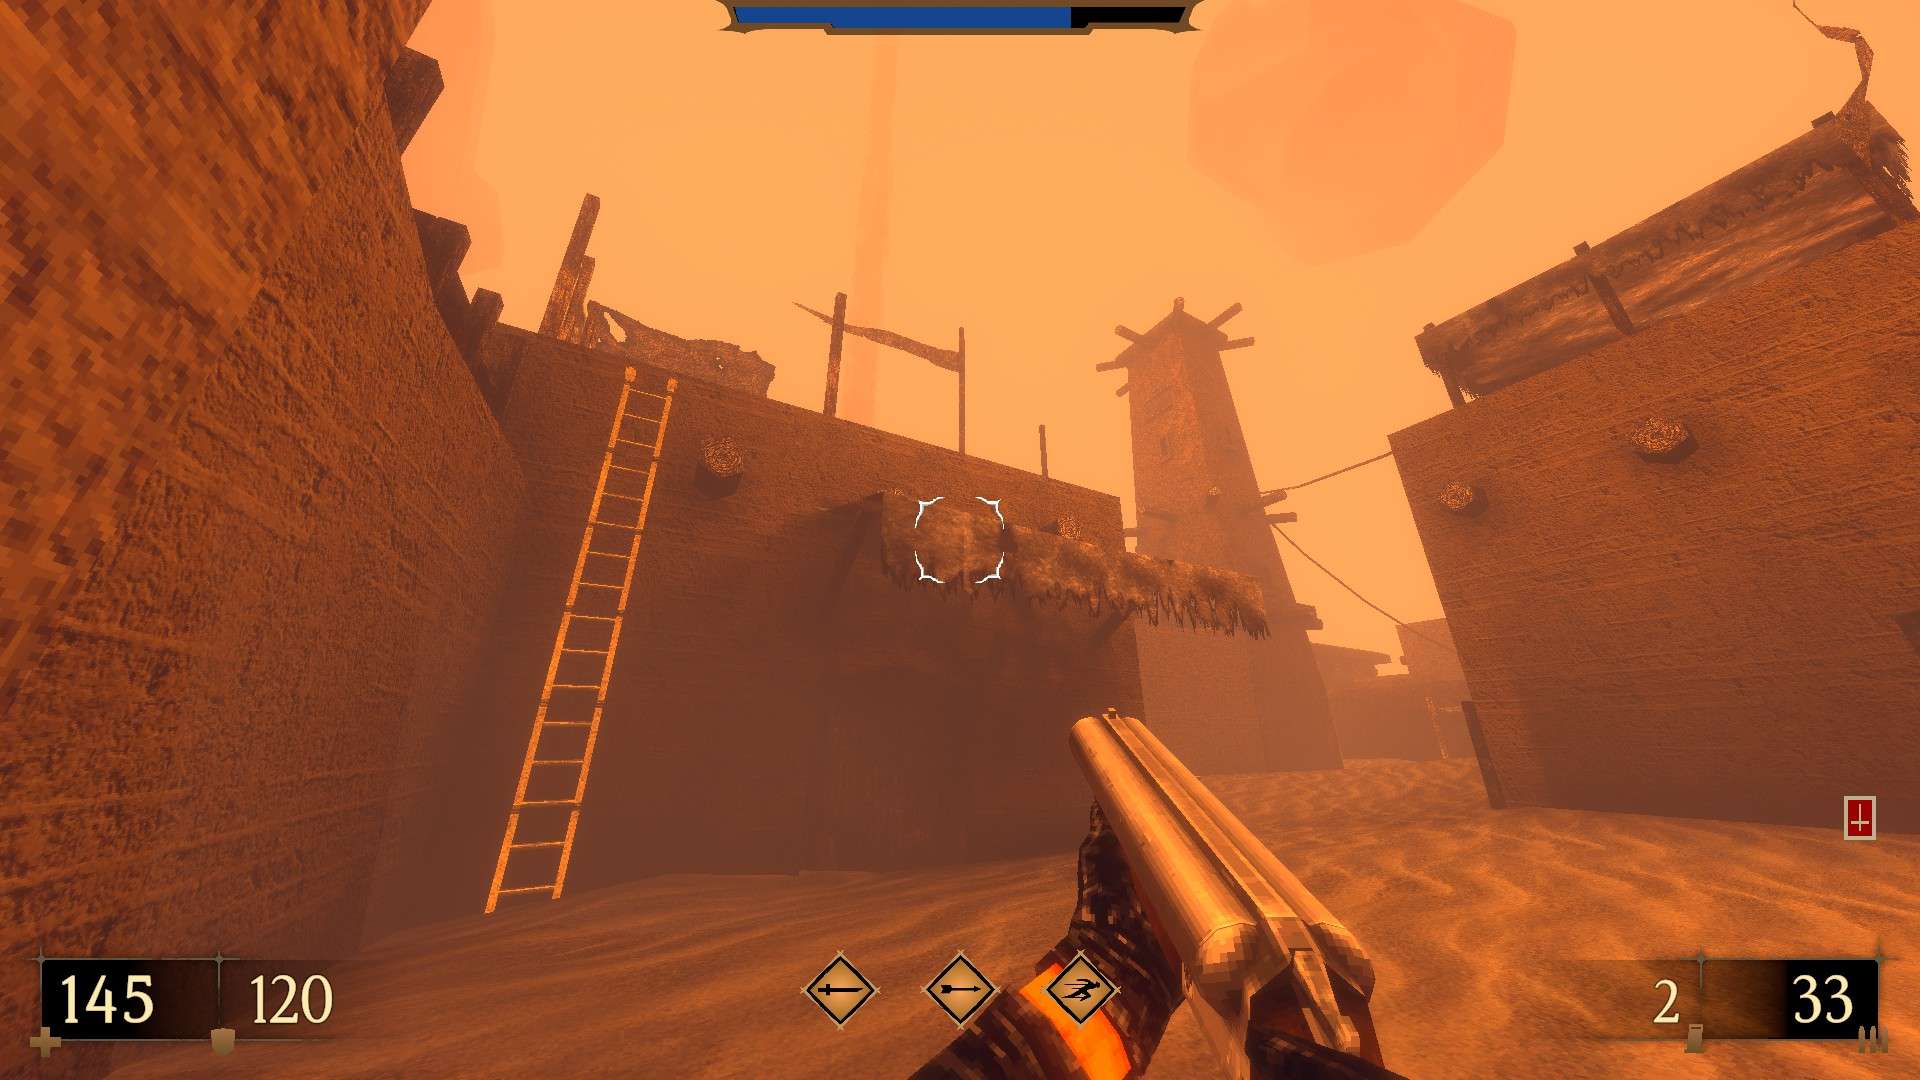


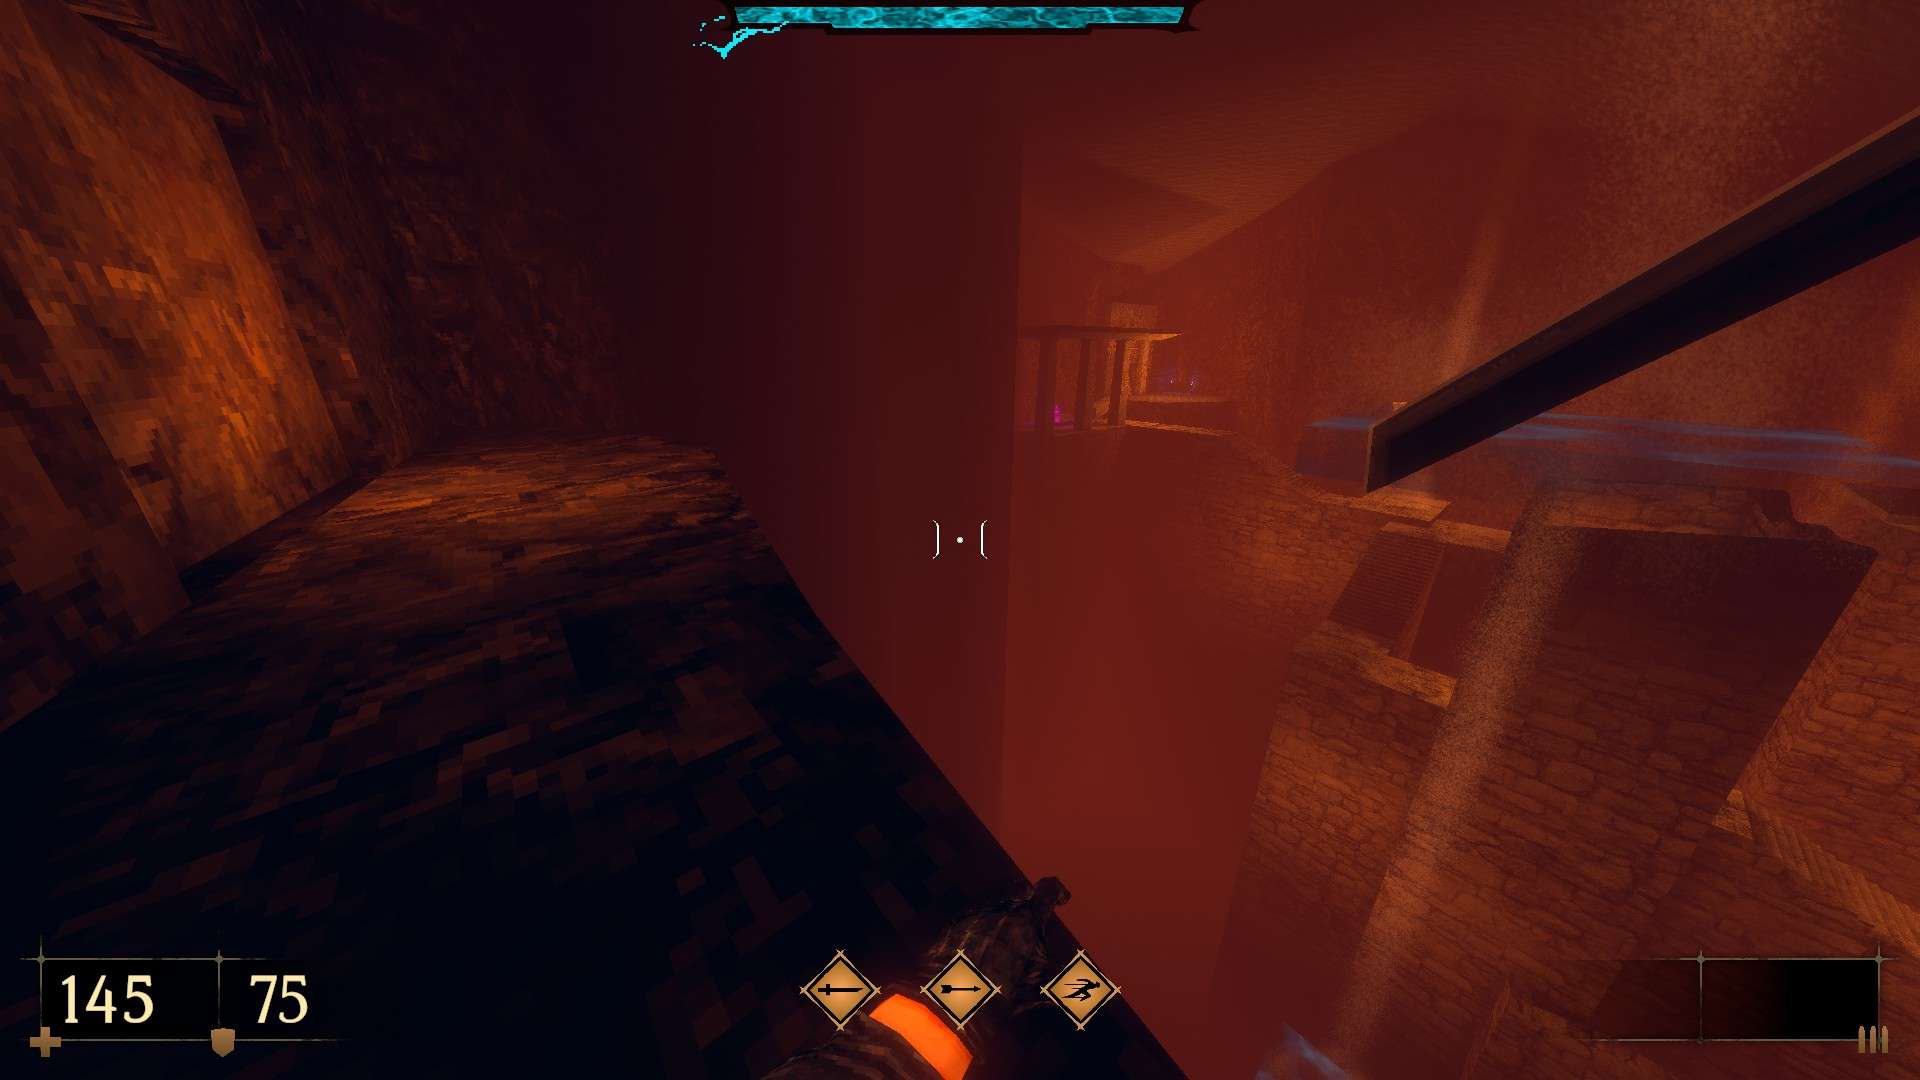
6/8 – Following from the previous secret, climb the ladders found on the same alley and drop down into the structure from the opening at the top. Instead of leaving the room via the door that takes you back to the starting area, take the opening to the right of it and dash-jump over the three beams to reach a hidden room. (Inferno Gauntlets Slaughter).


7/8 – Following from the previous secret, climb the ladders once more and reach the ledge of the central tower via the wooden fencing next to it. Follow the ledge and dash-jump onto the roof of the abode at the corner. Destroy the wooden panel on the roof and drop down to find another hidden room (Katana Mutilate II).
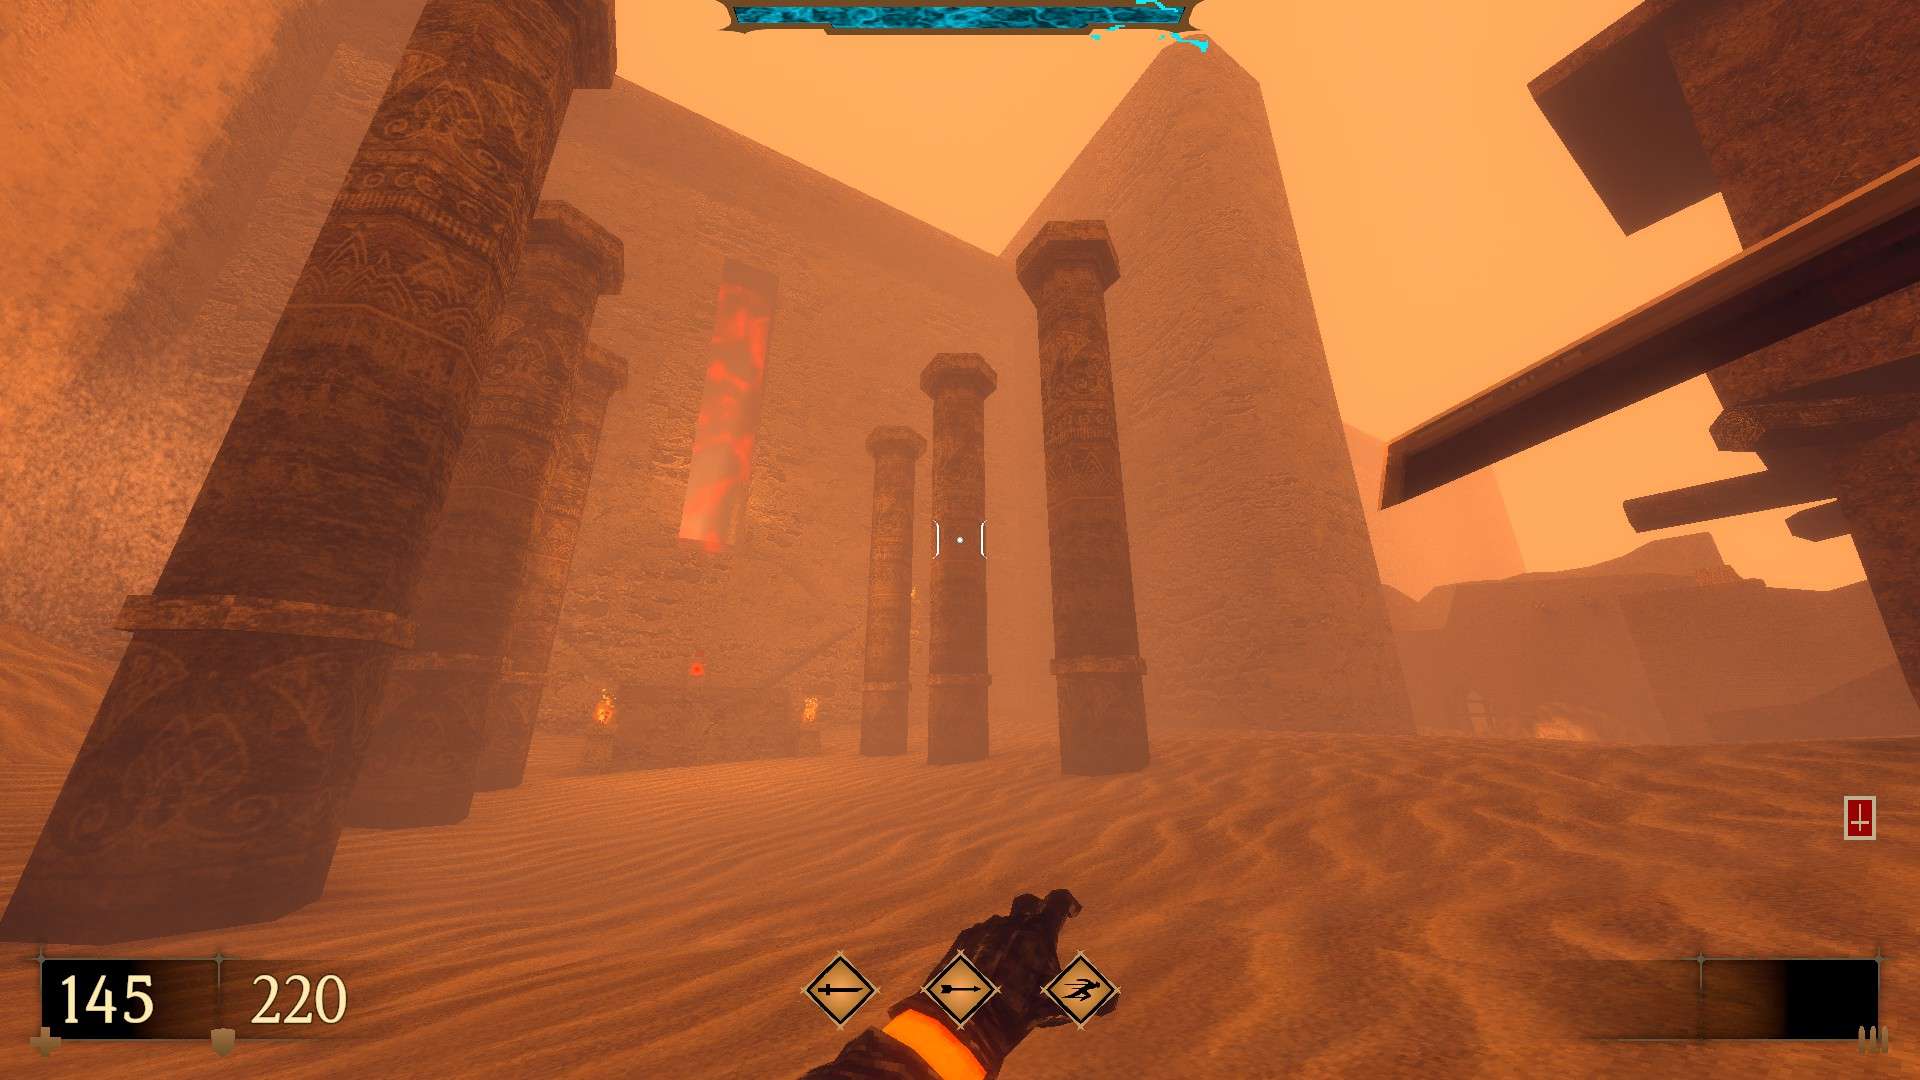
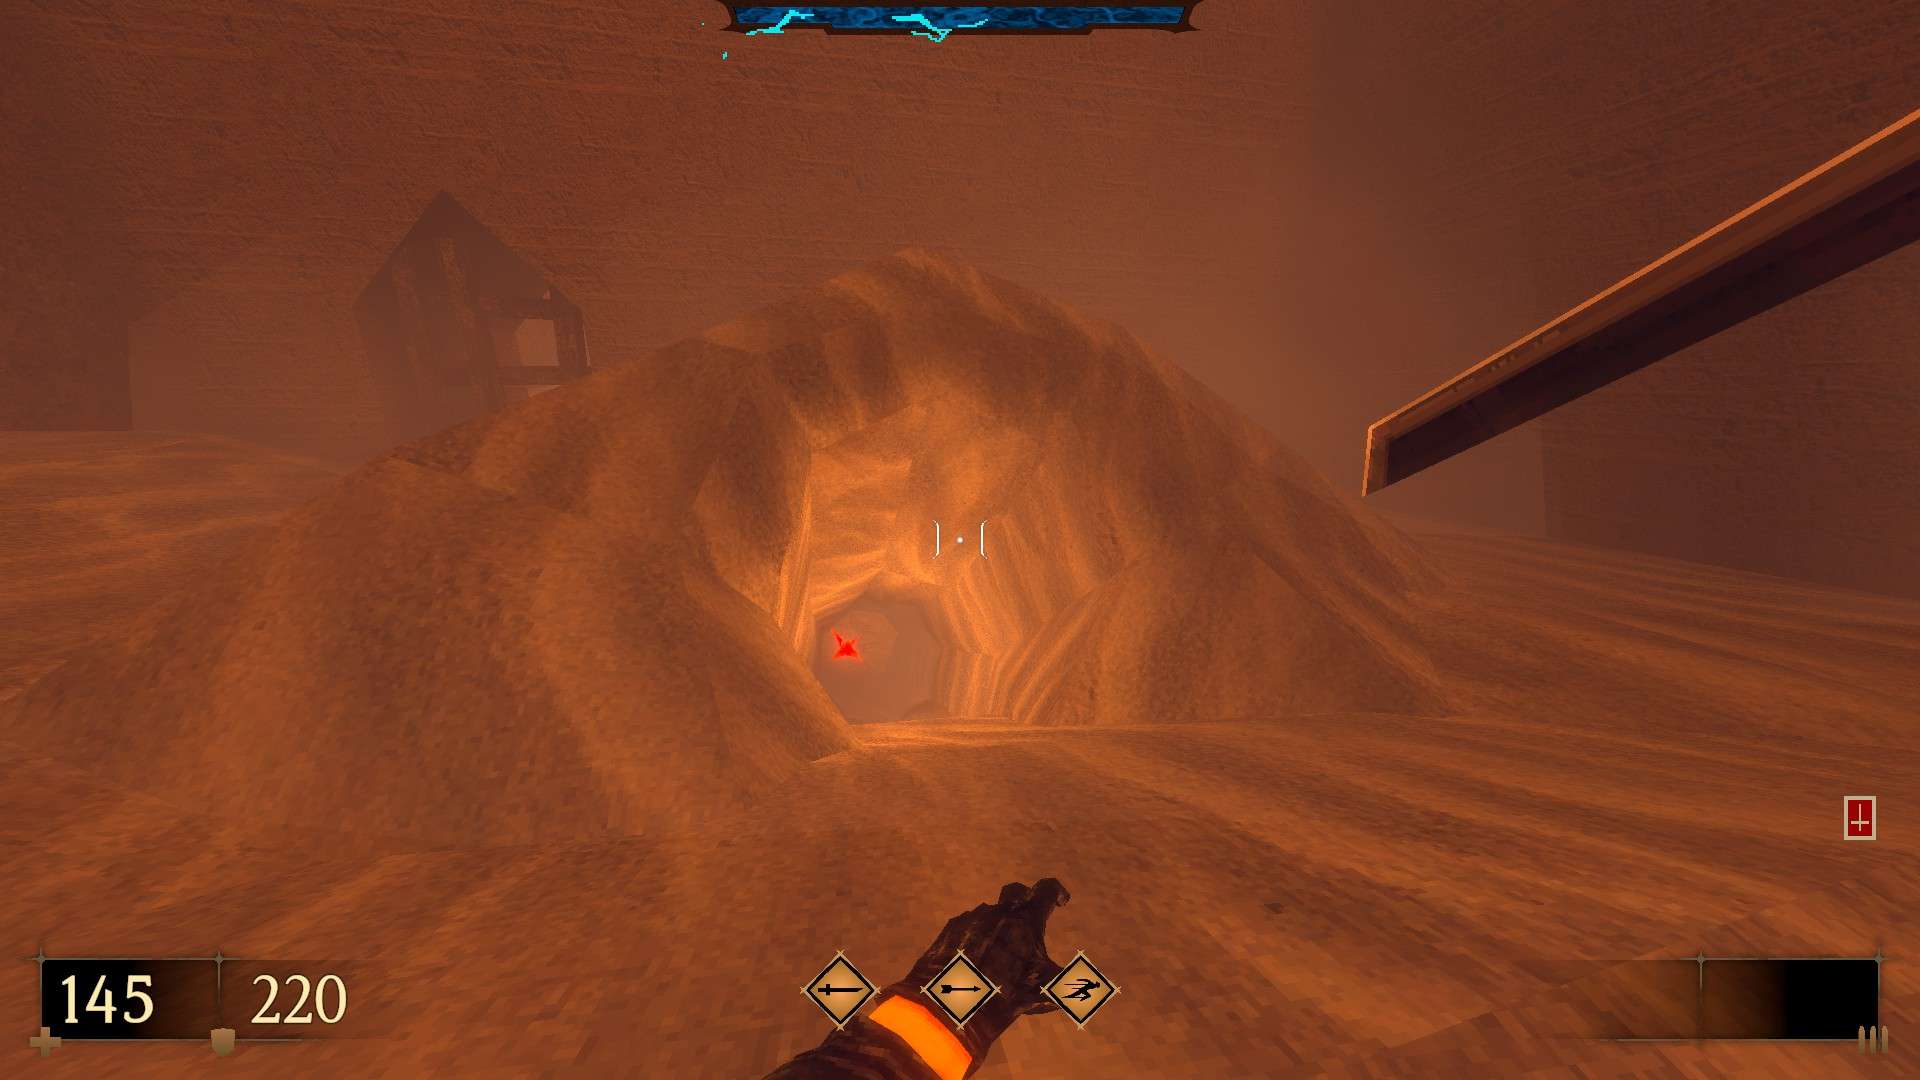

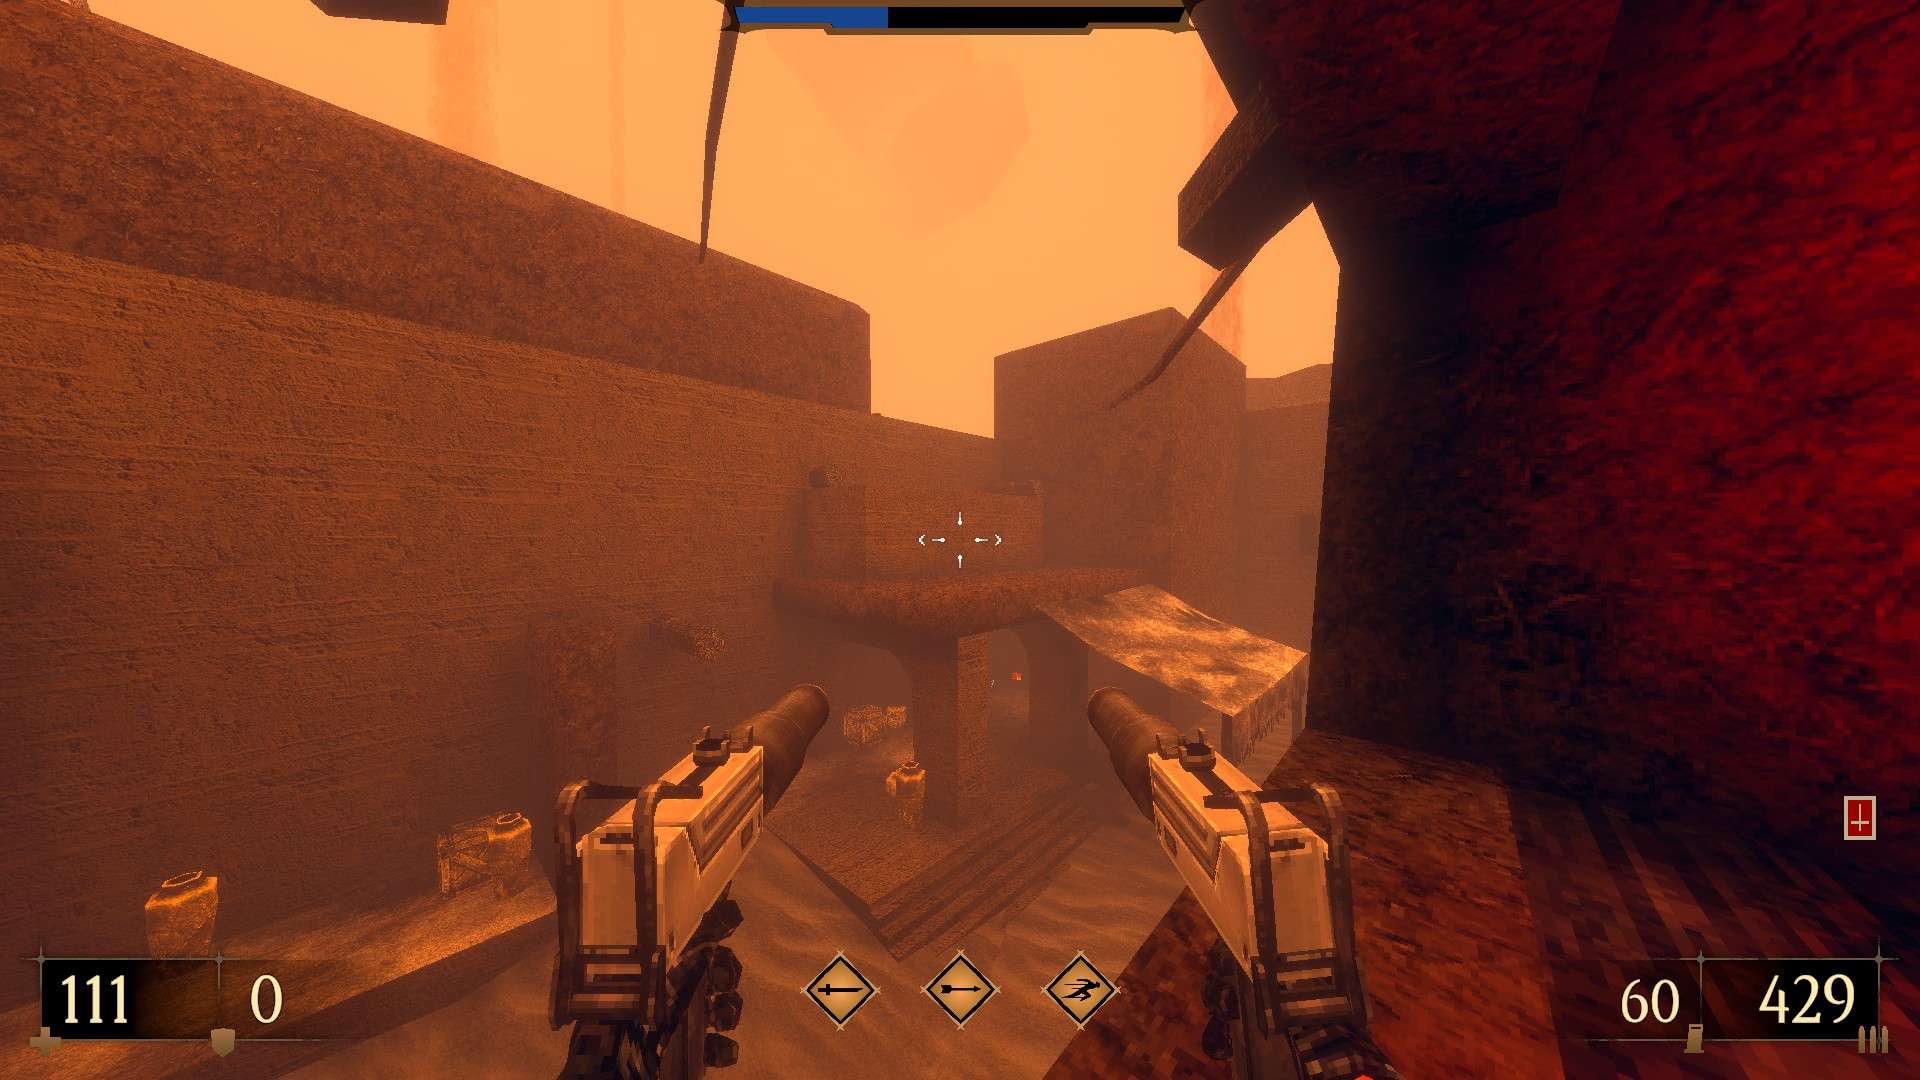
8/8 – Before using the red key, go right and look for a sand tunnel with a cracked wall at the end. Destroy it to find the entrance to the side area that looks strangely familiar. Once inside, battle it out to the end of the underpass and use the differing part of the wall to reveal a hidden cache.

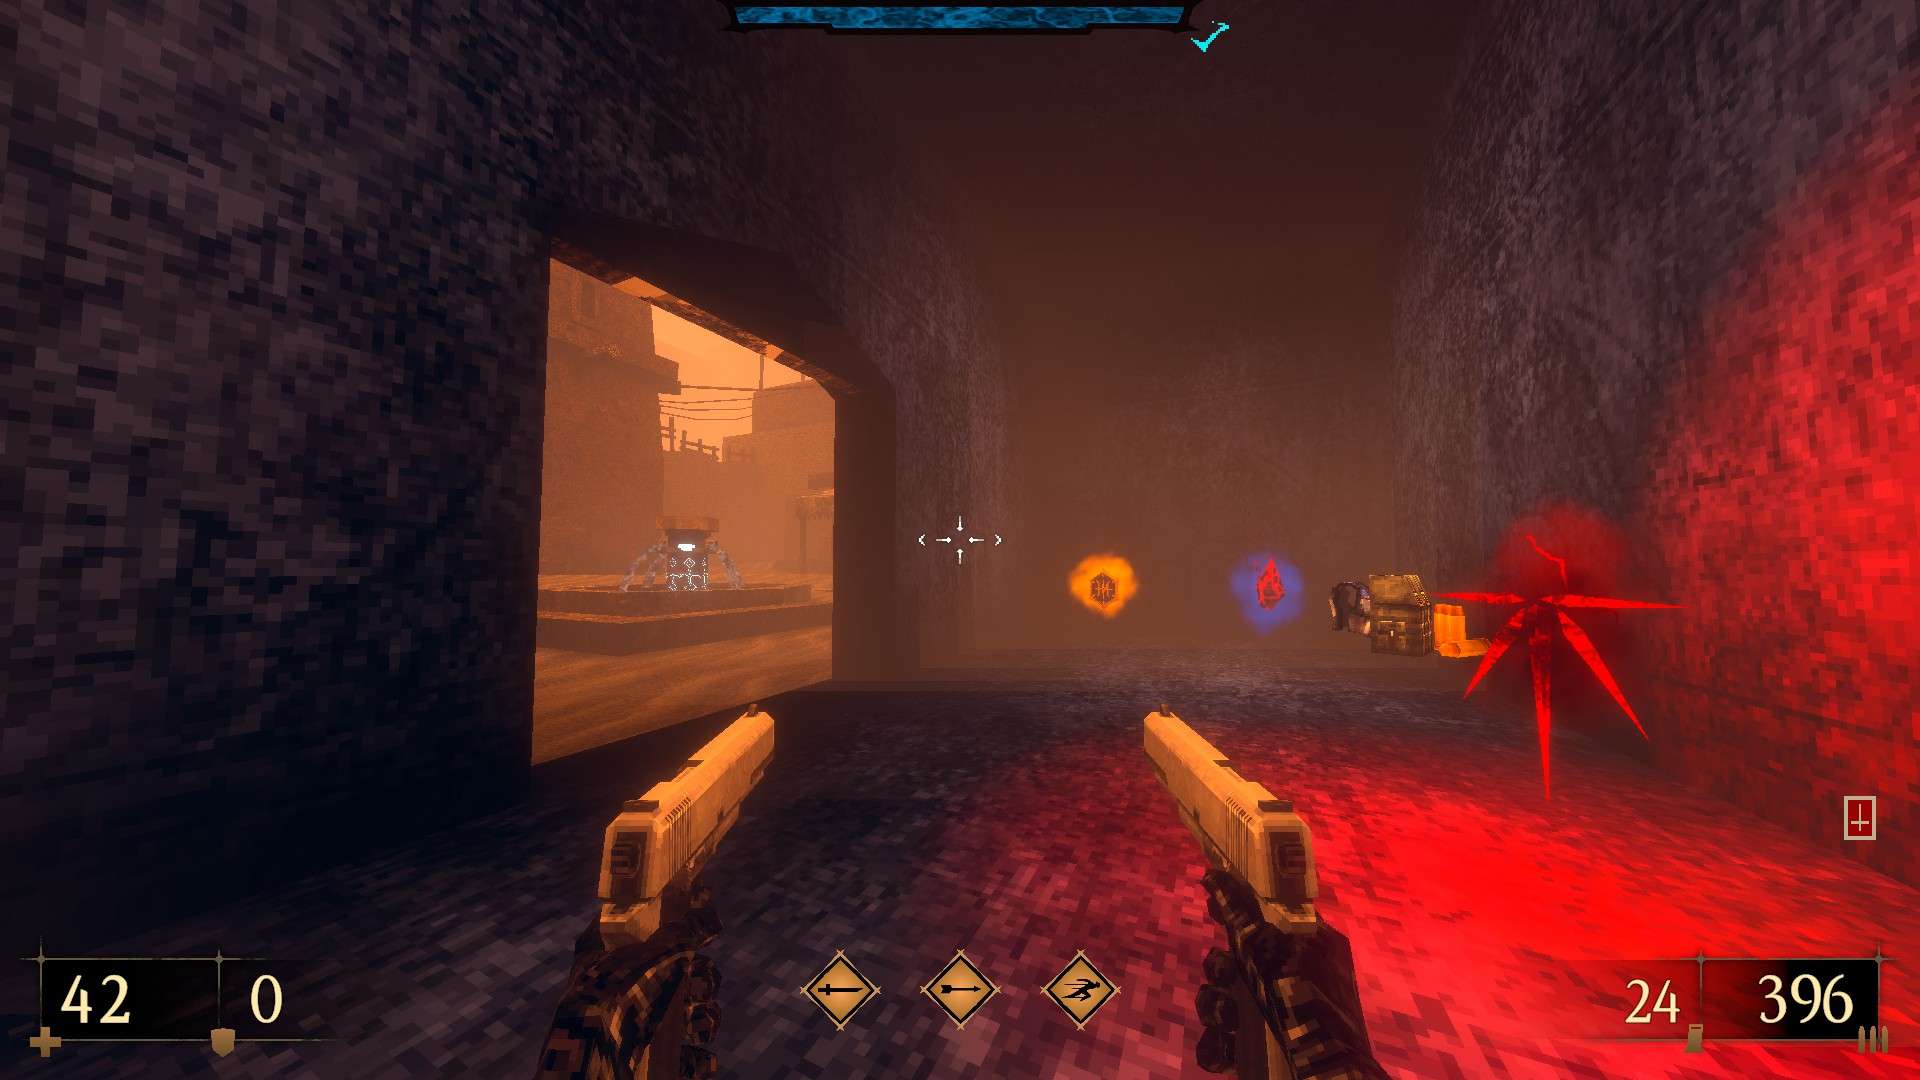
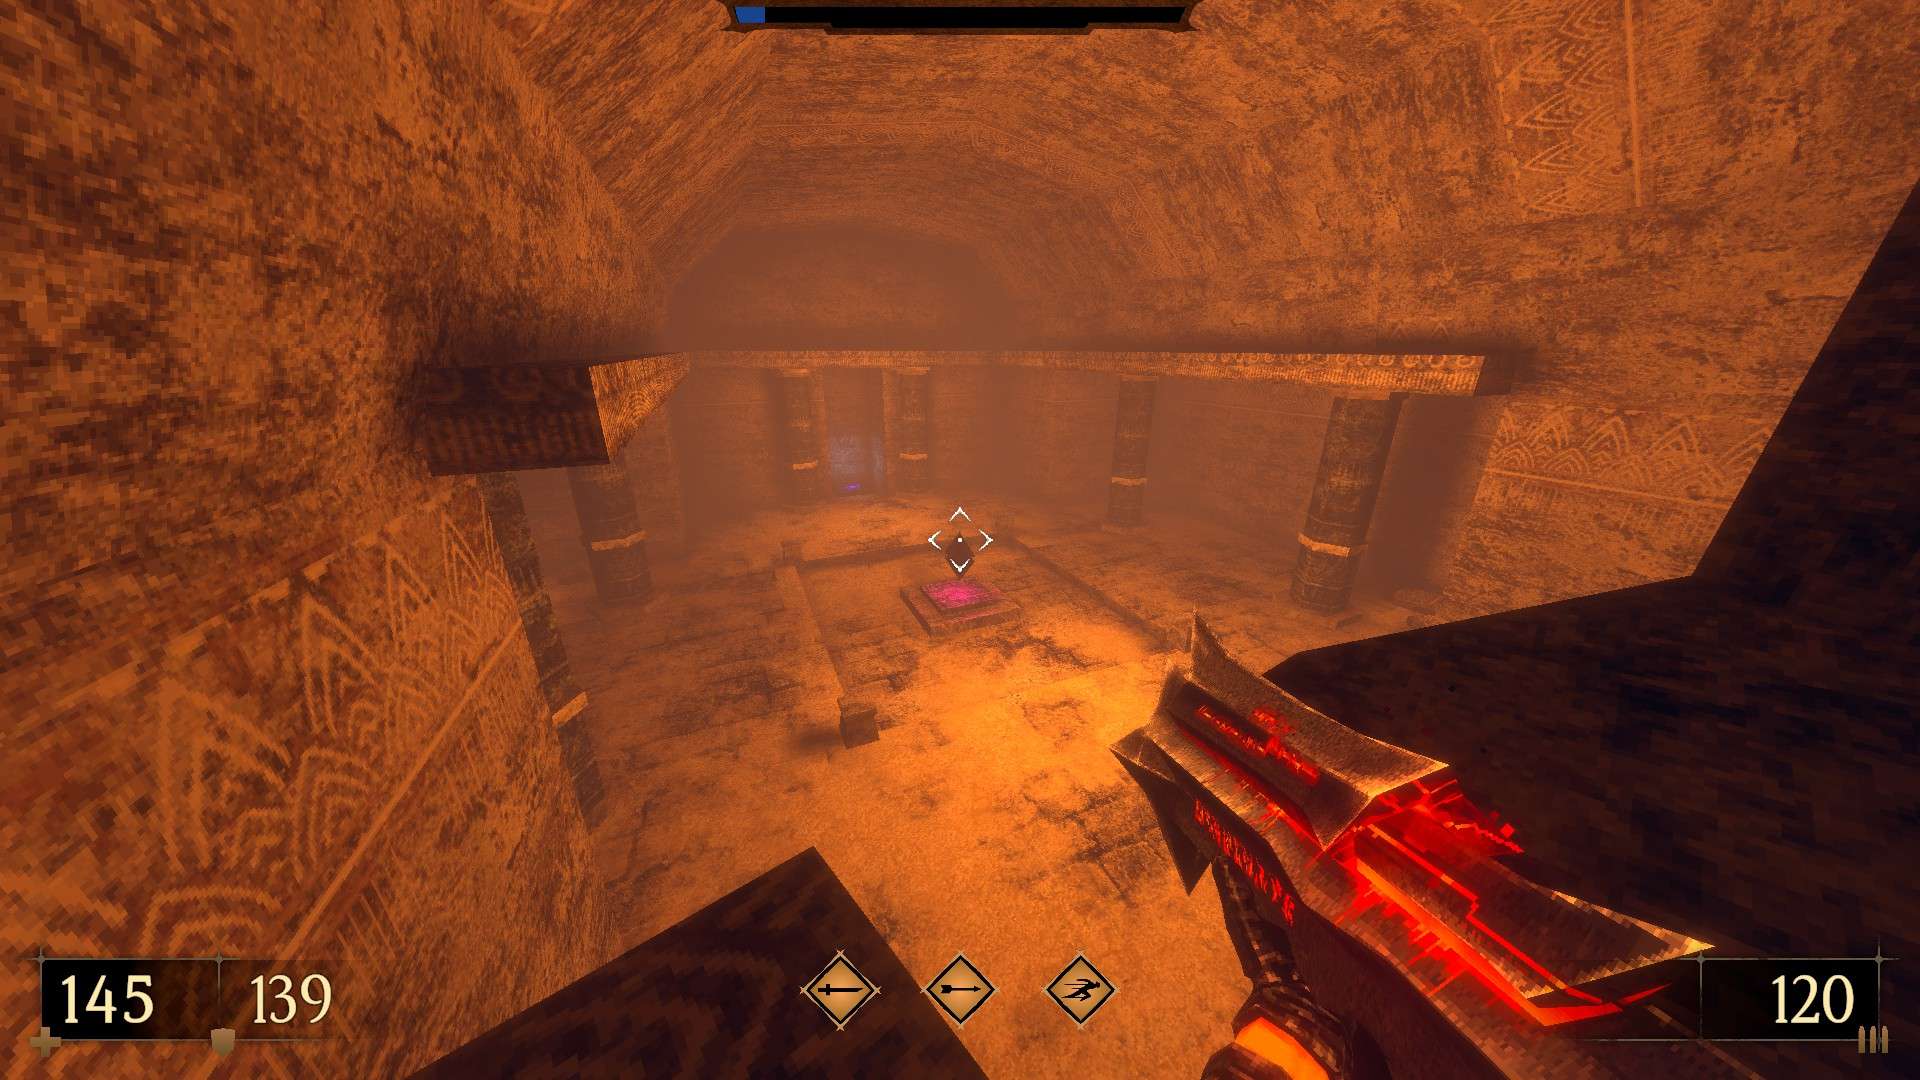
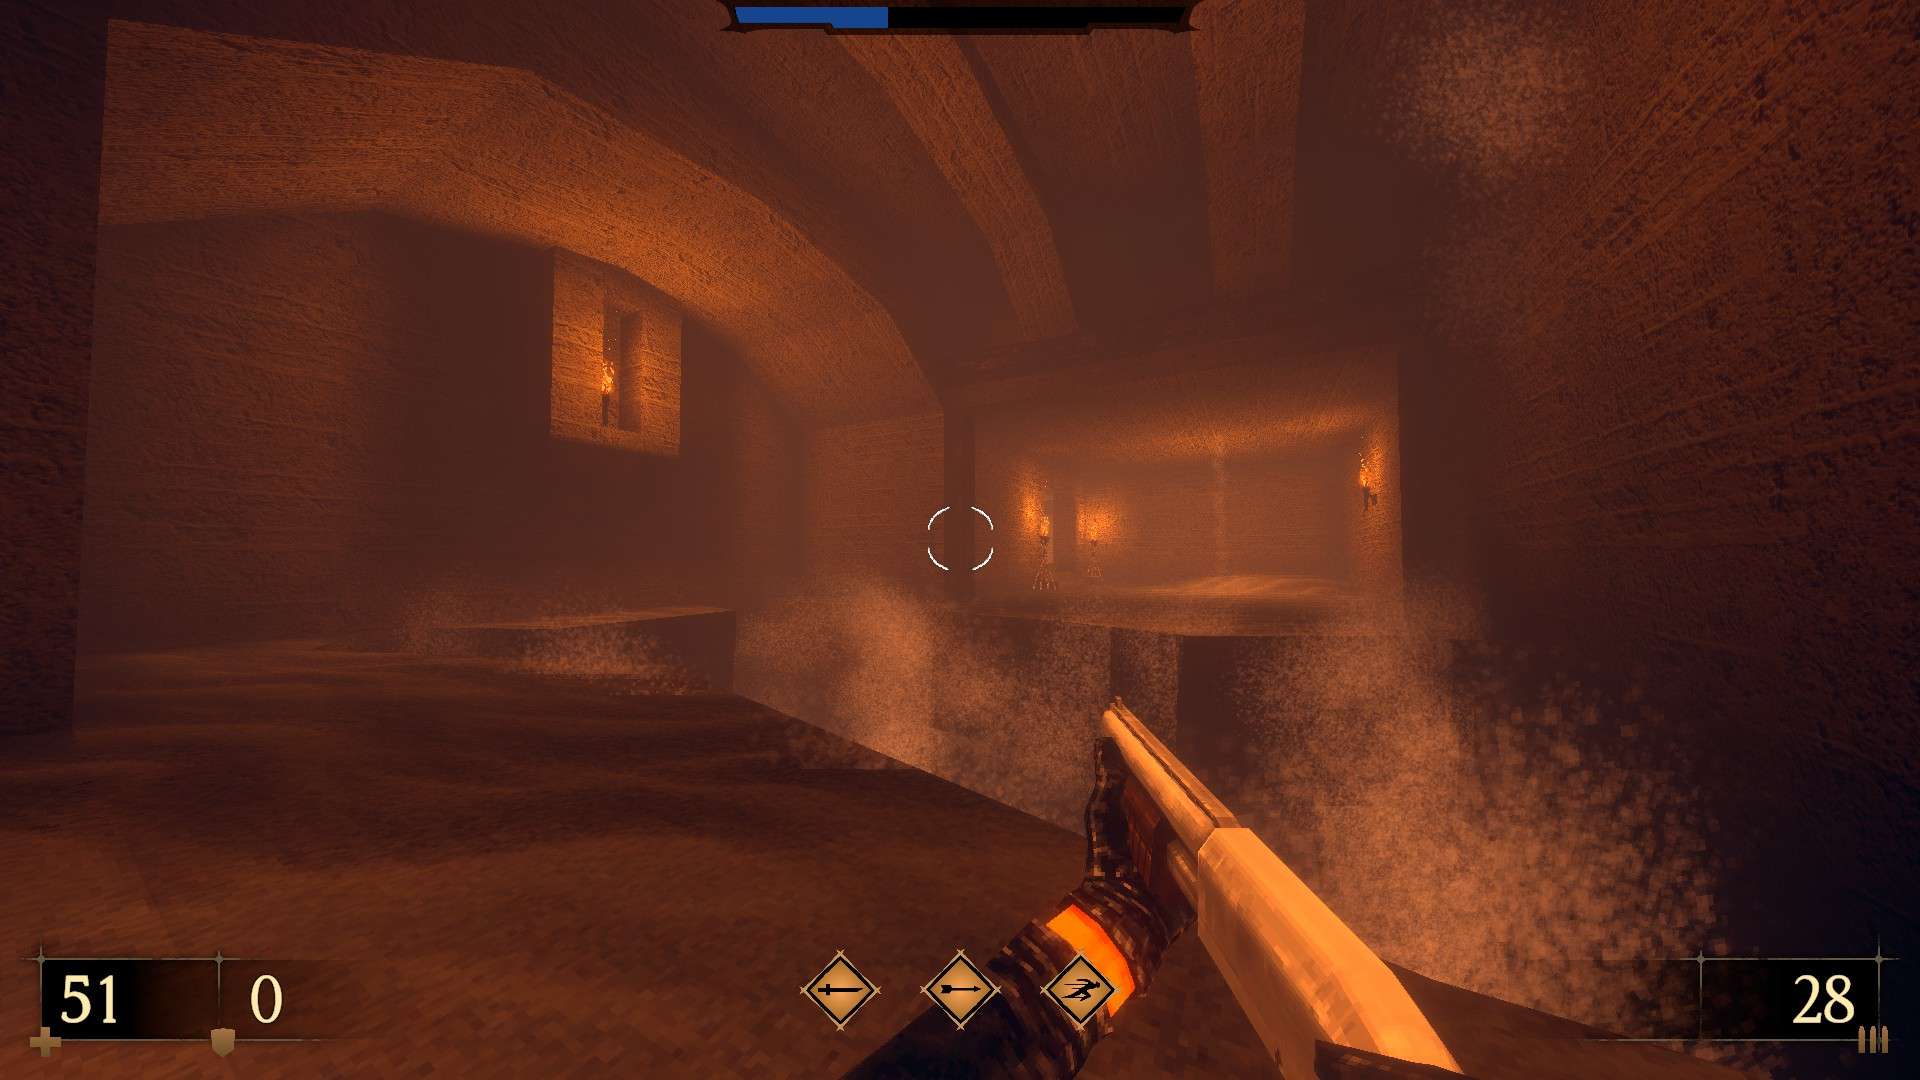
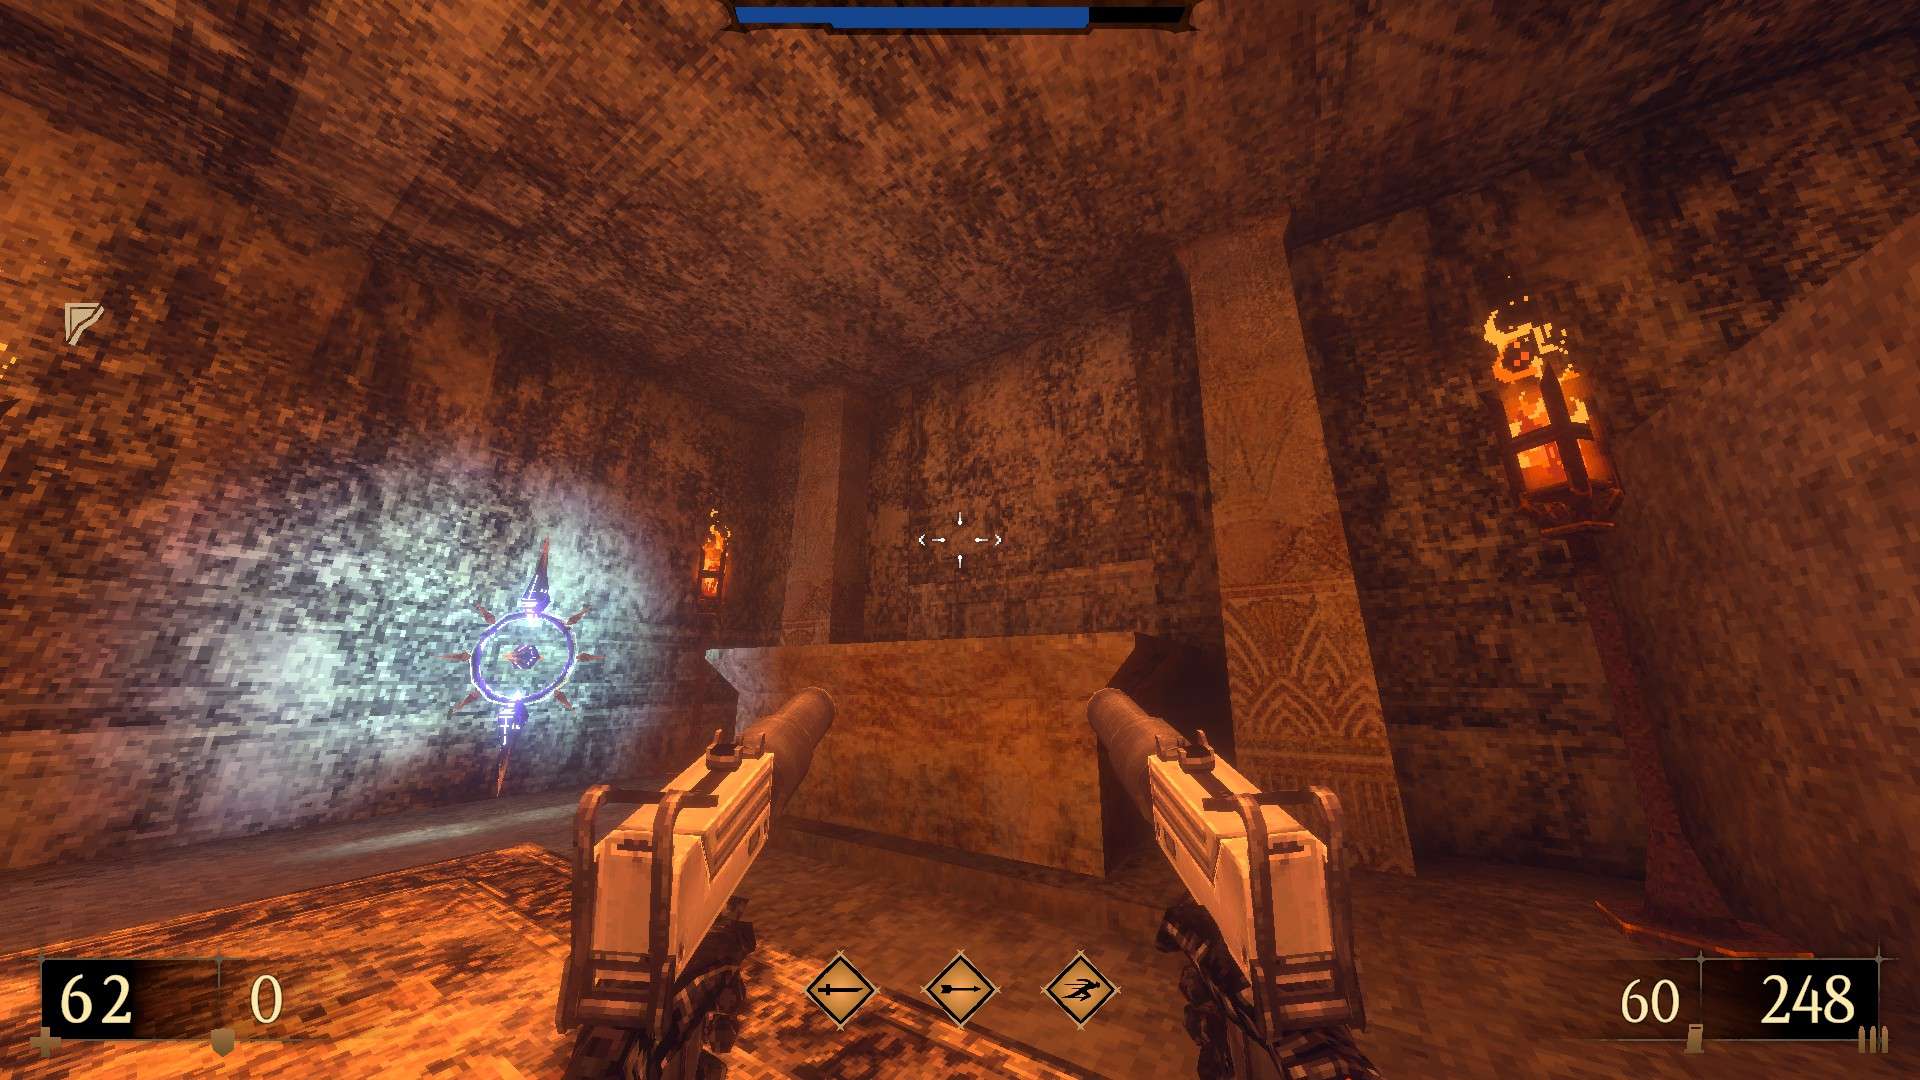
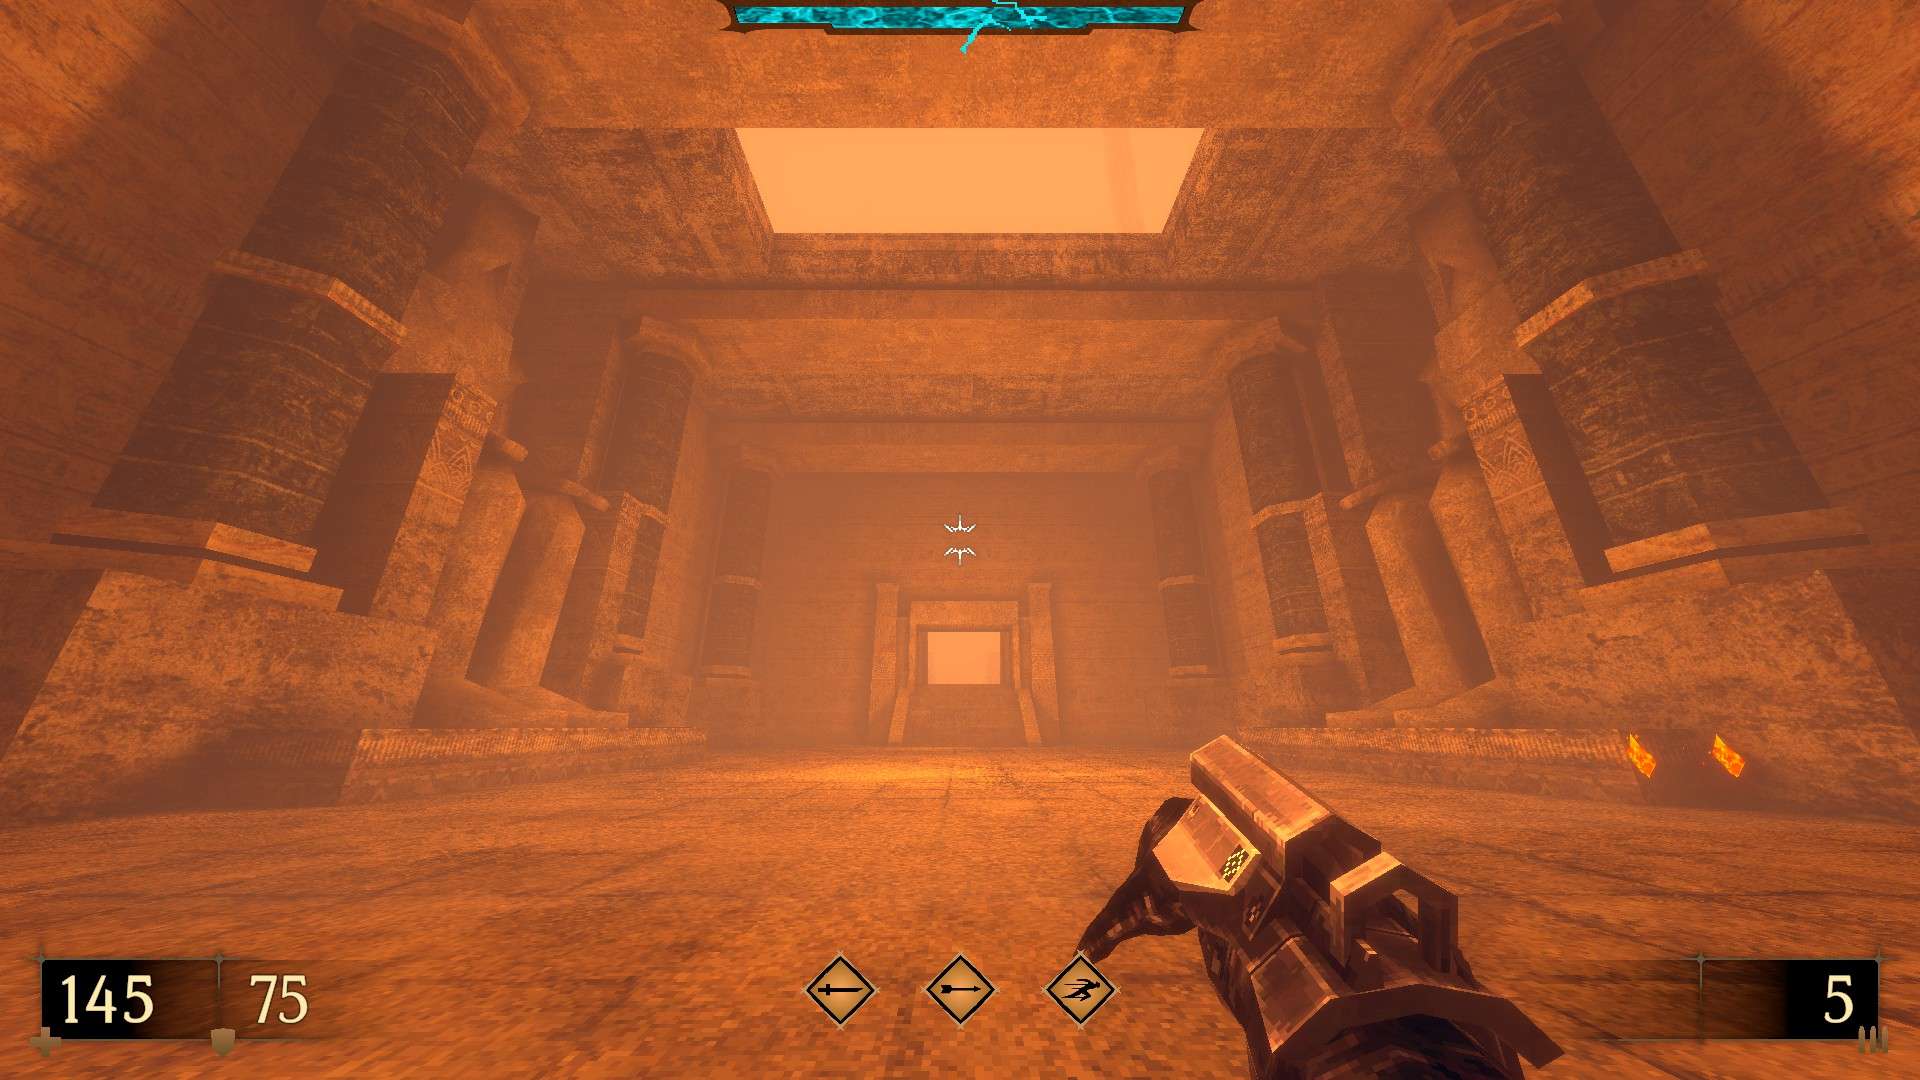
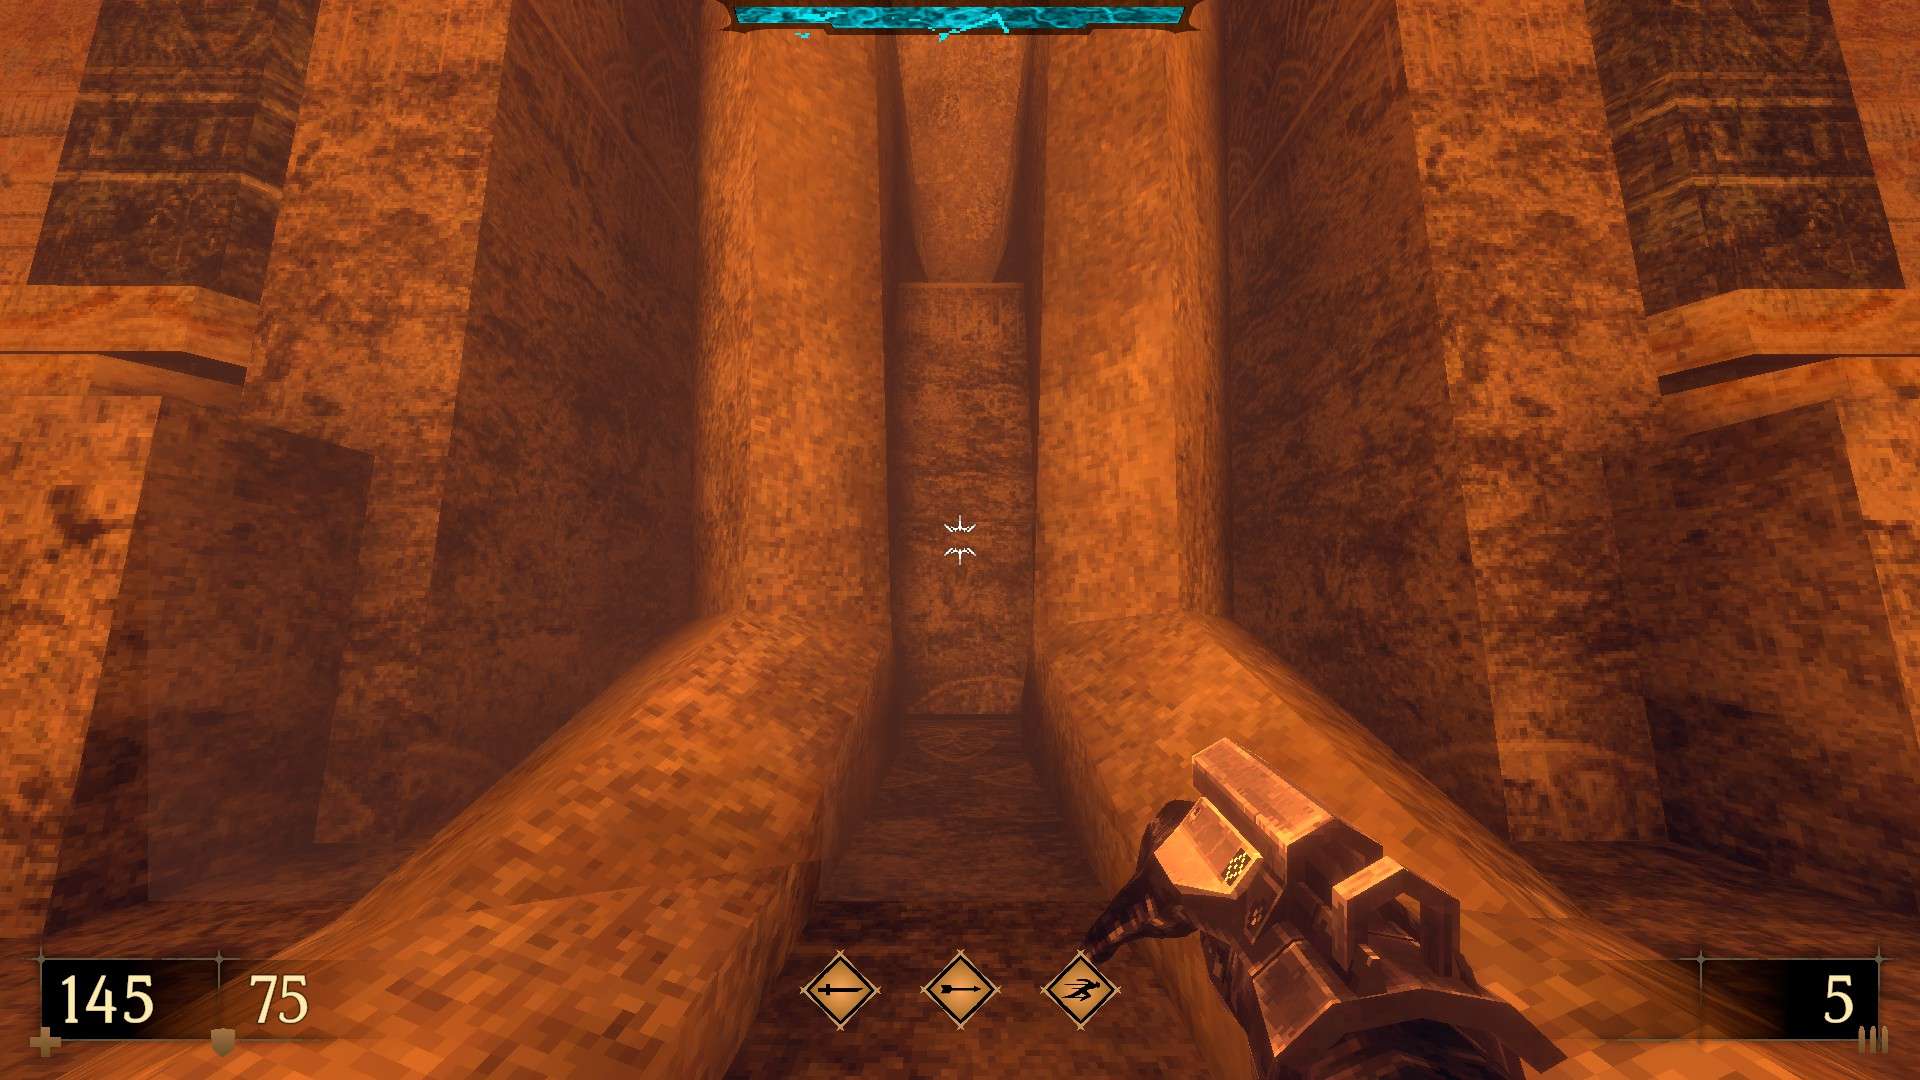
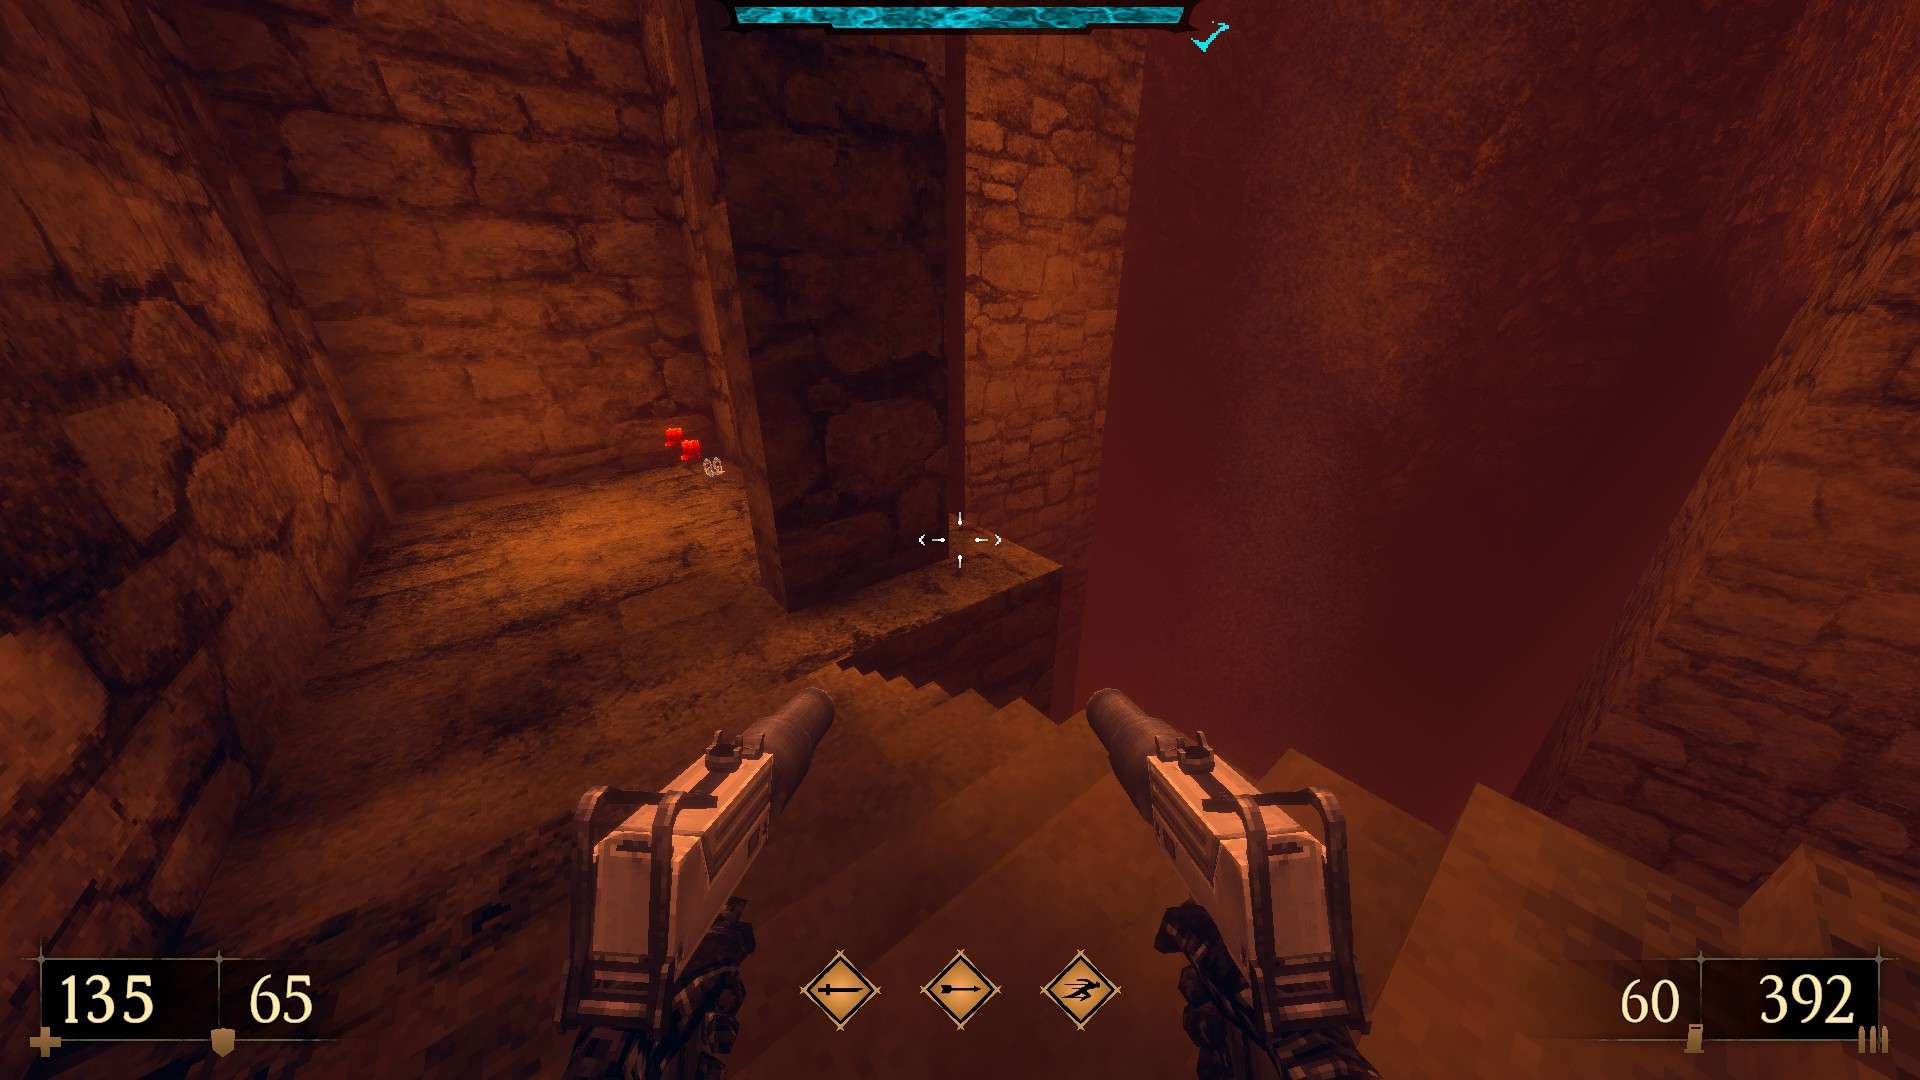
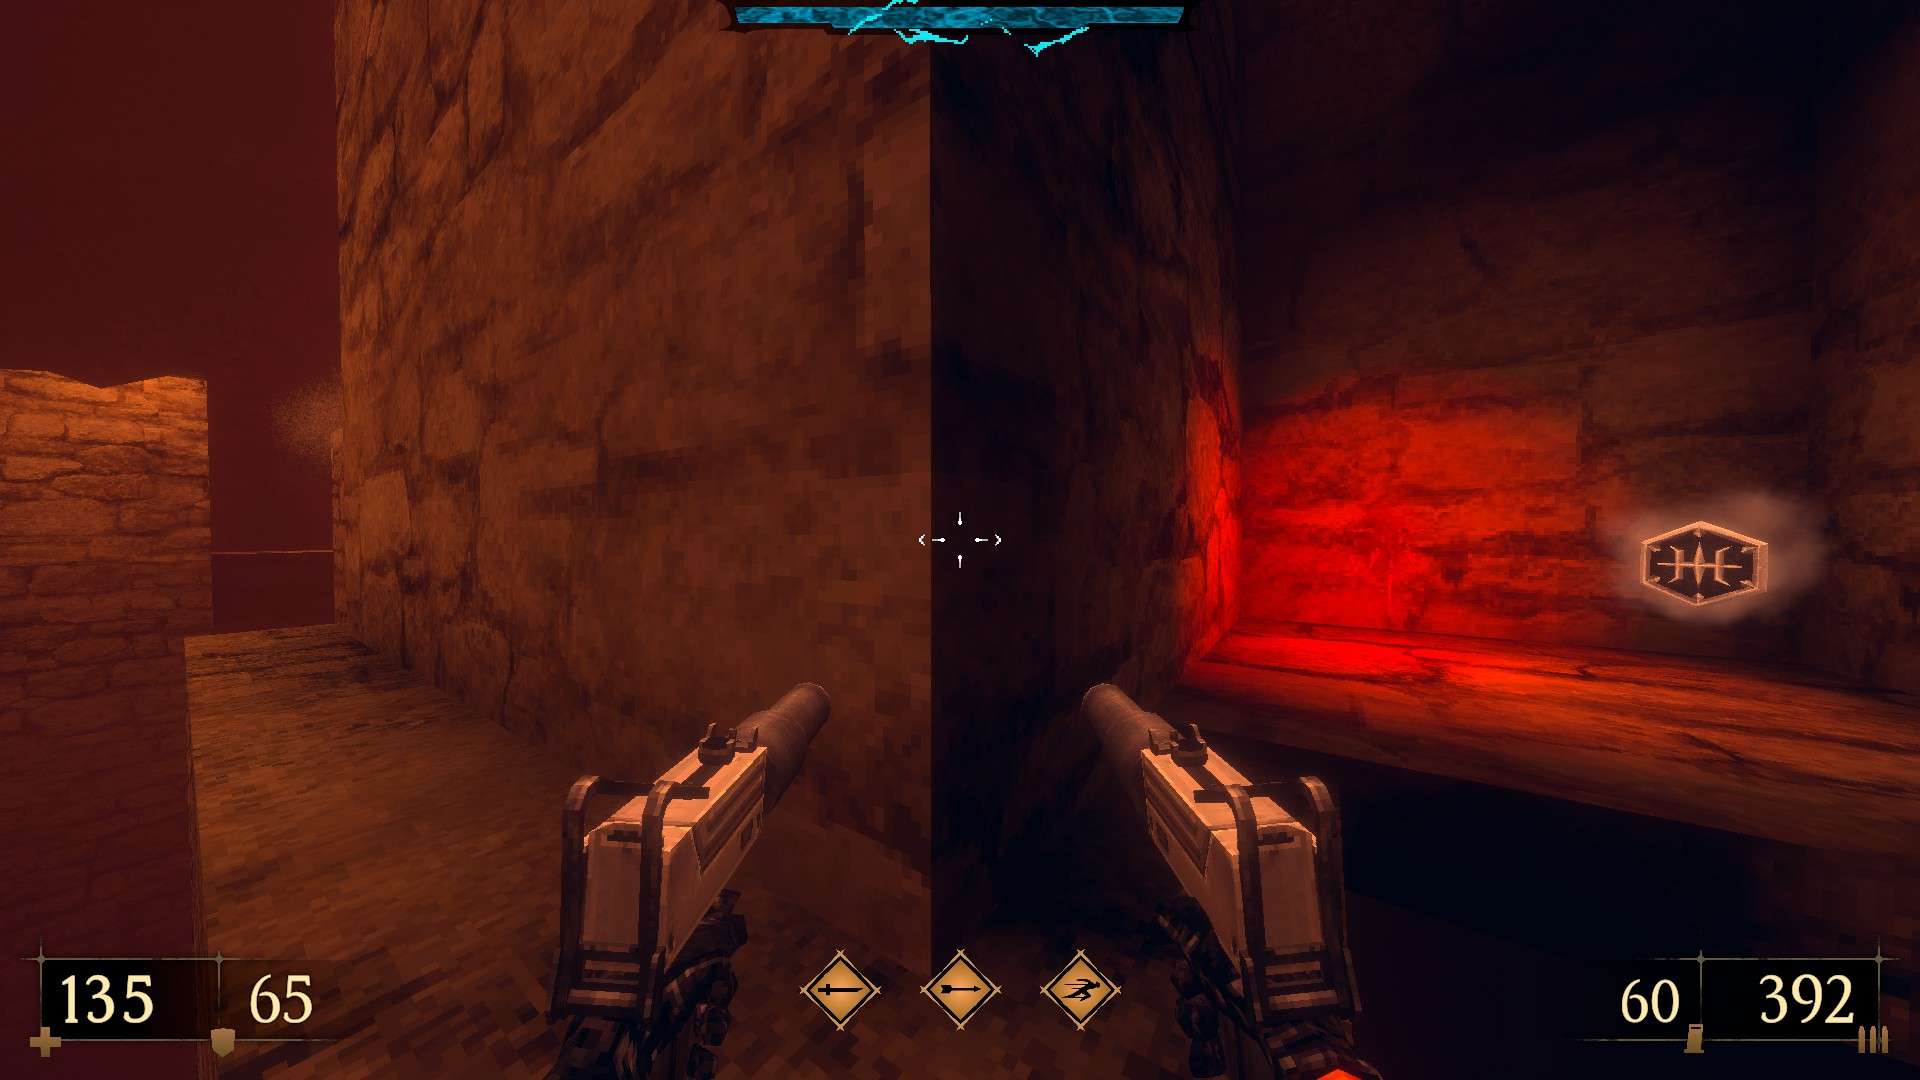
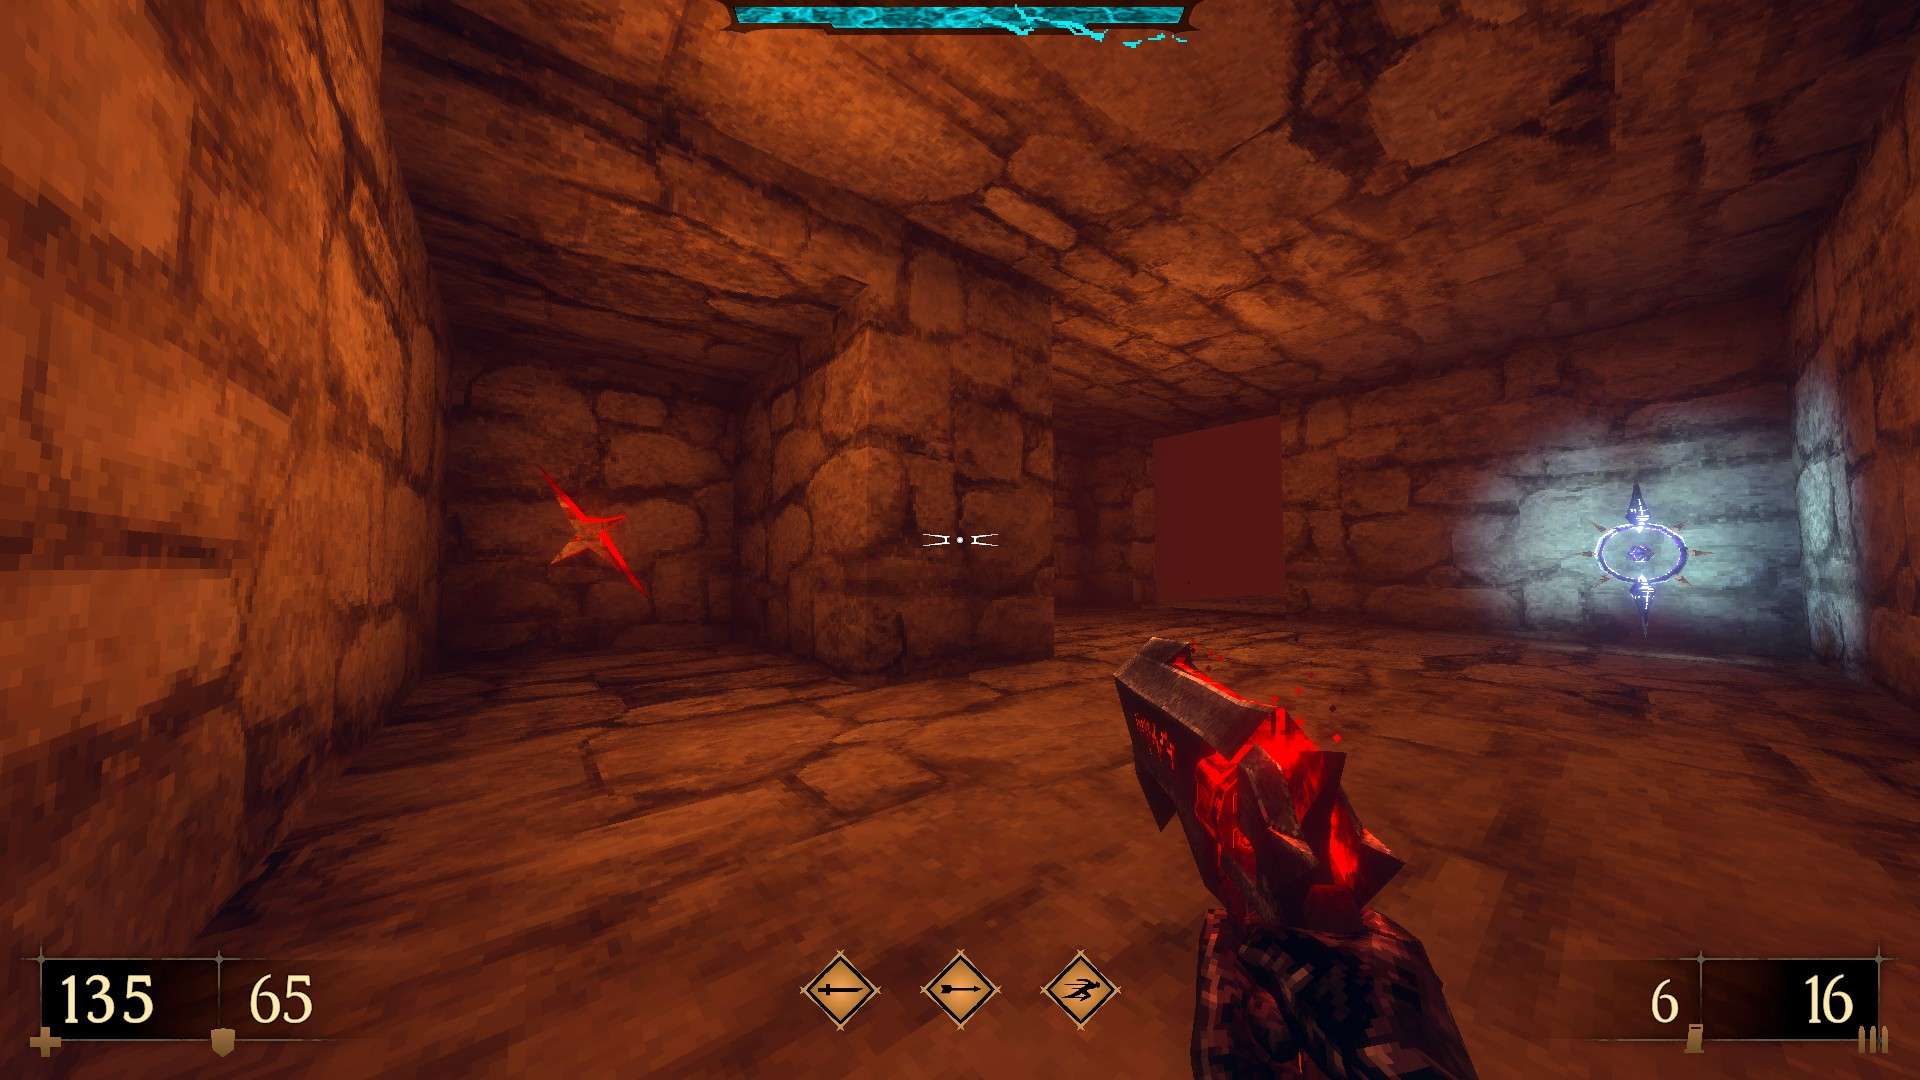
Super secret – Pass through the purple door once more, drop down into the tunnels, take a right and shoot the lever found at the corner of the room. Down the next stairs, use the second lever found on its side to start the water flow. Get into the passage from secret #4 and use the third lever found within. Turn the corner in the following room and shoot the fourth lever on the wall. An on-screen message appears: ‘A fountain’s rune is activated.’ The fountain in the middle of the alley after the red key starts glowing. Use it to reveal a stash nearby (Hurricane -G- and a Blood Gem (Also unlocks the achievement ‘Oasis’.)).
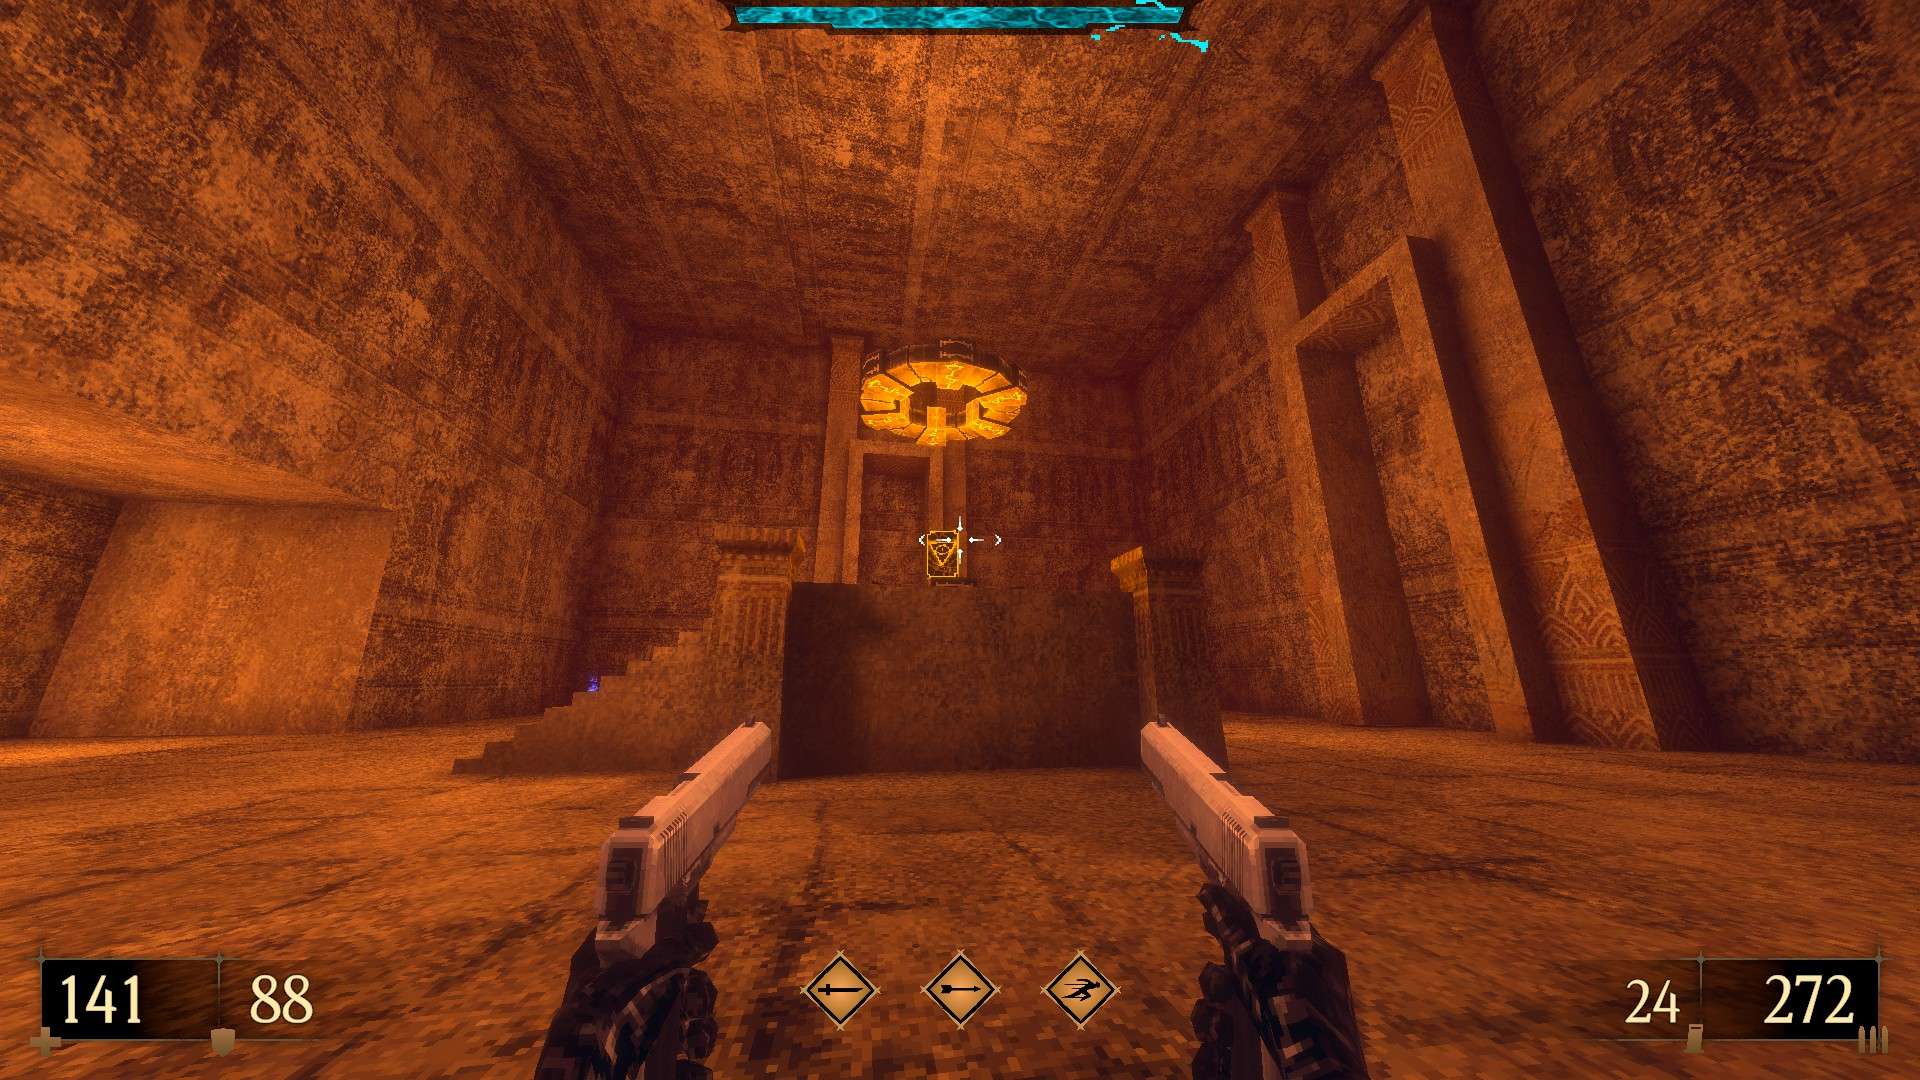
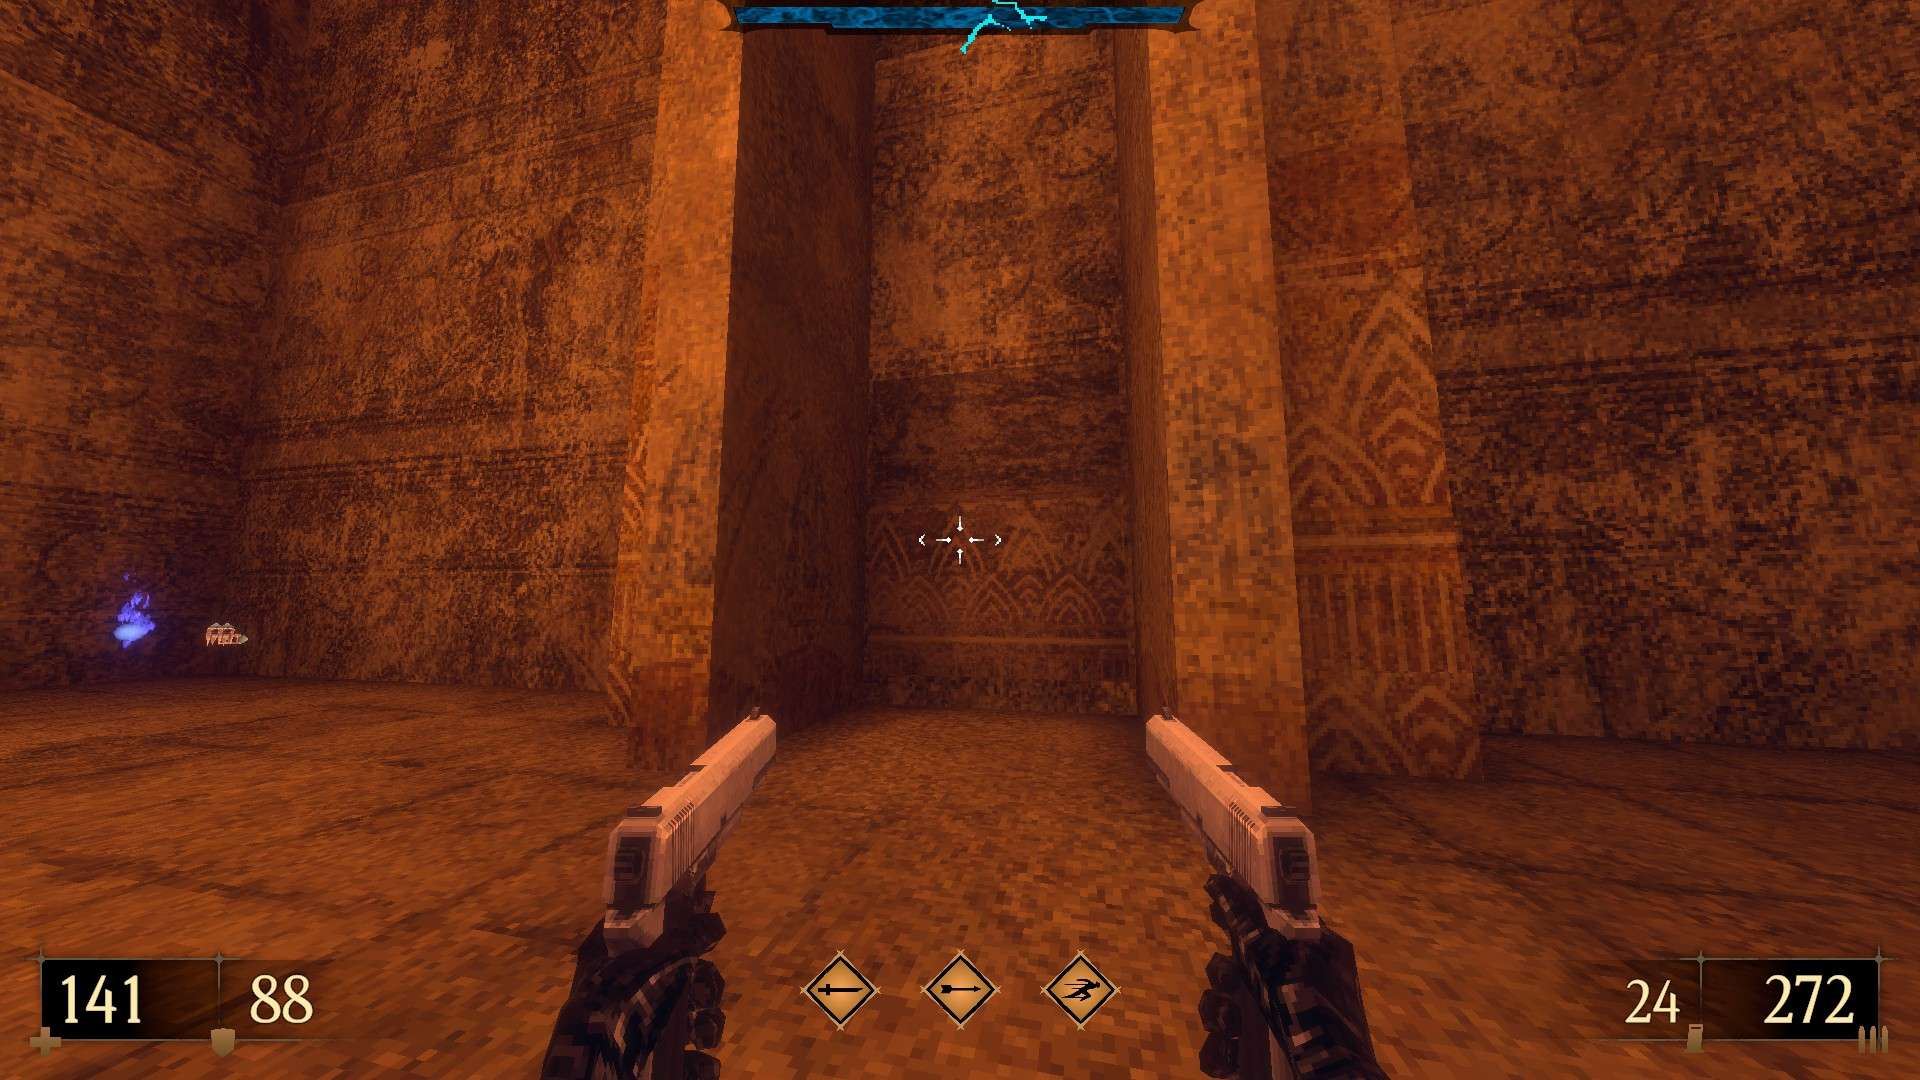
E4M2: Death Palace
This level contains 7 secrets and a super secret.

Extra – Once inside, look for a cracked wall on the right and destroy it to reach the side area. Surviving the arena within unlocks the achievement ‘I Am Doing My Part’.


1/7 – Past the building that houses the side area teleporter, turn right and look for a wooden panel on the ground. Use it and drop down to reach a hidden room (Black Bow Expansion III).
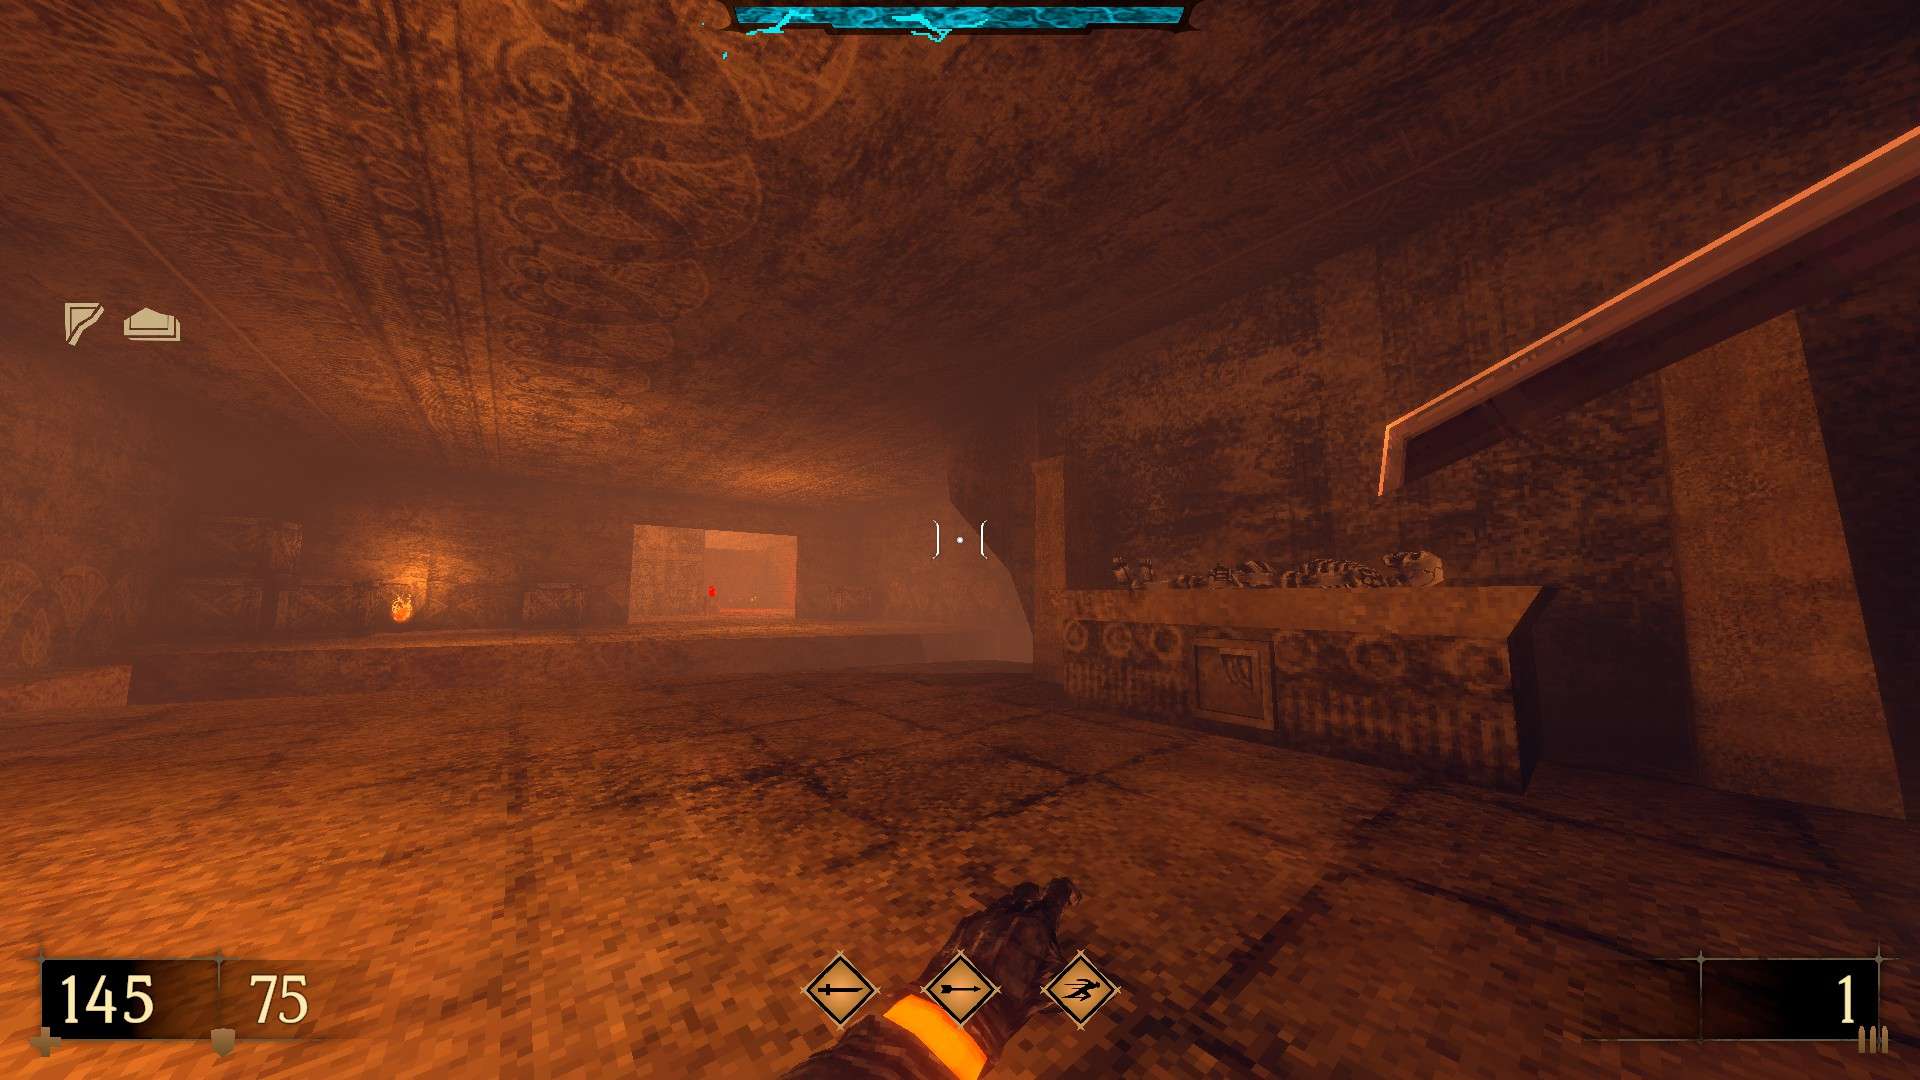
2/7 – Past the tunnels, clear out the second floor of the structure and use the wall above the tomb next to the save point to reveal a hidden compartment (Pistol Expansion III).
3/7 – Following from the previous secret, right after taking the teleporter to the other side, turn around and dash-jump to the ledge across to find an out of sight cache.


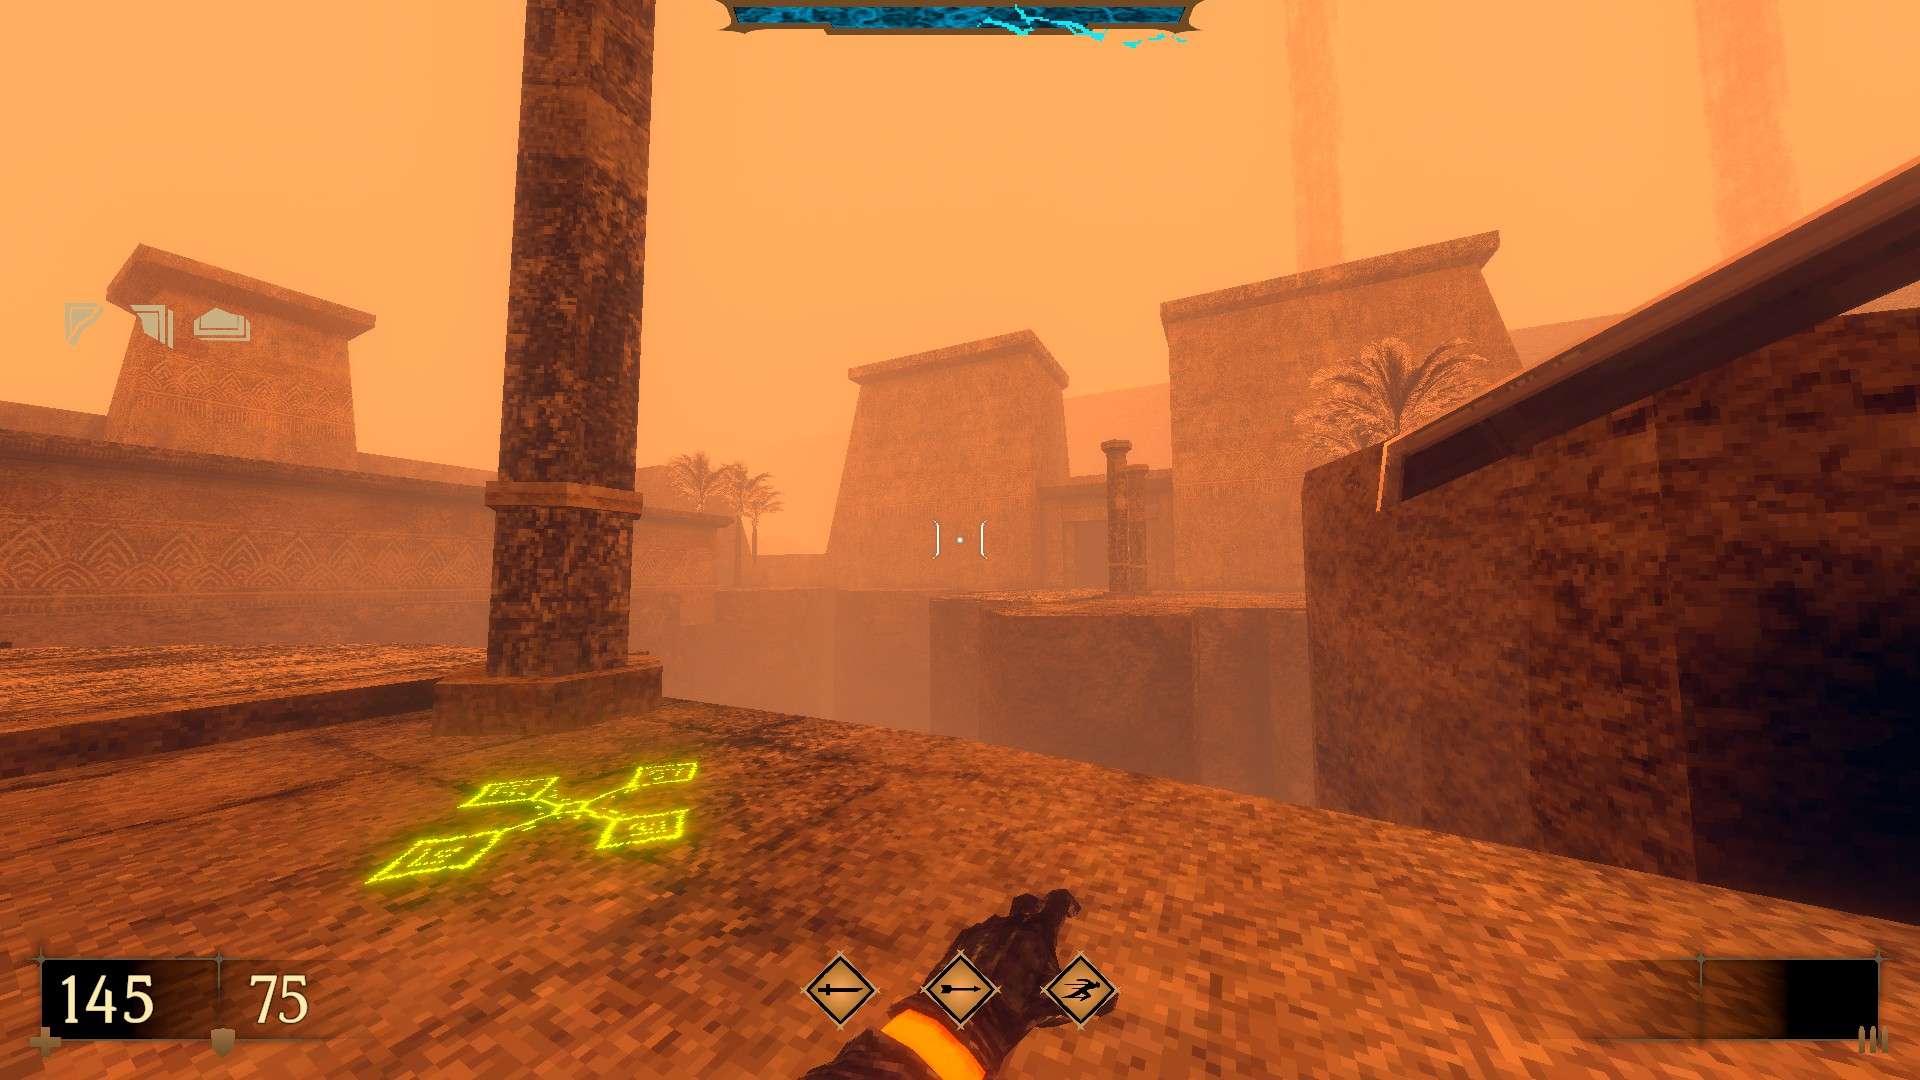
4/7 – Following from the previous secret, ascend the stairs leading outside, turn around and look for the indented part of the surrounding walls. Use it to find some ammo behind.


5/7 – Following from the previous secret, progress into the next structure and use the indented part of the wall signified by a torch to reveal some more ammo and health.
6/7 – After dealing with the mid-boss, jump into the space between the legs of the statue on the left and use the wall at the end to reveal a cache.


7/7 – An emblem can be seen residing on a ledge above the red key socket. Use your platforming skill to make your way up to it. (Inferno Gauntlets Expansion II).
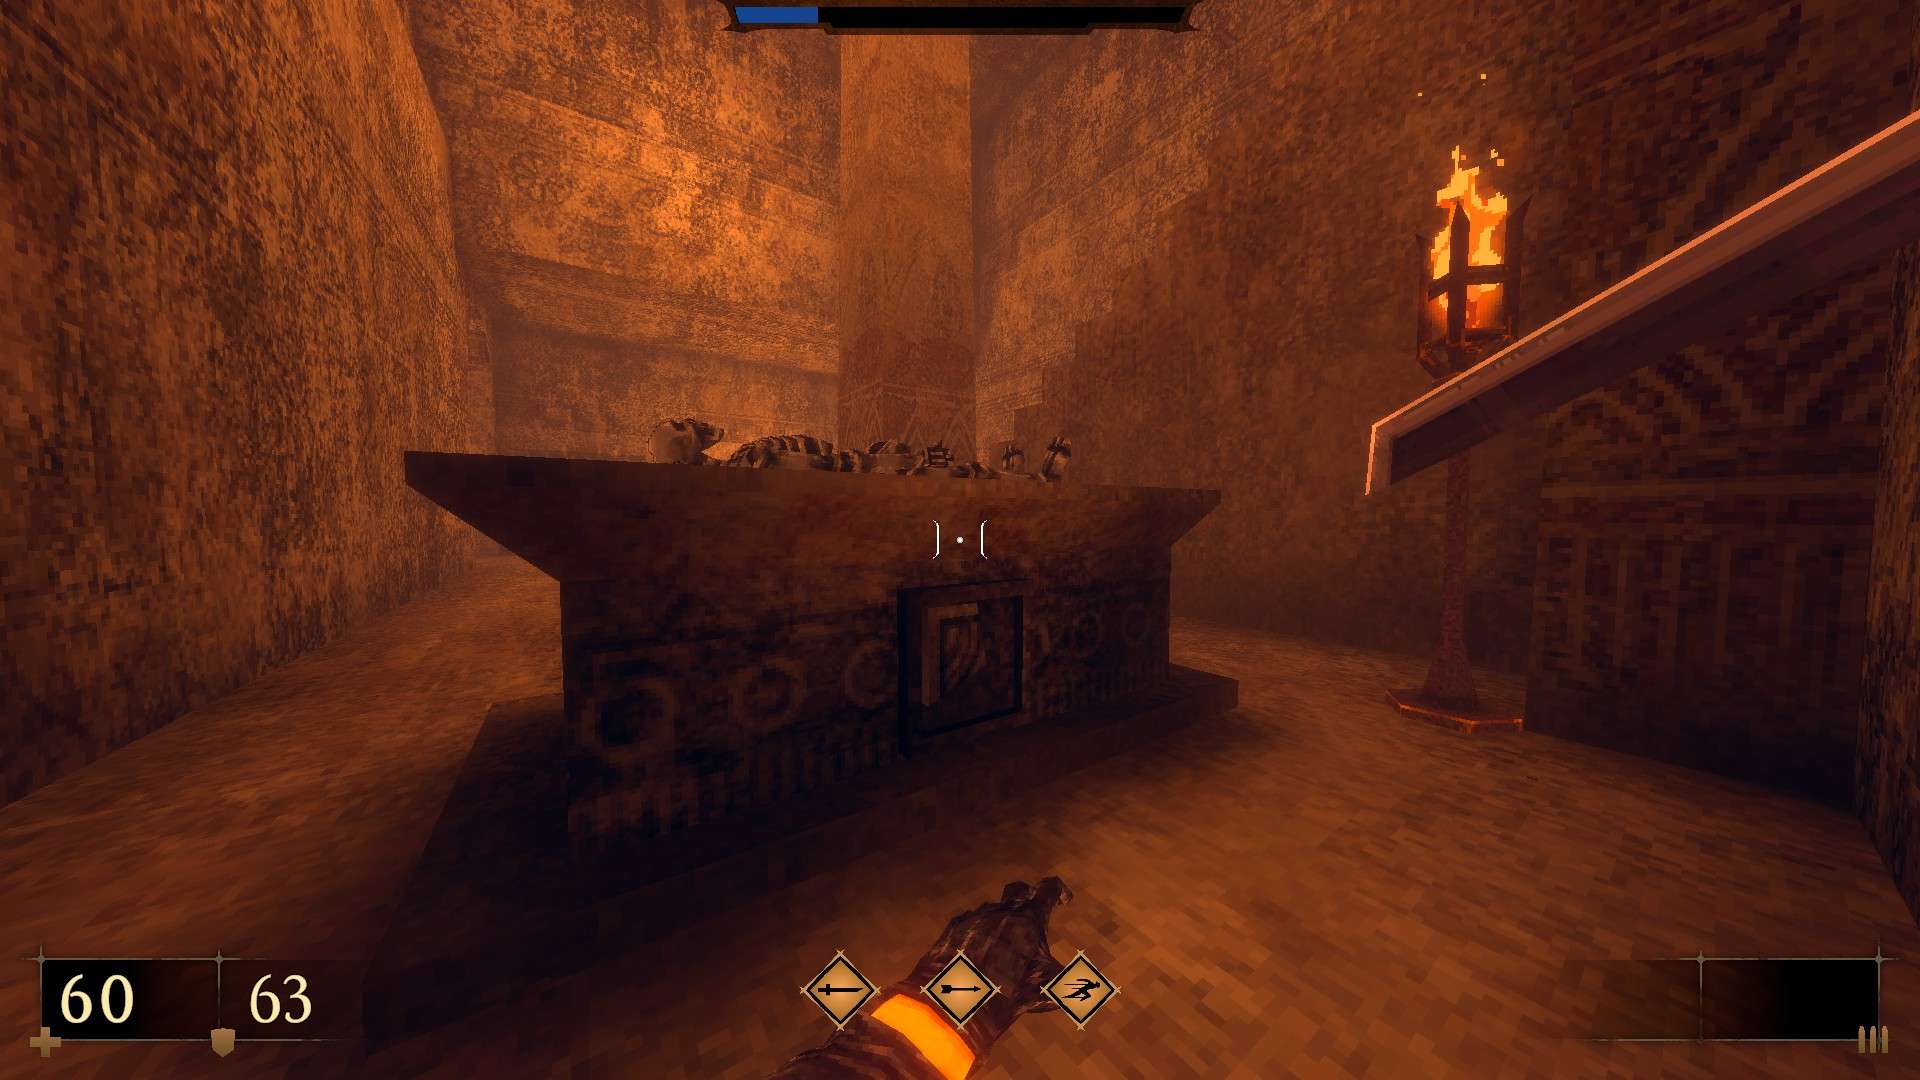
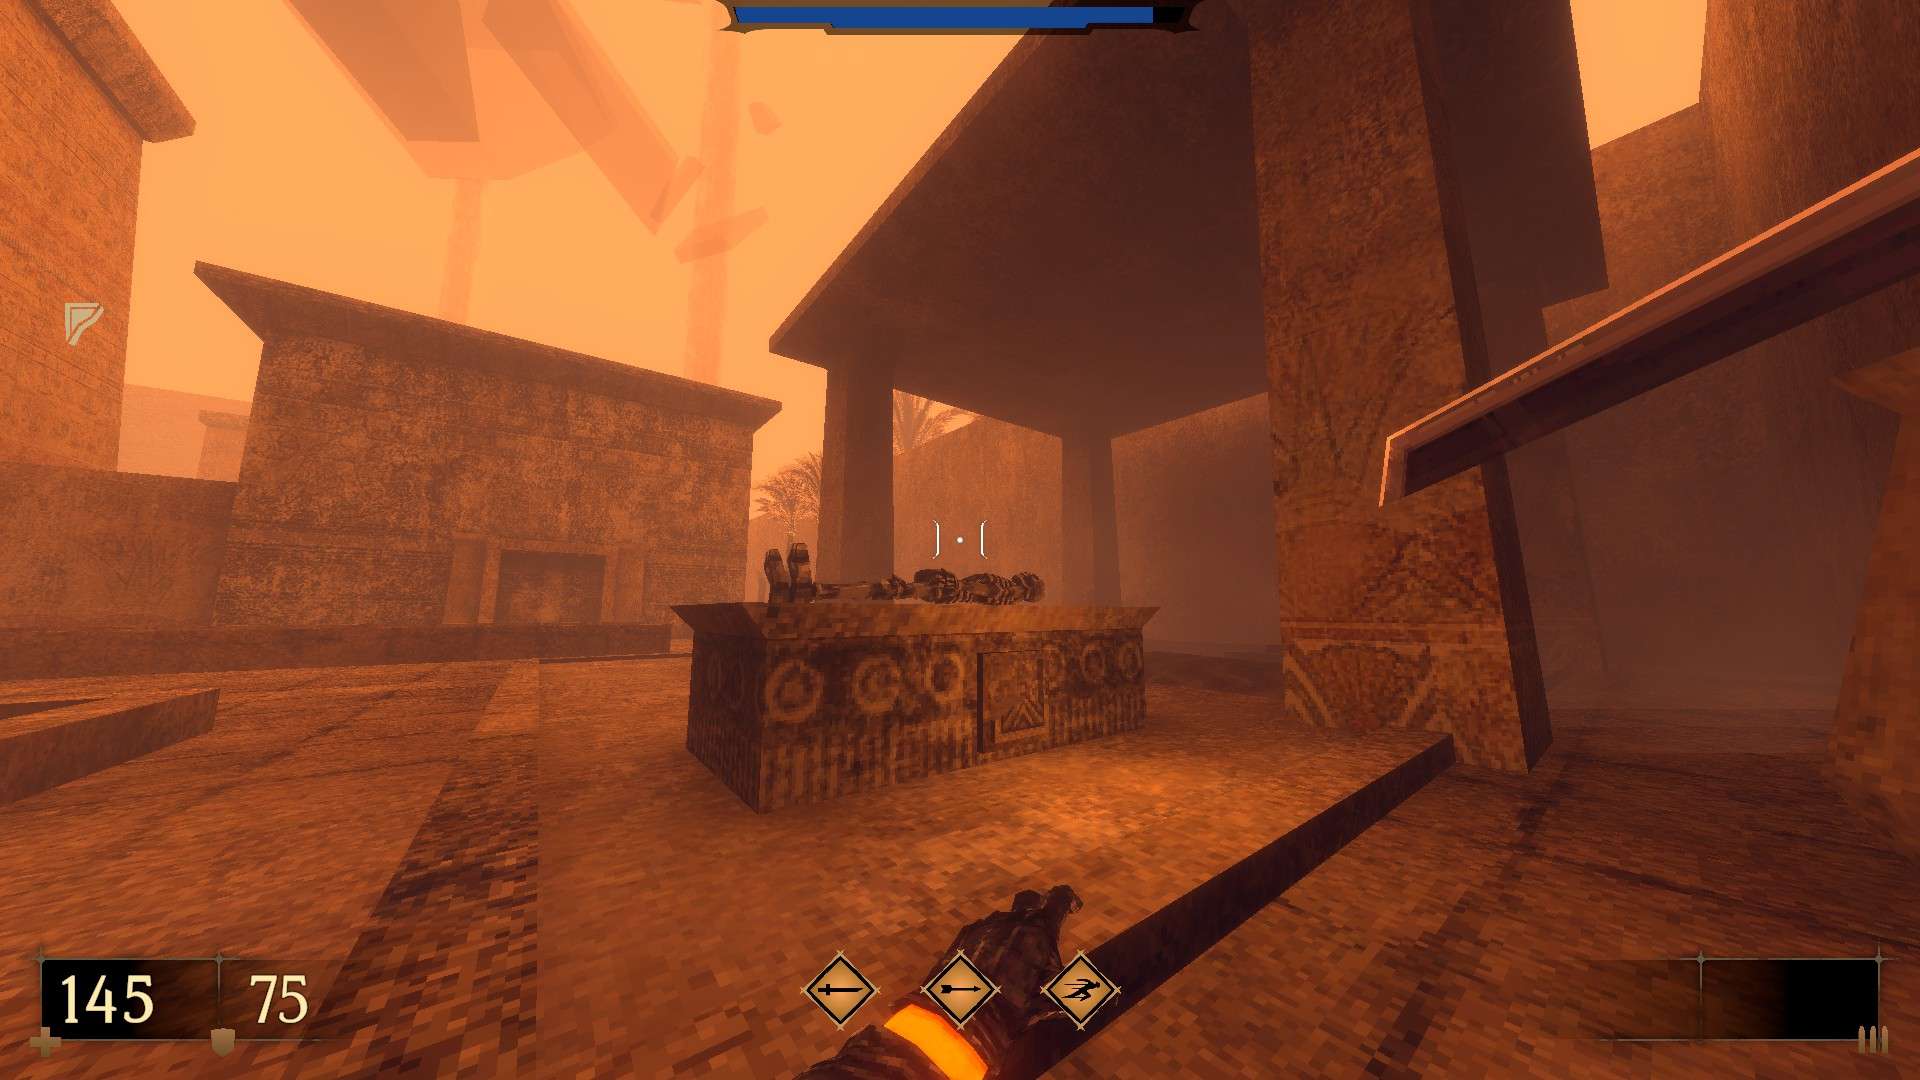
Super secret – Return to the tunnels and look for a tablet piece on the backside of the tomb with a skeleton on it. Continue on and get the second tablet piece from a similar tomb right after getting teleported. The third piece is found right around the next corner. Pick it up, move on and use the runes right outside to make backtracking possible. Return to the first building where the side area teleporter is found and mount the completed tablet where it belongs to reveal a hidden room next to it (Boss Killer -G- and a Blood Gem).
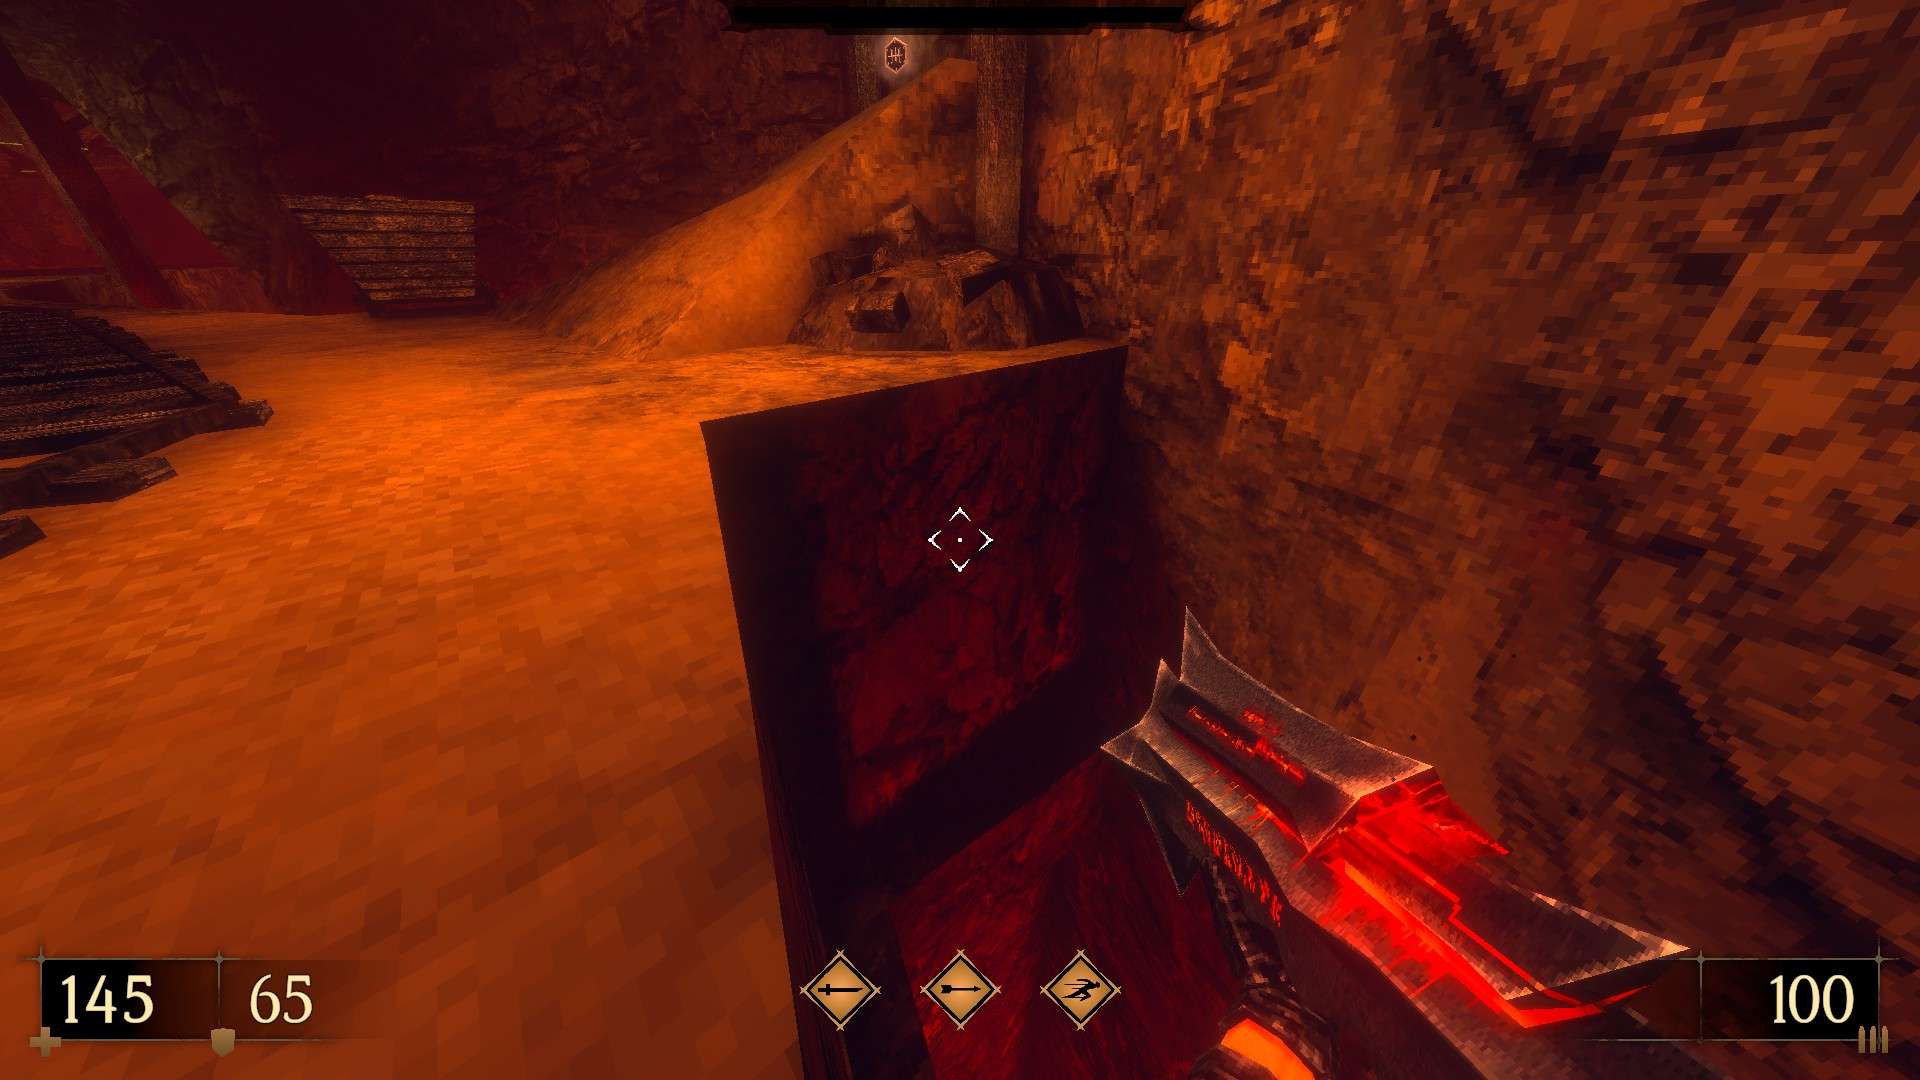
E4M3: Quarry
This level contains 7 secrets and a super secret.
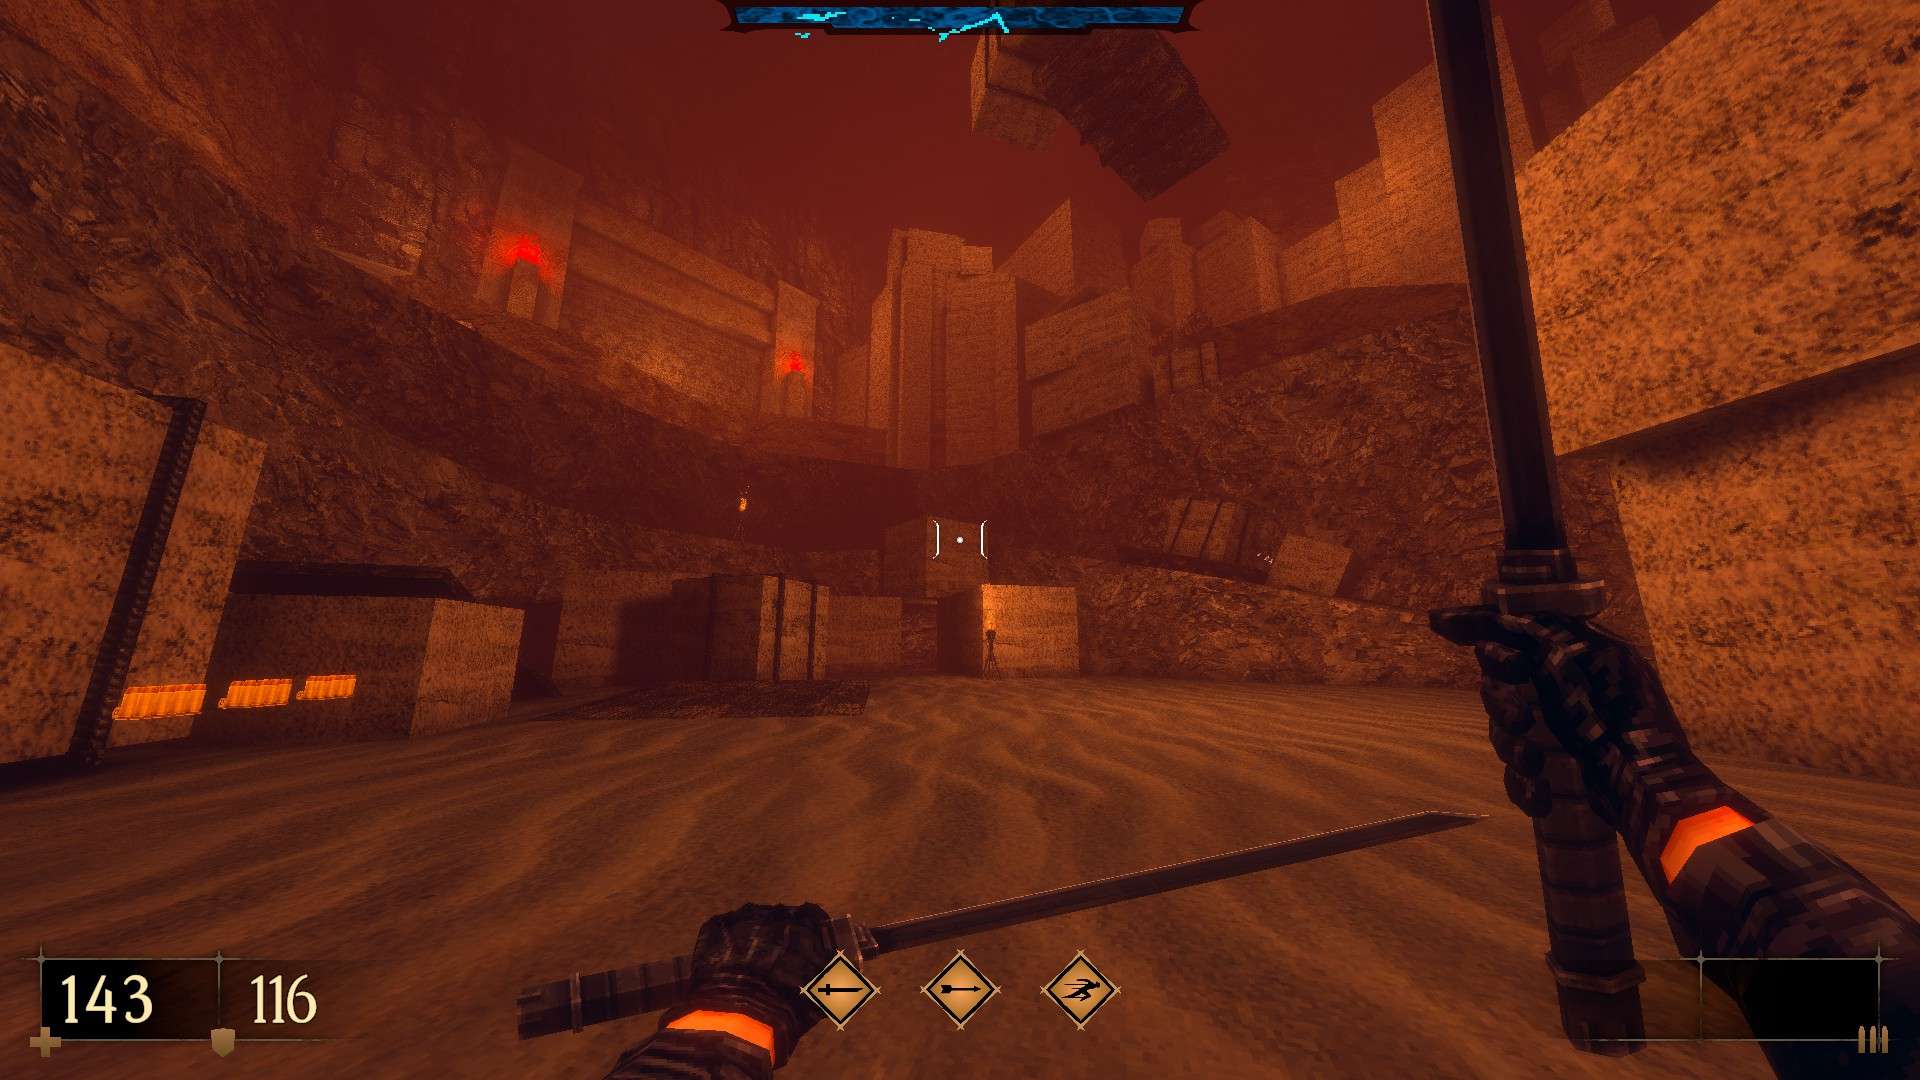
1/7 – Look for an opening at the very end of the initial cavern to find some hidden ammo.


2/7 – At the end of the slope surrounding the cavern, drop down to the ledge below to pick up an out of sight armor.
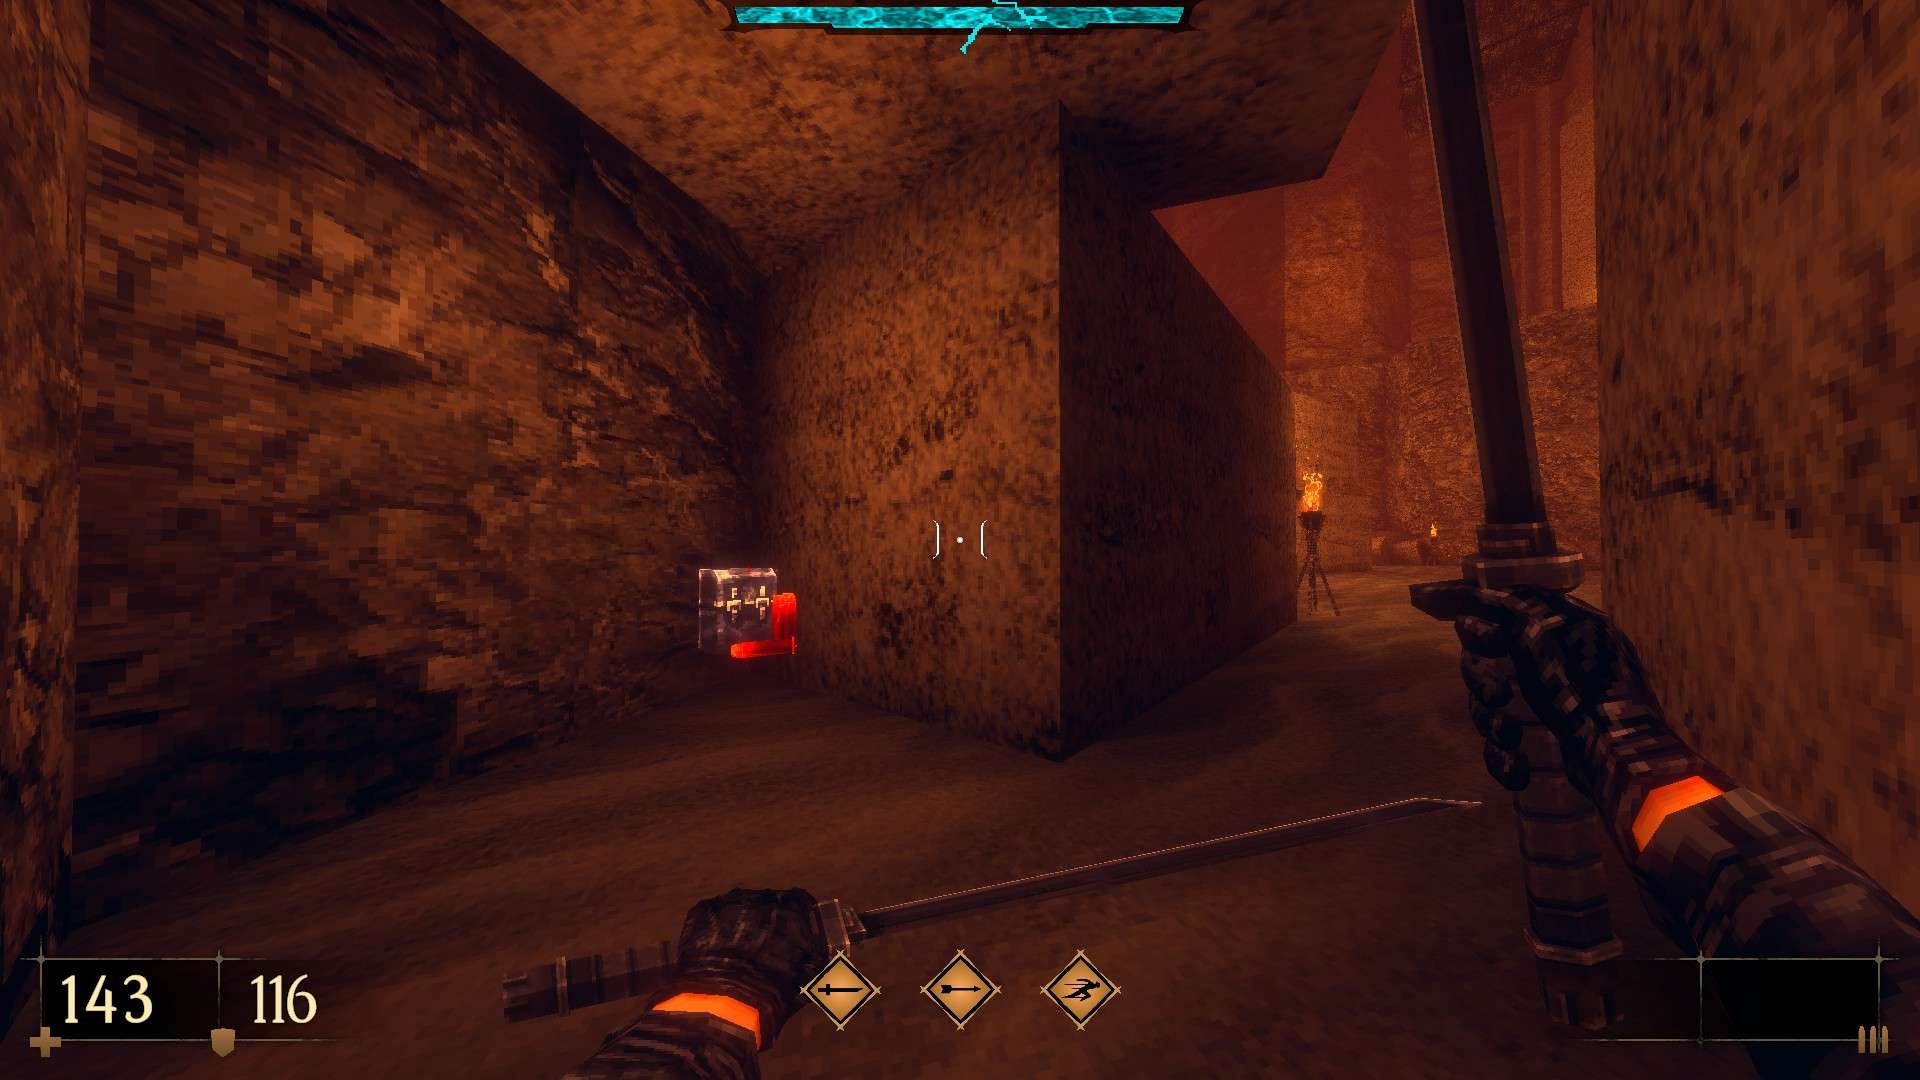
3/7 – Before going through the stone gate, explore the opening to the right to find a cache.
4/7 – Past the gate, look for stone blocks to the left and utilize them to make your way up to an armor residing above.

5/7 – Following from the previous secret, cross the underground bridge and check the area to the left of the gate to find the differing part on the wall. Use it to reveal yet another cache.
6/7 – Just past the two pillars in the underground ruins, take the steps down and follow the ledge around to reach a hidden emblem and some ammo (Shotgun Expansion III).

7/7 – Following from the previous secret, take the path that can be seen below on the other side of the stairs and destroy the cracked wall to reach the side area. As soon as you step into the next cavern, look for a ledge below on the right and drop down to find another hidden emblem and an armor (Katana Focus II).

Super secret – Right from the corner that takes you to the side area, dash-jump towards the sandfall that strangely stops halfway in the air. A platform emerges and lifts you upwards, revealing a second sandfall nearby. Utilize it in the same manner to reach the highlighted ledge on the other side. Use the indented part on the cavern wall to reveal a cache. (Combo Shoot -G- and a Blood Gem (Also unlocks the achievement ‘Jump Bravely’)).
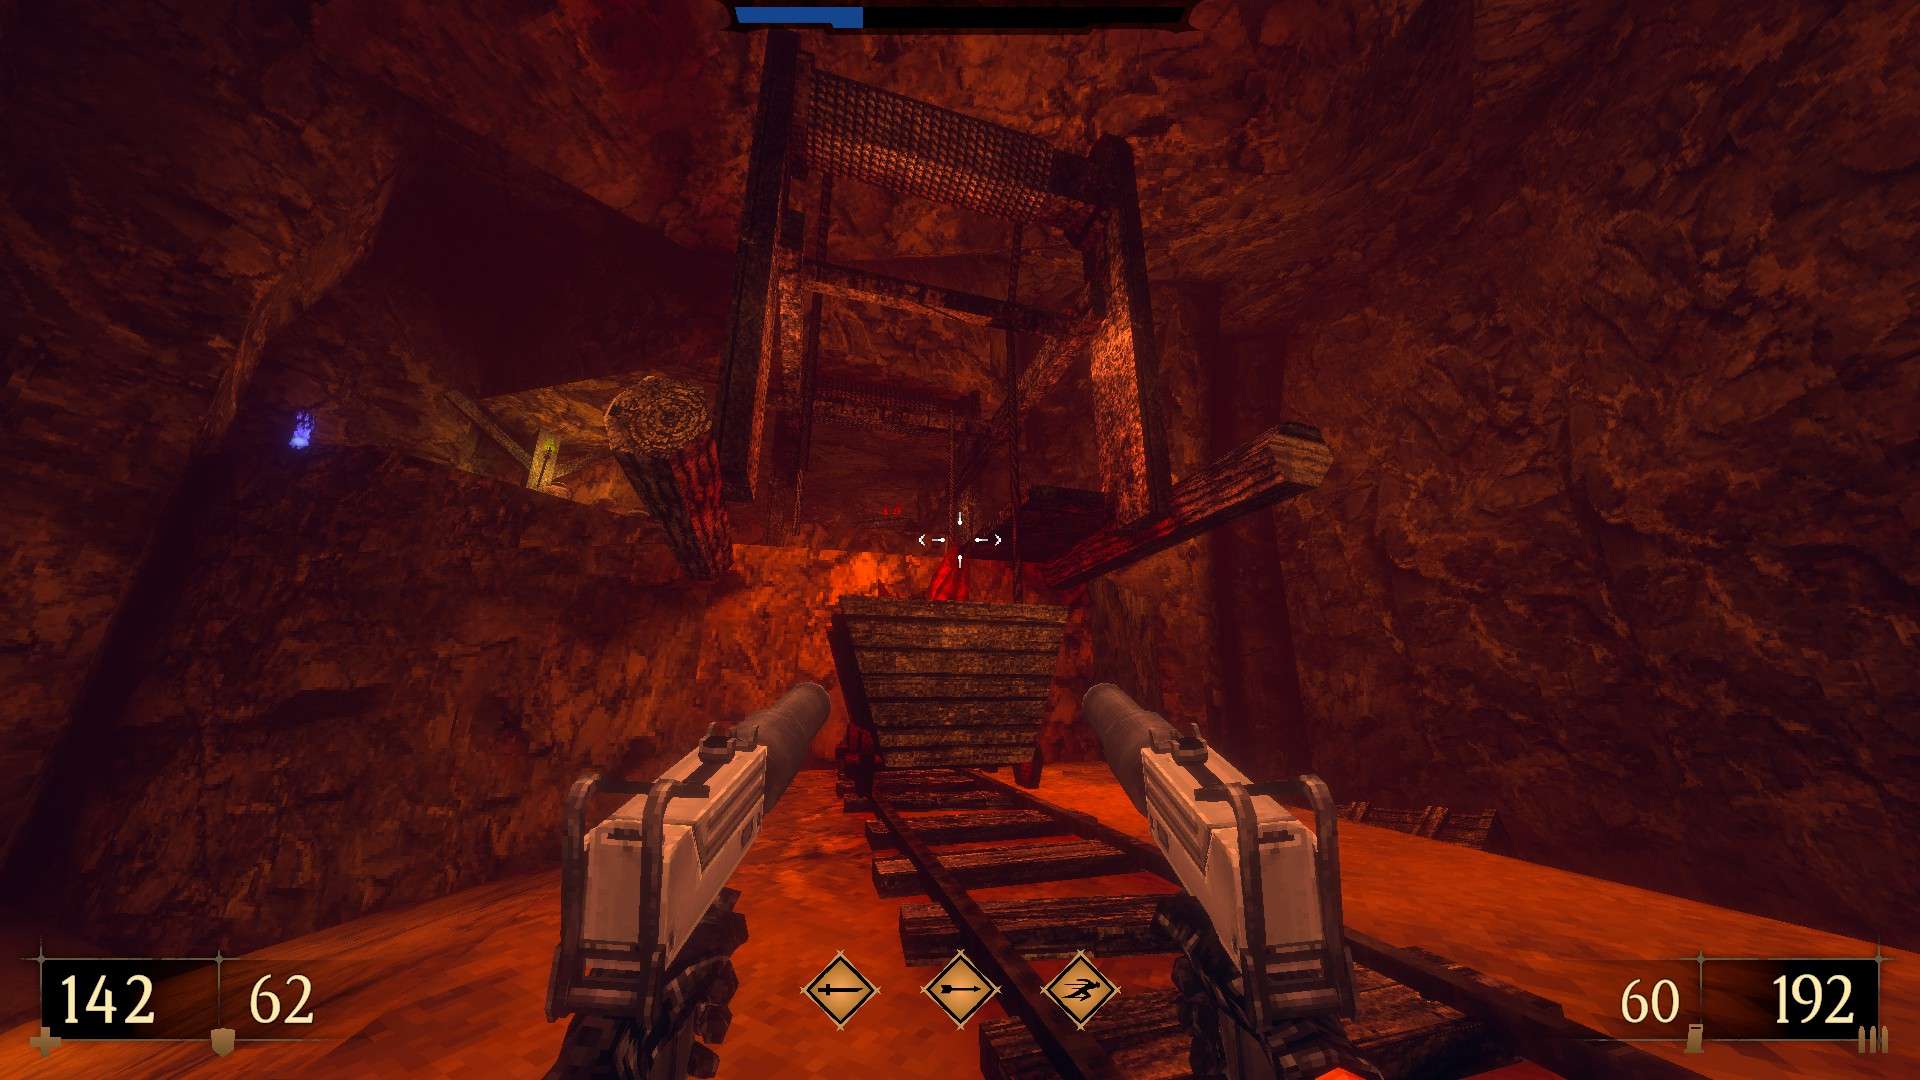
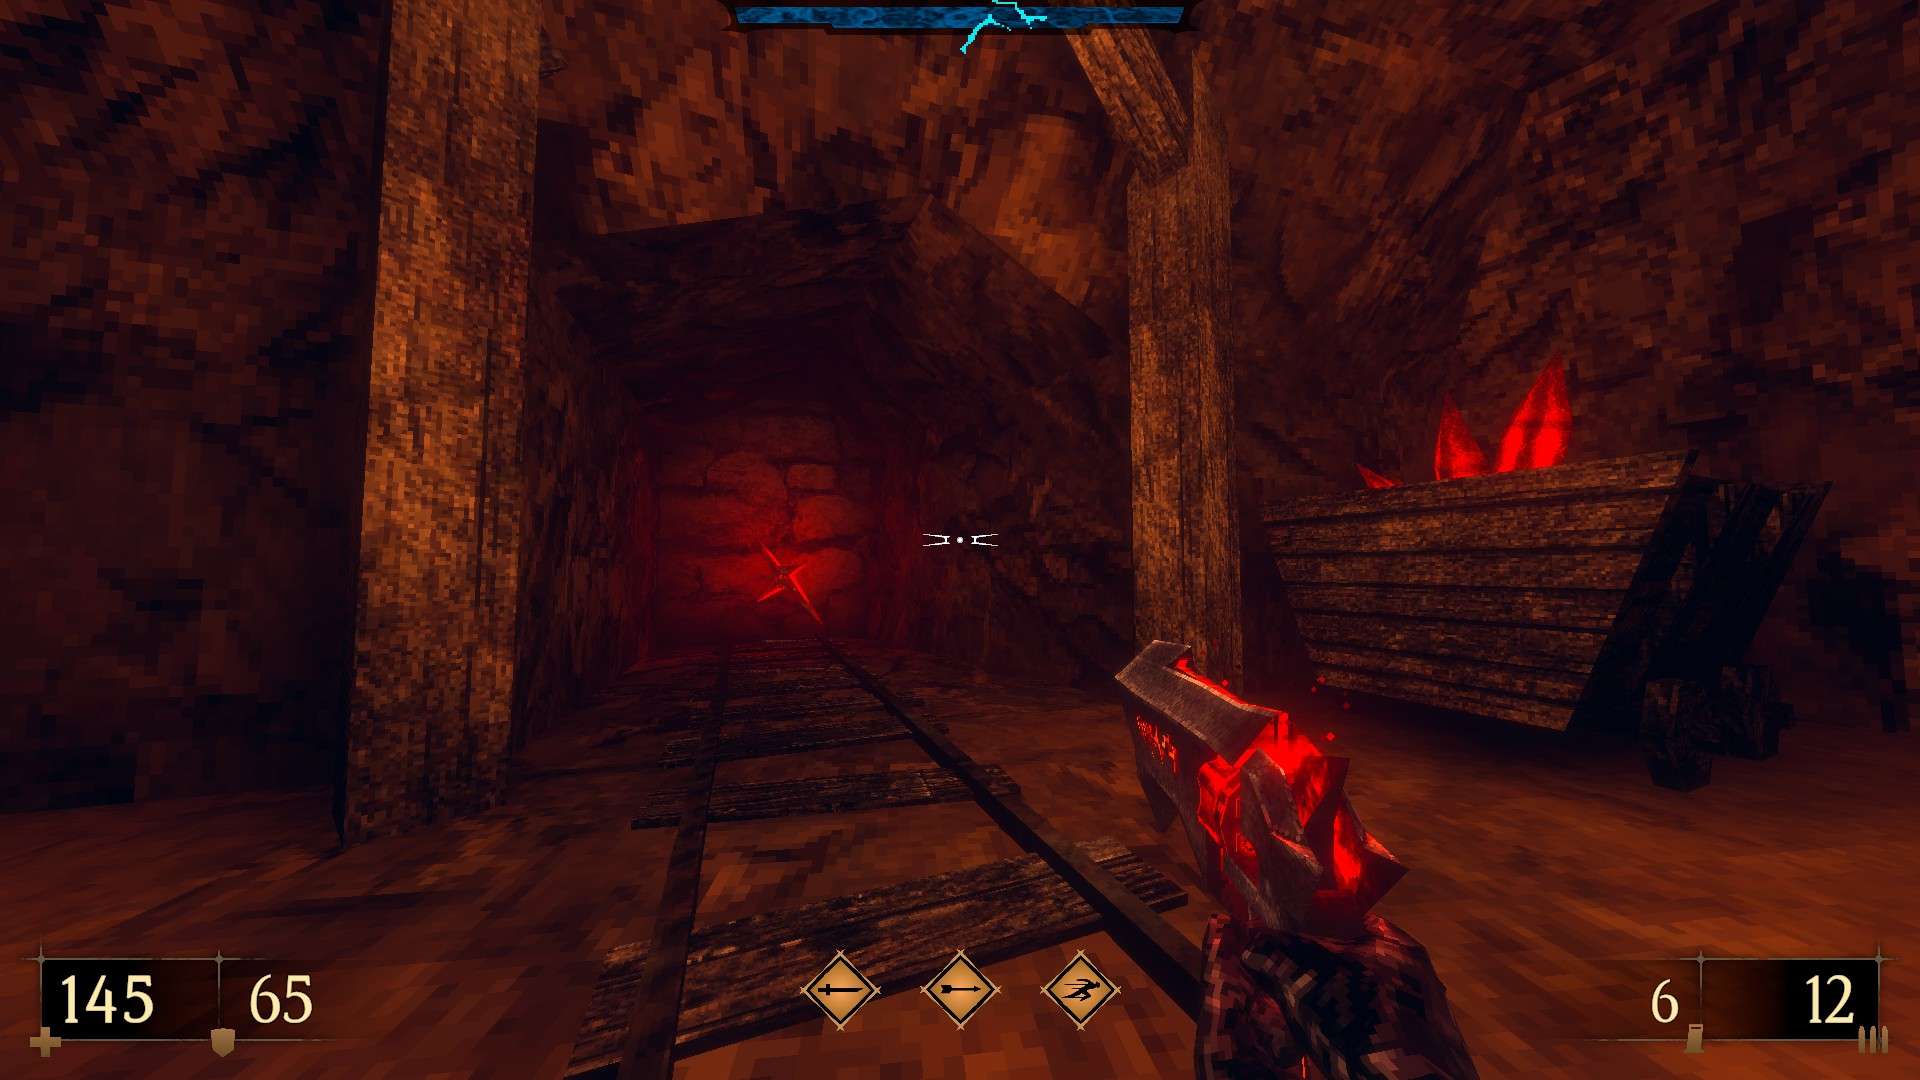
E4M4: Ominous Silence
This level contains 9 secrets.
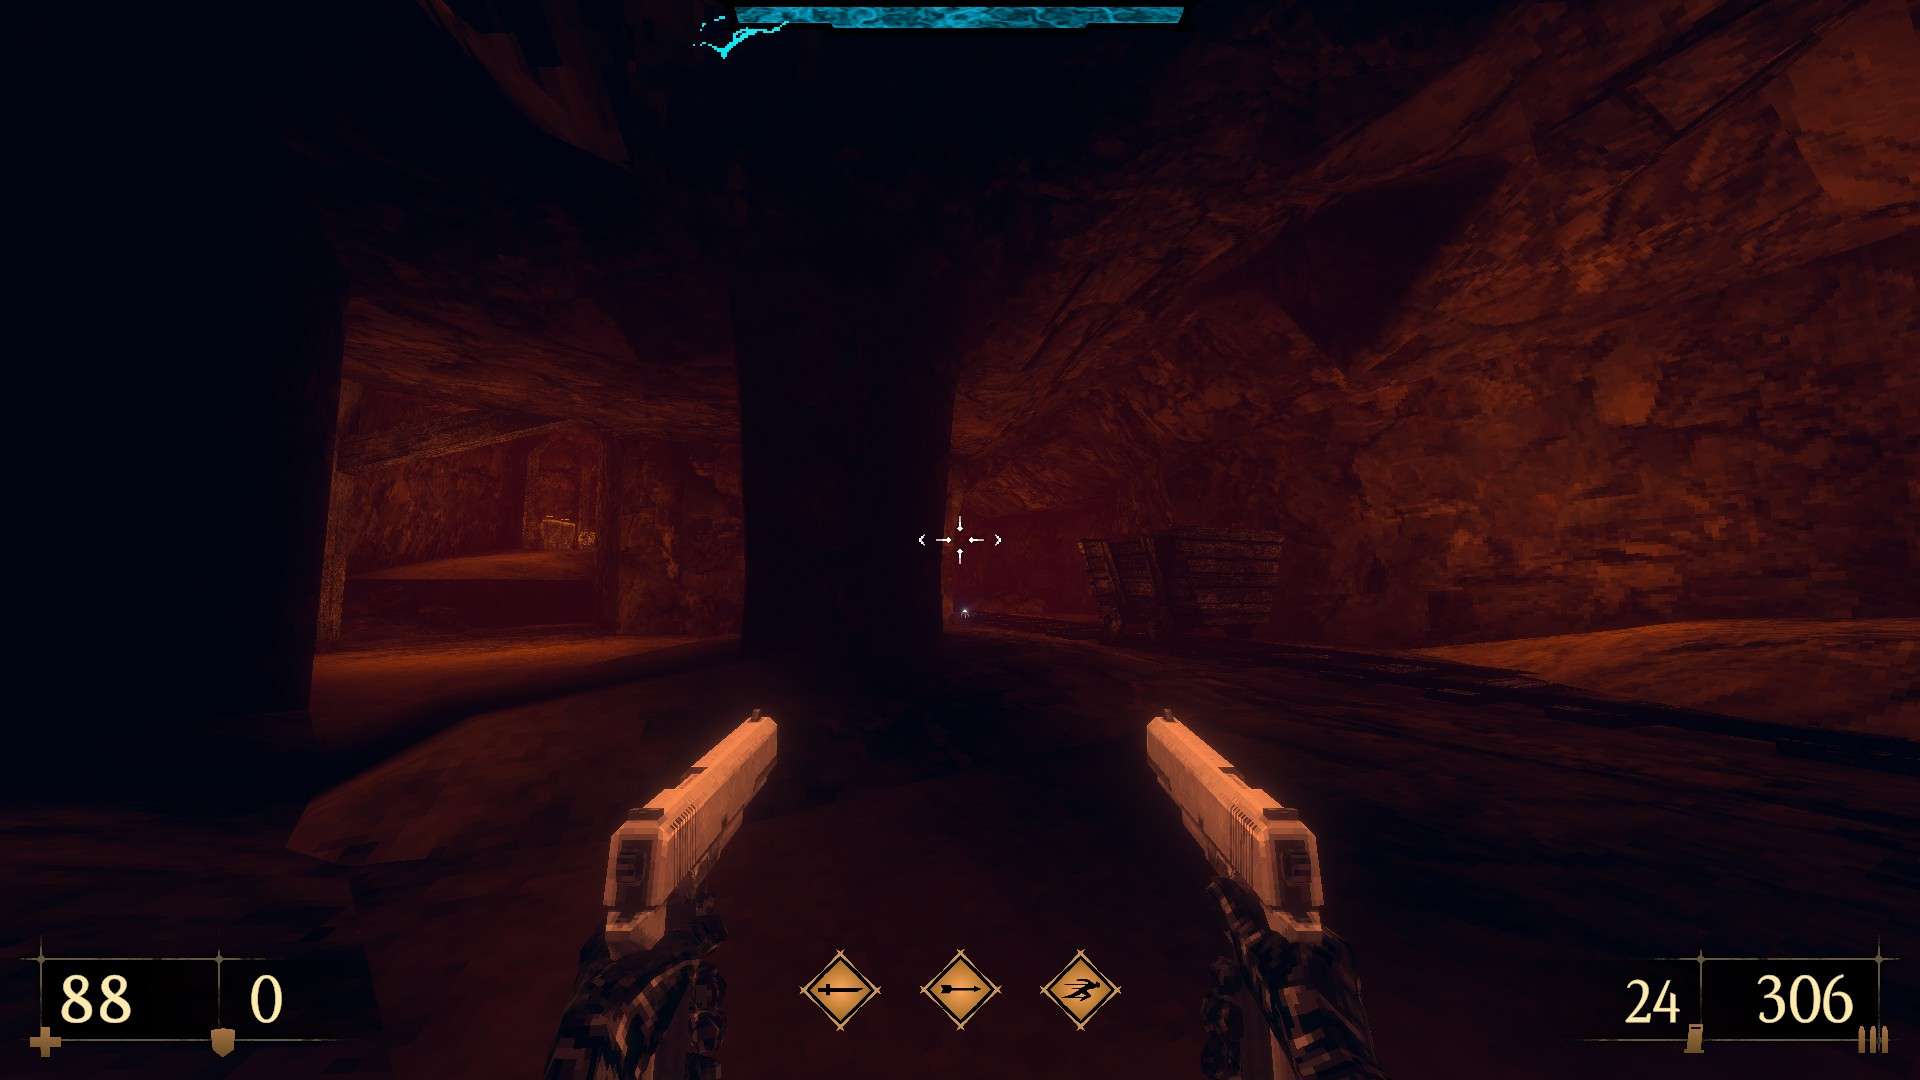
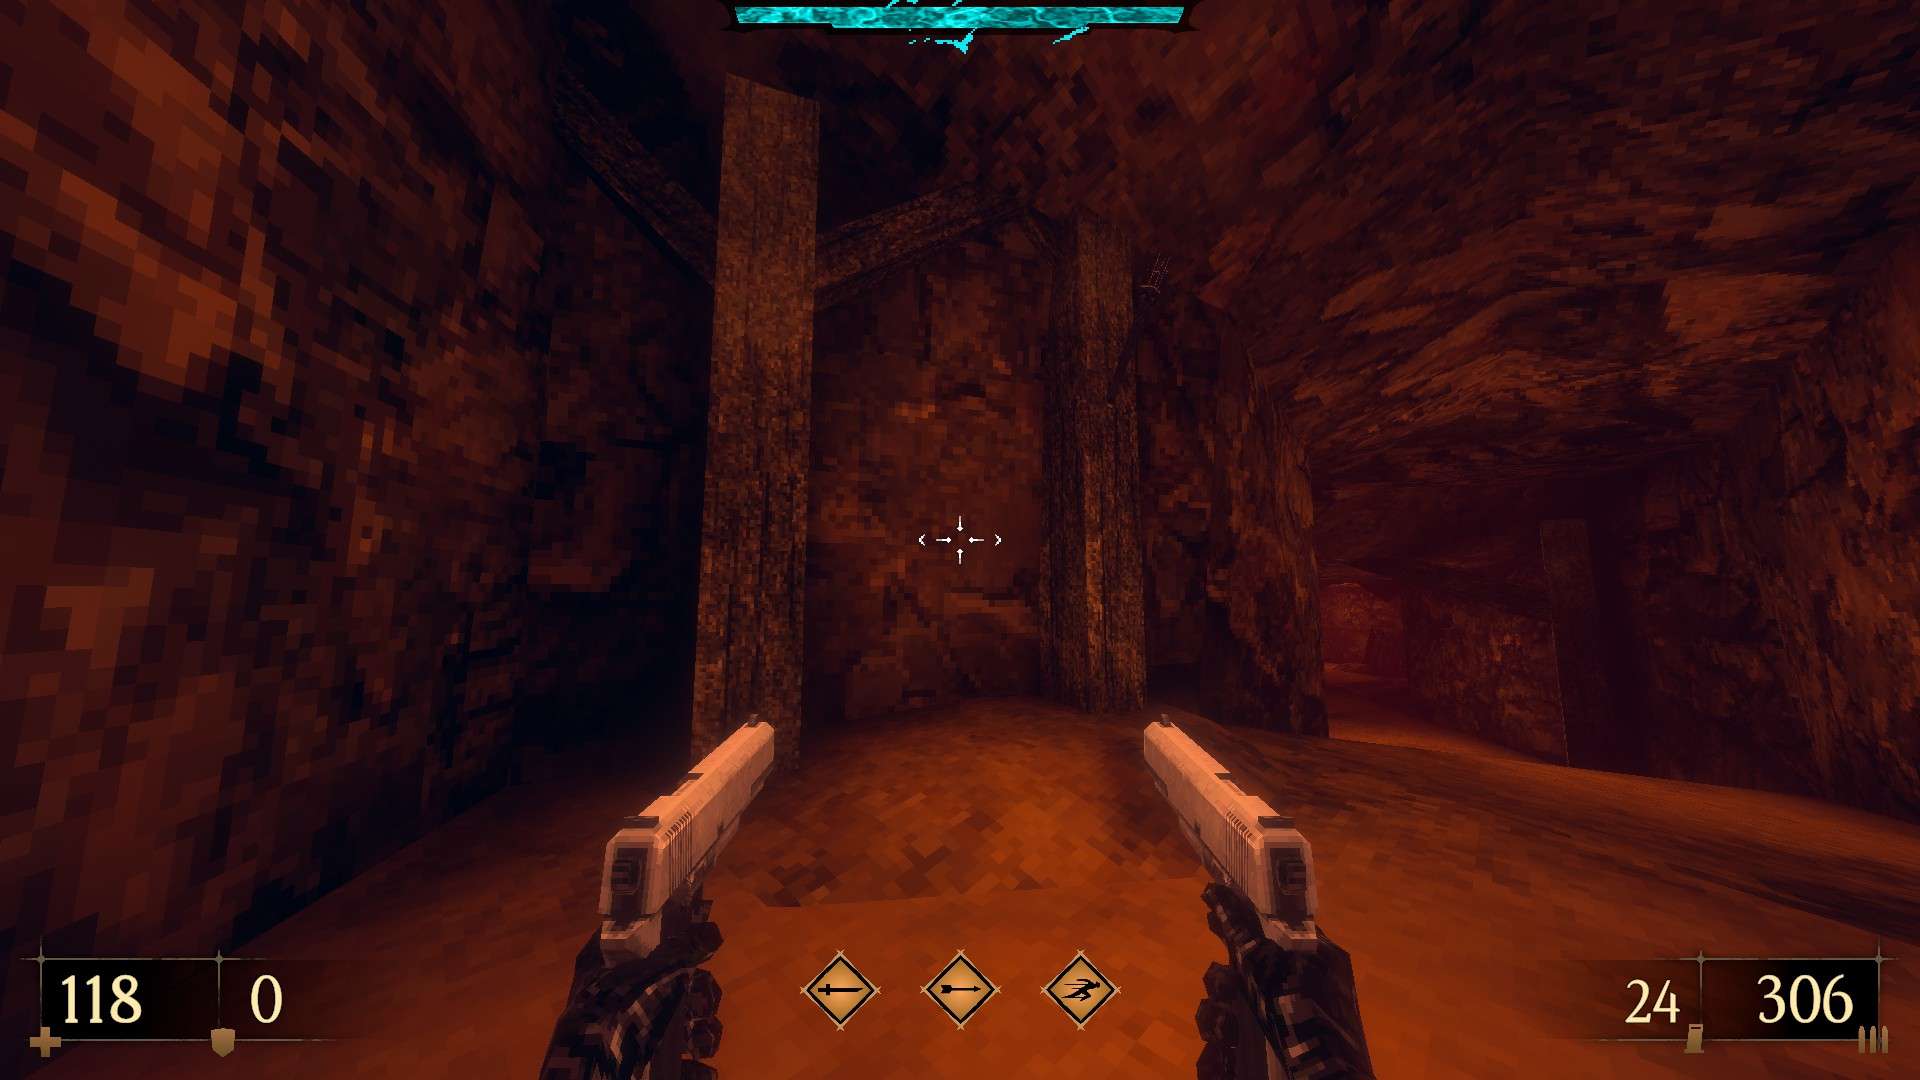
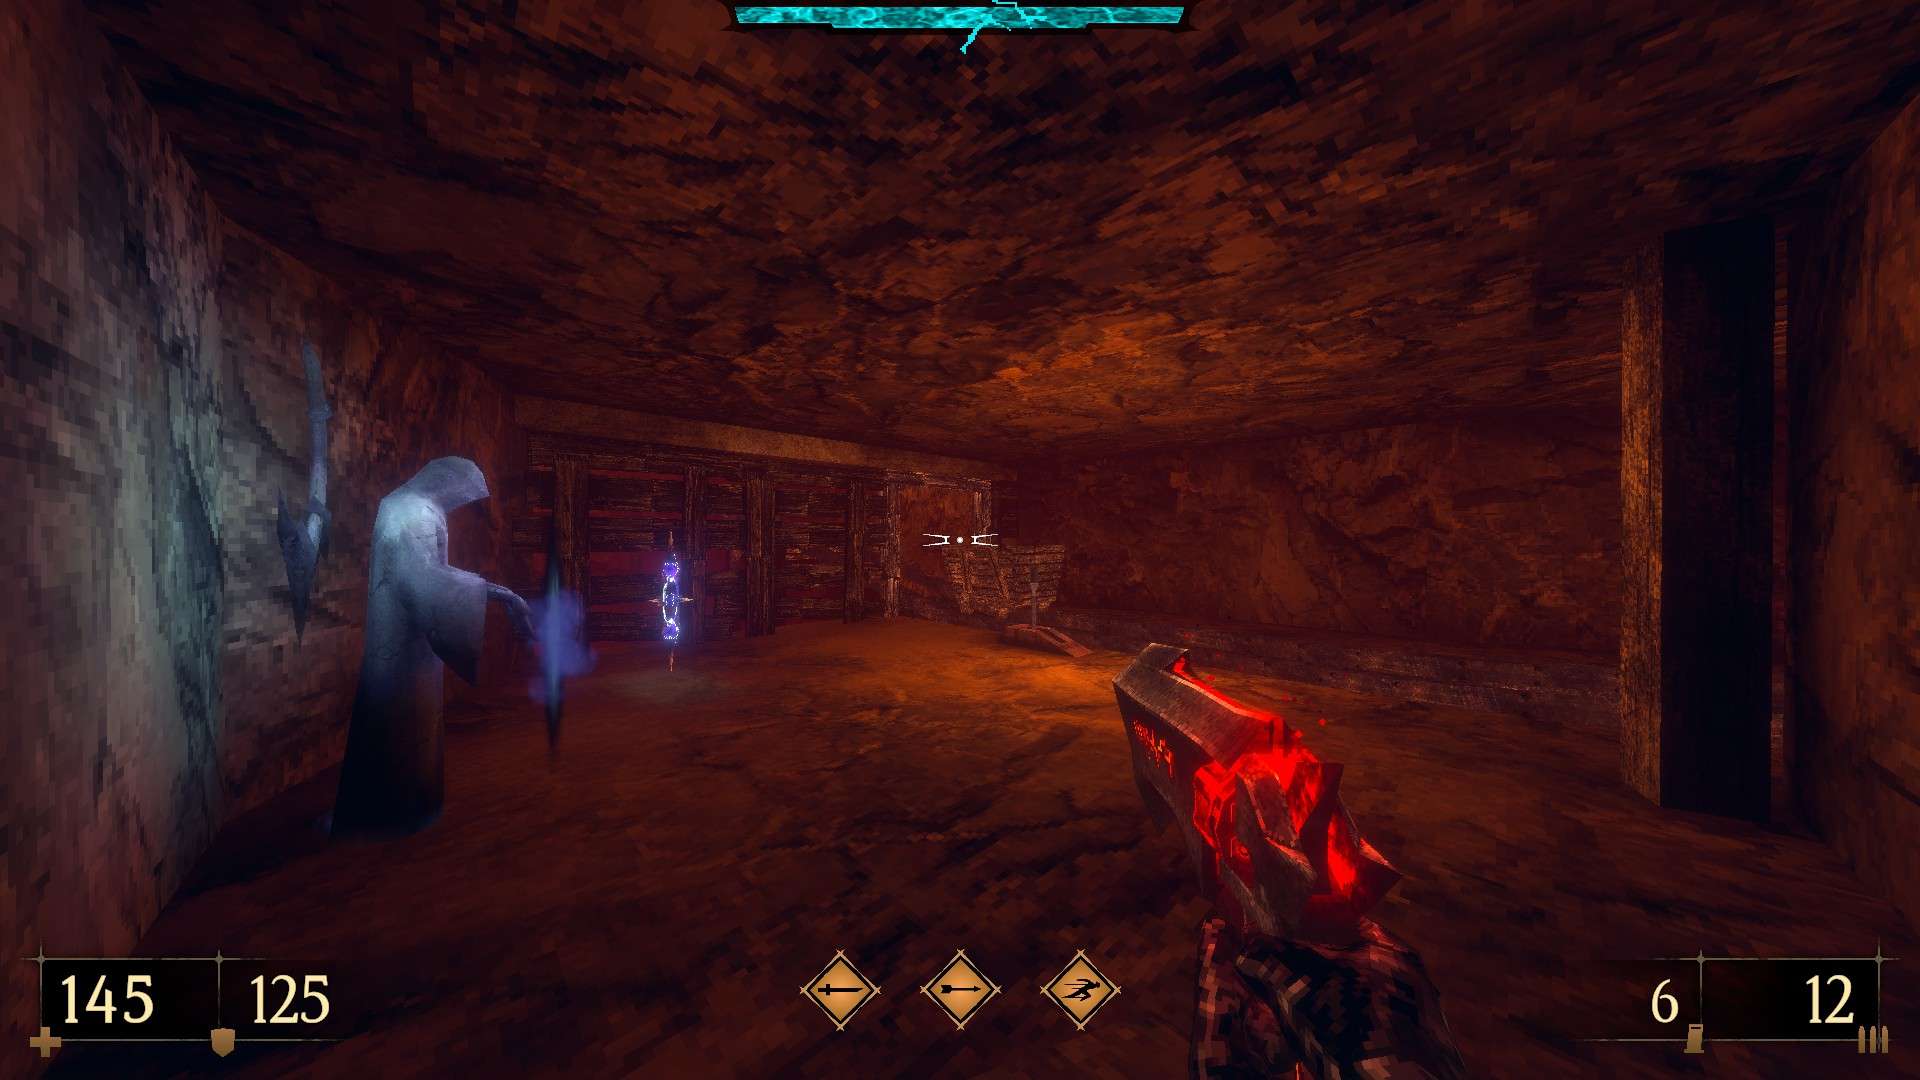
1/9 – At the first junction, check the dead end to the left and use the part of the wall between the two pillars to reveal a hidden compartment.
2/9 – Past the intersection, jump on top of the minecarts to the left and crawl through the opening behind them to reach an alcove with some ammo.

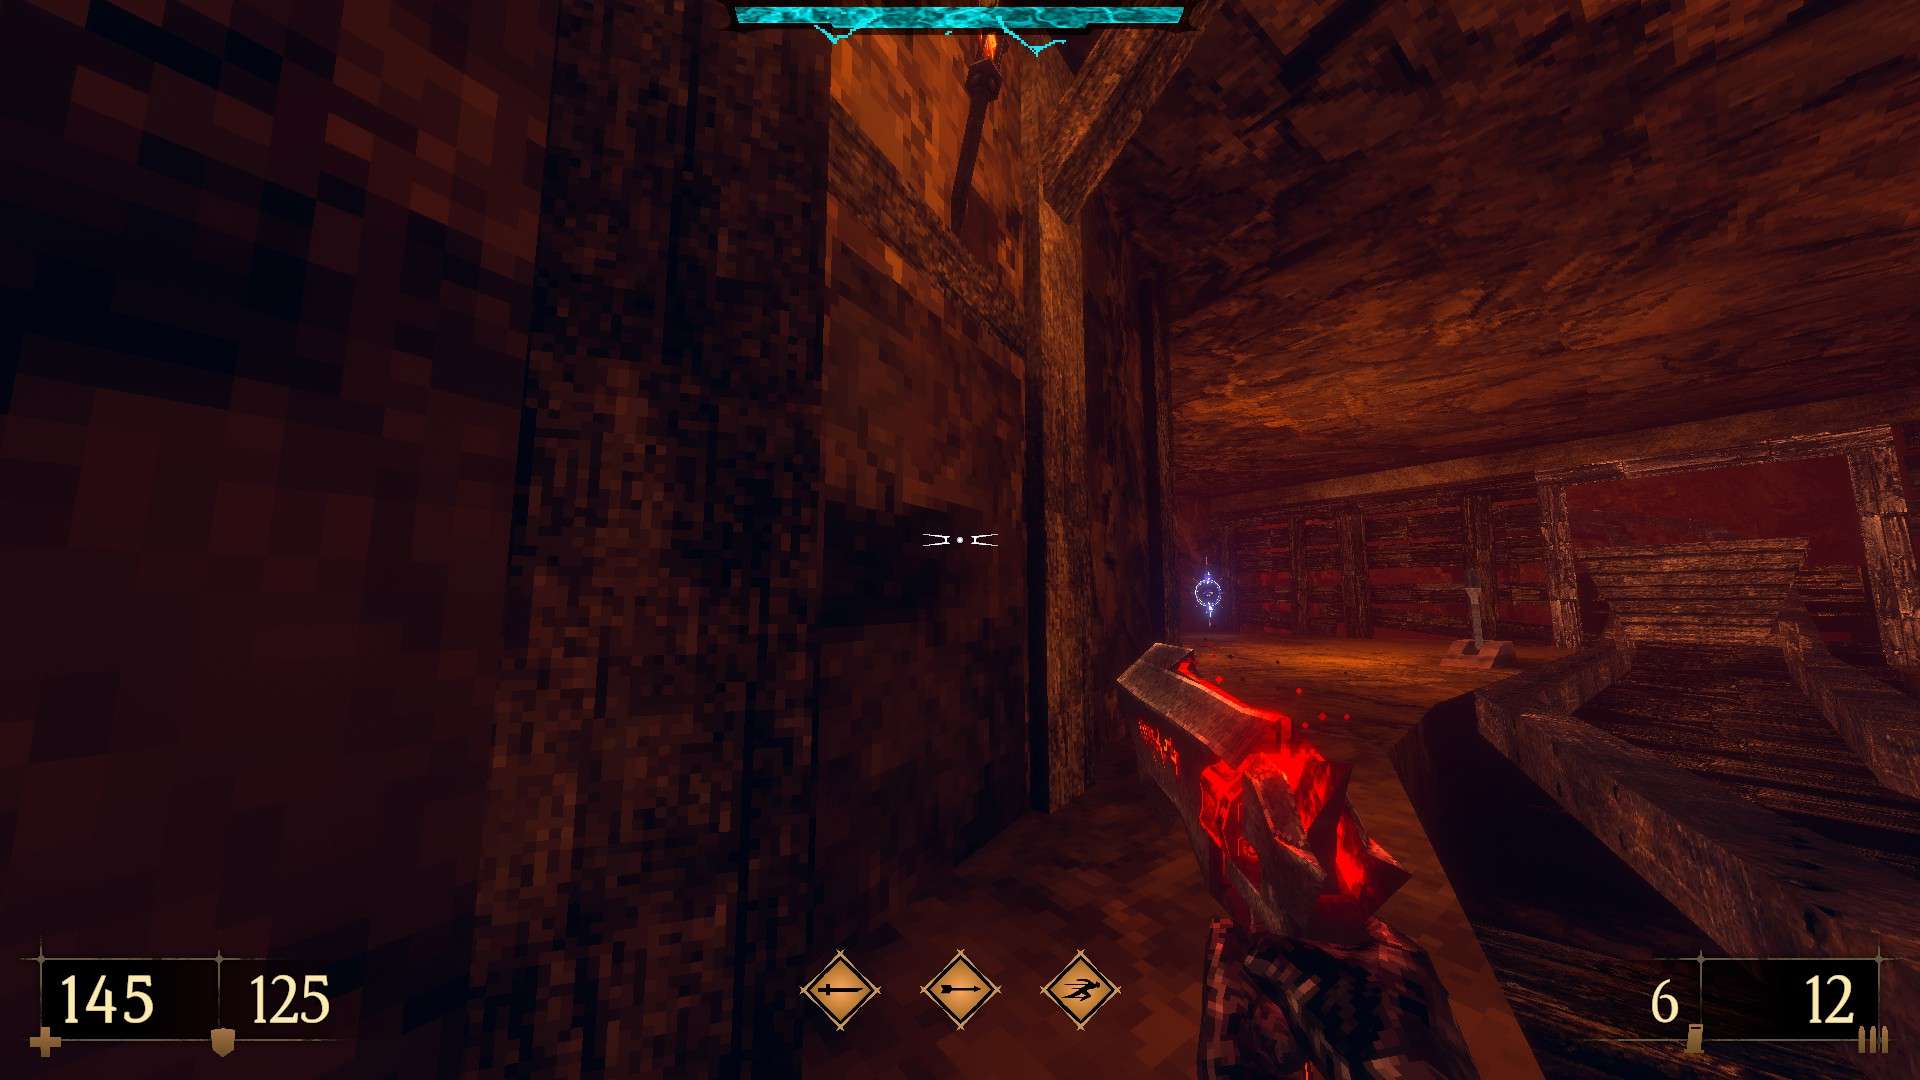
3/9 – As soon as you reach the upper floor with the help of a minecart, turn around, dash-jump to the ledge across and use the indented part of the cavern wall to reveal a cache (Black Bow Slaughter III).


4/9 – Following from the previous secret, return to the upper floor, destroy the crates to the right and drop down to grab an armor and some ammo.

5/9 – After taking the elevators up, go right towards the other one that takes you back to lower level and dash-jump to the platform hanging across. From there, jump on top of the adjacent walkway and use the cavern wall next to the unlit torch to reveal a hidden alcove.

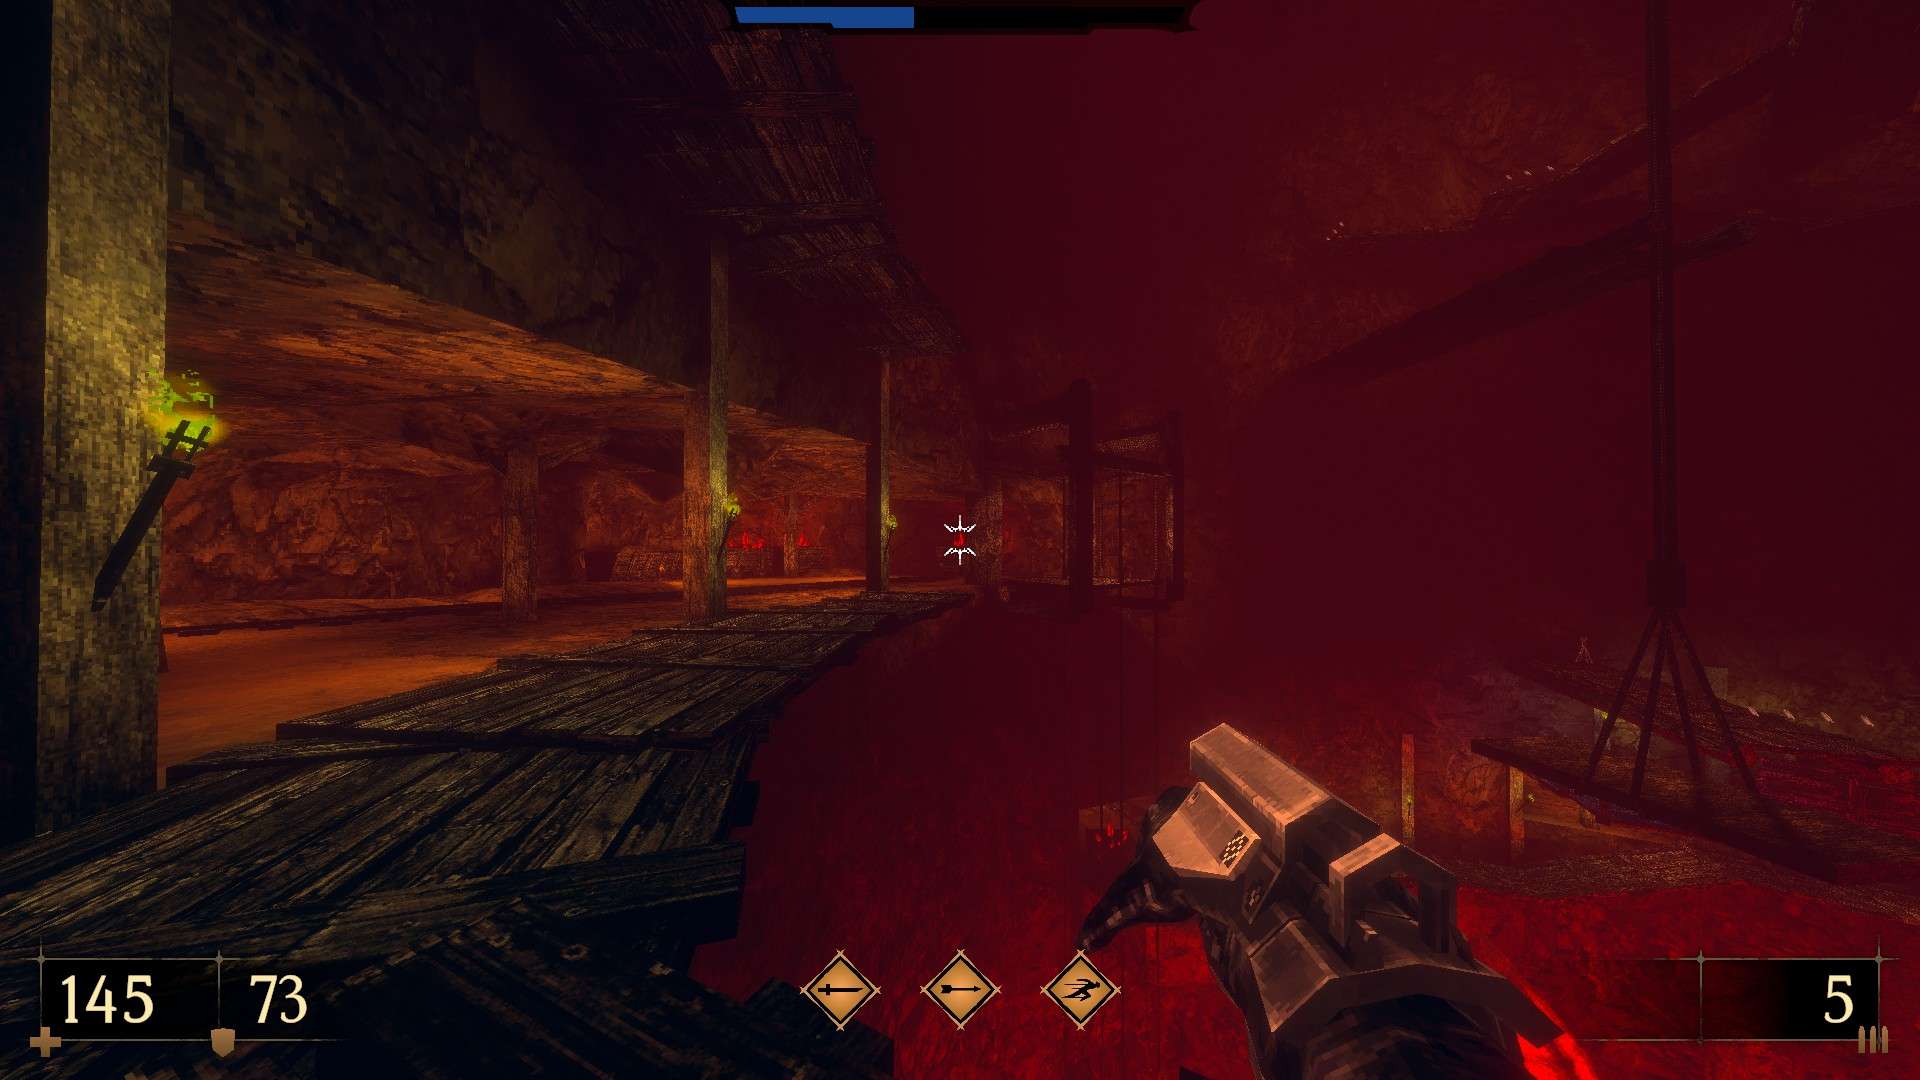
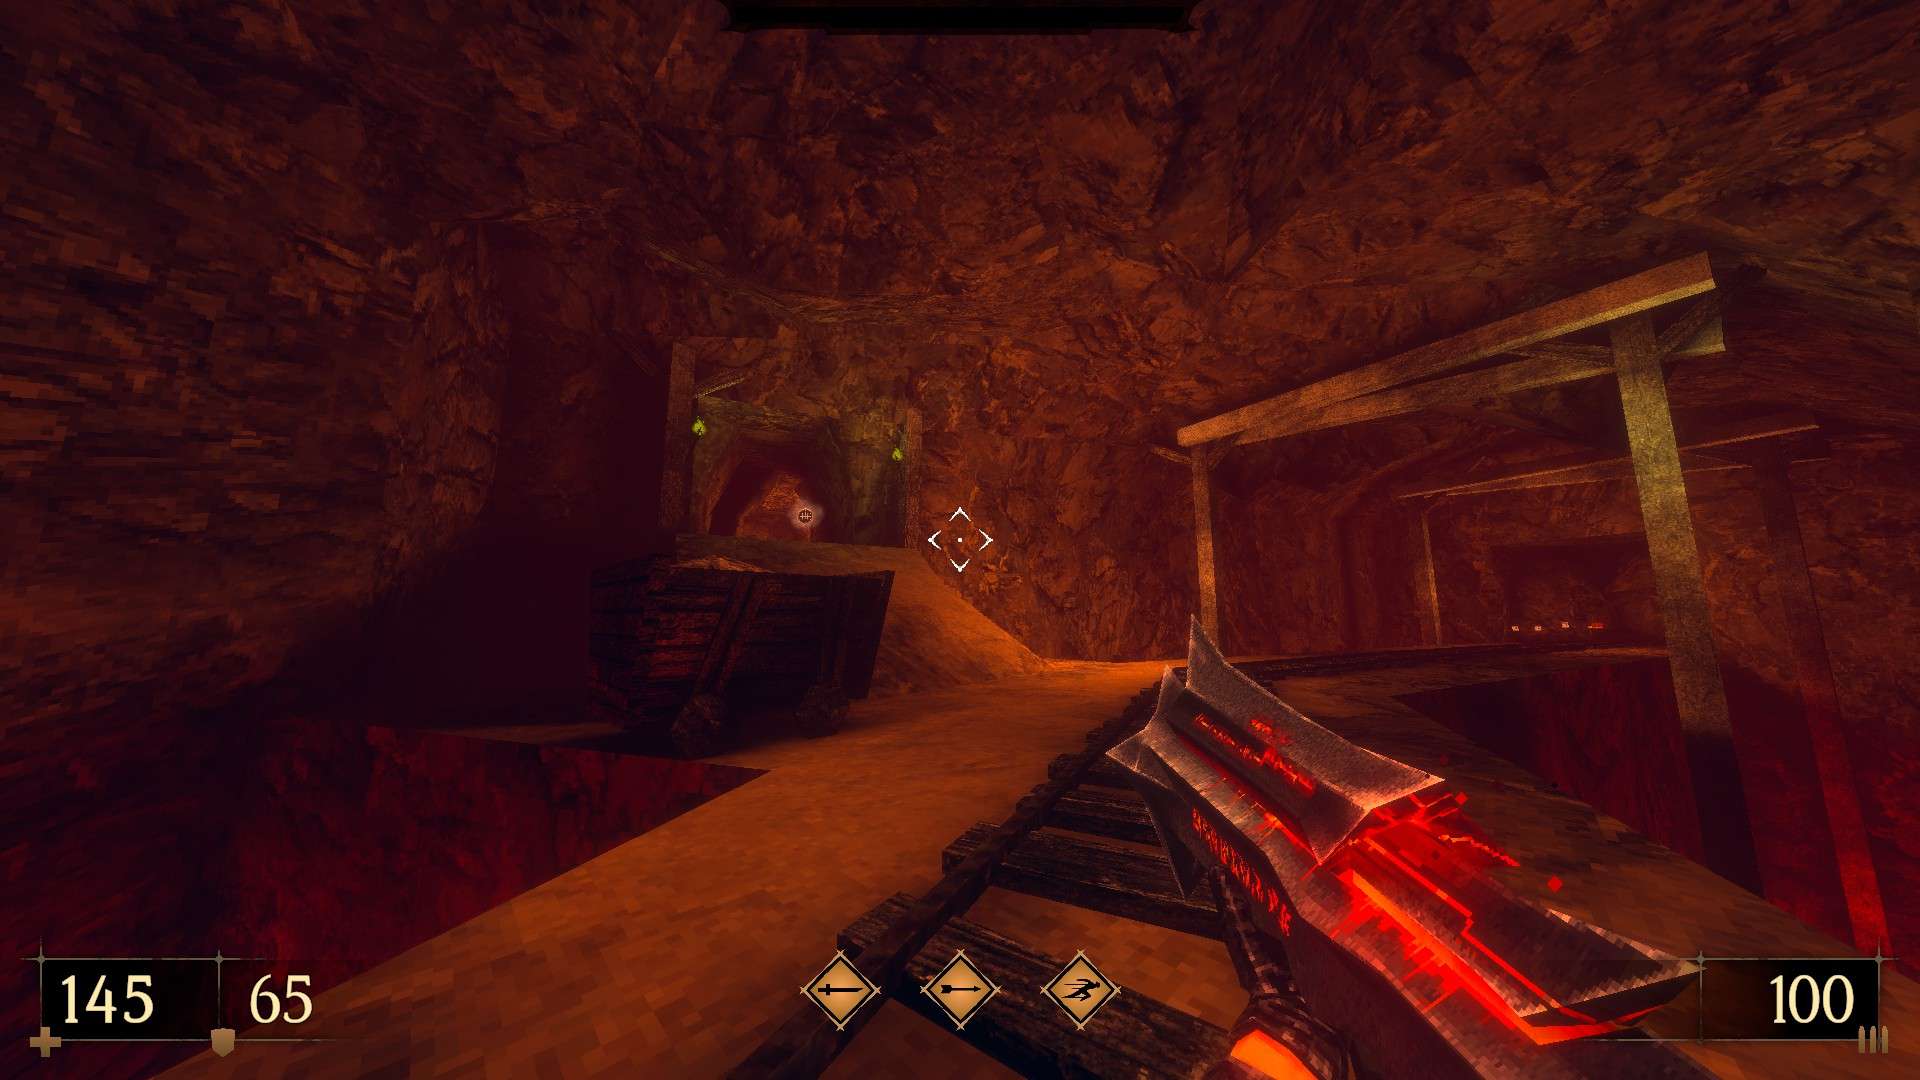
6/9 – At the next intersection, jump on top of the long minecart at the side to reach another hidden alcove (Trap Launcher Mastery III).
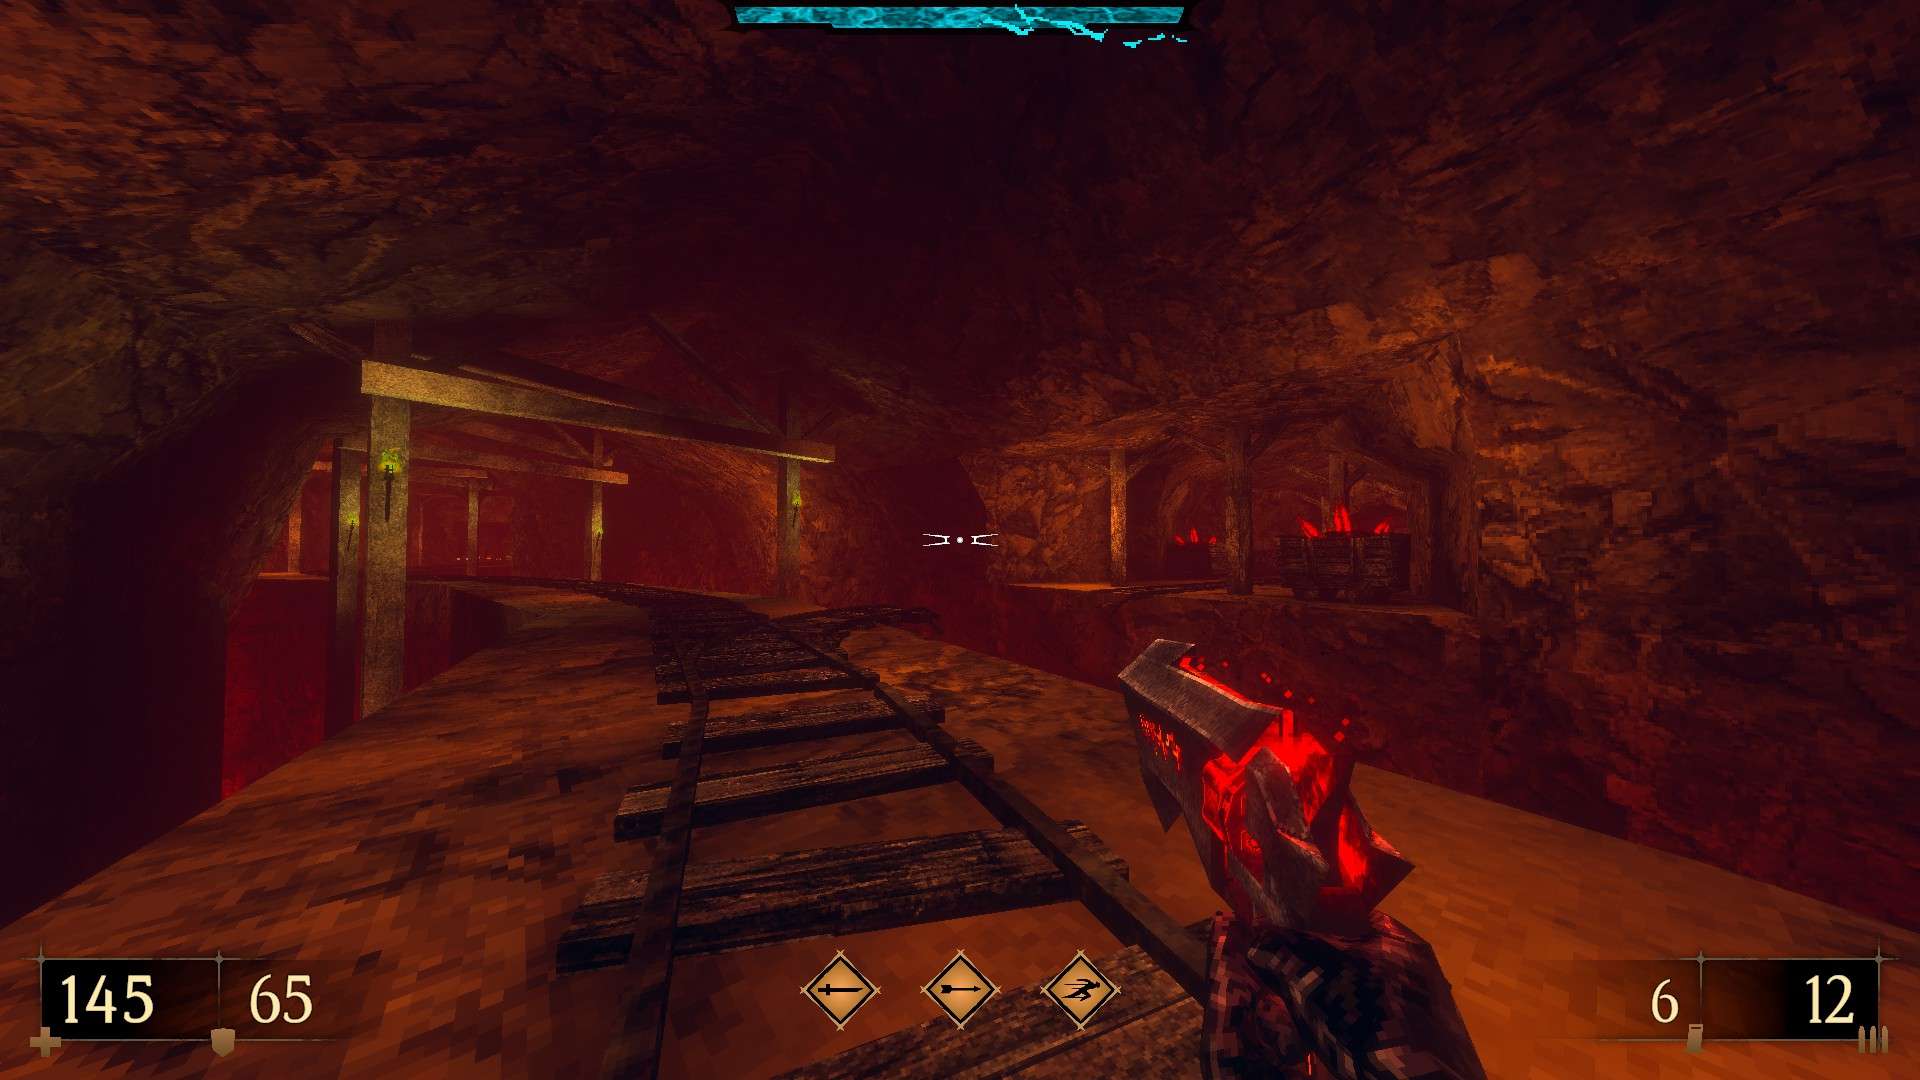
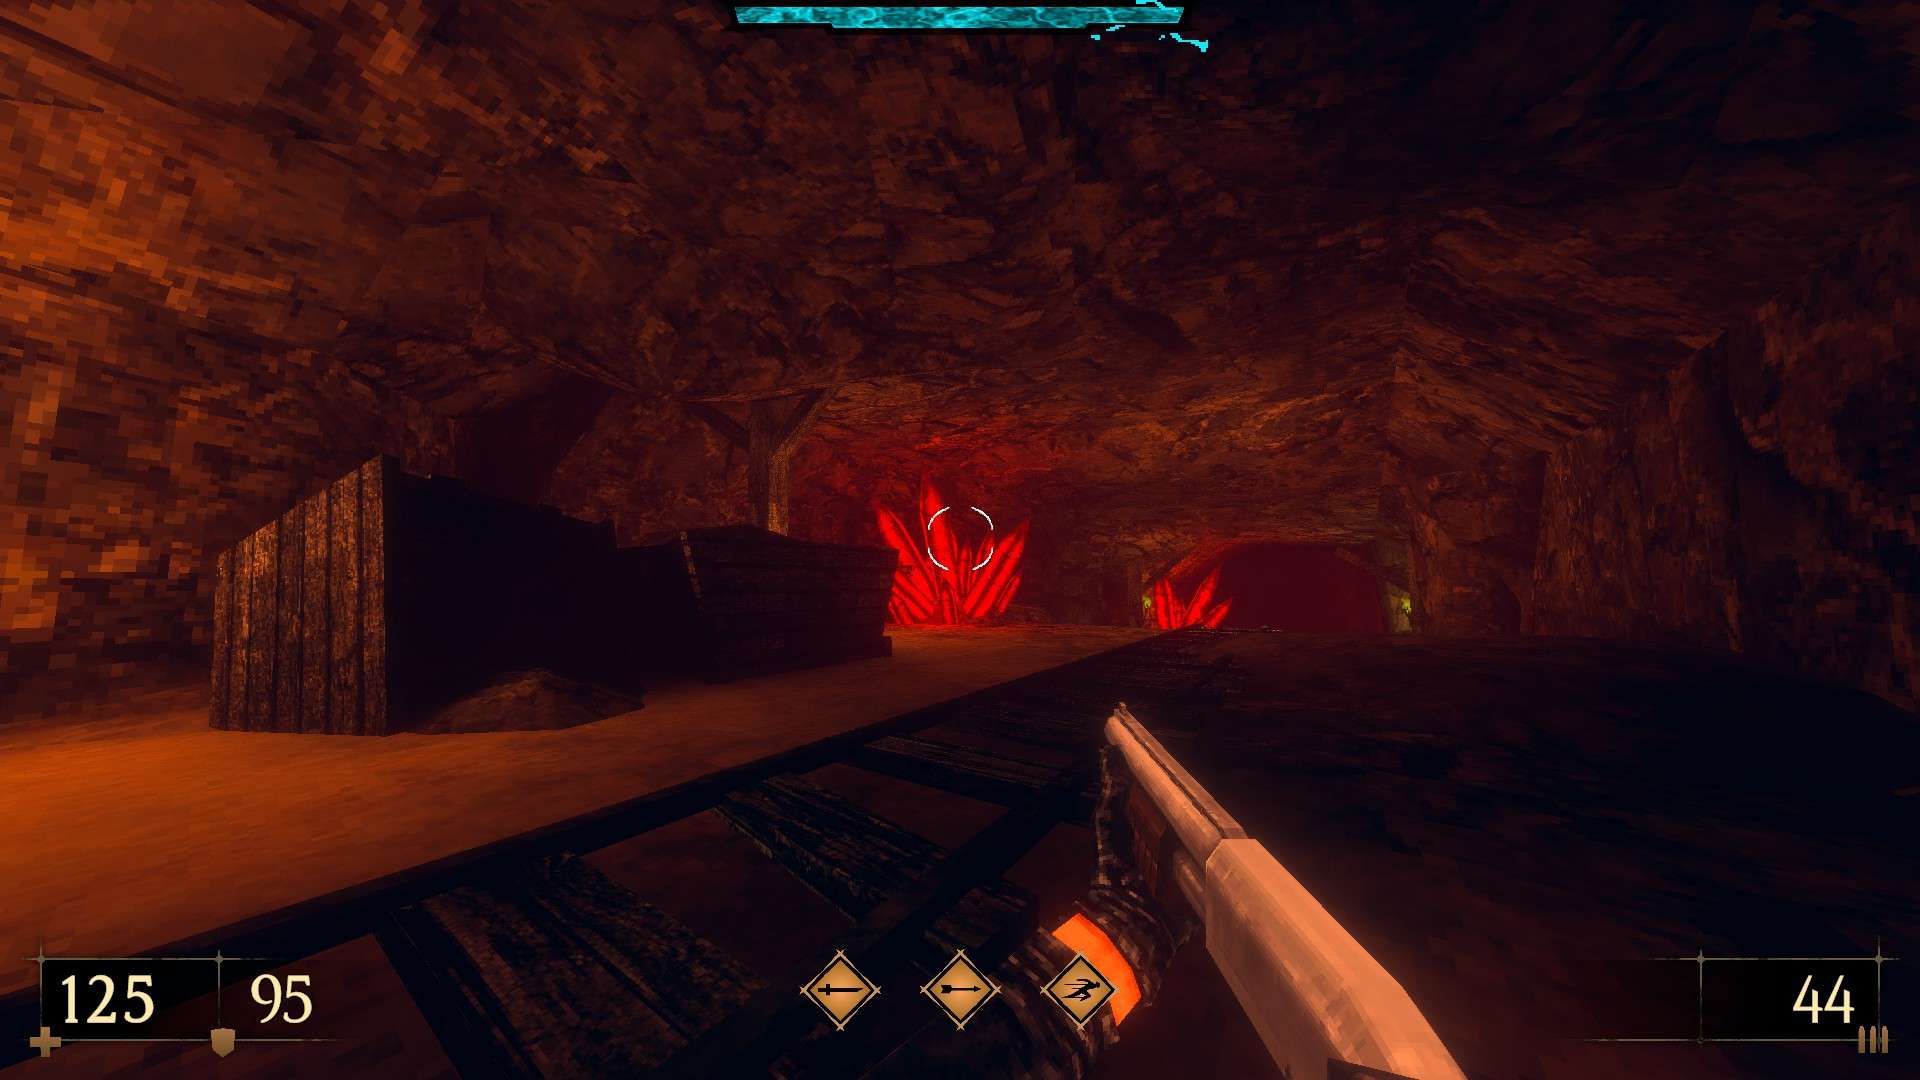
7/9 – As you follow the railway, dash-jump towards the tunnel to the right and destroy the cracked wall at the end to reach the side area. Before taking the cart for a ride, use the cavern wall below the torch to the right to reveal a hidden alcove.
8/9 – Back on the main path, drop down to the ledge below just before the next elevator to find a hidden alcove with more supplies.
9/9 – Once you reach the yellow key pedestal, use the wall between the pillars on the opposite side to reveal another cache (Inferno Rocket Expansion III).
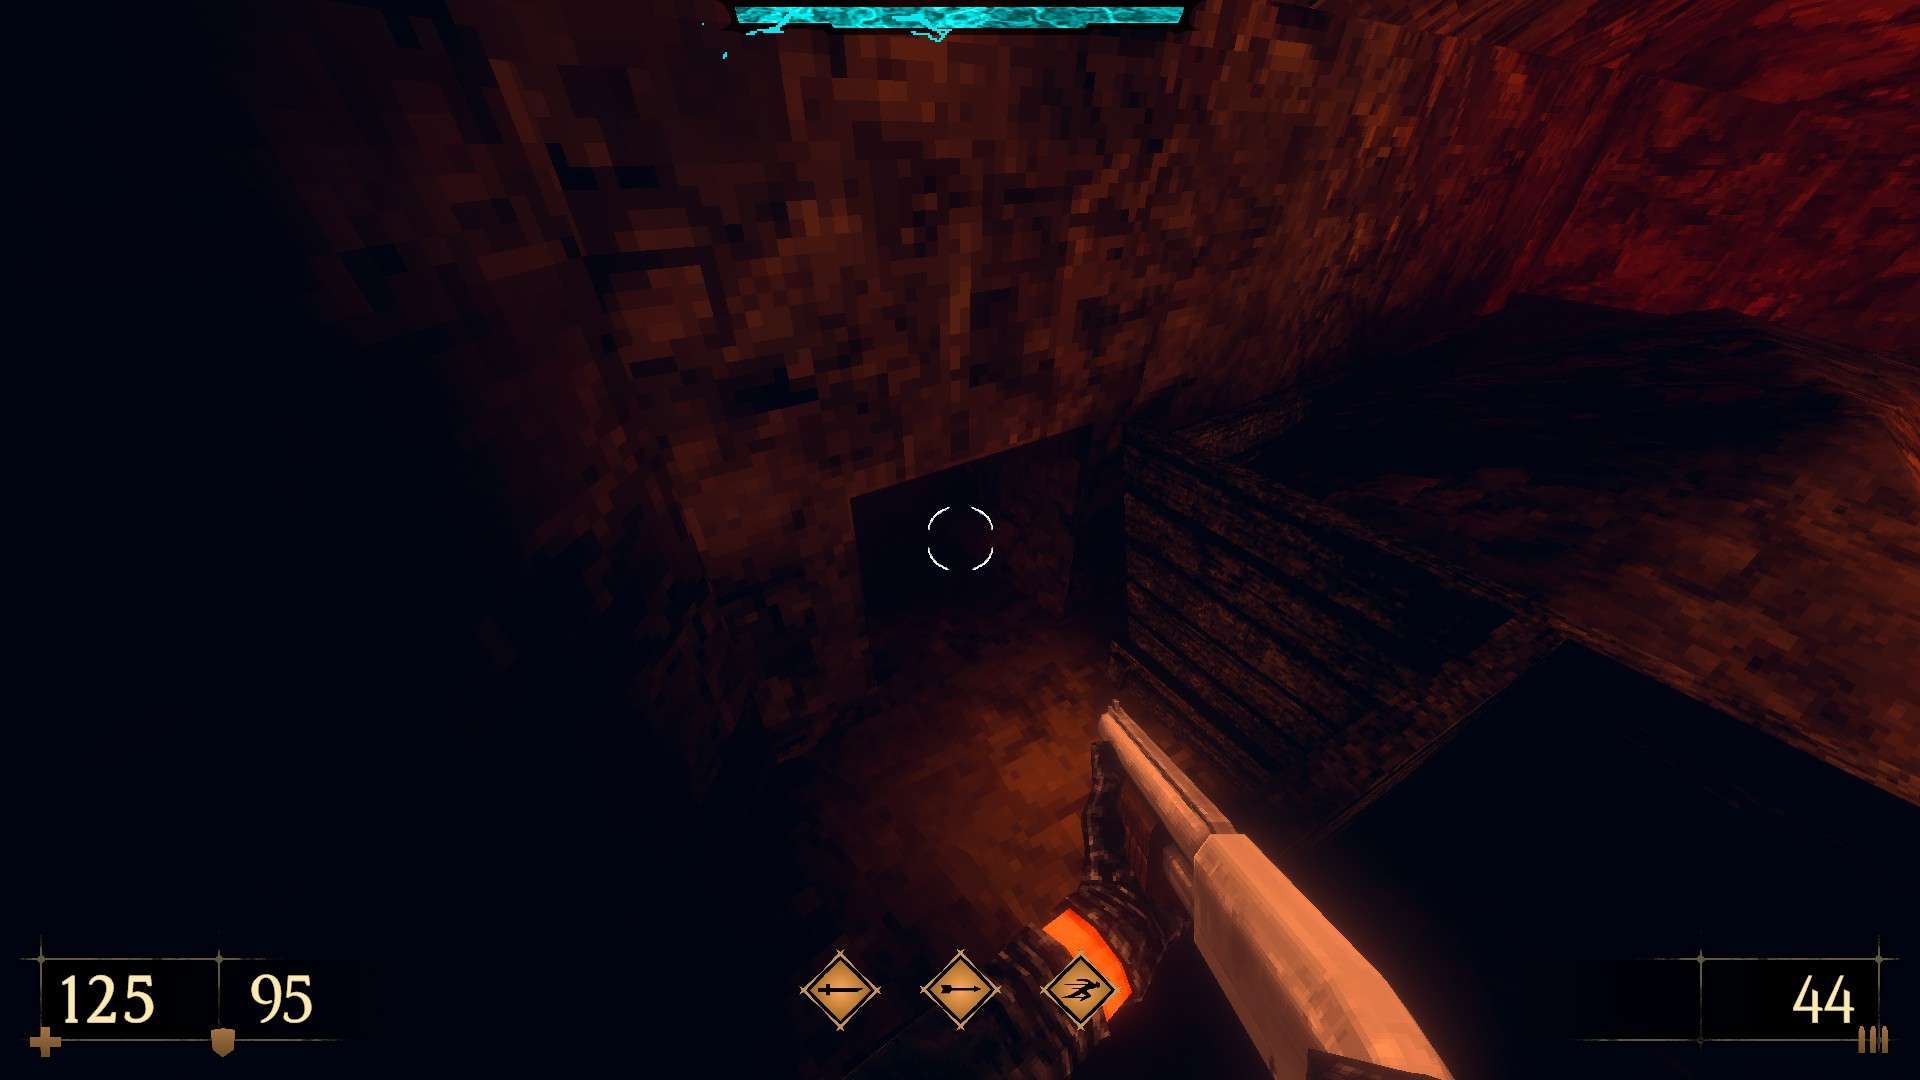
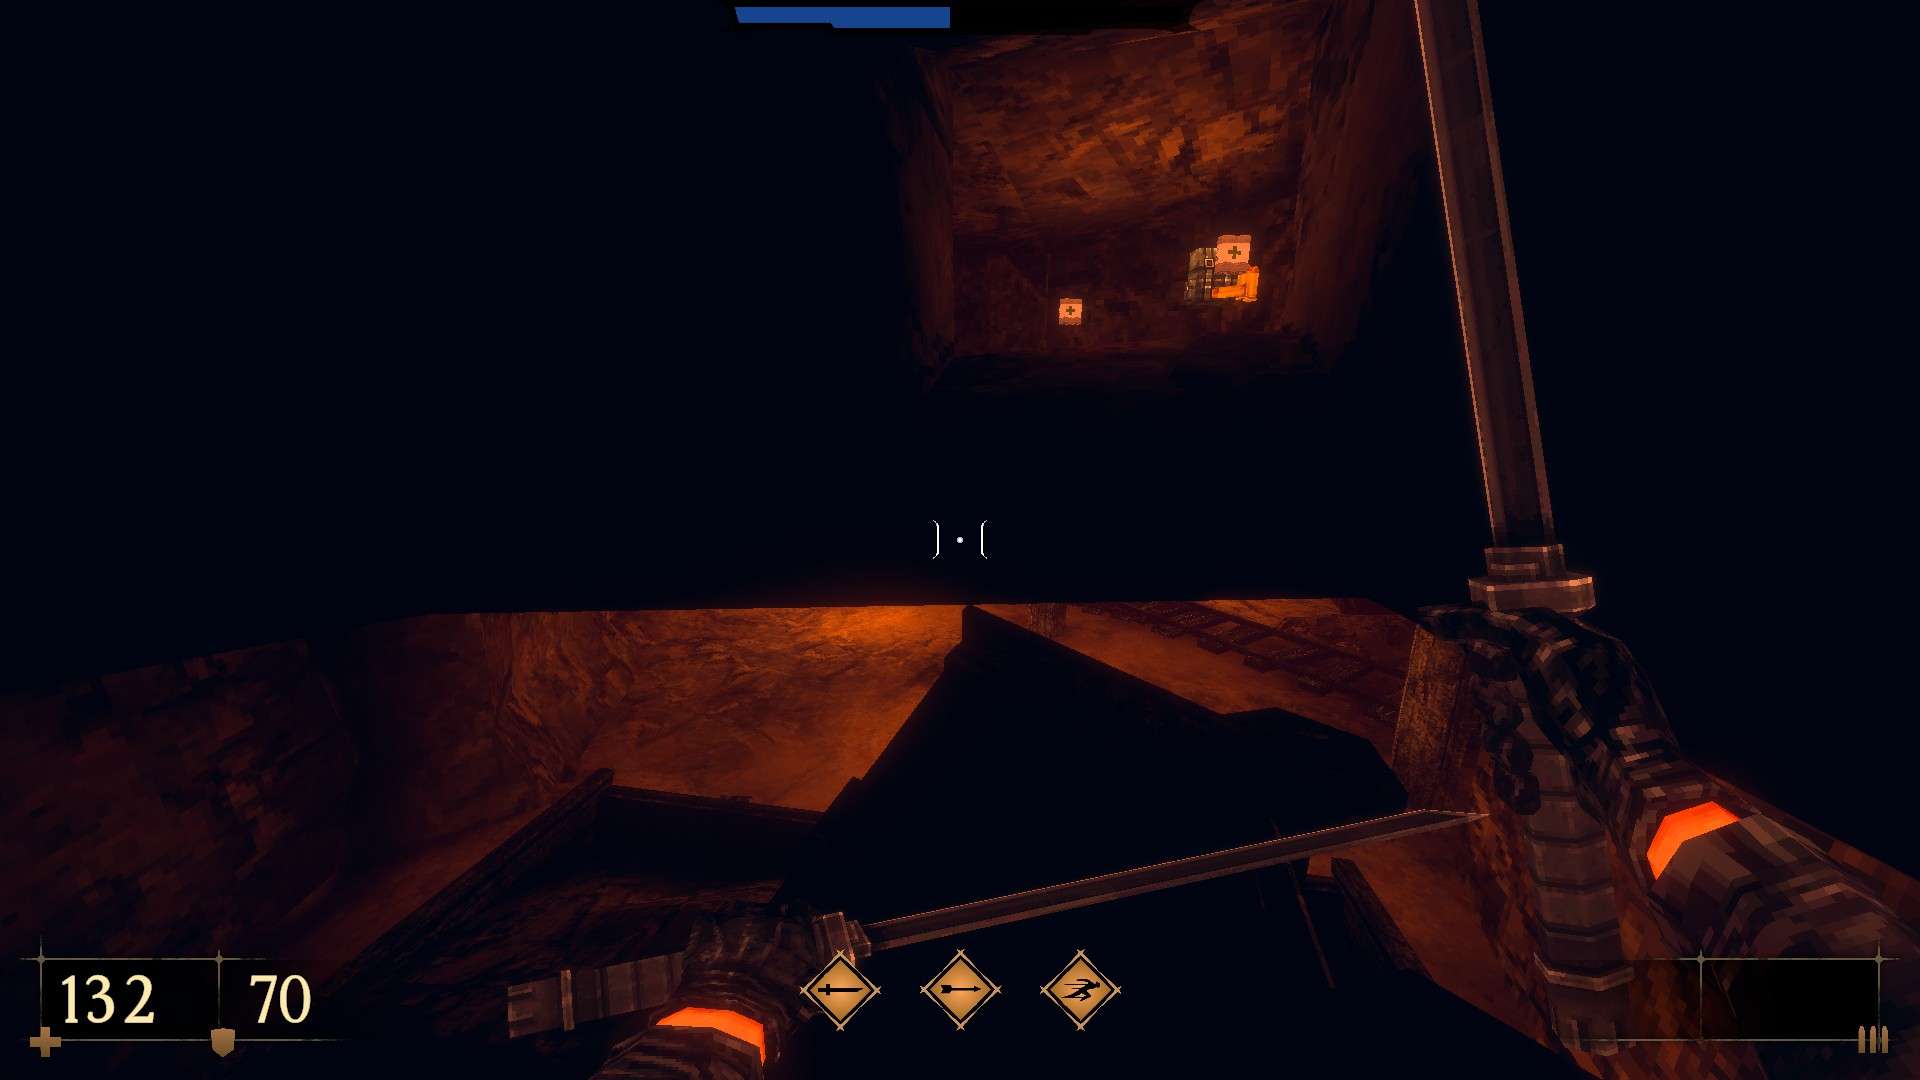
Super secret
Judging by the fact that I was still missing a Blood Gem even after scouring the level, I suspect that there is also a super secret to be found here. Yet, I was not able to find it. Any help on the matter would be much appreciated (as well as due credit, of course).
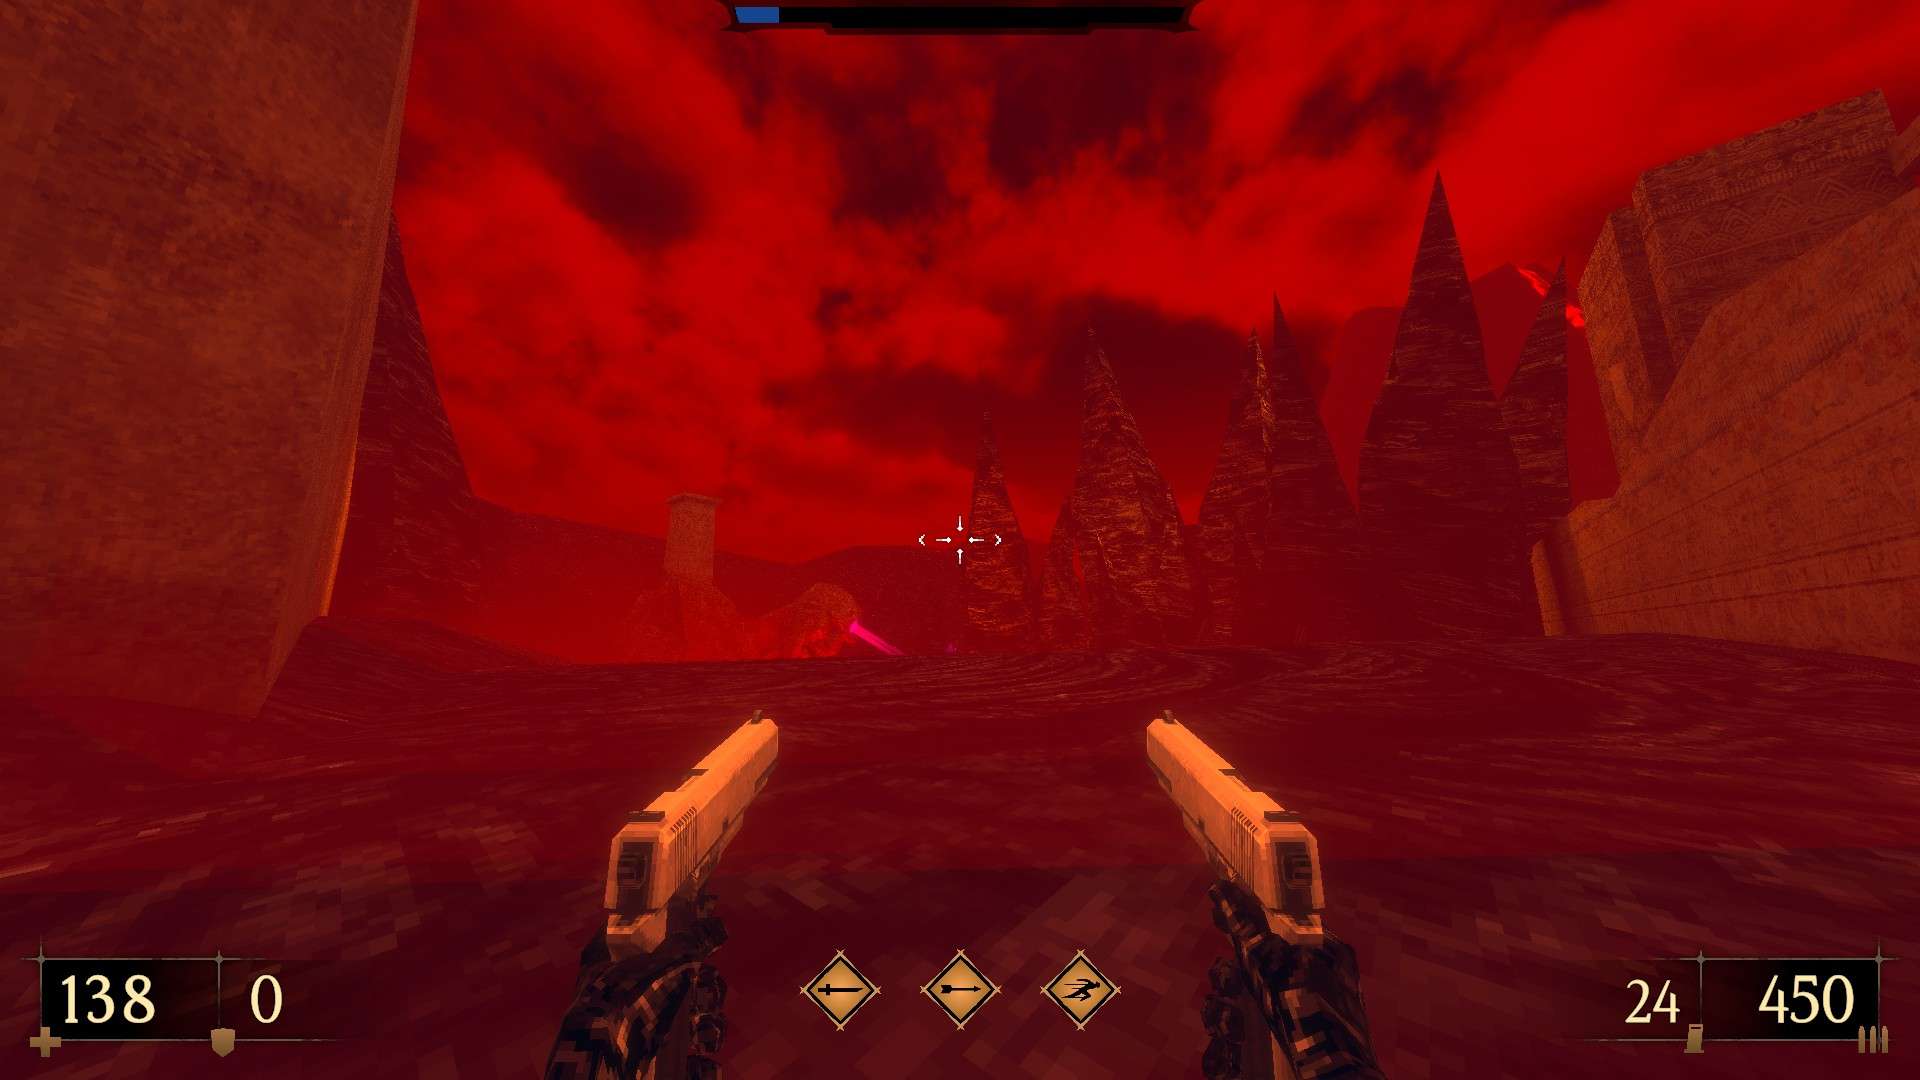
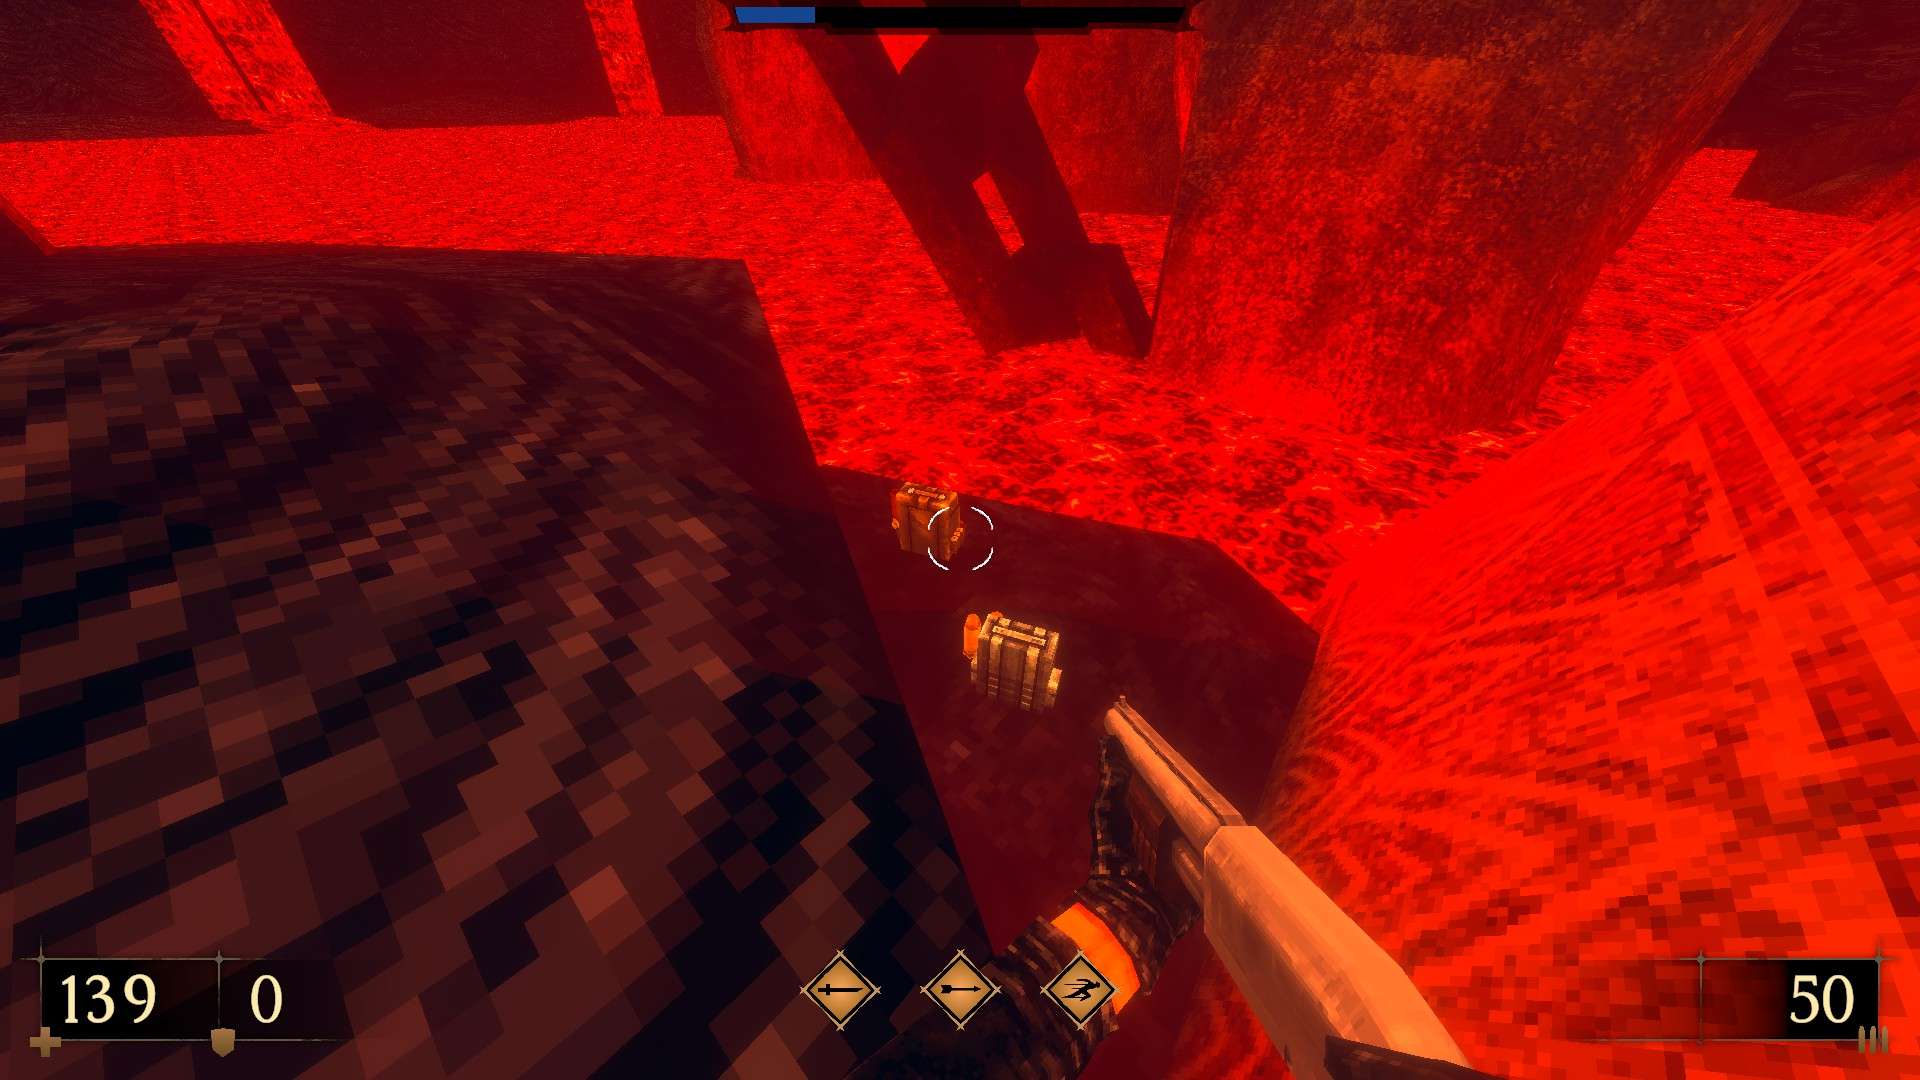
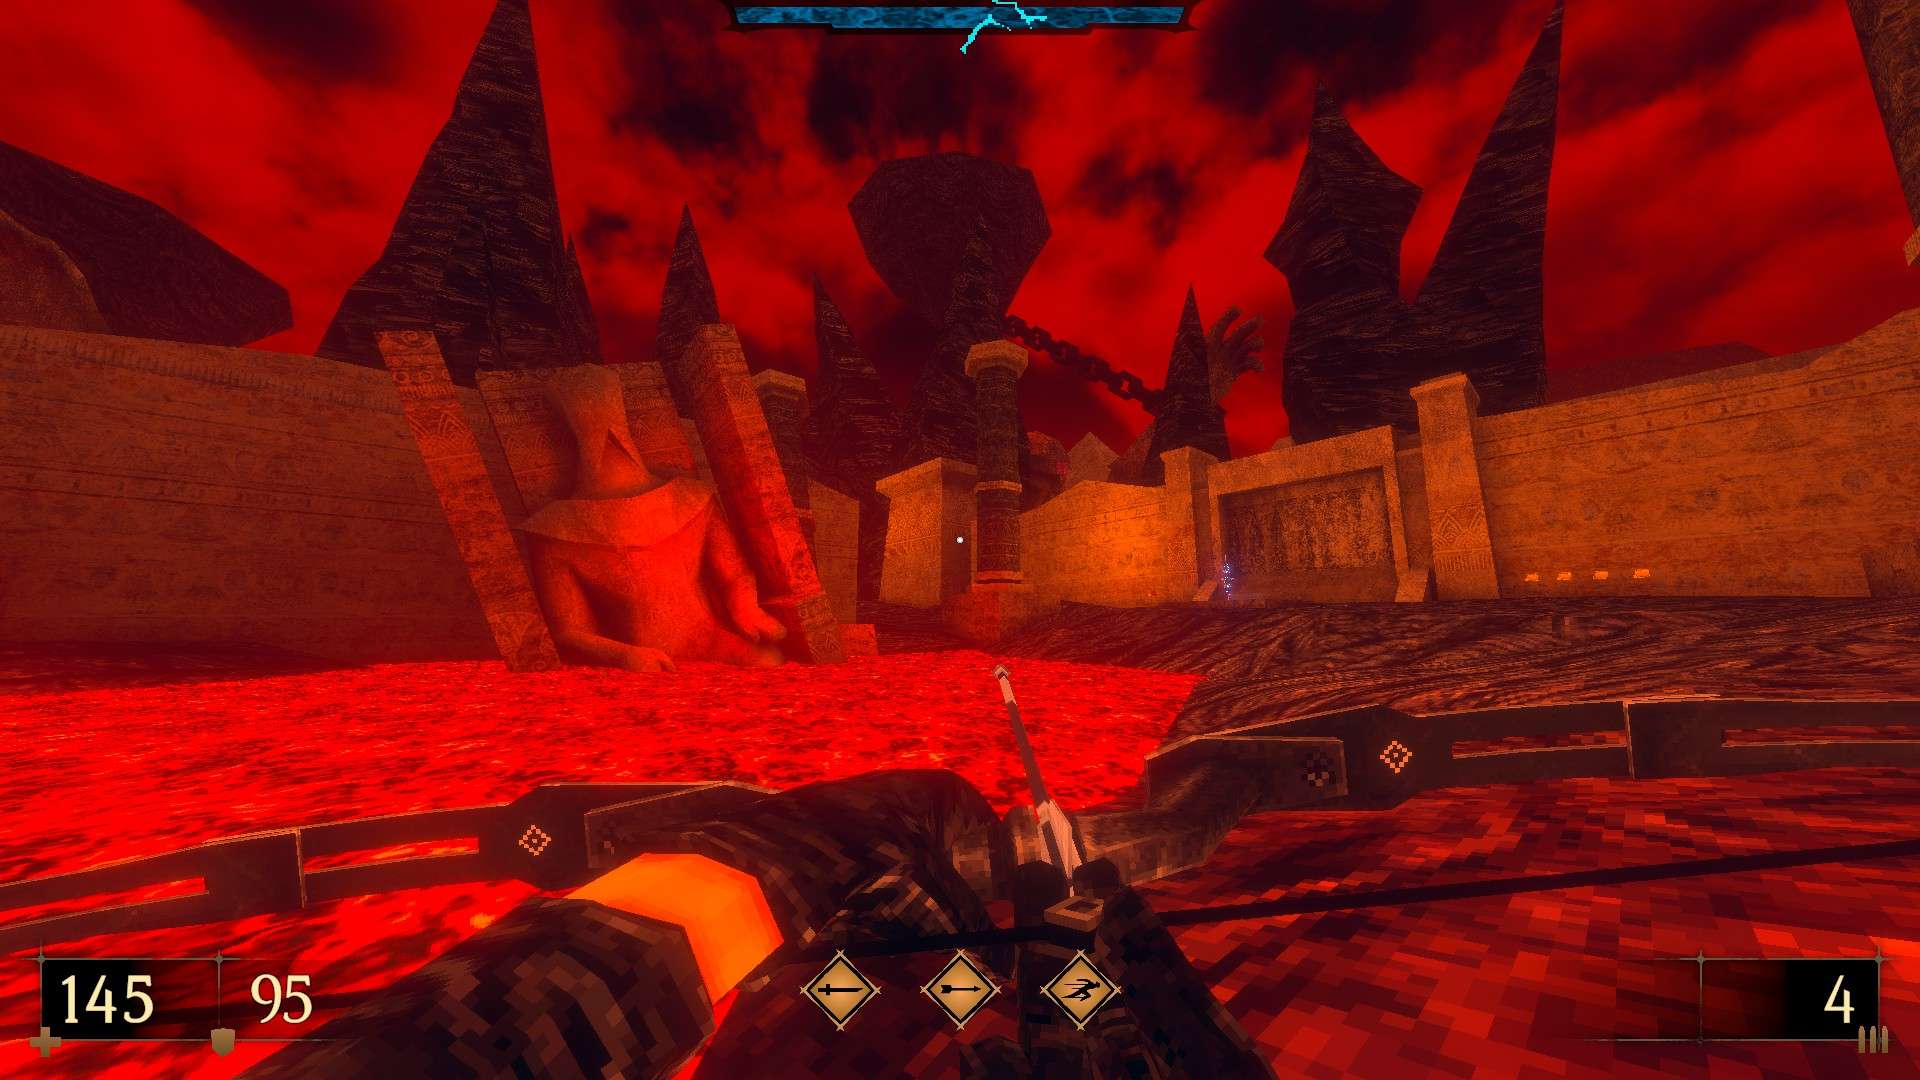
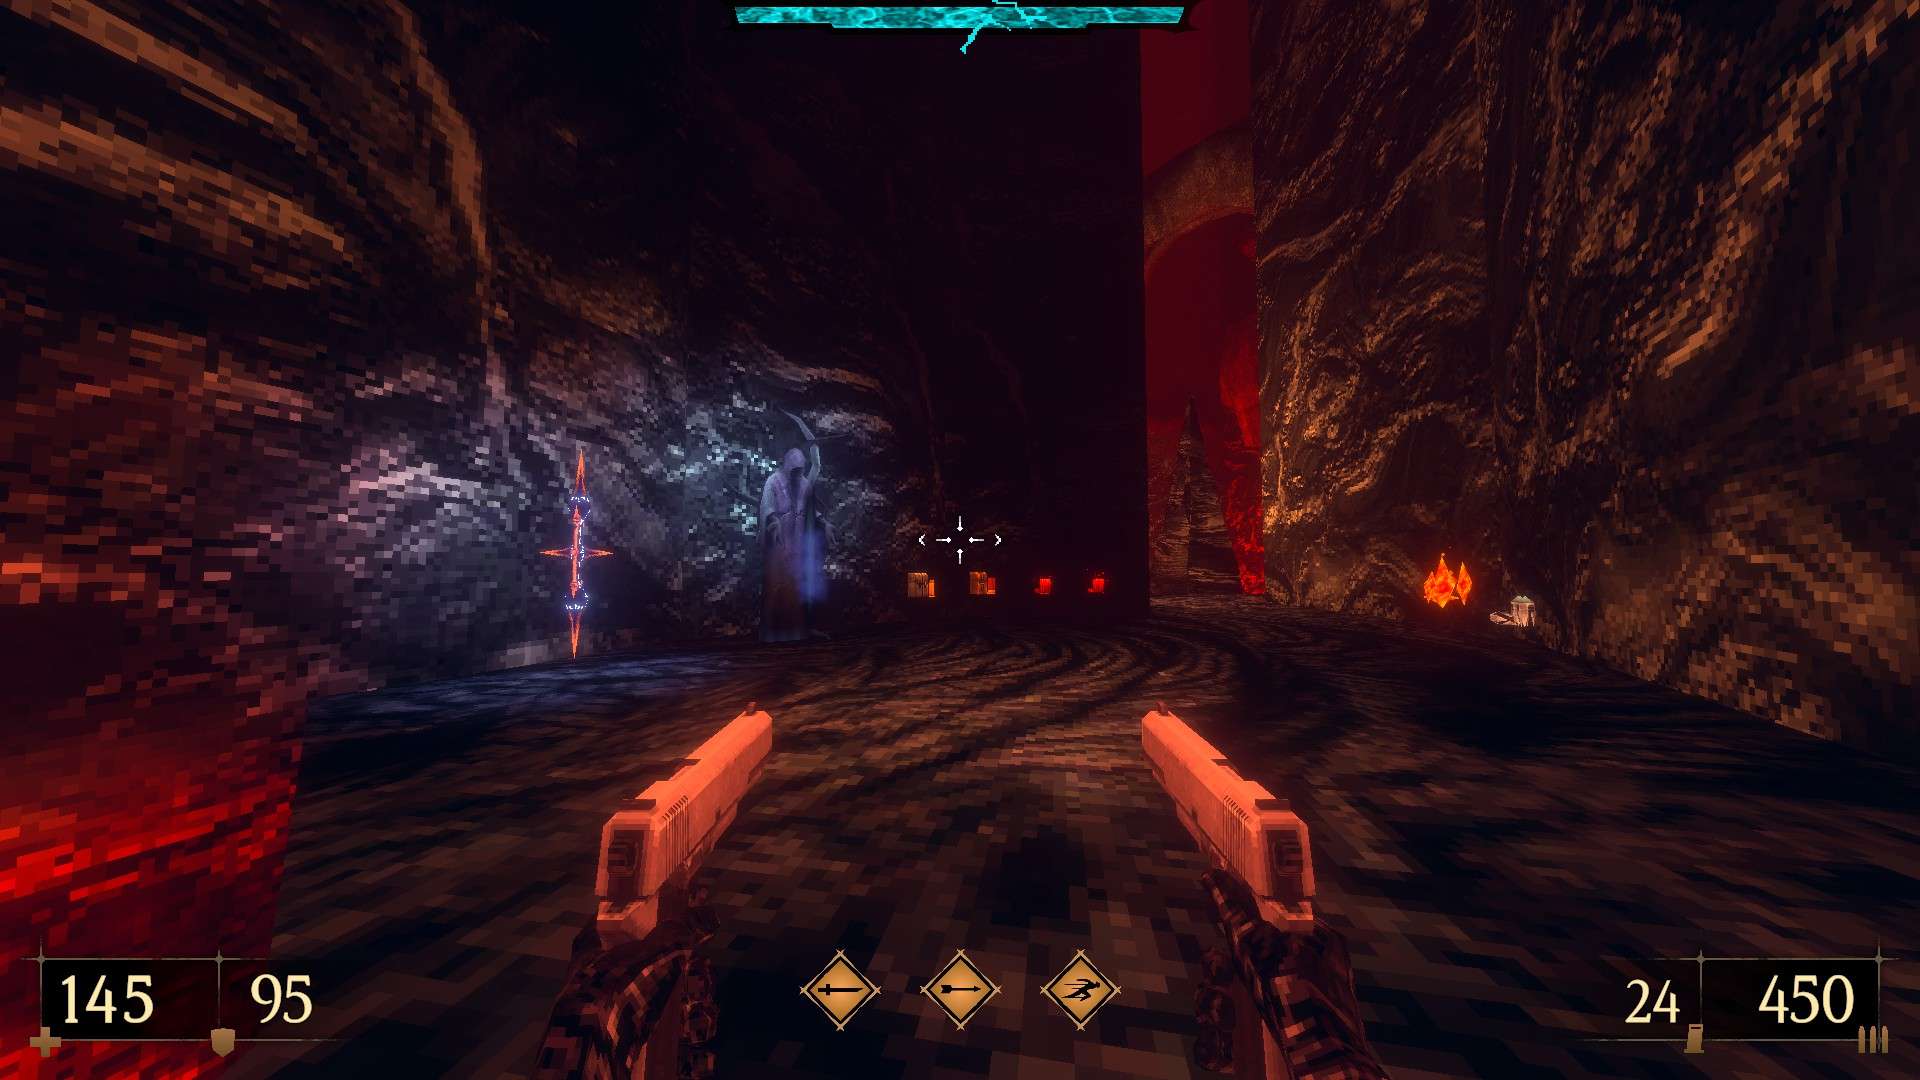
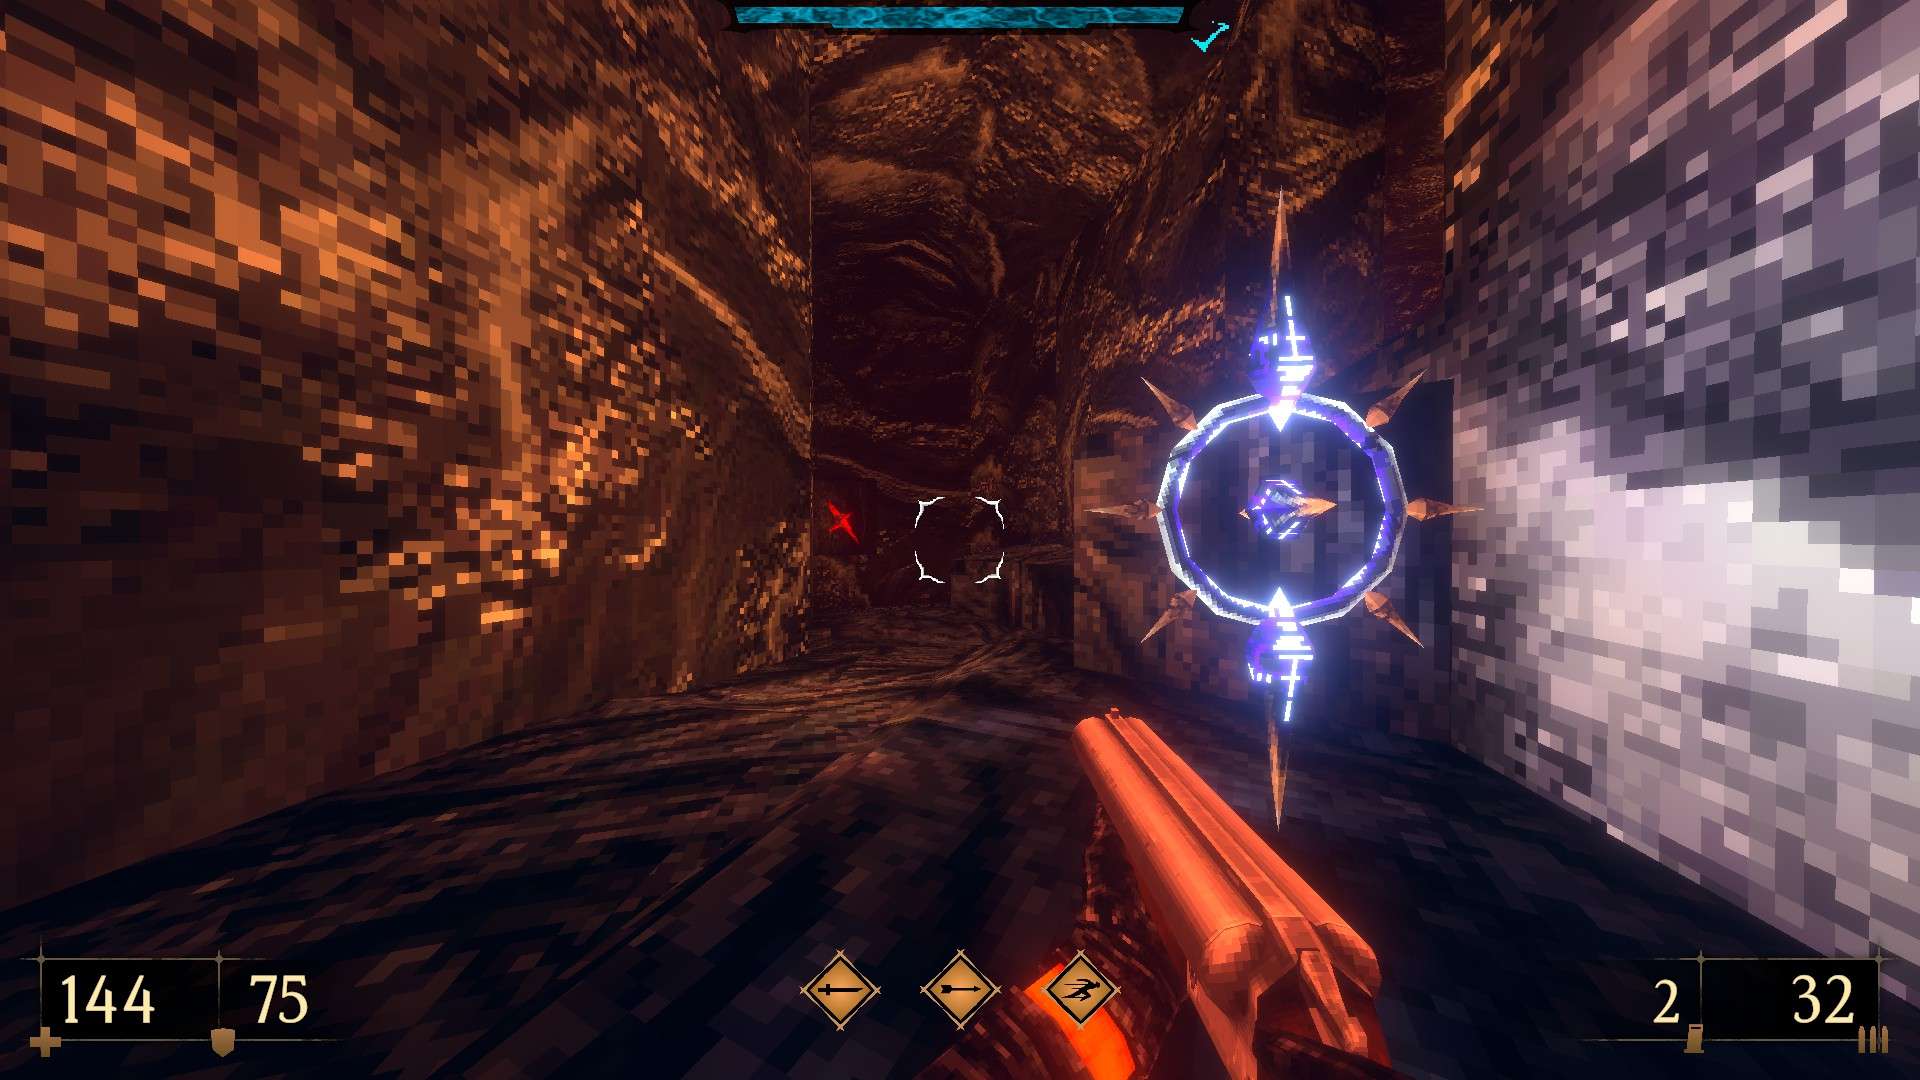
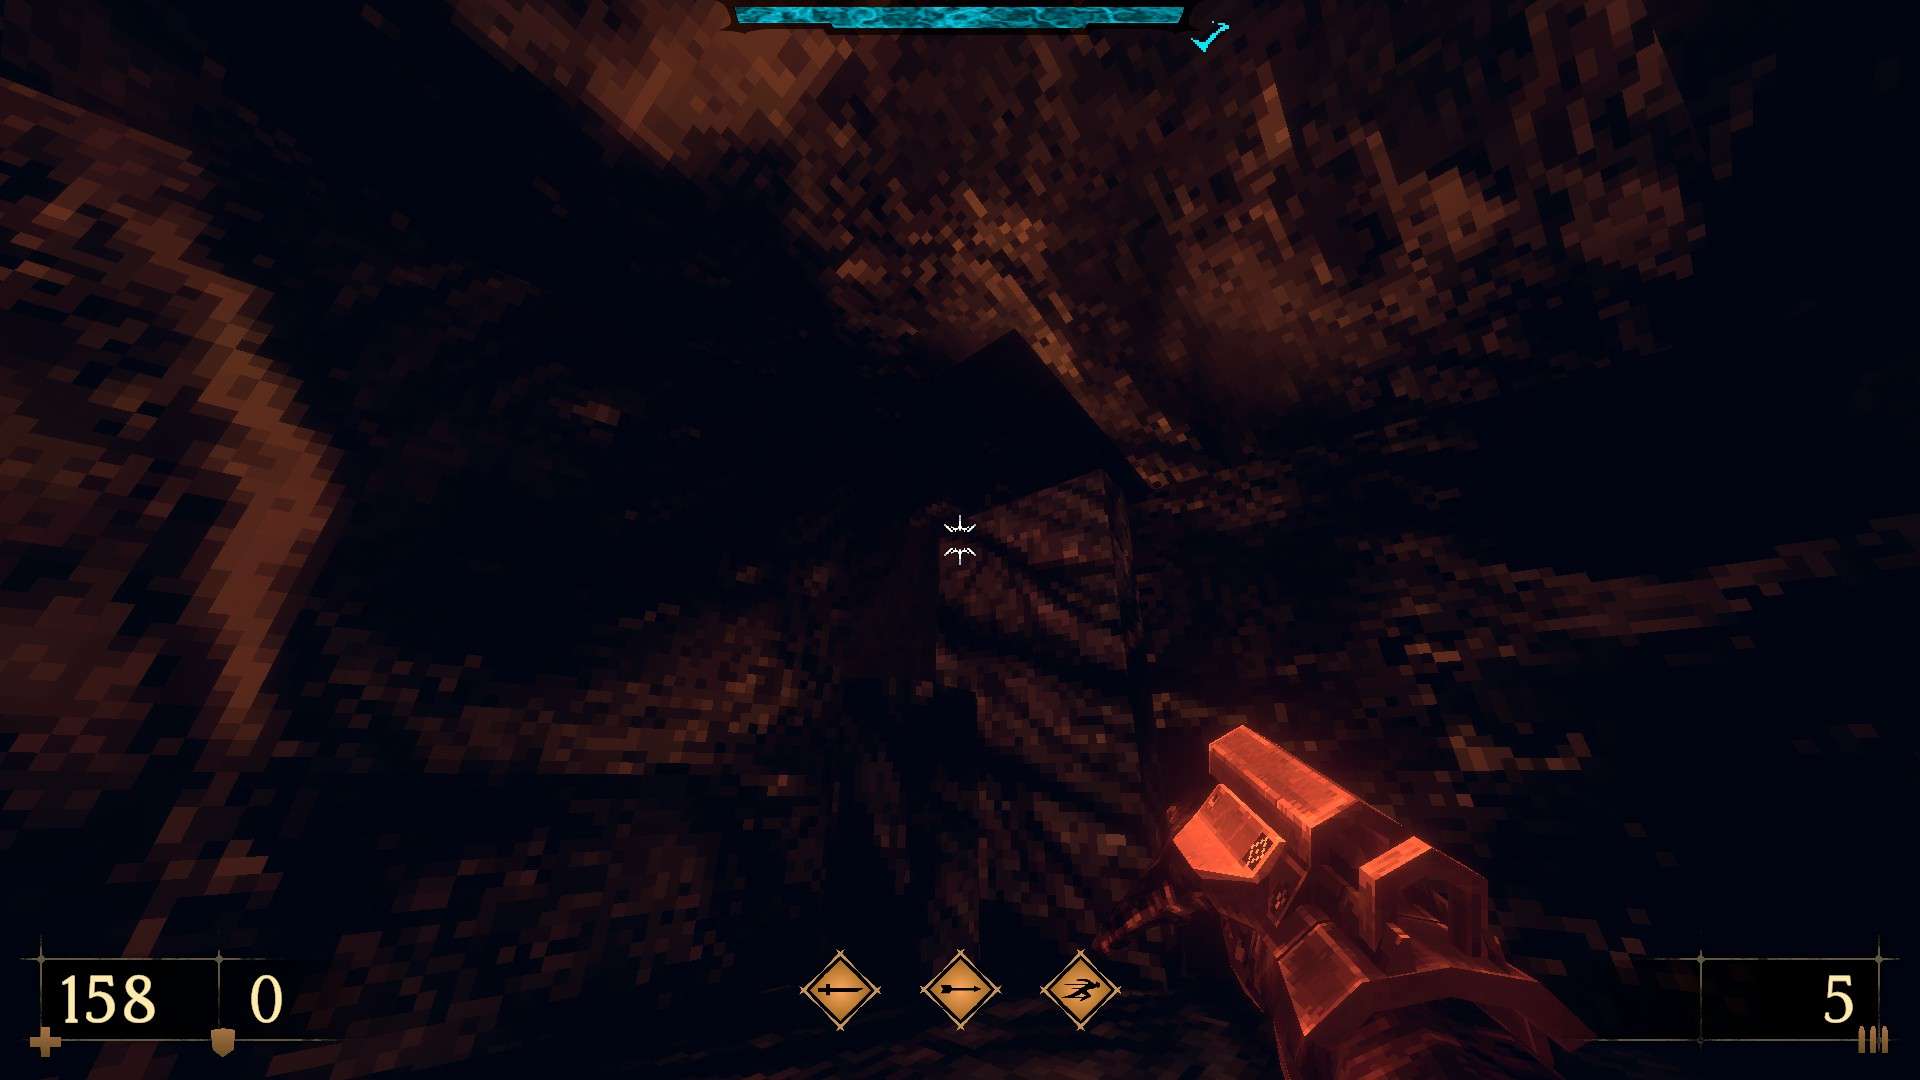
E4M5: Real or Fake
This level contains 8 secrets and a super secret.
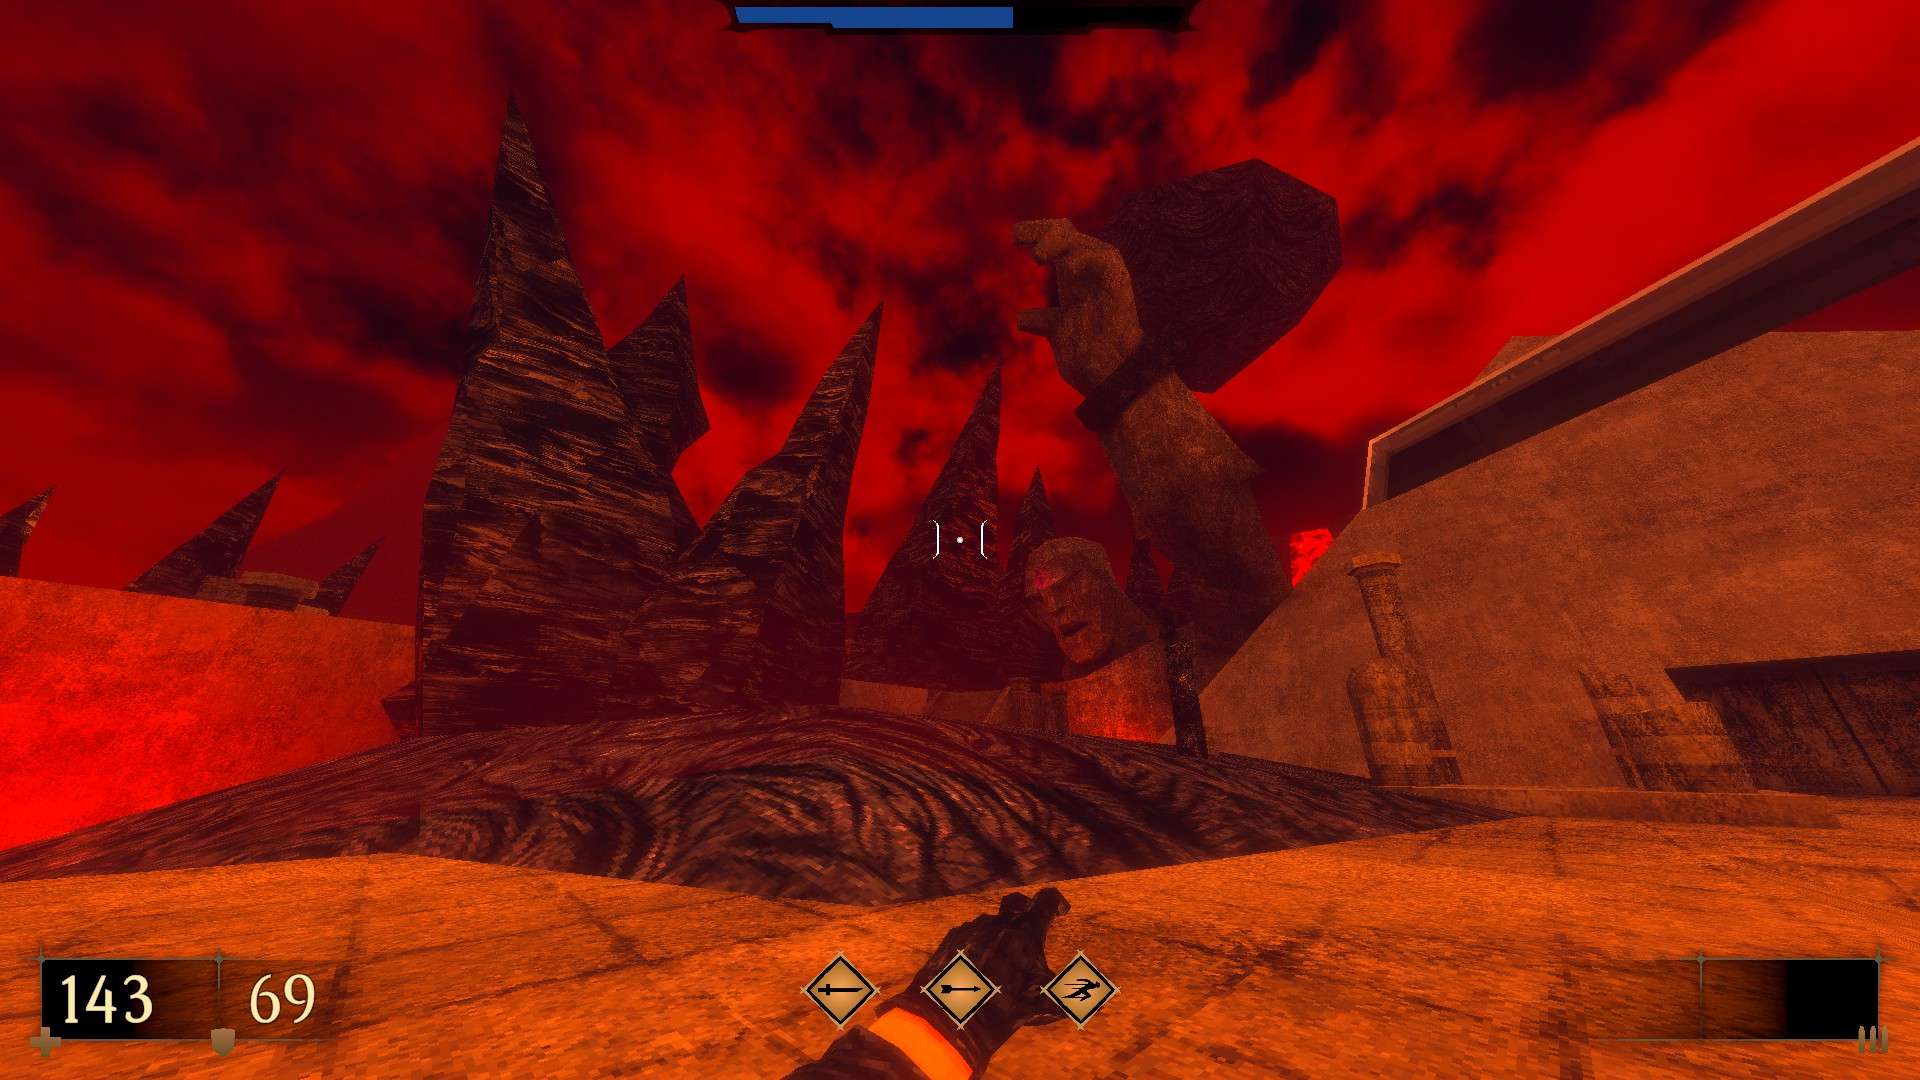
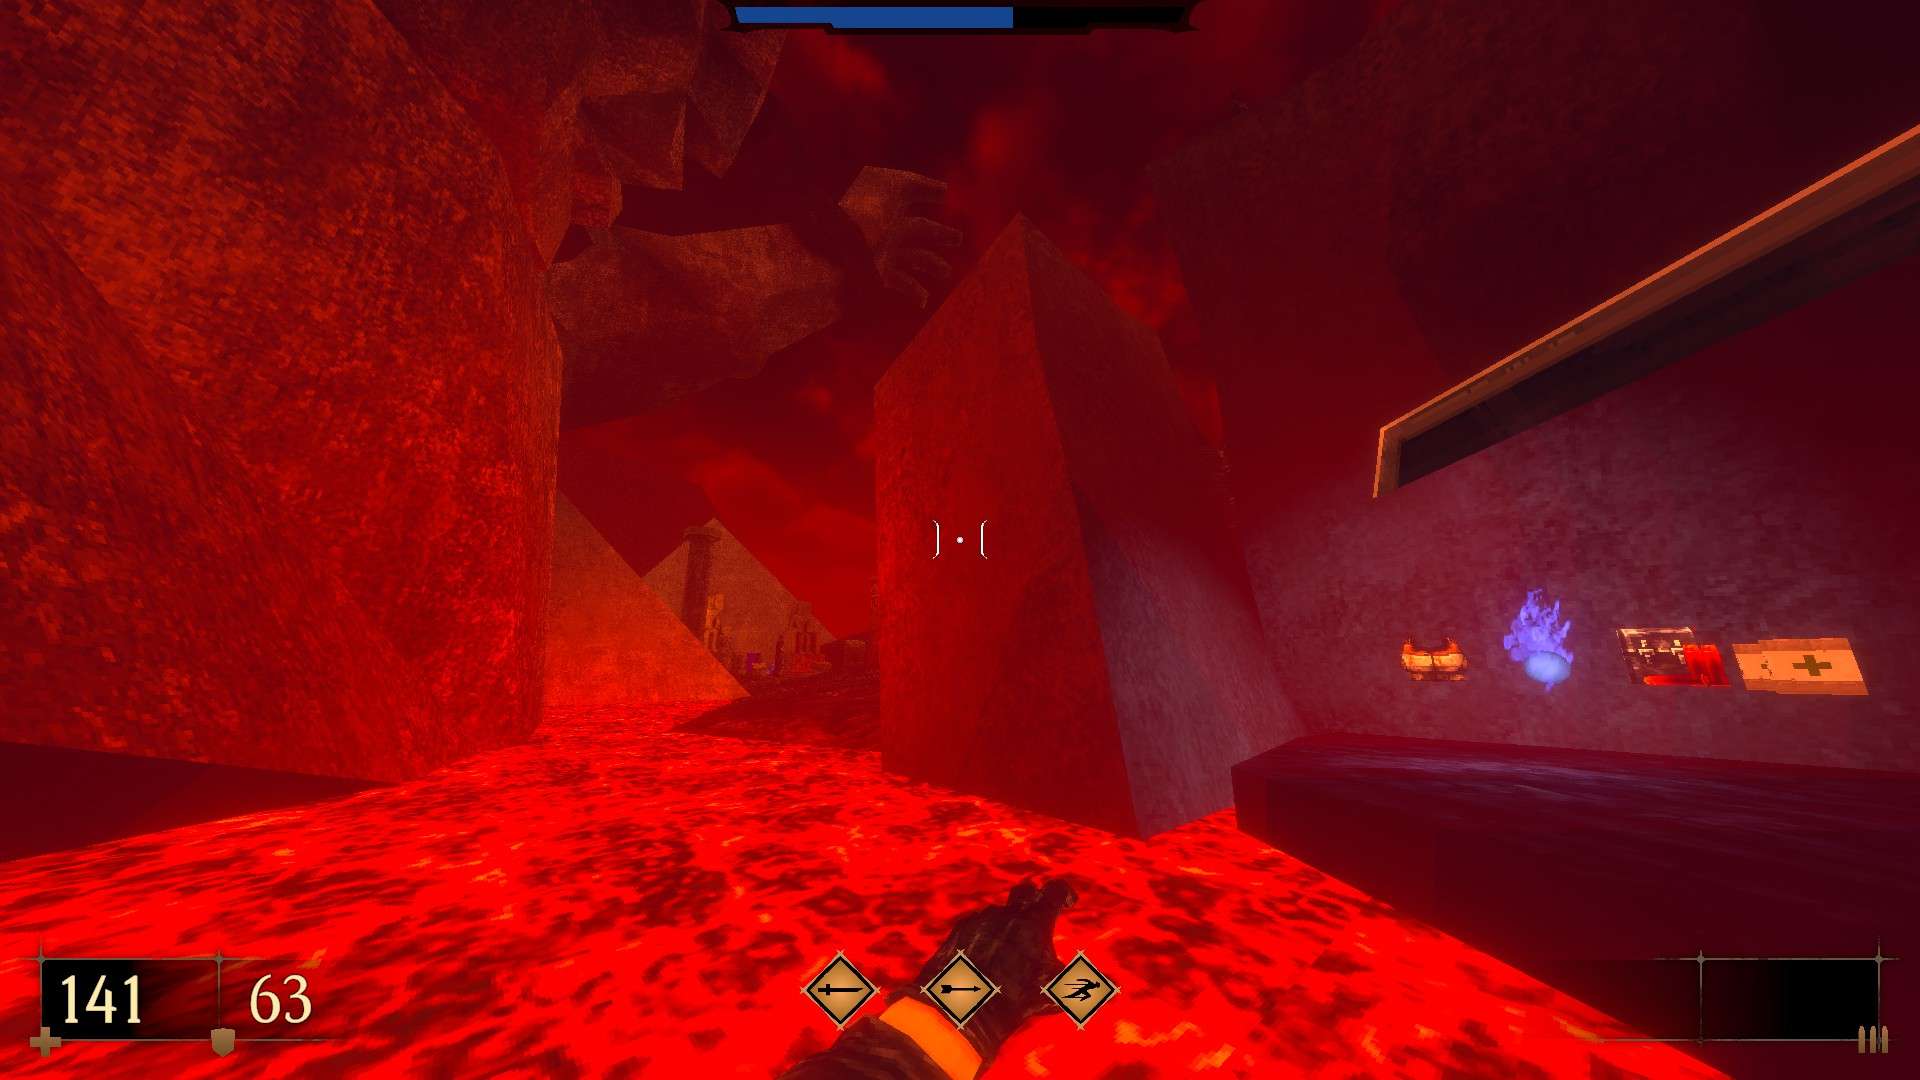
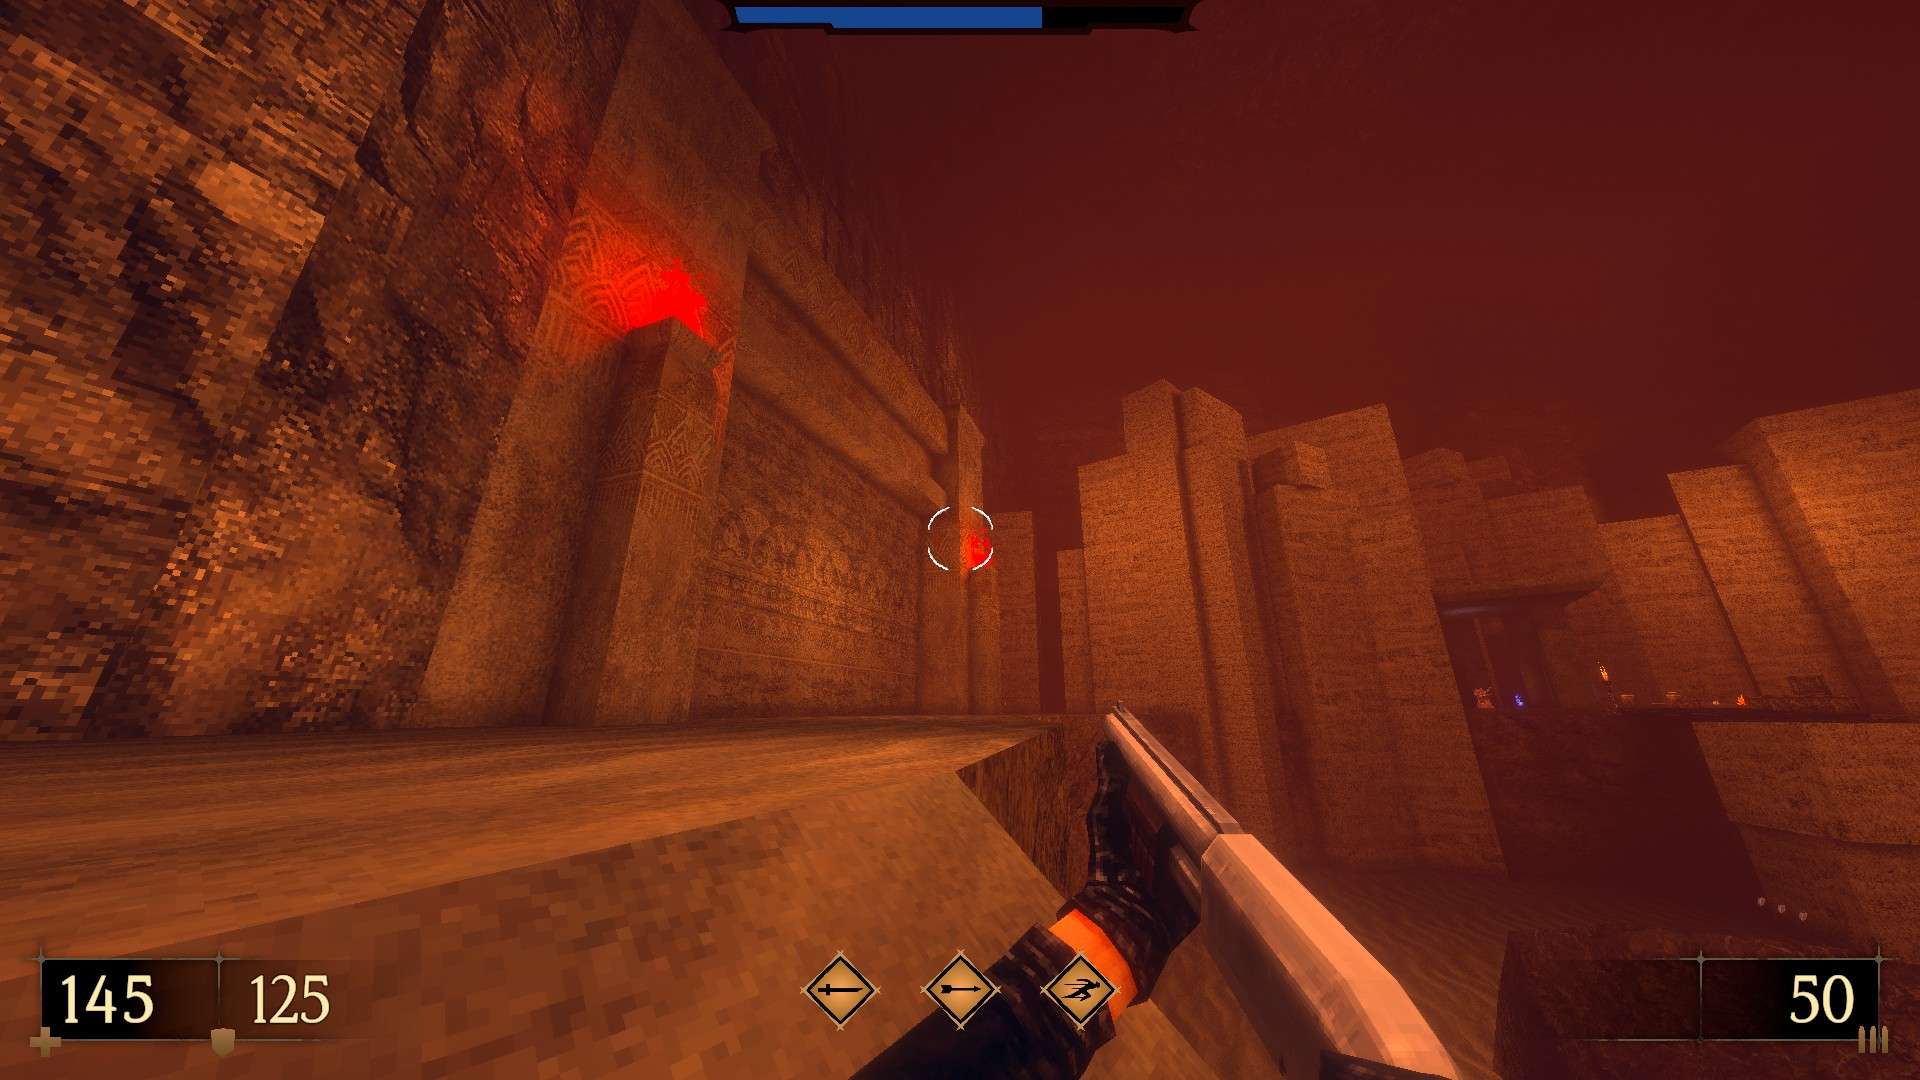
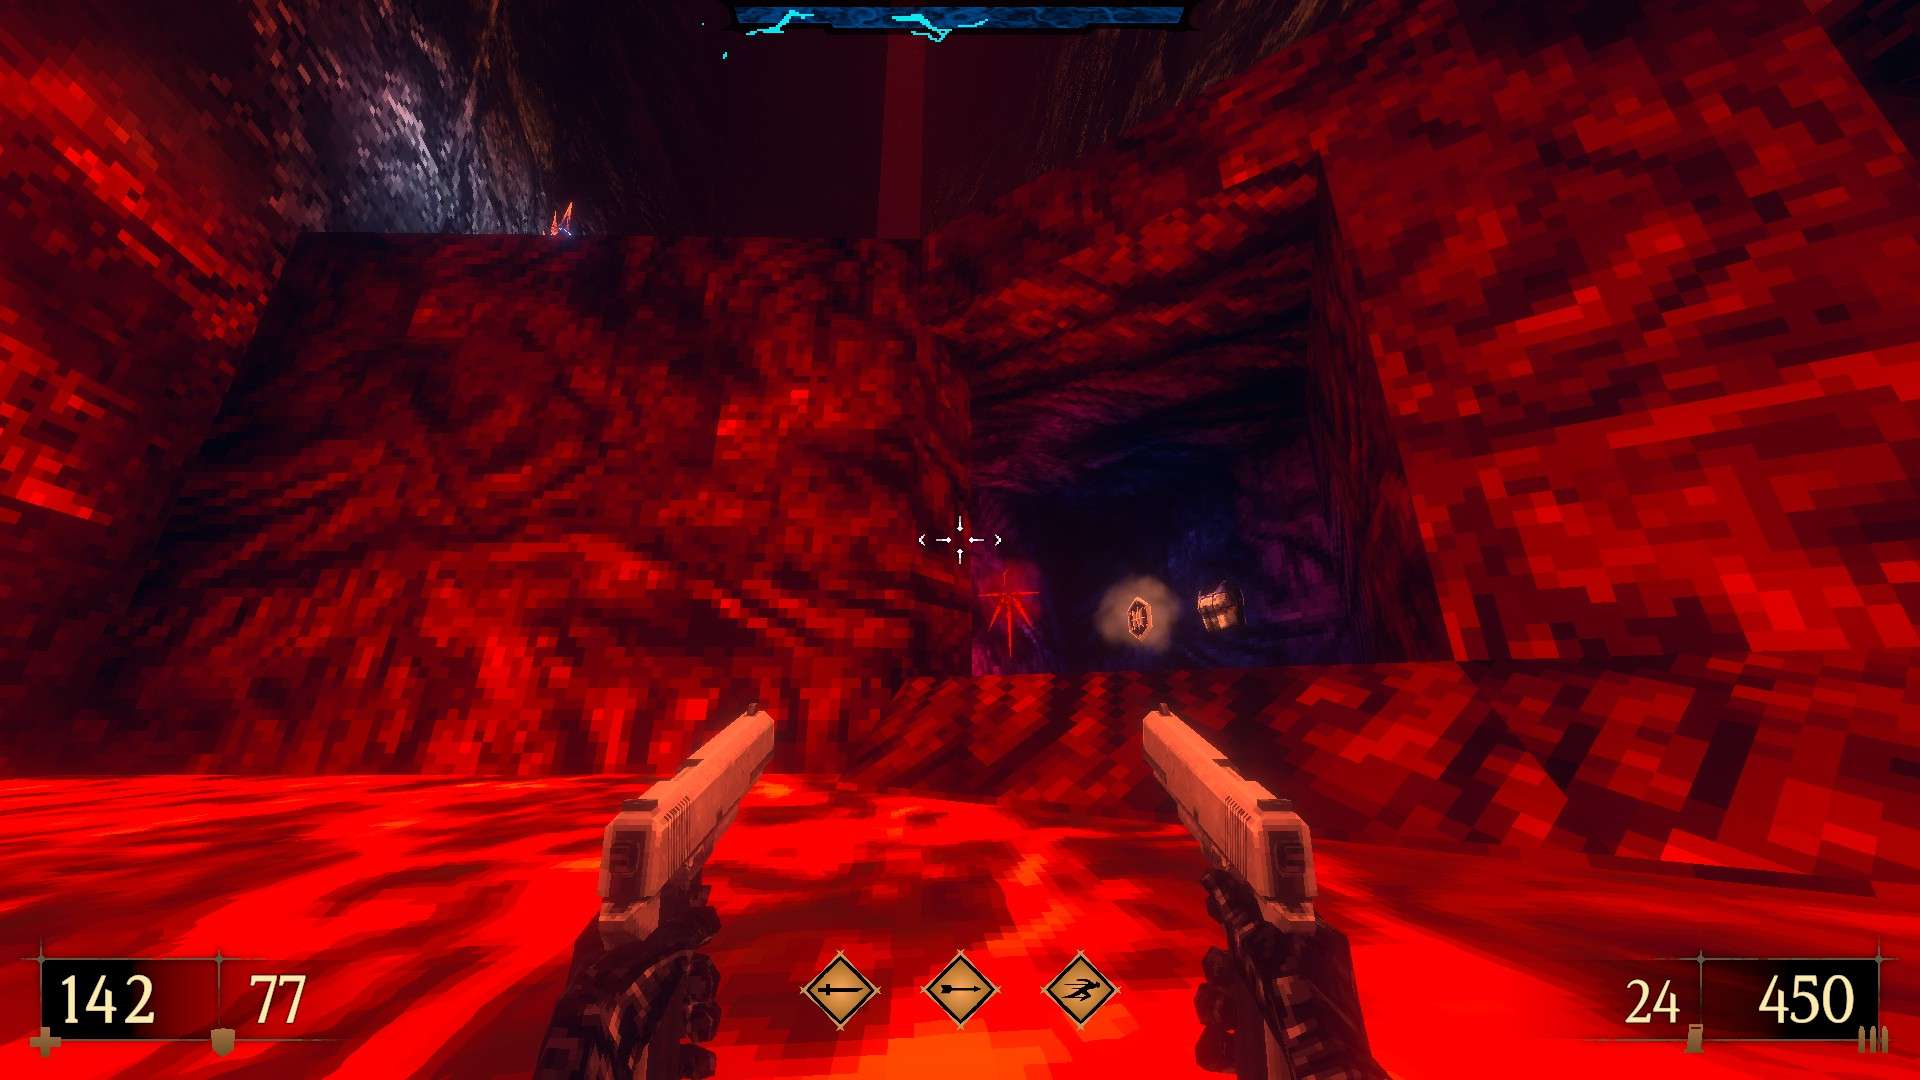
1/8 – Turn the lava covered corner next to the first titan to find assorted items.

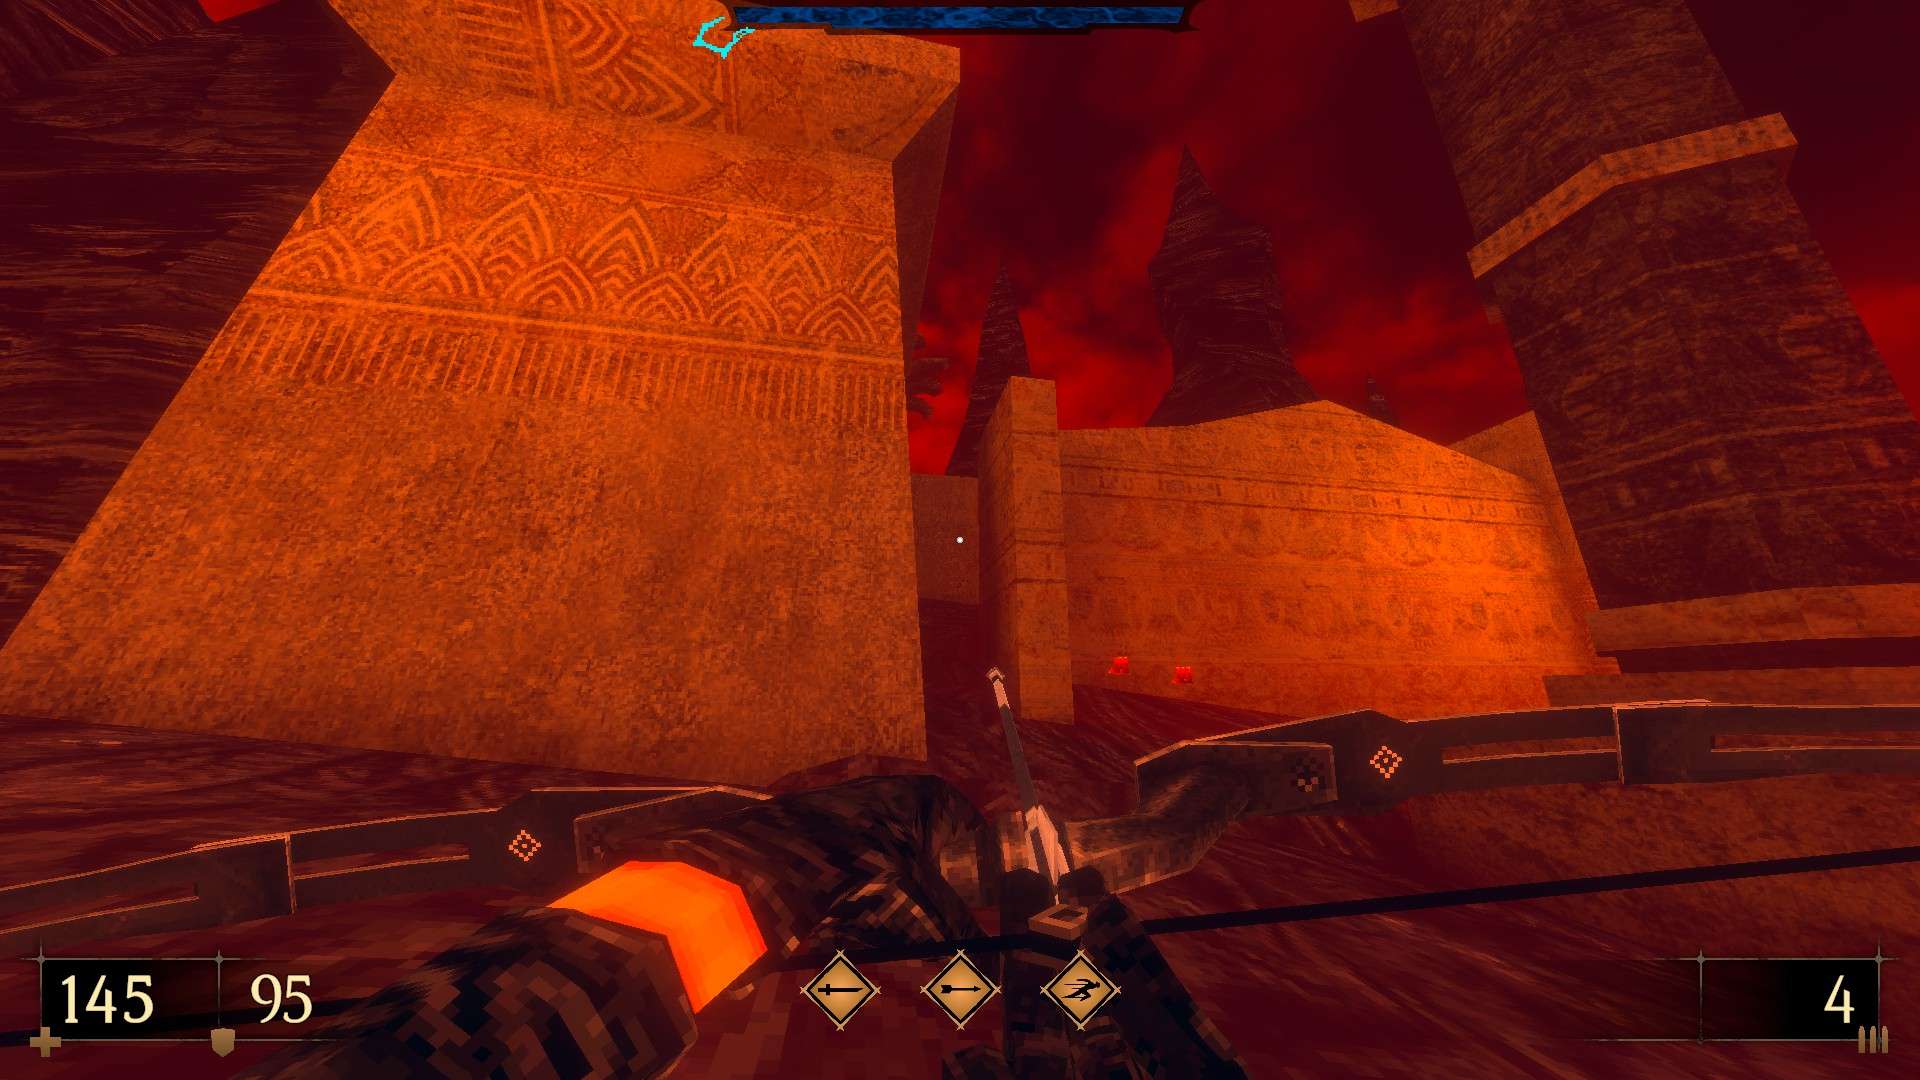
2/8 – As you move towards the second titan, jump on top of the blocks to your right to find a cache on the other side.

3/8 – Make your way around the tower in the lava next to the third titan to reach the items on the other side (Templar Rush III).
4/8 – Drop down to the ledge in the lava near the fourth titan to grab some ammo.

5/8 – Dash-jump to the ledge in the lava near the seventh titan to get the items laying out in the open (Templar Rush III).
6/8 – Following from the previous secret, destroy the cracked part of the mountain to reach the teleporter to the side area. Battle it out through the side area and use the slightly indented part of the cavern wall just below the exit teleporter to reveal a hidden cave (Inferno Gauntlets Slaughter II).


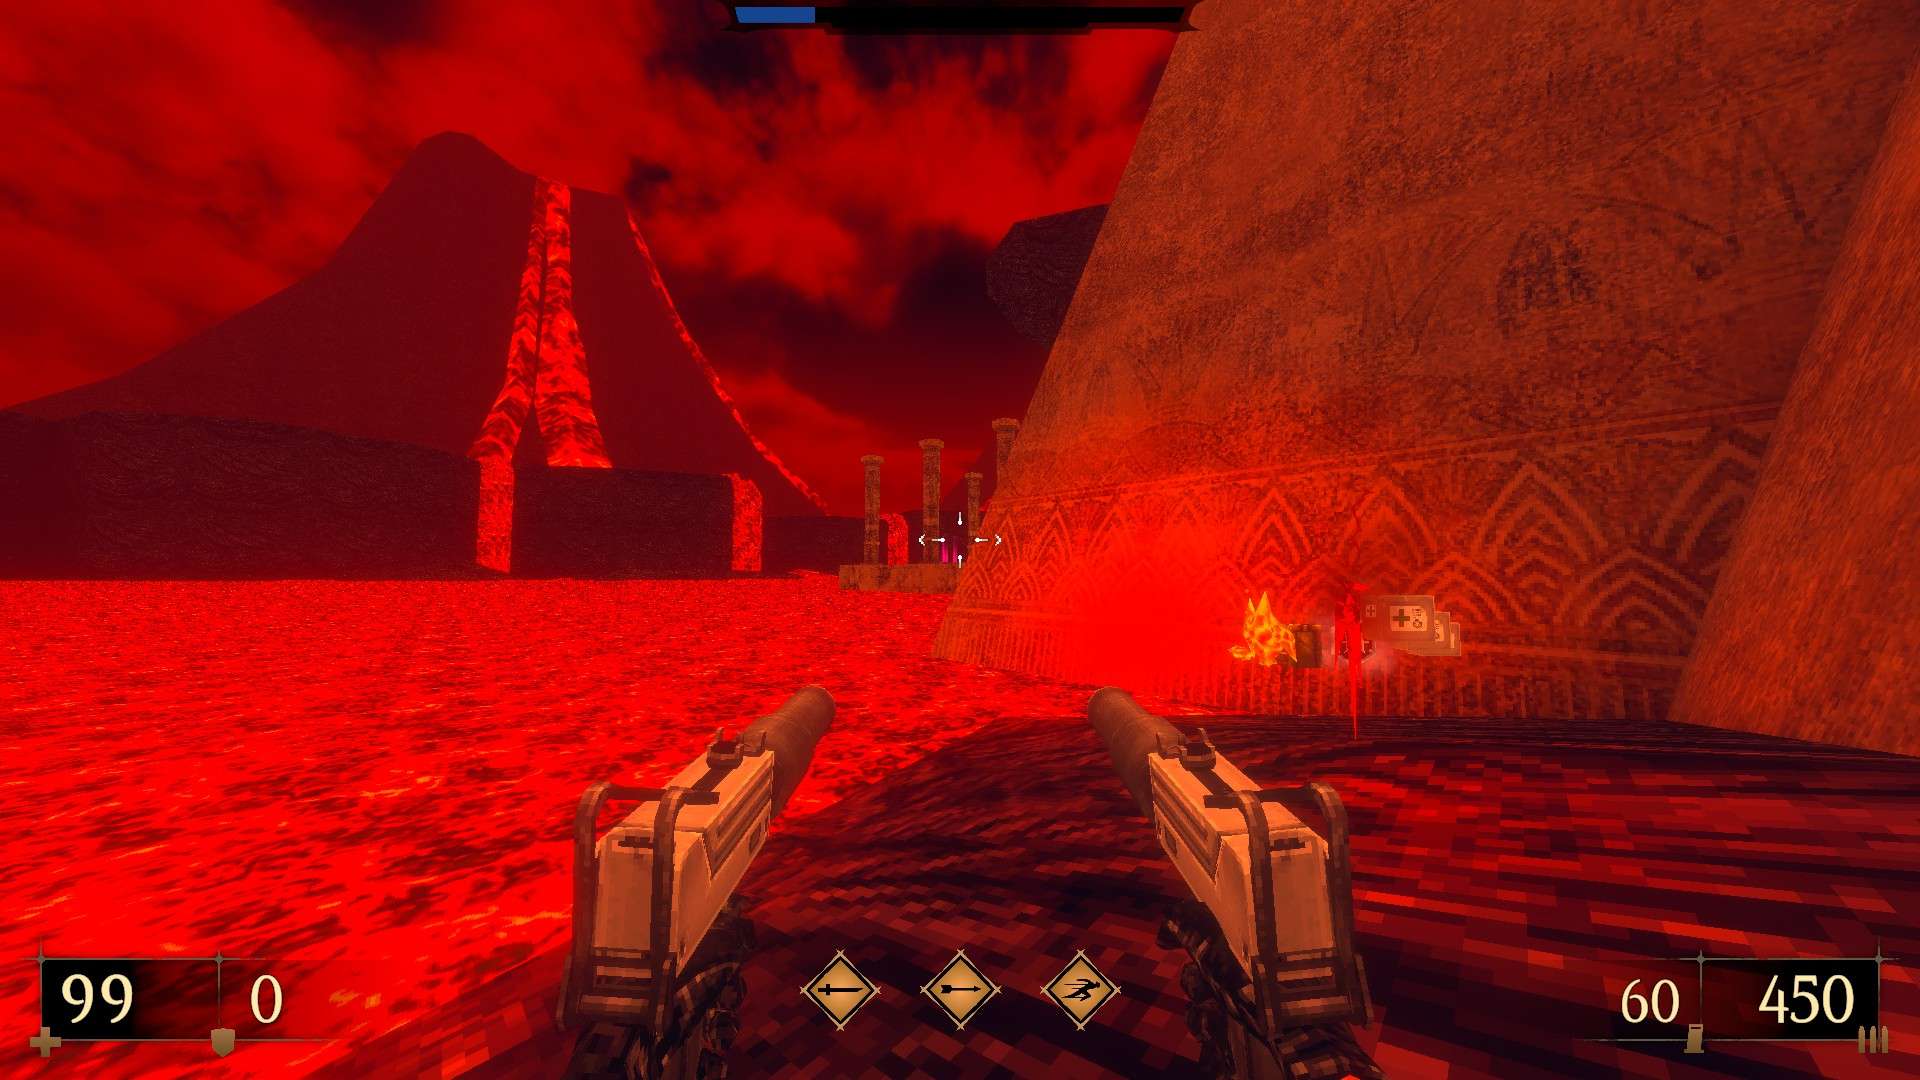
7/8 – Check the opening to the right of the temple stairs covered by flowing lava to reach another cache.
8/8 – Following from the previous secret, find the opening next to the tower at the back of the temple and follow the path to discover yet another cache (Katana Slaughter II).
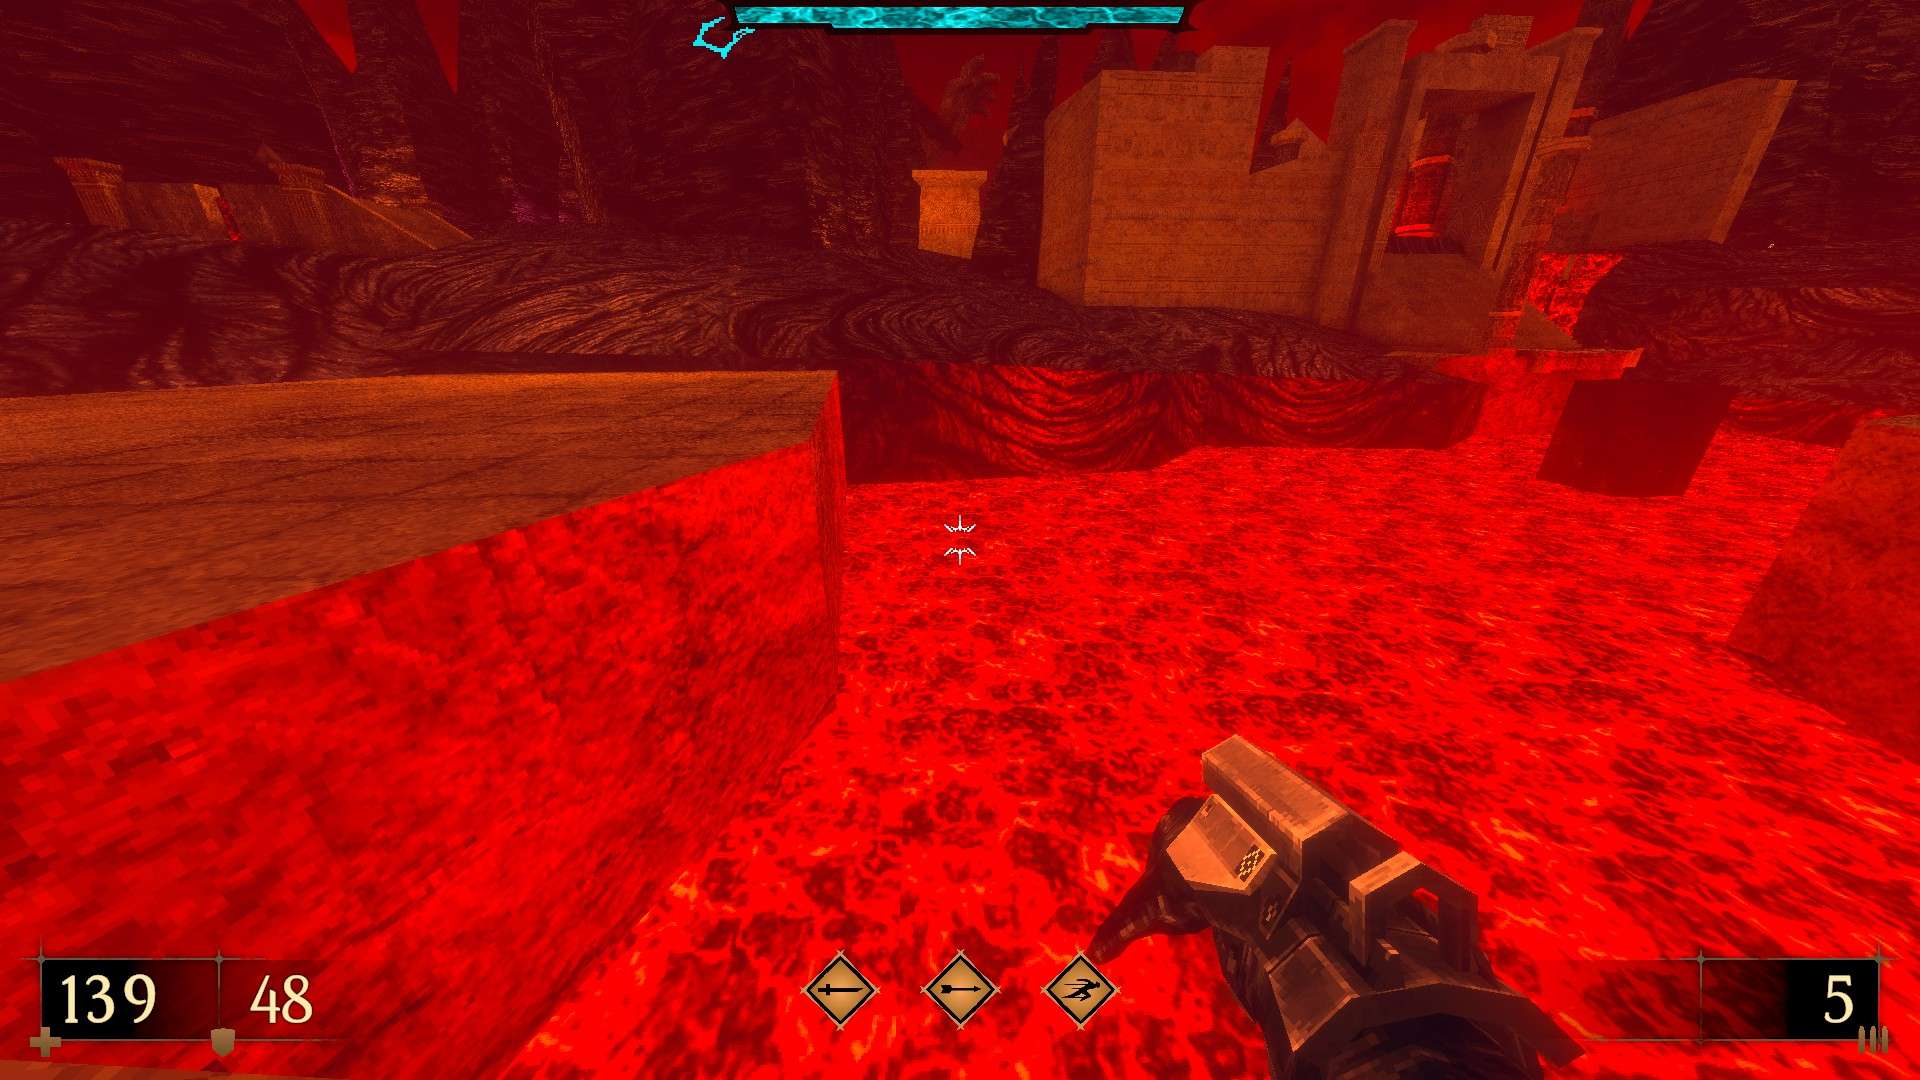
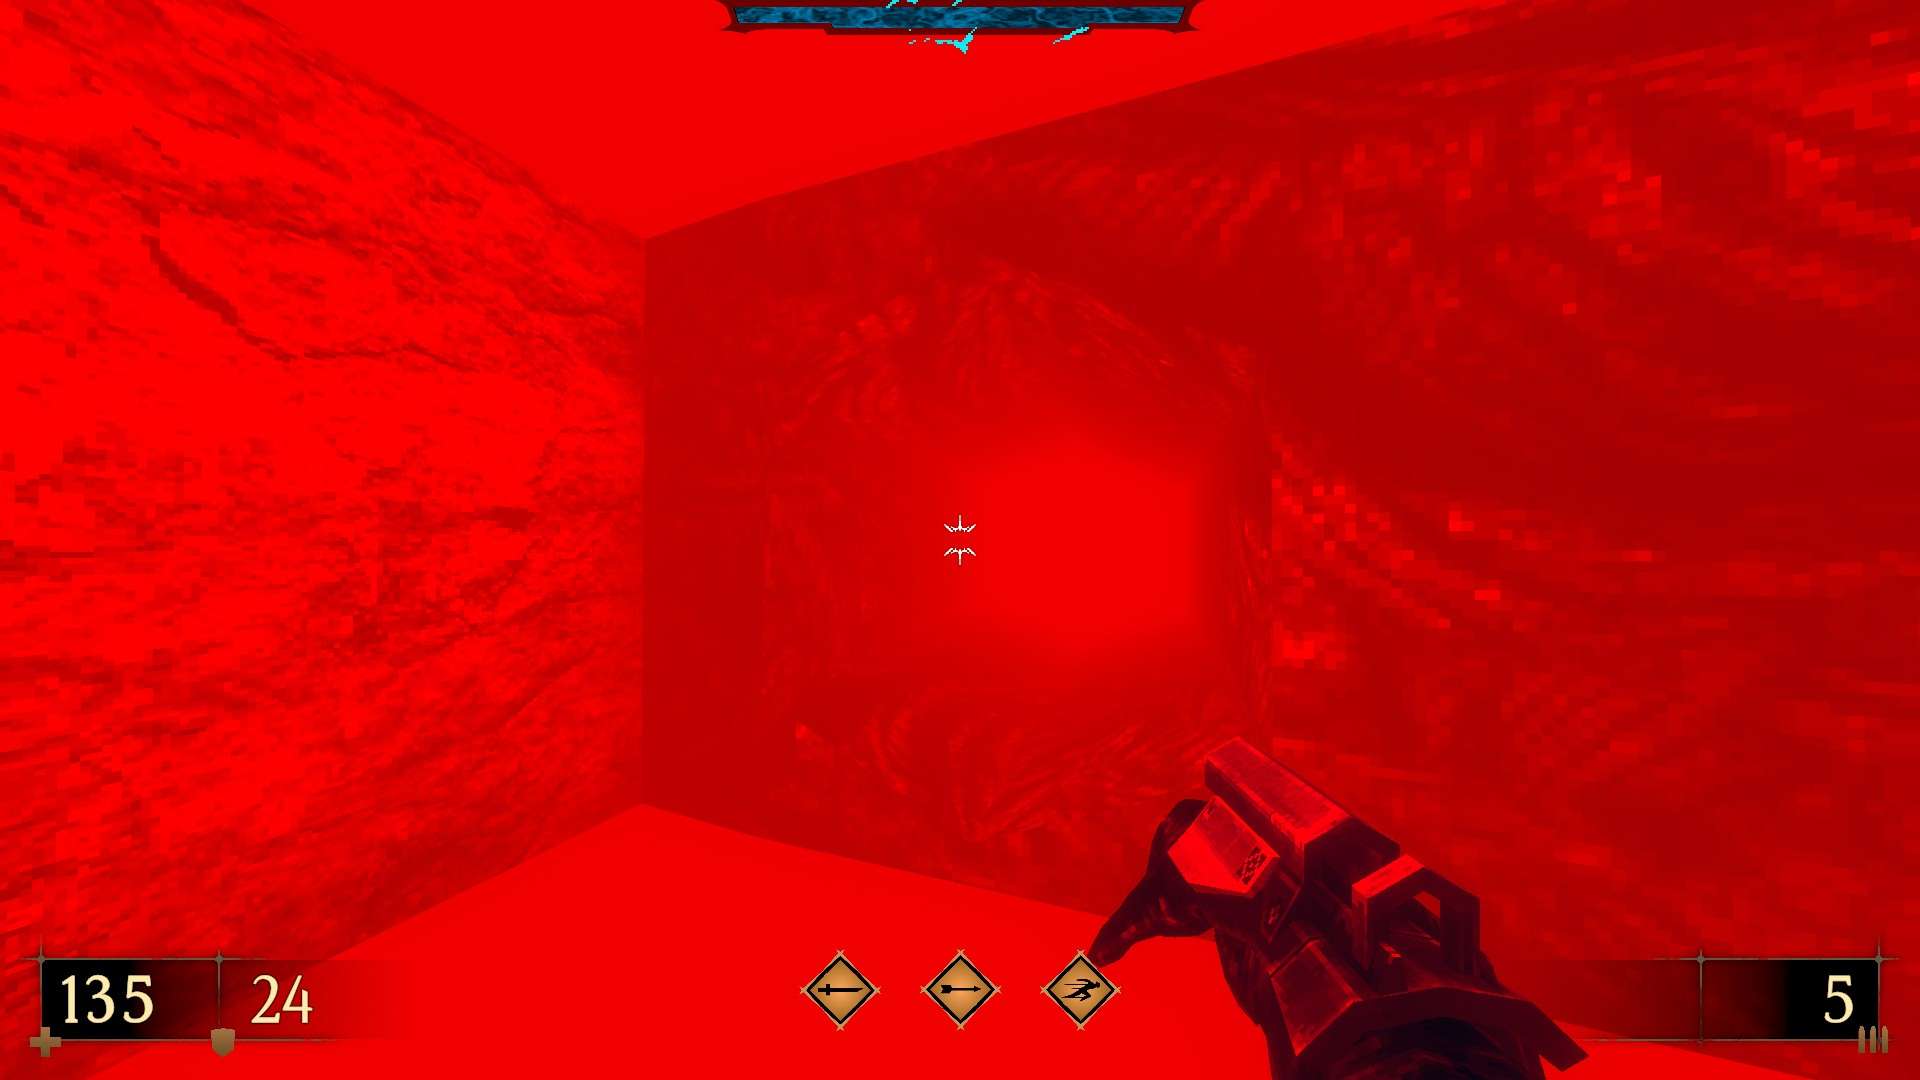
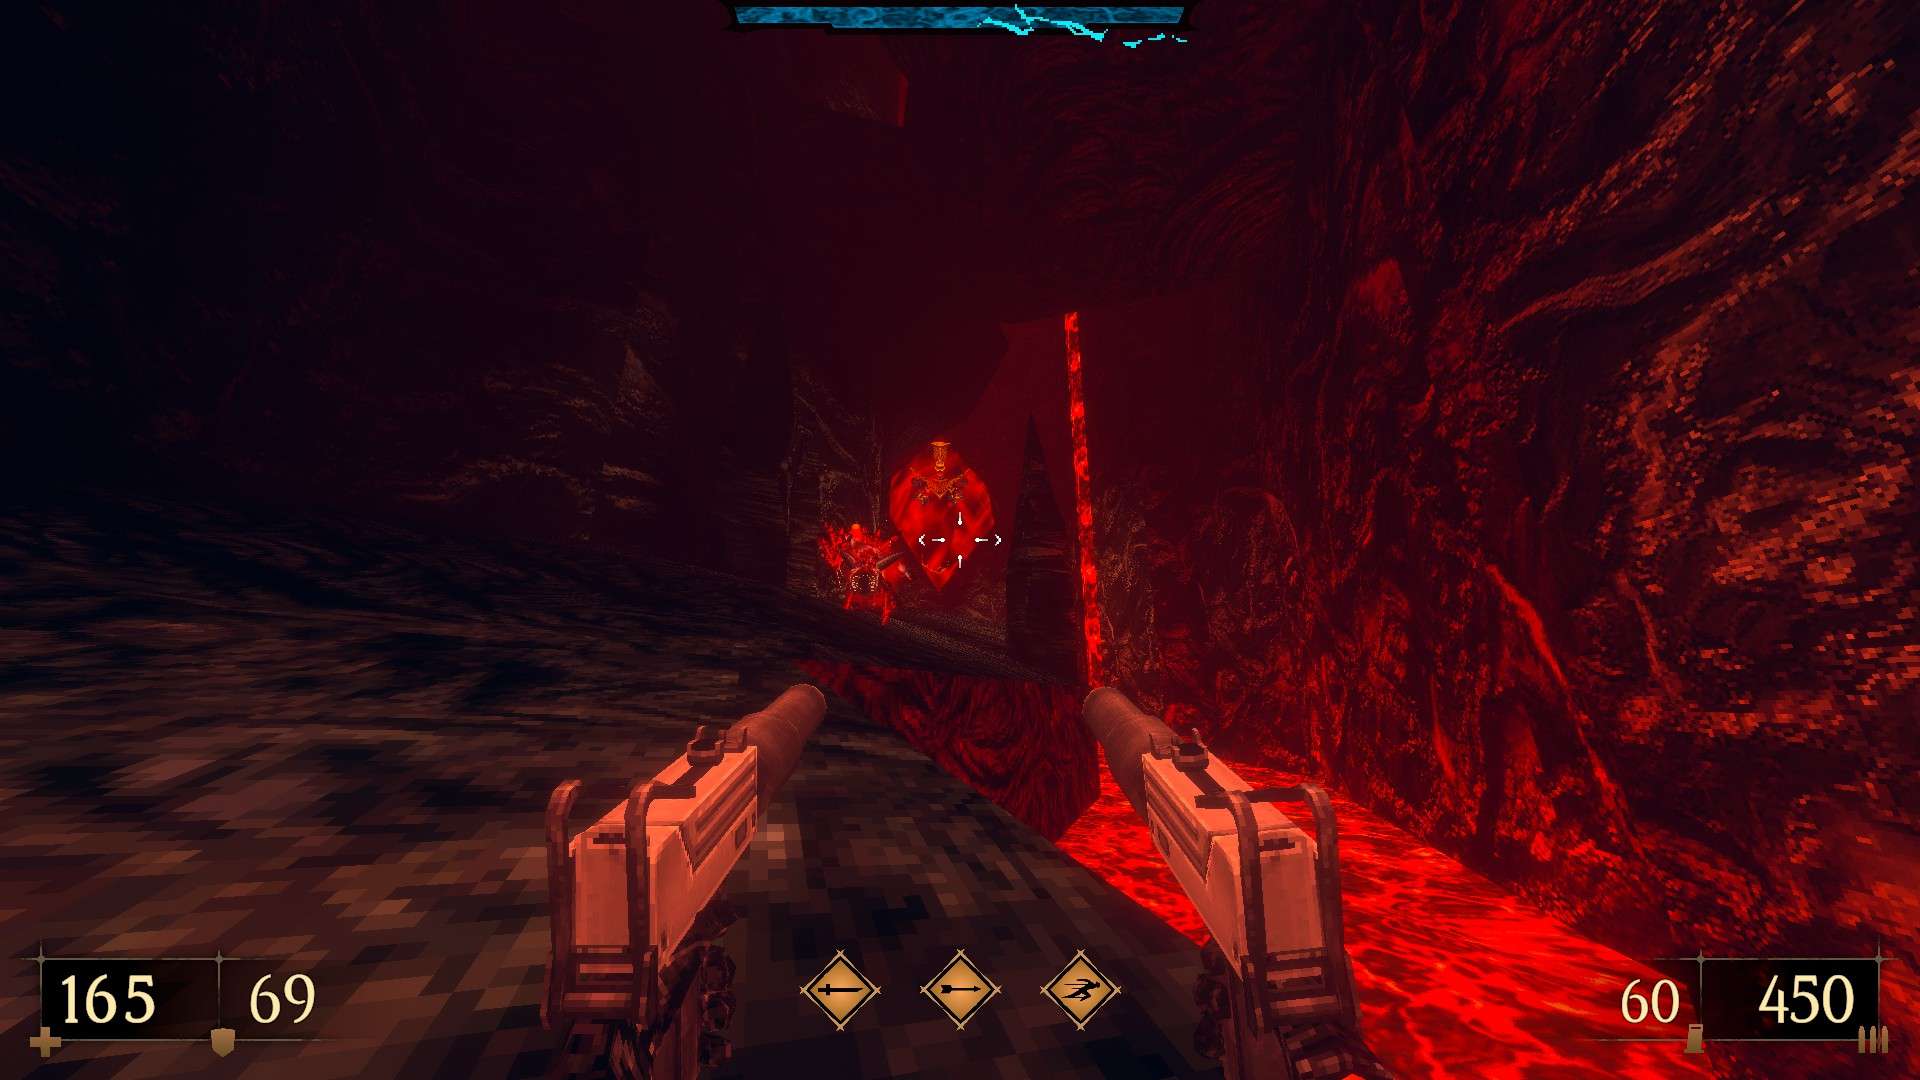
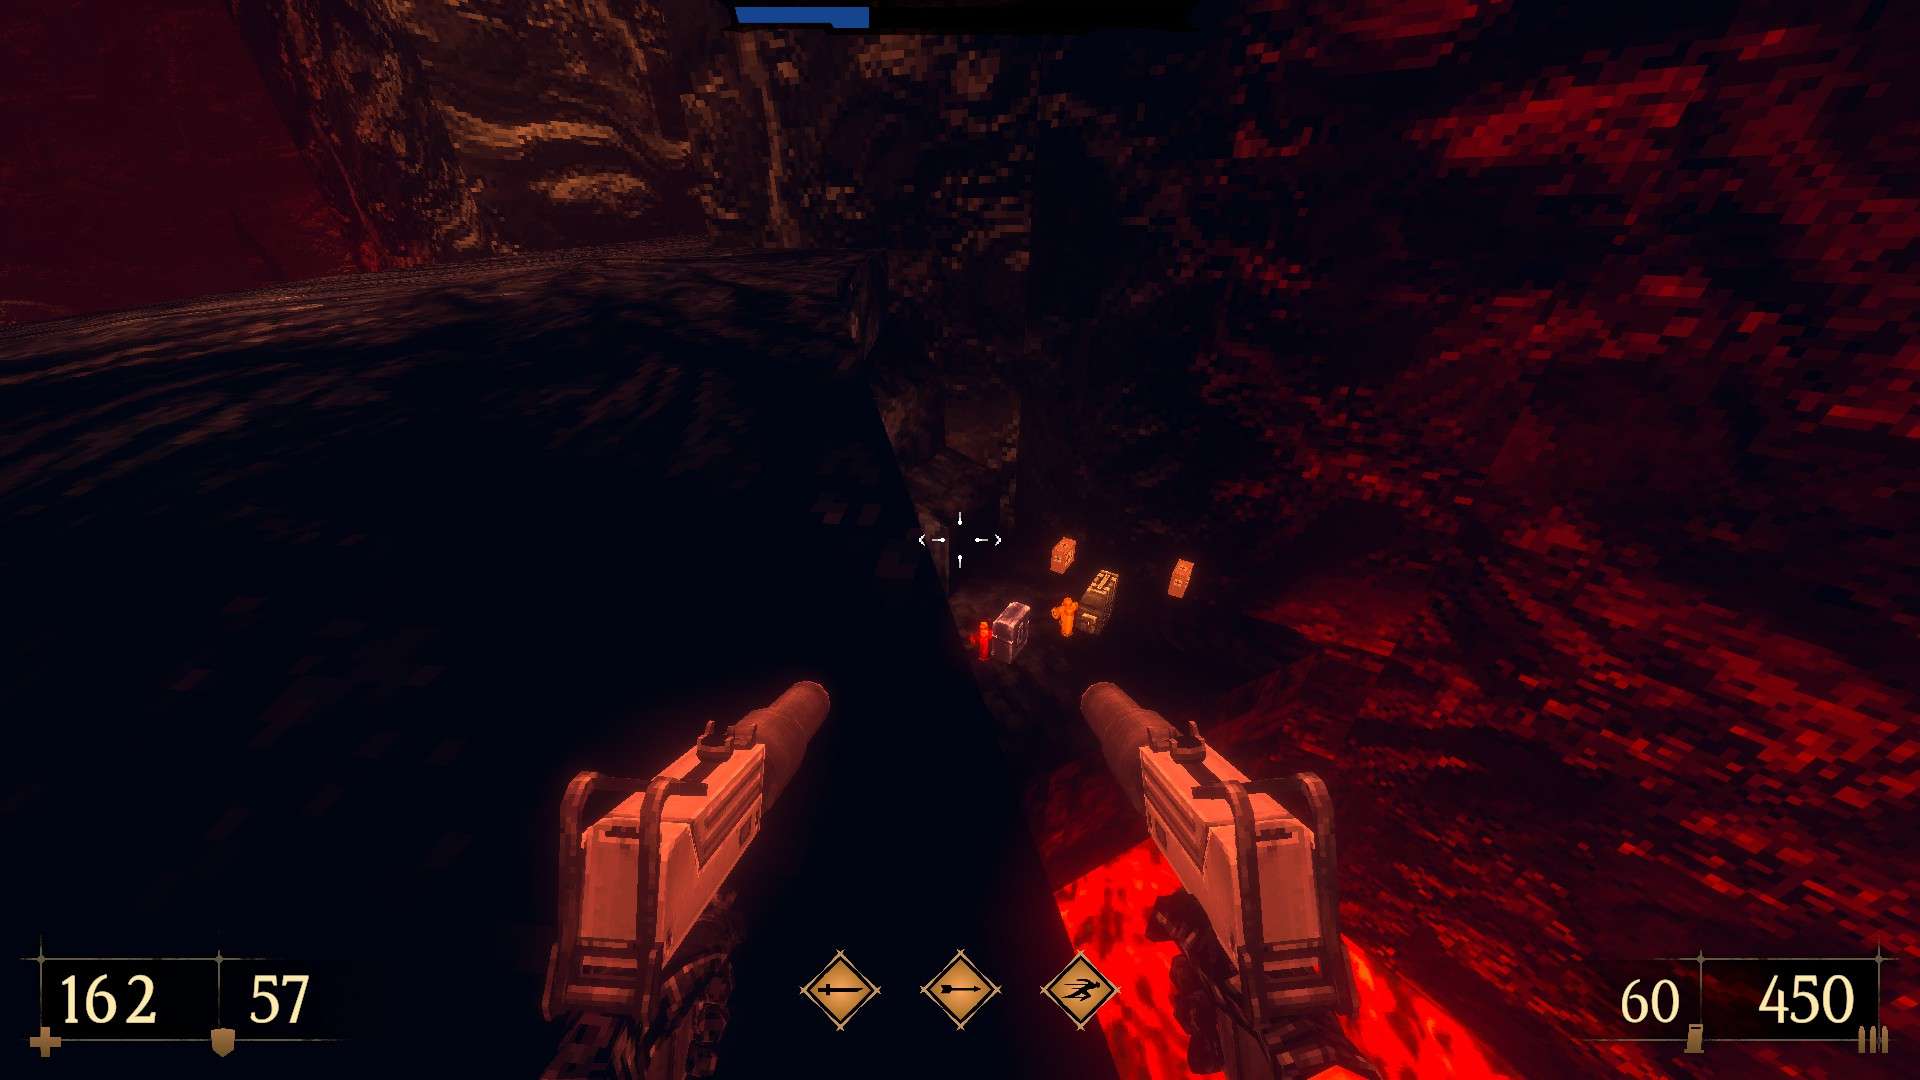
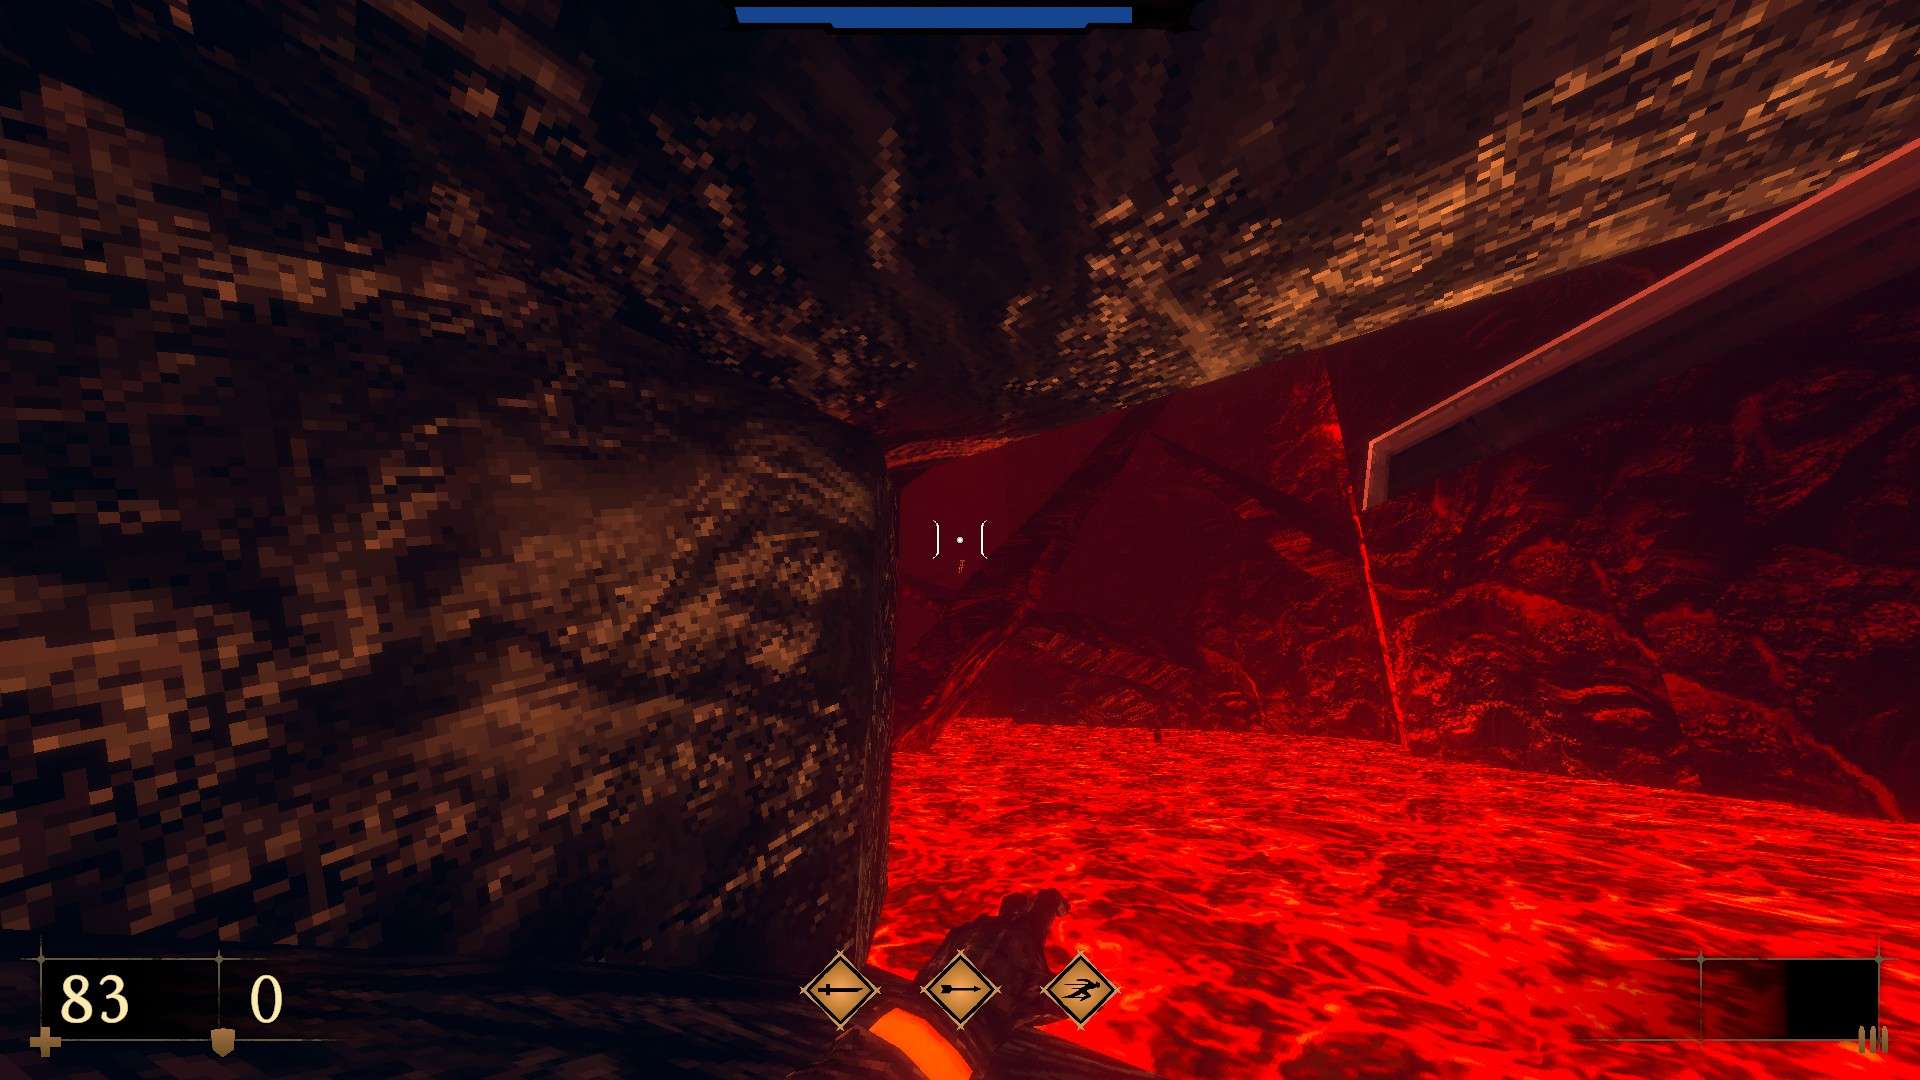
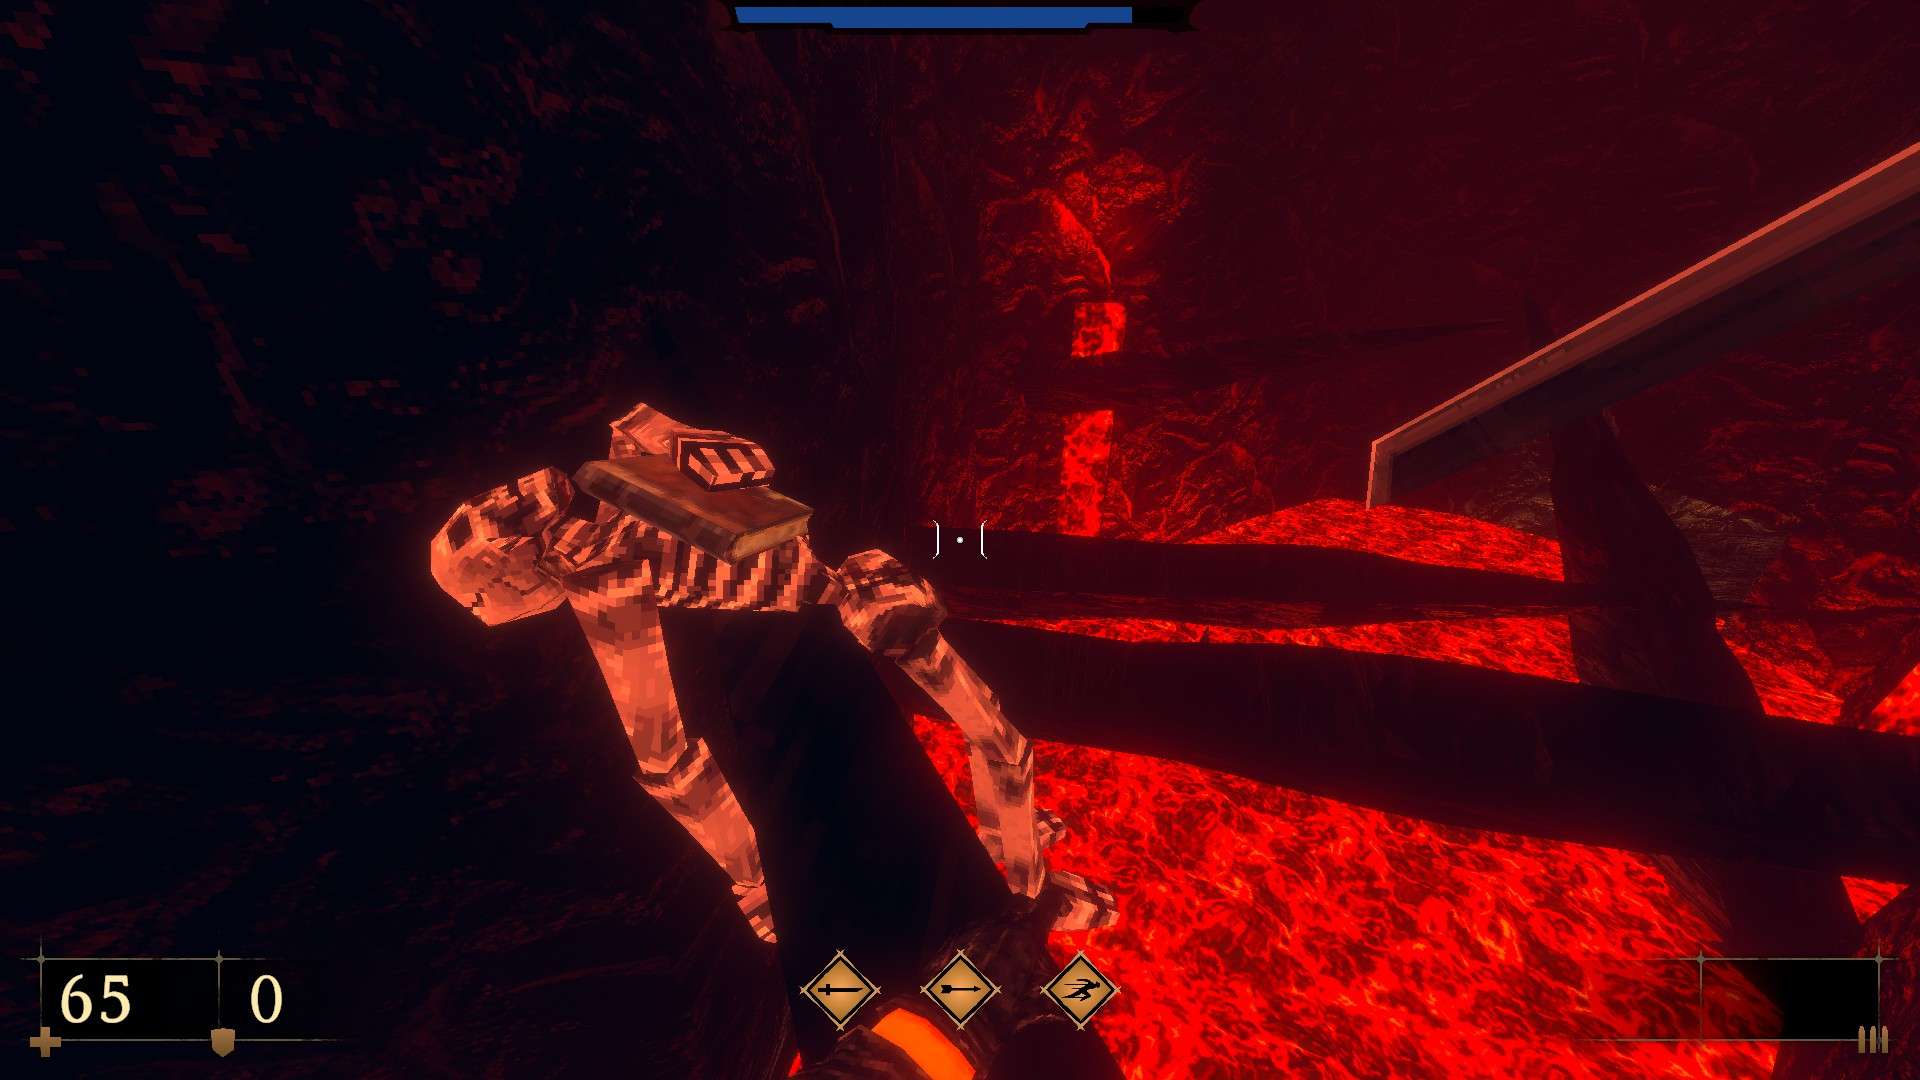
Super secret – Dive into the pool of lava in front of the temple and swim through the opening to reach a hidden cave. (Cerberus -G- and a Blood Gem (Also unlocks the achievement ‘Under the Lava’)).
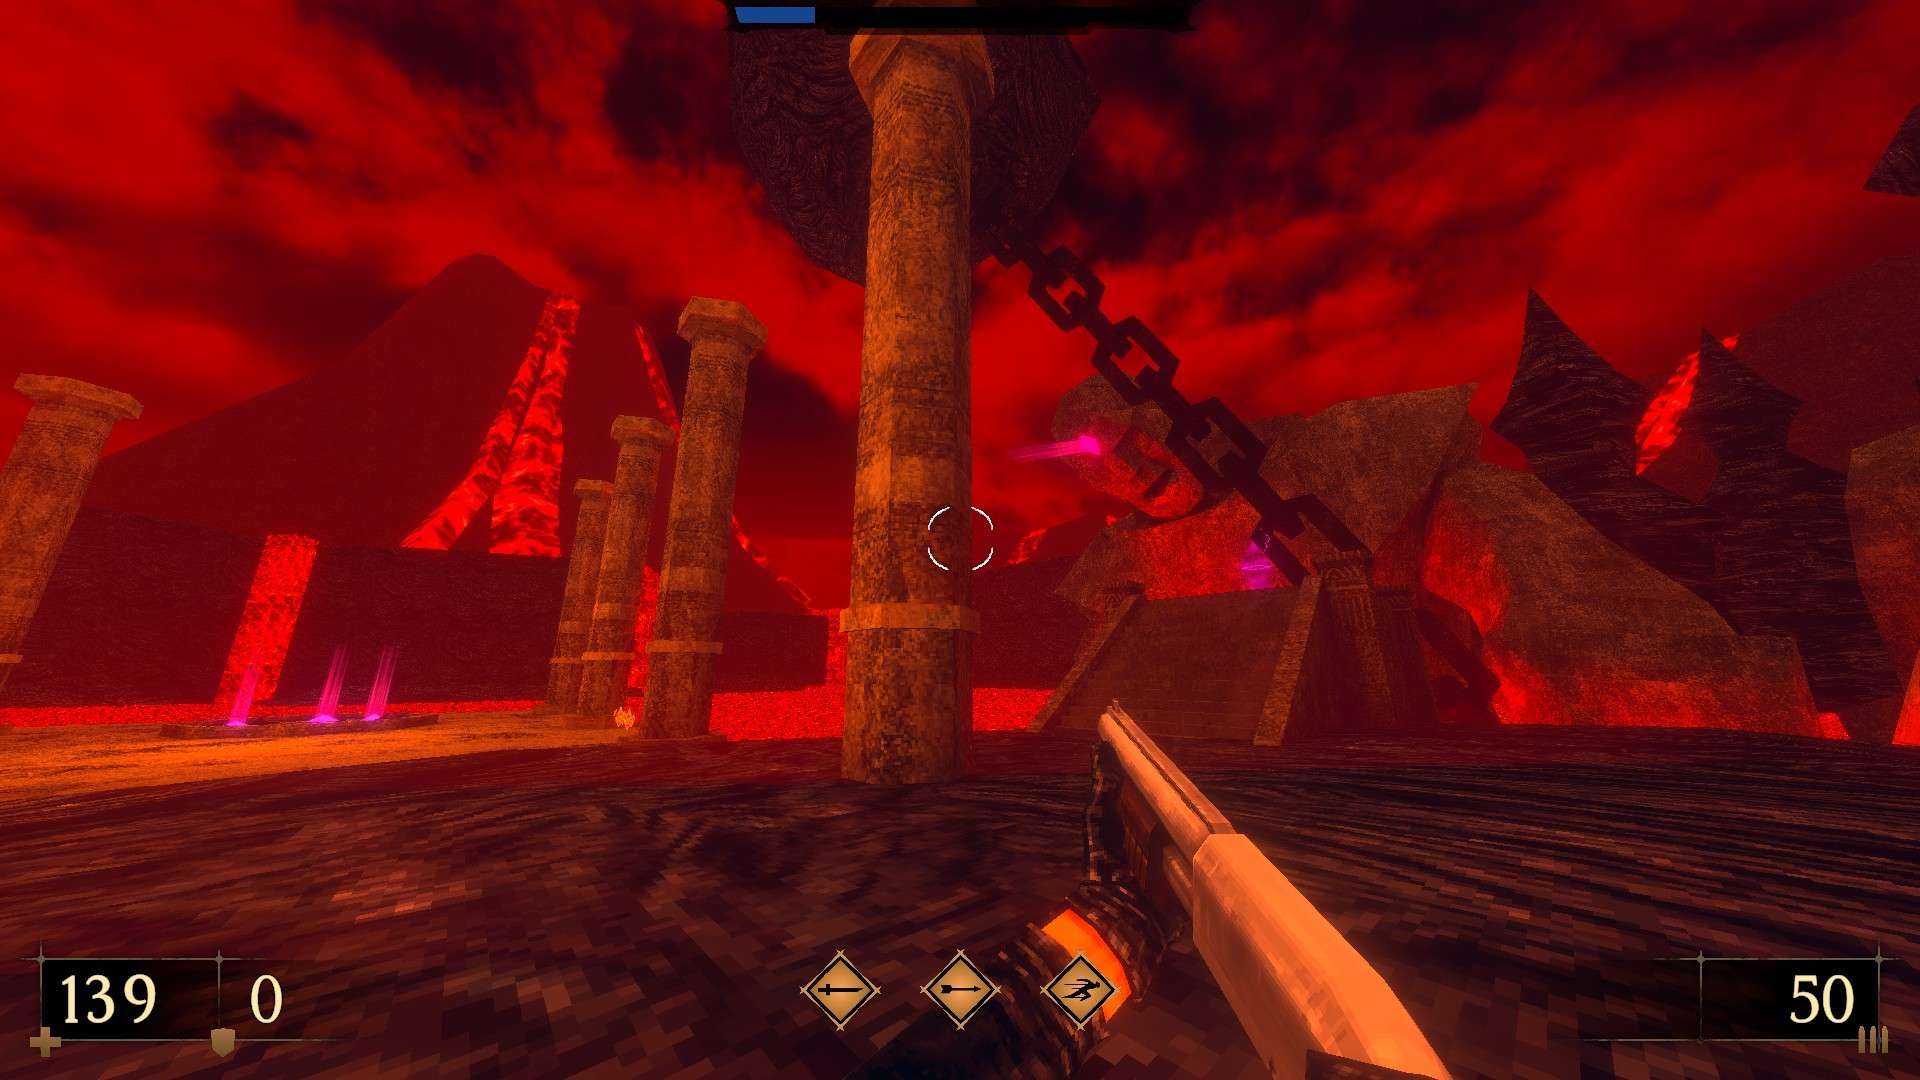
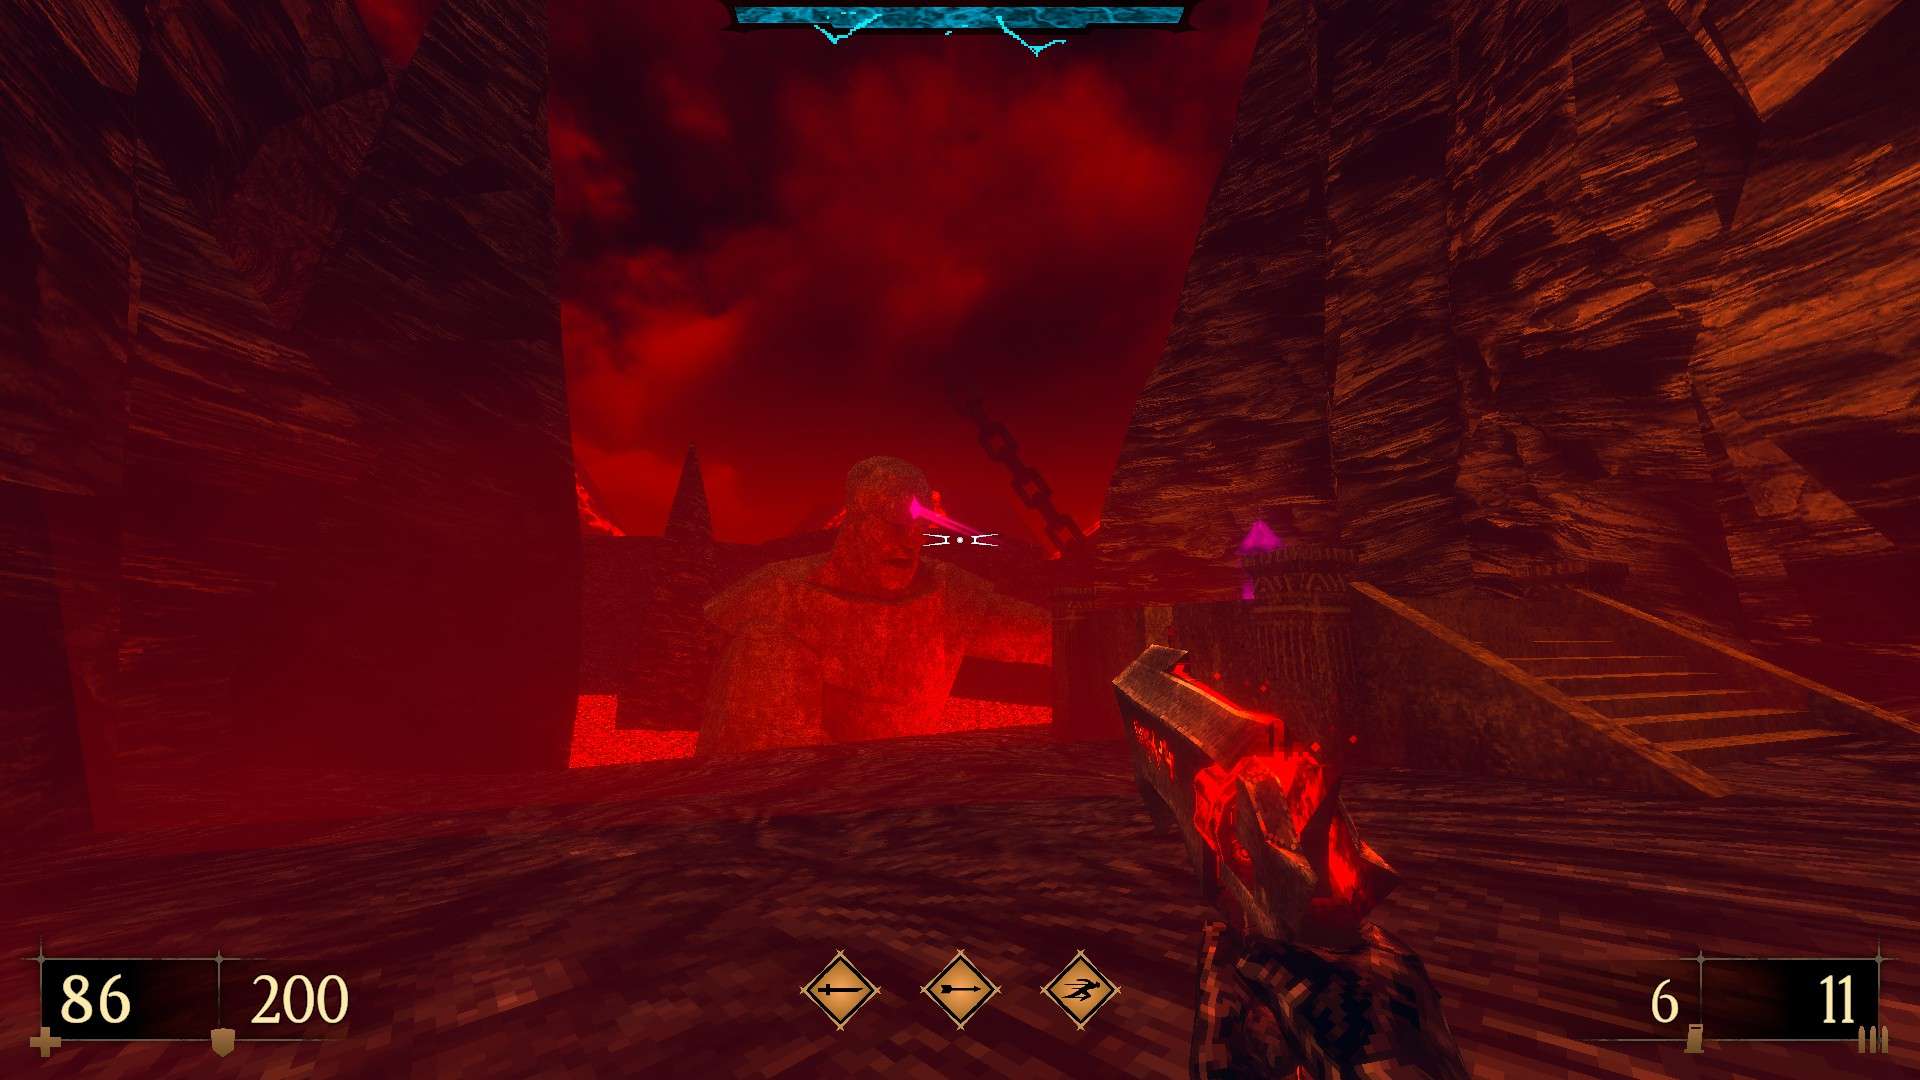
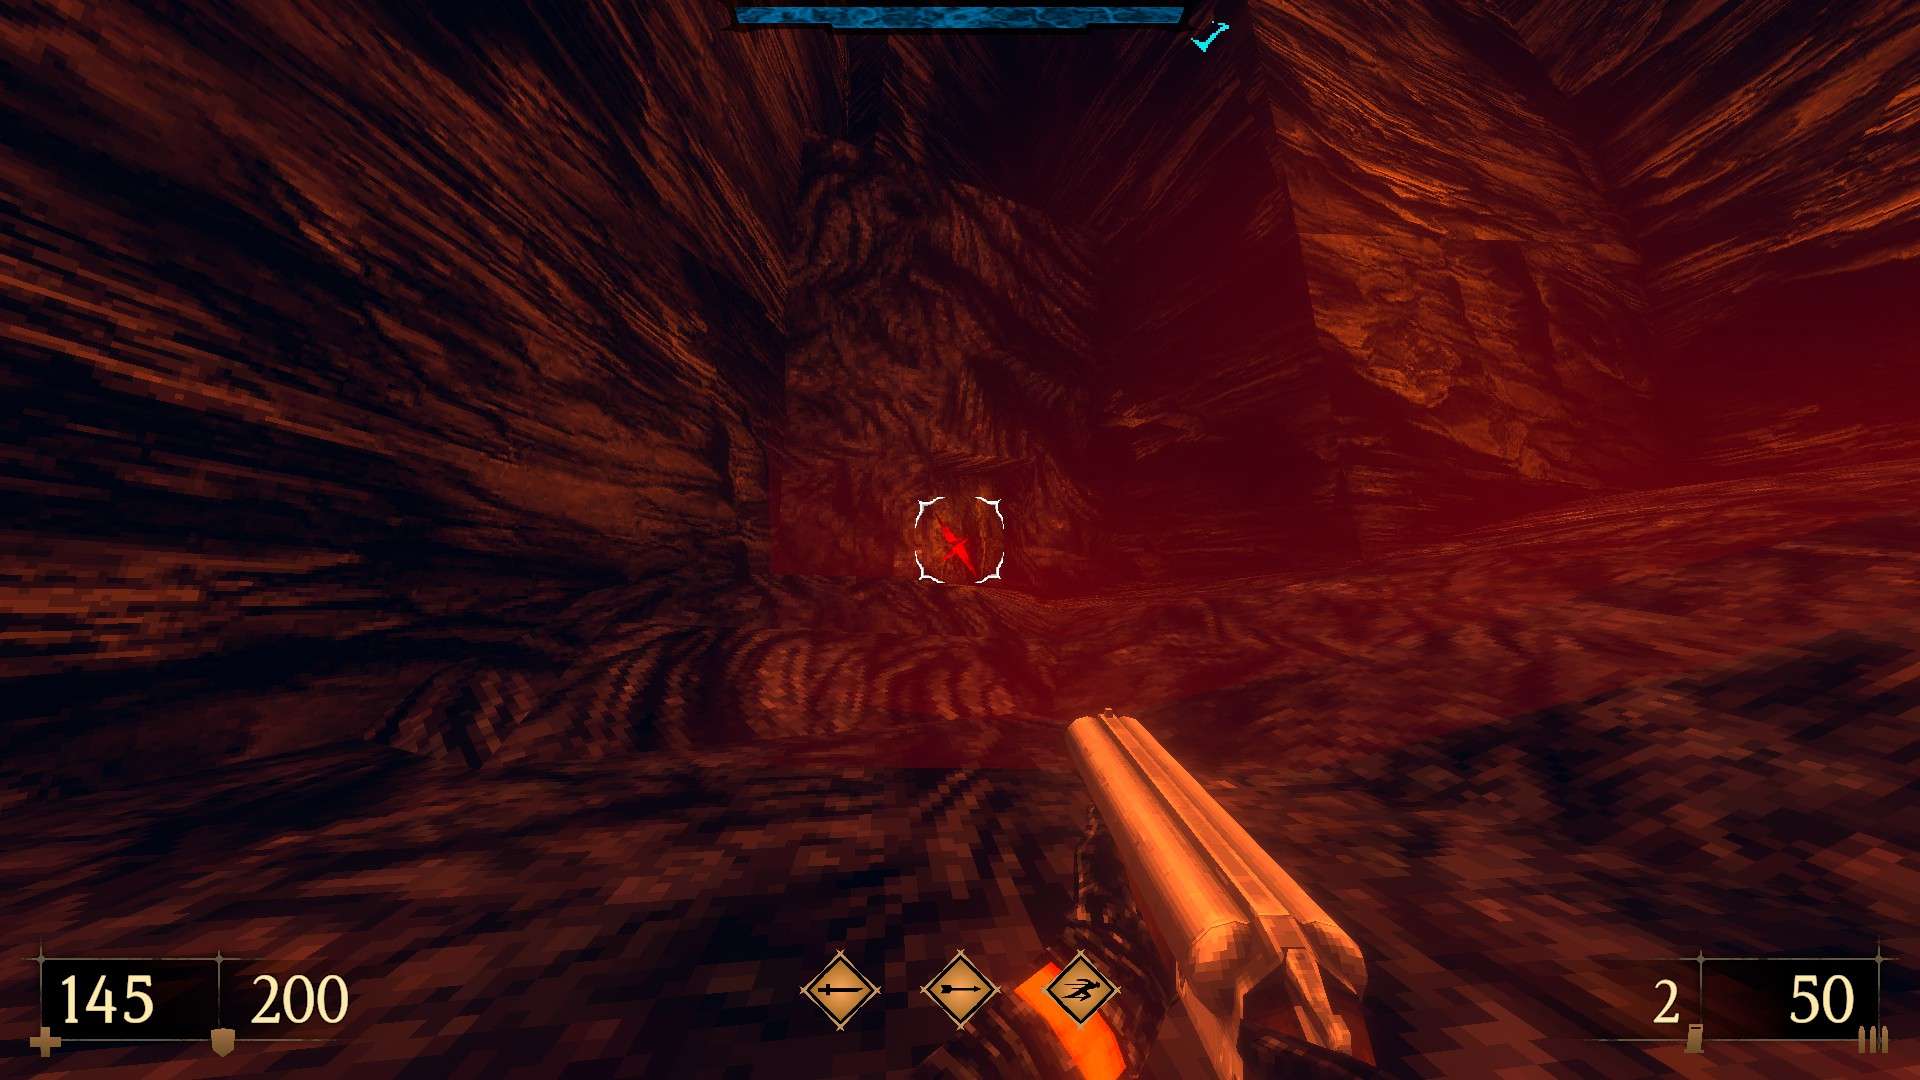
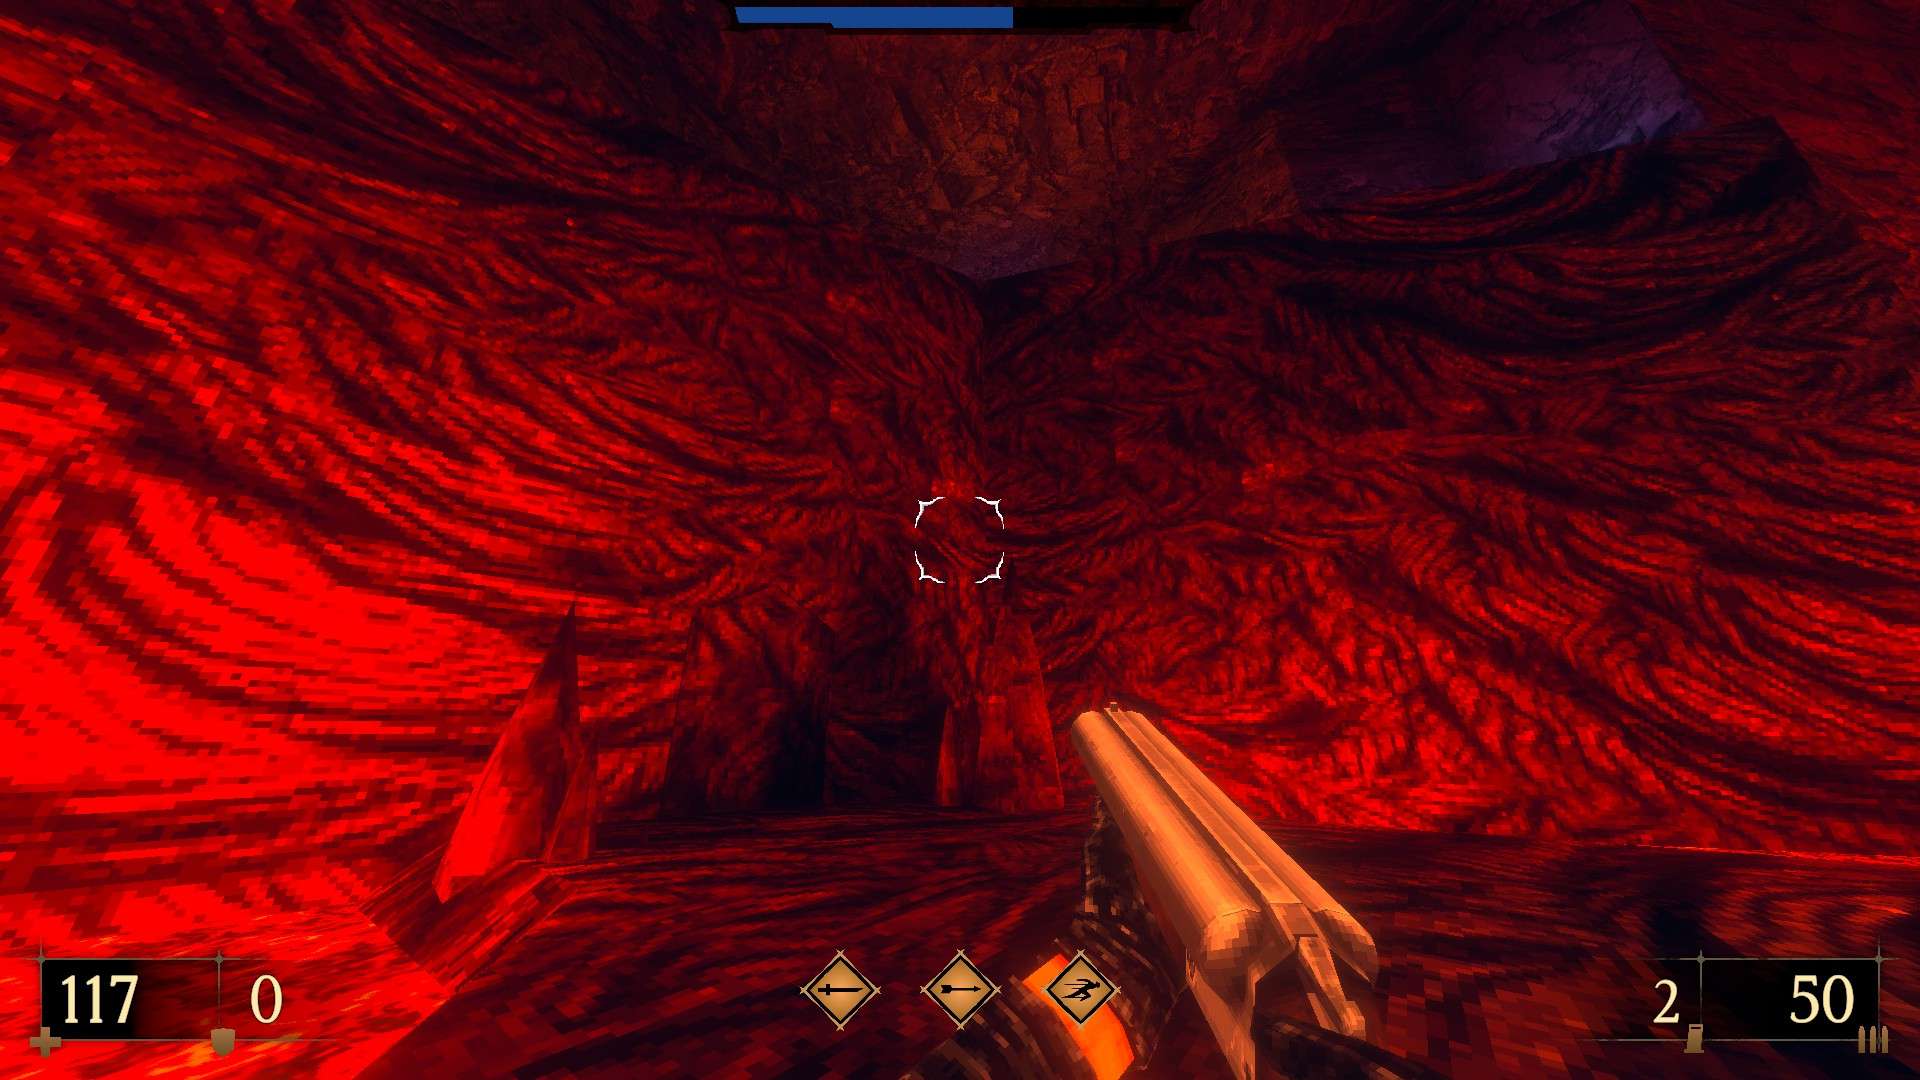
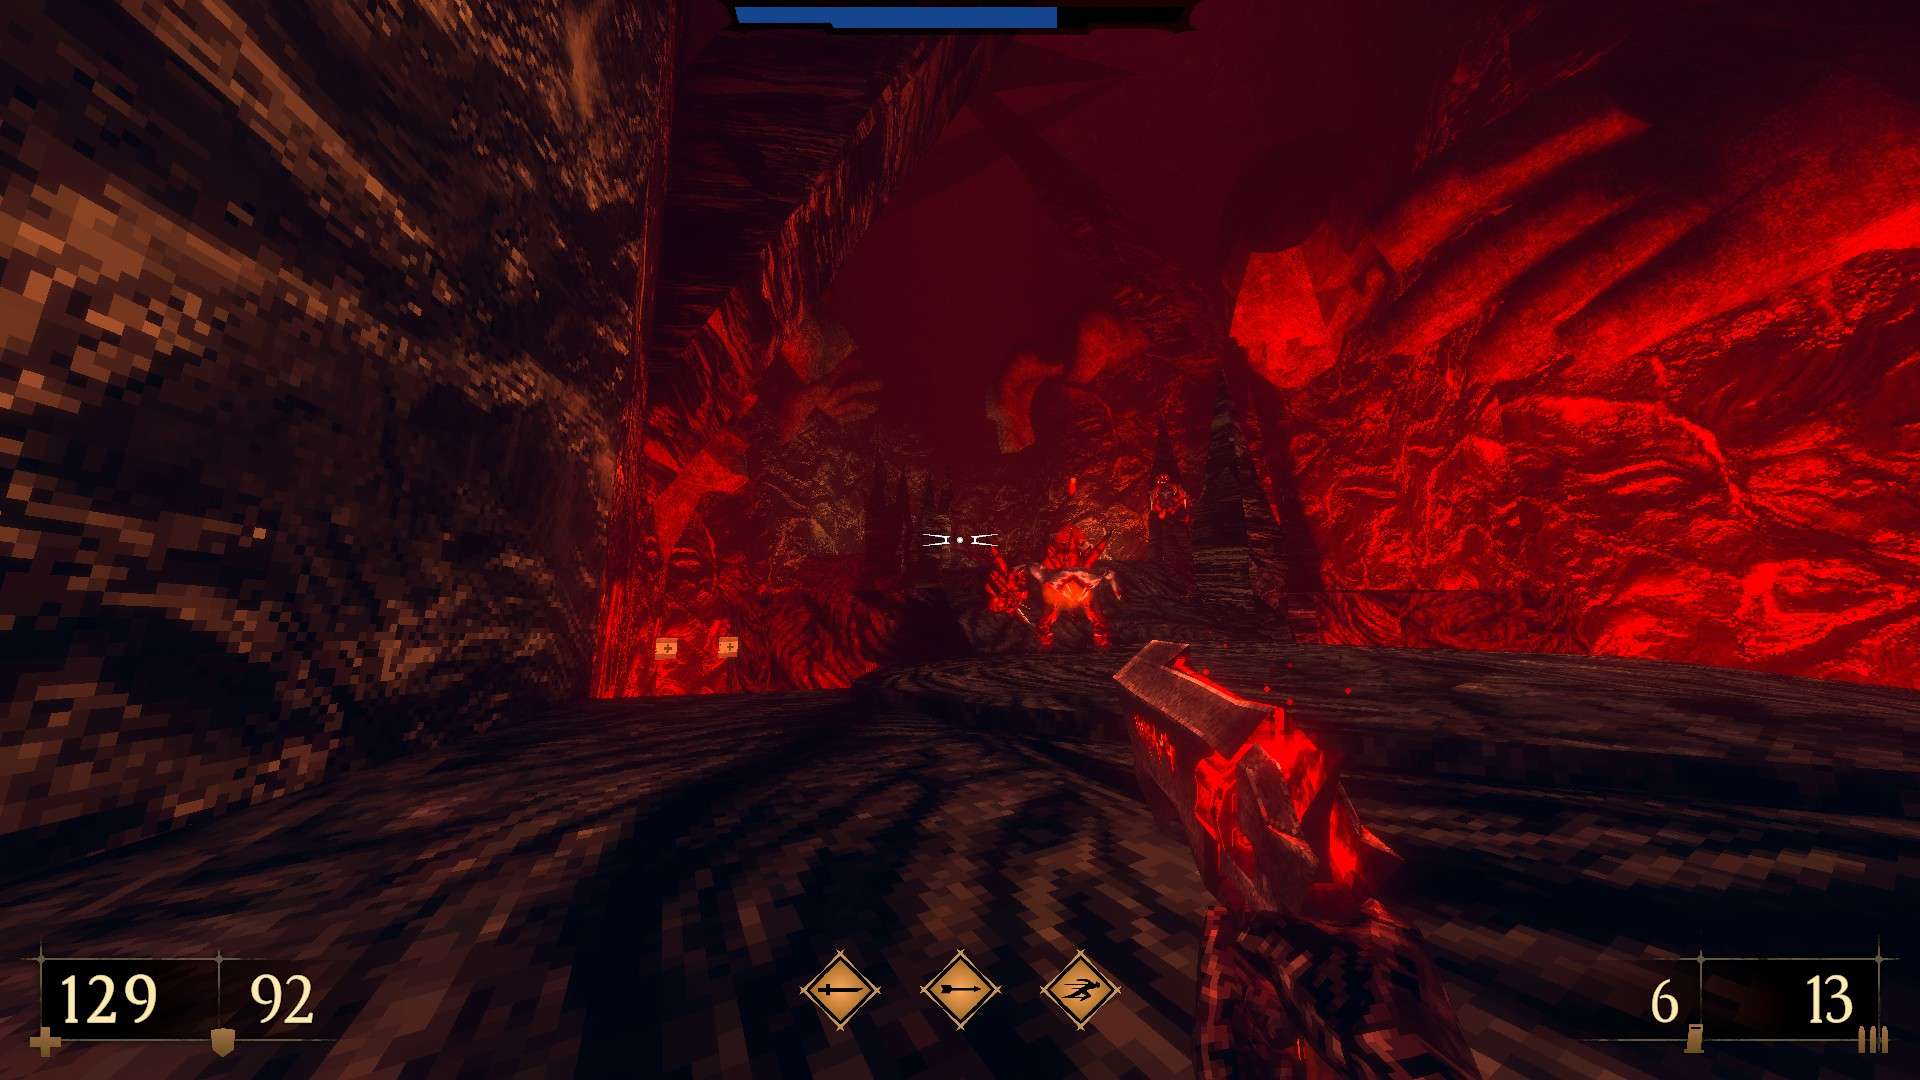
E4M6: Fallen God
This level contains 4 secrets and a super secret.
1/4 – Right at the start, turn around and drop down into the lava to reach a hidden alcove (Templar Toughness IV).
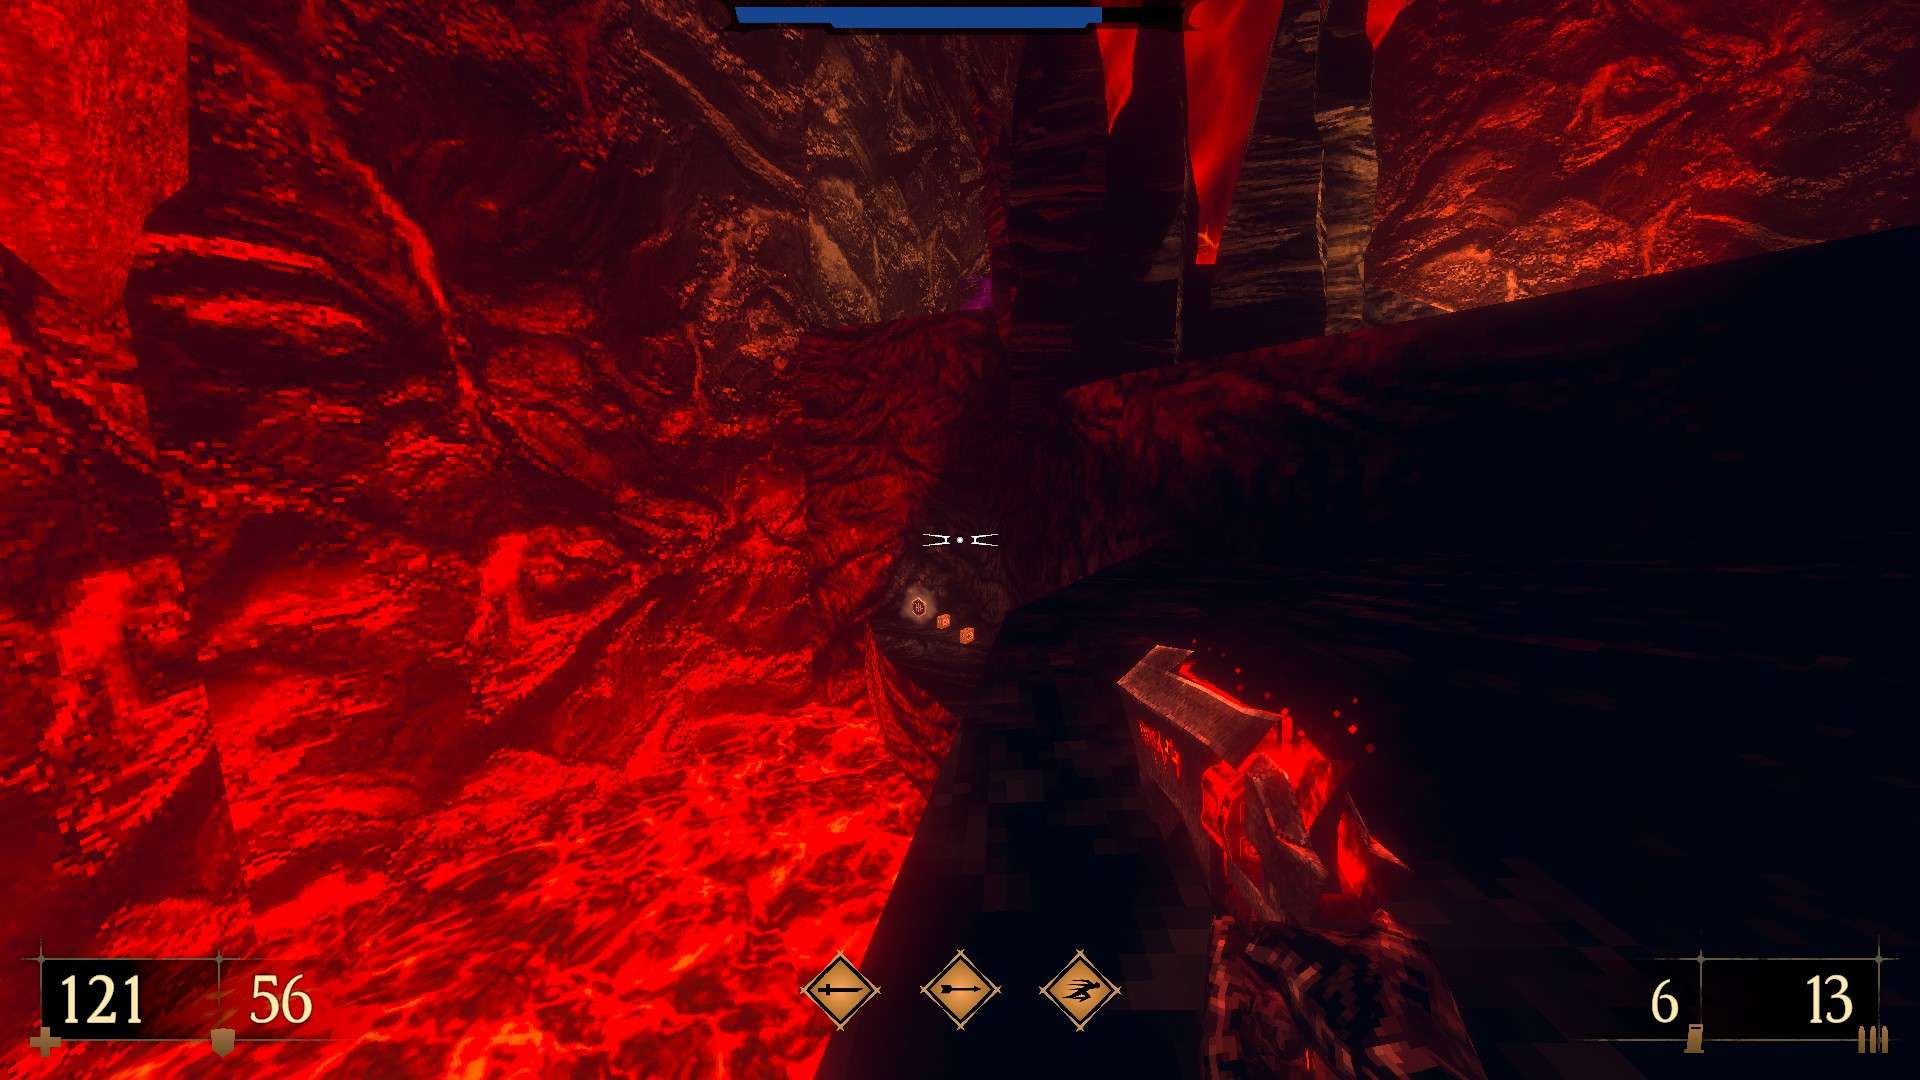
2/4 – As soon as the lava starts rising, hurry up the hill, drop down to the ledge on the left, grab the goods and make your way back up (Inferno Revolver Expansion III).
Extra – After the section with the rising lava, shoot the cracked part of the cavern wall to find the teleporter to the side area. Surviving the hill up ahead unlocks the achievement ‘Monkey Kong’. While there, do not forget to say farewell to your beloved T-800.
Hasta la vista, baby.
As a side note, it may be better to go for the super secret at this point since it is not possible to backtrack freely as in most of the levels.
3/4 – As the lava starts rising for the second time, make quick work of the monsters standing in your way and reach the ledge with the goodies next to the gate before it is fully covered.

4/4 – After using the crystal, get into the following cavern and find the barely noticeable steps of rock at the corner. Jump on top of them and turn around to find another hidden alcove.


Super secret – Just after the second lava rush, turn around to see a skeleton laying on one of the spikes in the distance. There is a ledge by the spike nearest to your location. Start from there and dash-jump your way to the skeleton in question and grab the book from his arms. Continue on and survive the third lava rush. Dive into the lava pool next to the following save point and swim your way out to a library of all places. Put the book back in its designated place to reveal the goodies. Do not forget to get the book page from the ground before leaving (5 -G- and a Blood Gem (Also unlocks the achievement Don’t Burn That Book)).

E4M5 Katana Slaugther is bugged. (Secret 8). This is actually Katana Slaugther III, but due to a bug it displays as Katana Slaugher II when you pick it up.
I can confirm that the tip for E4M4 works, right before secret 3, follow the track and there is a hole with a ladder, if you press the jump button a few times, you just grab the ladder and reach the super secret with the missing gem.
Also about the mega-secret part. It says this is the 4th part, but isn’t this the third page for the mega secret? So either it should be the third part or I missed something
The logo from Secret 5 of E4M2 is a reference to the game “Dune II: The Building of a Dynasty”.
Something of note regarding the super secret of E4M5: There’s a switch on one of the pillars that you can activate to lower the platform with the 200 armour vest into the lava. If you haven’t collected the armour yet, it’ll turn into an ice armour powerup (like the one in E2M2’s side area), which will let you dive for the super secret without having to suffer third degree burns.
That’s good to know – I remember pulling that lever down yet it was only after picking up the armor that resides on the relevant pillar, and left wondering about the purpose of it.
Hey. I just checked E4M4 Super Secret and I got good news and bad news.
Bad news: the whole trick with skipping cutscene is neat but… appears to be useless.
Good news: you can jump to the ladder any time without using cart.
Just stand underneath it, press jupm button and then press and hold jump button again in midair the moment when you are near the ladder.
And yeah, thanks for all the guides!
The game says now that E4M1 has 9 secrets + 1 super … Any clue where the 9th one is?
Also, I noticed I got inferno rocket reach 1 and 3 … Where was 2?
his quote from pagb666’s gameplay video (who, I think, is a trusted source): ‘It’s 8 secrets total, confirmed by the dev. Don’t trust the secret counter in authors display.’
The super secret on E4M4 can be found in the hallway with the lever activated minecart full of crystals (The one you have to activate to progress the map). There’s an ladder in the hallway if you look up. Only proper way I found to reach it is by activating that lever, pressing ESC to skip the cutscene and rushing on top of the minecart to reach the ladder. Hope this helps.