
Good day my little SNOTS. So you want to expand your knowledge of the units and traps in Dungeons 4 AYE, well you came to just the right place. I will give you a rundown of all the units and traps and how best to use them. So buckle up buckaroo’s.
Factions and Units
Here I will go over All the units from all 4 factions ( yes 4, I count dungeon as a faction ) and how to find success with them.
So to start things off, your units can level up to whatever their faction level is ( the big faction button you upgrade at the top of the research page). I recommend making the faction level priority until you hit certain thresholds (e.g. training and beer for horde).
Dungeon Faction
Little SNOTS – These are your #1 Lackies. They mine, they build, they craft. They also go places they shouldn’t. No attack (obviously) but you will want as many as you can get. Best advice on these little guys, keep your Dungeon Faction level high and advance them to level 3 as quickly as you can to get stone mining.
- Thalya – Your very own Dark Elf spellcaster heroine. While her attacks don’t hit very hard , her spells are must haves. She is able to level up to whatever your Dungeon Factions level is , and has 3 spells to unlock. Lets go over them.
- To Dungeonheart – Self Explanitory, takes her and any units near her back to the dungeonheart. Extremley useful until you get the portal spell ( IF you bother will spells )
- Shadow Tentacles – Spell’s damage does decent AOE damage and does scale based on her level. Very useful for getting the priest healers in the back.
- Baleful Tempest – Only usable on the overworld, this spell makes your units move and attack much faster. Very helpful for clearing boss type units or wiping out bases VERY quickly
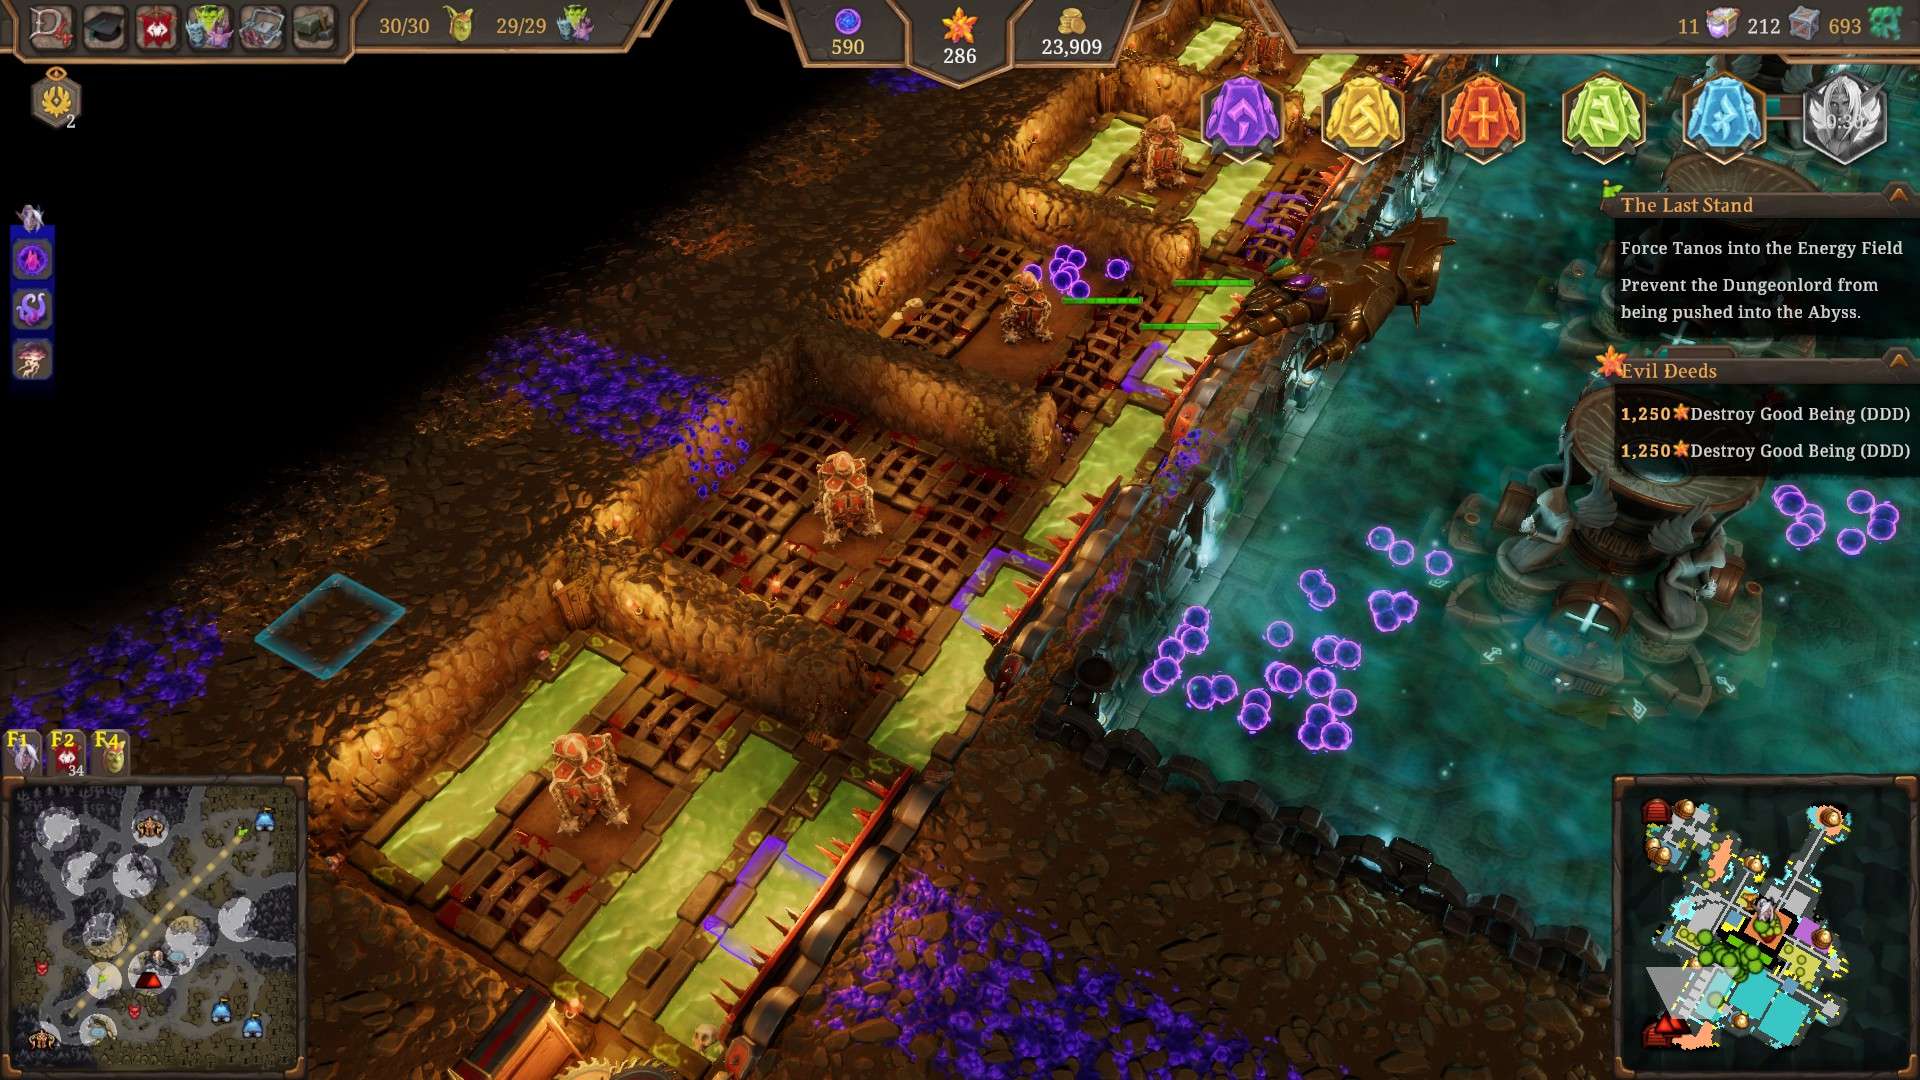
- Summon Dungeonlord Grogu – This is your “I Win” button. The dungeonlord is overpowered and does not die from ANYTHING. Only lasts 90 seconds but you can get a LOT done. 1 shots most armies ( yes i said amries not units) and can clear boss units and bases EASILLY single handedly. The only negative I can say and it might just be a bug, you cant seem to get him to exi/enter the dungeons depending where you summon him, although he will teleport back Thalya when she uses her RtDH. So either save him as an emergency button, or poke your head topside and summon him there to just clear swathes of bases/units.
Horde Faction
Horde faction is pretty basic.They have a good assortment of melee and ranged units without any huge gimmicks.
These guys are very cheap and are the only faction that actually has an upgraded form of each unit. They do also get the ability to be resurrected which is their biggest shortcoming. Very solid choice and also unlocks potions which while somewhat random what you get, they are extremely useful.
They also allow the building of a training hall which at later ranks allows you to train other faction units as well. I never found it crazy useful but its nice to have if your army gets wiped out.
- Orcs – The bread and butter melee unit. Pretty tough for how cheap it is and its upgrades give it a lot of good survivabilty. They turn into Orc Champions when you have it unlocked, which gives them a big increase in defence and a bit of extra damage. Honestly just makes them better at doing what they already do.
- Naga’s – Ranged healing units, be careful with these as they are quite brittle. Once you get some upgrades for them they are able to heal from a very safe distance, and the chainheal upgrade is insane. They turn into Naga Champions which gives them a new resurrect spell. If you are gunna run Horde faction then you will REALLY want a decent number of these.
- Goblins – The big damage dealing melee unit, I have a love hate relationship with these guys. They put out a good amount of damage and the upgrades are probably the second strongest in the horde faction, but do are a bit brittle. These guys are extremely portent against the dwarf faction as they reduce melee damage from units and also just flat out ignore armour ( which is a HUGE deal in this game) The turn into Goblin Champions which ride atop a wolf steed giving them access to a very useful charge ability. When I run them I like to either go 1/1 to 2/1 with orcs. You really need the orcs to not only take the shots, but the first upgrade makes them do more damage when an orc is raging near them.
- Gnomes – Huge mid range dps. Horde factions amazing glass cannon unit. They die quick and easily but good lord can they put out some damage. They are little furballs that hurl AOE damaging bombs at people, and when upgraded they have a giant blanket of bombs called their “KABOOM” attack. The more you upgrade them the bigger the area their attack AND kaboom cover. They turn into SURPRISE SURPRISE the Gnome Champion ( im seeing a theme here ) which gives them a mek that changes their bomb throwing attack into a flamethrower. Drastically increases the damage but turns it into a kind of DoT. I generally loved taking a large amount of these as the kaboom attack from many at once would completly decimate a front line and not give enemy healers a chance to heal them up.
Demon Faction
From the fire and flames arise the pure ranged faction. If you like to play with all glass cannon this factions for you. Demons run off primarily evilness (all their units cost 666 gold … get it?). When a demon unit dies they go to the void and wait to be resurrected via the Vortex building.
The bigger your vortex room, the more summoning portals you get. It is entirely possible that with a big enough room you can have a never ending flow of demons constantly reviving… as long as you can maintain the evilness cost to revive them that is. The demon faction also gives you access to mana and the spell network.
Now while I wont go over spells in this guide, I did find them MUCH better and far more useful than the horde potions (mostly because I can choose what spells i get/use, not just a random chance).
Also a torture chamber that gives you evilness from wel.. torturing survivers, and the Vault of MIGHT, a room that lets you upgrade past max level. I never found it SUPER useful but its their if you want to use it.
- Imps – Long range single target bombers. Respectable damage especially considering it is the T1 unit. A bit of the flismy side it terms of health and defence but honestly nothing SHOULD get to them if you have any of the other 3 units. Their upgrades give them a much longer range, lets them ignore 50% armor, and applies a dot to their attacks. When I used demons I always had a good number of these bad boys.
- Infernal – A mid ranged AOE unit. They are beefier than imps for sure and they fire a slow wave shot that deal a smalled amount of damage than imps, but it has a built in DoT that lasts quite a while , and as you upgrade them they deal a LOT more damage to slowed/dotted enemies. From what ive seen, you don’t want a TON of these guys but a few are useful. I never tested it, but I don’t think their dots stacks.
- Gazer – Behold..Er.. the many eyed Gazer unit. Another Mid ranged unit, these guys are quite unqiue. Their attack is a beam on a single unit however enemies within a small distance have lowered fire resistance and are also slowed. As you upgrade them they gain longer range, an impressive 50% MORE fire resistance down on attacks ( so 75% ) and a larger area it covers. It also deals a very respectable amount of damage. These little buggers are 2nd only to the last unit. You will want these … MANY of these .
- Succubus – These are essentially the tanks of the demon army. Tho range wise they initially eek out a little further than Infernals and Gazers, they have no range increase upgrade so then end up shorter. That’s fine tho, their real use is from the beguile spell they have. When cast they force an enemy to fight for you for 12 ( 15 once upgraded) seconds, and when FULLY upgraded they can beguile 2 targets at once. These ladies are what you will mostly make your army up with. However make sure you can other stuff to help mop up whatevers left when beguile wears off. Also their first upgrade lets them reduce enemy armor , which when paired with fire resist down from gazers make demons deal a LOT of damage.
Undead Faction
Undead are the overpowered , very expensive, slow burn faction. Undead has the most unique buildings/mechanics. They cost a TON of gold but once this faction starts going it cannot be stopped by anything. While they lack useful additions like potions or spells, their ability to create massive nigh unkillable armies is ridiculous.
All undead units get the ability to summon little minions that enhance them. Its like each unit having their own little army. Much like demons, undead units dont actually “die” when they drop, instead they are whisked away to their graves where they slowly come back to life, however if you have enemy corpses sittin around then the snots will toss one in the grave and its almost an instant recovery.
Undead was my go to faction whenever I hit a challenge I couldnt beat, and it made it infinitely easier. Best faction IMO
- Banshee – Starting off strong is the banshee. She deals a decent damage in an AOE cone. If she has 1 downside its that she attacks a bit slow , but it also slows too so it evens out. Her summons are little ghosts that lowers enemies frost resistance and at later upgrades will allow a banshee to actually freeze her targets with her attacks.
- Bone Lord – This bone boy is the undeads tank unit. They can take FAR more punishment than the hordes Orc, and like the Orc his end upgrade allows him to just get back up after he dies once every 5 minutes. Their Minions are little skeleton mages that are just a straight up damage dealer. No tricks or anything fancy. The best upgrade for skeletons tho is an increase of 25 % to the healing they receive from Vampire Queens. This is what makes them a brick wall.
- Vampire Queen – The single MOST important unit in an undead army. Vampire Queens are Ranged damage dealers that will HEAL ALL UNDEAD UNITS AROUND THEM for a hefty portion of the damage they deal. The more you have the more you heal. With enough of these you essentially cannot die EVER. Upgrade wise they have some of the best, with an inital increase to the healing they give out, to turning their attacks to cold damage ( making them paired with banshees HUGE). Later upgrades make their little bat baby minions gain a healing ability, and finally their biggest upgrade… just flat out ignore armor on enemies. I cannot emphasize how ridiculous this makes them. Vampire Queens will be a large portion of an undead army.
- Necromancer – Necromancer is kind of an odd unit. They have a lot of useful things in their toolbelt. Decent damage, where they really shine is their minions and their blight mist ability. So first off zombies deal the most damage of any minions, and with the first upgrade they become cold damage. The blightmist has the most amount of text in the entire game. So its a good sized aoe that when undead stand in it i heals them for 1% life per second and if a units minion dies while in it, it explode for 25% of its max HP. So if that wasnt enough, ENEMIES who stand in it movement speed is reduced by 50% and they recieve 2% LESS healing from stuff. While that doesnt seem like a lot, you will quickly find in later stages of this game healing is a HUGE pain in the ass to contend with. The final upgrade makes the necromancers ttack reduce enemy armor by 2!. That stacks up very quickly with multiple necros. Necromancers only downside… they are made of paper. They are by far the weakest unit in the game in terms of cost vs defence. I would recommend a few , but I wouldn’t stack an army with um.
- Honorable Mention Ice Tomb – Sorry did you think I was done? Nope. There is 1 more extremely broken unit undead.. And that is quite literally the enemies units, When you unlock the Ice tomb (literally the frozen throne from warcraft) you can pick up an enemie units corpse and shove it in it. From there you will have an infinitely respawning enemy unit that will be the same level as whatever it died as. ANY unit, personally i prefer assassins. The crazy thing about this… it doesnt use up any of your population. You can have as MANY ghost units as your map/computer can handle ( I got up to about 28 before my computer was running haggardly, that was ontop of the 40 undead units + minions I already had).
Traps
This section is dedicated to the dungeon keeper’s best friend: the trap. I’ll cover each trap and how to best use it.
The number of traps has been reduced since Dungeons 3, focusing more on quality over quantity. However, some complexity remains, particularly in the complex traps section. One advantage of traps is that killing an enemy with a trap increases your evilness, offering a profitable way to gain an advantage early in the game. The main drawback is that traps require a steady supply of toolboxes and other materials for reloading. Each trap has a set number of uses before needing to be refitted. Some traps have delay sliders, allowing you to set a delay for maximum effect. The Pusher, Hamster Wheel, and Slimeball traps feature a “Change Trigger” button, acting as the trap’s tripwire, which activates the trap when an enemy touches it.
Floor Traps
There are two main floor traps, available in one square and three square sizes:
- Spike Trap: These cause minor damage and a slight slow effect on every hero standing on them. They work well with slime traps, which slow enemies for six seconds, allowing the spikes to hit more frequently. Though not a main damage source, they add extra damage.
- Slime Trap: Slime traps slow heroes for six seconds without causing damage, enabling other traps to be more effective. They are best used on any path that enemy heroes will traverse.
Simple Traps
Simple traps are your primary defense if focusing on traps. They offer respectable damage and, when used together, can make your dungeon nearly invincible.
- Pusher Trap: This wall-mounted trap pushes enemies 2-4 squares, depending on placement, stunning them for 2 seconds. It’s effective near natural hazards like lava pits but requires more setup than other traps.
- Saw Trap: This 3×3 wall-mounted trap needs a tunnel with walls on both sides. It deals damage every second while active, providing a constant damage output. It’s smaller and easier to place than some other traps, making it versatile.
- Thresher Trap: A 3×3 trap that deals significant damage quickly. It stuns and damages all enemies in its area, turning them into “a fine red goo.” It’s especially effective when used with slime or pusher traps to direct enemies into its path.
Complex Traps
Complex traps often seem like more trouble than they’re worth. They can be challenging to place and require specific resources. However, when used correctly, they transform a modest challenge into a deadly maze for heroes.
- Beer-Non: This 3×3 cannon launches beer-filled rockets, dealing significant initial damage and a burning effect. It can be built behind walls, saving space. The drawback is the need for a brewery, making it less practical without investment in the horde tree. For those who do invest, it’s highly effective against invaders.
- Gobble-Non: Launching turkeys at enemies, this trap combines humor with strategy, coating enemies in a substance that increases fire damage taken by 50% for 60 seconds. It’s especially potent in combination with other fire-based attacks, requiring less investment compared to the BEER-NON.
- Hamster Wheel Of Death: Despite its impressive design, this trap’s performance is mixed. It requires a 3×3 space and can be difficult to set up. When activated, it travels down a hallway, dealing substantial damage. Its downsides are the setup complexity and the requirement to occupy a dungeon inhabitant.
- Epic Treasure Trap: Mimicking a treasure chest, this trap lures heroes with the promise of loot, only to explode, causing massive damage. Its effectiveness varies as not all heroes may attempt to open it. When triggered, it guarantees significant damage.
- Slime Ball Trap: Perfect for turning a simple hallway into an endless challenge. It launches a sticky ball that drags enemies back to the start. With adequate supplies for reloading, it can continuously reset the progress of any hero caught in its path, making it an invaluable asset for dungeon defense.
Useful Tips, Tricks and Set Ups
So this section I will dedicate to kind of a Q&A almost. If you have a question or just want advice, feel free to leave a comment in the comments section and I will post what I can in this section . I will start with some basic trap set ups tho just to get the ball rolling
Basic Tunnel Setup – So this was my trap setup a lot of the game until I gained access to the complex traps. It is very simple but effective and you can tailor it to whatever shape you desire. I myself like just a plain jane long hallway but some prefer a serpentine. So start with just a 1 block slime trap, this will ensure the heroes get an initial 6s heavy slow, followed up by a pattern of 3×1 Spikes then another 1×1 Slime. If you are finding the 1×1 slime is not keeping things slowed enough you can instead just do a 1×1 pattern of slime then spike and so forth. The downside to this is a 1×1 spike will not do its full damage to heroes as they wont be on it long enough. As for the walls of the tunnel, saw traps all the way down. If you are upgrading your traps via research, this will make most dungeon entrances a meatgrinder that only the sturdiest will survive. Then its easy cleanup for an guard forces you have
The Bully Setup – I modelled this setup after all the school bullies who loved to shove and knock people around. This requires more room that the tunnel, but will also do more damage. So what you want is to carve out a 3×4 room, followed by a 1×1 square to connect to the nest room. I will draw a diagram at the end if you cannot picture it. So you will place a pusher at the start of the 3×4 room with a thresher on the other side. This will cause heroes to be pushed INTO your thresher , where they will then be knocked down to take FULL damage. Have your thresher surrounded with spike traps to cause maximum damage. Have a slimetrap by the pusher to make sure heroes will be slowed enough so they all get the shove. Set your pushers timer for 5ish seconds ( adjust as needed ) OR set its trigger to the last square to give ample time for the entire hero bunch to be grouped up in the slime. Then in the 1×1 square that connects them just place a 1×1 slime.
The Infinite Slime Trail – This is my late game trap setup. With this I never have to worry about my dungeonheart being attacked. My only warning with this is you need to have a healthy supply of toolboxes for trap reloading, and having your snots fully upgraded so they can blink around helps tremendously. Anywho this setup is simple, a LONG LONG hallway of spikes and saw traps with the occasional slime trap put in for extra slow, and then at the end of it a slimeball trap. The full setup will look something like this.
Again this setup will trivialise dungeon protection, which leaves you free to roam around topside to your hearts content.
Anywho those are my main trap setups. Remember if you have any questions please leave them in the comments section and I will do my best to adress them. I will check my comments probably every friday so that will give you a good idea of response time.
Be the first to comment