
In this guide, I will attempt to do my best to explain most of the achievements, be it visible or hidden.
How to Obtain Most of the Achievements
Story Achievements
This section will cover achievements that you will get just by playing the game. There are 7 chapters in this game, and some achievements you either get in middle of the said chapter or at the end of a chapter.
Note: Due to the fact i legit cant exactly remember when you get an achievement, some of these will have lackluster and questionable answers on how to get them, but they still will be pretty accurate, hopefully.
Never Had It Anyway
- Relive the past.
How to get: Finish chapter 0, “Chapter Zero”
New Body, New Boots
- Fight to the extraction point in Nova Prospekt.
How to get: Get to the end of chapter 1, “Ashes”, you should get this before you start the “Holdout”
Then came the Combine
- Lead the Invasion of Arbeit Communication.
How to get: In Chapter 2, “Contact Aberration”, after gaining a group of Combine soldiers, make your way through the building, you should get this achievement after getting into the entrance to the secret lab.
My Evil Twin
- Meet the Miscreant Agent.
How to get: At the end of Chapter 2, you will meet a copy of yourself (aka Copy-cop), you should get this achievement when he drops you down the hole, starting Chapter 3, “Chamber Catacomb”
Friend in low places
- Meet Wilson.
How to get: Around the start of Chapter 3, “Chamber Catacomb”, you will meet a defect turret called “Wilson” who you will need to carry through out the chapter as he will help you open doors.
Kill it with a GUN
- Kill the gigantic man-eating monster.
How to get: Near the end of Chapter 3, “Chamber Catacomb”, you will have to kill the man-eating monster aka Gonome. The difficulty of the fight heavily depends on the difficulty you have chosen.
Remember that theres ammo and health pickups in corners of each location.
Detour
- Escape the chamber catacomb beneath Arbeit 1.
How to get: Escape the underground facility in Chapter 3, “Chamber Catacomb”, should be given to you somewhere before you start Chapter 4.
Ghost Hunt
- Enter the domain of the Project on your way to Arbeit 2.
Note: For the love of god, i cannot remember when you exactly get this. If i am right, you get this somewhere around the end of the Chapter 4, “Venture Ghost”, where you have to pull 3 switches in order to access a room and open a gate.
On a Road
- Drive to Arbeit 2.
How to get: Reach the semi-mid point of Chapter 4a, “Exhumation zone”, if i am correct you should get this few moments before meeting Clone-cop again. Could be wrong tho.
Custody Assistant
- Capture Judith Mossman.
How to get: In Chapter 5, “Apprehension”, reach Judith after fighting off the remaining Arbeit 3 Rebel defence, after reaching Judith, Escort Judith back to the Combines, while running away from Copy-Cop who wants to kill Judith Mossman.
The Project
- And there it is.
How to get: At the end of Chapter 6, “Chirality”, you will get a good view of the Borealis ship before reaching the ending section.
Ending Achievements
This section will talk about all the possible Achievements you can get at the end of Chapter 6, “Chirality”, it is highly recommended to make a manual save before interacting with the dying Copy-cop, as the auto-save is lightly dum dum.
Beat Cop
- Complete the game on Normal difficulty or higher.
How to get: Play the game, from Chapter 0 to the very end of the game on Normal difficulty. Ending does not matter.
Note: I am positively sure that starting on Chapter 6 and playing through it on Normal difficulty will not work, but i could be wrong.
Bad Cop
- Complete the game on Hard difficulty.
How to get: Play the game, from Chapter 0 to the very end of the game on Hard difficulty. If you didnt unlock “Beat Cop” before getting “Bad Cop”, you will get both of the achievements. Again, ending does not matter.
Note: Just like with Beat Cop, positively sure starting on Chapter 6 and playing through it on Hard difficulty wont give you the achievement.
Problem Soul
- Stop your predecessor.
How to get: When talking with the dying Copy-Cop, kill him when he says to finish him. Funnily enough, you can kill him even before he starts the talk, skipping the entire convo and giving you the achievement either way.
Supposed Brothers
- Decide against pulling the trigger.
How to get: When talking with the dying Copy-Cop, do not kill him at all, even when he tells you to finish him. He will die either way, because of the Advisor, but you will get an achievement for doing so.
There will be darkness
- Wipe the Slate.
How to get: After Copy-Cop dying, Advisor will give 3650, the player, the choice to become the “Master Template” by wiping out his memory fully. 3650 refuses and Advisor proceeds to forcefully do it either way. When you are being held up, do not shoot the advisor. Eventually, it will lead to a mini-cutscene and then it will snap back to you, now with no recollection of the past, thus achieving the Bad Ending.
Note: You will get the achievement after the credits due to an ending cutscene.
There will be pain
- Kill the Advisor.
How to get: Just like with the previous ending, Advisor will give 3650 the choice of becoming the Master Template, 3650 refuses and Advisor proceeds to do it forcefully. When you are being held up by the Advisor, shoot it with any gun, it will force the Advisor to let you go, and it will initiate the final boss fight.
Manual or quick save recommended
- To kill the Advisor, you have to trick it into throwing the objects onto itself, after few throws (Depending on difficulty i think) it will have its shield down, when that happens start shooting it, and then cycle repeats. Eventually it will start trying to melee you, it gets a tiny bit more tricky but its not that bad, but avoid getting hit as it will seriously hurt you.
- After killing the Advisor, you go towards the Borealis and witness the secret for yourself, achieving the Good ending.
Note: You will get the achievement after the credits due to an ending cutscene.
Deliverance and Still Alive
- Bring Wilson to the upload station at the end of the game. Hes in the system.
How to get: Deliverance achievement is very similar to the Gnome achievement from Half-Life 2: Episode 2. At the end of Chapter 3, “Chamber Catacomb”, instead of leaving Wilson behind, take him with you. From this point on, you will need to carry him all the way through the game, in some sections you can leave him behind as you will have to backtrack anyway. Dont forget about the radar, as it tracks Wilsons position. Also dont forget about the Wilson Closets as they have most of the time supplies that will aid you. In Chapter 4, “Venture Ghost”, you can put Wilson on top of the APC, but it will eliminate the ability to carry supply crates (Even though its not that helpful but yknow). After reaching the ending area, put Wilson in the machine that will make him control the systems and such in the place.
After this, do the Advisor boss fight and do the entire ending part, everything will play normally except the very ending, achieving the Best ending.
Remember: losing Wilson at any point in the game, be it leaving him behind or him falling into an unreachable place, you will have to either load the latest save point or quick saves, if you have any. If you dont, and theres no way for you to get a load that still had Wilson (which shouldnt happen really), you will have to do the entire Chapter 3 again. Also, this should be obvious, starting off in any of the Chapters, through the new game button, will not spawn in Wilson.
Note: You will get the achievement after the credits due to an ending cutscene. If you havent gotten “There will be pain” achievement, doing this ending will award you both of these achievements at once.
Overwatch says “Stop kicking it”
- Kick the Advisor.
How to get: Any time during Advisors speech, kick it. It will skip the entire dialog and start the Advisor fight instantly.
“Collectibles” & Kills Achievements
This section will explain how to get Achievements that are based around either finding “collectibles” or Achievements that are based around killing enemies.
Radio Recon
- Find the 19 audio recordings at Arbeit 1.
How to get: As the name suggests, you have to find 19 audio recordings. The recordings can be ONLY found during Chapter 2 and Chapter 3, Chapter 2 has 5 audio recordings, some of the recordings will be only accessible after pressing the button to open the airlock. The 14 remaining audio recordings appear in Chapter 3, most of the recordings being done by Clone Cop, the final recording (If you are doing the recordings in order) will be the rebel argument recording.
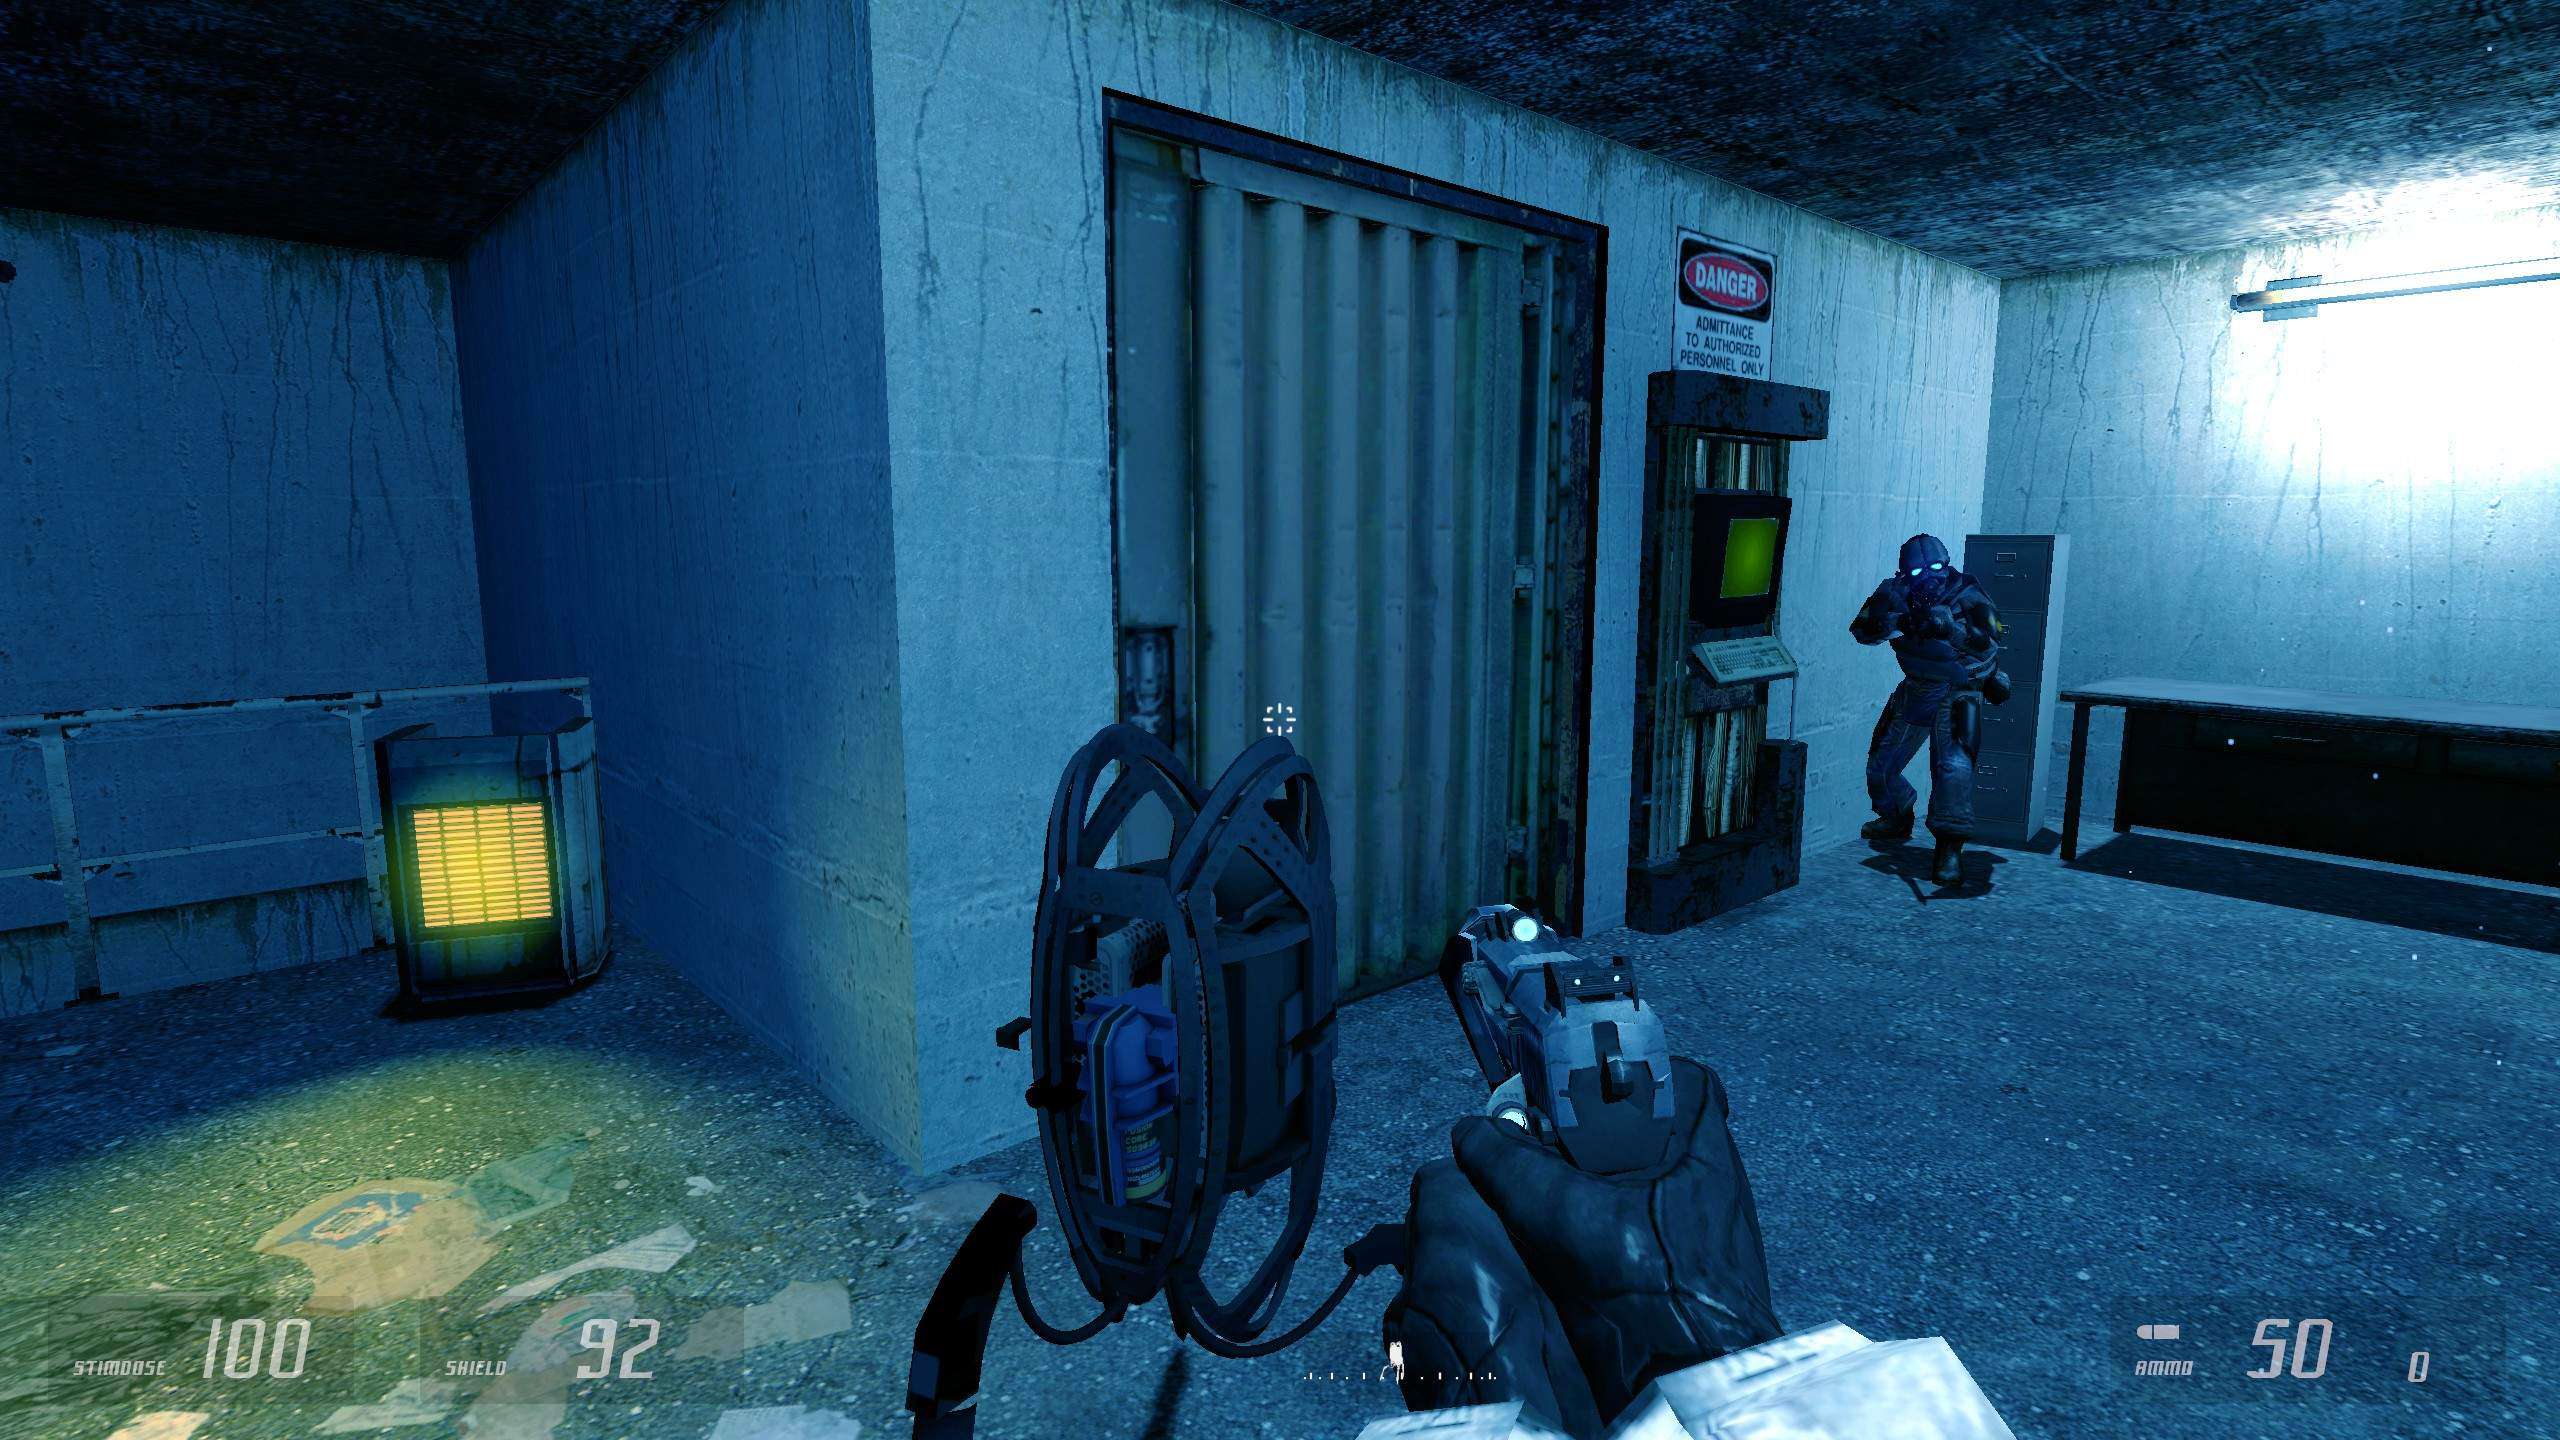
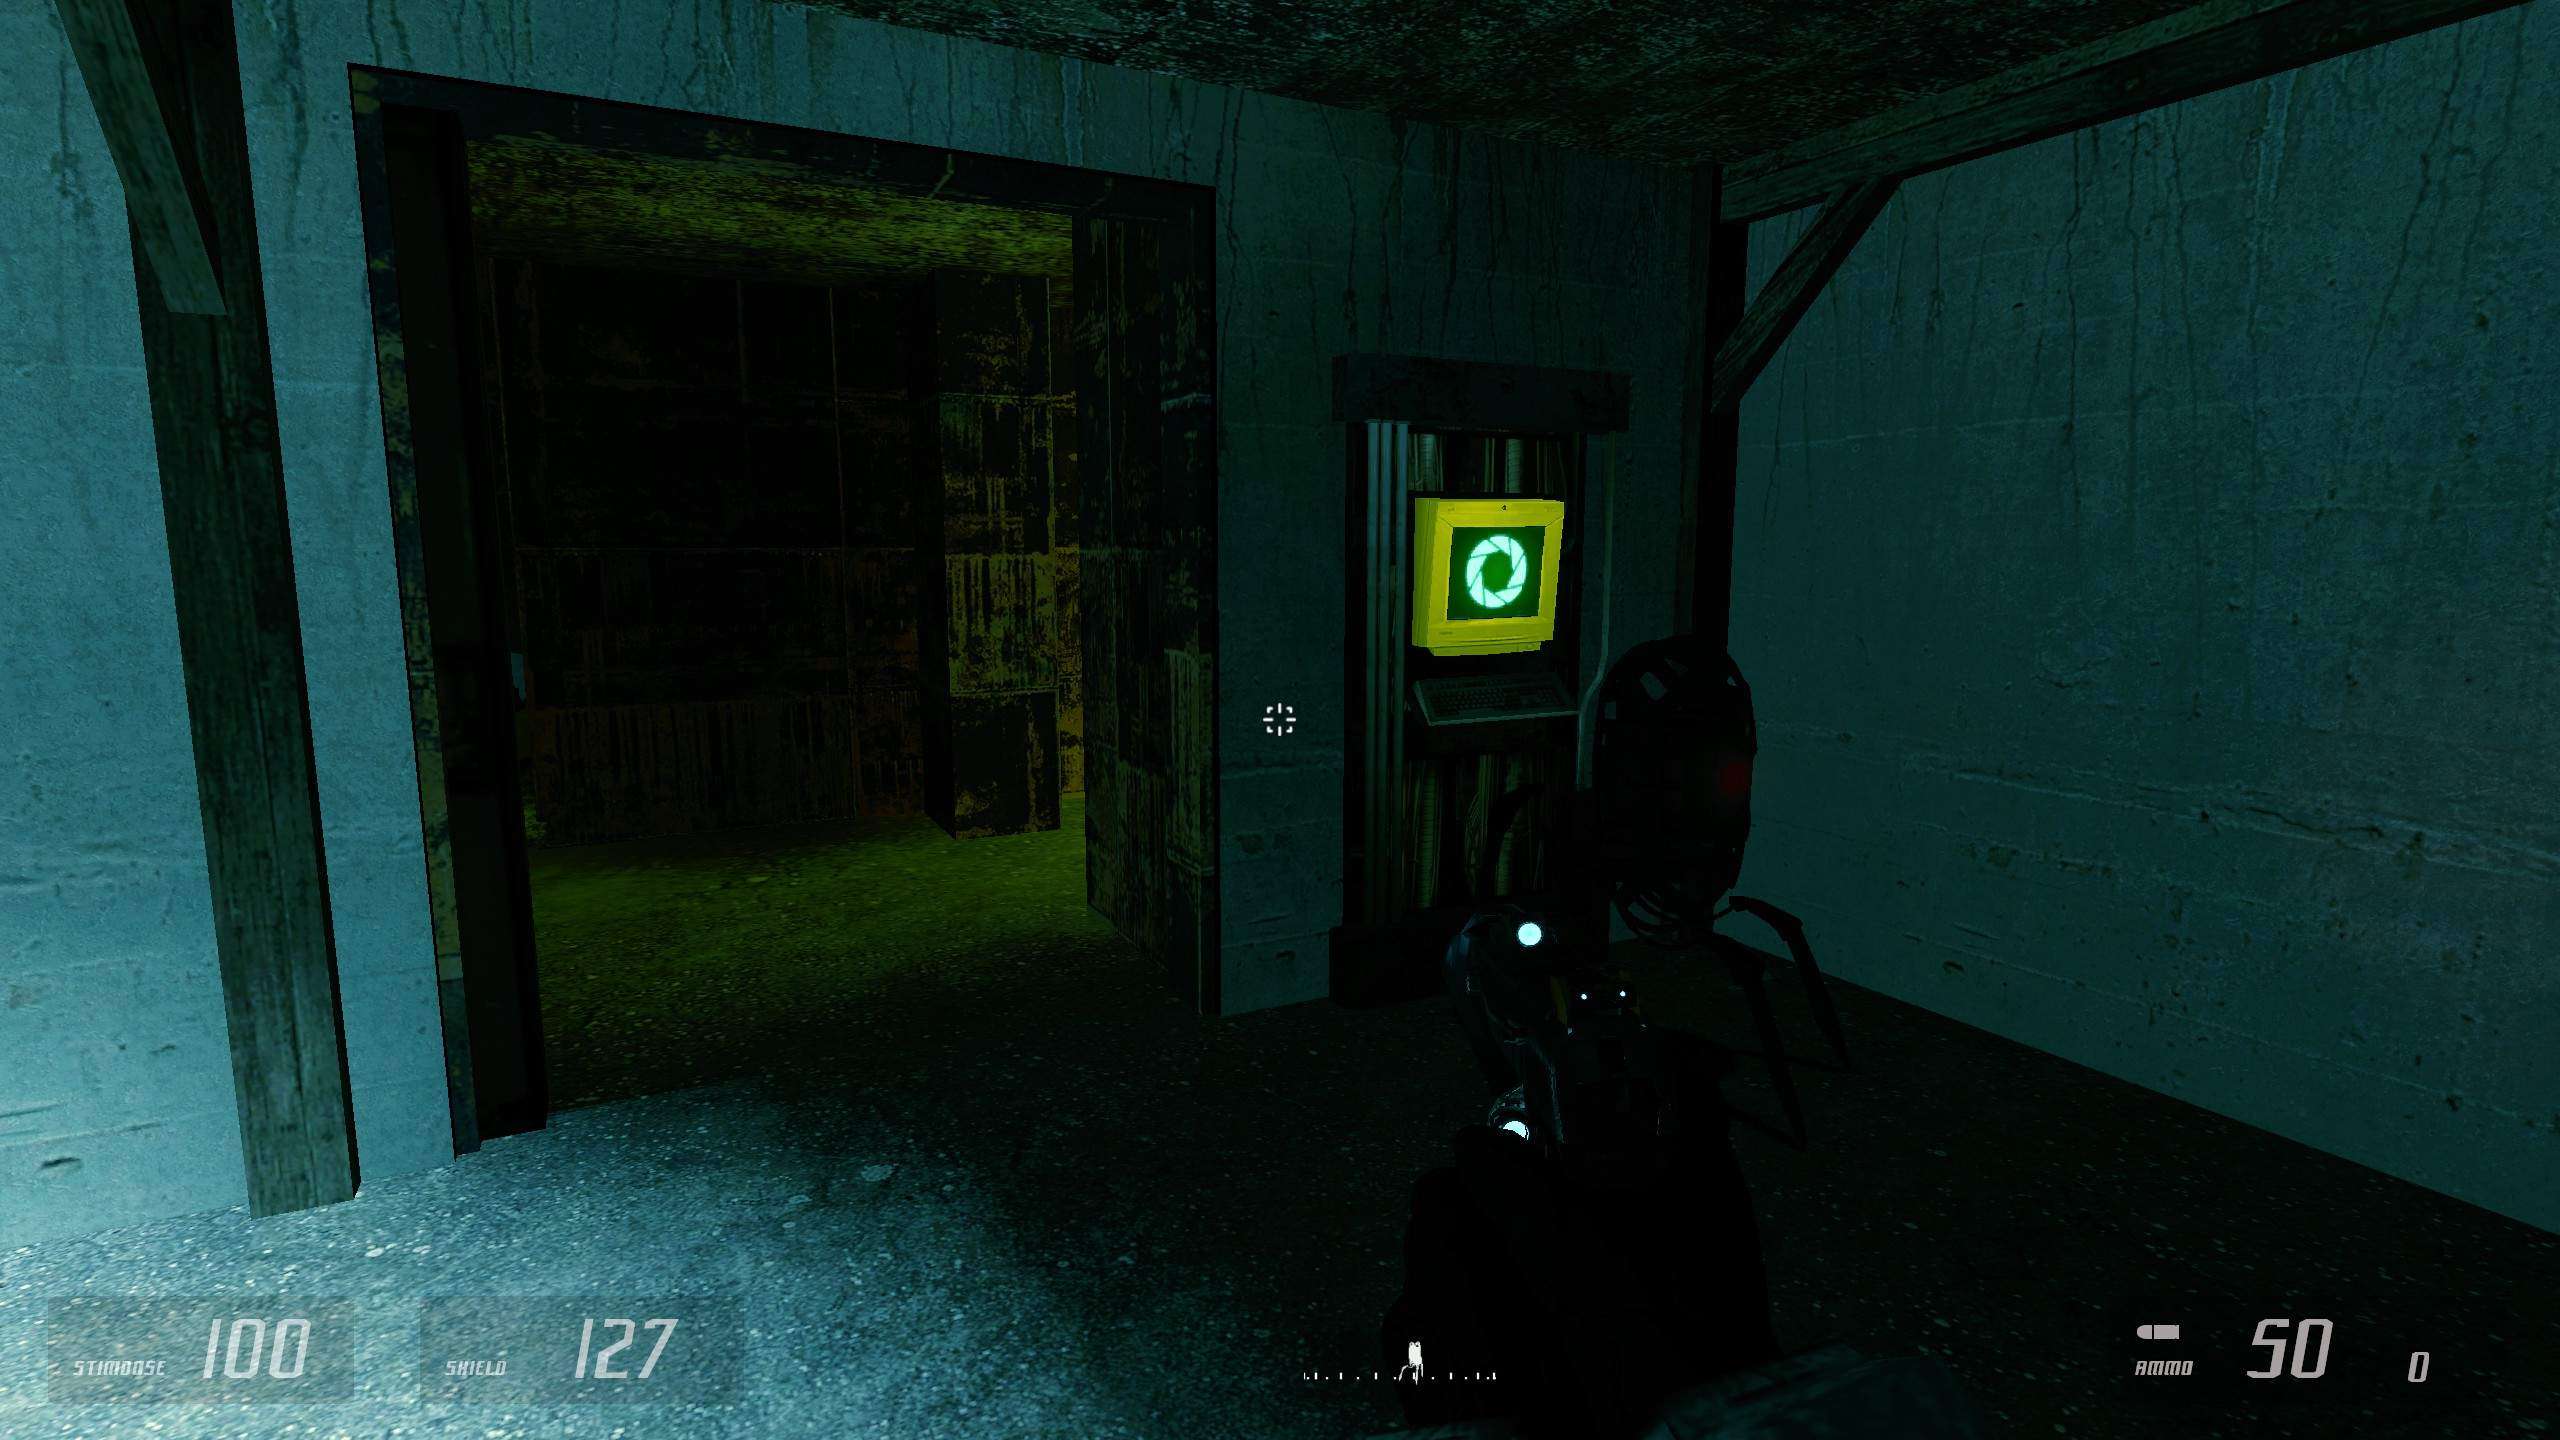
Closet Clearer
- Find and open all of the Wilson closets.
How to get: If you are carrying Wilson around past Chapter 3, you can find some locations where you can use Wilson to open certain doors, revealing “Wilson closets”, the said closets have supplies in them, usually having HP, Battery charges, and ammo. There are few Wilson closets that will troll you, so be ready for anything.
There are: 3 Closets in Chapter 4, 2 (Or 3) Closets in Chapter 4a, and 5 (Or 6) Closets in Chapter 5.
Worth the Weight
- Consume 10,000 KG with Xen grenades.
How to get: Using the Xen grenades, consume enough items and enemies with it to get this achievement, if you use Xen grenades regularly, they are very handy in some situations, you will eventually get this achievement, not very difficult.
Dirty Harry
- Kill 18 rebels using the 357.
How to get: Using the revolver that you get in Chapter 3, kill 18 rebels of any type, as simple as that. The challenge comes in with the fact that finding ammo for the gun can be a bit pain, on top of that, the revolver is an overkill on rebels, usually. Vortigaunts do not count as rebels to my knowledge.
Rebar Huntsman
- Kill 25 alien creatures with crossbow.
How to get: Using the “Rebel Crossbow” that you get around Chapter 4, kill 25 Alien creatures using it. Just like with Dirty Harry, the challenge comes purely from the lack of ammo capacity for the Crossbow, on top of that, a decent portion of the Xen creatures are able to survive 2 or more Crossbow shots, but i am basing this off Hard difficulty.
Note: I am not 100% sure what game considers as “Alien”, since Zombies could also count as an Alien, but i cant confirm this.
Temporal Troubles
- Find and kill all 4 instances of the Temporal Crab.
How to get: While playing through the game, you can encounter up to 4 of these enemies called Temporal Crab. The Temporal Crabs act as a bonus enemy, it does not give anything other than progress to this achievement. Due to the rapid teleporting ability, it is recommended to use the basic pistol if you dont want to waste ammo. The first one is force encounter, while the 3 rest are hidden.
- The first one that you will find and be forced to fight happens in Chapter 4a. After pressing a button to open the gate, walking out of the booth will spawn bunch of headcrabs and a single Temporal Crab. You have to kill it in order to progress.
- The second one you can find is at the beginning of Chapter 5, before spotting Judith, climb over rubble of rocks, on the left side you should find a moving supply crate, destroying it will spawn the Temporal Crab.
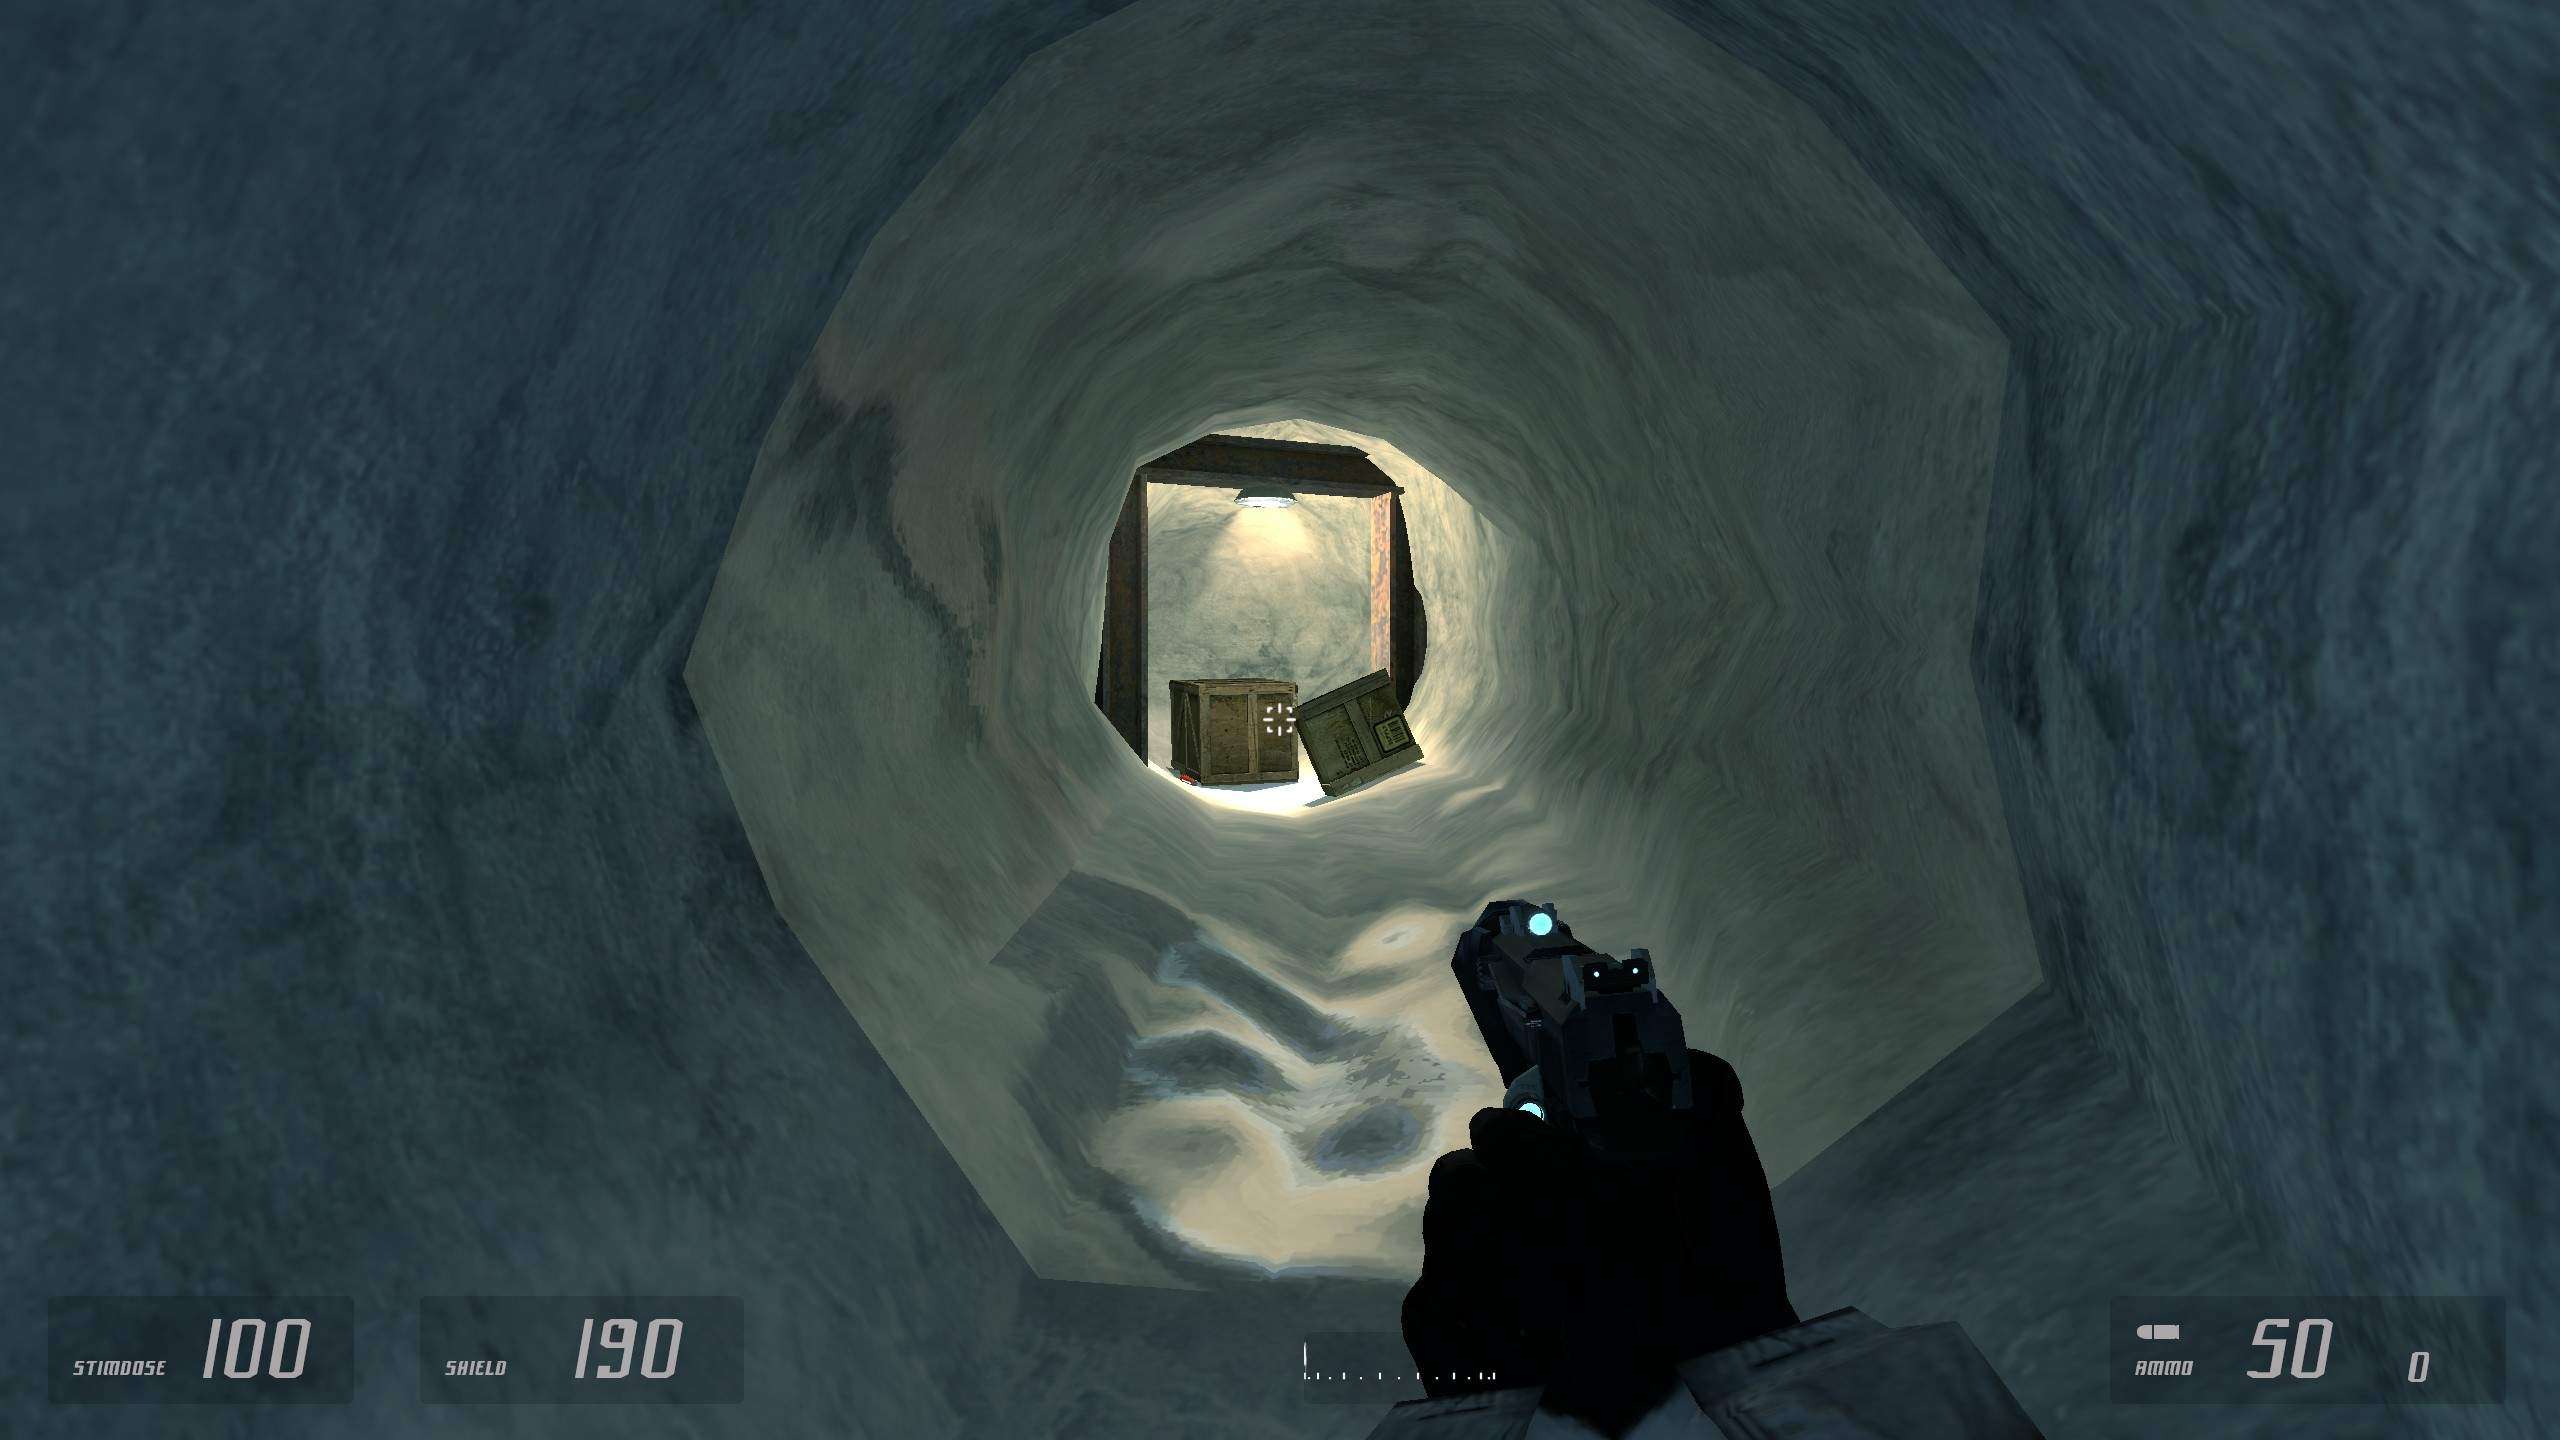
- The third one you can find is in the same chapter. After passing the mine puzzle, you will find a 3 way section, going to the middle you can find, once again, a moving supply crate that will have the Temporal Crab.
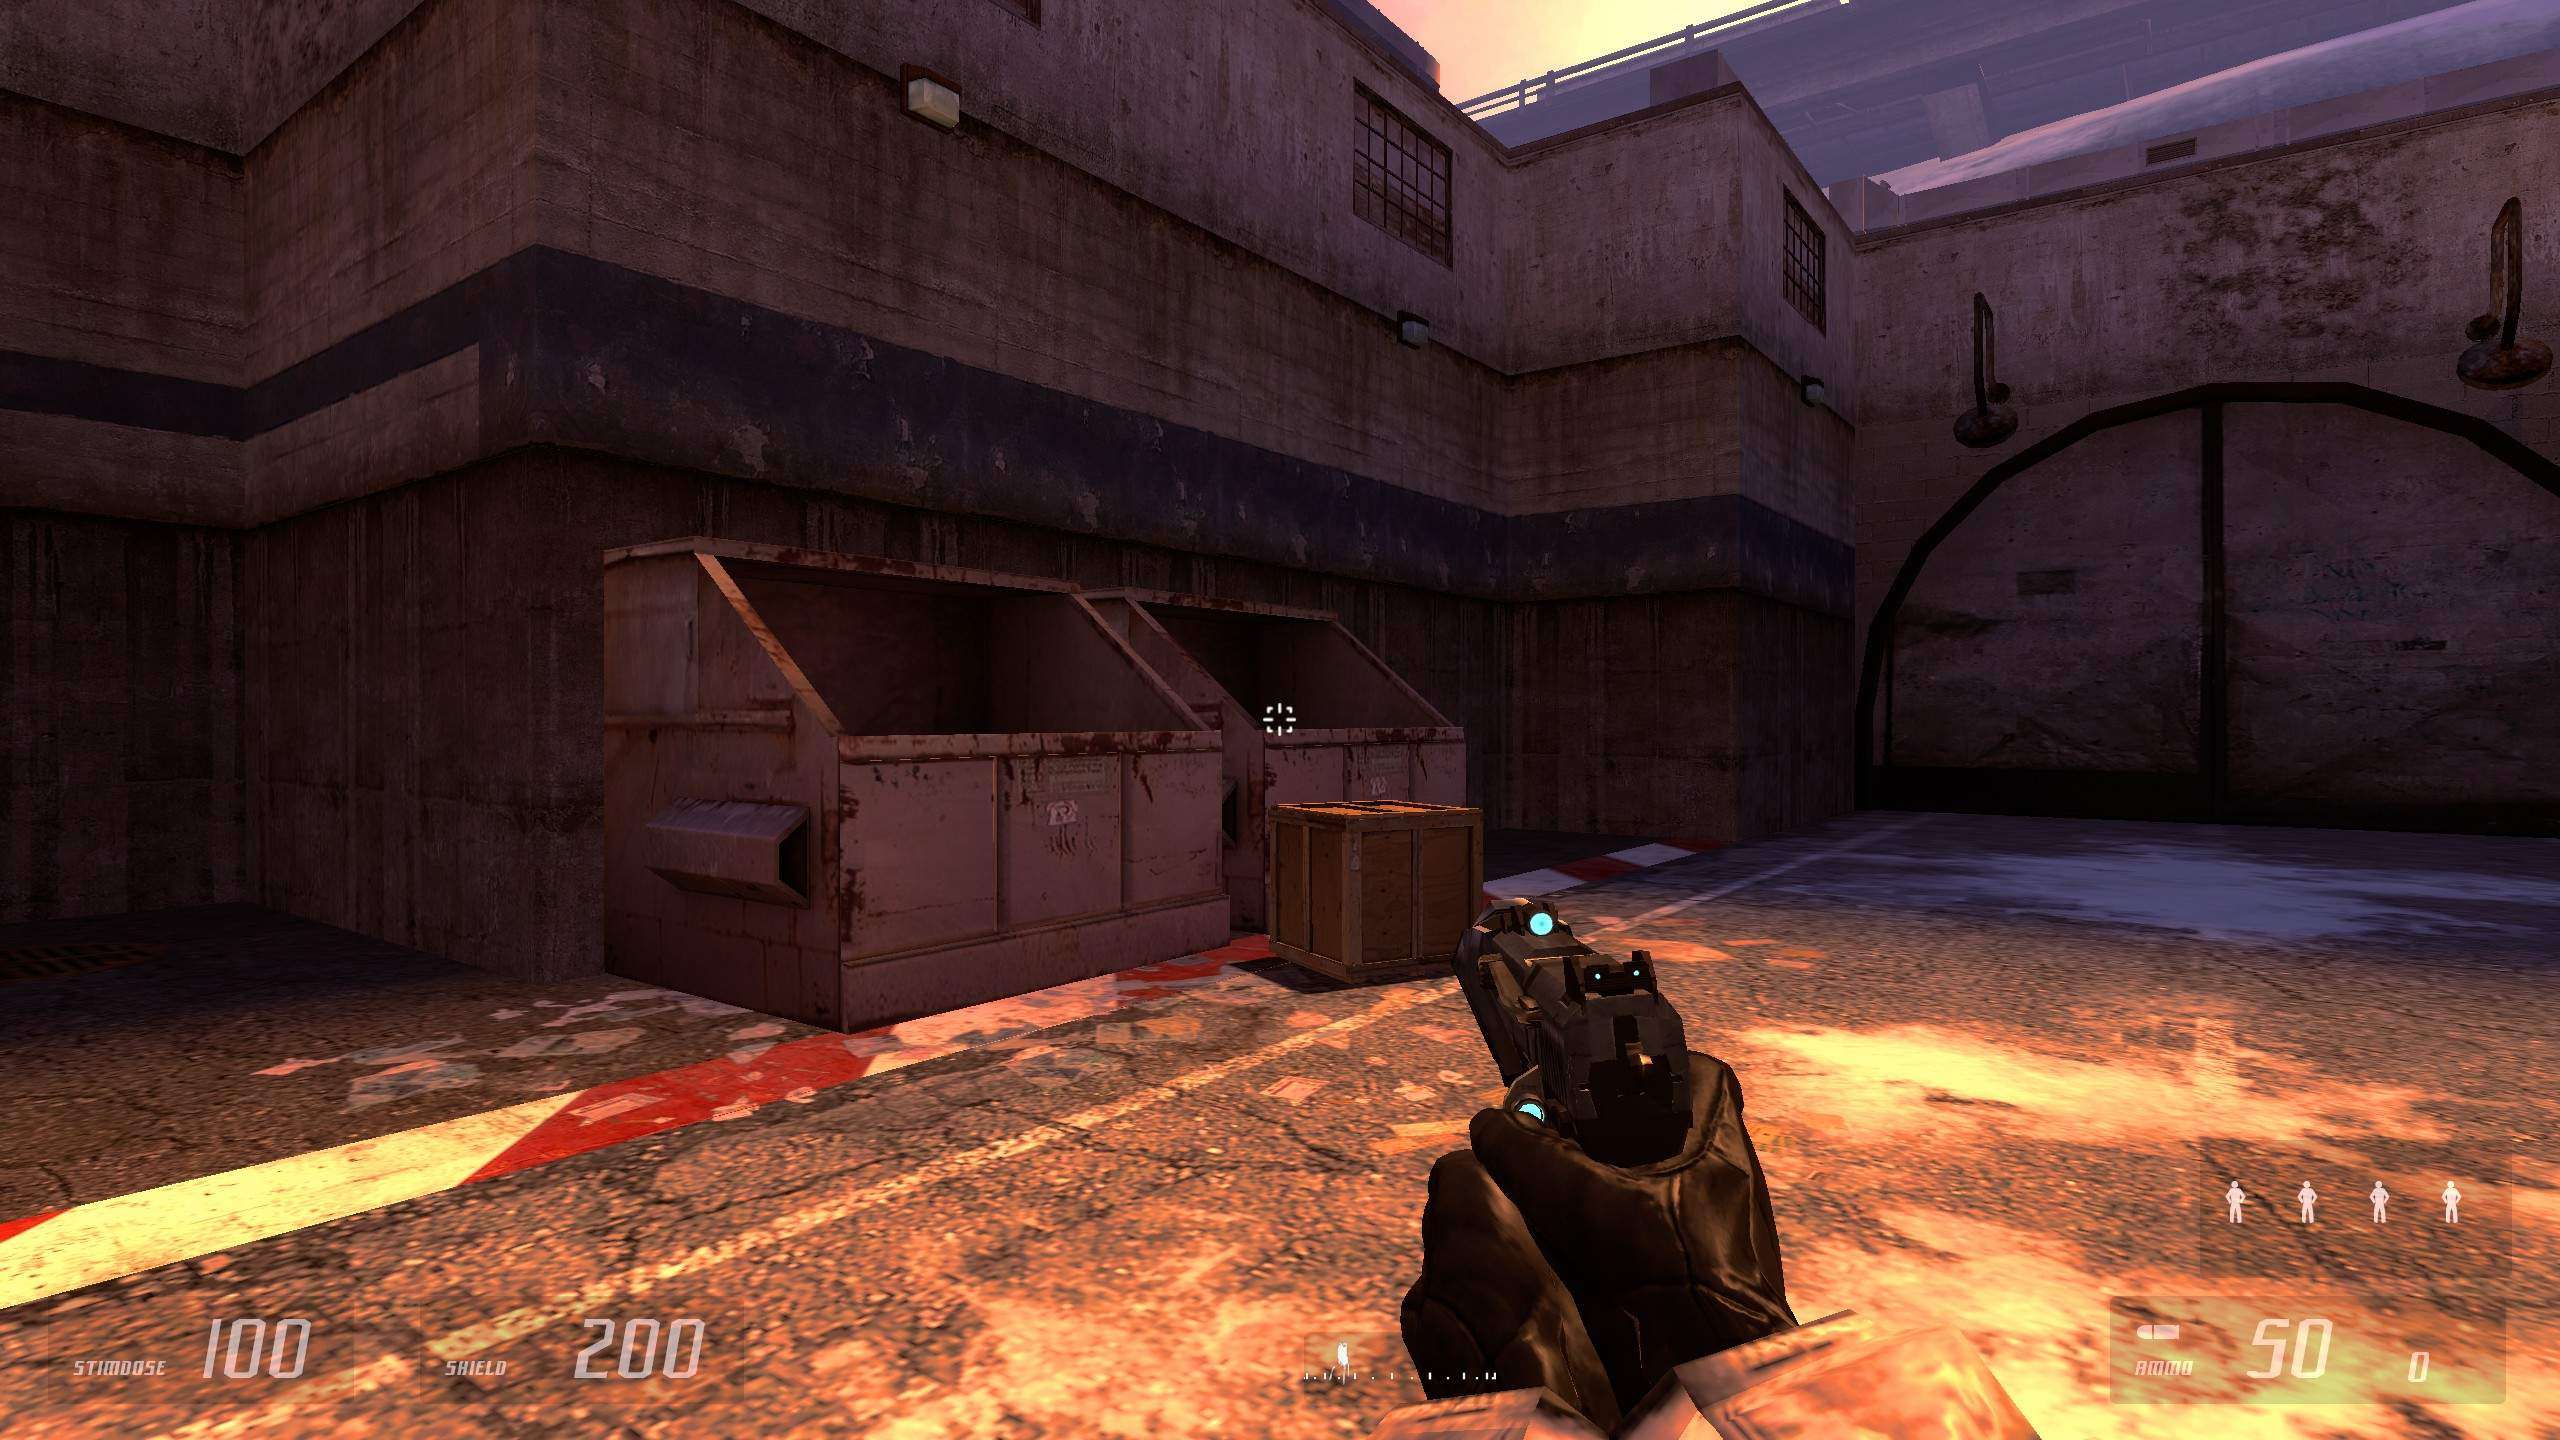
- The fourth one you can find is in the same chapter, once again. When crossing from building to building, you will cross a street with dumpsters on the left side and one of them will have a supply crate that will have the Temporal Crab. If you have Wilson, he will make a comment about reaching the place, a good way to know if you have reached the said place.
Miscellaneous Achievements
This section will explain achievements that really do not belong to any of the previous sections. Do note that this wont follow any sort of timeline.
Cell Division
- Reach the extraction point with four soldiers.
How to get: During Chapter 1, manage to get to the end of the Chapter with all 4 soldiers alive.
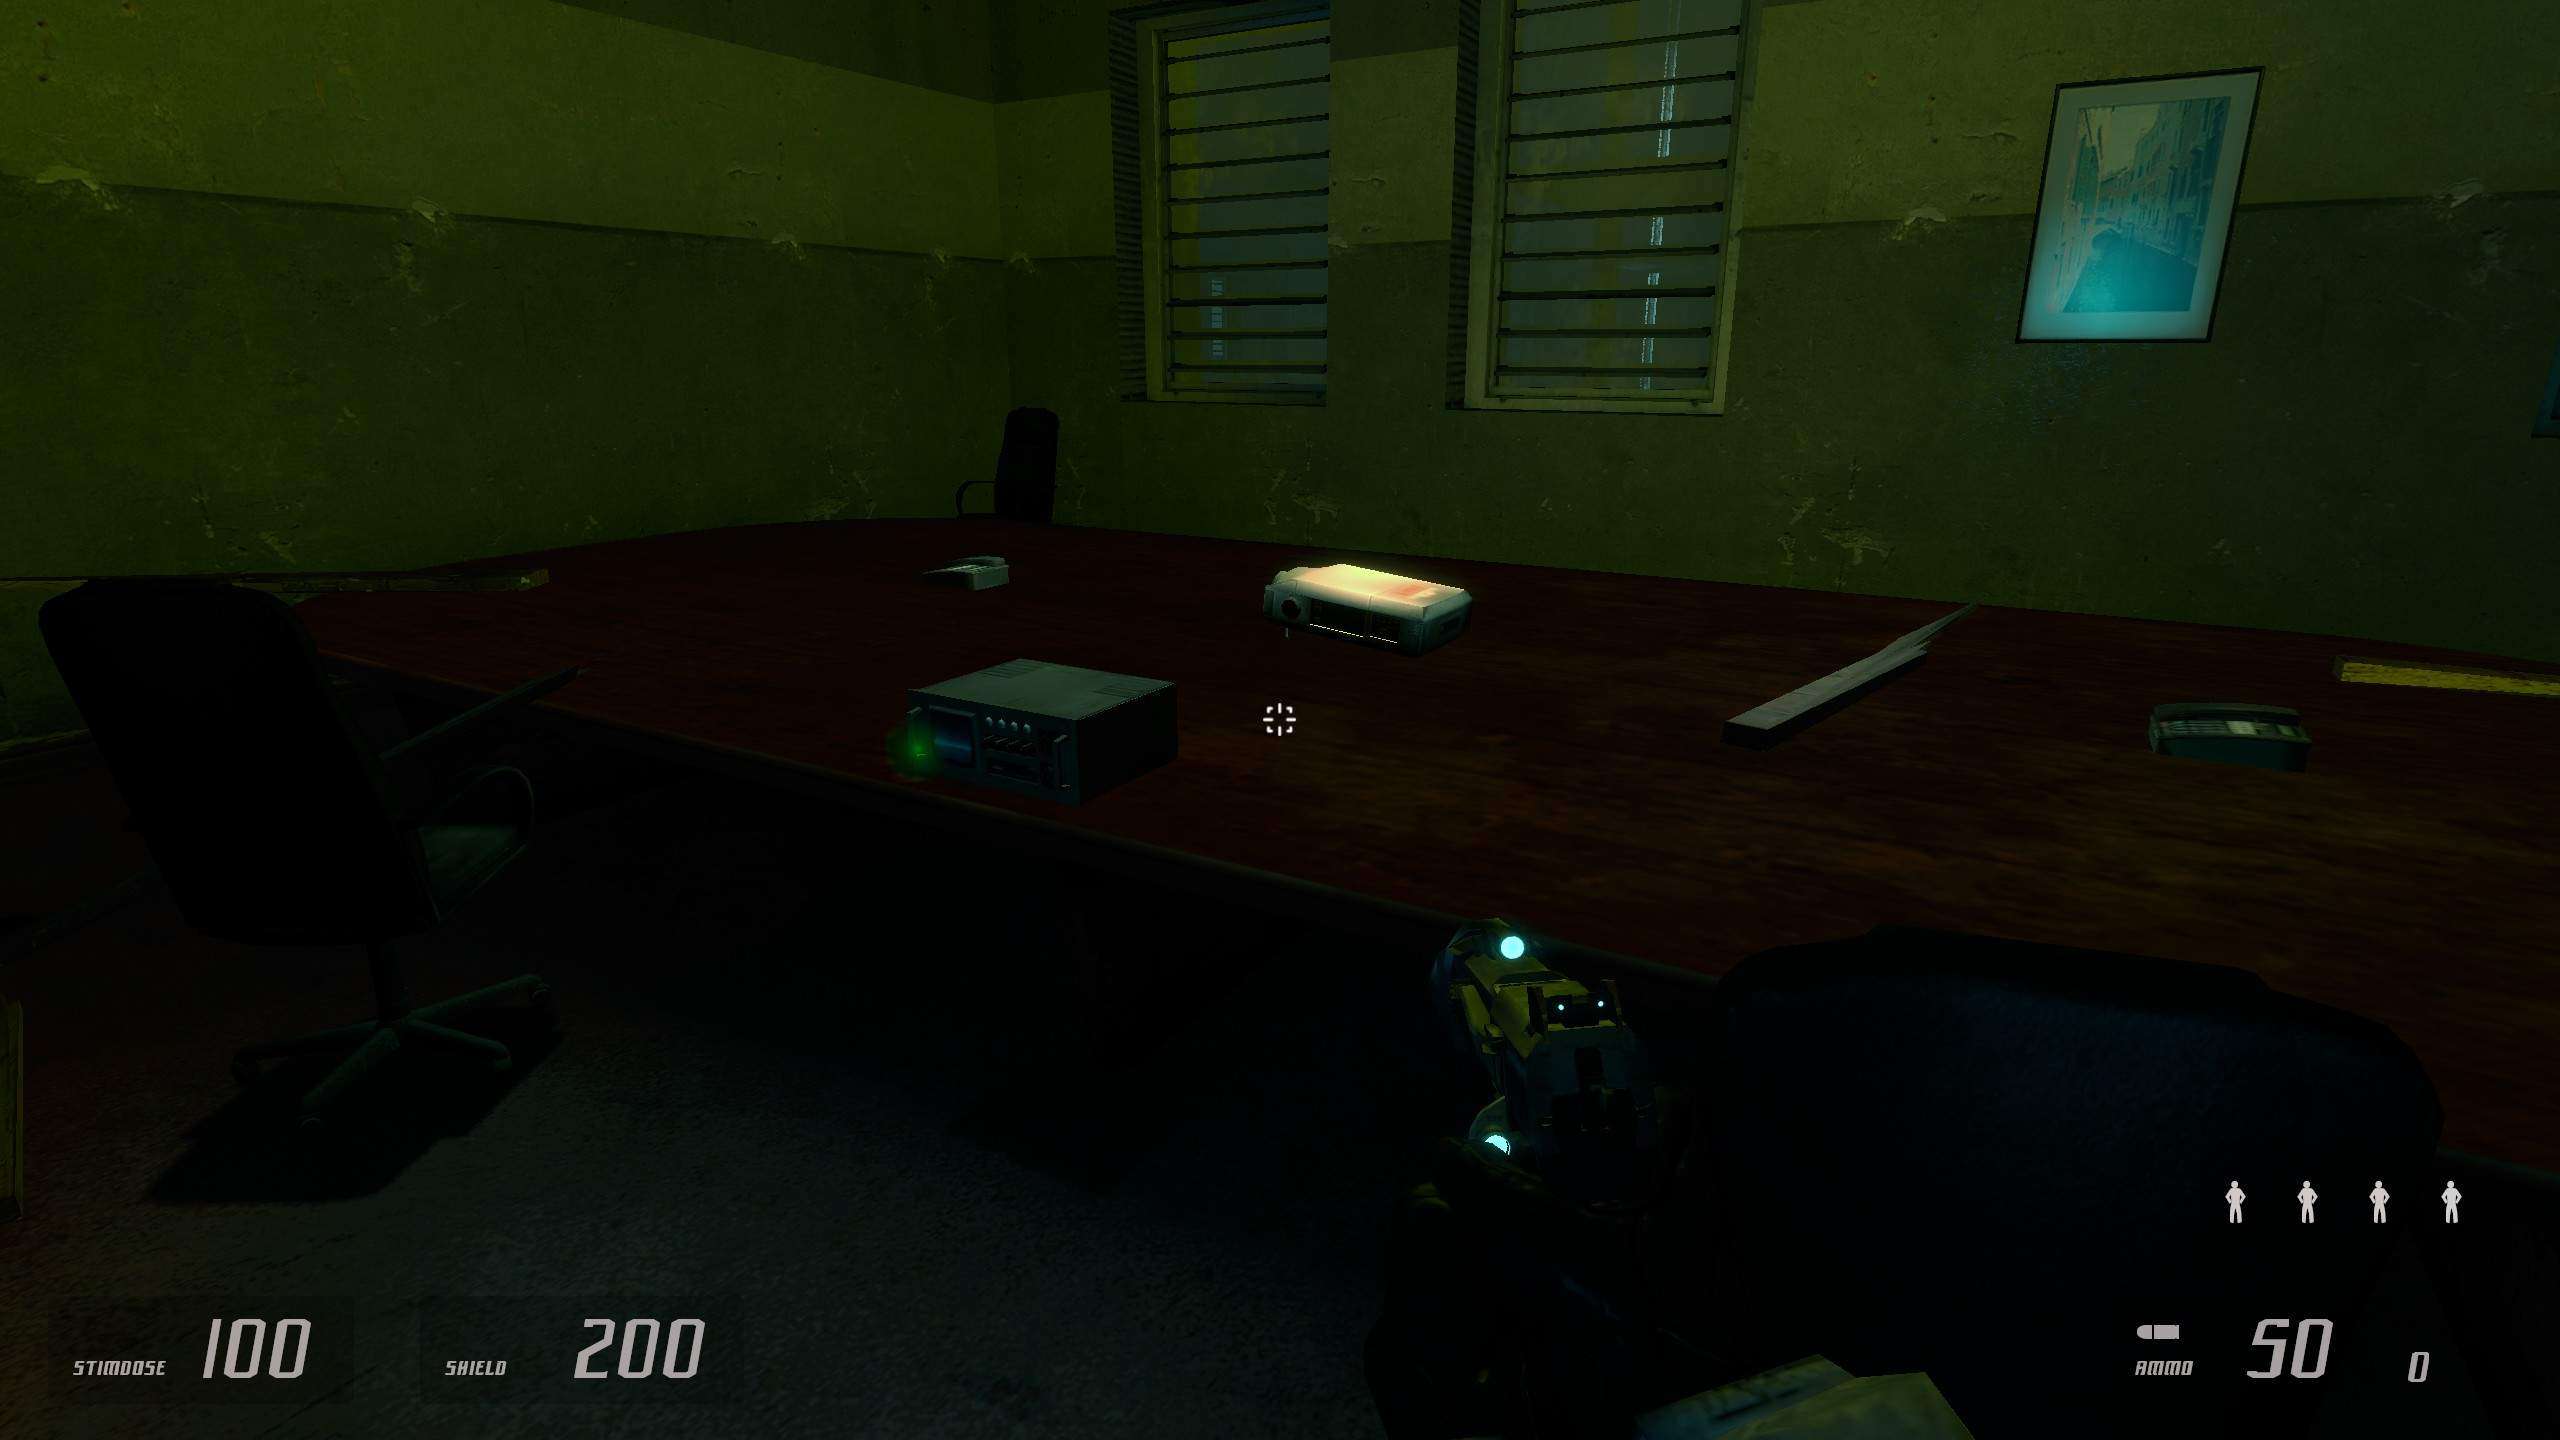
Science Team
- Reach the secret lab within Arbeit 1 with five soldiers.
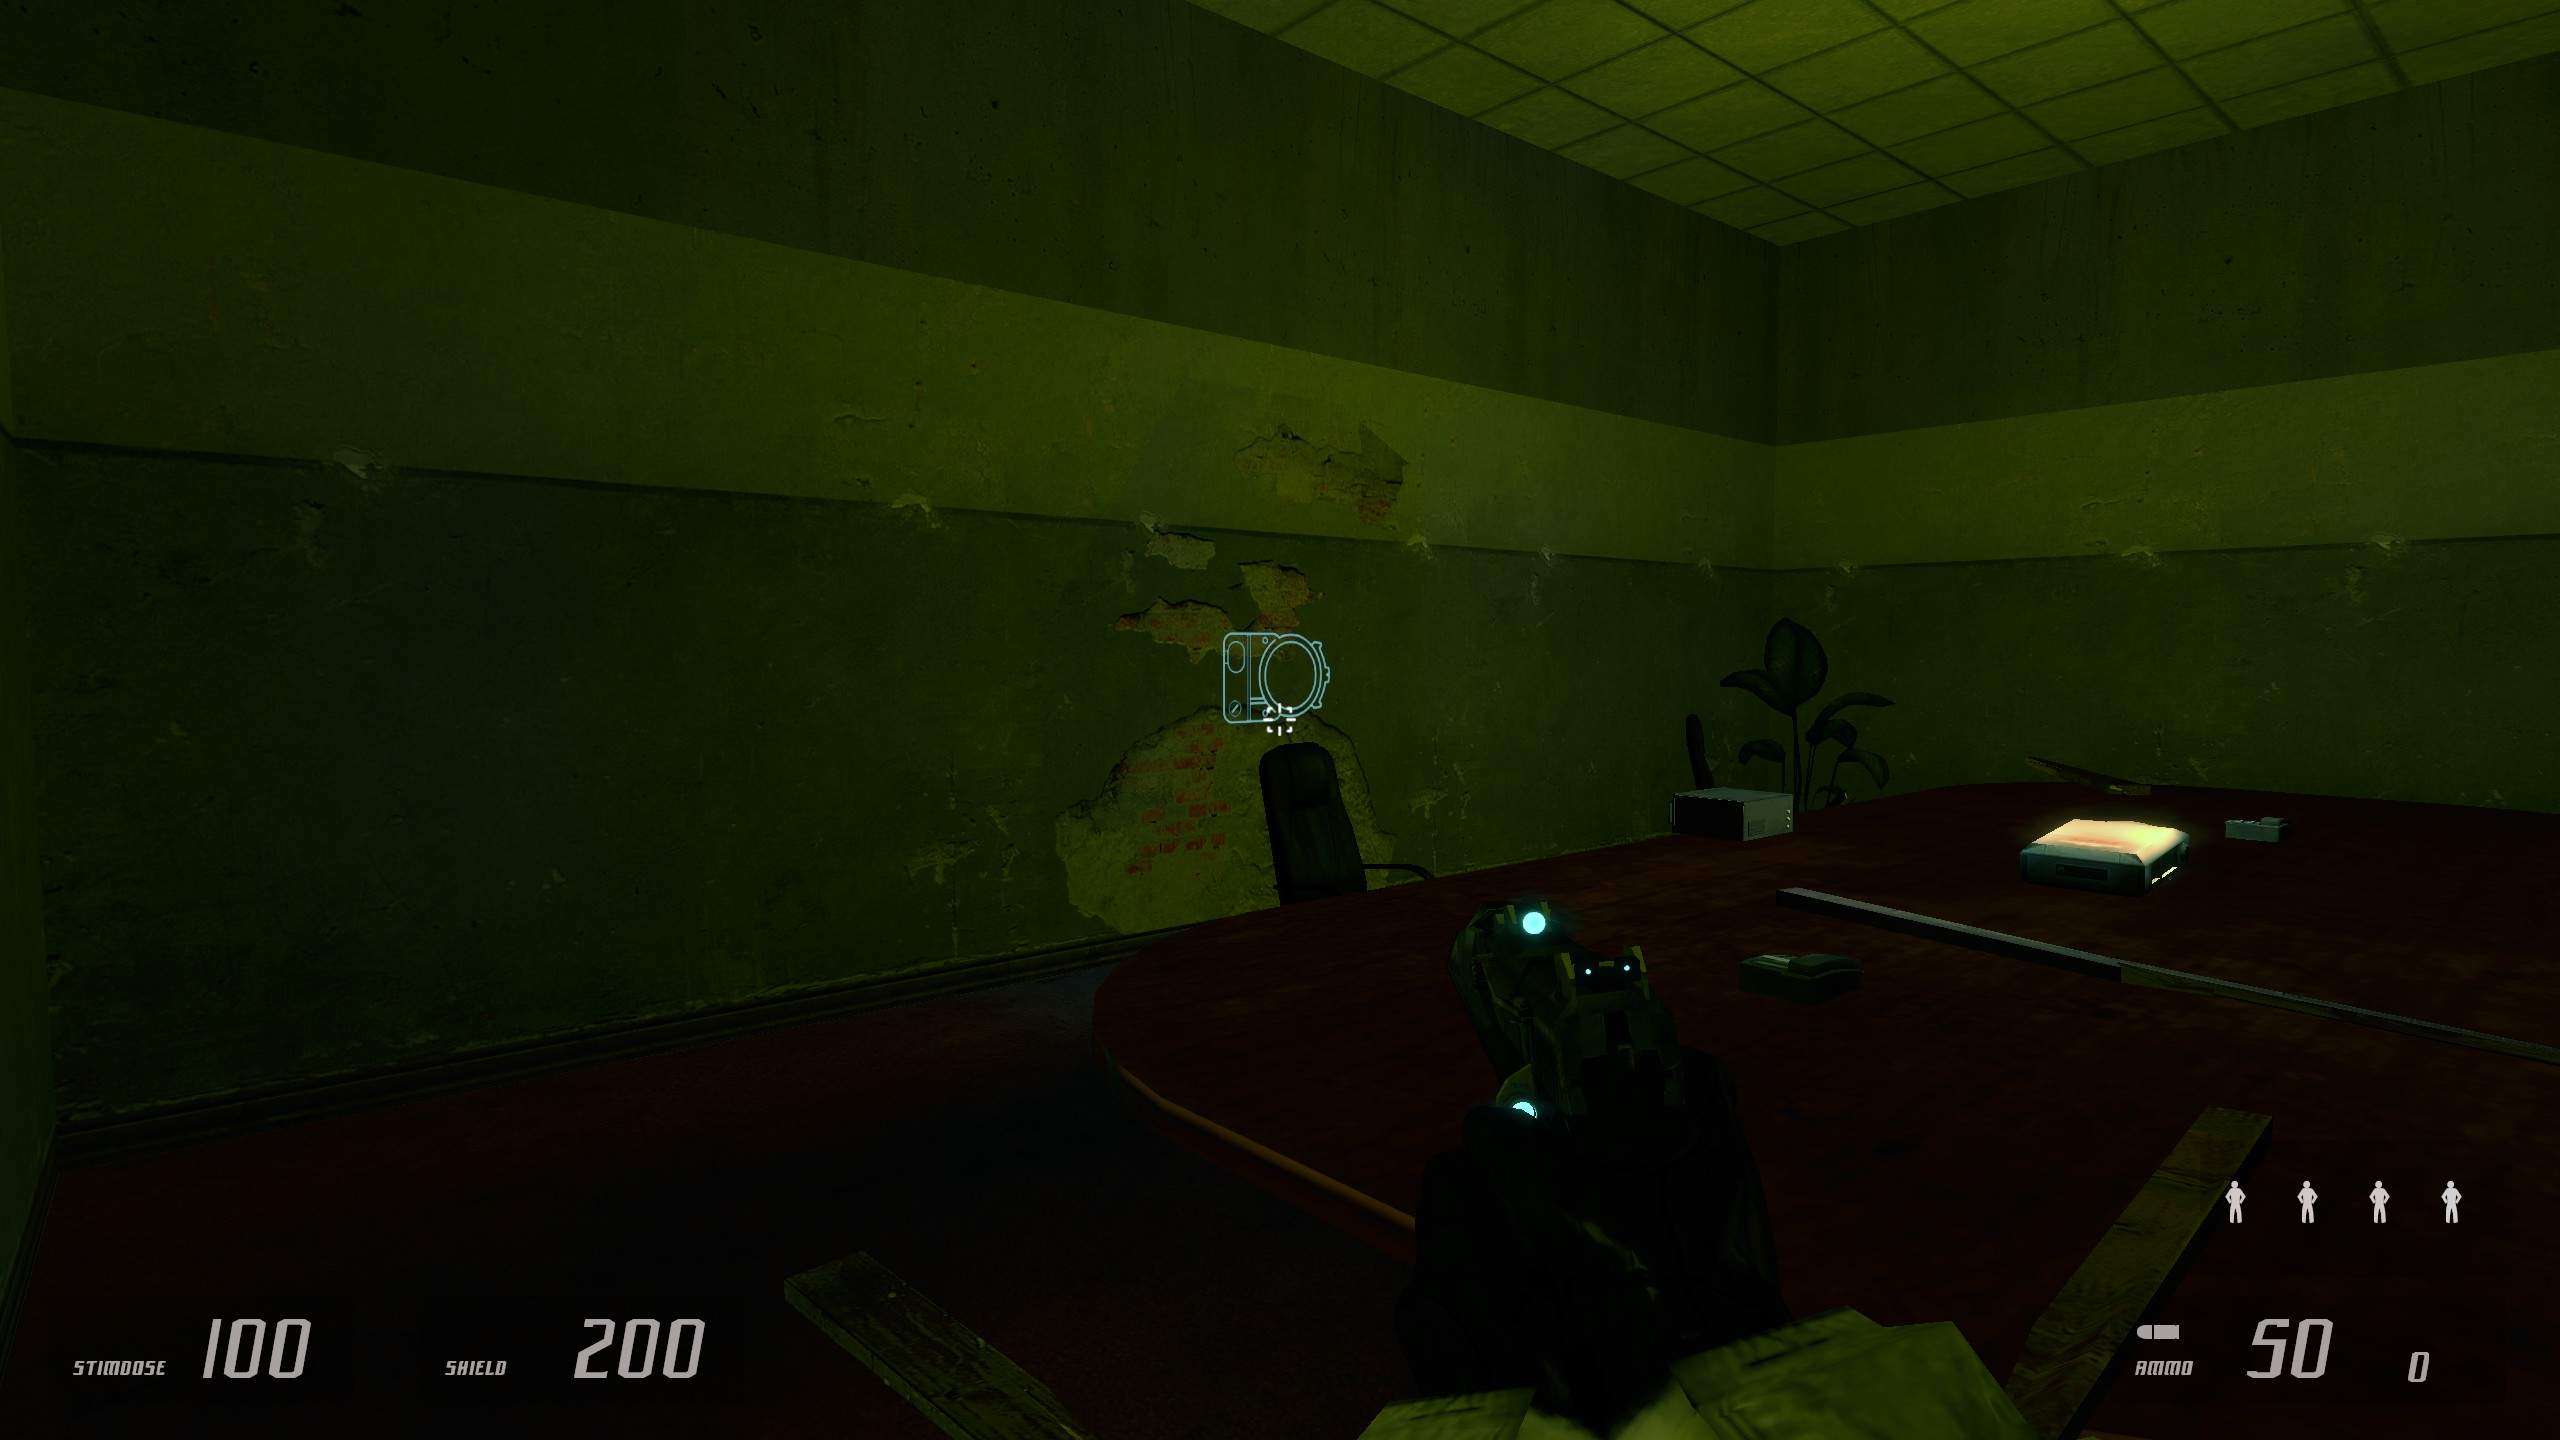
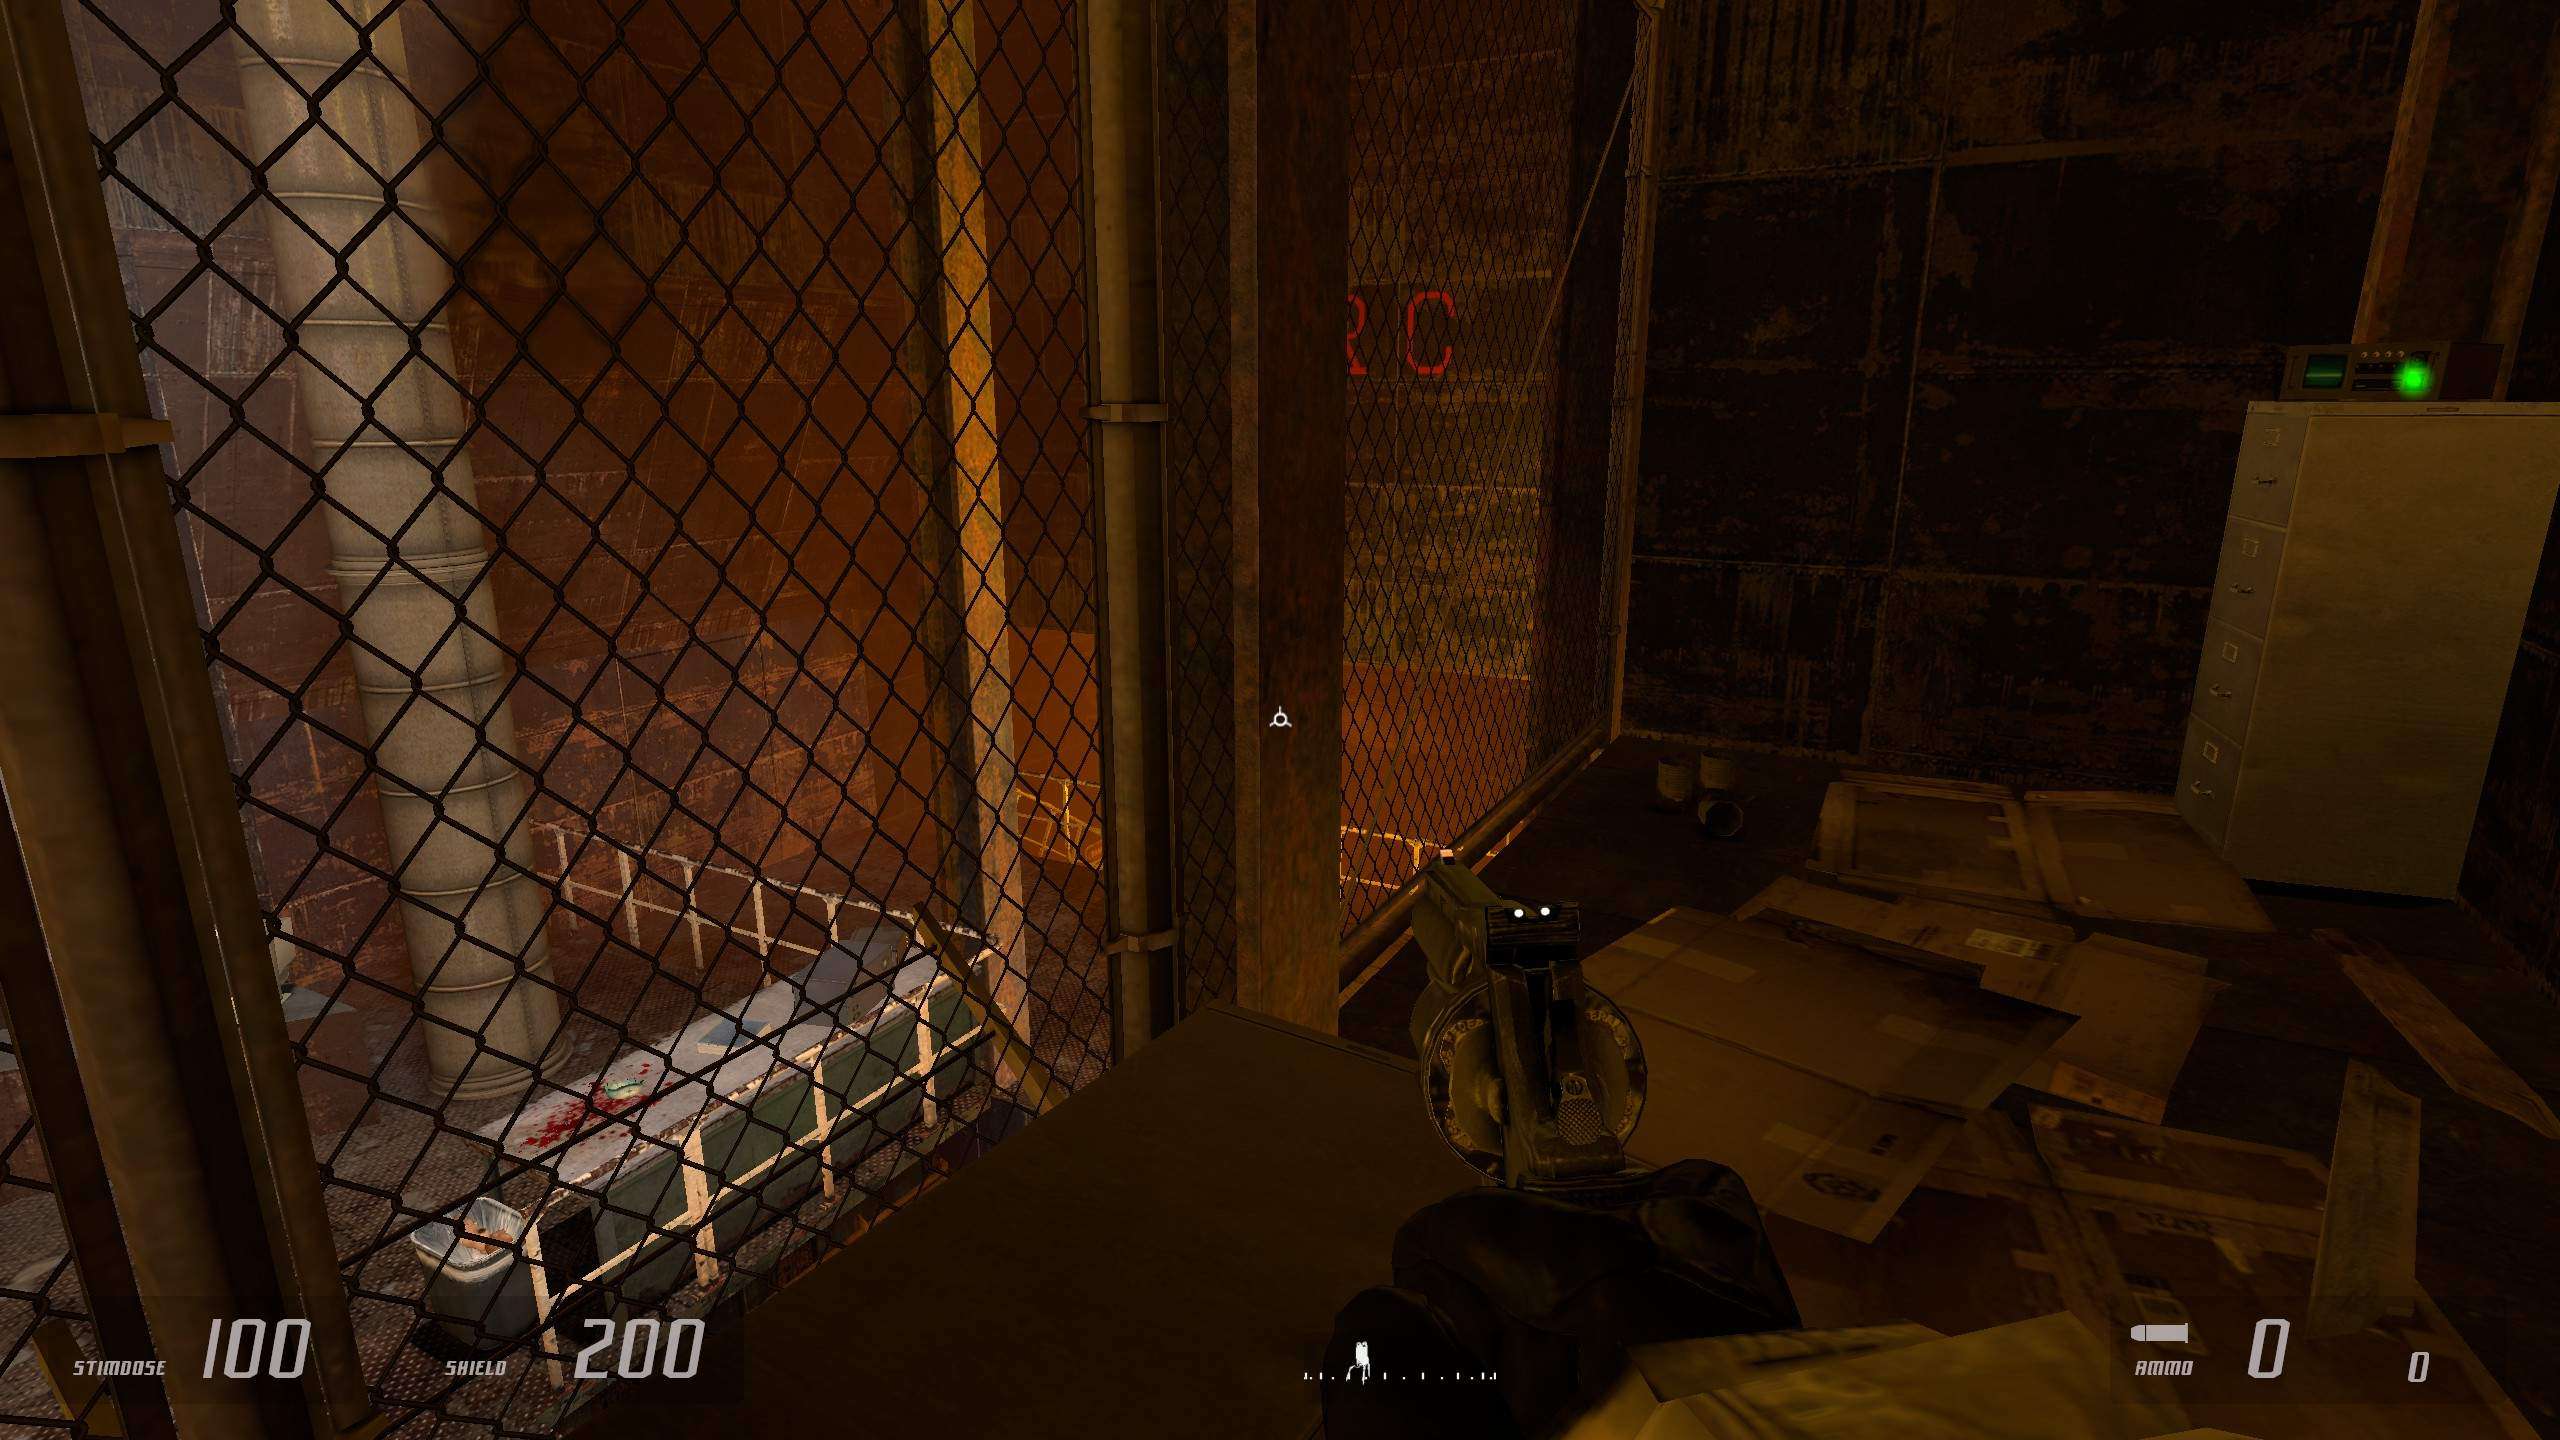
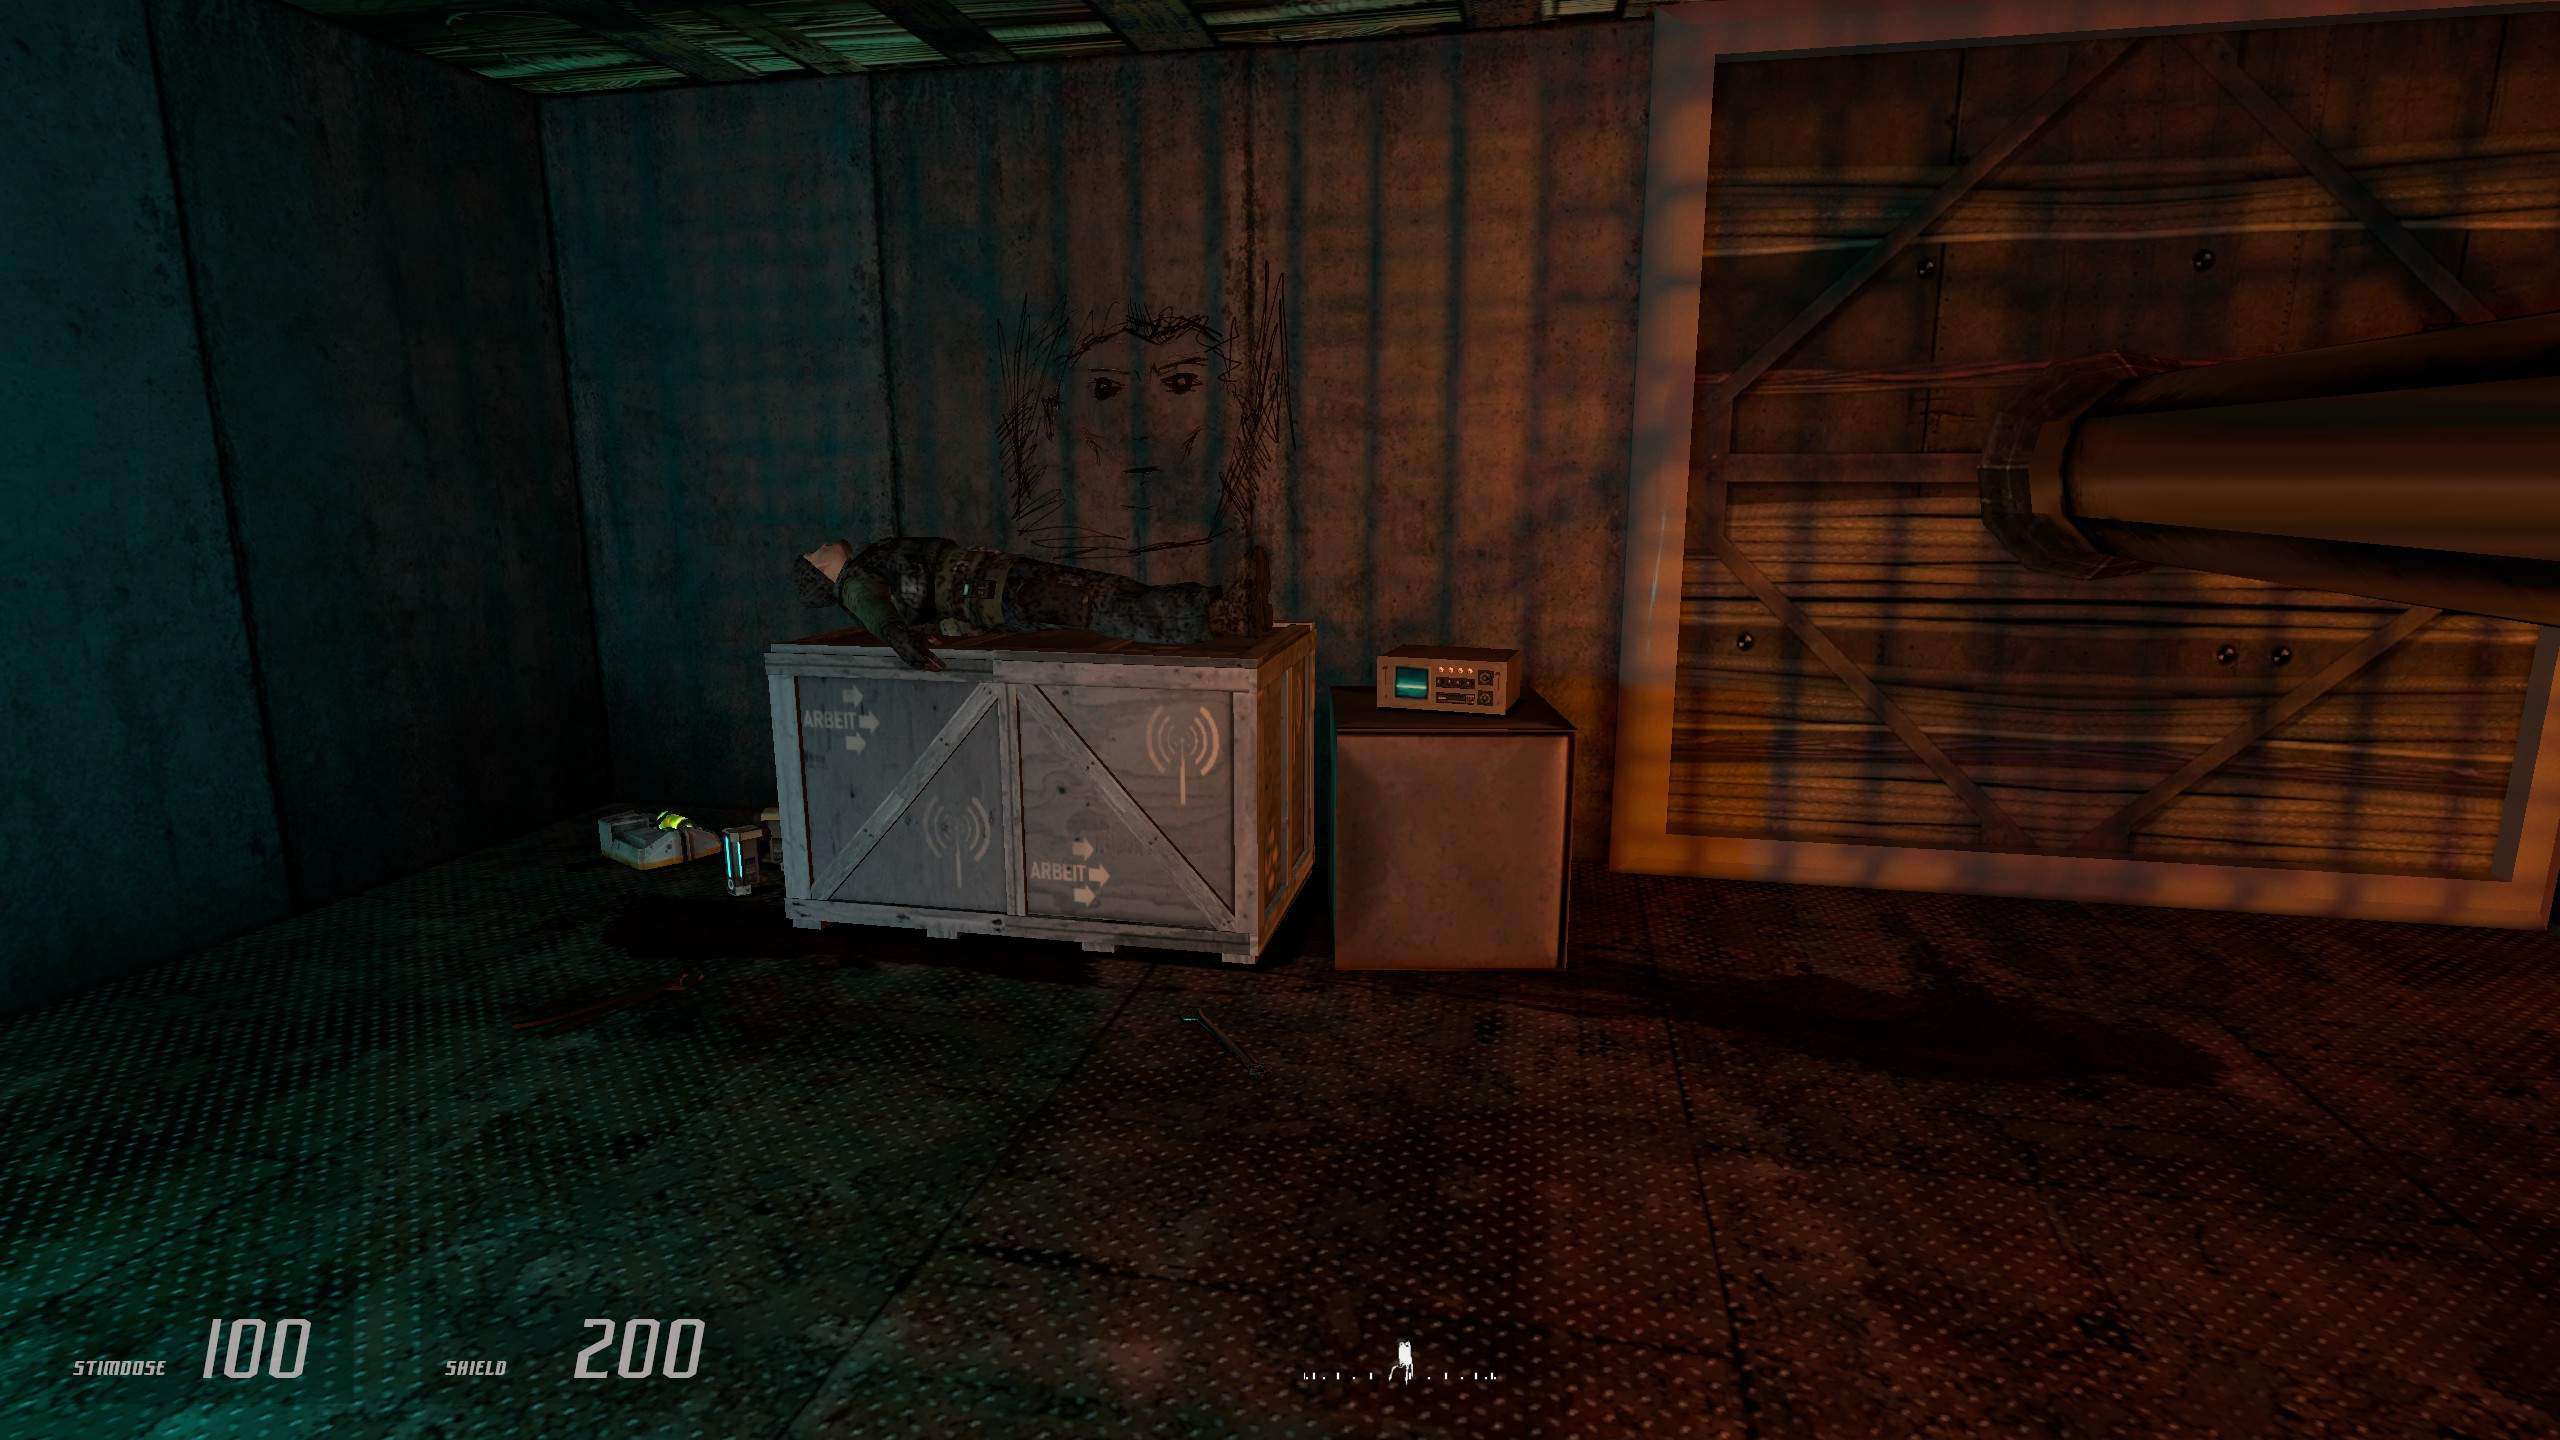
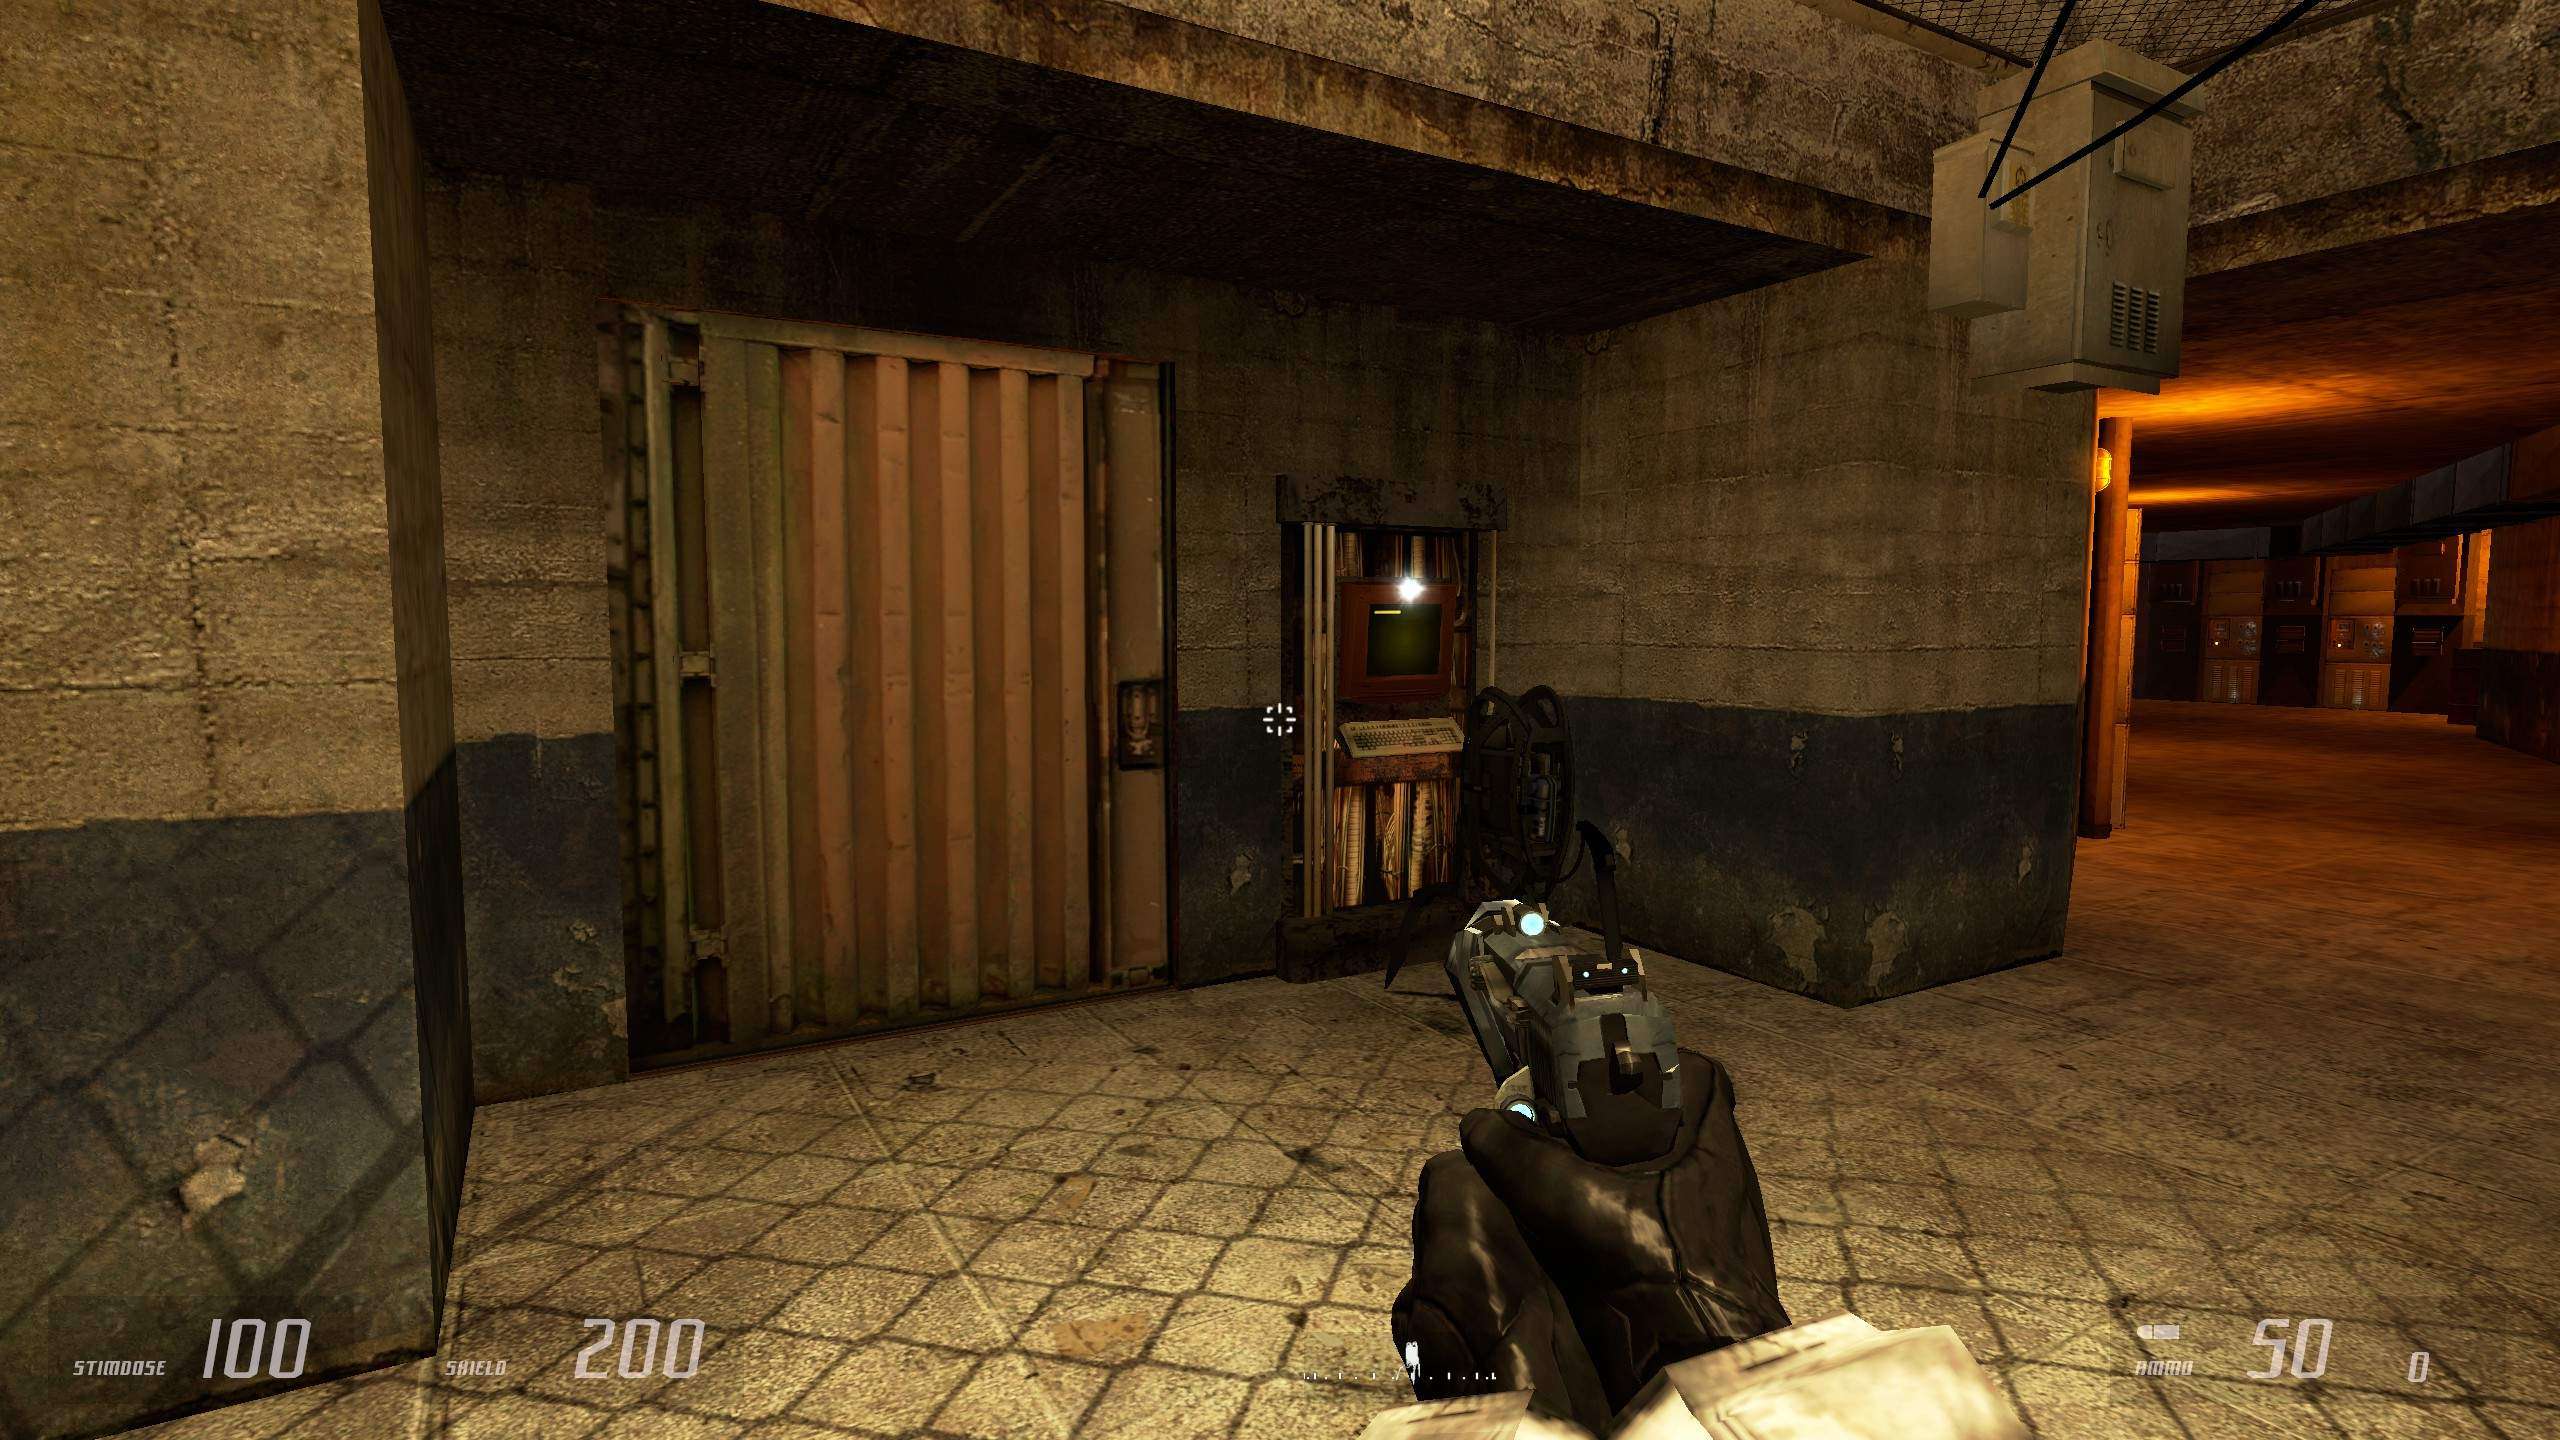
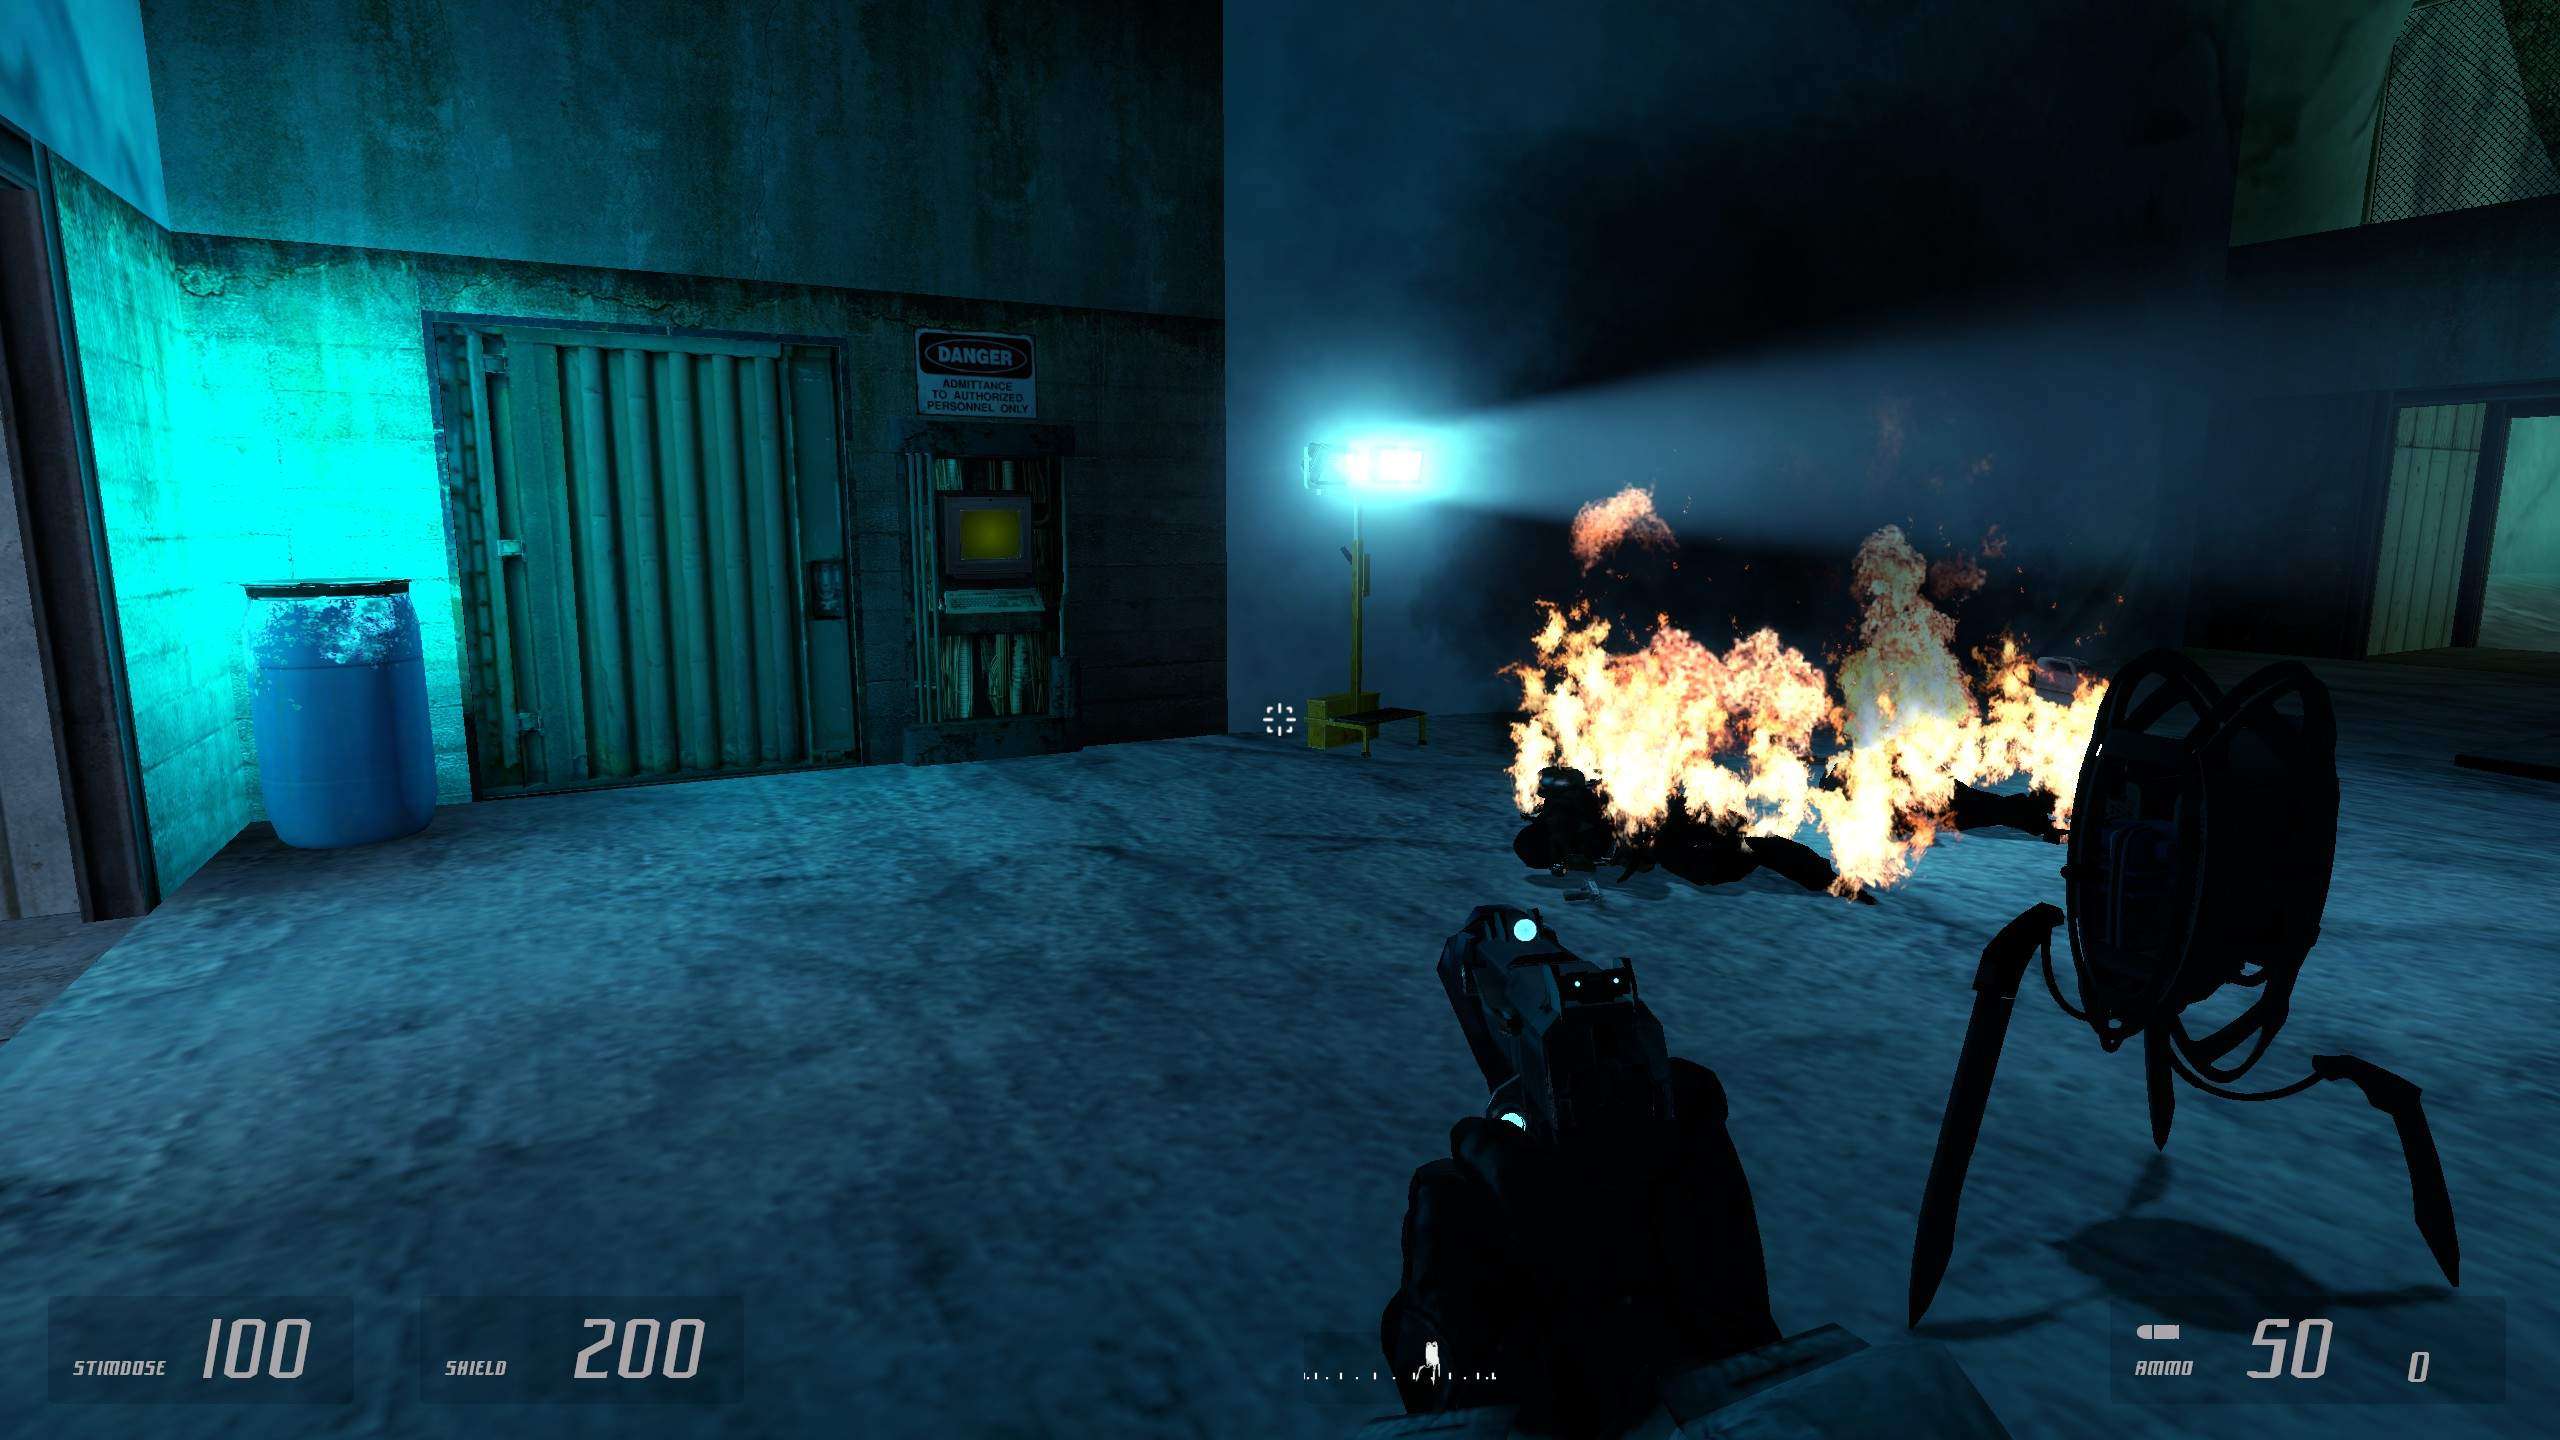
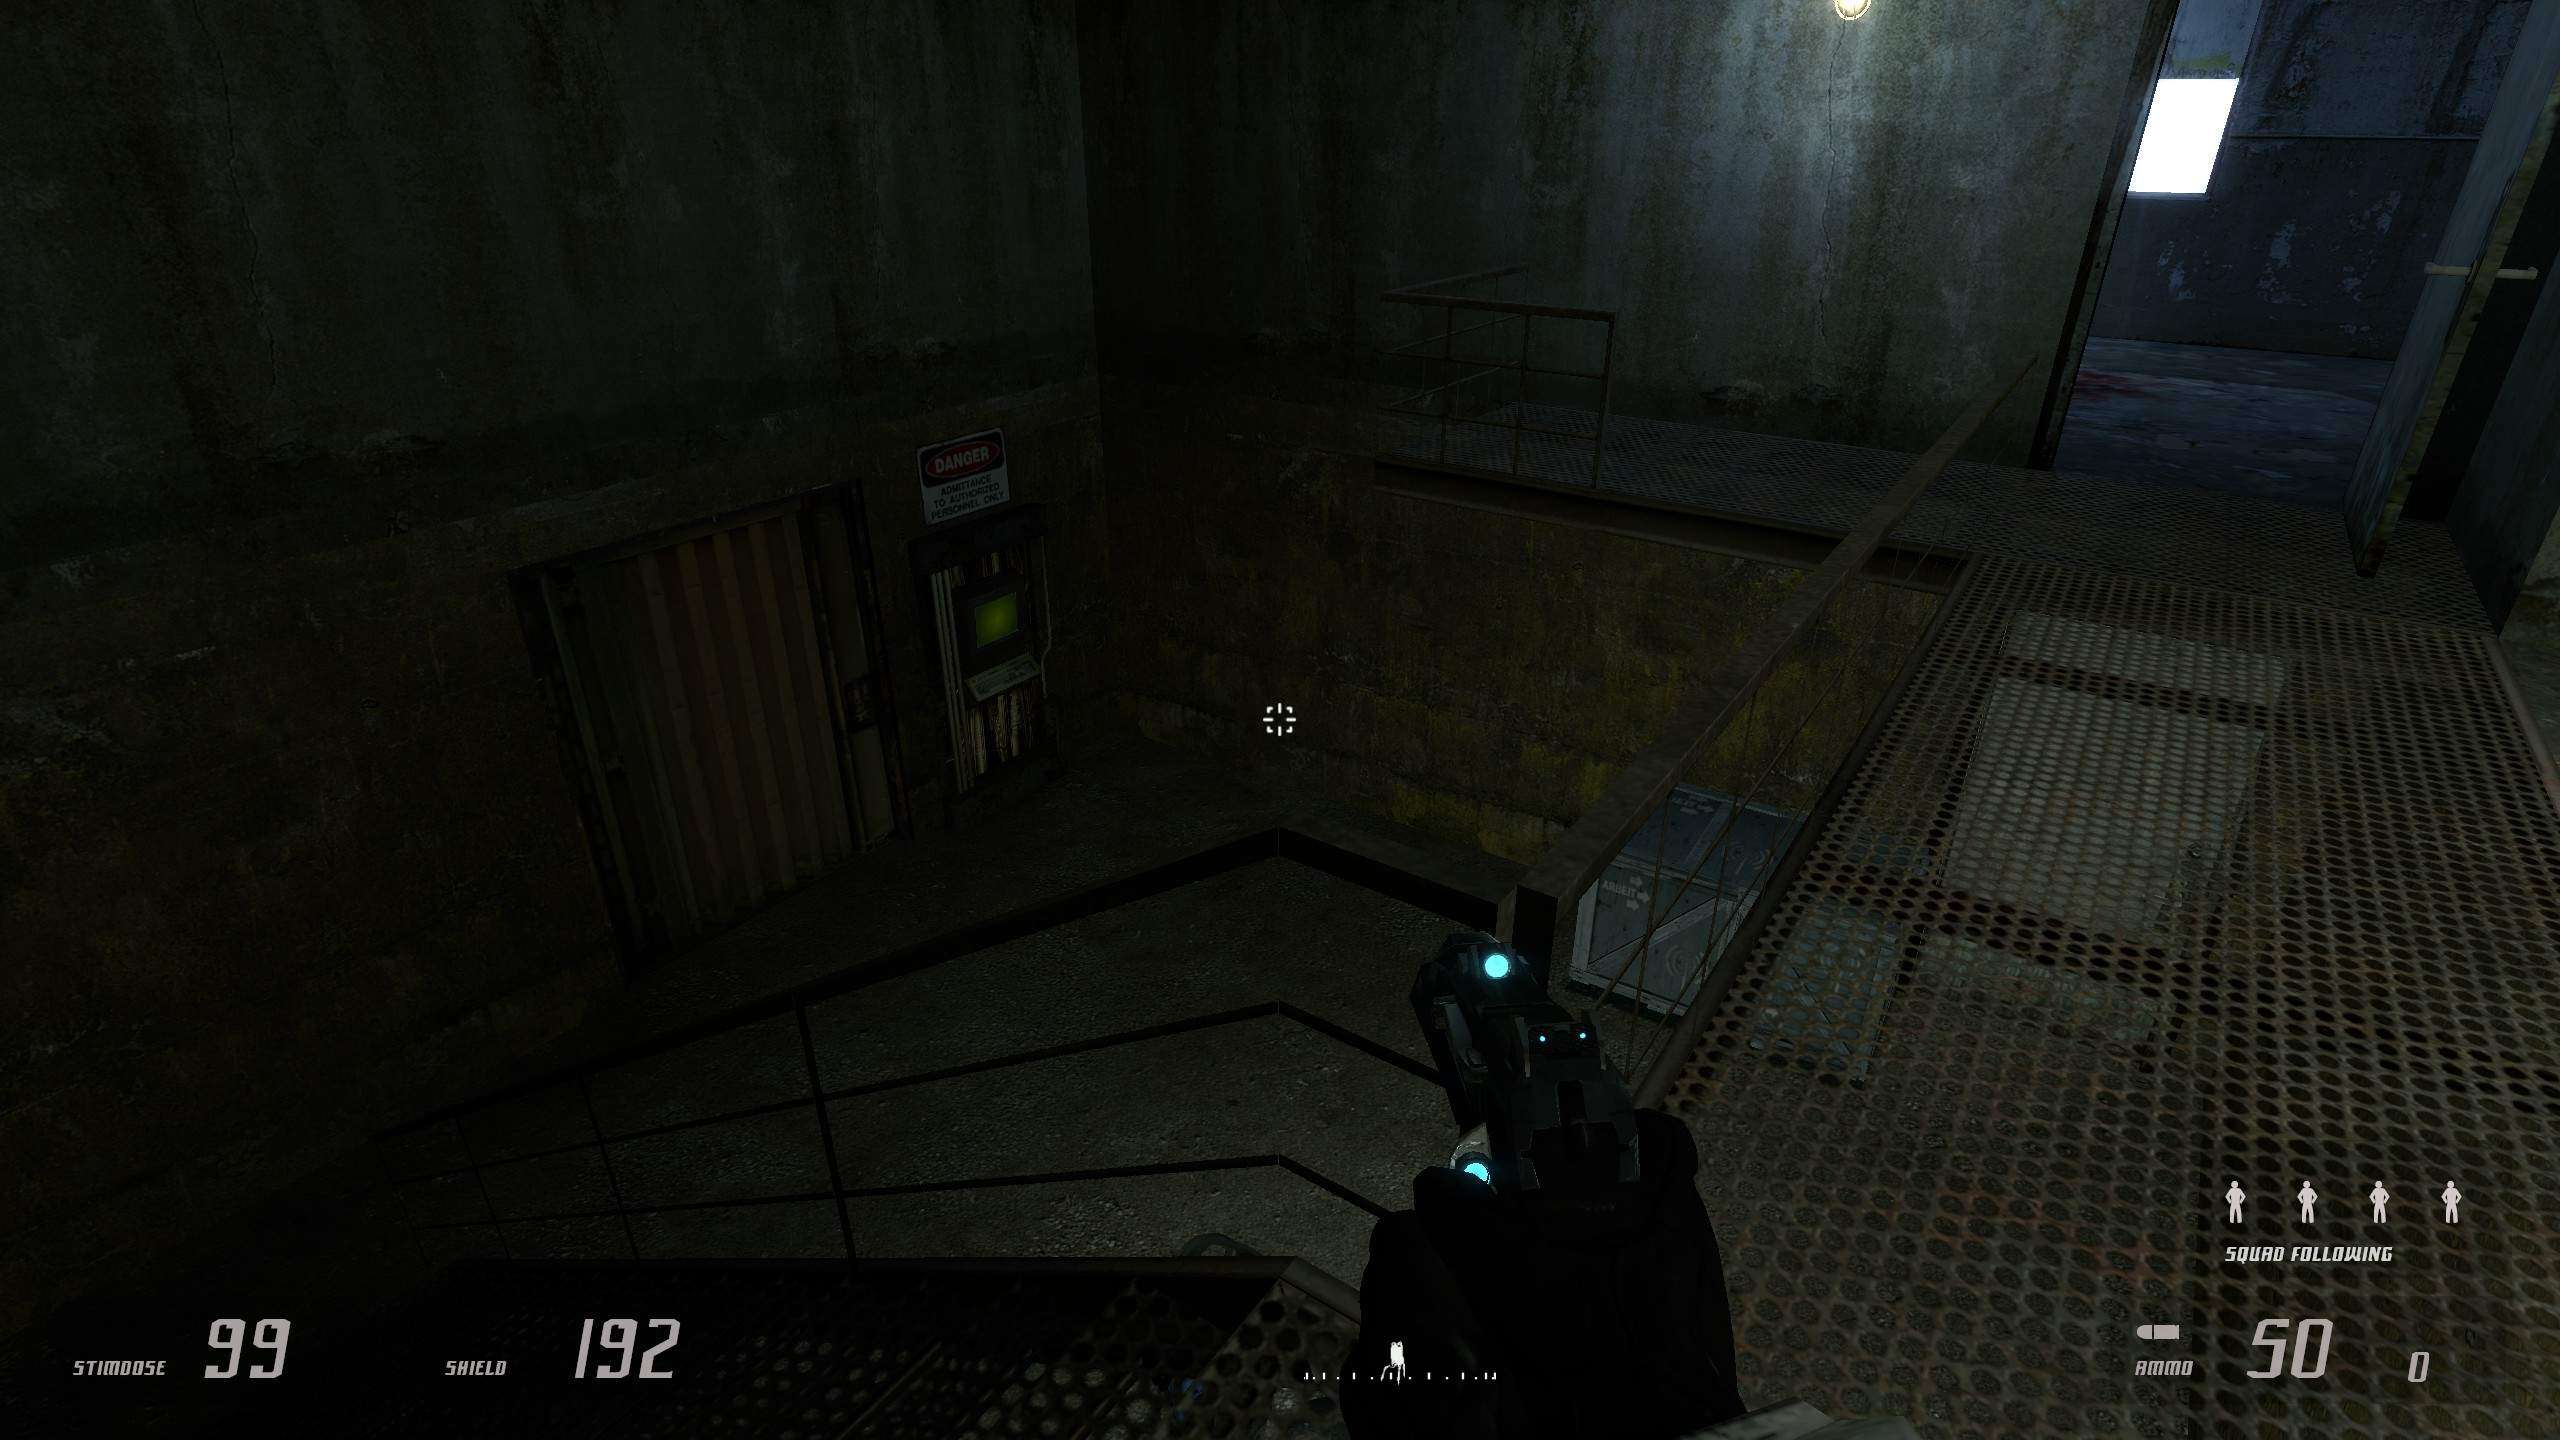
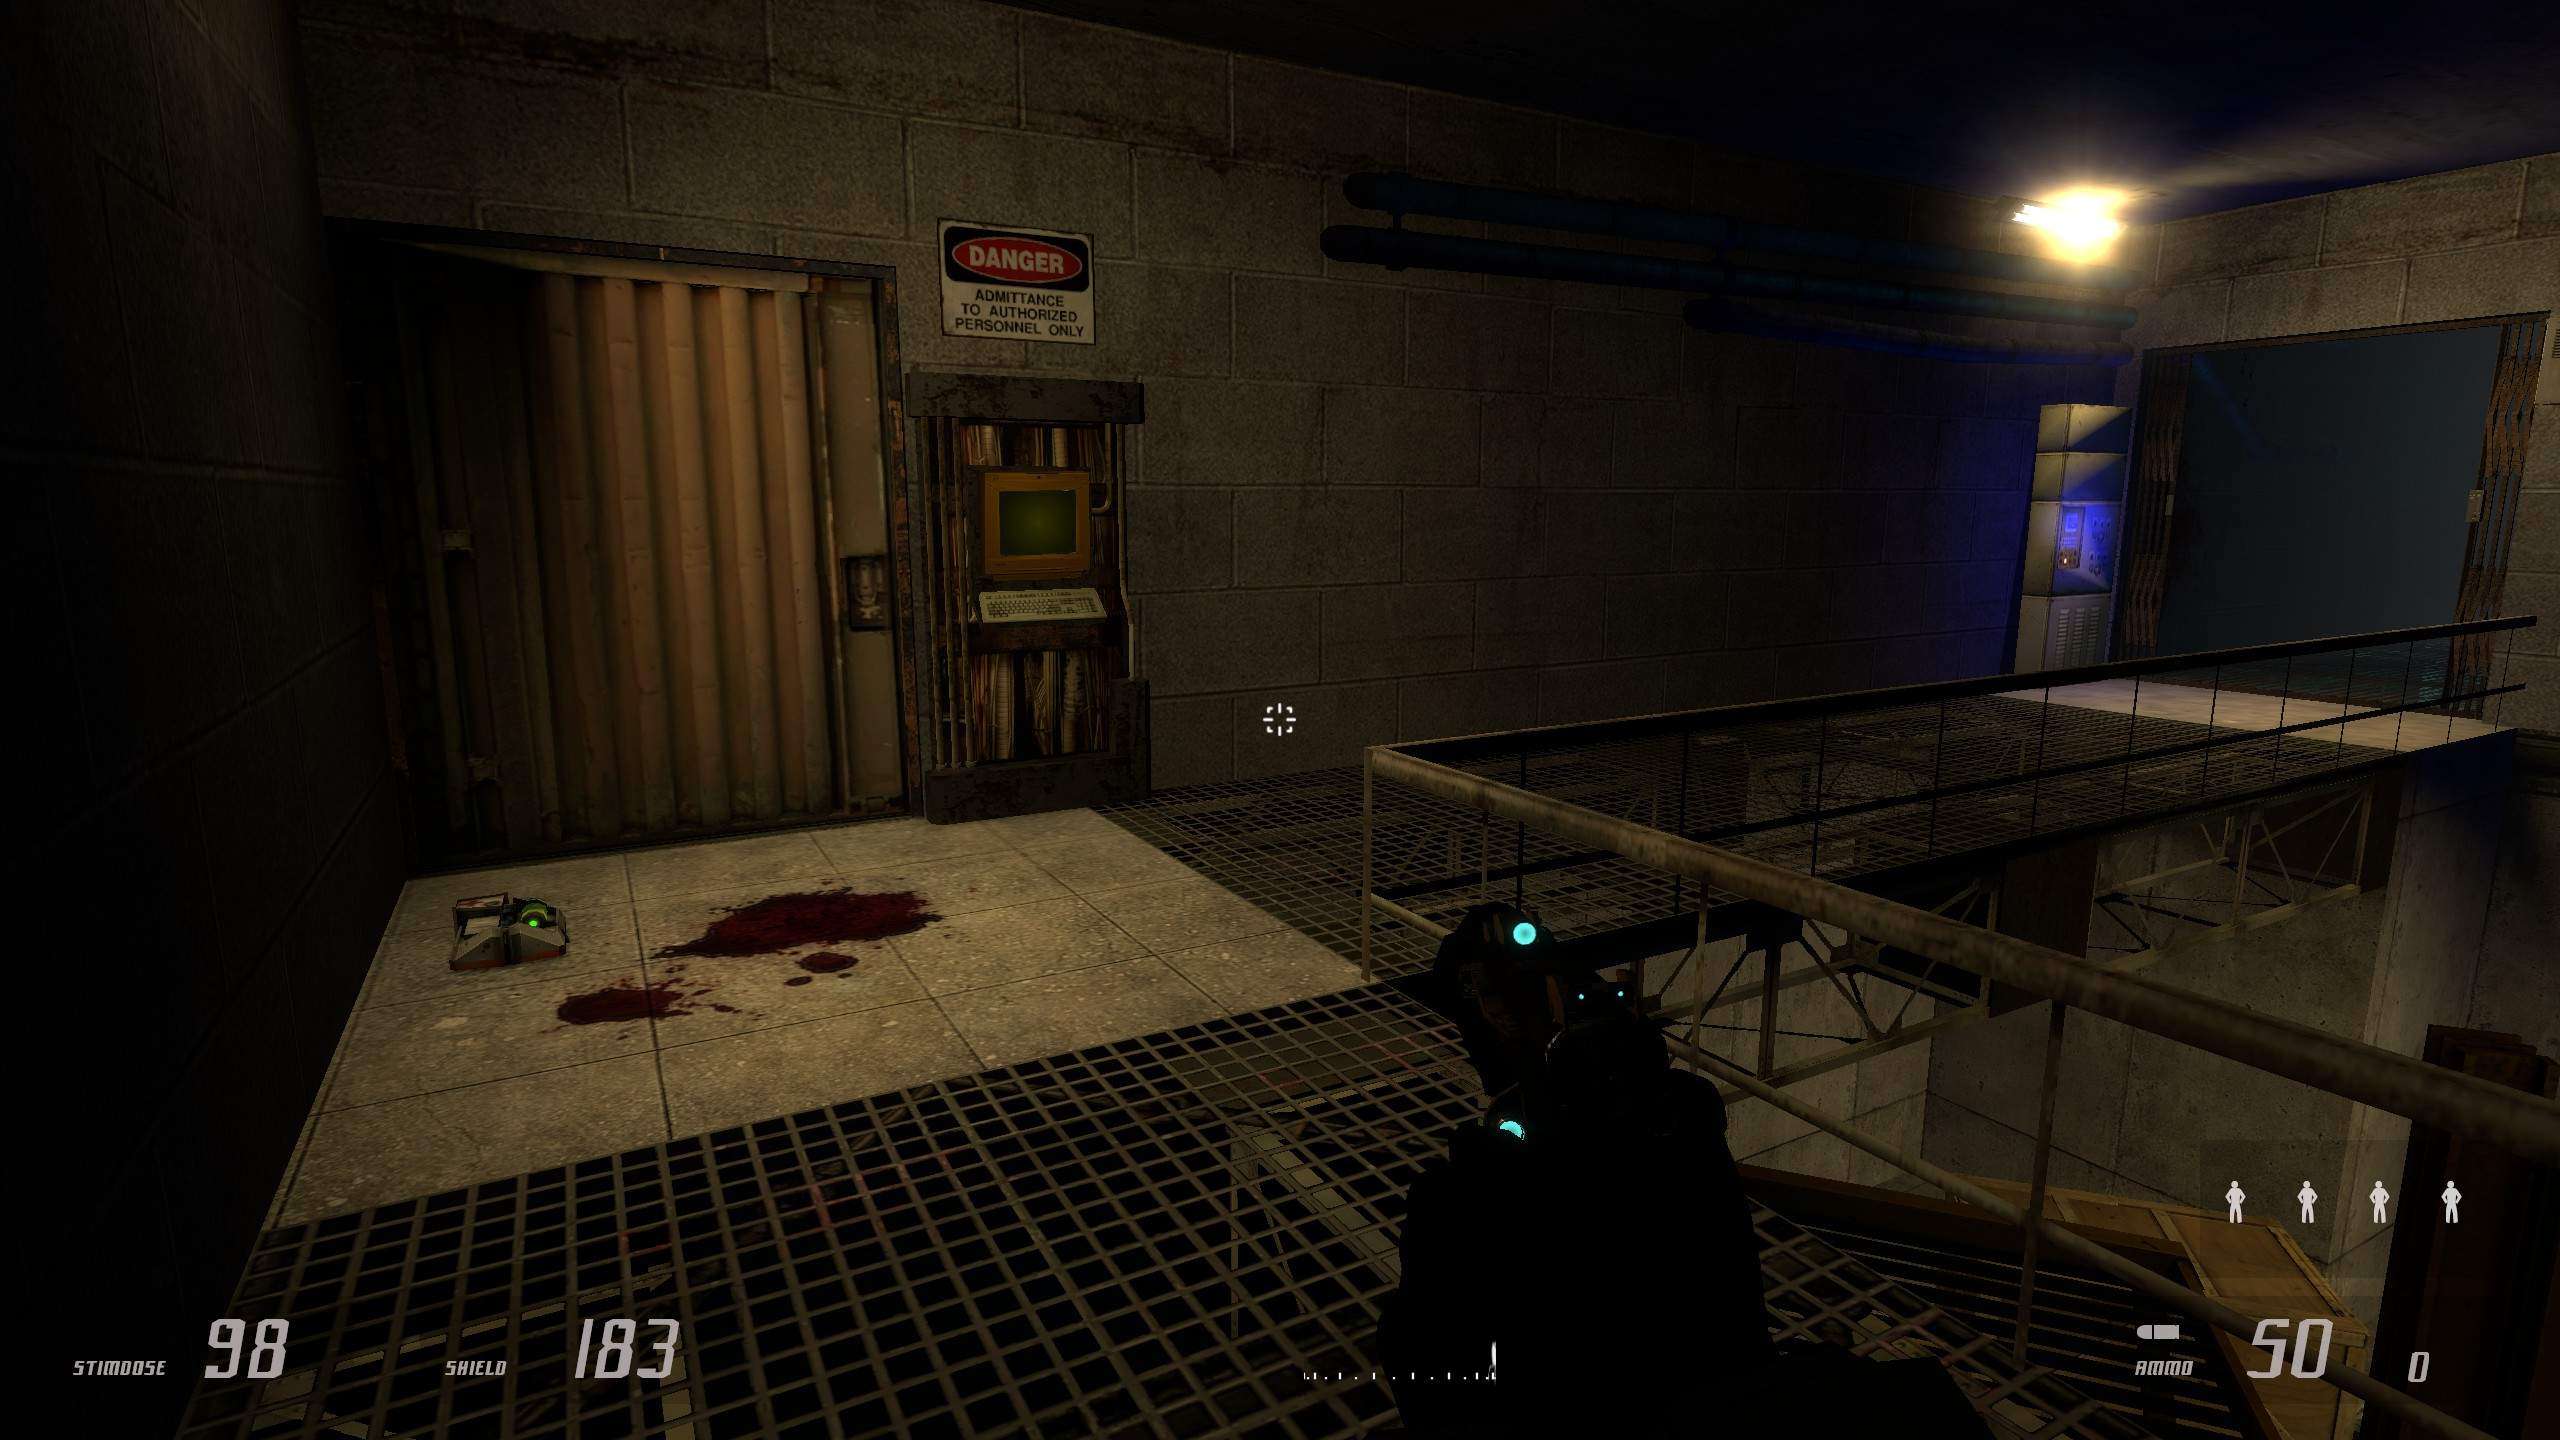
How to get: Similarly to Chapter 1, in Chapter 2 you have to keep all 4 of the starting Combine soldiers alive, use move command to your advantage. You might wonder where you get the 5th one. When you enter the massive warehouse-like area, at the very top floor there is a wall that can be exploded using S.L.A.M. In it, you will find a very beaten up Combine soldier, you then have to find a spare gun, which is on the table next to the wall that you exploded, and give it to him, once thats done, he will join your group. After that, pull the lever, clear the warehouse of the rebels, and then get all 5 of the Soldiers inside the transfer place thingy to the secret lab.
Click to enlarge…
Scar Zero
- Reunite with Scar Zero at Entropic Control.
How to get: When playing Chapter 6, before reaching the Ending part, you have to do a holdout against the rebels. If you have rescued Scar Zero in Chapter 2, and brought him into the passage way to the secret lab, and then a little bit farther (Basically where you get locked away from your group by Copy-Cop), after some events, your remaining soldier group will get completely slaughtered, except for Scar Zero who will manage to escape and get extracted (As heard from the voice lines).
Interdependency
- Get health from a surrendered medic.
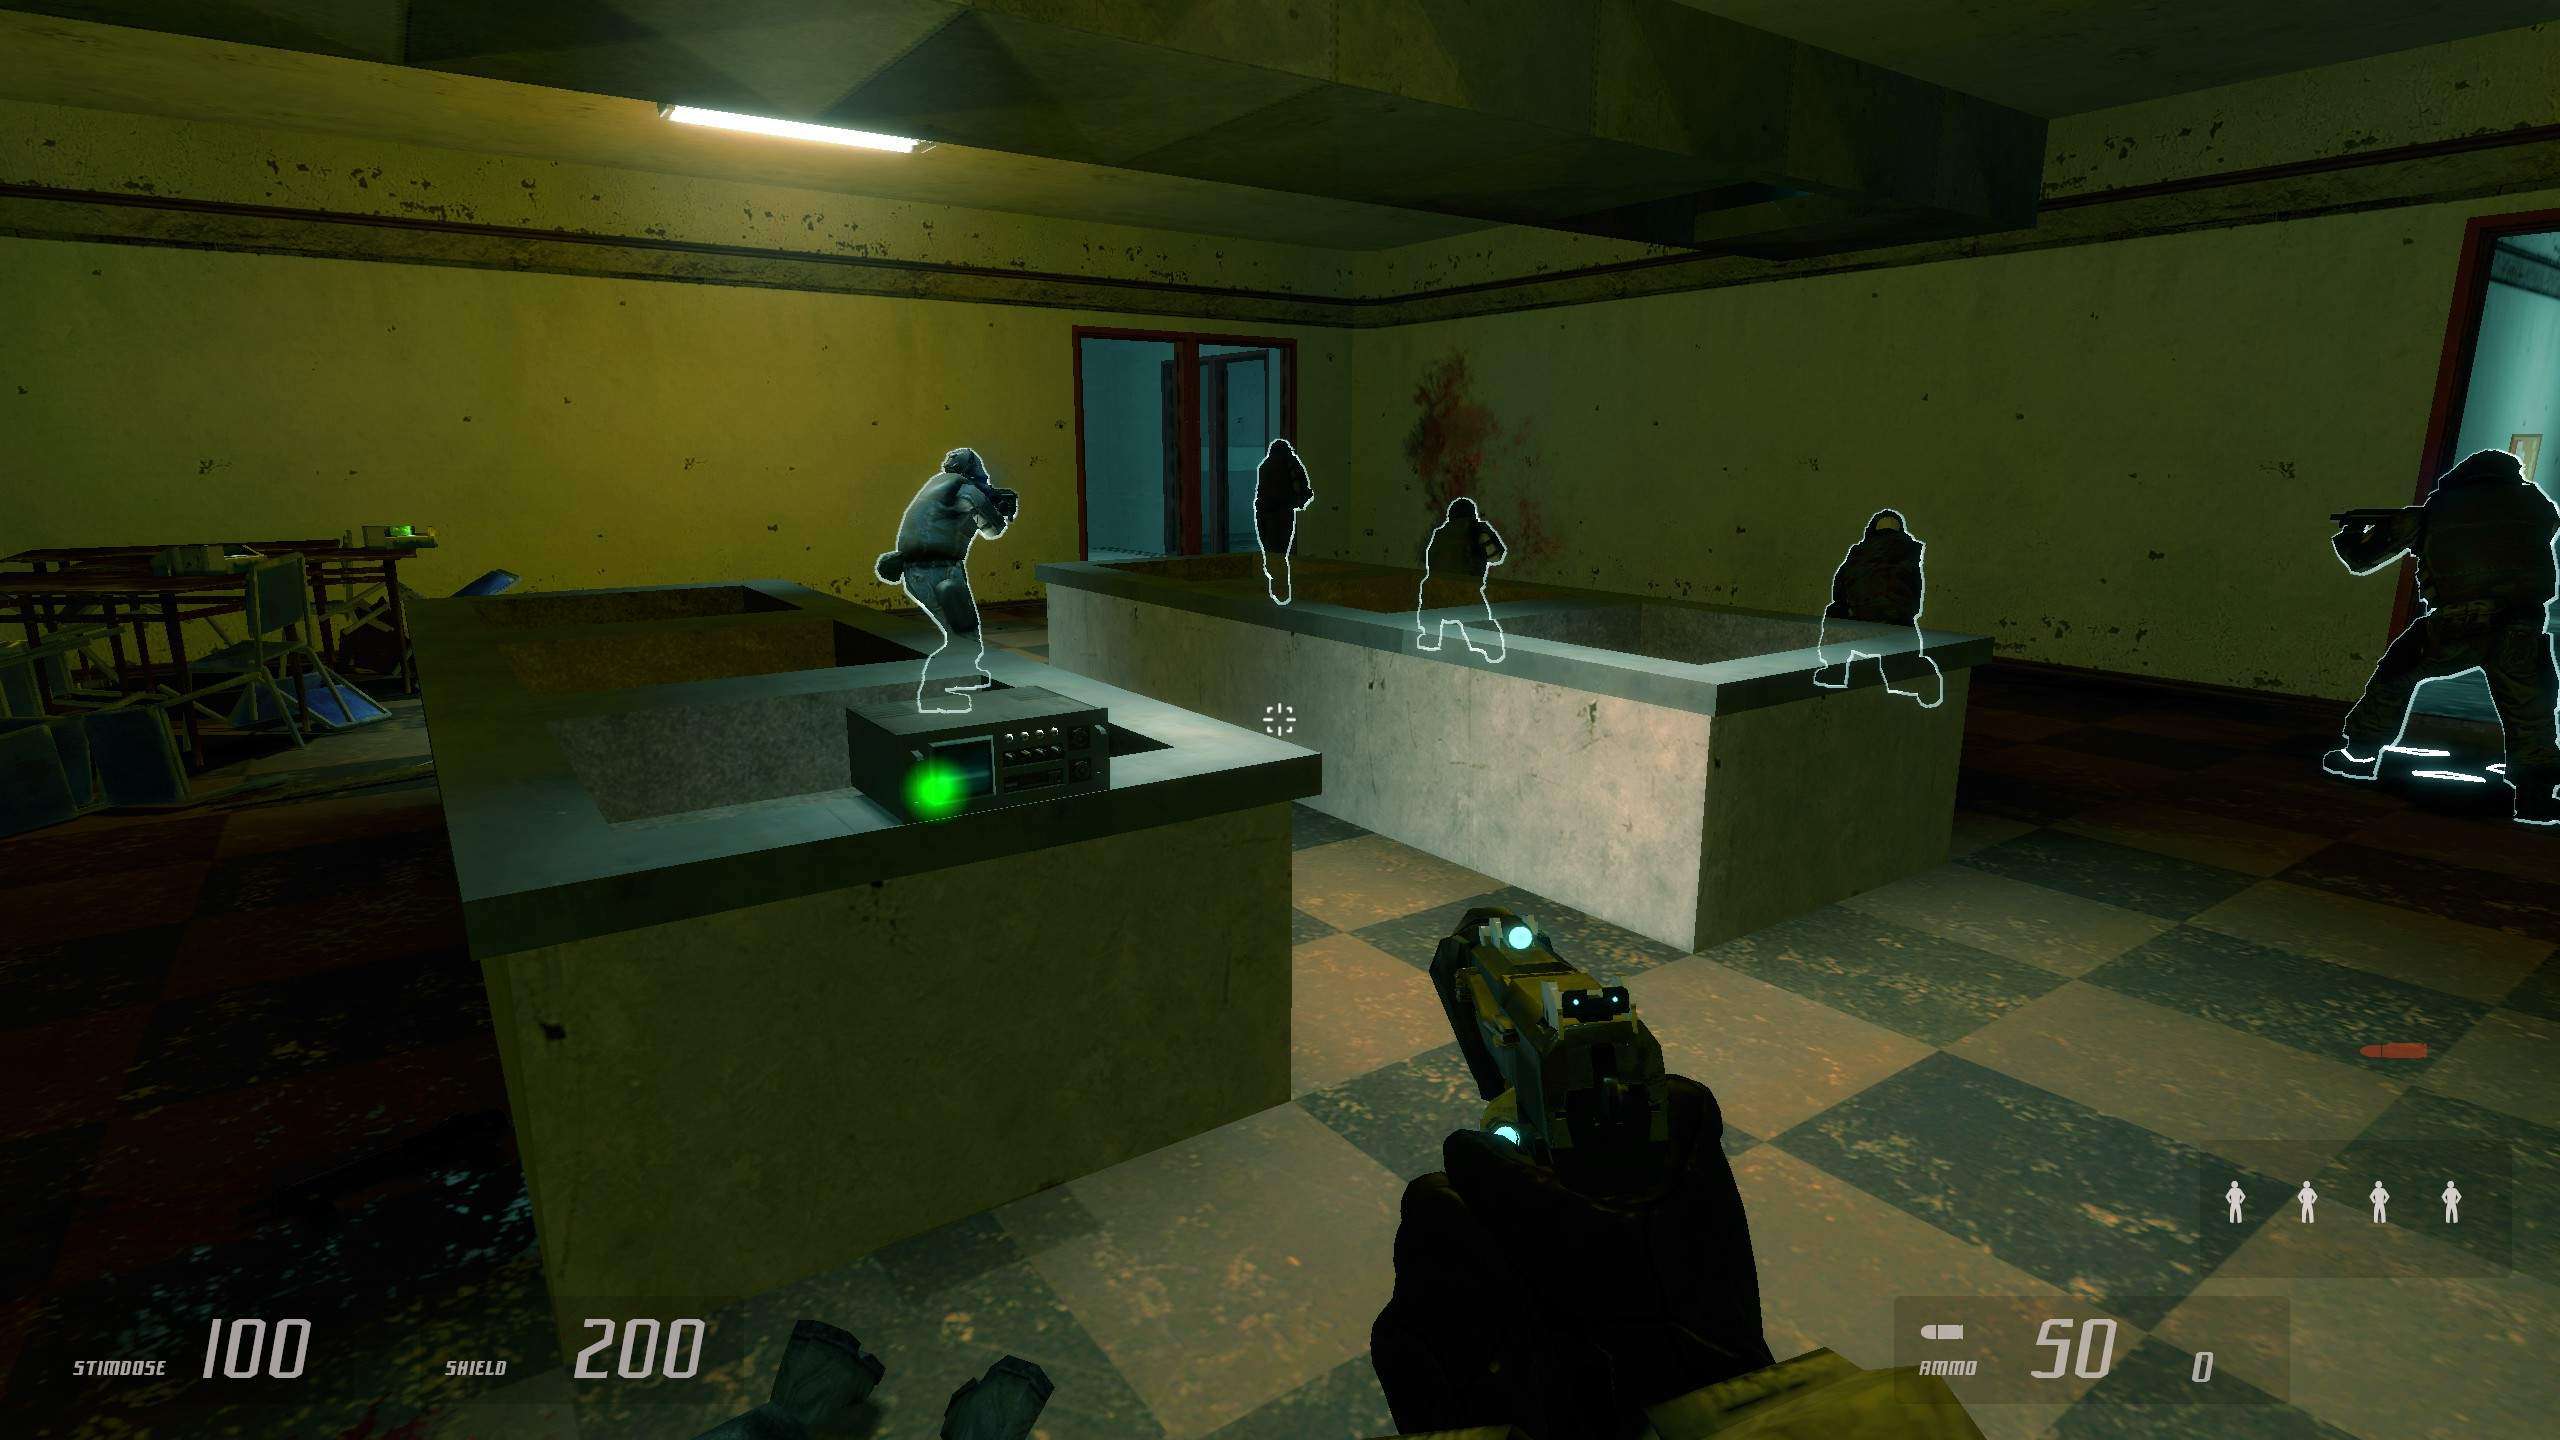
How to get: While not very well explained by the game, you can either kick the gun or shoot the gun out of rebels hands. They usually have backup weapons however, some even having a Crowbar as a backup weapon. When an rebel surrenders, you can press E on them to force them to lay down, and then E again to make them stand up and standing near them will make them give you supplies, what you do with them after that is up to you. Do this with medic, while being below 100 HP, and medic will heal you, however this could prove tricky as its not very easy to recognise who is a medic and who isnt, unless you are up close to them, on top of that, any nearby allies will most likely kill the medic before you even get the chance to apprehend the said enemy rebel.
No Chance of Escape
- Neutralize Dr. Mossmans helicopter on the Arbeit 3 helipad.
How to get: In Chapter 5, you come across a place that has a Helipad with a Helicopter on top of it. Throw a Xen grenade and it will consume the Helicopter, thus giving the achievement.
Be warned though, due to the fact that the Helicopter is a big object, the Xen Grenade will spew out heavy enemies, the enemies in question are either Gonomes or Antlion Guards, or both.
Please Knock
- Kick open 60 doors.
How to get: Using the kick feature, kick open 60 doors. Do note that kicking the same door open over and over will not count (At least it didnt for me). This achievement is doable in a single playthrough as the game has over 60 doors, at least i think.
Now there are two of them!
- Kill both of the gonomes in the Xentarium.
How to get: During Chapter 4a, you will take a shortcut to get to Albeit 2 faster, during that you will go through a Xen-infested place. After switching power back on, 2 Gonomes will spawn. Find them and kill them. Do note that these are the same Gonomes from Chapter 3, therefor they are VERY tanky. If you want to easily get this achievement in your playthrough, i recommend playing on easy to kill the two Gonomes, unless you want a challenge obviously.
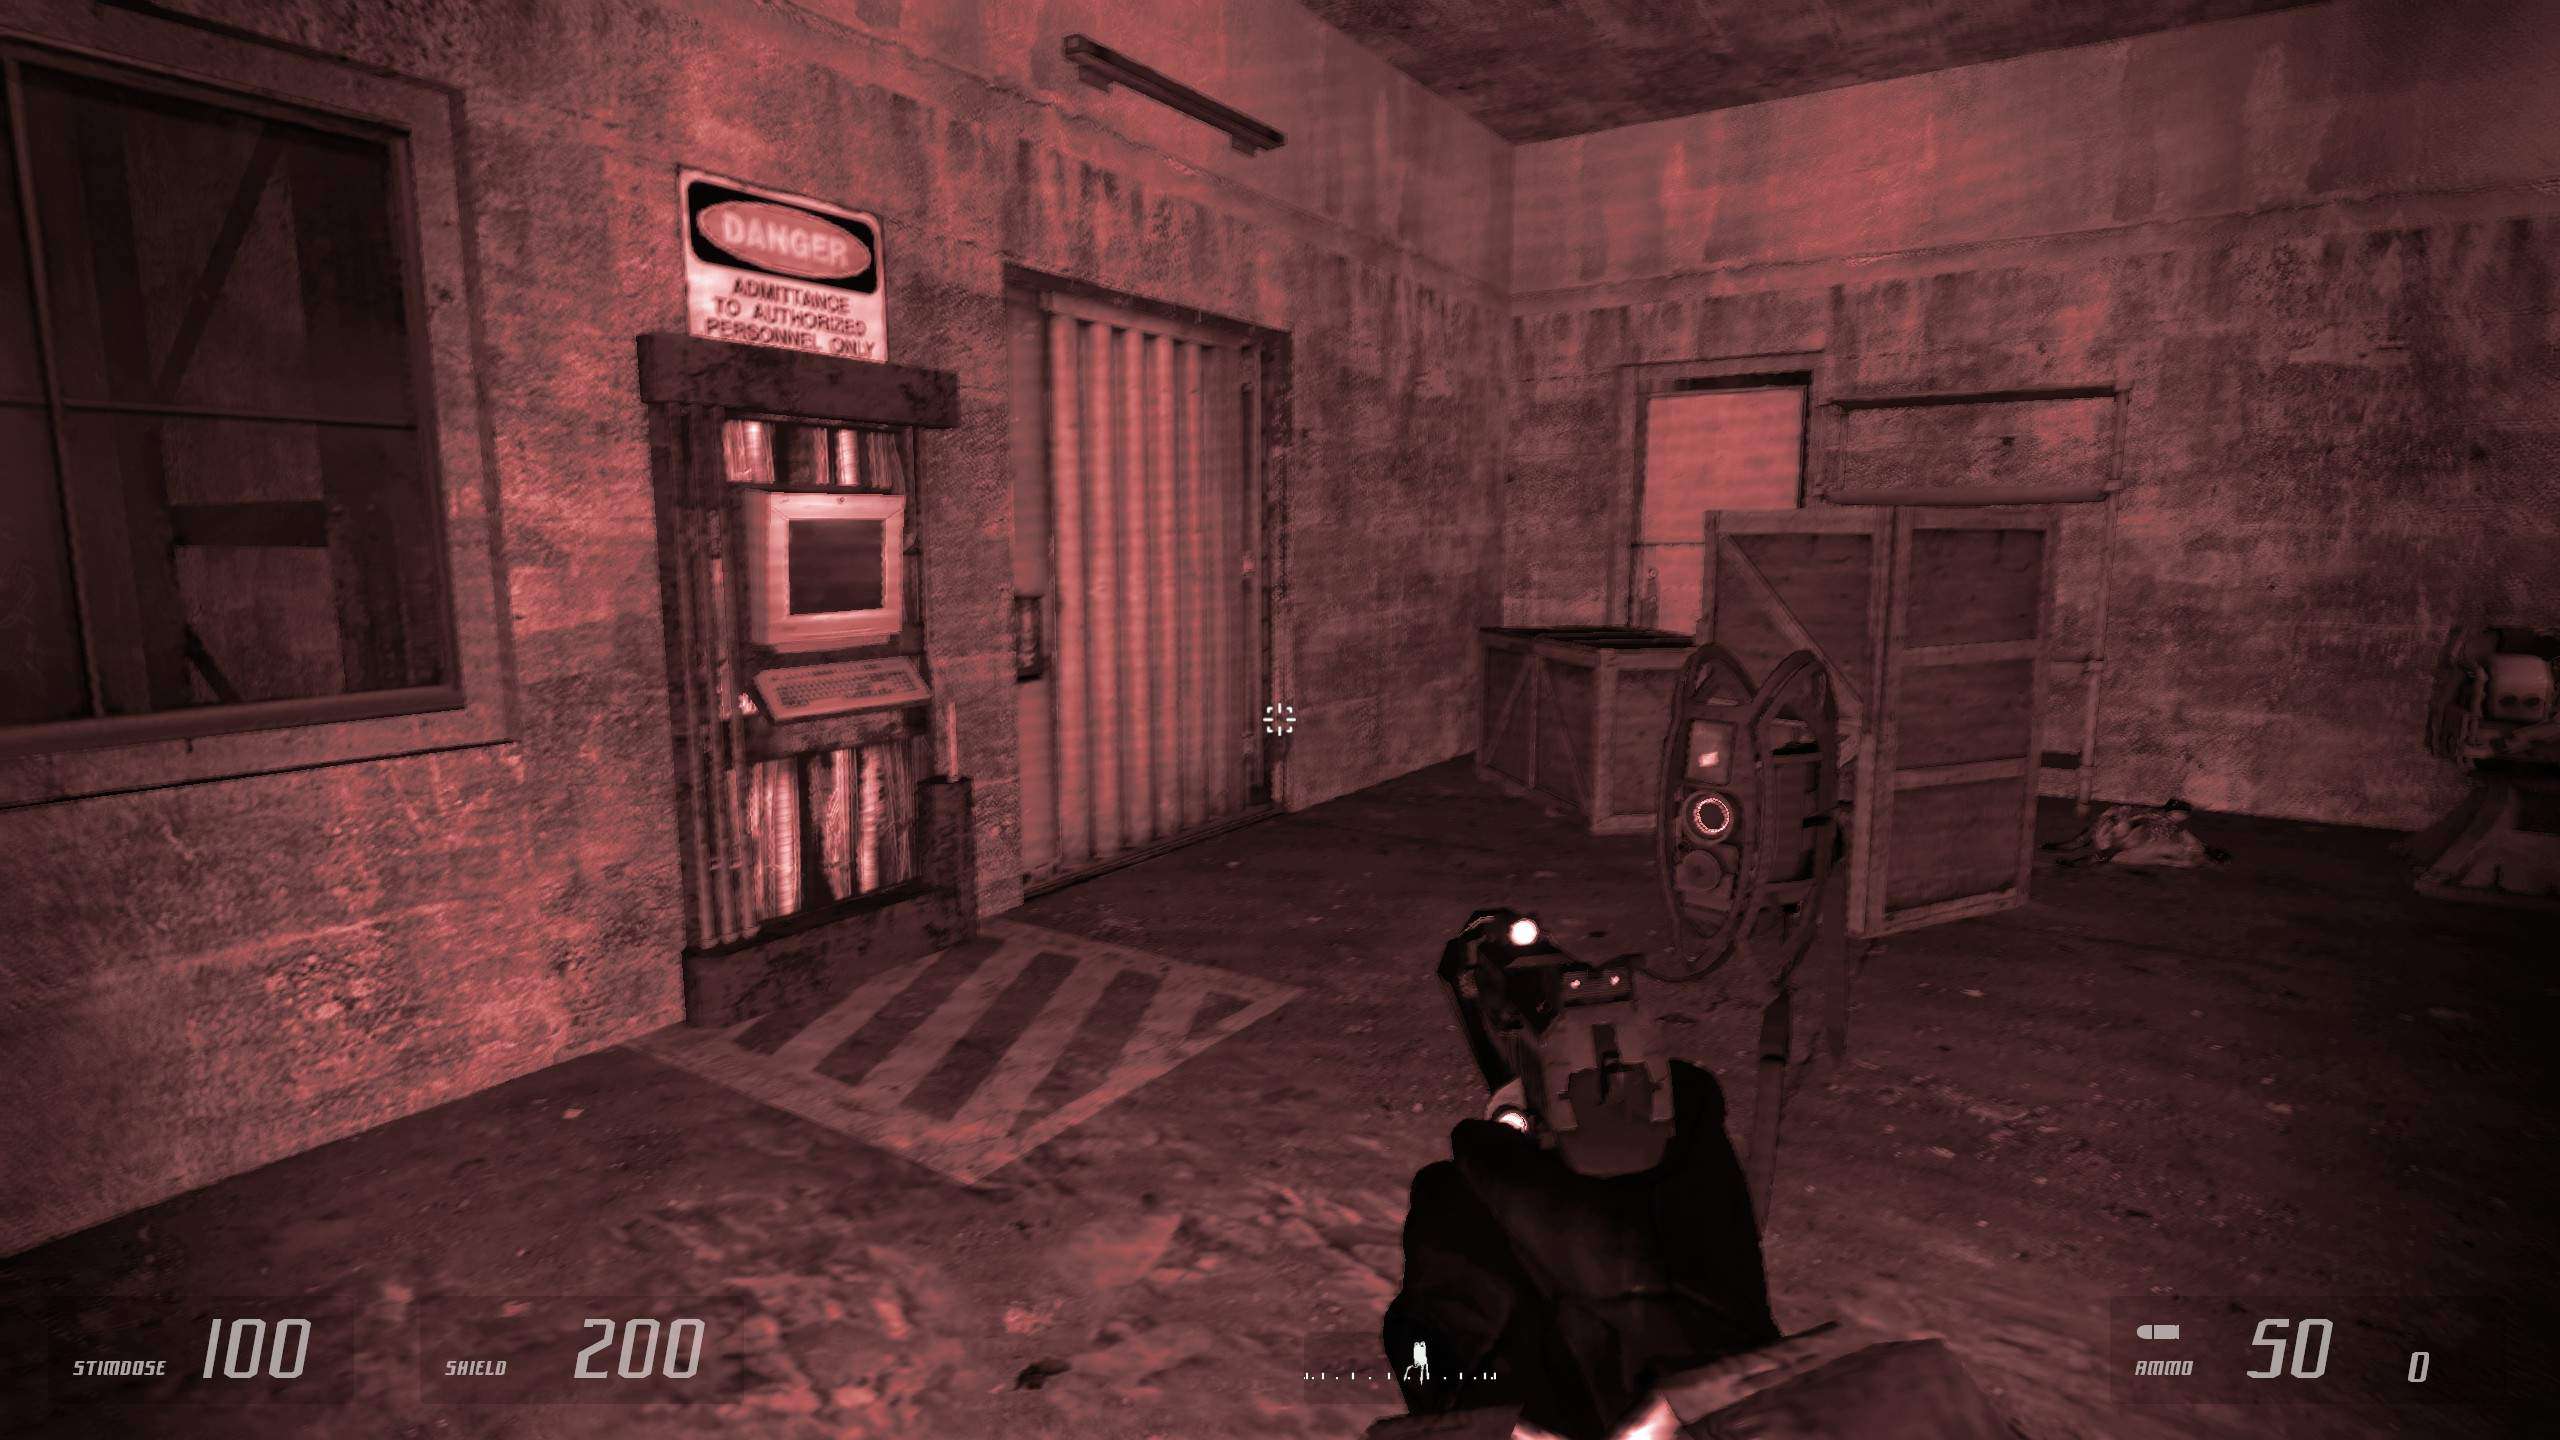
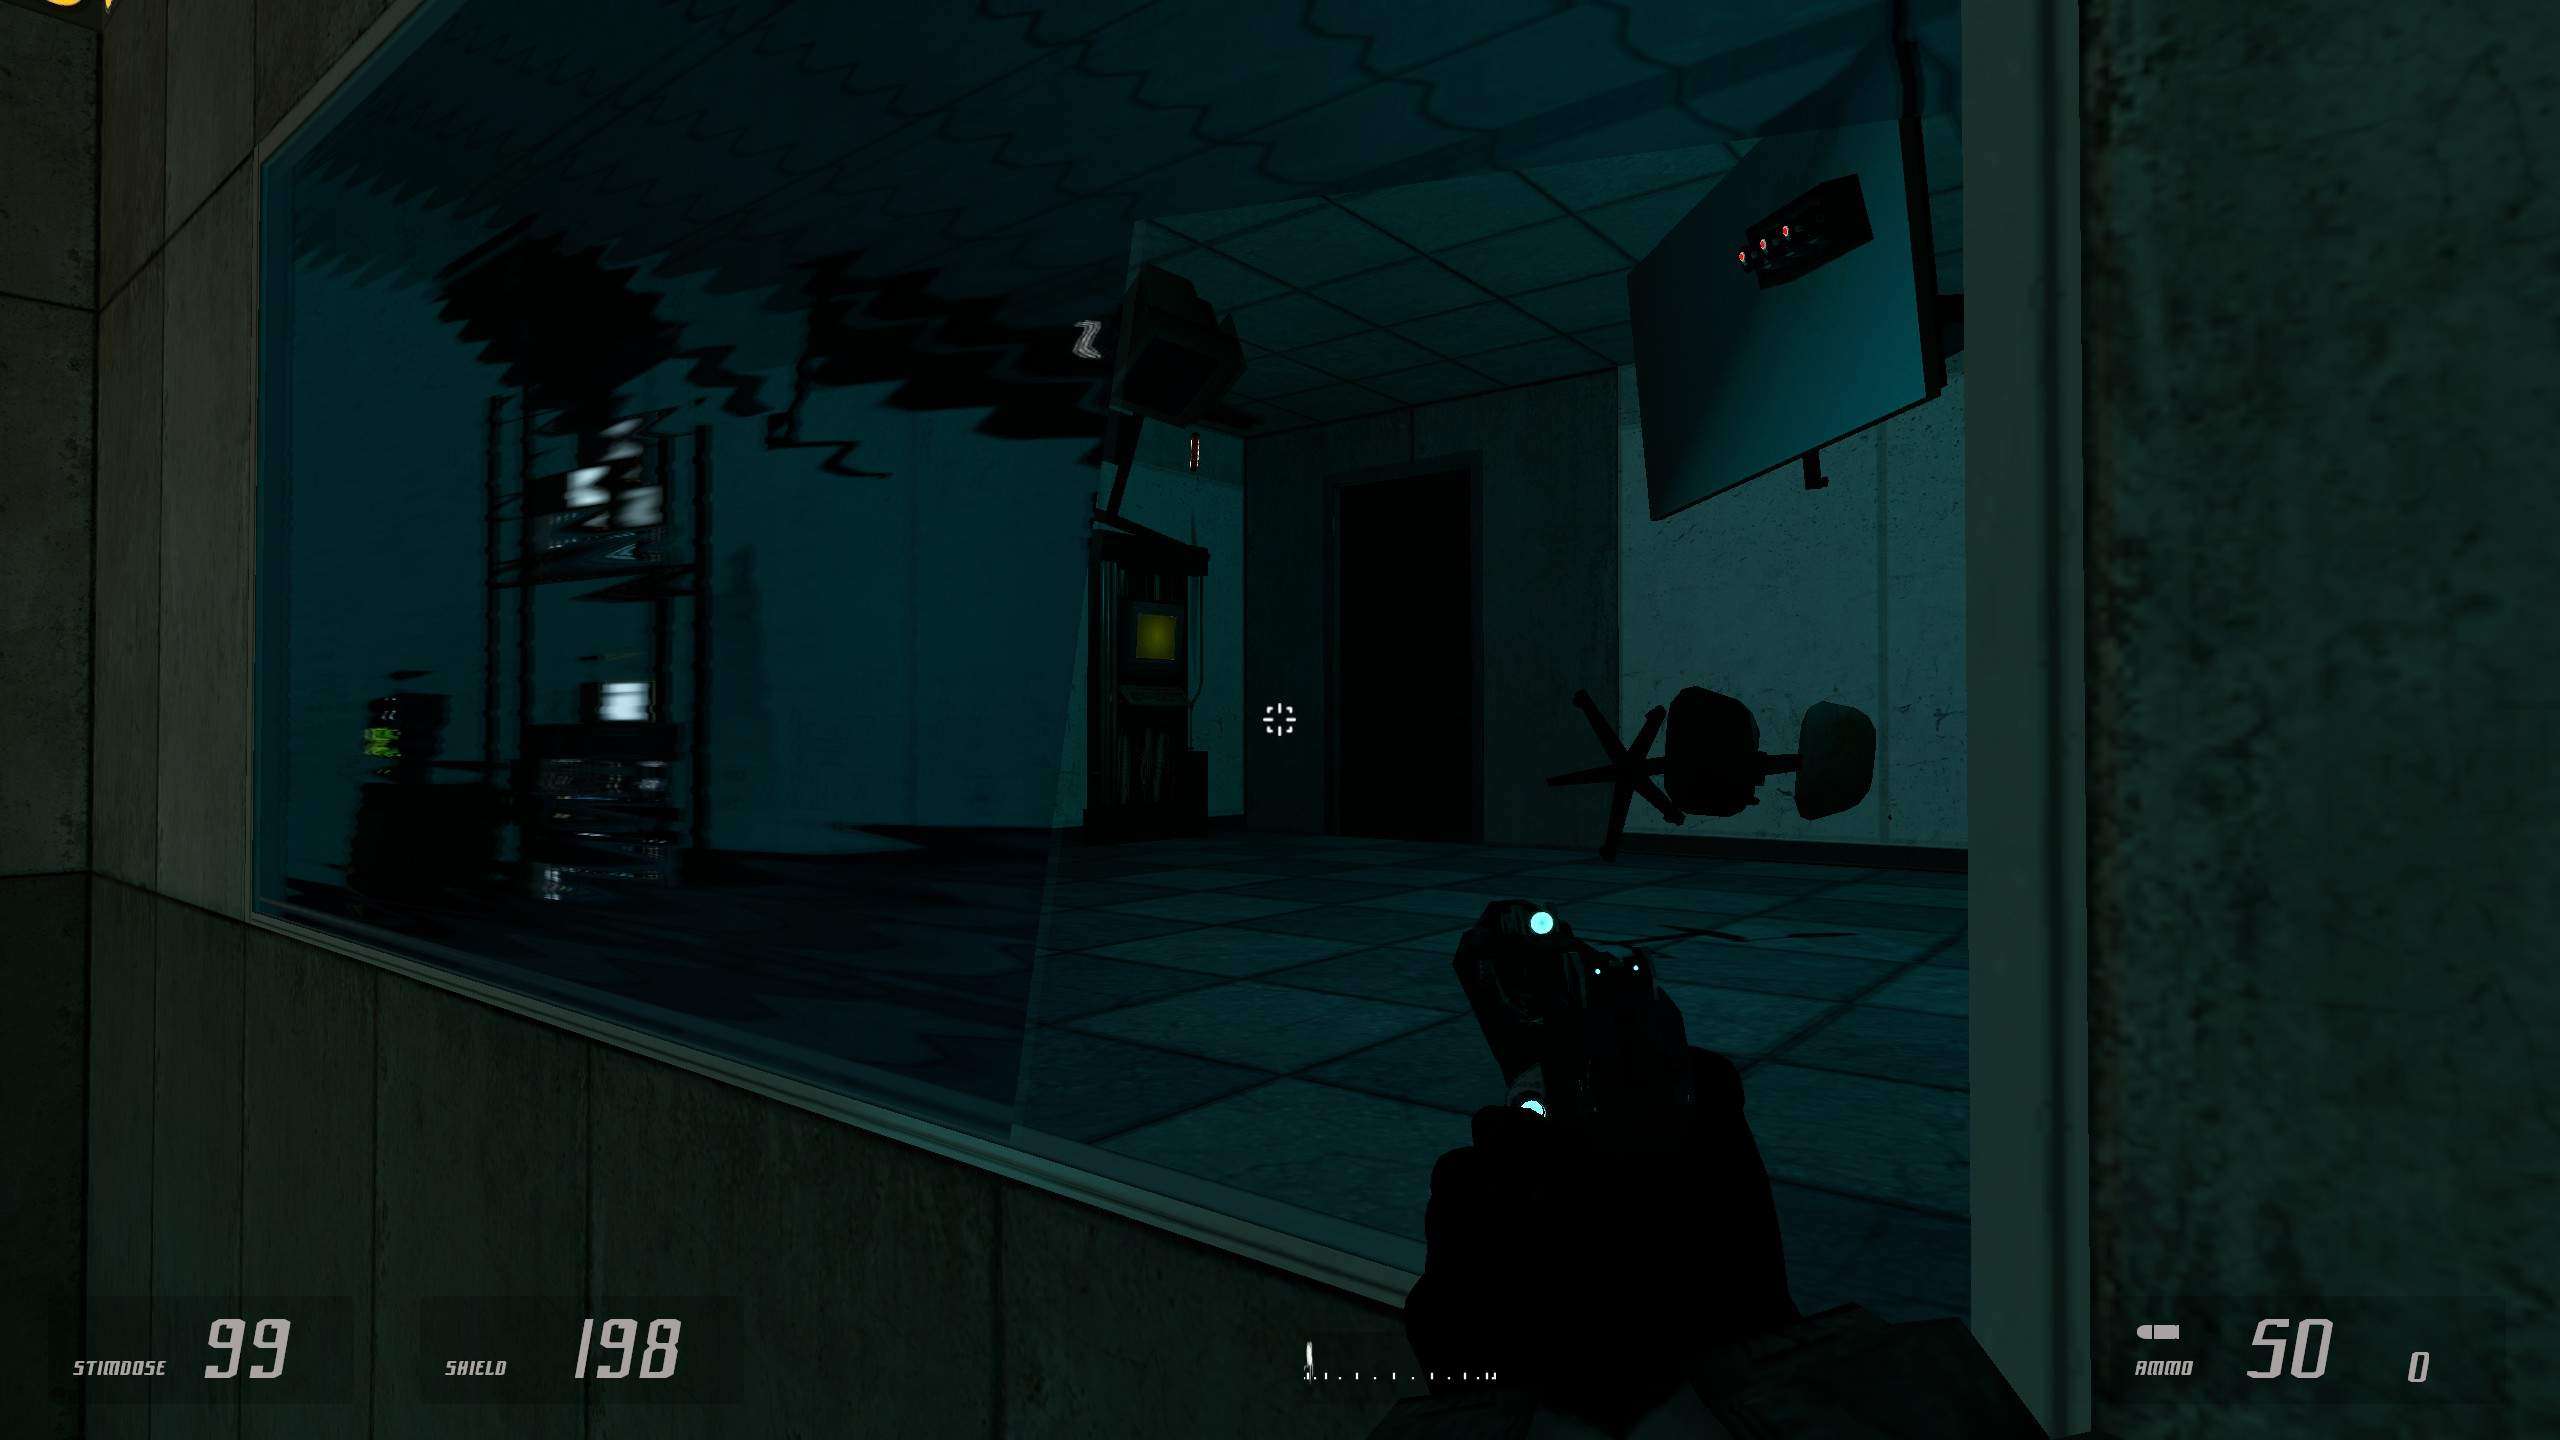
Far Distance Eyes
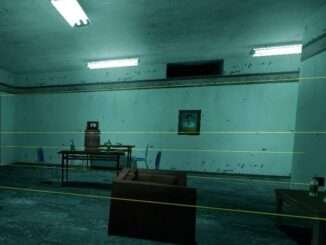
- Witness the secret temporal overlay in the monitoring room.
How to get: When exiting the monitoring place fully, 3650 will make a comment on not wanting to go back there ever again. Once he says that, go back inside the place and you will trigger a secret vision.
Party Trick
- Kill a long-jump rebel whilst they are in mid-air.
How to get: The description is enough to explain it, however achieving this is pretty difficult. Not only you need to have precision aiming, but you also need to make sure that the rebel will be continuously jumping, as they have the tendency to just give up on jumping and fully focus on blind firing you. Do note that them jumping down from a small height does not count as them dying mid-air.
Drift King
- Flip your APC.
How to get: During the chapters 4 and 4a, while driving your APC, manage to flip it over. The easiest way to do this is to activate turbo (Your run key) and after building up speed, hold handbreak (Hold jump button) while turning either left or right. It may take couple of tries, but its not too difficult.
Visitor Pass, Bootstrap Program and Mirage Clearance
- Earn bronze/silver/gold on all challenge maps.
How to get: In the menu, clicking on bonus maps brings up an option to play challenge maps, where you have to do specific sections under certain rules. Theres a decent amount of challenges, and each of them have 3 rankings, bronze, silver and gold. Visitor Pass needs bronze medals, Bootstrap Program needs silver medals and Mirage Clearance needs gold medals. I cant say much about the challenges themselves as i havent tried them out yet (Because i have been mostly focused on the campaign stuff).
Gallery
This section will talk showcase most of the spots for the collectibles. If you want to find them all on your own, avoid this section of the guide. Remember to click to zoom.
Also these screenshots wont be in an order…
Audio Recordings
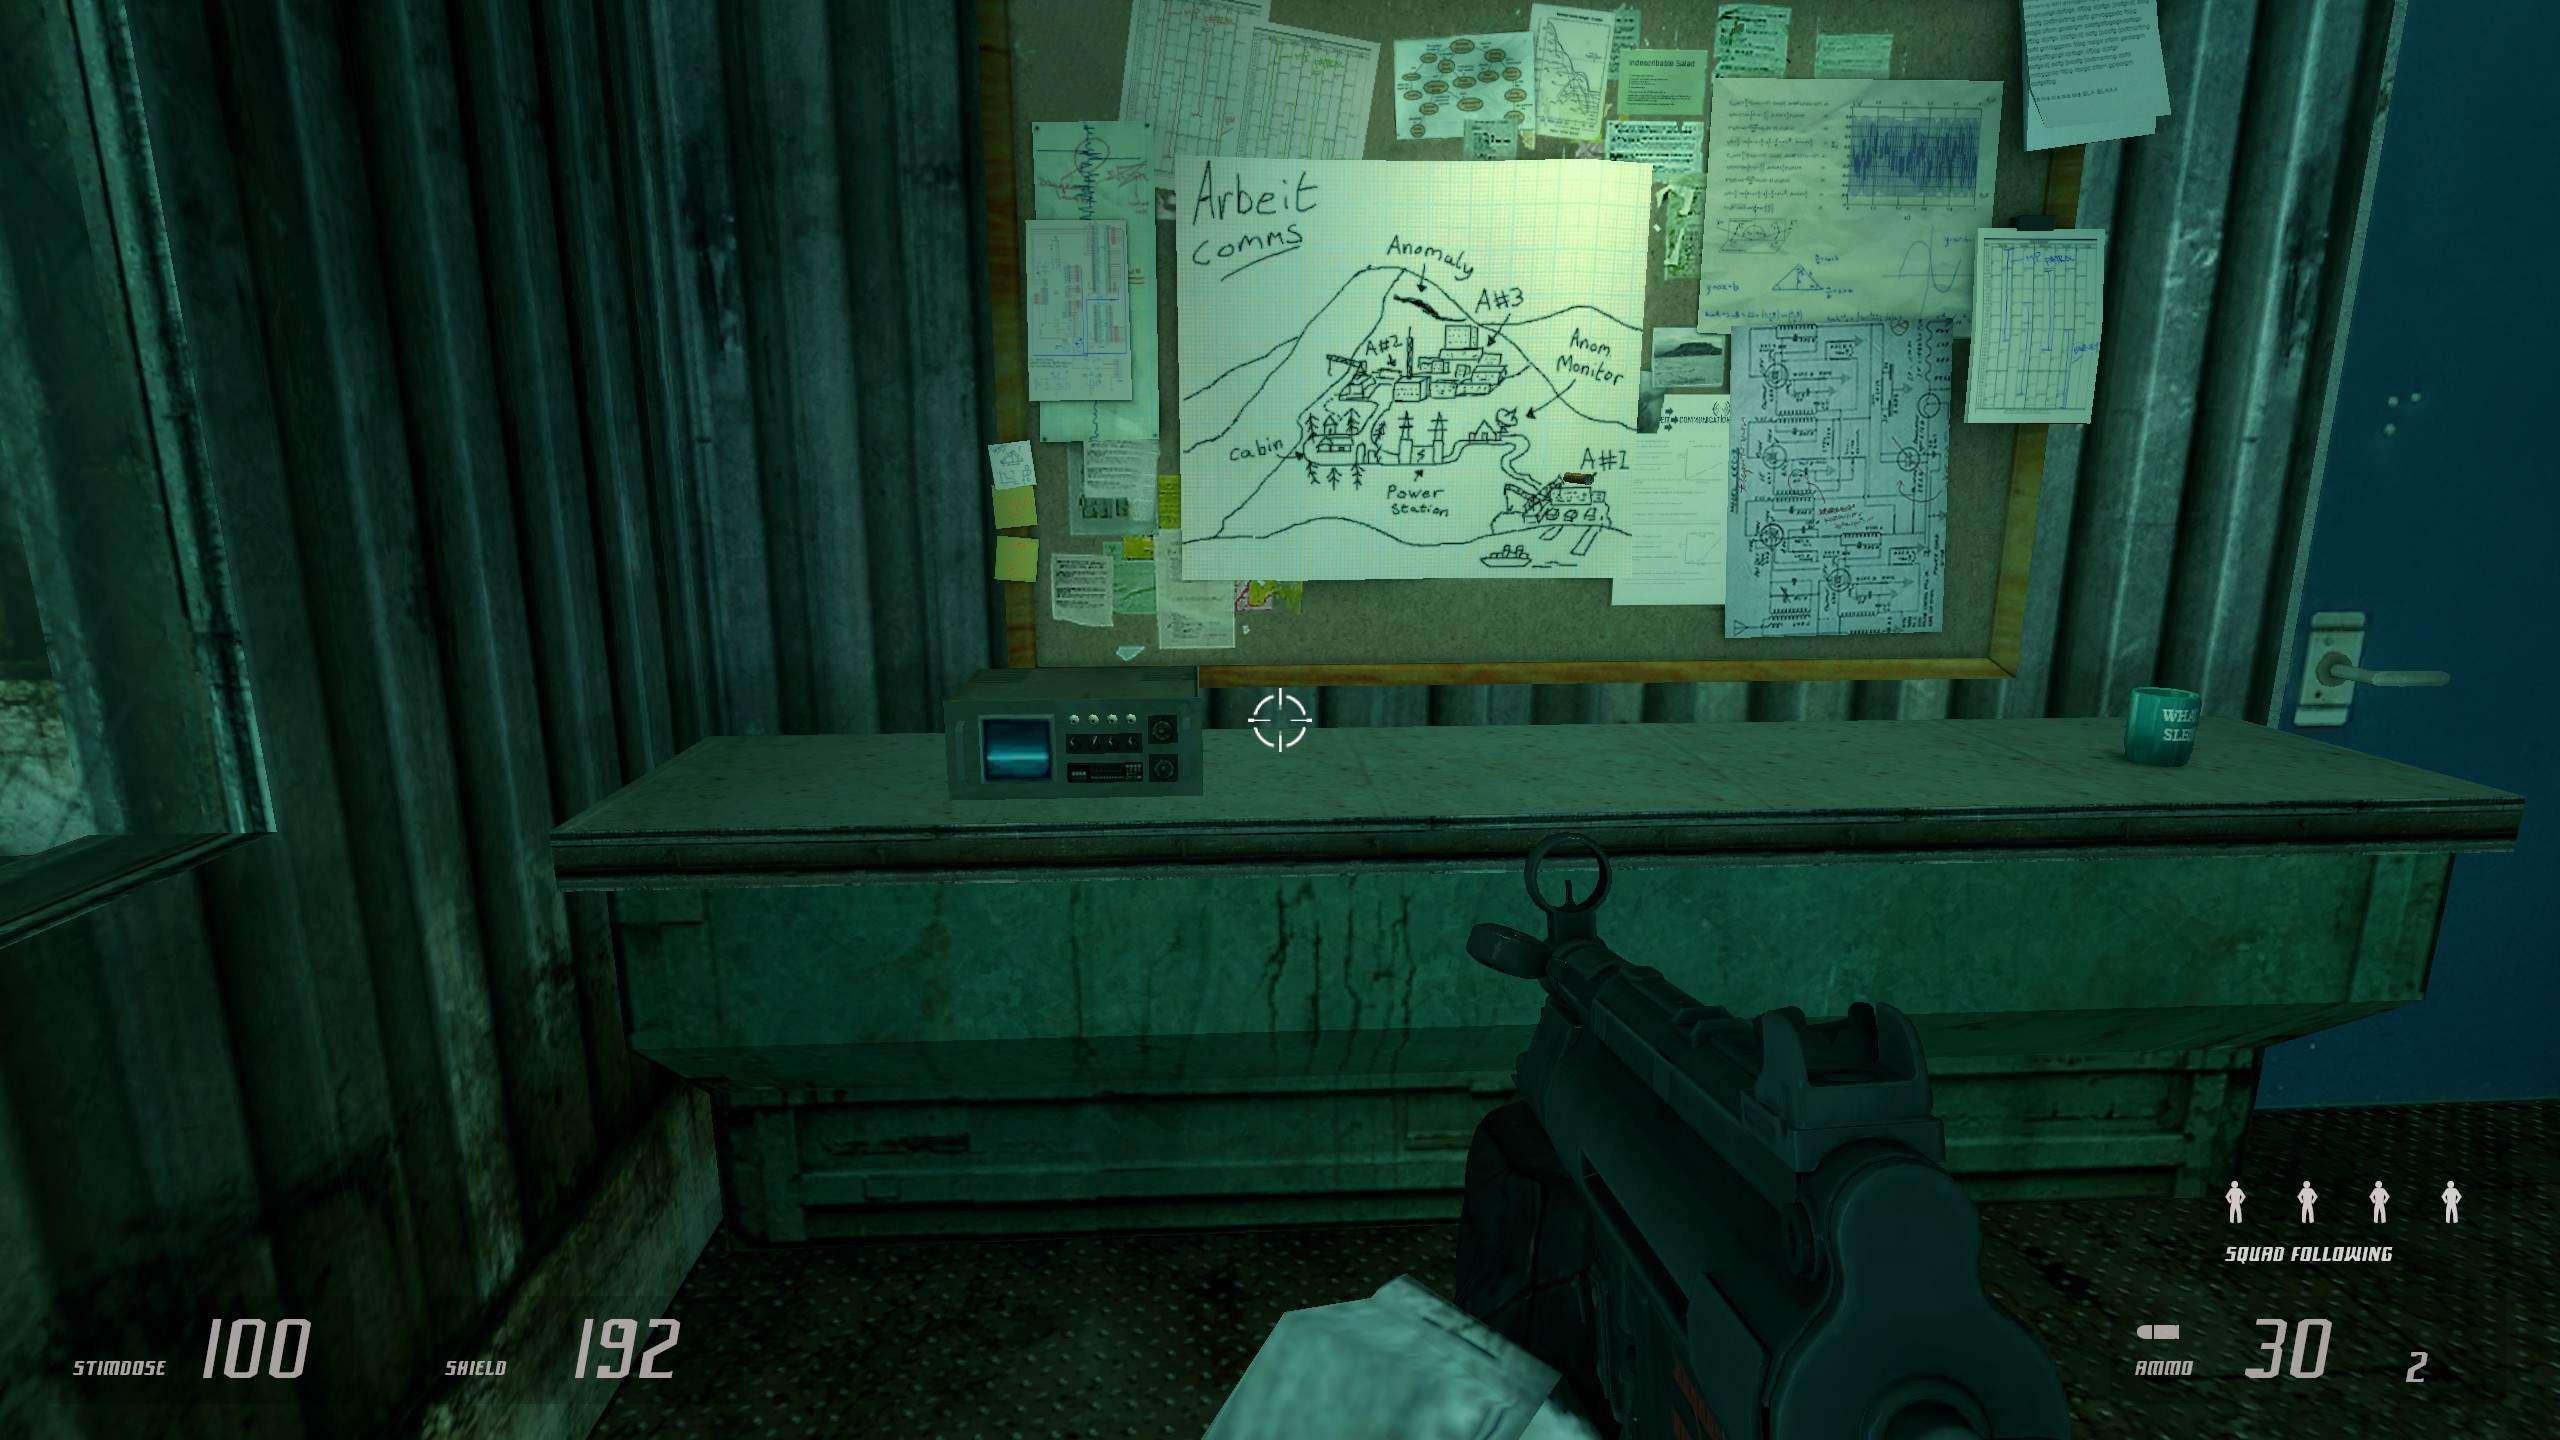
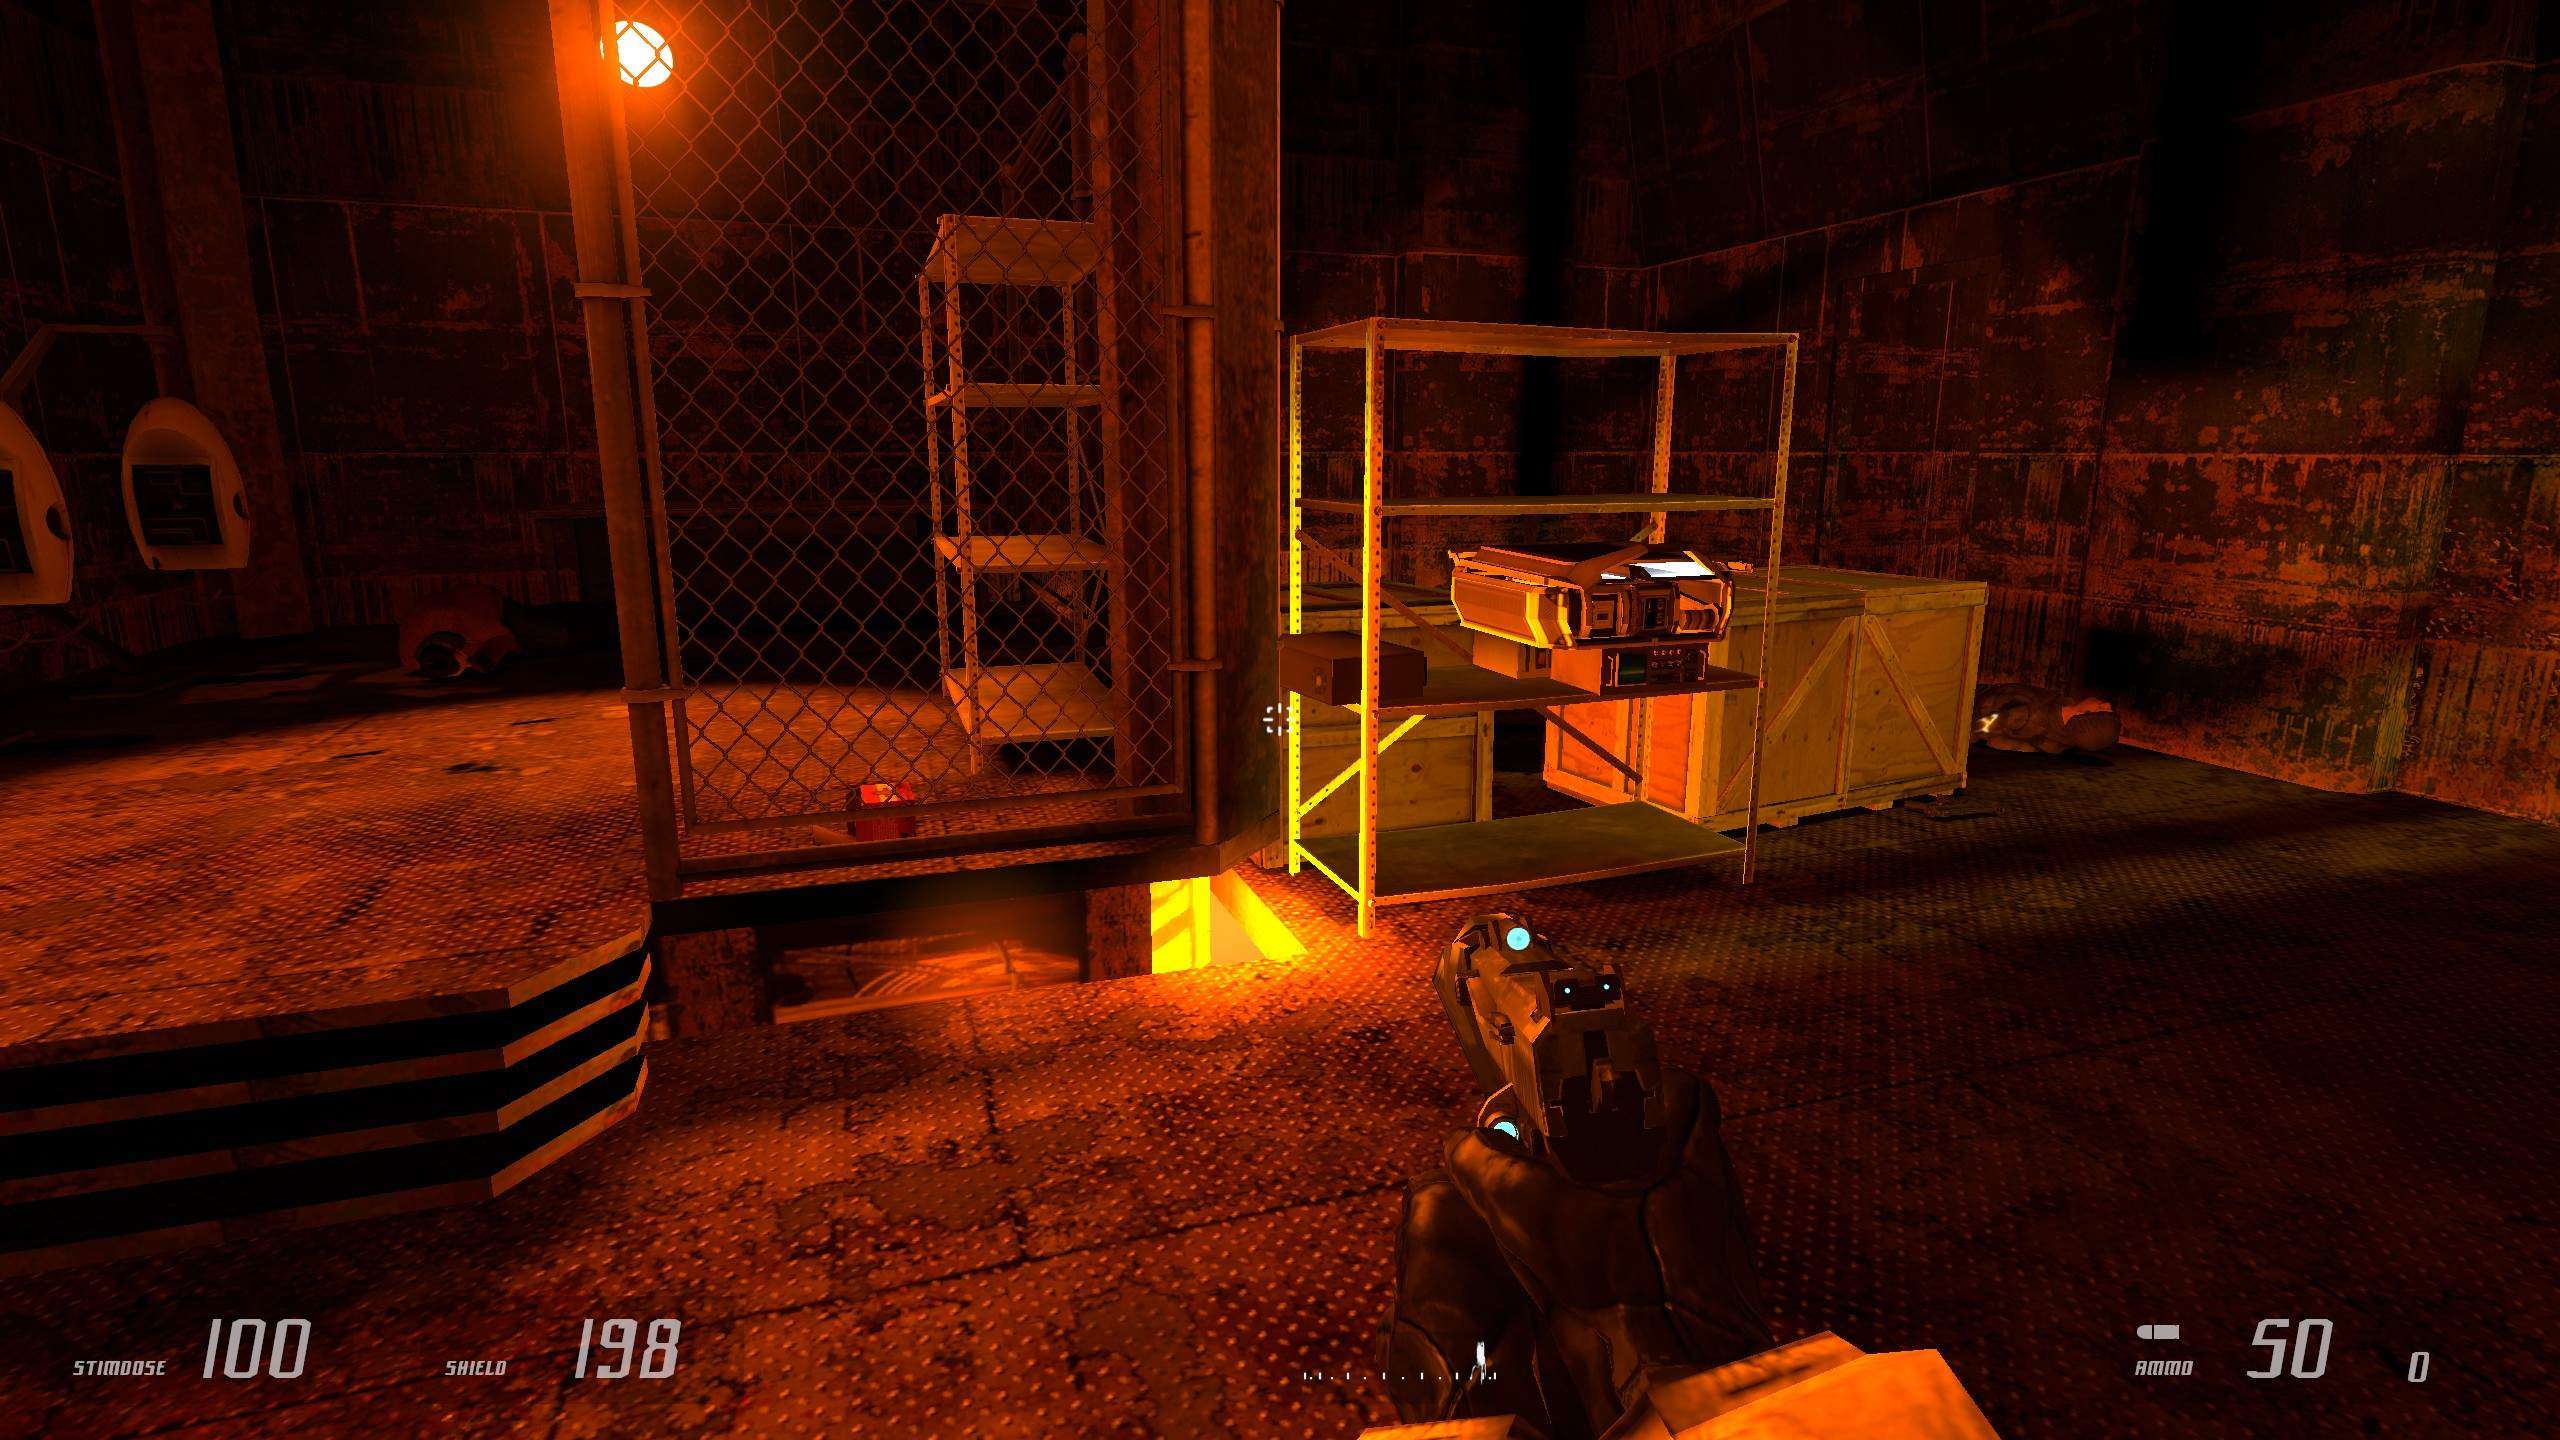


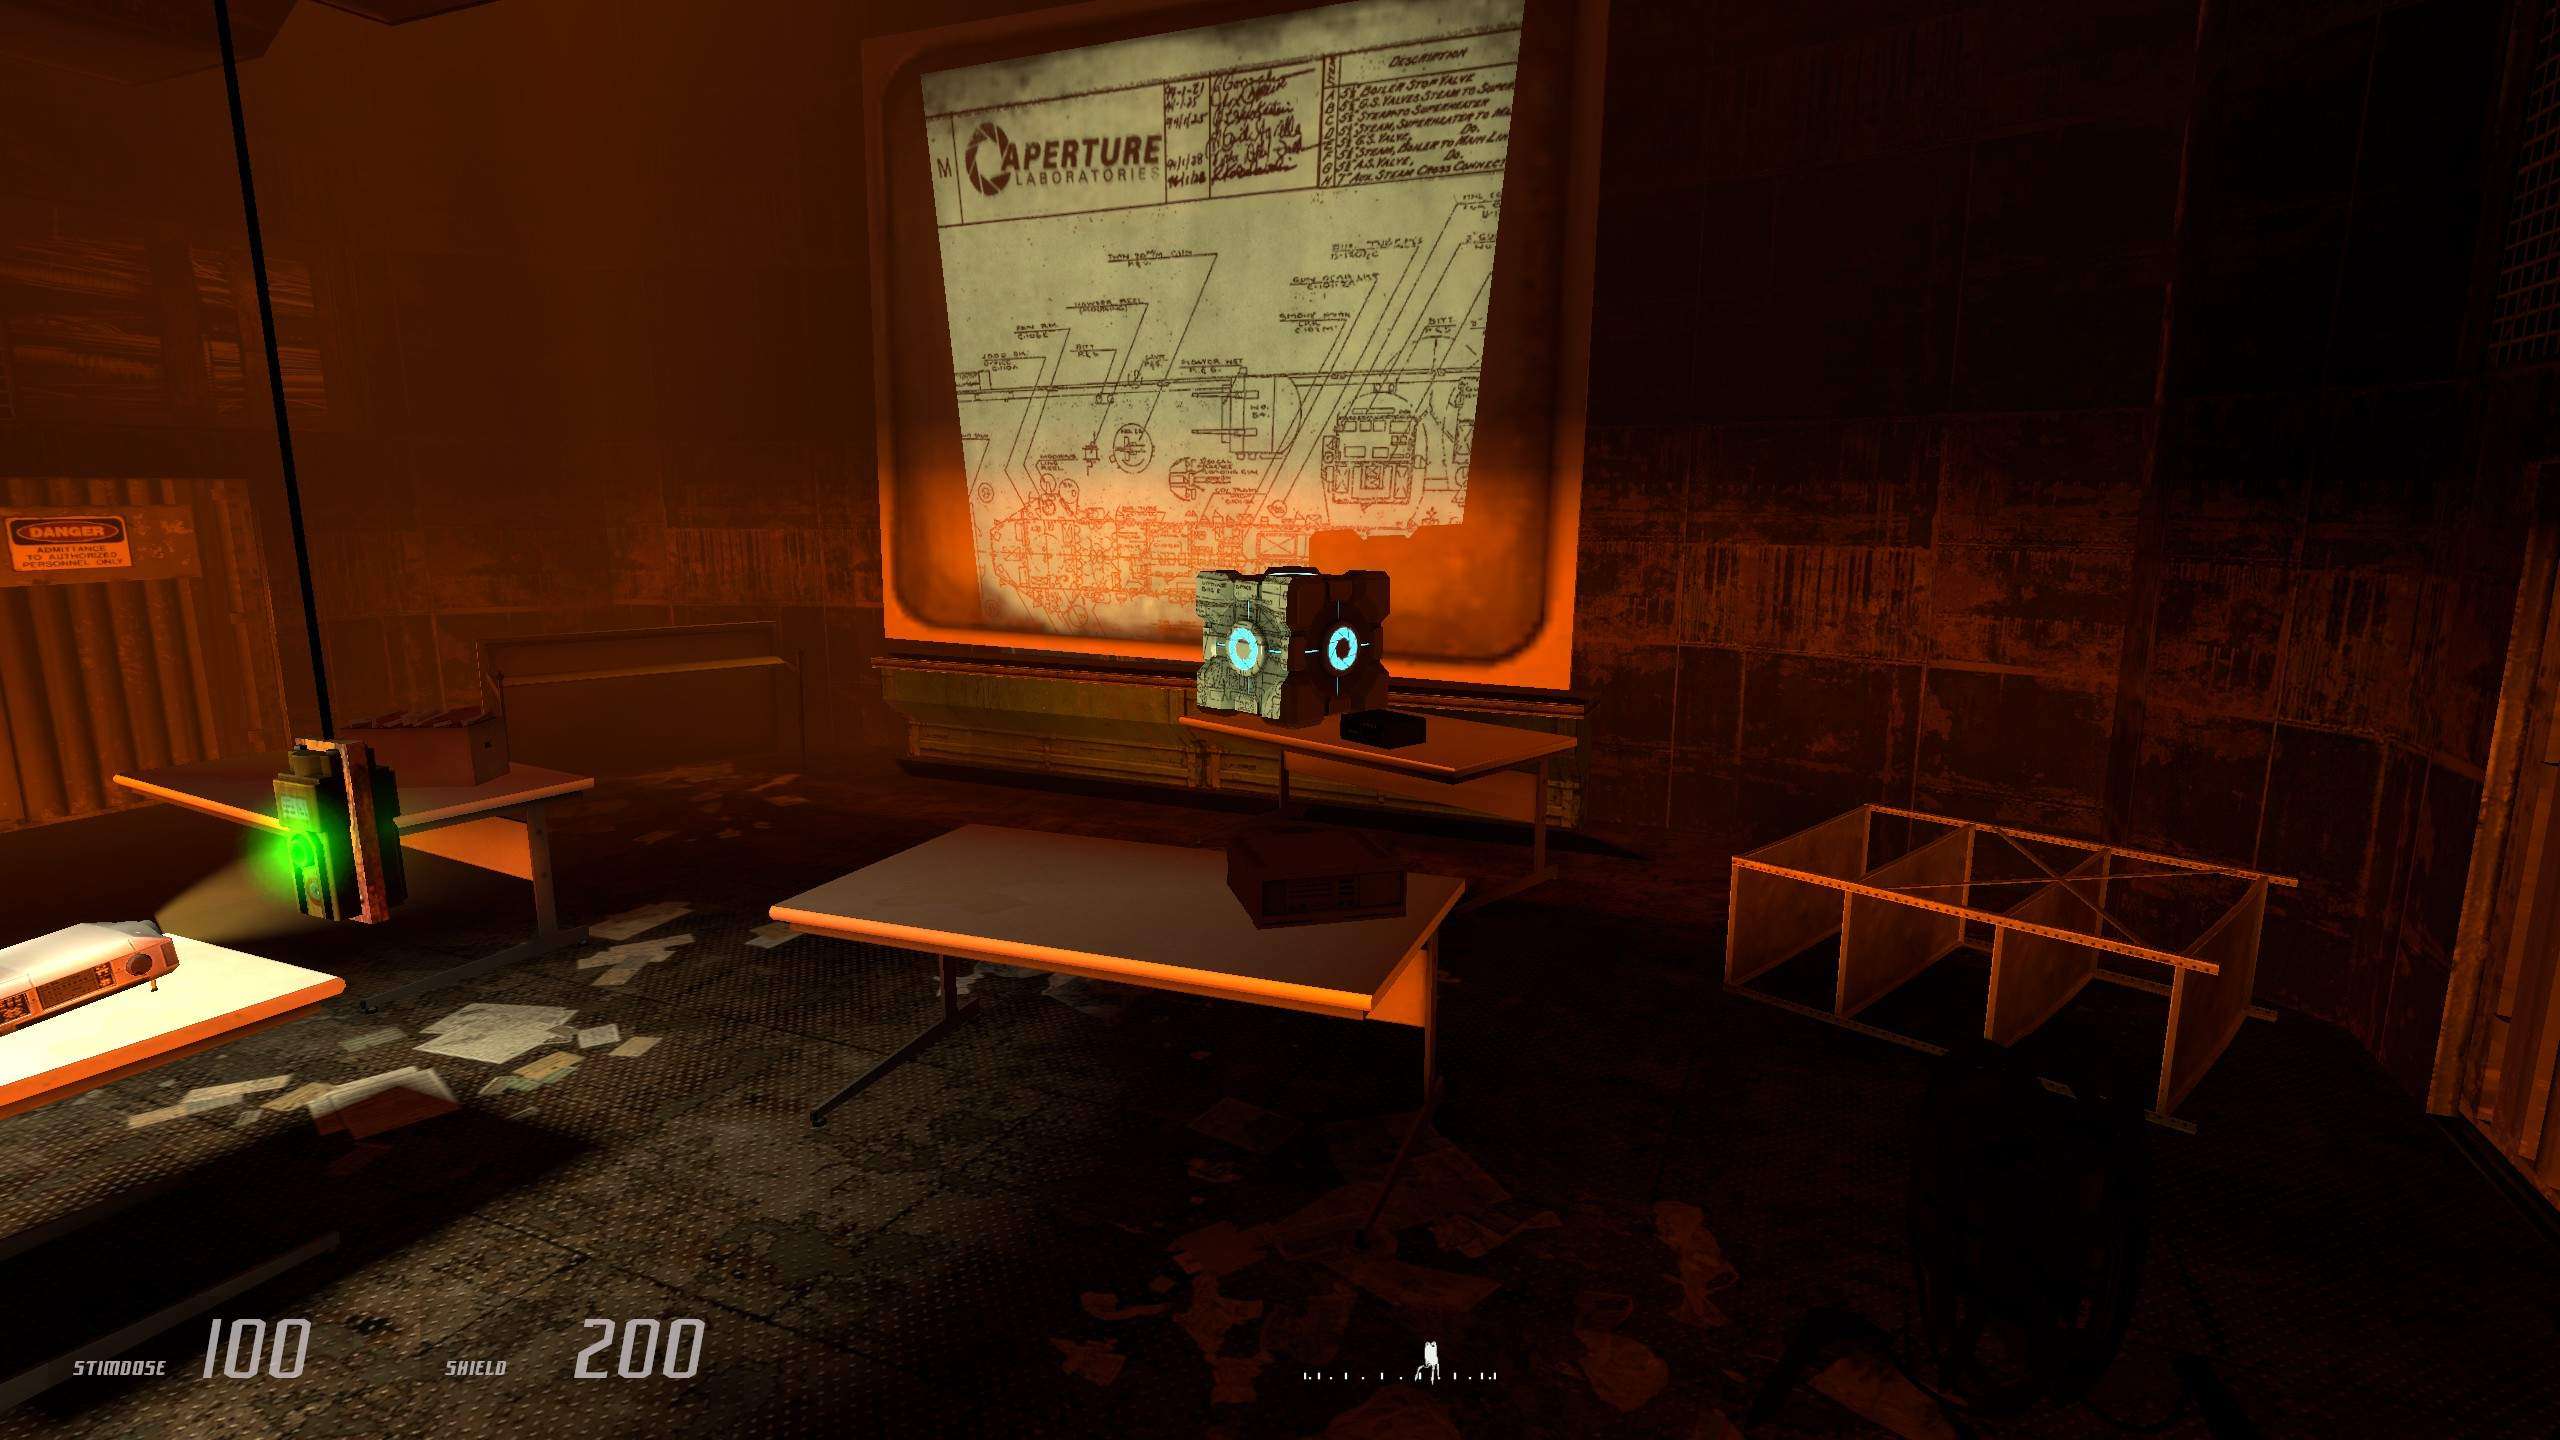
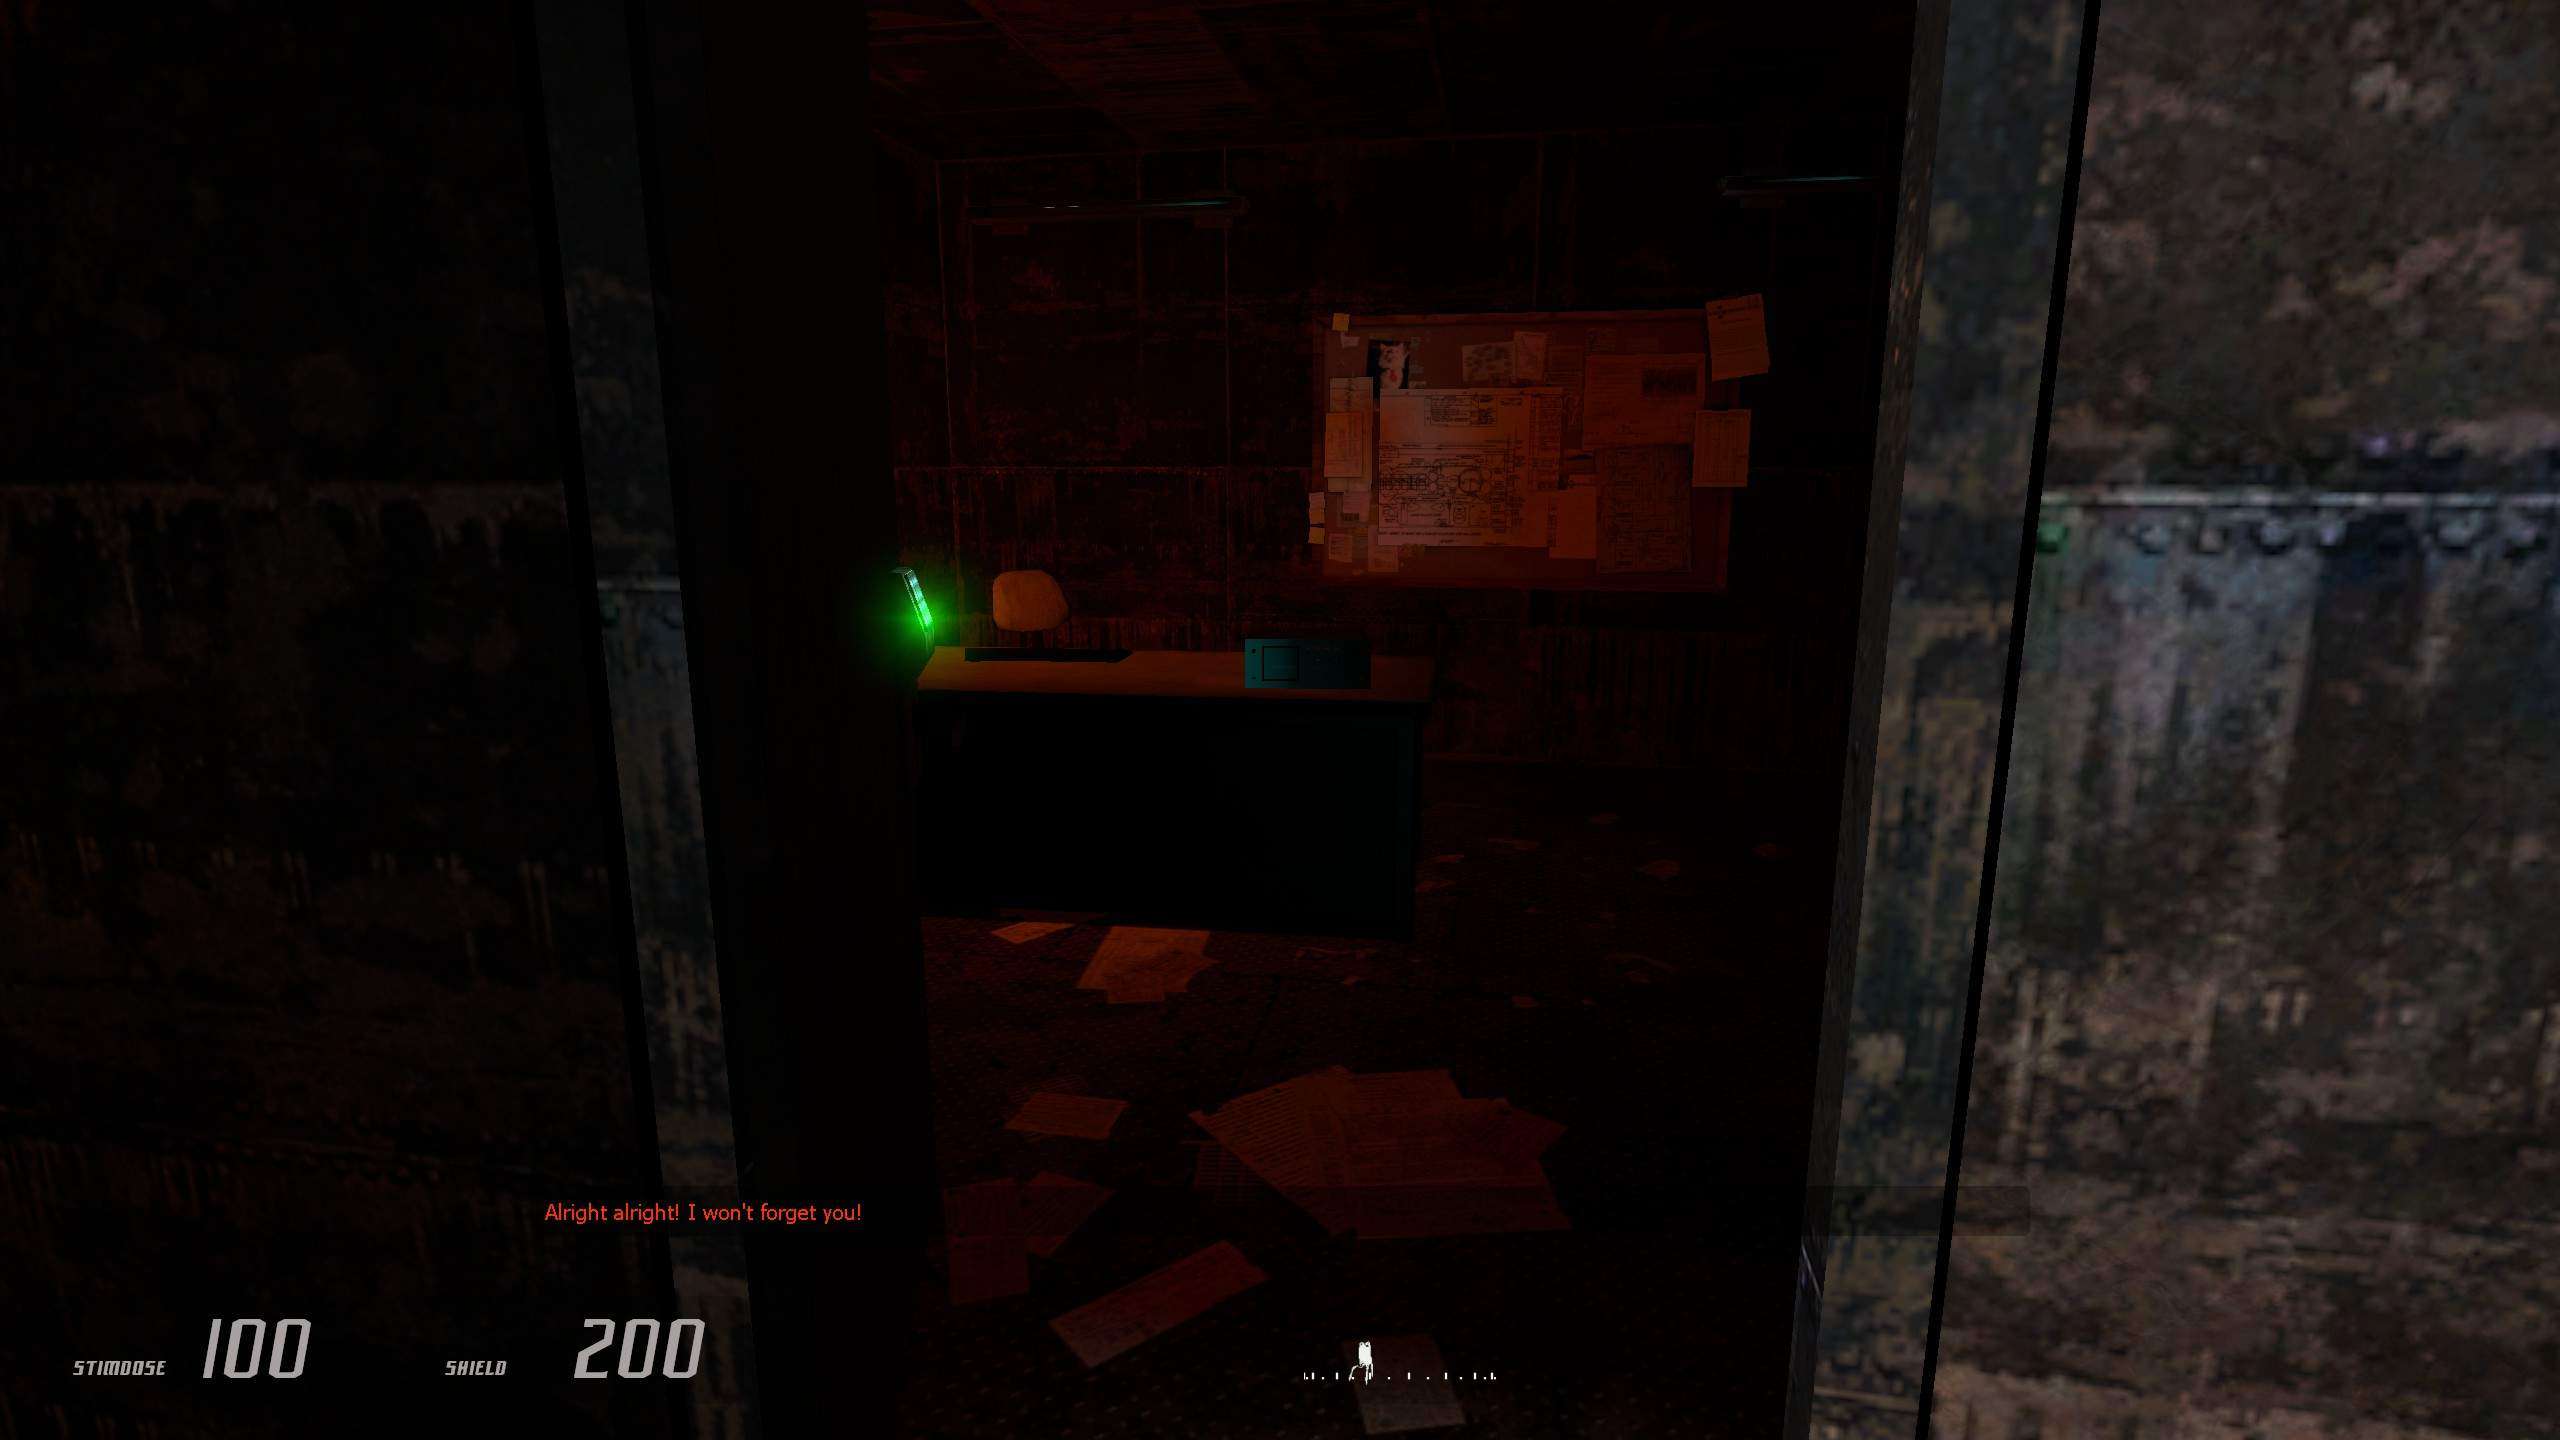


Notes: In chapter 2, you will need to activate the airlock before being able to find some of the recordings. In Chapter 3, some of the recordings are hidden lightly, i have tried my best to give a good look around with the screenshots.
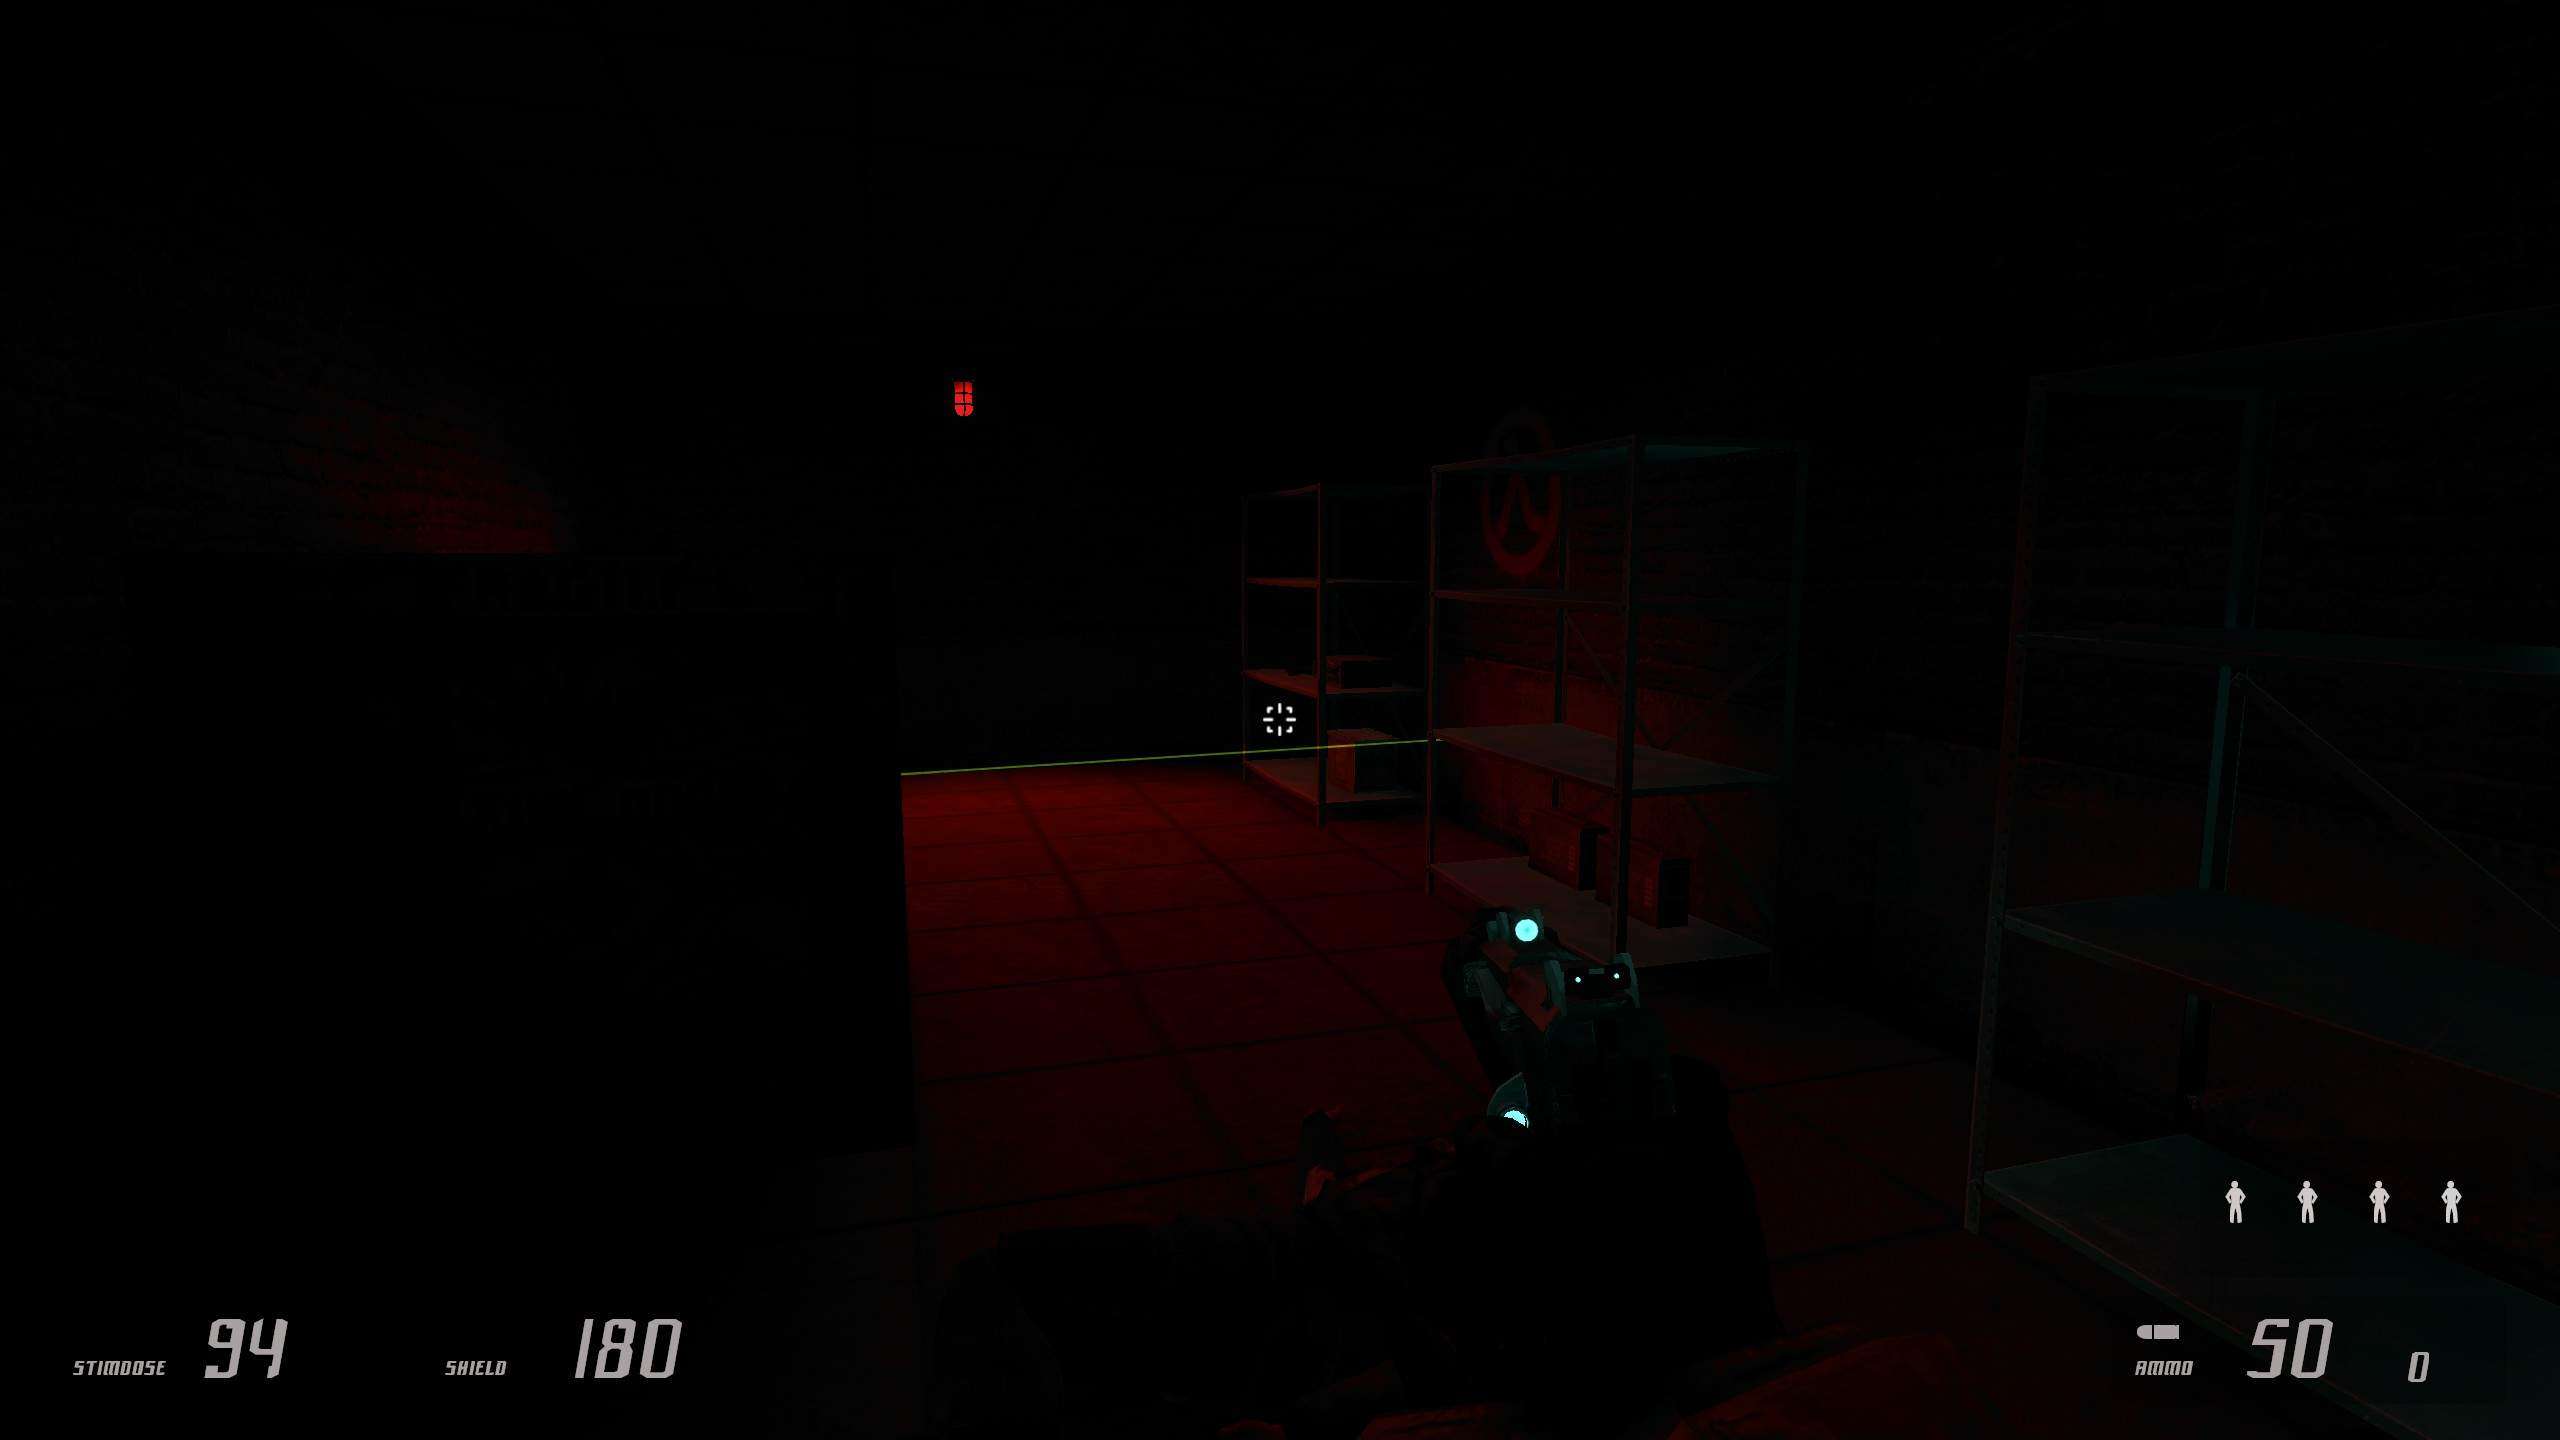
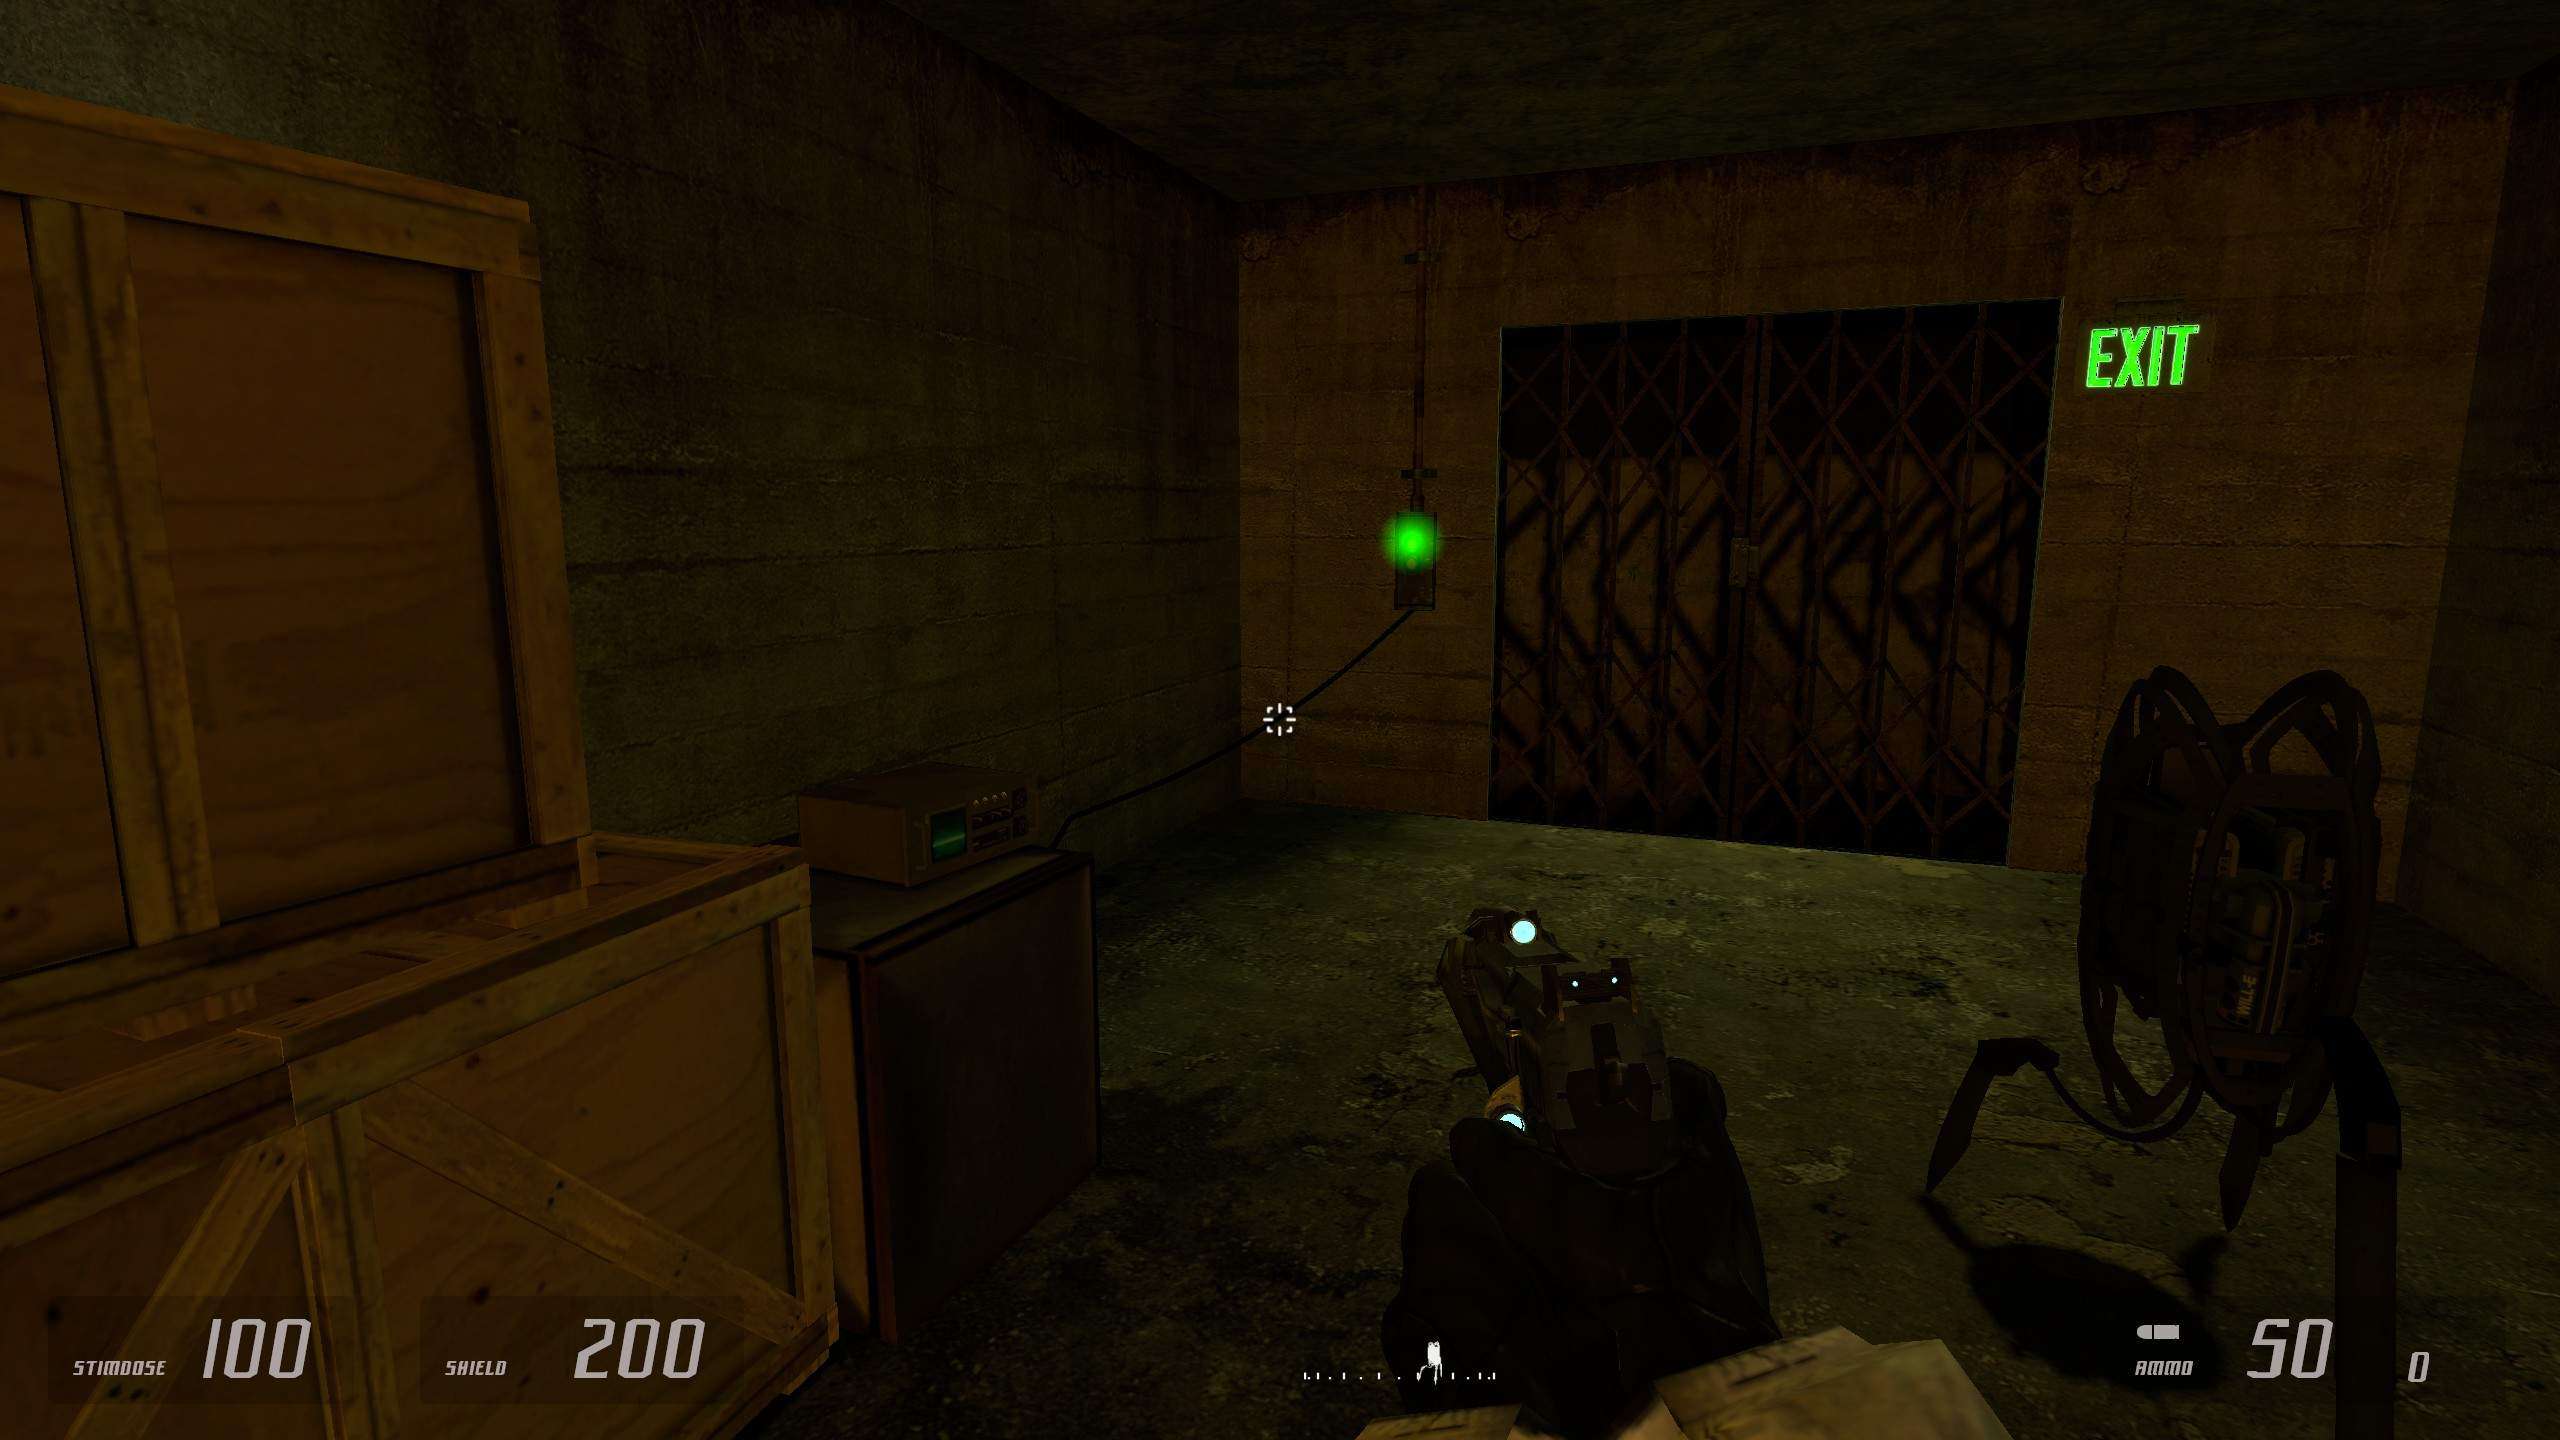
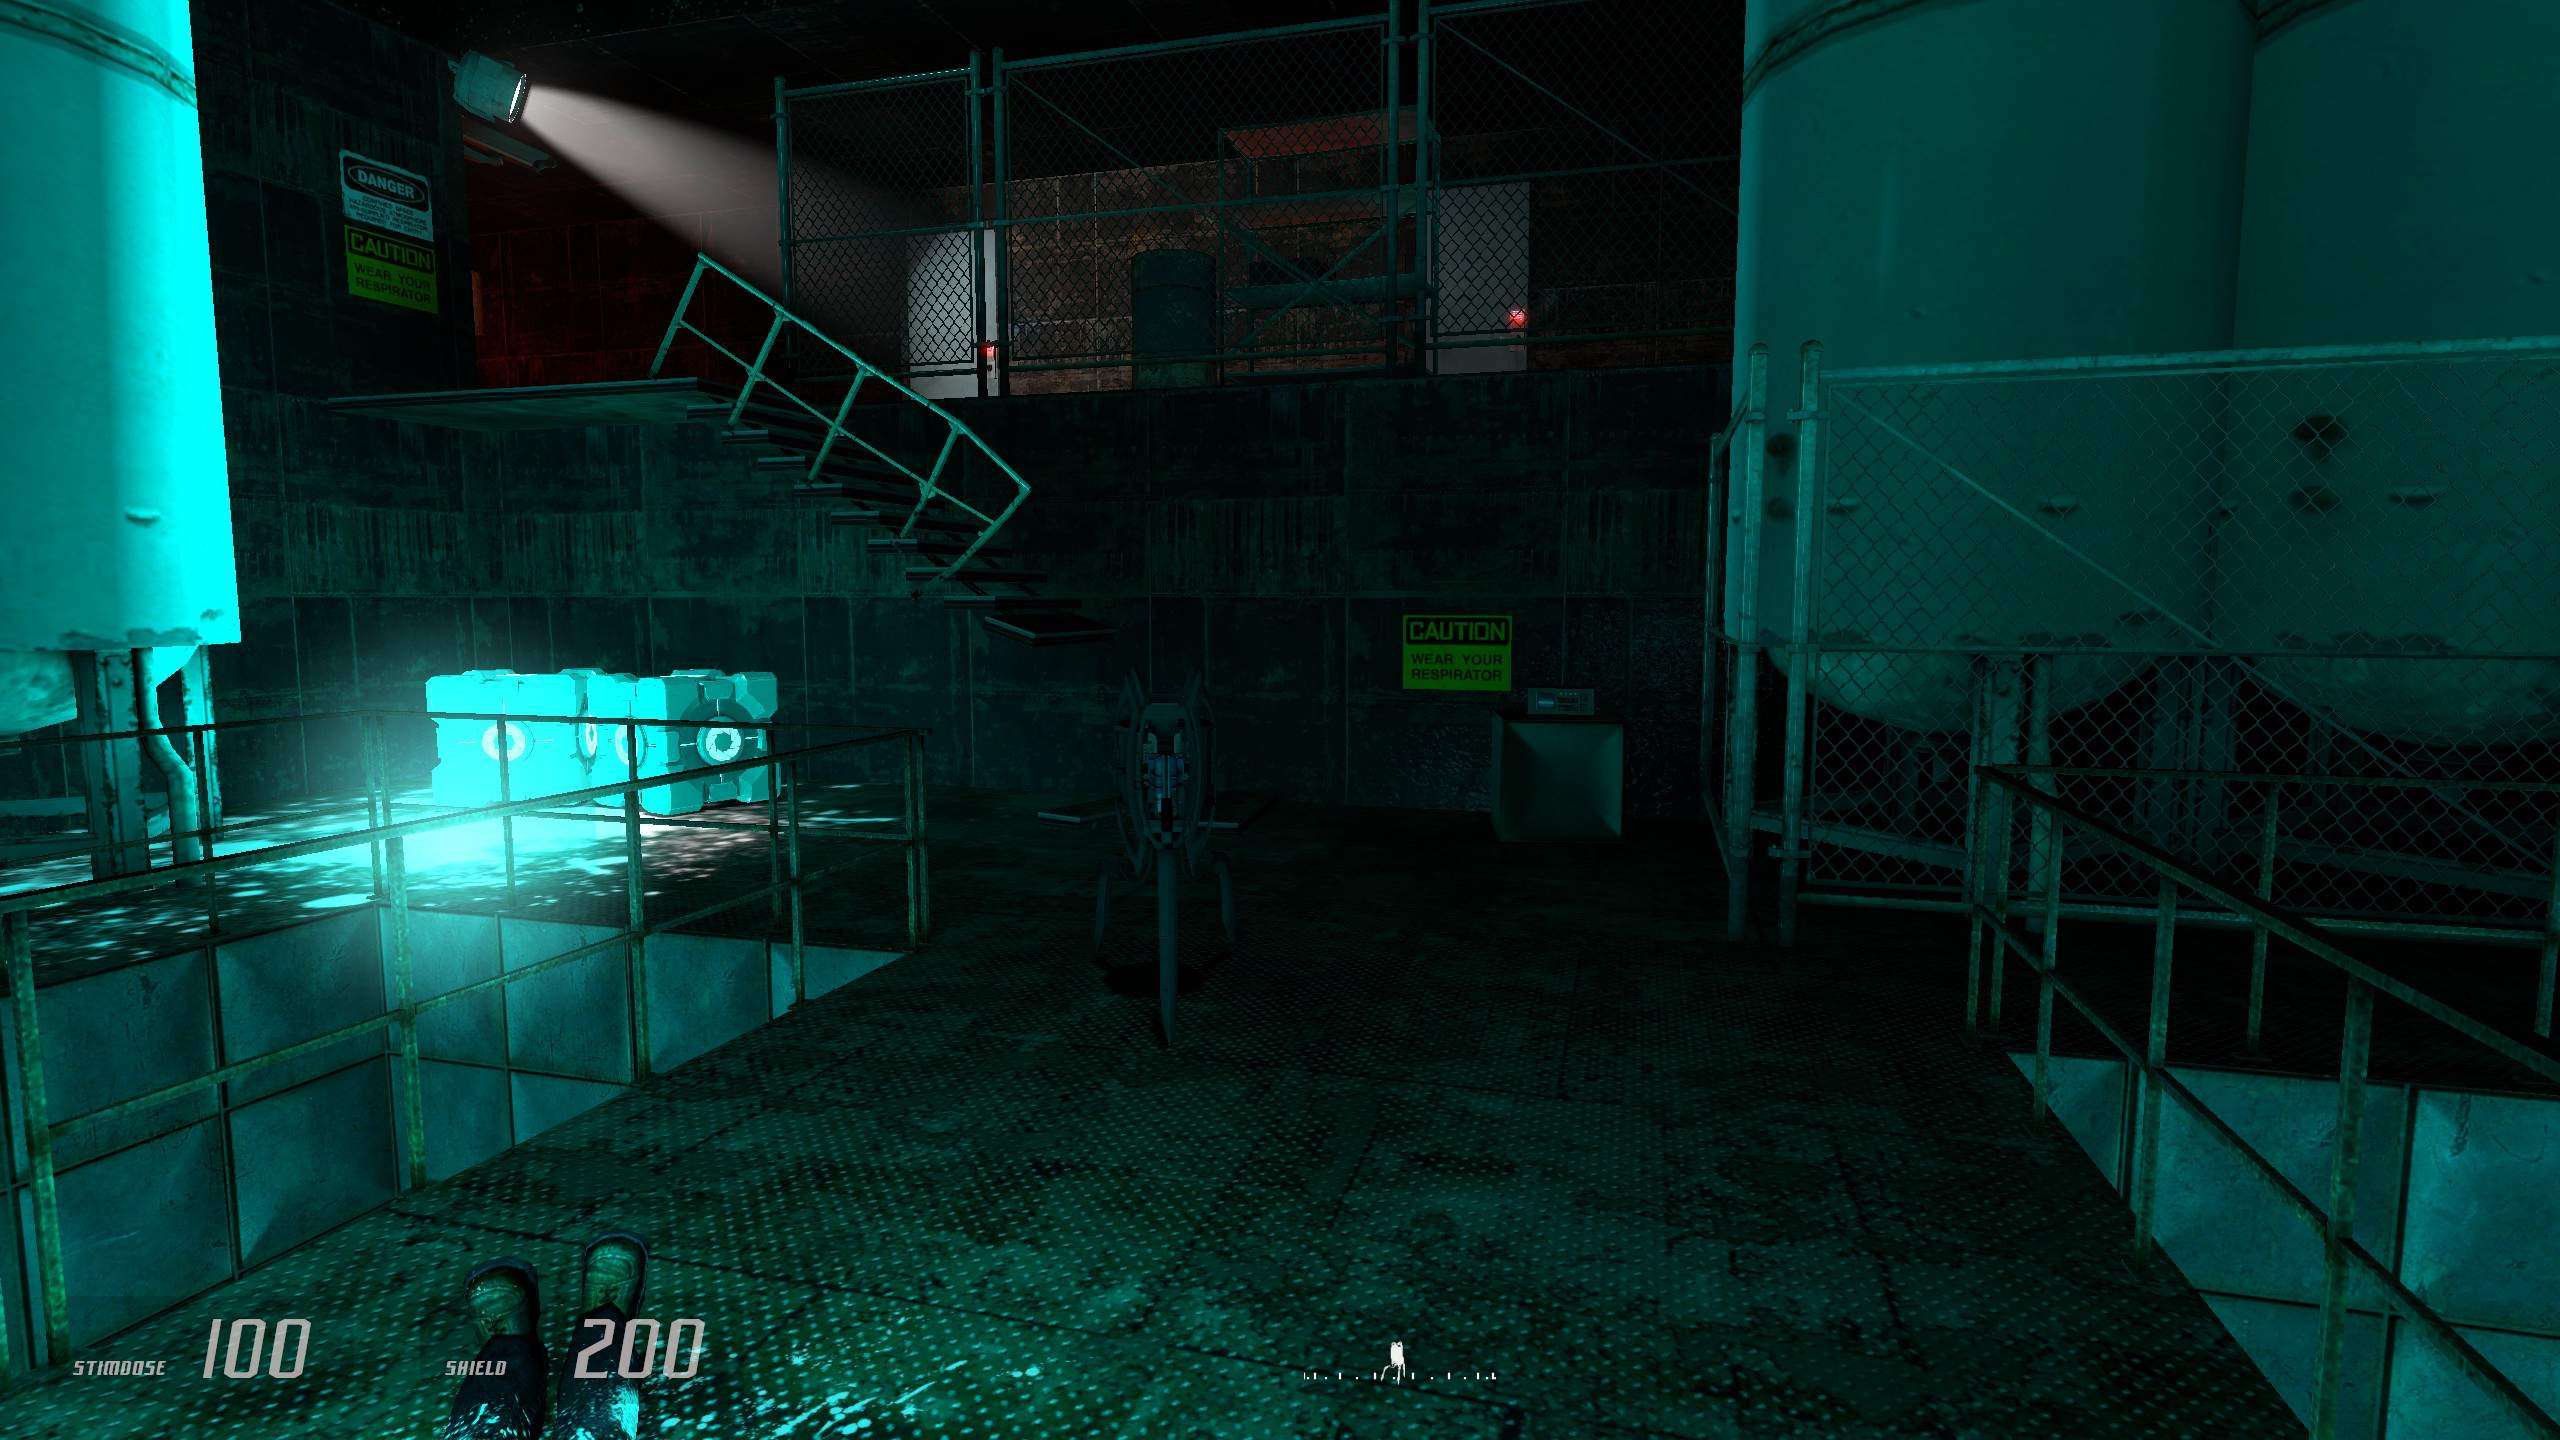
Wilsons closets
Note: I was extremely stupid and managed to miss one of the closets, so one location will be missing, apologies.


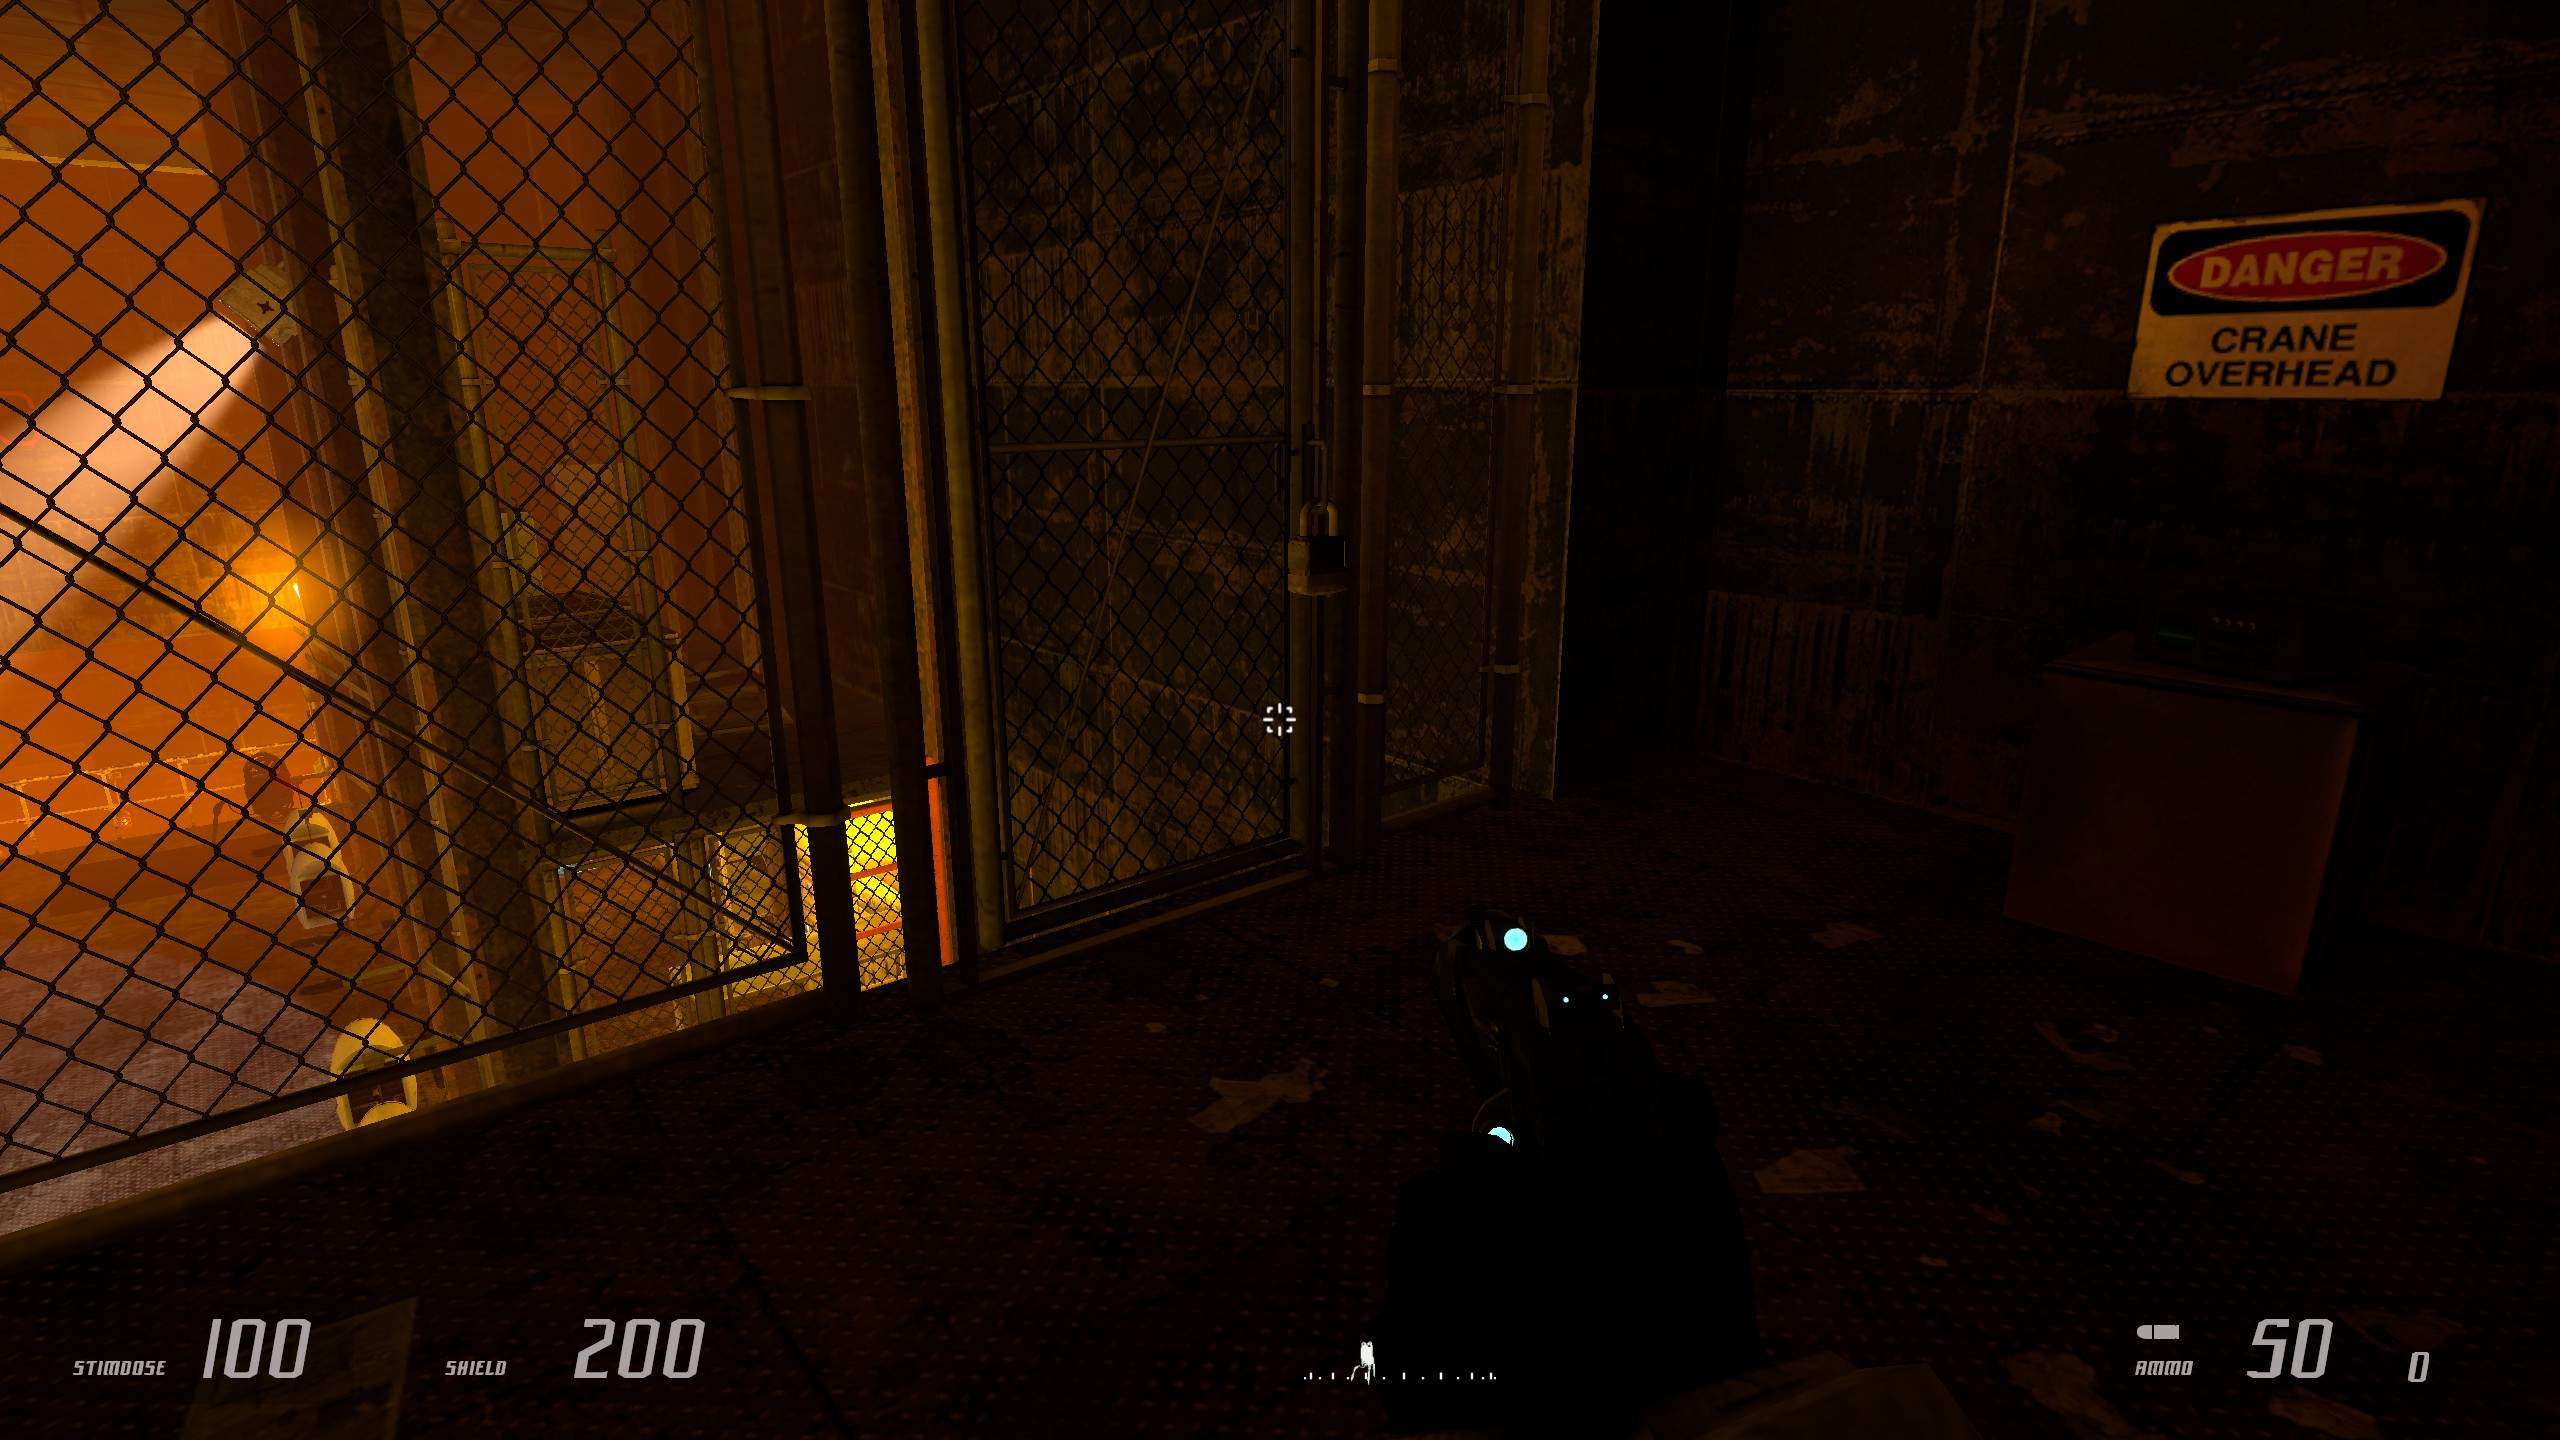
Temporal Crab locations
Note: I wont include the forced encounter and the one that you can find at the beginning of Chapter 5 as they are simple and easily found.

I can’t get the “There will be pain” achievement, did everything
For far distant eyes, you simply have to go back to the APC after unlocking the gate and then come back to the monitoring room when you hear the protagonist say “I’m never going back there”. You’ll witness another illusion and the achievement should unlock once it is over.
For “Science Team” I got all 5 into the secret lab and I didn’t get the achievement. So I think that one is bugged for right now. The 5th guy always spawns for me no matter what diff so I don’t know why he didn’t spawn for you.
Odd, i did this yesterday (By yesterday i mean 21st lol) and i got the achievement, i have 0 idea what could have caused you not getting it.
Also yeah i found that out on my 3rd playthrough when i was testing the game on easy difficulty, so yes, he does spawn no matter the difficulty, why he was dead during my first playthrough is beyond me lol.
Note: If you are planning to do an easy difficulty playthrough, for non-achievement sake, do not honestly, the challenge gets eaten away pretty quickly lmao.
“The third one you can find is in the same chapter, when crossing from building to building, you will cross a street, if you have Wilson he will make a comment about the place. On the left on the road you will find 2 dumpsters, and one of them will have a supply crate that will have the Temporal Crab.”
I cannot for the life of me find whats you’re trying to describe here
He re-did it, it was supposed to be the LAST one you find, not the third one.
The area hes talking about is pretty much the area before you do the drill holdout.
im a little bit confused on how to open the first Wilson closet you see, the one in the Contact Abberation chapter, next to the large open area where there’s a sniper
you know what im talking about
Thats not an openeable one. Trust me, when i first played it, i thought you had to open that one, but no, its just there because yes.
I can’t get the surrendered medic to give health, I have one with their arms up, but they just keep yelling lines like “Get away from me!”
Its extremely scuffed, but try holding E on the surrendered medic? If thats the case, i will change the req for the achievement to “Holding E” instead of pressing E.