
This guide will tell you tips and tricks on how to beat On the run level.
Guide to Beat On the Run Level
All credit goes to myfriendoshhhh!
Level Layout (Explanation)
This section will tell you about the different names i’ll be using throughout the guide.
Take note of the footnotes (^1/2/3) as they will be used later on.
This level is divided into 3 sections with 2 checkpoints.
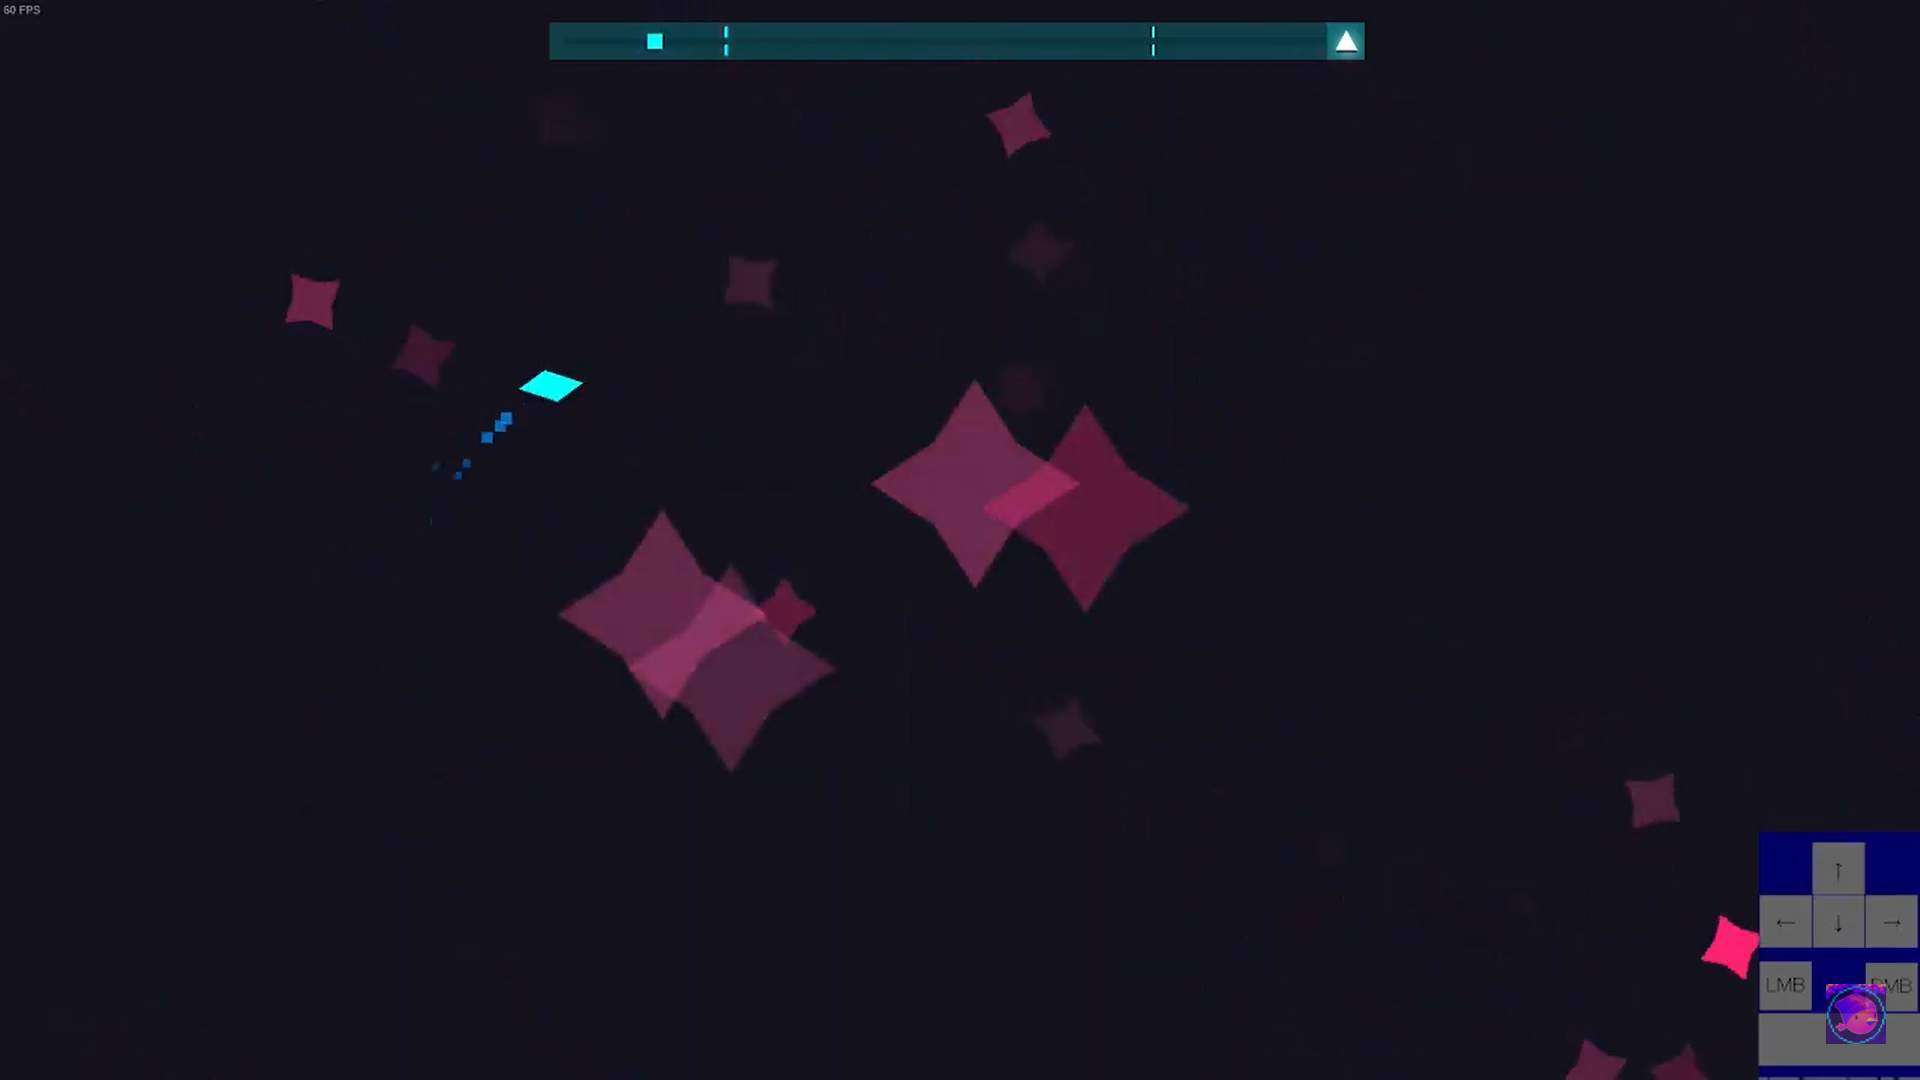
Section 1: The beginning of the level. It starts out very quiet, with ‘shuriken’ type shapes spawning in. Halfway through, bigger shurikens begin spawning.
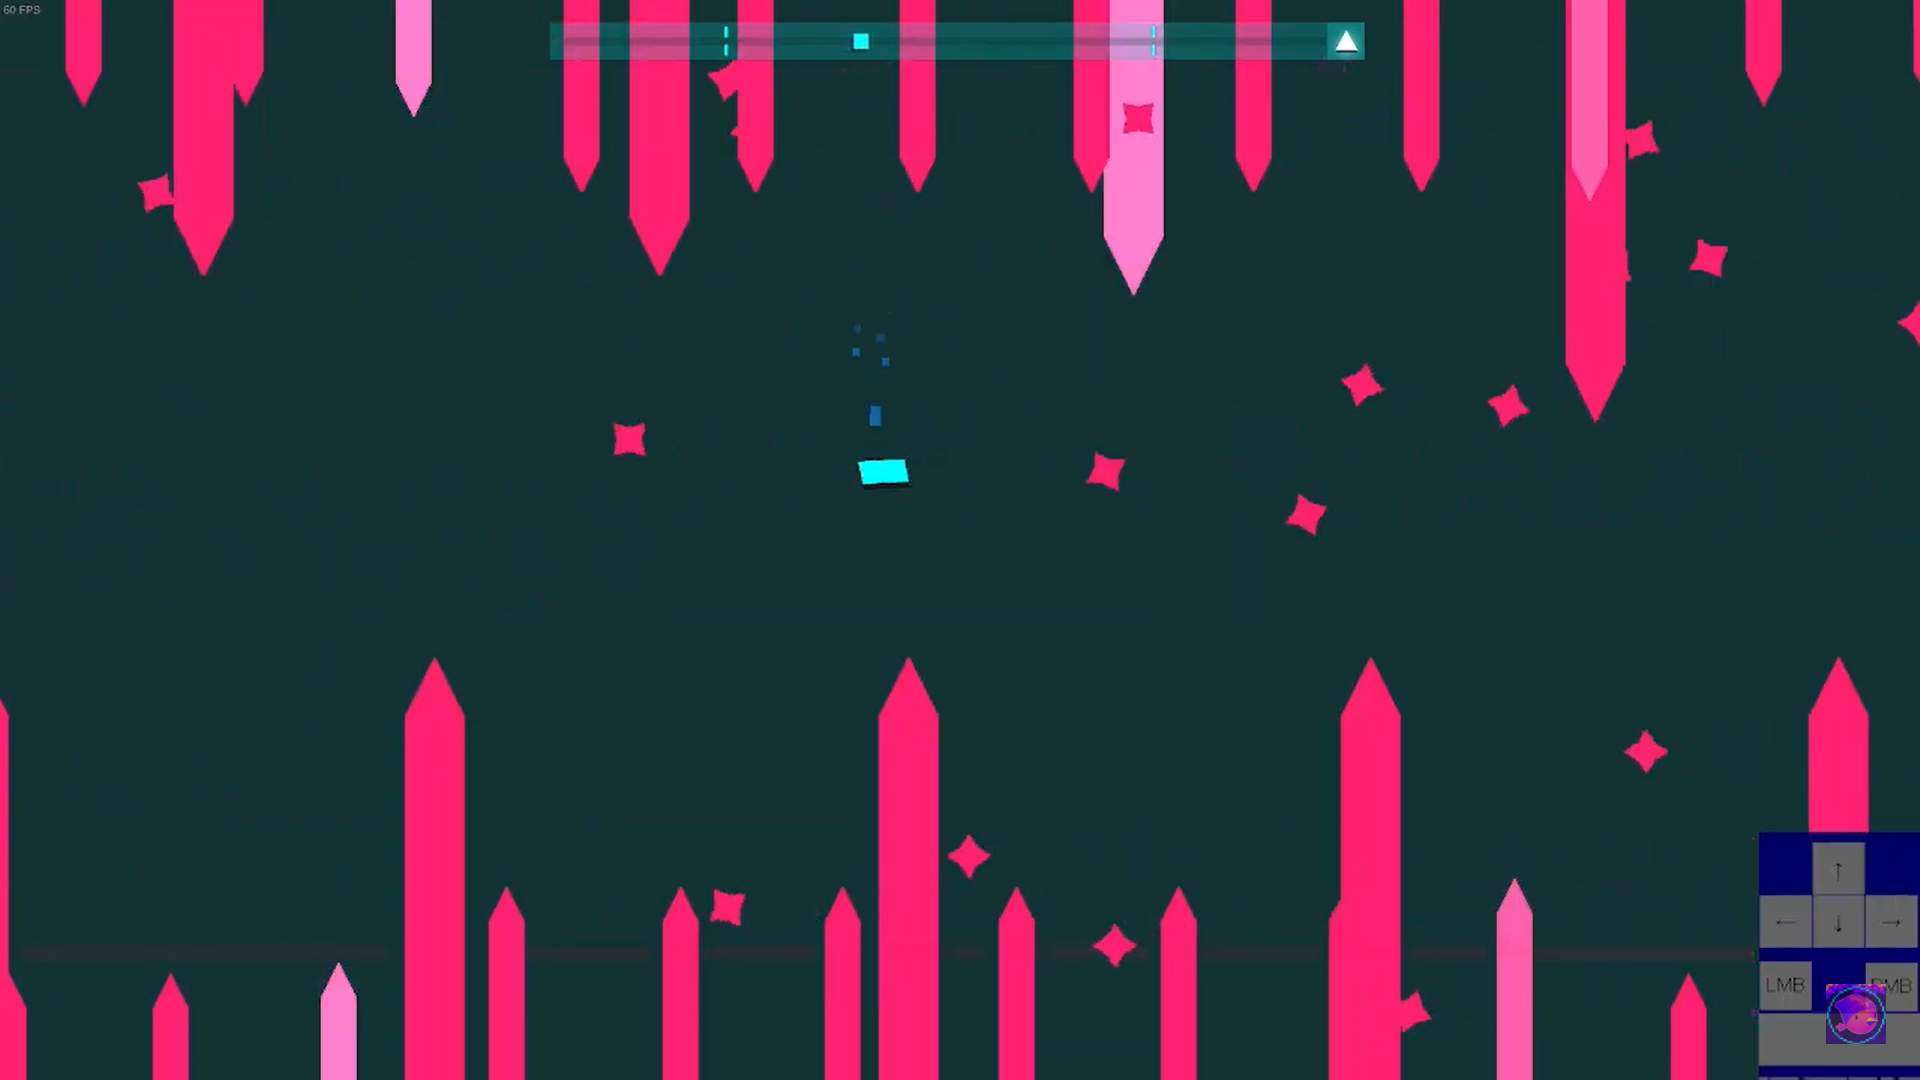
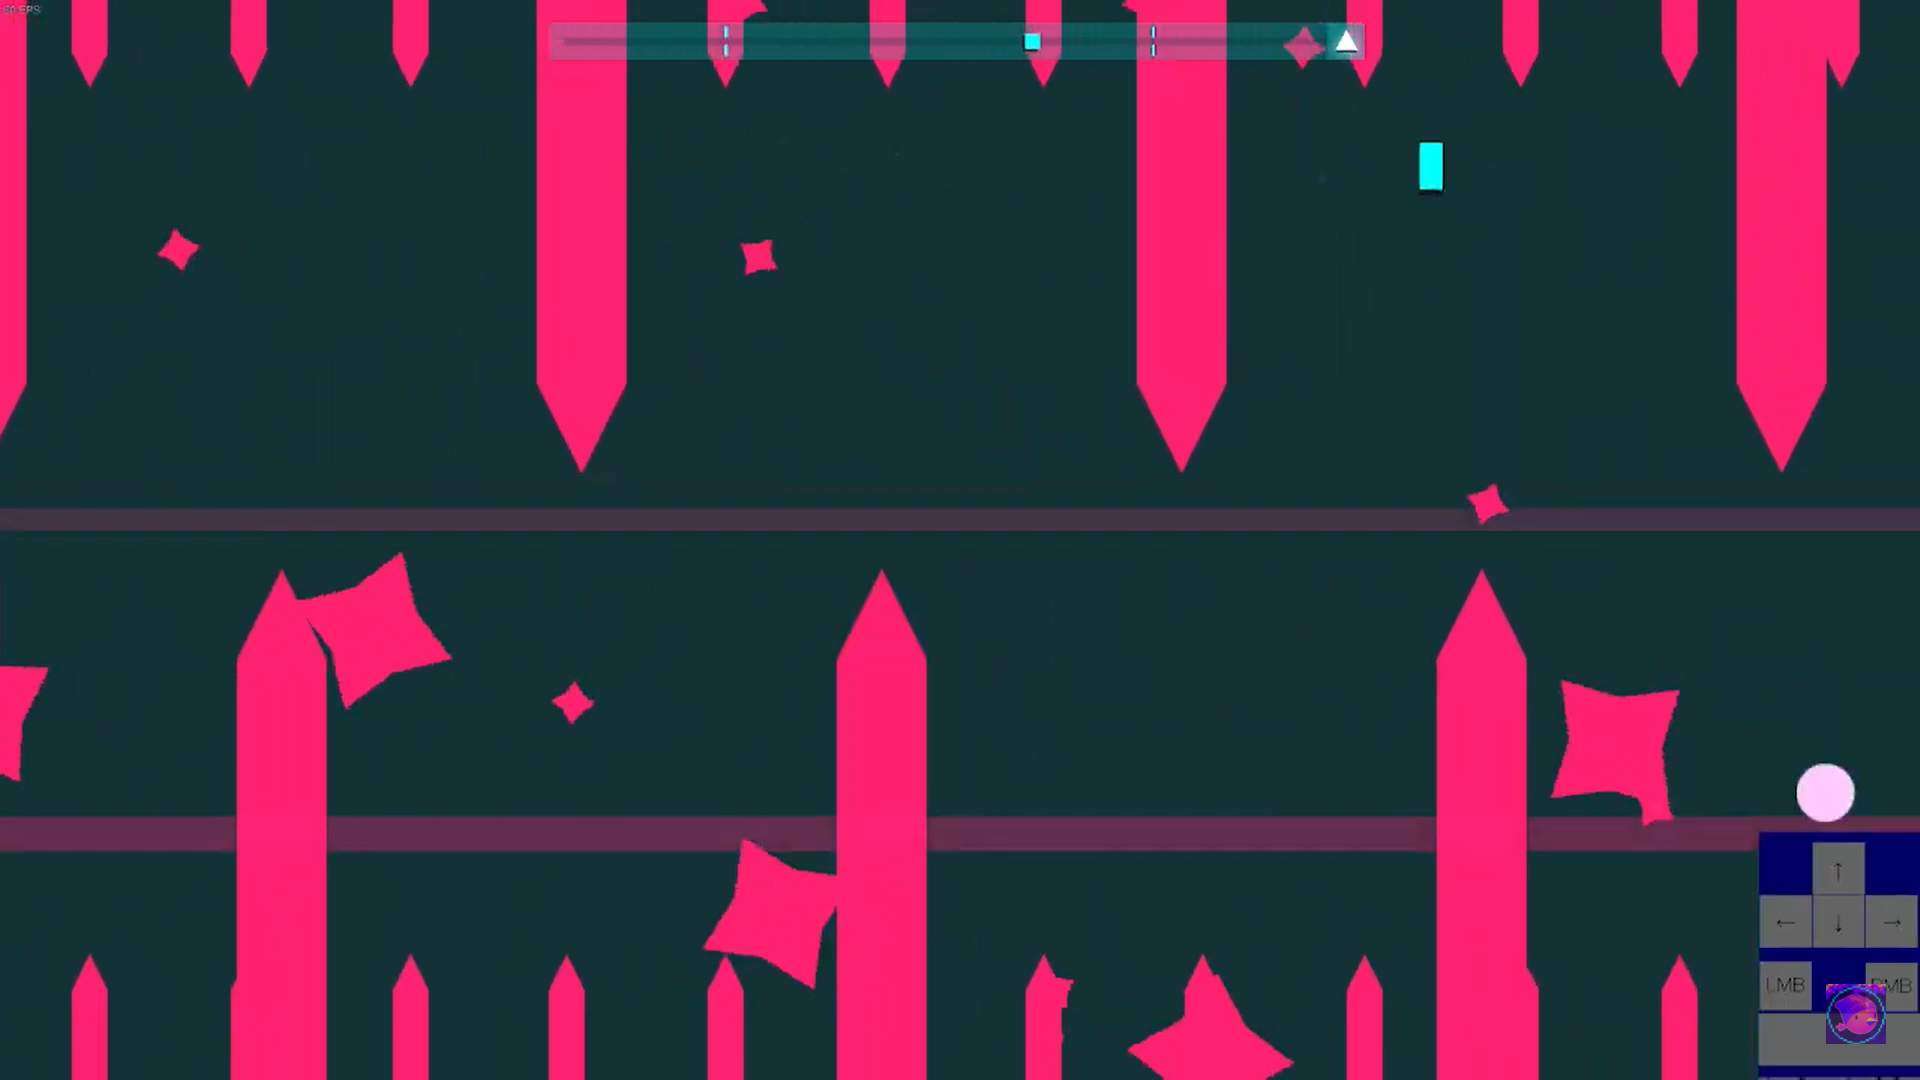
Section 2: The longest section by far, this sections starts with more shurikens spawning from the right that move towards the left. After that ‘phase’ ends, spike/pencils(^1) will decorate the top and bottom of the screen with shurikens spawning from the left and with the occasional lasers. The screen will then slowly autoscroll towards the right side of the screen before the next ‘phase’. The next phase includes even bigger spike/pencils(^2) with the shurikens and lasers remaning. After this phase(^3), the screen will begin autoscrolling, gradually getting faster with shurikens moving faster towards the left. Pellets will now explode and there will be a spike wall that follows the player on the left side of the screen.
The spike/pencils scene (^1)
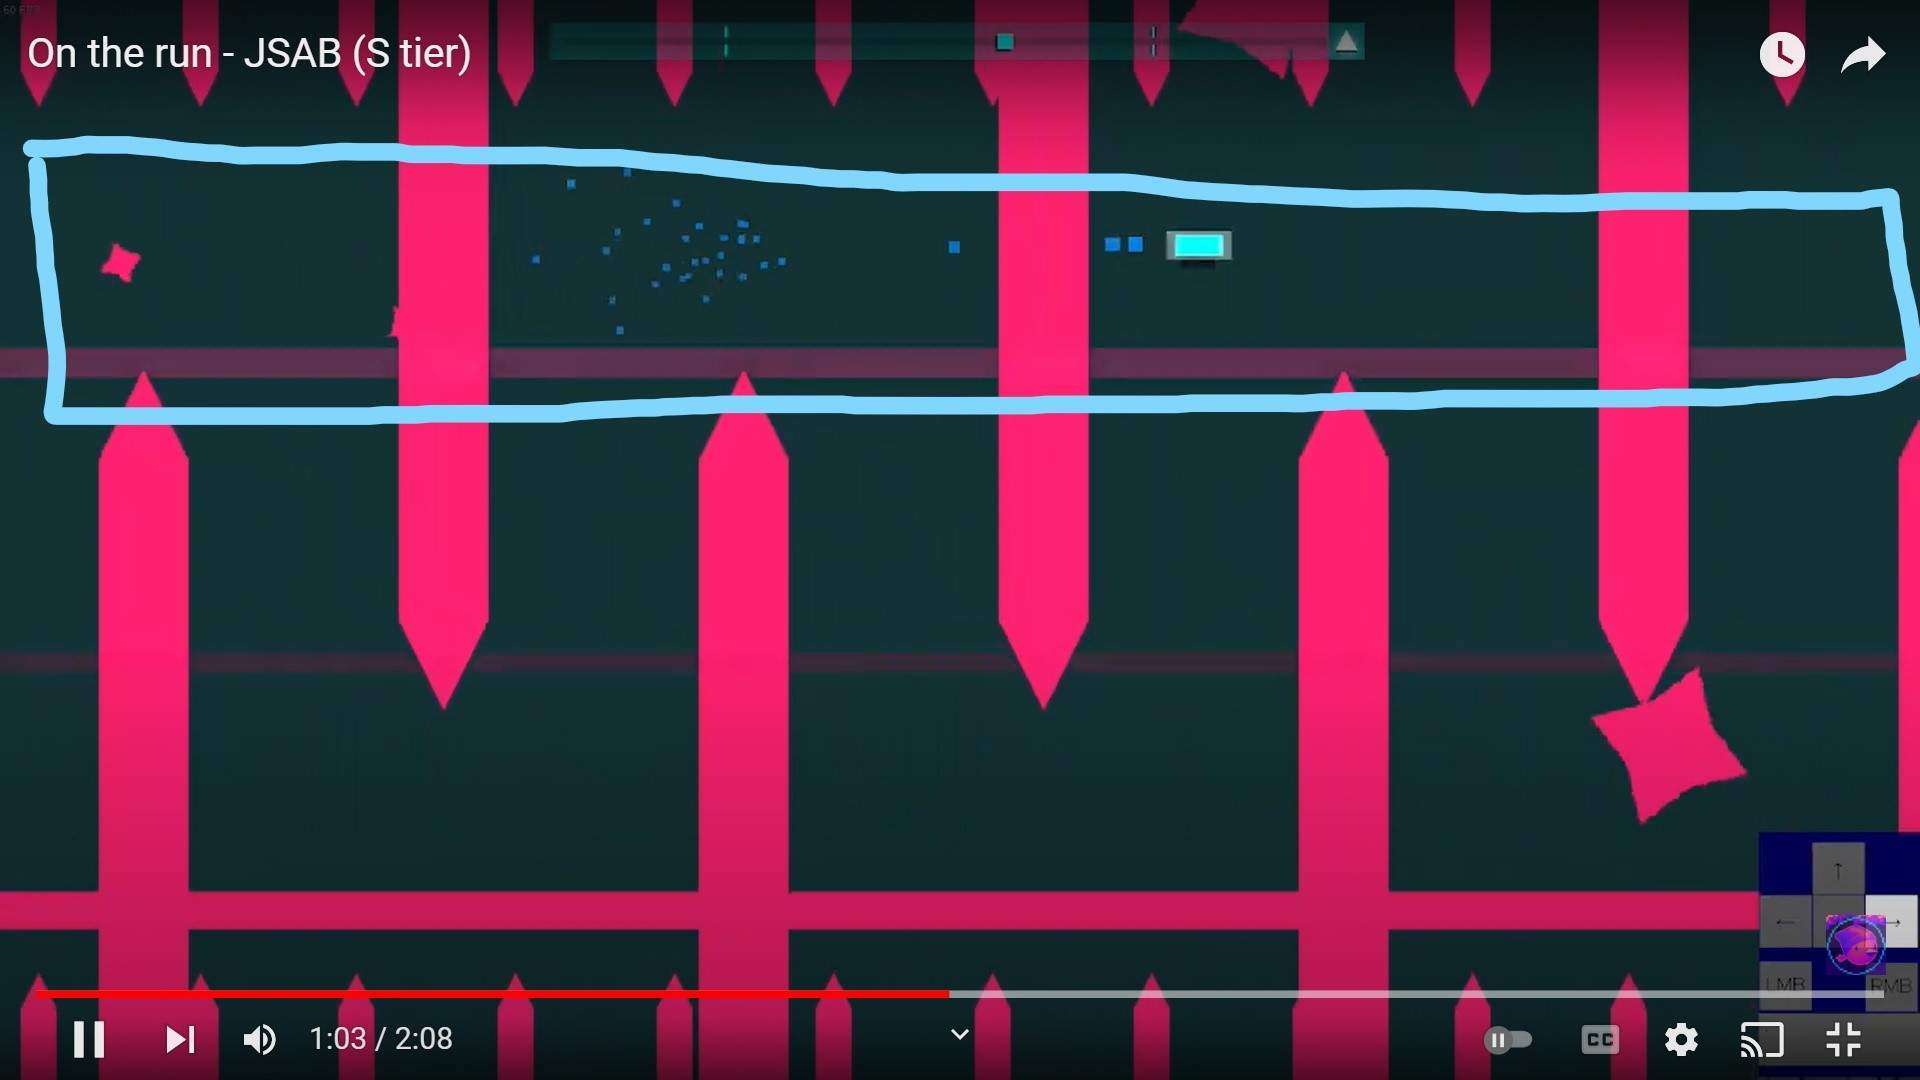
Bigger spike/pencils (^2)
The fast autoscroller (^3)

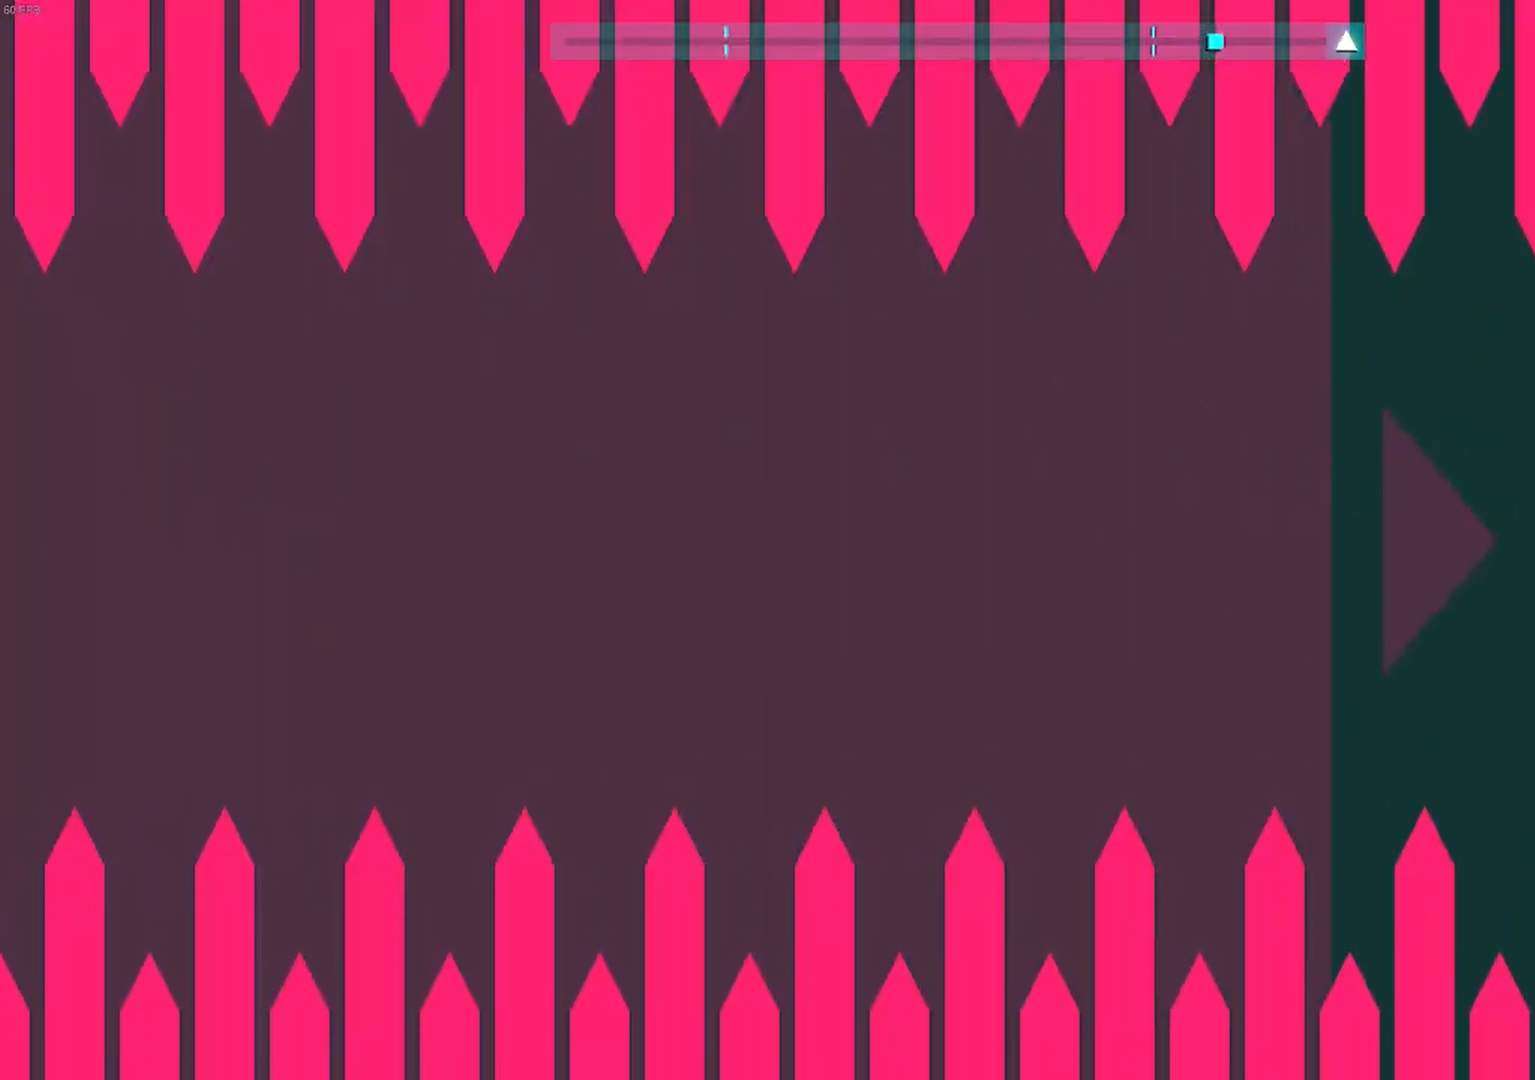
Section 4: Final section and is the easiest. Spike/pencils will again spawn at the top/bottom of the screen, forcing the player to stay at the middle. A giant arrow will appear, giving an indication on where to do, the player must follow it to avoid the massive spike walls. After the phase, lasers will start to show up again. Then the music fades out.

Not a good image, sorry.
Notes
I will be using certain terms to describe the attack types in this level, they are:
‘Shurikens’

Spike/Pencils

Arrow pointing for section 3
Tips on surviving every section and a more in-depth view of the level
Please read the first section, otherwise nothing will make sense.
I’ve made a video that you can refer this guide to:
Section 1: Requires you to dodge shurikens. This really isn’t too hard as you get enough time to move.
Section 2: Is the longest and hardest section. Refer to the (^1) back on the level overview section
(^1) This part can be difficult for most. You need to stay at the top/bottom of the screen. Don’t just dash horizontally whenever a shuriken/laser intersects you, move up and down, just don’t go too far. Only during the autoscroller is when you should dash to keep in time. If a shuriken is coming towards you and theres a laser, you can dash but control where you actually want to go.
(^2) Big spikes. This part does require dashing as it’s purely impossible to just go up and down. Try to take advantage of the space I attached a picture to demonstrate to dodge the shurikens and lasers.
(^3) Fast autoscroller. Just dash upright/downright whenever you need to dodge a shuriken. Don’t hug the top of the screen since you will need to move to the middle.
Section 3: Easiest section by far. All you need to do is just go to the right/left depending on what the arrow tells you to do. Just dash through the laser things too.


Be the first to comment