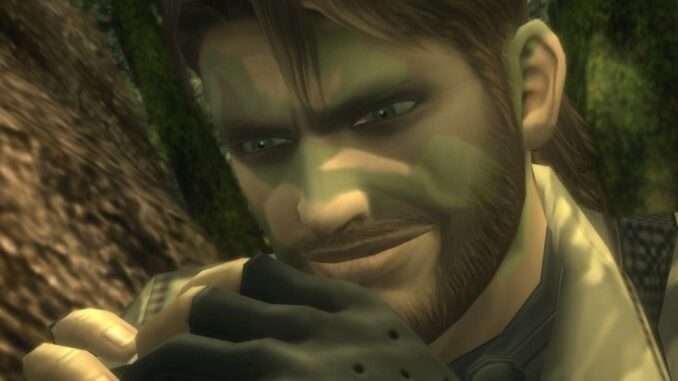
Here is a list of the bosses in order, with some strategies to help beat them. This guide contains spoilers.
Revolver Ocelot
You face Ocelot after the compound with the electric fence, walking through a crevice next to one of the warehouses and behind a tree.
- Above Ocelot attached to the trees are 3 beehives that you can shoot down. This will cause him to stop moving, giving you a free shot. Watch out though, as he will also shoot the beehive that is above you. Using bug juice will nullify the bee’s attacks against you.
- If you have a gun equipped and stand out in the open, (looking in first person also helps) he will challenge you to a quick draw duel. This can give you another free shot with the cost of him shooting back.
- You can throw animals you have captured at him and this will act as a distraction. To equip an animal go to your backpack, and in the weapon category select the animal.
- Using stun grenades is extremely effective to his stamina and will freeze him in place, giving you an opportunity to attack.
- You can use explosive grenades to flush him out from behind cover.
- When he first reloads his revolvers in the open during the mini cutscene, you can press any button to be able to move and get a free shot in.
The Pain
You face The Pain by traveling through the cave after the Ocelot boss fight.
- When he uses his bee armor move, you can break it by shooting enough times, or by throwing grenades. (Not recommended)
- If you throw too many grenades at him, (Or sometimes any at all) he will use his bees to carry it back to you. If this happens, jump off the platform and into the water, or shoot the bees forming around the grenade to make him drop it.
- When he yells “Attack!” he will throw 3 bottles at you that sends a swarm of bees to attack you. If you use bug juice or jump in the water, the group of bees will dissipate.
- When he yells “Grenade!” he sends a swarm of bees carrying a grenade to your platform. If you’re quick enough, you can shoot the bee-ball and they will drop the explosive at his feet.
- After taking enough damage, he will start using bullet bees. When these hit you they will do continued damage until you open the cure menu and remove them with the knife.
The Fear
You face The Fear right after leaving Graniny Gorki.
- As soon as the fight starts, open the cure menu and remove the crossbow bolt using the knife, as well as taking blood serum.
- Using the Thermal goggles will make spotting him in the trees much easier. Also listening for him talking can give away his direction.
- After taking damage he will jump from the branches 3-4 times before aiming with his crossbow. If you keep an eye on him you can continue shooting him everytime he does this.
- There are many traps in the boss arena that can give him an easy advantage against you.
- After his stamina gets low enough, he will scuttle along the ground in search of food. If you are fast enough you can hit him right before he finds any, but if he does it fills almost his entire stamina bar. (For this reason a health kill is much more forgiving)
The End
This is the best boss in the game. I implore you to figure this boss out on your own as it’s incredibly well designed and has many ways of winning.
You fight The End a ways after the wood lodge surrounded by guards.
- As soon as the fight starts he will start shooting in your direction. If you crawl over along the left side of the hill he’s on you can get behind him more or less safely.
- This boss fight takes place in a multi-loadscreen area. If he leaves that specific area you won’t know unless he has fired at you. On your map you can see the his location after a shot or possible sniping locations where he could be in each of the sub-areas.
- His scope gives off a glint which can give away his location but means hes aiming either at you or in your direction. You can also detect him with the Thermal goggles.
- If he does manage to shoot you, it will be with a tranq dart and will rapidly drain your stamina. In the cure menu you can remove these with the knife.
- If you’re close enough to him and he spots you, he will usually throw a stun grenade and run off in a random direction. That is why it’s imperative that you use the D-Pad if you are near him, as you won’t make any noise.
- If you get right behind him and click L3 or hold Square/X while in first person, you can hold him up. Doing this and moving your sights up and down his body enough times will make him give up and drop the moss camo. After he does you can easily shoot him, but doing this multiple times will make him start dropping stun grenades.
- If he takes off running you can easily track his footprints, but don’t get confused as you can see your own too. Footprints are much easier to see with Thermal goggles equipped.
- His bird can be seen flying around sometimes, possibly giving away your location. If you manage to capture the bird and set it free by equipping it as an item and throwing it, it will lead you directly to him. If you end up killing the bird, it will enrage The End and he will shoot much faster at you.
And there’s much MUCH more but I’ll stop here.
The Fury
You fight The Fury right after entering the Groznyj Grad Underground Tunnel.
- Right after the cutscene, he will fly right over your head then land on the opposite side from you. He will then begin walking slowly down one of the corridors, which gives you an opportunity to get some shots in. (You’ll want to shoot him multiple times so he falls over, as if you don’t he will start immediately flaming down the corridor)
- Being spotted by him is very dangerous as you can’t outrun the flames. Listen out for where he is walking while staying on the furthest end from him.
- There are many explosive barrels in the boss room. If he is by one you can shoot it to get some damage off.
- When he starts flying in the air try to get out of the way immediately, as it does a ton of damage. (If you do get set on fire, try rolling) Sometimes he will end up on a walk-way across the corridor from you, so watch out for that.
- There are bats flying around 1-2 of the corners of the boss arena. Try to stay away from them as they do damage and if your health is low enough they’ll end up killing you.
The Sorrow
You fight The Sorrow after jumping into the water following the escape from Groznyj Grad.
- Walk.
Volgin
You fight Volgin after planting the C4 explosives.
- If you have a machine gun, you can fire too fast for him to parry and you’ll break his electric shield.
- Holding O/B next to him will make you cqc slam him for some easy damage.
- The best way to get damage in unarmed or armed is to make him miss a big attack either by running or rolling. This will give you a small opening to get major damage in.
- At times he will scold Ocelot and turn his back to you, allowing for an opening.
- His thin lightning laser move can be crawled under. Also during his second phase he does a bullet clap move, which can also be crawled/rolled under.
- In his second phase he will recharge himself using a near by electrical box which serves as another big opening.
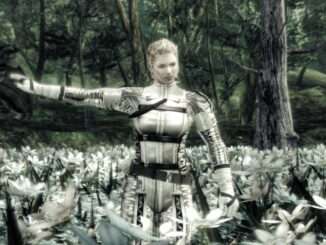
The Boss
You fight The Boss near the end of the game.
- The Boss’ big attack is a rushdown move. Right as Snake gets the ! above his head, hold down O/B and you will counter her. You can then get some damage in.
- There’s trees/logs in the boss arena you can use for cover from her gunfire.
- Using the right type of camo and/or crawling in the flowers can make her lose you, which gives you a big opportunity to attack.
- If you shoot to much at her, she can dodge to the left or right and use her rush down move. Try not to shoot more than 1-2 bullets at a time.
- If you end up losing her, using the Thermal goggles is a great way of pinpointing her before she can find you first.


Be the first to comment