
What’s new? Is this PAYDAY 2 on steroids? How do I do that, this and that? This guide will help you understand the game more.
Contents
Guide to Basics
All credit goes to euclidian 5th dimenstional being!
Main Menu
First off all, let’s start with the main menu. The main menu has sections called Play, Loadout, Vendor, More
Play section is where you can start the heist and play. Currently, it only allows to host or join “No Rest For The Wicked” publicly, but allows to choose the difficulty setting.

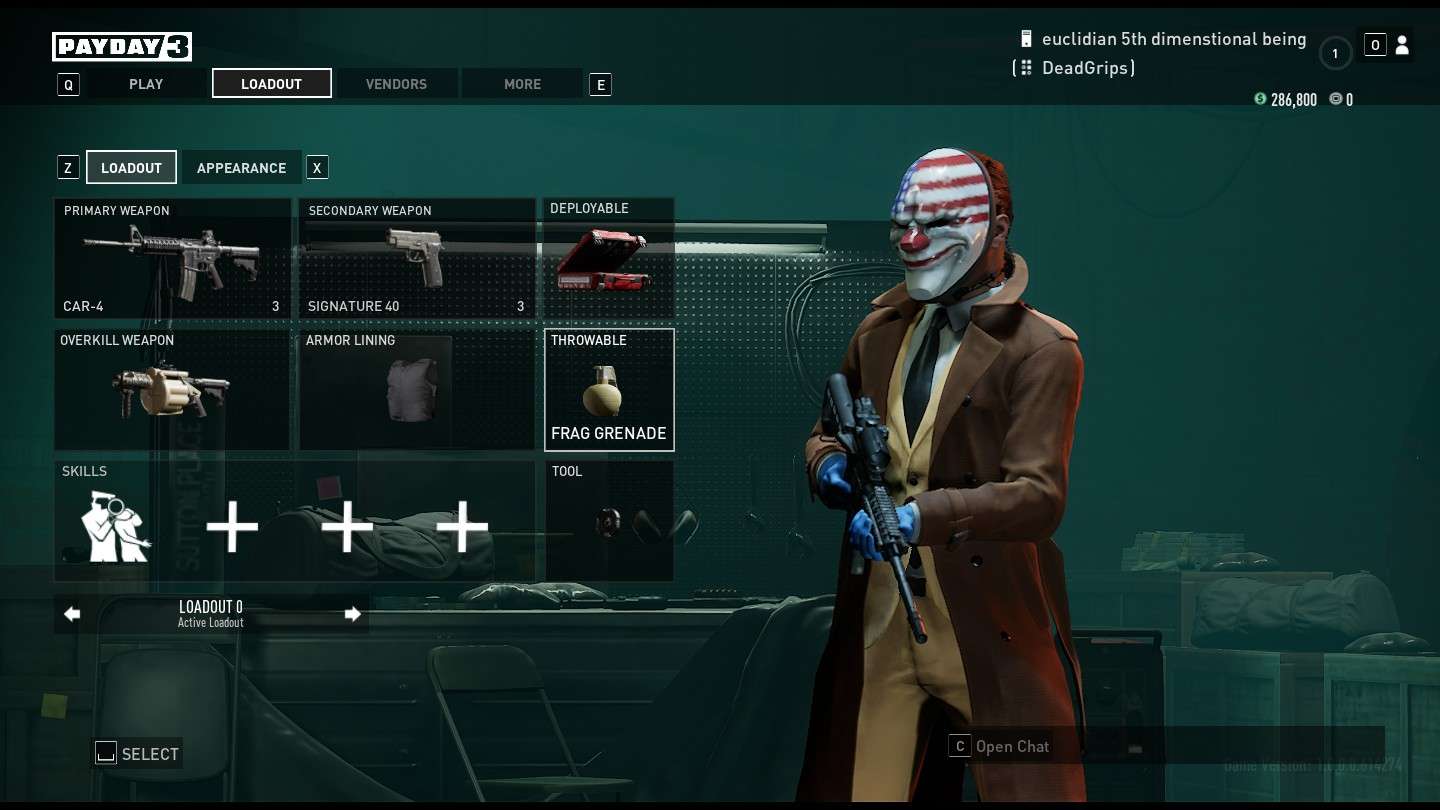
Loadout section is where you can change your skills, customize your weapons, customize your character and change your equipment.
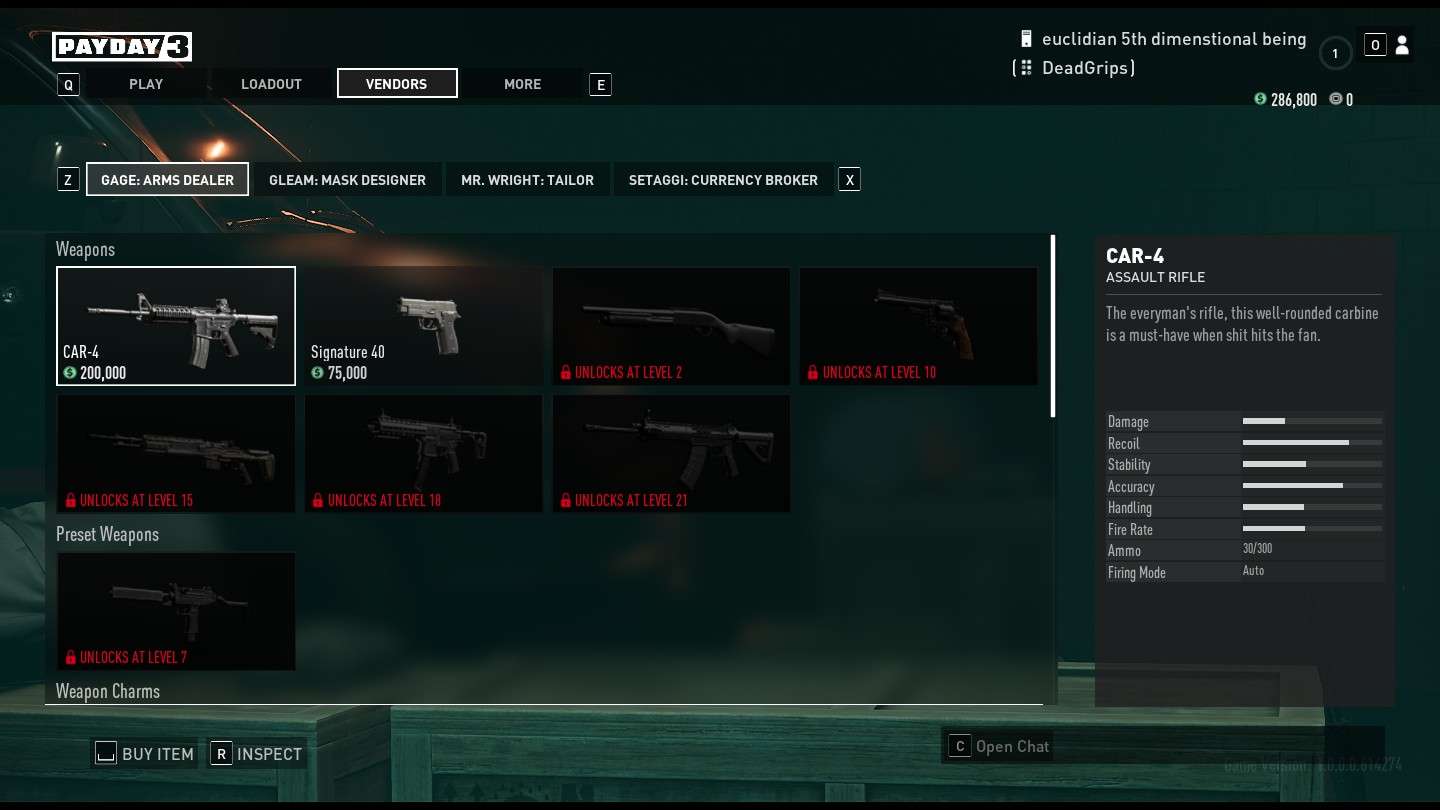
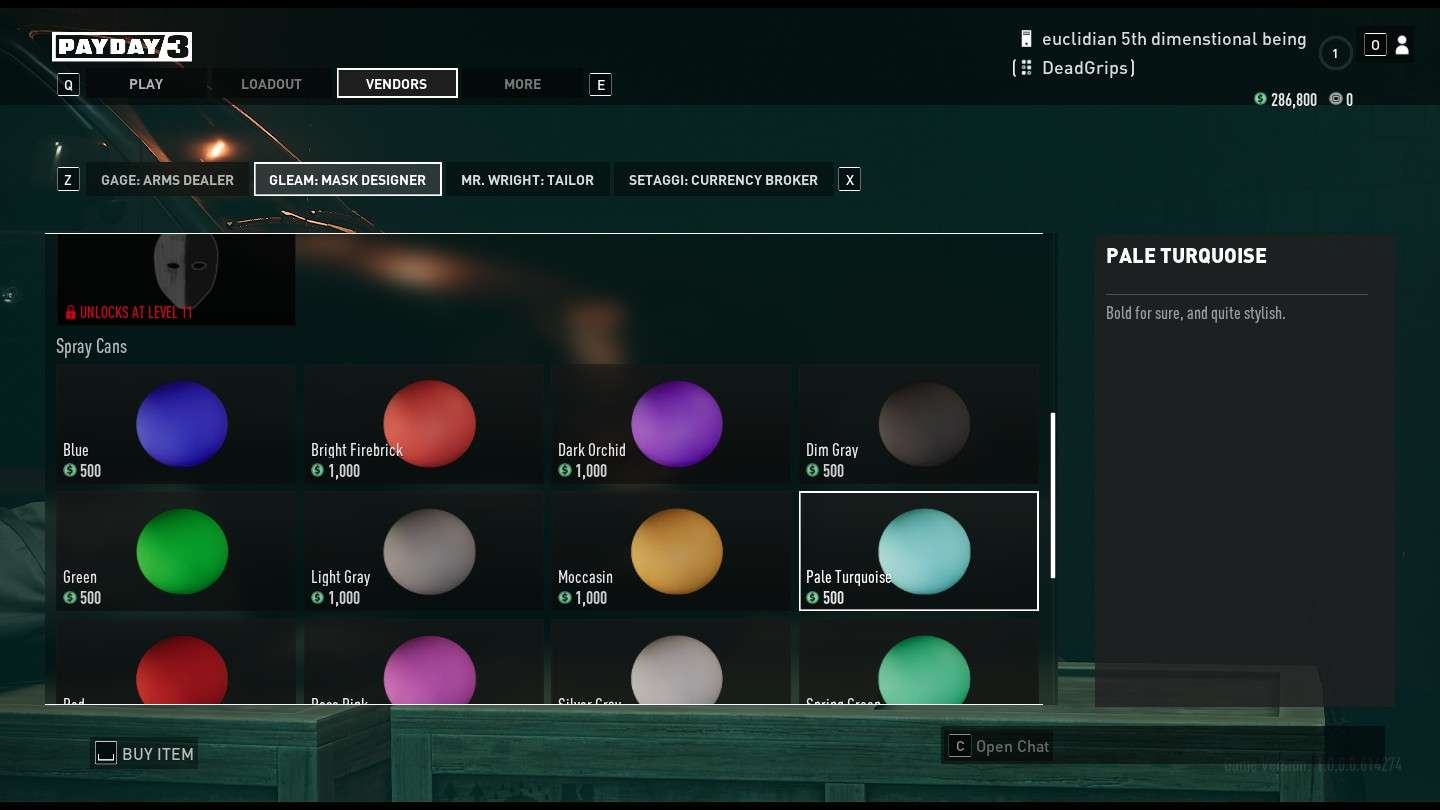
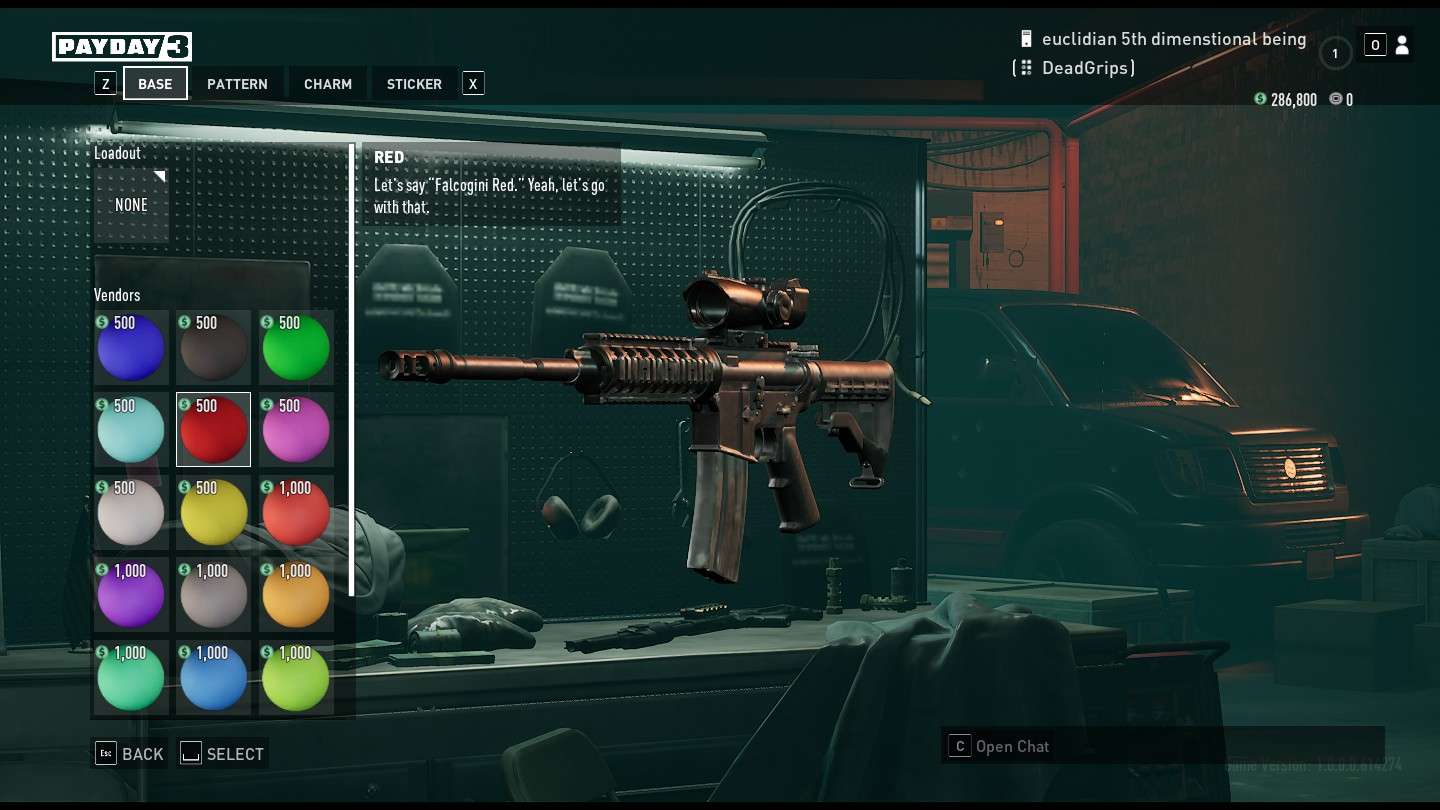
Vendor is a store option where you can buy weapons, masks, outfits and other stuff for your character. There are 4 vendors who sell different things: Gage, returning from PAYDAY 2, as usual, will be our weapons dealer. He will sell weapons and cosmetic customization for them.
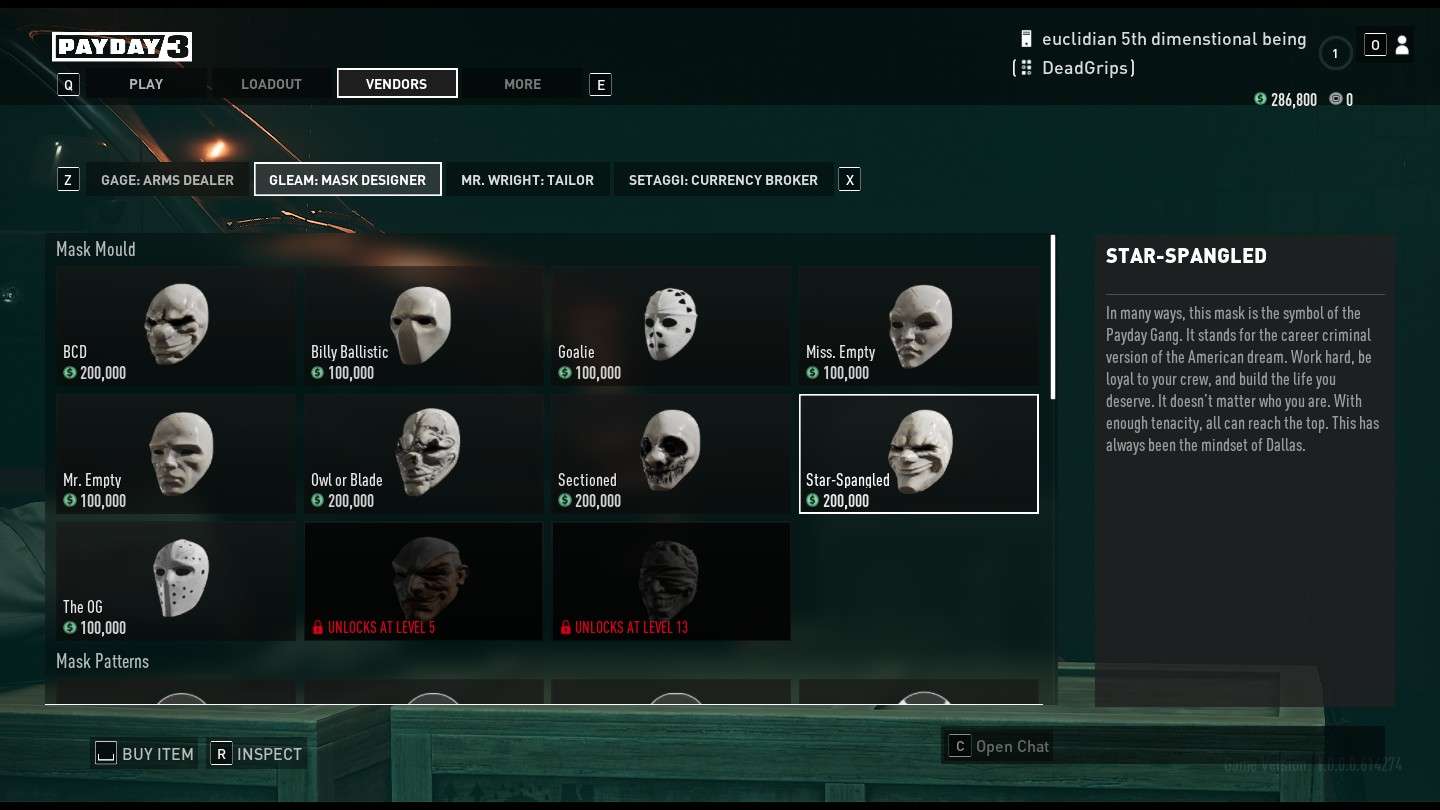
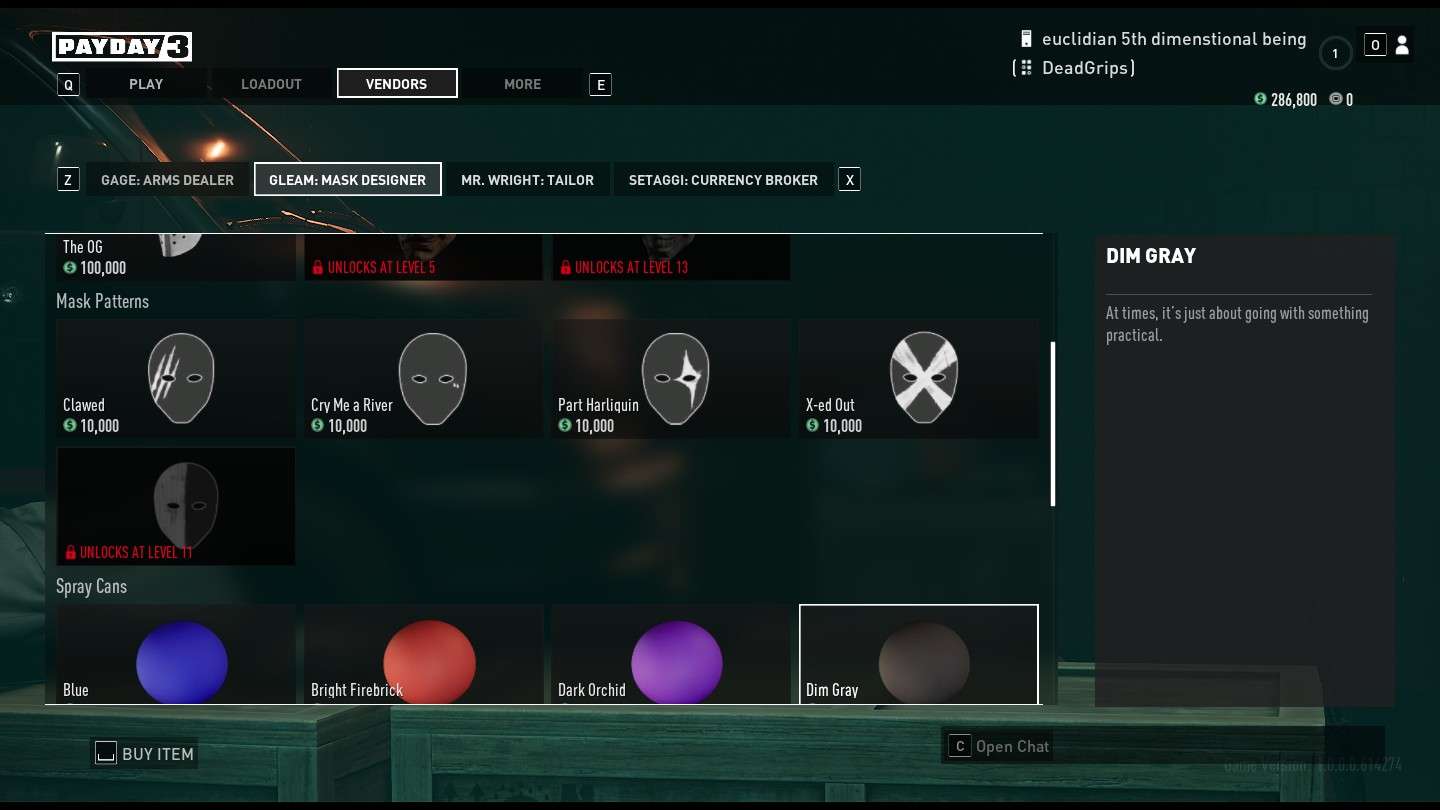
Gleam the Mask Designer, who sells masks and ways to customize them, such as patterns and colors.
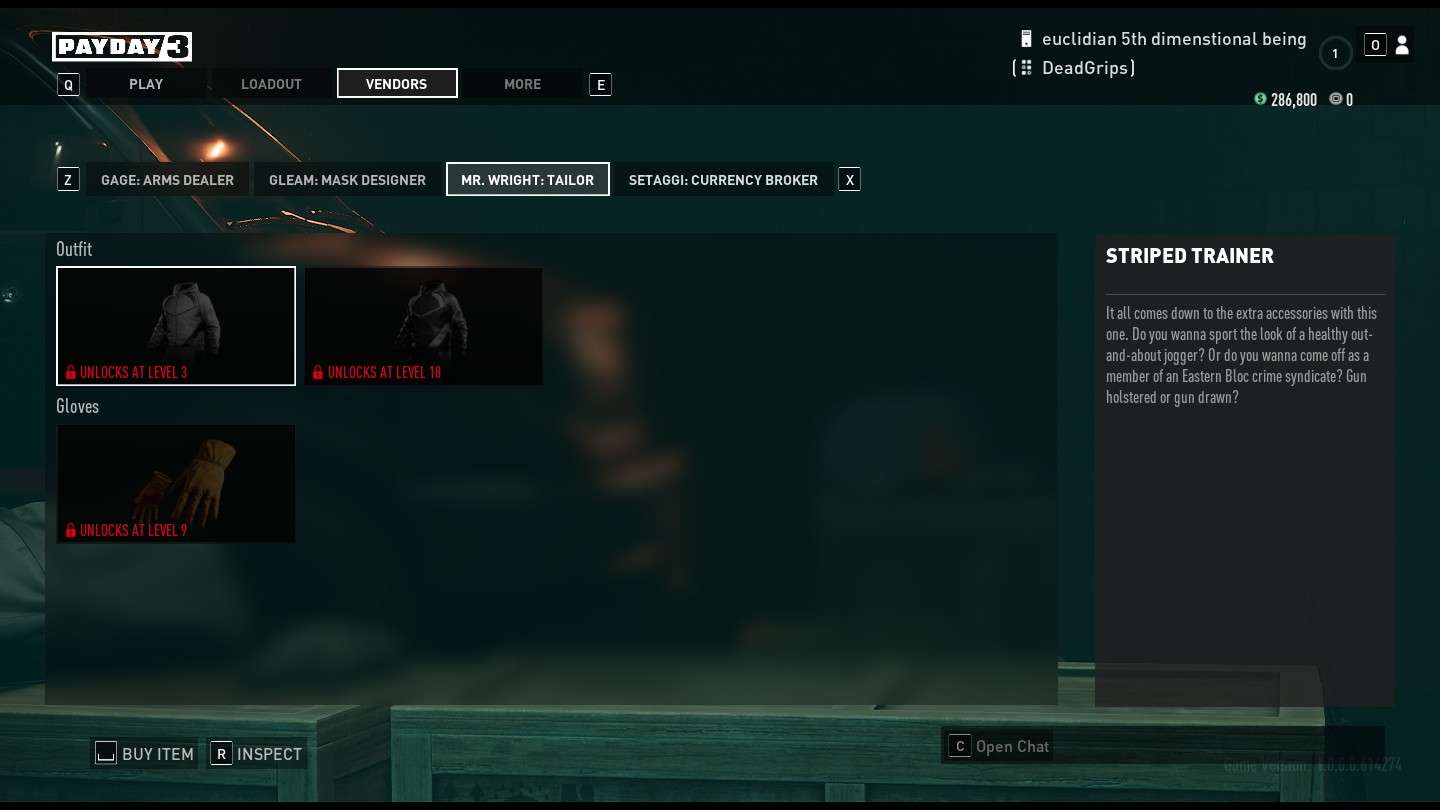
Mr. Wright the Tailor. He will provide a selection of outfits and gloves so the heisters can rock into banks with style, but he currently provides only 2 variations of 1 outfit and 1 pair of gloves.
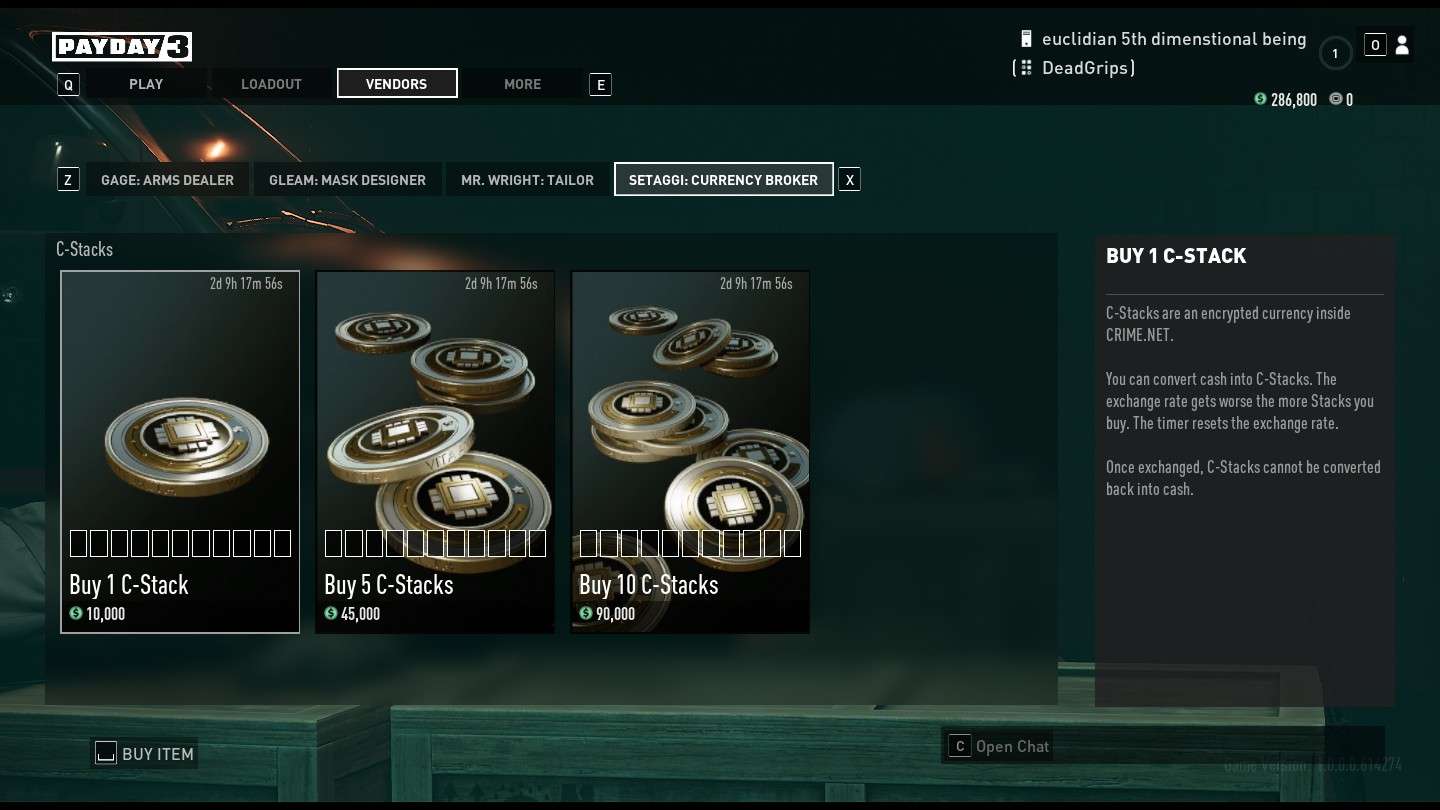
And finally, Setaggi the Currency Broker, who will exchange our cash for C-Stacks, a new currency, which does not have known use at the time of writing this guide.
The “More” button provides access to game settings and allows you to quit the game.

Weapon Customization
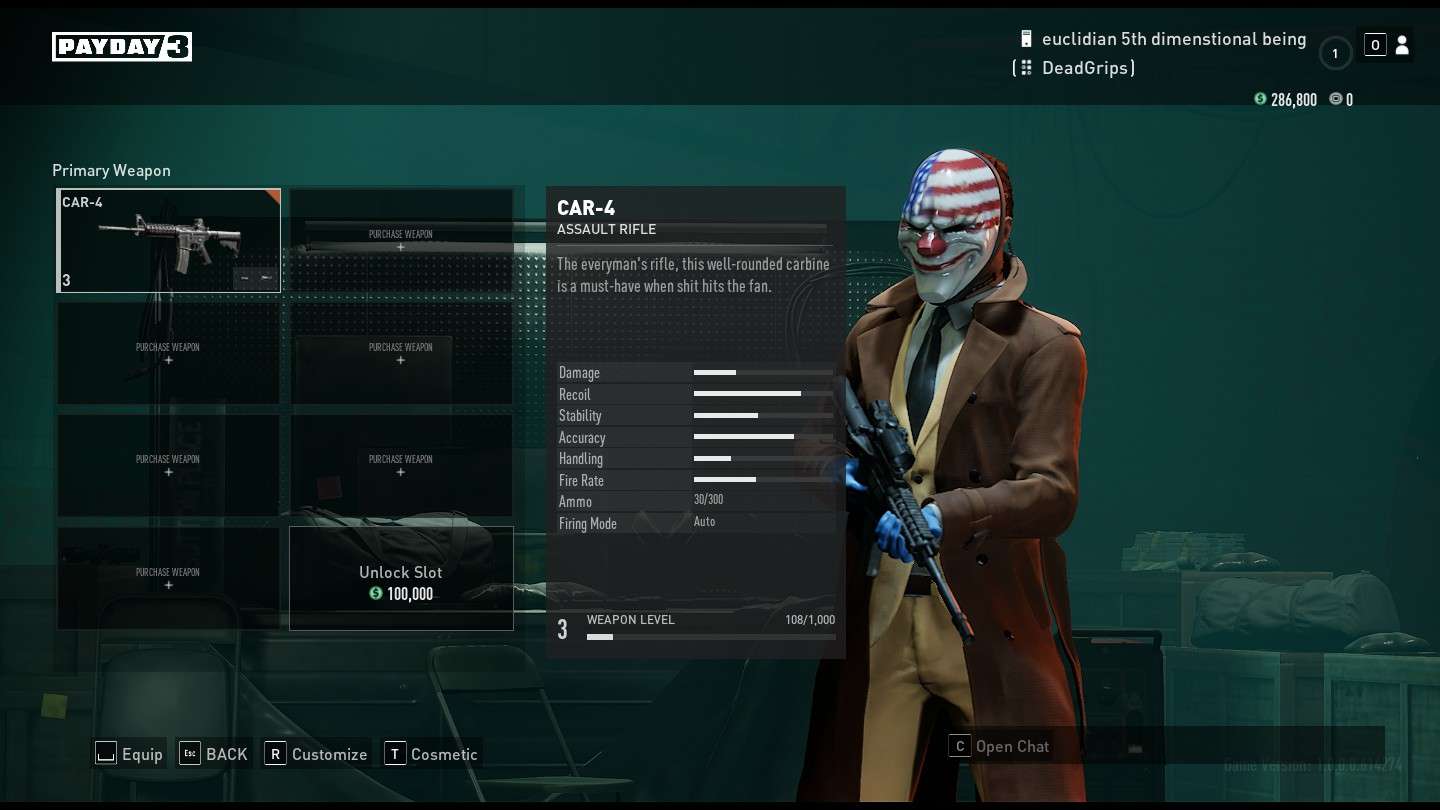
You can customize your weapons in Loadout, select a Primary or Secondary or Overkill Weapon to customize it.

To customize the weapon, click on the gun you wish to customize and press R.
To add a cosmetic to the weapon, click on the gun you wish to add the cosmetic and press T.
Now, we get to some real business.
Customizing your weapon of choice is easy. Get money, and level up.
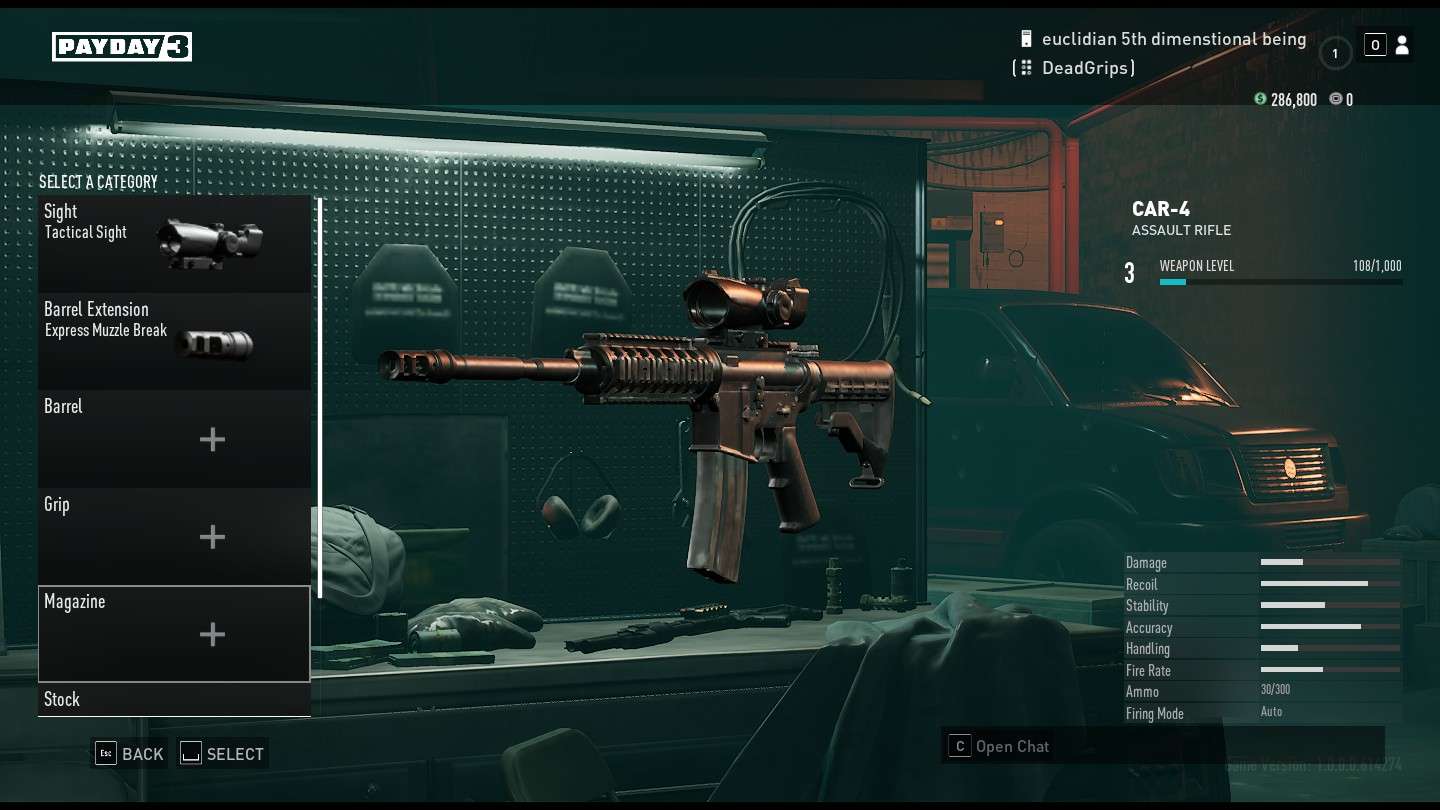
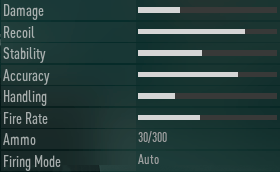
Your weapon stats are at bottom right.
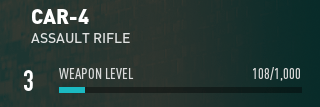
To unlock attachments, you have to level up your weapon. Take your gun and start heisting with it to level it up. Once you completed the heist, your gun has leveled up.
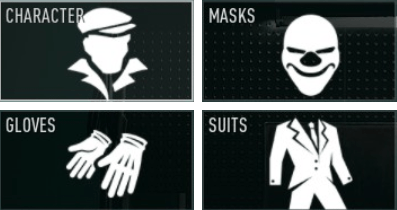
Character Customization
Just like in Payday 2, you can customize your character at the Loadout.
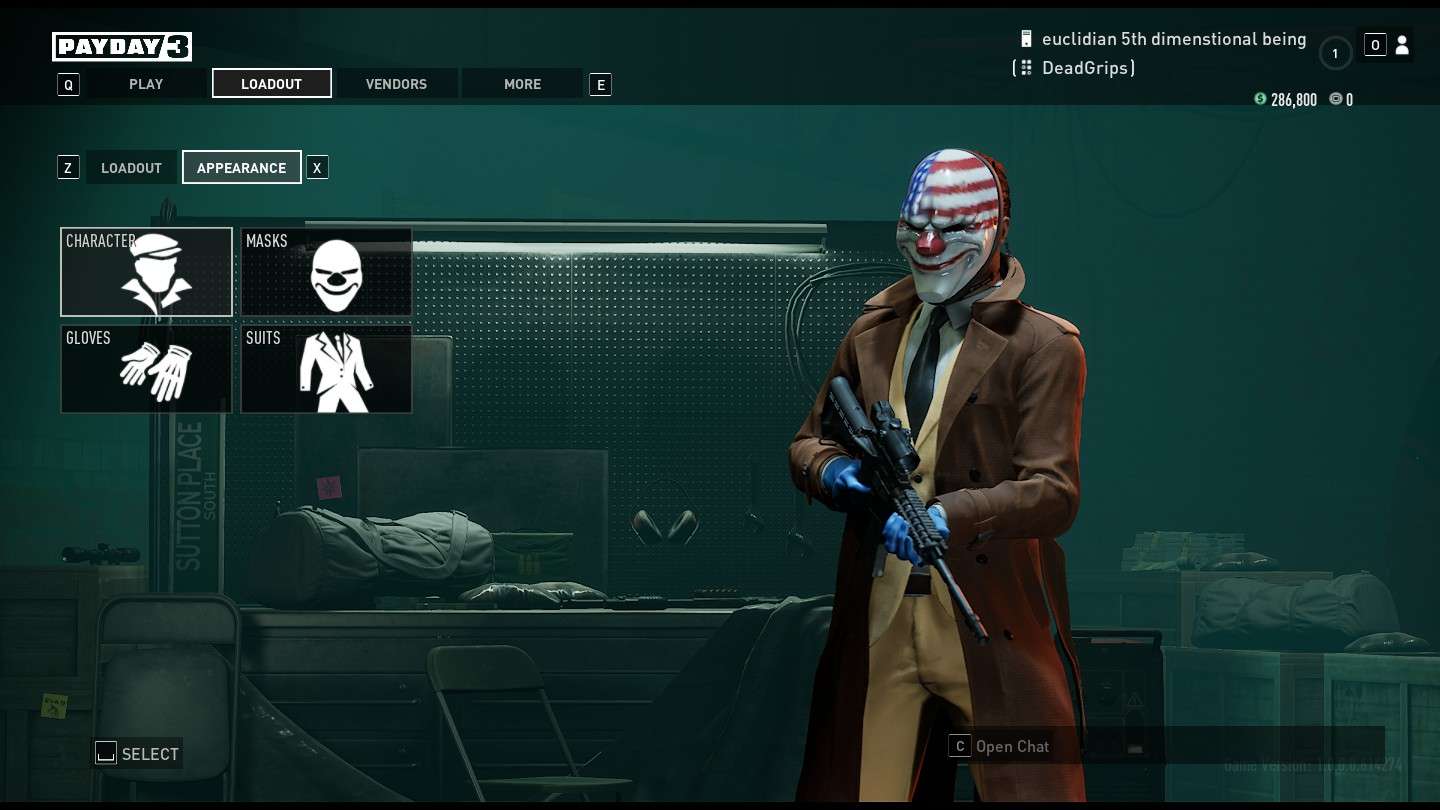
To change the character, click on CHARACTER To change your mask, click on MASKS.
To change your gloves, click on GLOVES And to change your suit, click on SUITS.
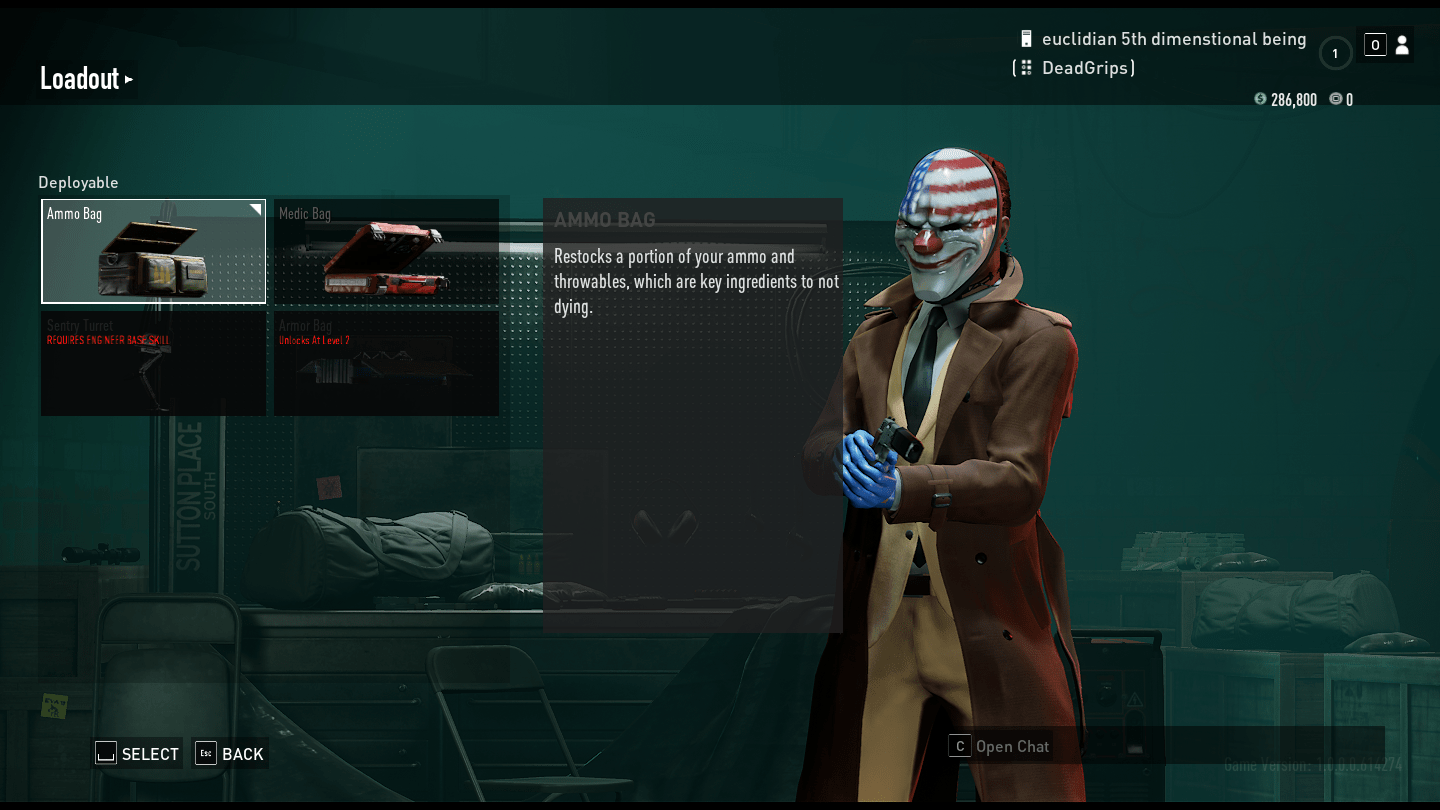
Deployables
Currently, there are 4 deployables.
Medic Bag
Replenishes your health and number of downs.
Ammo Bag
Restocks half your ammo and throwables.
Sentry Turret
An automated ally for shootouts. (Engineer skill only)
Armor Bag
Repairs half of your broken armor. (level 7+)
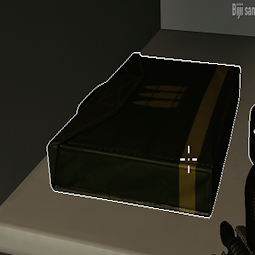
Equipment from the Map/Pickups
Aside from the deployables you get from loadout and preplanning, you can also get the following pickups around the map:
Small Ammo Pack – restocks 1 mag worth of ammo for your weapons
First Aid Kit – restores 1/4 of your health

Ammo drops stayed relatively the same since the previous titles. They’re still automatically picked from the ground.

Throwables
I mean, who doesn’t want to use some grenades to kill all civilians on the Bank Heist? According to Clyde, that’s the correct way on how to deal with civilians.

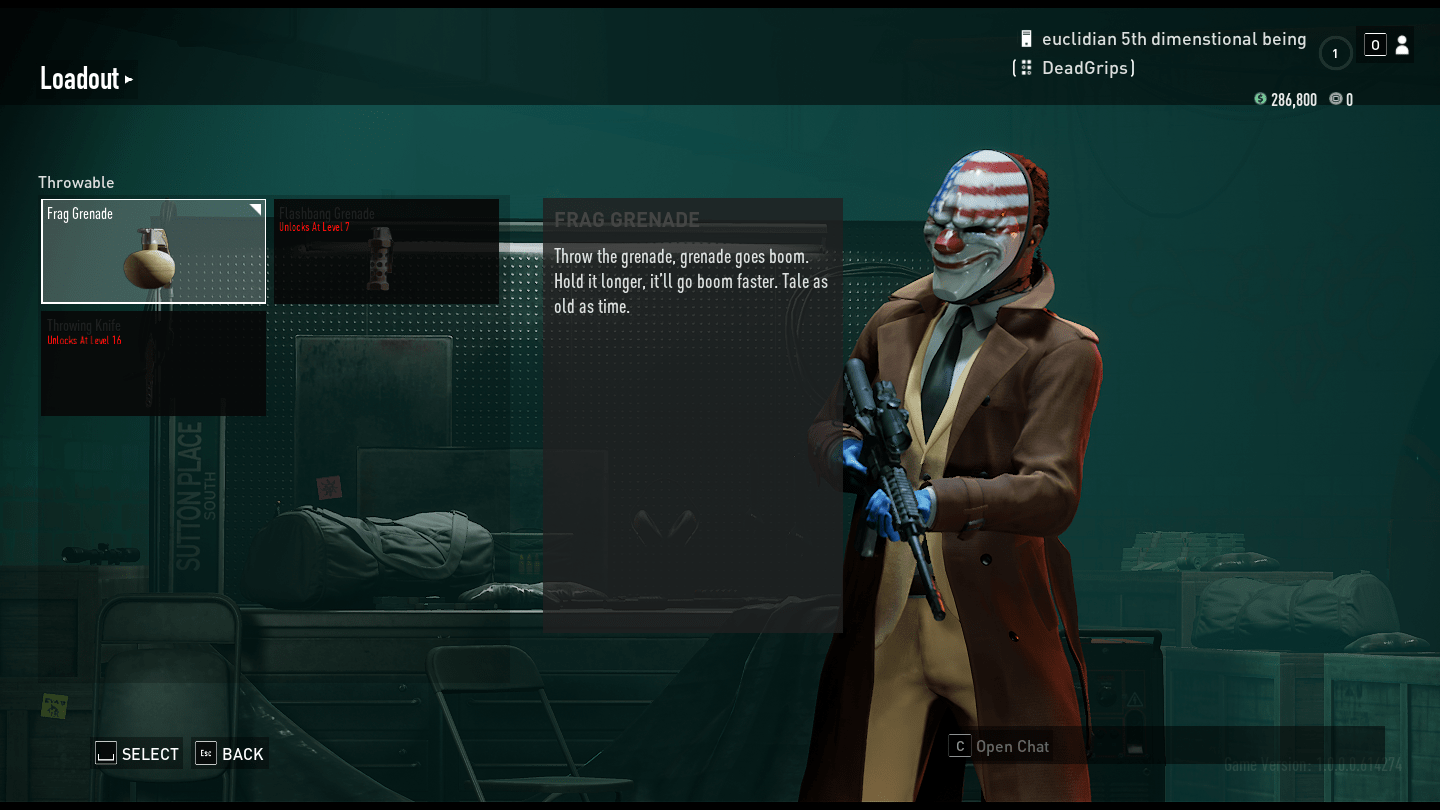
There are 3 types of throwables
Grenade
Self-explanatory, just a frag grenade. You can also cook it by holding the grenade button.
Flashbang Grenade (level 7+)
Stuns an enemy for a while. Flashbanged cops make the best human shield.
Throwing Knife (level 16+)
Can be used for quietly killing a cop or a guard.
Tools
Tools are like Deployables, except they are used for stealth.
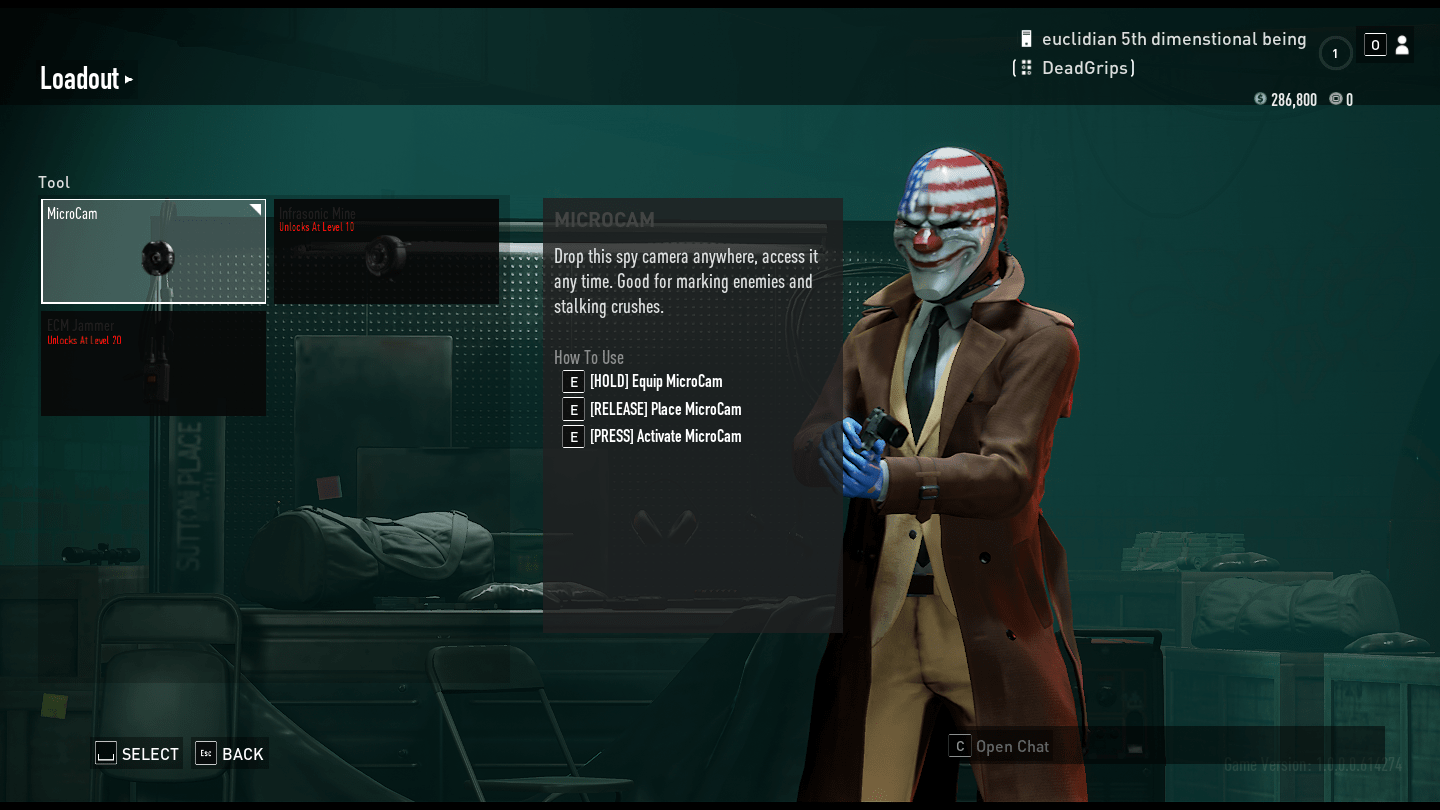
Microcam
Place it (hold E and release) on a guard, or somewhere in the map and use your phone (press E) to watch the microcam. You can mark the guards this way.
Infrasonic Mine (level 10+)
A sonic stun device, audible only to guards and civilians. Hold E and release it to place it on a desired location. Press E to activate the mine and stun the guard.
ECM Jammer (level 20+)
A device that interferes with cameras and radios. You can hold E and release it on a desired spot to place it, and when you get detected you can press E to activate it.
Skills
Skills is the most essential part in PAYDAY 3. Unlike PAYDAY 2, you can select only 1 skill tree.
These skill trees utilize buffs that activate on certain conditions depending on your skill tree.
- Edge = You deal 10% extra damage.
- Grit = You take 10% less damage.
- Rush = Your movement speed is increased.
You start off with 3 unlocked skill trees.

Medic
- Basic: 2 Medic Bags, 20% teammate revive
- Aced: As long as you have GRIT you take %15 less damage when reviving a teammate

Ammo specialist
- Basic: Ammo capacity increased by 20%, 2 Ammo Packs
- Aced: Whenever you pick up ammo, if your current weapon’s magazine is full, you gain Edge if you don’t have it

Mower
- Basic: Every 35 bullets you shoot you gain Edge
- Aced: Whenever you reload a weapon with empty magazine, your Edge is refreshed.

There are some more skill trees that you can unlock by Researching them, press R on a locked skill to start Researching it.

In order to complete the Research, you have to complete a heist and level up.

To unlock a skill on the selected skill tree, you have to level up.
Controls
There are some new controls and yes, I know what you are thinking.
How do I shout at the civvies? How do I even walk? Bring back the old controls!!!
Here are some controls so you won’t be that confused. You can rebind them in the settings if you want to.
Function – PC
- Shout/Mark – Mouse Middle Click
- Communication – Hold Mouse Middle Click
- Deploy Equipment – X
- Use Phone – E
- Deploy Tool – Hold E
- Grenade – G
- Interaction – F or Hold F
- Melee – V
- Request Overkill Weapon – Z
- Chat – Enter x2
Game Mechanics
There are a couple of new game mechanics:
- To slide, hold the sprint button and press the crouch button.
- To vault over an obstacle, press the jump button on the obstacle.
- To zip-tie the hostage, hold F on the hostage. Make sure they are on the ground by clicking on the Middle Button found on your Mouse.
- To take someone as meatshield, press F on the surrendered guard or civilian to take them as meatshield.
- To make the hostage follow you, hold F on the zip-tied hostage.
- To make the hostage stop following you, hold F on the hostage.
- To carry a corpse or bags, hold F on the item.
- To drop the corpse or bag, press Q.
- To cut with the blowtorch, press F and move it with your mouse.
- To steal a keycard from a guard, sneak up behind them and press F.
New Stealth Mechanics
There are now 3 types of areas you can be in: Public Area, which is not restricted to you in any way, Private Area, which is restricted to you. If you’re caught in a Private Area, guards, at first, will try to escort you out, if you get spotted by the same guard who escorted you out, they will become alerted. And finally, Secure Area, if seen there, guards will immediately become alerted. The Area types do not apply if you’re masked up, as usual guards will immediately become alerted upon spotting a masked criminal. Civilians will not react to a player in Casing Mode if they’re in a Public or a Private Area.
Guards will try to investigate suspicious sounds such as a player running, a silenced shot or an audio lure.
Cameras, unanswered pagers and not following orders from the guards will put the building into Search Mode, during which guards will try to cover as much area as possible to find the heisters.
Unanswered pagers, instead of triggering an alarm, will send a guard to investigate the place of the disappearance (basically, where the operator heard the screams), last unanswered pager will put the building in Search Mode, anything beyond that will trigger the alarm. You get 4 pagers on any other difficulty, and 2 on OVERKILL.
Cameras, upon spotting suspicious activity in a Private Area, will call a nearby guard to investigate, upon finding nothing, the building will be put into Search Mode. Cameras can also be disabled by taking out the Camera Operator (if there’s any) or broken (only on Normal).
New Loud Mechanics
Aside from being the bargaining chips for releasing heisters from custody, before a police assault you can also release hostages by holding F for equipment from the police such as ammo drops and first aid kits.
Armor does not regenerate, instead it must be repaired by using the new(and improved) Armor Bag, which restores half of your armor from one charge.
You toss your equipment bag instead of putting it on the ground, which allows you to keep your eyes on the combat.
As you kill cops, do objectives and stuff that you’re probably doing on a heist, you can access your OVERKILL Weapon! Simply press a button (Z by default) and you get a marker telling you the drop off location for your killing machine. Pick it up and its over for them law enforcers that stand on your way.
Casing Mode
PAYDAY 3 has new features for the casing mode, you can:
- Sprint
- Do cool parkour
- Use your Tools such as microcams and ECMs
- Steal Keycards (sneak up behind guard with a keycard attached on their belt to swipe it)
- Walk into restricted areas (refer to new stealth mechanics)
- Interact with doors and use keycard reader.
- Civilians don’t care (unless you are obviously doing something very illegal or are in a Secure Area)
- Second chance when you get caught in a restricted area (you get as much chances as there are guards in the building, just don’t bump into the same ones who caught you before).
- Interact with objectives
- Use your cool hacking phone to track guards through the hacked cameras and deployed microcams and make up funny reasons for the recently deceased guards on why are they are absent from their jobs.
However, there are some cons for the casing mode, which is:
- Get caught by guards in restricted areas
- Secure areas can alert the guards.
- Stealing or doing any illegal activity can alert the civilians
- Deploying a Tool can alert the guard and civilians
Matchmaking
To start the heist, go to PLAY and click on HEISTS.

Once you are there, select the heist on bottom left of your screen.
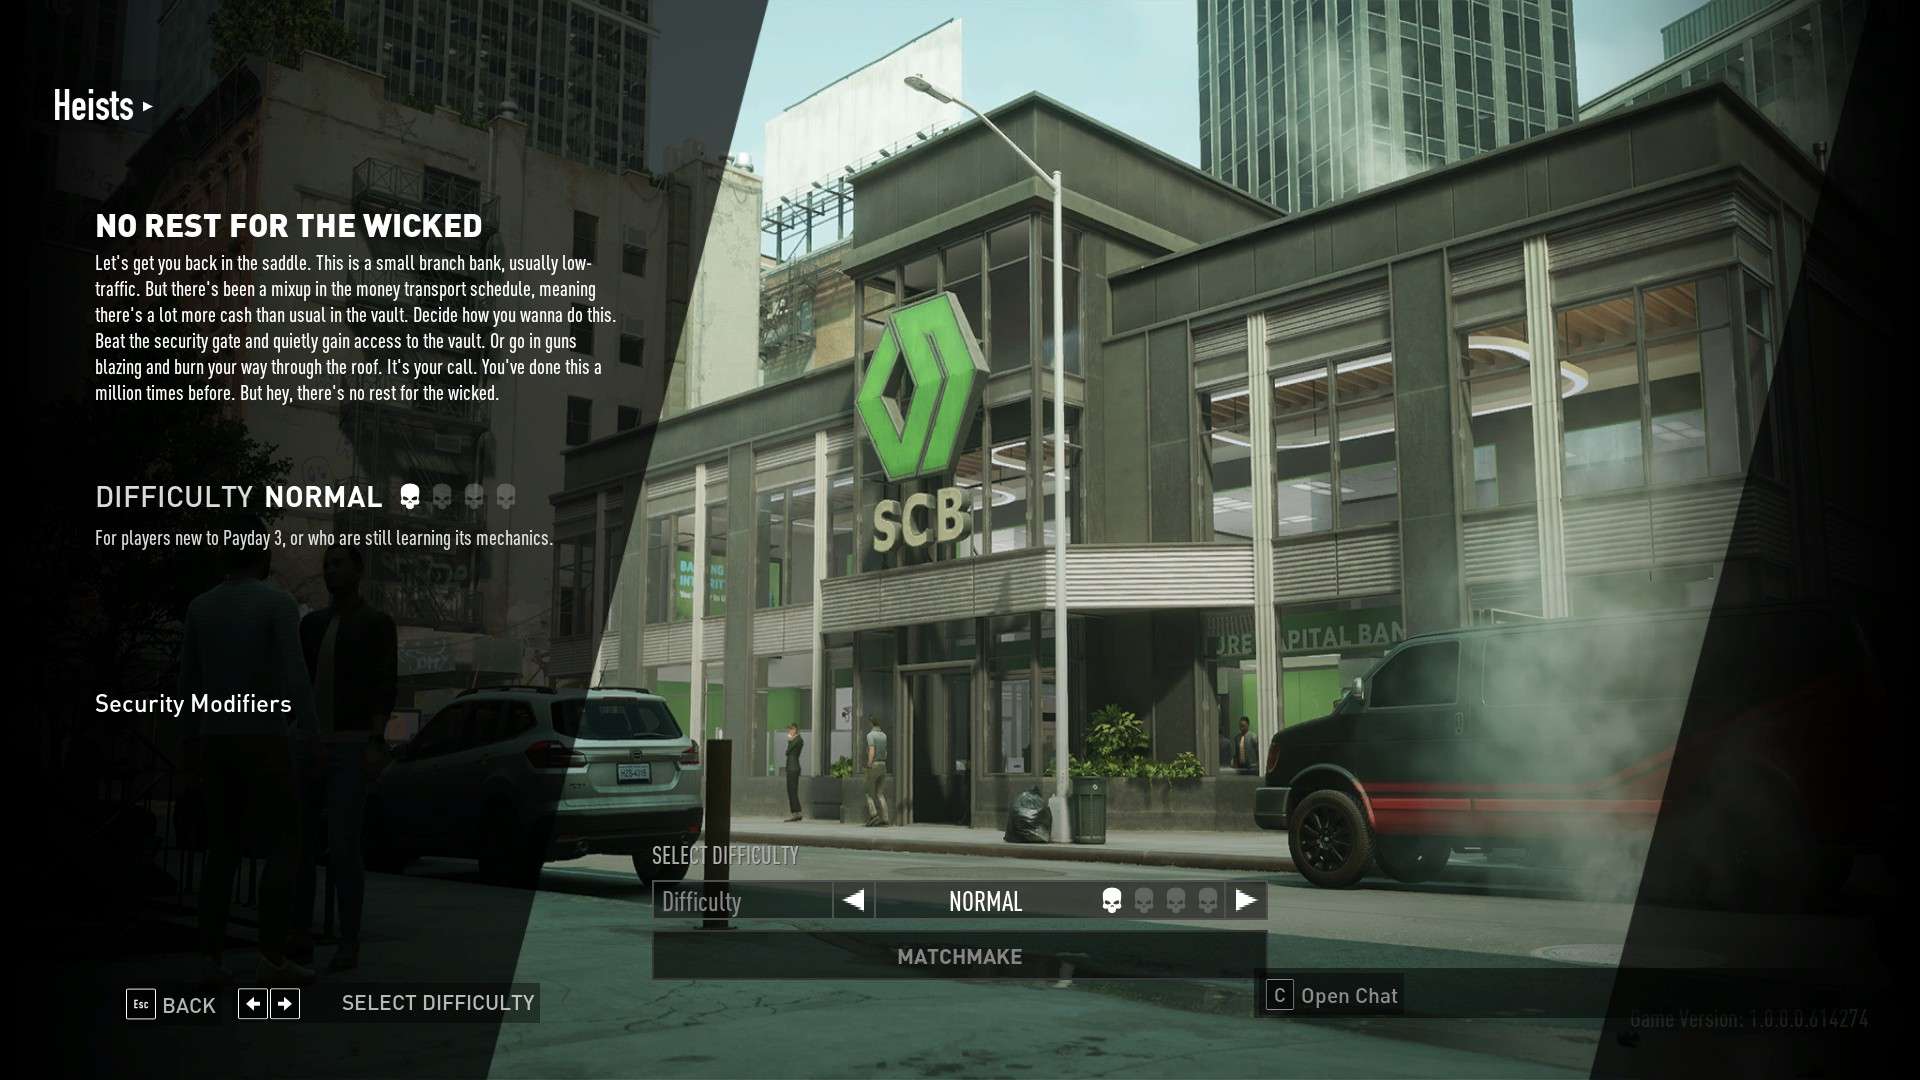
- Select the difficulty you wish to play on.
- Click on MATCHMAKE to start the Matchmaking Search
- Now you have to wait a few minutes or seconds to find a server.
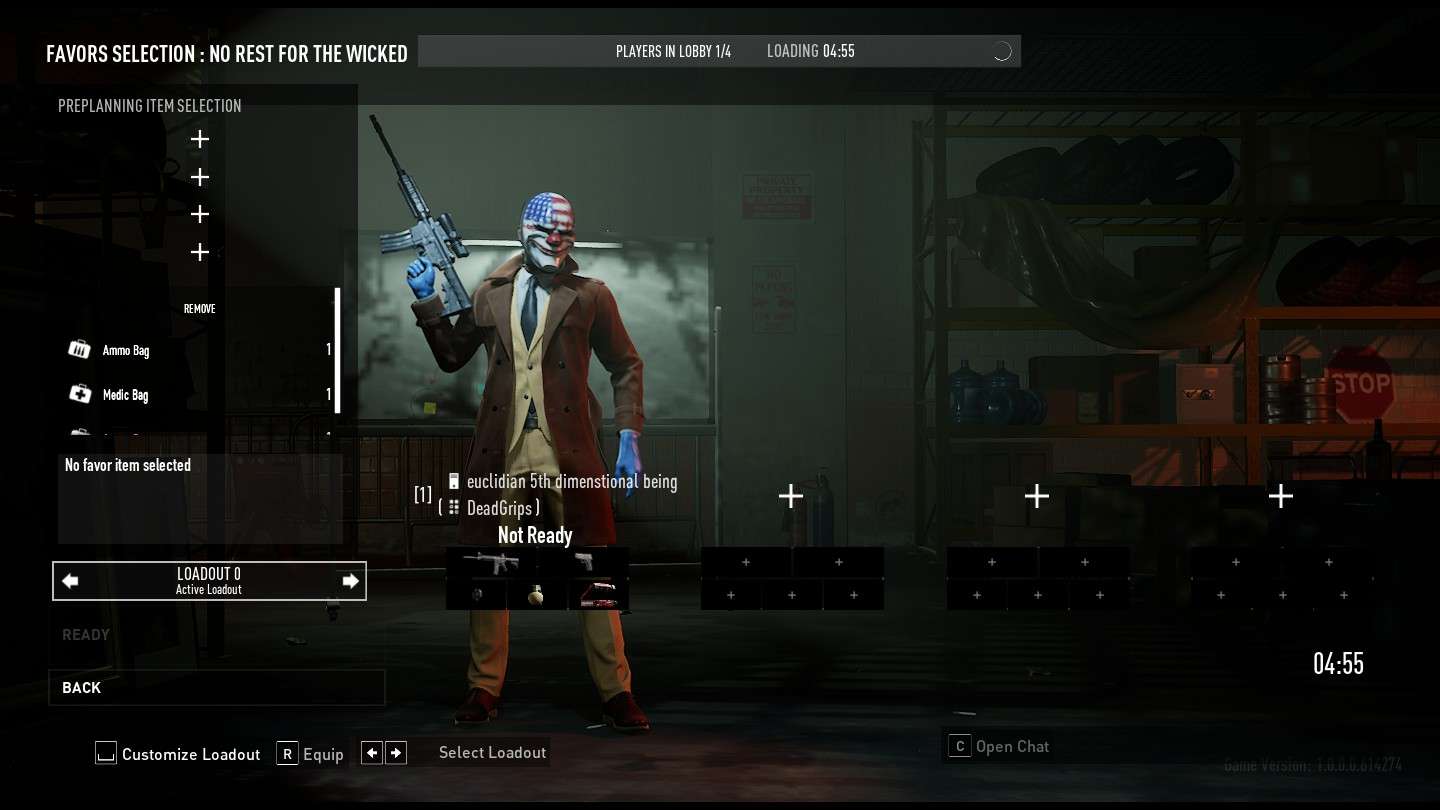
Lobby
Once you are in the lobby, you can invite your friends (optional), change your loadout and use preplanning.
Preplanning allows you to place assets (equipment bags for now) for a cost.
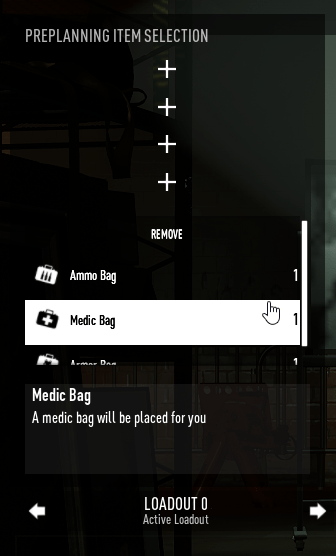
Preplanning offers equipment such as Medic Bag, Ammo Bag and Armor Bag.

Click on READY to confirm your choices. Once everyone clicks READY or some time passes (assuming one of the players clicked READY), the game will start.
The End
Now that you know the basics of PAYDAY 3, you can start playing it.


i feel that this game is unfinished. on PC, in the keyboard settings, many of the options say ” string table contents missing” meaning i dont know what that key does before entering a game, and so cant customise my keys.
I feel that the guns are weak and need a buff.
I understand this might a server test but not having the option to play solo disappointed me.
Overall i feel the devs focused on visuals and cosmetics (even thought the entire world looks over-exposed and pasty) more than game play and team play (people that have played the map a few times are already running in, completing objectives, and doing the heist before newbies have had a chance to look around)
Surprised that there is only 1 map, adding the jewellery store would have been good
Lastly, i feel that payday 2 was a much better game on release day than payday 3 will be.
You can pick more than one tree it just consumes a perk slot
nice starting guide 😉 you can add that C-stack currency is use to buy cosmetics (charms) for now
anyway i can start heist solo i can only matchmake
you can matchmake and just ready up without anyone in the lobby
unfortunately you cant play the game without some players joining you