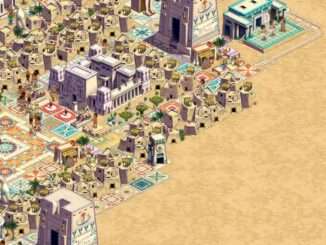
A tip to help manage your supply yards and get resources where they are needed.
How to Manage Supply Yards and Get Resources Effectively
Resource Collecting / Distribution
If you are struggling with logistics in the game, it helps to build storage yards/granaries near each of your collected resources/food and trading locations (ports), where the storage yards/granaries are on “Accept None” mode for everything, but then on “Accept All” mode for the one specific resource it is close to receiving. Then you put more storage yards/ granaries across the map closer to the buildings that consume resources such as your bazaars near housing and put these storage yards on “Accept None” again, but importantly, “Get All” mode for the specific resource you need in that location such as food, pottery, beer ect, using a different storage yard for each good.
This method forces the carts in your storage yards to do the hard miles of transporting goods to where they are needed instead of your port workers or bazaar workers travelling far to get them. It definitely helps to have your storage yards on this game specialise on one resource at a time otherwise your workers go all over the place to get what they need and most storage yards will fill with useless stuff instead of what you need. If storage yards are on “Accept All” they will just ‘accept’ goods but if they are on “Get All” they ‘go get’! Also if you pause the game when you place storage yards and press “Accept None” while paused, it stops idle carts rushing to put other goods in there.
For example, build a handful of supply yards only Accepting pottery close to your pottery buildings. Then build one or two supply yards on “GET ALL” for pottery in a spot closer to your best housing’s bazaar. This way your pottery carts wont travel far to dispose of its goods and your bazaar lady wont go far to receive them. The storage yards cart worker will move them closer instead.
Ports
You can tell your ports to only trade certain goods. If you place more than one port the ships seem to all want to trade at the same port still which can cause a backup in ships. If you tell each port to only trade specific resources the ships will then only trade at the port relevant to them. You can then place storage yards for each specific traded resource close by the correct port greatly improving trade efficiency by water. If the port carts have to go too far to get the traded resource, it will take a lot longer for the ship to leave and then come back again.
I have also had times where traded food using water trade routes will only be imported if there are storage yards accepting food near the port as the granaries seemed to not accept traded food.
Monument Building and Gold Mining
This method also helps with monument building, putting plenty of storage yards on “Get All” for the construction resource such as stone, close to the monument being built and plenty on “Accept All” by the stone itself. If it’s a mission with gold mines place your Village Palace as close as possible to the mines as to not slow gold production because production buildings pause until their resource cart returns to them. Hope this helps.


Be the first to comment