
This will help you create a strategy for how to win. You’re not going to win if the RNG gods hate you, but this guide will give you a recipe for success if the RNG gods only dislike you a little bit.
Winning Tips
Introduction
In this guide, I’m going to give you pointers that will help you to win as long as the RNG gods don’t rain death down upon you by giving you a bunch of branch tiles early on in your run.
There are lots of talk / strategies on limiting your card choices and respec’ing every time you run with a different set of towers. While it will give you an edge, I have not found it completely necessary – after all I did win when I got the achievement to use every tower, which completely polluted my deck and yet I still won.
So bear with me, and hopefully these tips will give you an insight into a better strategy.
These sections are in an order to give you kind of a recipe along with the strategy behind each section. So I’ll introduce things as they are needed and give you background info for what you will be doing next.
I hesitate to give you any single tower combination – I love this game and think there are lots of combinations that will work, it’s just understanding what the cards/towers/abilities do and utilizing these effectively.
RNG Gods Will Hate You
When this happens, just quit and restart. You aren’t going to win and it’s better to invest time in a map that is more conducive to winning.
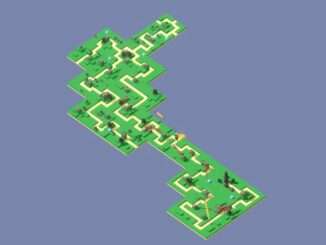
This is a map where I threw in the towel and I suggest you do the same if you get so many junctions this early in the game.

Earning Money Is a Priority
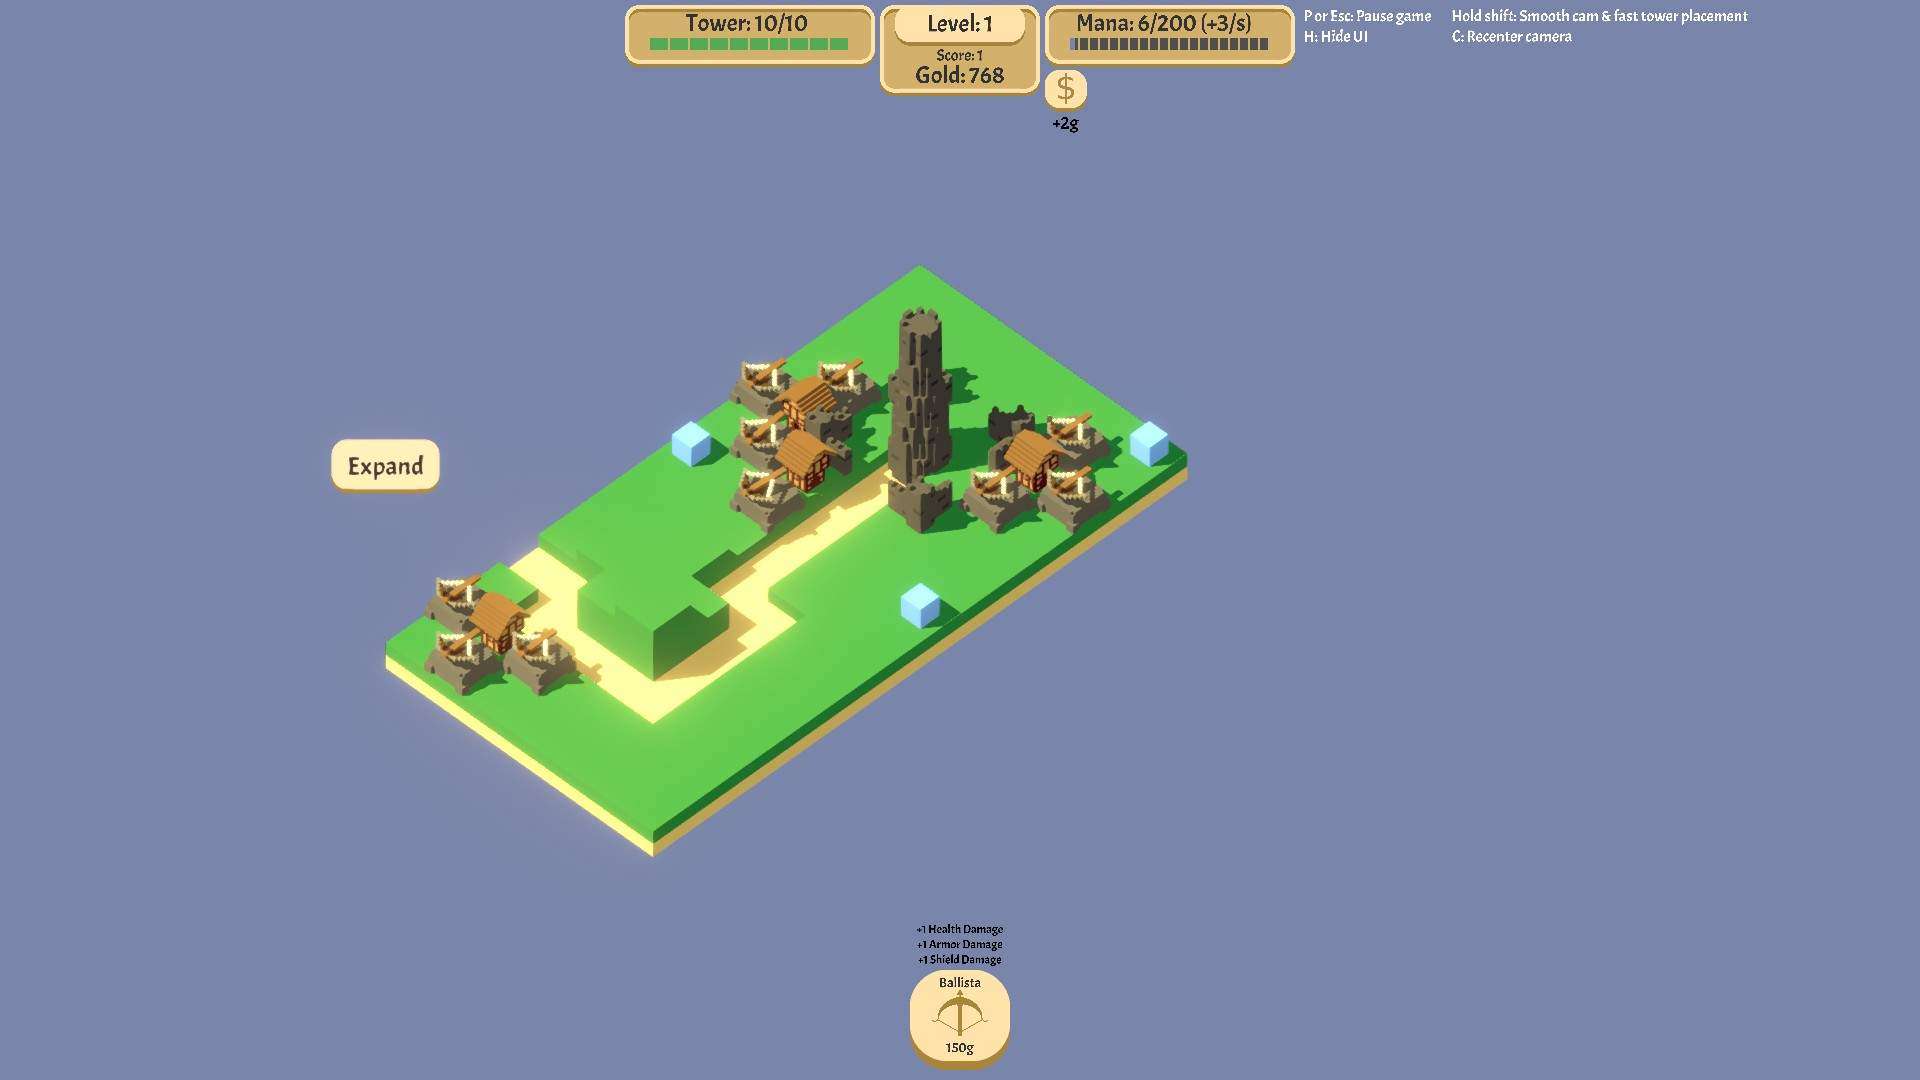
When you first start, you will have likely have several houses around your base. By having a tower next to the house, you get (wave)*(num towers around houses) coin when you expand. As the wave # increases, this is some serious coin.
Your first 4-8 expands should be focused on putting down ballistas around ALL sides of EVERY house that is uncovered. This is money that is just going to continue to increase, so make this a priority.
You should get Banditry cards starting after wave 5 or 6 and collect them up to Banditry Level 3 (+6 gold for every kill) by level 25. I have found that taking them before wave 5 often leads to my demise when I prioritize it over a Ballista range or armor upgrades.
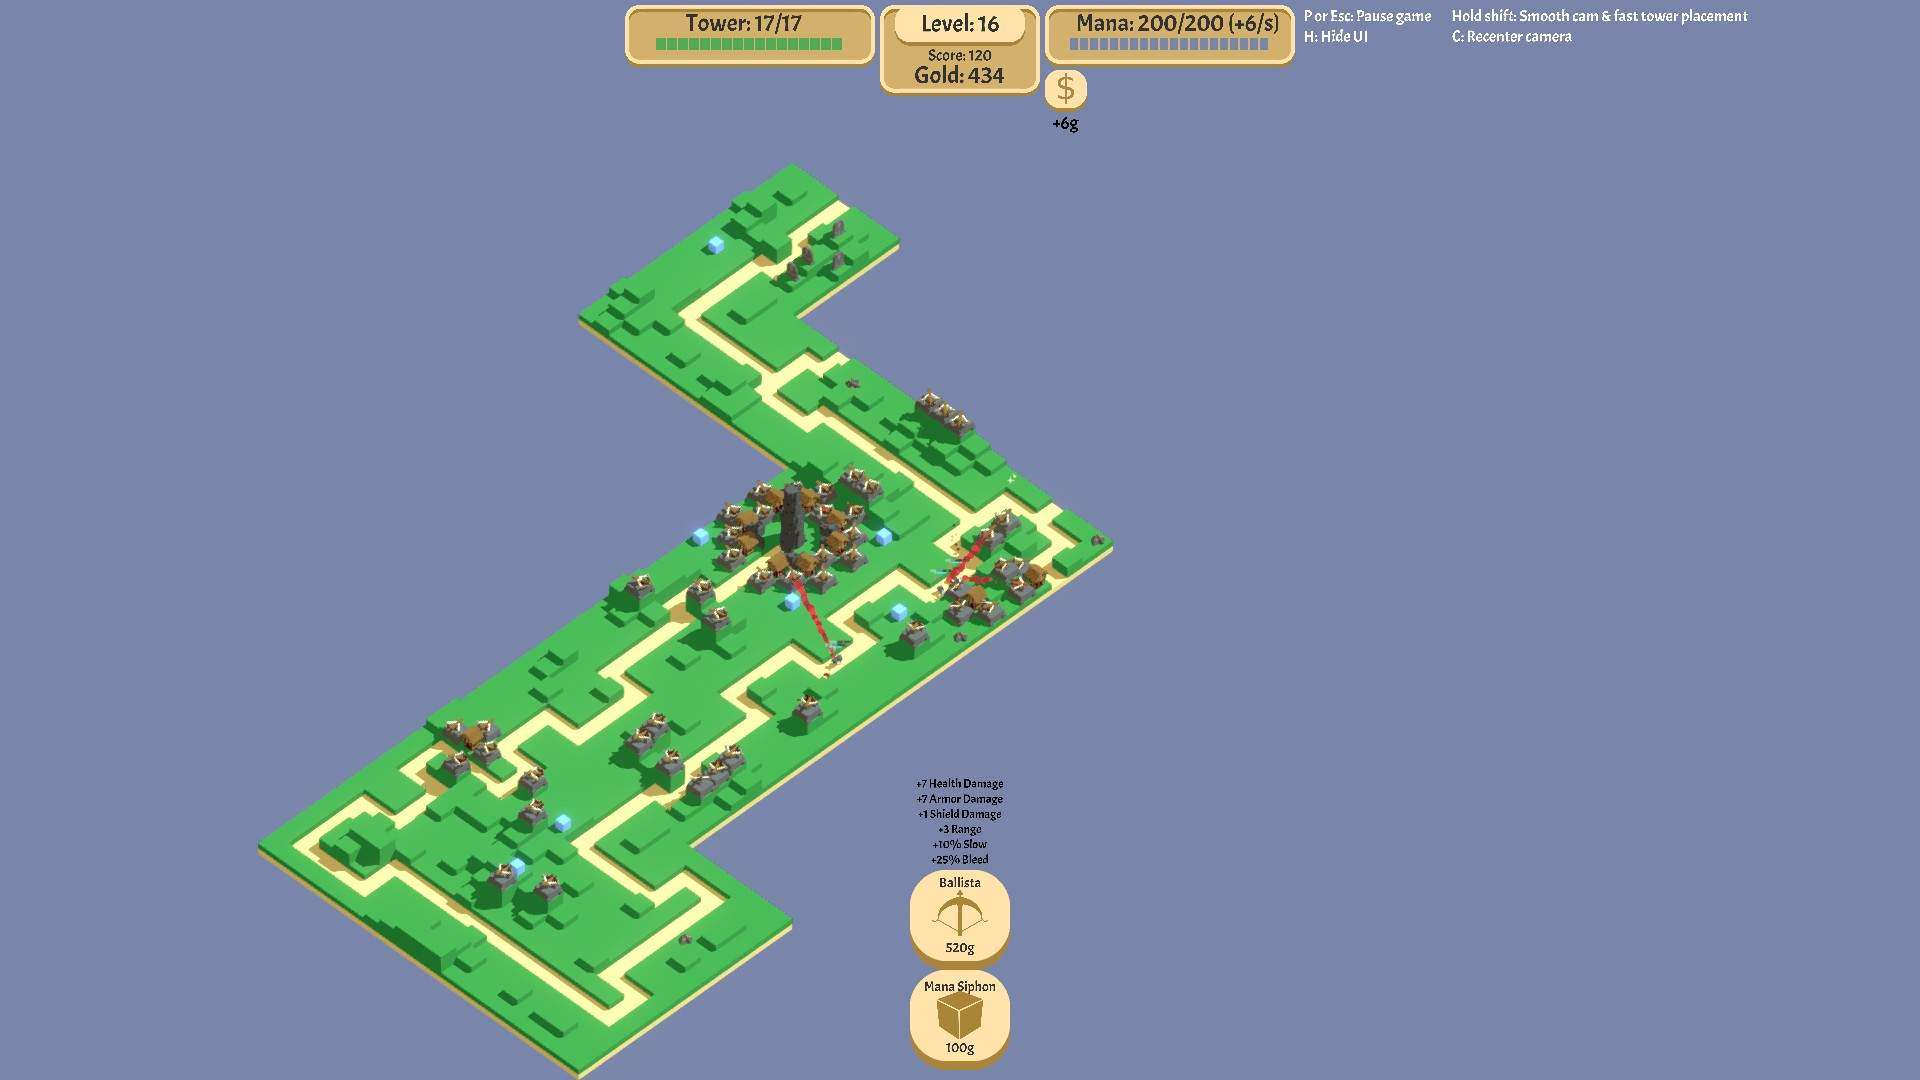
In the image below, notice the +2g under the $ sign at at the top of this image, right under the mana bar? That’s your bonus banditry. You want this to be +6 by level 25.

Picking Cards Is an Artform
You have the Increase Draw Frequency II where you get cards EVERY turn right? If not, go to upgrades and get that first.
With that out of the way, let’s review cards and how you can improve your chances regardless of how many are in your deck:
If you pick a card, for example Obelisk, now all the other cards for Obelisk can be brought in on any draw, and since you’re really not going to have a need for Obelisk until after wave 25, you are diluting what you really need now and lessening the chances of drawing the Ballista +1 range card you really need early game.
So you really need to focus the early waves (up to 25 is a good rule of thumb) for no more than 3-4 towers/abilities.
Ignore the awesome card you will want eventually – and get the cards that will help you NOW.
Don’t waste time on cards that aren’t the strength of the tower. For example, Getting better shield damage for Obelisk or better health damage for Poison is not the best use of your choice.
Study the guide by Ohm_is_Futile for tower types. When he says a tower is weak against some damage, never get a card that will improve that crappy stat! Better yet, don’t pick them at all and exclude them from your cards if possible.
The Ballista upgrade that increases base damage by +3 for a small mana cost? That’s not going to be small when you have 50-100 Ballistas out on the field and you really want that mana going to other towers. I recommend these cards ONLY if you are running a Ballista only run or the Ballista + 1 other tower achievements.
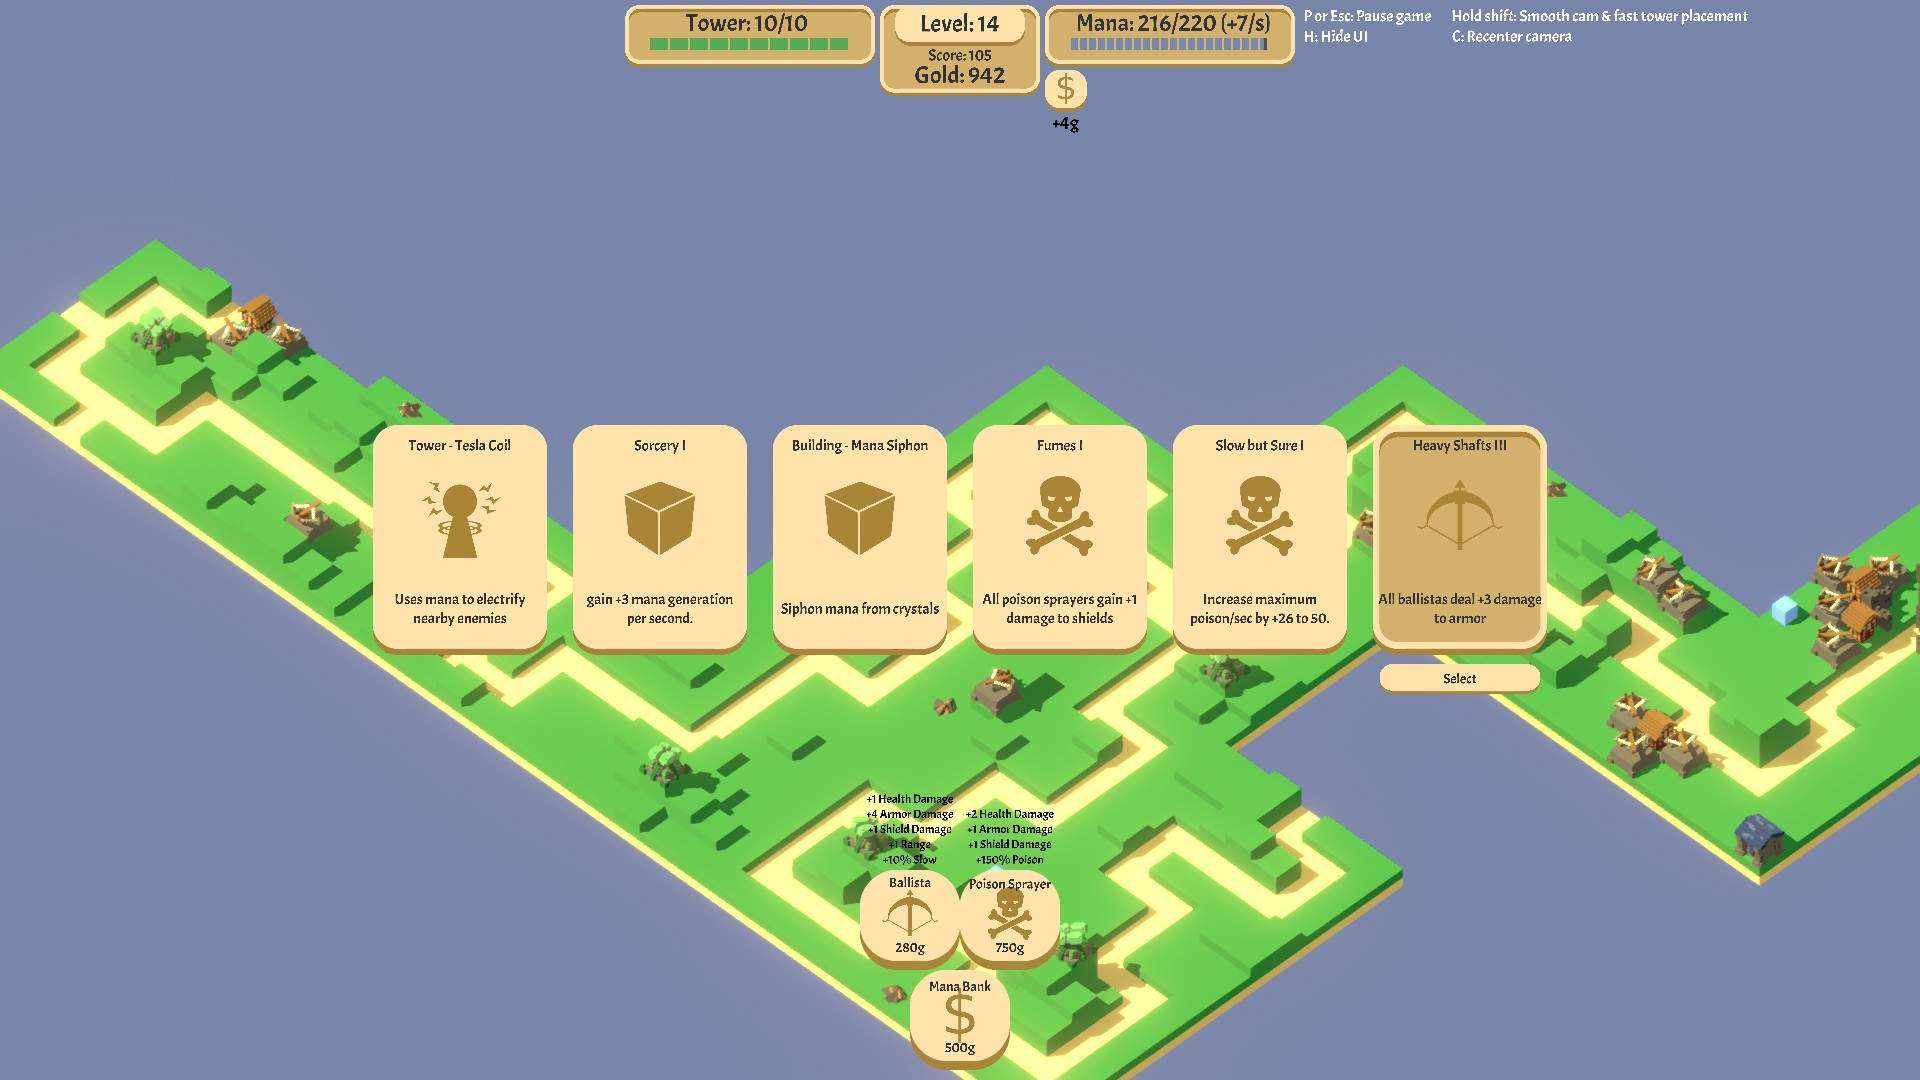
Here are some examples of card draws and my reasoning behind what I picked:
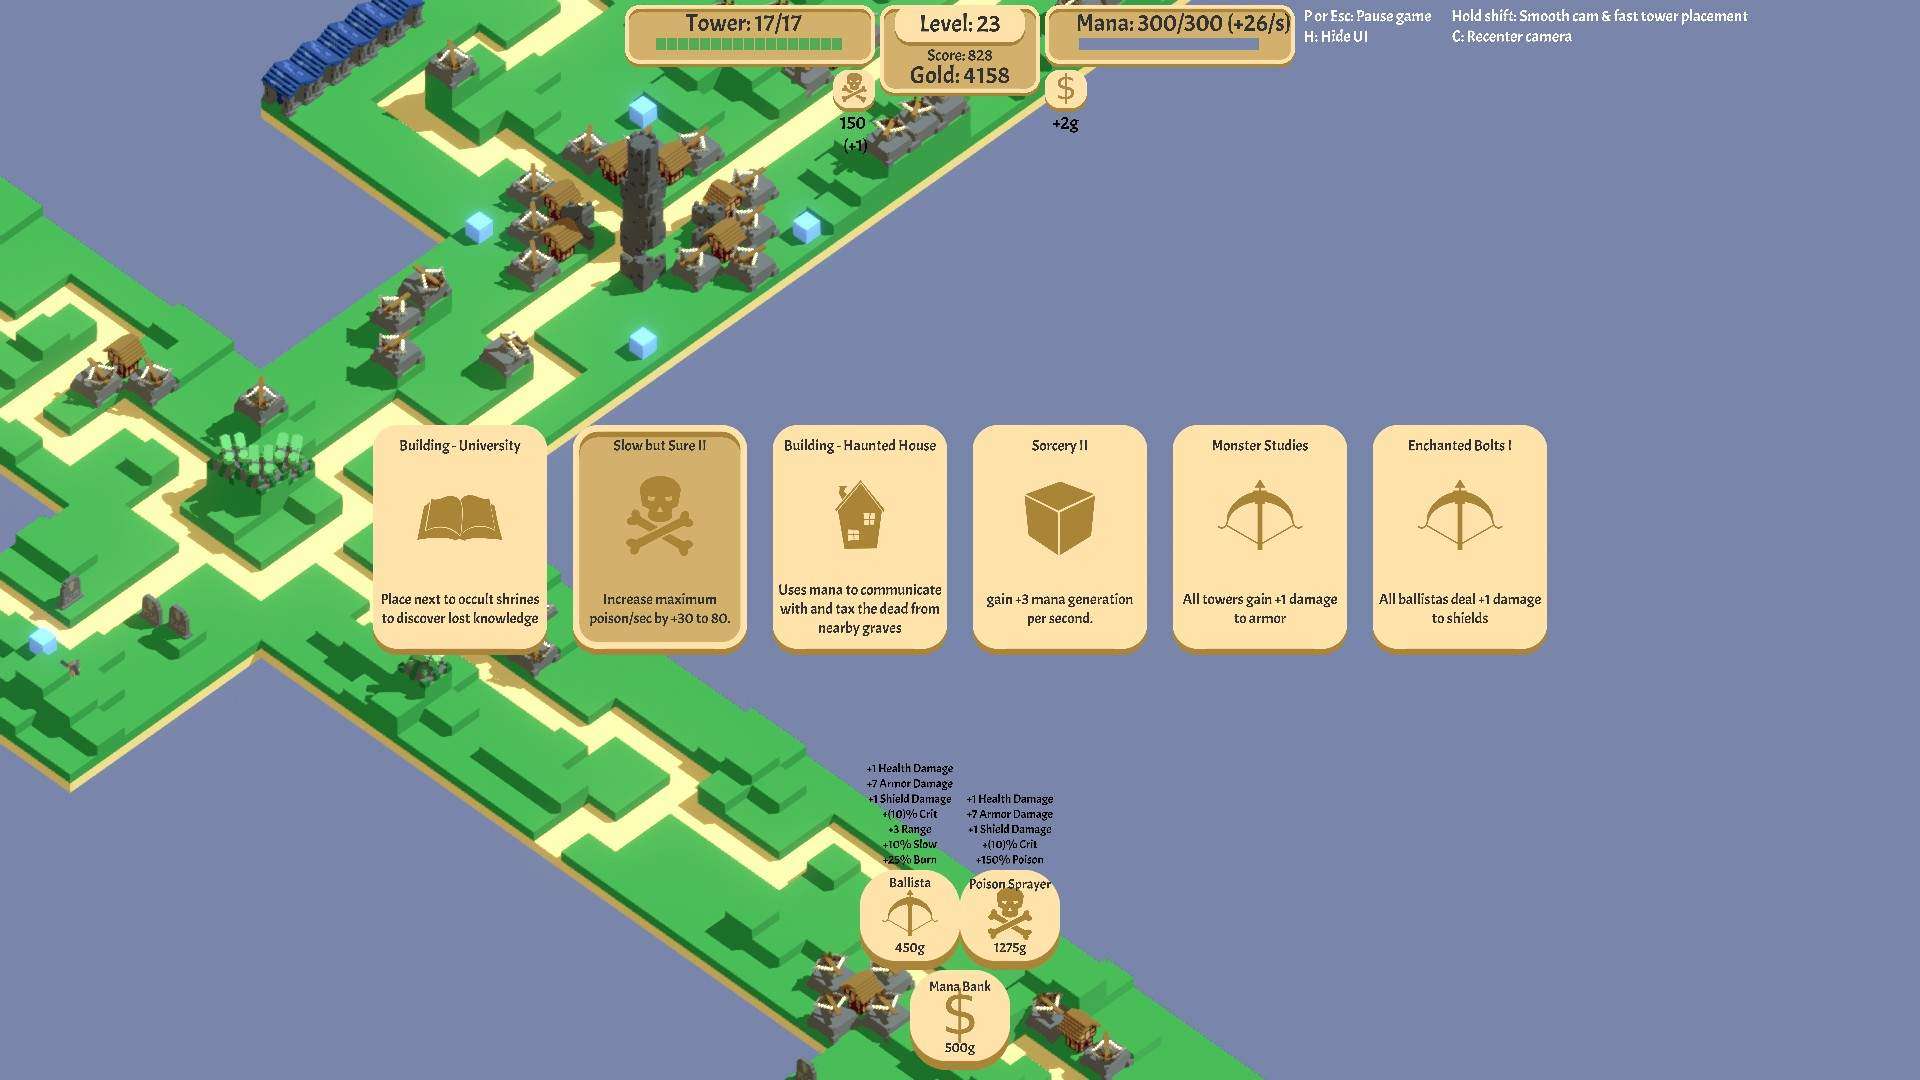
Getting armor damage is huge for Ballistas and getting it early is even better. I will pick a card like this over the Tesla, which I eventually want, or the additional poison, which I really want, because this completes my set on Ballista Armor upgrades. If I pick something like Tesla, now all these other cards could show up in later draws, and I may never see the Armor upgrade again.
So, once you start with one card – keep going to level 2 and level 3 before you pick another card.
Any Crit (+5 / +10) should be picked over any other card.
Crits are super king in this game and getting your crit to +20 by the end of the game will really help you win easier.
Pathing Is Everything
How you grow your paths is everything in this game. If your paths suck, you are going to lose. How do you make a less sucky path?
Optimally, you want to create a map where each entrance is +3 longer than the next shorter path.
Take this map (which is a such an awesome map – you wish for these in your dreams as it makes winning so much easier), but I digress.
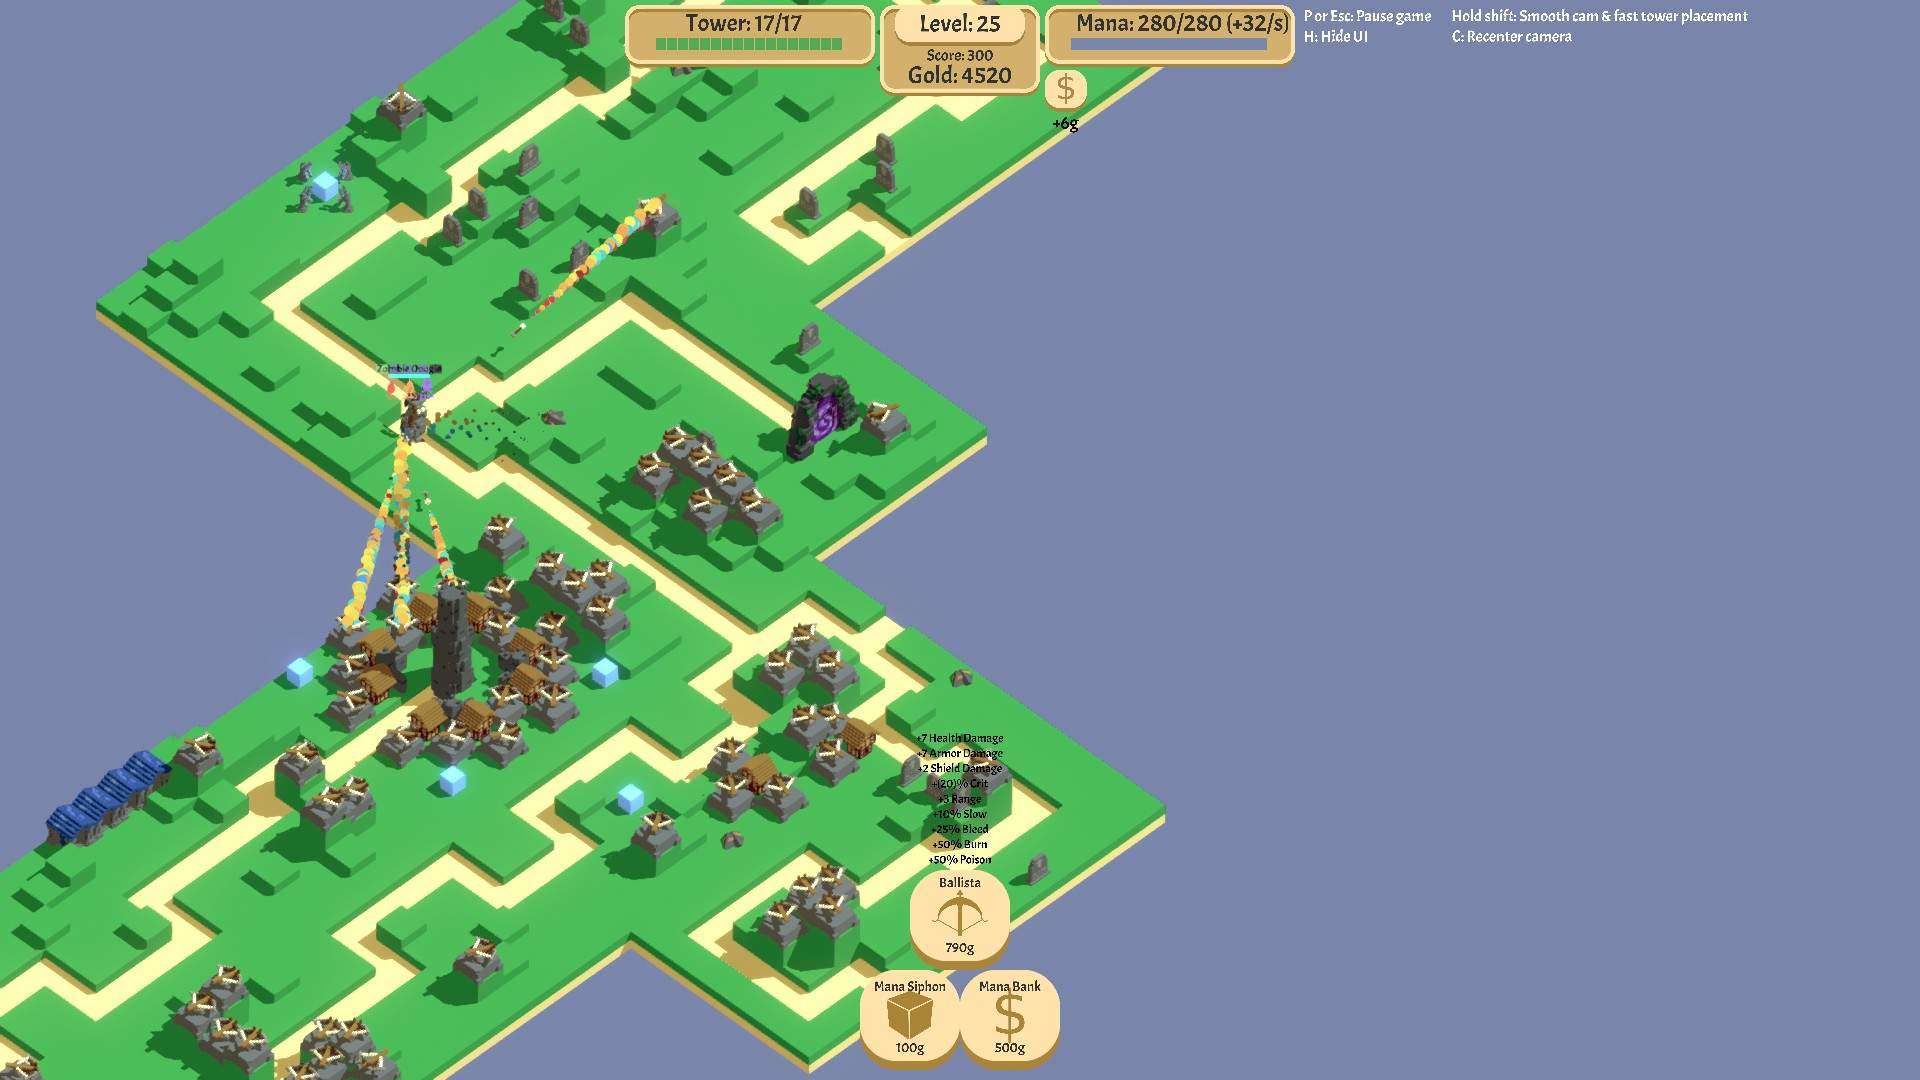
Notice when I get my first split and I make a path longer than the others:
There are now four entrances. While I am not quite there, I am trying to get a good +3 spacing between each entrance so that the creeps limit their overlap.
I can’t stress this enough – Keep expanding in one direction until you have at least 3 blocks between entrances.
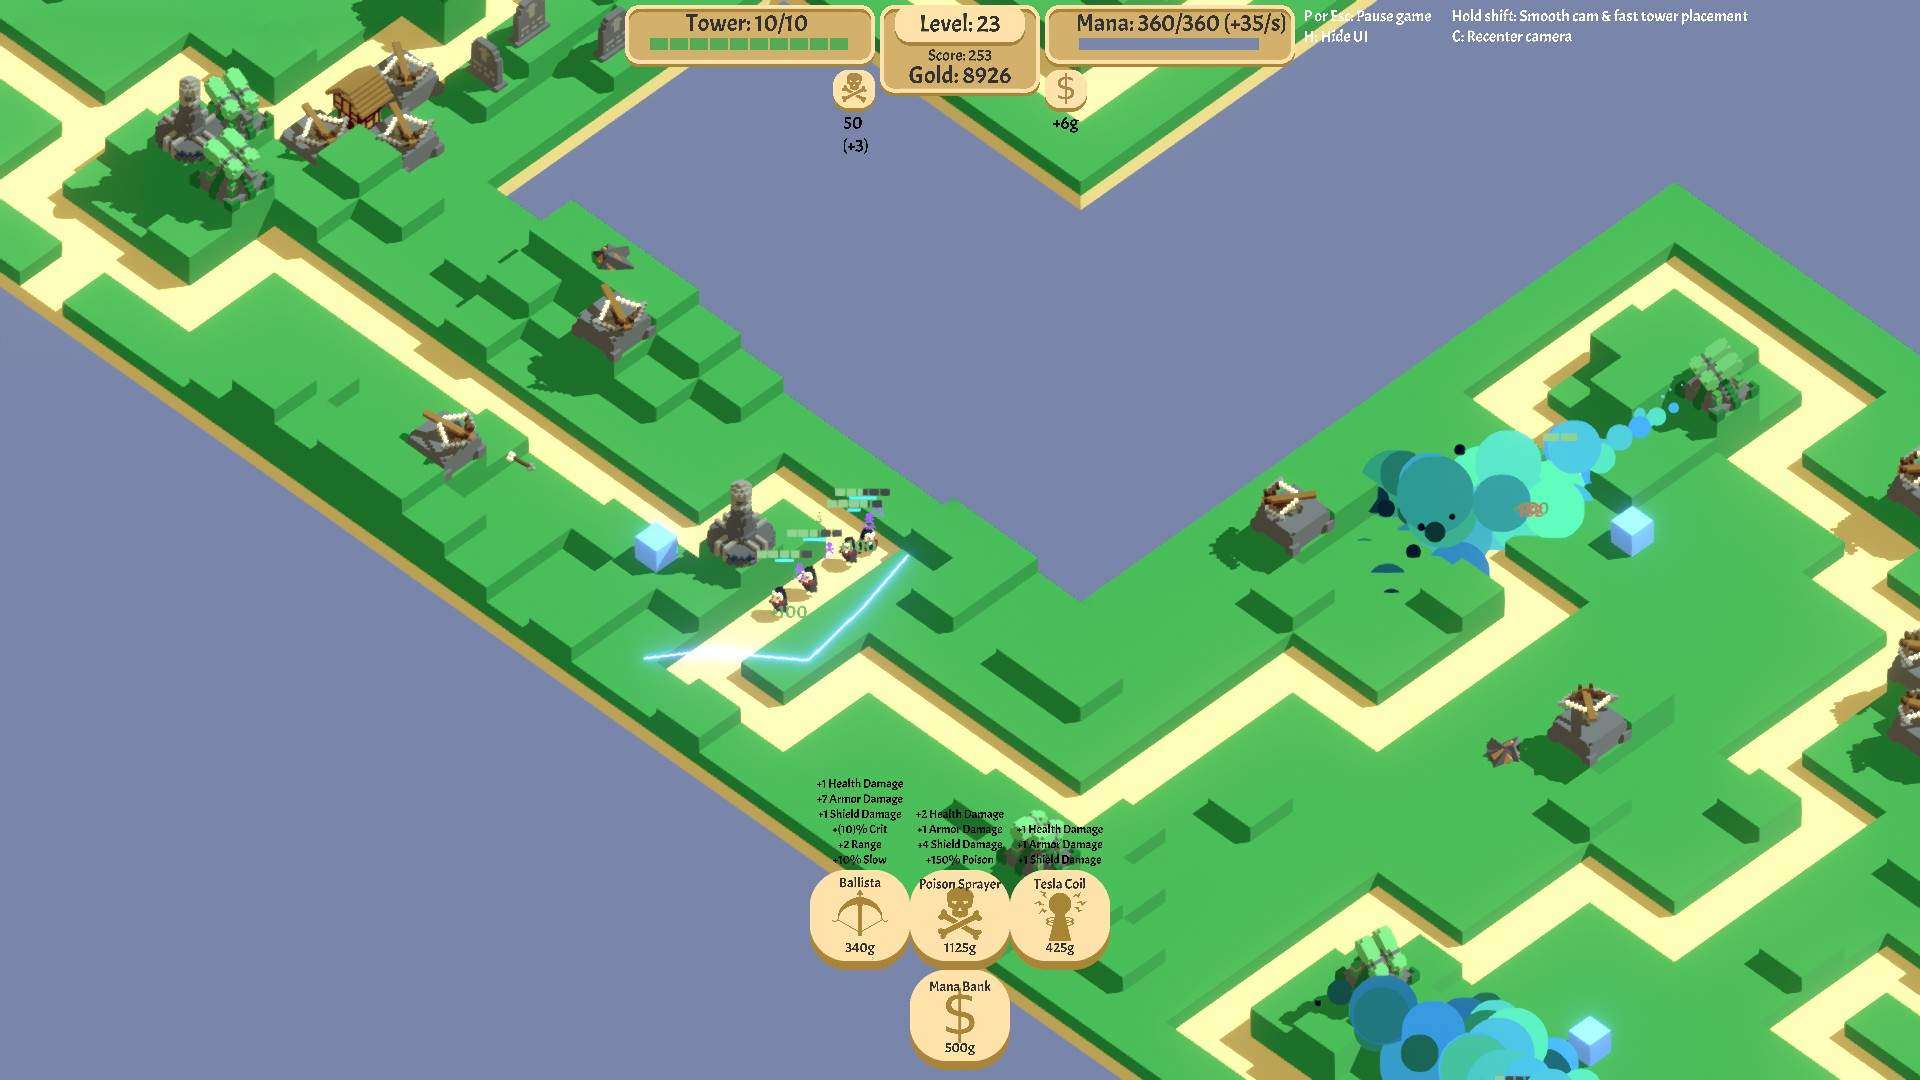
Here is the same map, 9 levels later:
Note how I have good separation between the paths!
And if you keep trying to do this and the RNG gods decide they hate you, re-roll because if you have 3 or more entrances all hitting you at the same time, you’re likely going to lose and sometimes they become unsalvageable.
Upgrading Towers
This took me the longest time to come to grips with and that is until Level 40 or so, you really should only upgrade towers in an emergency.
Just lay down level 1 towers.
The costs of upgrading towers just doesn’t pencil out – it’s better to save that $$ and lay down another tower.
Once you hit level 40 or so, and you’re starting to run out of any appreciable elevations that can be used, upgrades make a lot more sense.
Levels 1-15
The first 15 levels are typically make or break. You will either be set up for the next set or you will be dead or you will quit because the RNG gods hate you. The good part about this is that the first 15 levels are pretty quick, so if you need to restart, it’s not too bad of a time investment you’ve lost.
Levels 1-8
- Put down ballistas around every house
- Only pick Ballista + mana cards. Note -> University if none of those are avail
Levels 9-12
- Create a “long” path that is 3-4 blocks longer than the next shorter path
- Get an AOE tower that hits many enemies at once on 3 of the primary paths (Poison or Mortar or Tesla)
- All ballistas not around your base should have priority “Most Armor” and “Most Health”
Levels 13-15
- Get your mana flow right for the towers you have
- Get your spacing better so each entrance doesn’t overlap the enemies
- Pray the RNG gods don’t hate you
Shields
Up through level 15, you’ve only had to deal with Armor & Health. With level 16, you’re going to get shielded creeps.
A tower that does good armor damage isn’t going to do squat if the creep still has shields.
You need to start thinking about how and where you are going to whittle down shields so the shields are all gone ASAP.
Go and look at Ohm_is_Futile’s guide again. Look at the towers that are strong against shields.
Pick one of those towers to use and place many of them as near the entrances as possible.
Continue placing them down until you notice that 90% of the creeps have lost their shields before your main killing area(s) that will focus on Armor and Health.
The Vampire Is a Bastard and the Demon Can Go to Hell
These little guys are my nemesis. They have ruined many runs for me and made me restart. The Vampire slowly loses health until you think he’s dead and then he turns into a quick little bat and sprints for your base.
And they regenerates health if not taking damage.
And they tend to travel in groups – which makes them very dangerous!
If you are using slows on your Ballistas, this will cause the lead vampire to get hit, slow down and your towers are now focusing on the next one while that first bastard is regenerating his health.
Can you tell I really hate this little guy? Good, because I do hate him and this is how you have to deal with him:
You need to create a group of 4-6 Ballistas or 1-2 Obelisks near each of your kill zones that have a priority of “Nearly Dead” and “Least Health”. When your other Ballistas hit them with slow and they drop back, these towers will finish them off.
These are the Vampires:
And these are the Demos:

Levels 15-25
I like to call this section of the game “Getting cocky” because you get into a rhythm of expanding the paths, dealing with the splits, adding AOE’s and building up your mana farms, and things seem really good.
You get complacent and then levels 27-30 happens and chews off your leg and spits out the bones and you see how ill prepared you really were and being cocky and confident will be your downfall.
If anything, levels 15-25 are the most important levels to prepare for future waves and if you don’t, your time is very limited indeed.
Level 16
All the towers that had priority of “Most Health” and “Most Armor” now need to be set to “Most Shields” and “Most Armor”
Level 17-24
Continue to expand the longest path – but don’t neglect the other paths! You should be expanding all the paths at least 1-2 times while expanding the longest path 4-5 times.
On the longest path, put a few extra towers that will whittle down shields for the level 25 boss who is stacked with shields.
Get your “Nearly Dead” + “Least Health” groups set up and watch them carefully and reinforce as necessary.
Get all the way to Banditry III.
Levels 25-35
I’ve lost more on level 27-30 than any other level, so YMMV, but this is really the test to see if you’ve got a layout that is working.
Universities are the key and getting the Crits and +1/+2/+3 learning you can get because these are really THAT good and are indispensable for getting the Health / Amor / Shield upgrades in addition to the cards you’ll draw.
Basically, you want to get ~10 universities running if possible – you are limited by how many of the veins spawn. And you want to get each university to +10 on each of the studies.
If you do this, you will be rewarded with 20-30 upgrades to Health, Armor + Shield damage for all your towers.
You should also be expanding your kill zone to mop up the fast runners, vampires and demons because they are going to come in force. You can either use Ballistas or Obelisks, with priority set to fastest for some of them, Nearly Dead or Least Health for others.
Finally, the longest path should be set and you should start to seed this path with Shield and Armor busting towers.
Personally, I have tried the Haunted houses so many times and it just hasn’t penciled out for me. Some people swear by them, but I’m going to need more proof and details, because they just never seem to generate the amount of coin for me.
Levels 36-45
Endgame!
Level 40-41 are the toughest in my experience and from 36-40, I fill in every +1 and even +0 spots with Ballistas to make sure things are dead way before my base. Numbers count here. It’s all about volume.
In order to get the slows to be distributed, it’s a good idea to have some set to priority Highest shield, some set to Highest Armor and some set to Highest Health. Don’t mix them! This way they will target only those with shields to slow them down where needed.
Levels 40-44
Upgrade your towers. You’re getting a lot of coin and you need to closely examine what creeps are making it the furthest and increase damage on the trait that will take them out.
Make sure to get the portal for your longest path expanded. You don’t want to have 1-2 hours invested and screw it up by opening that portal last because the last boss will then spawn at another portal.
Level 45
I had a map where I thought I had it won and the darn last boss barely lived. Since then, I am much more aggressive on the last level.
As towers become idle because no more creeps are coming. dispose of them and gain back the coin.
Use this coin to either add more Ballistas or upgrade existing towers.
Don’t leave anything to chance!
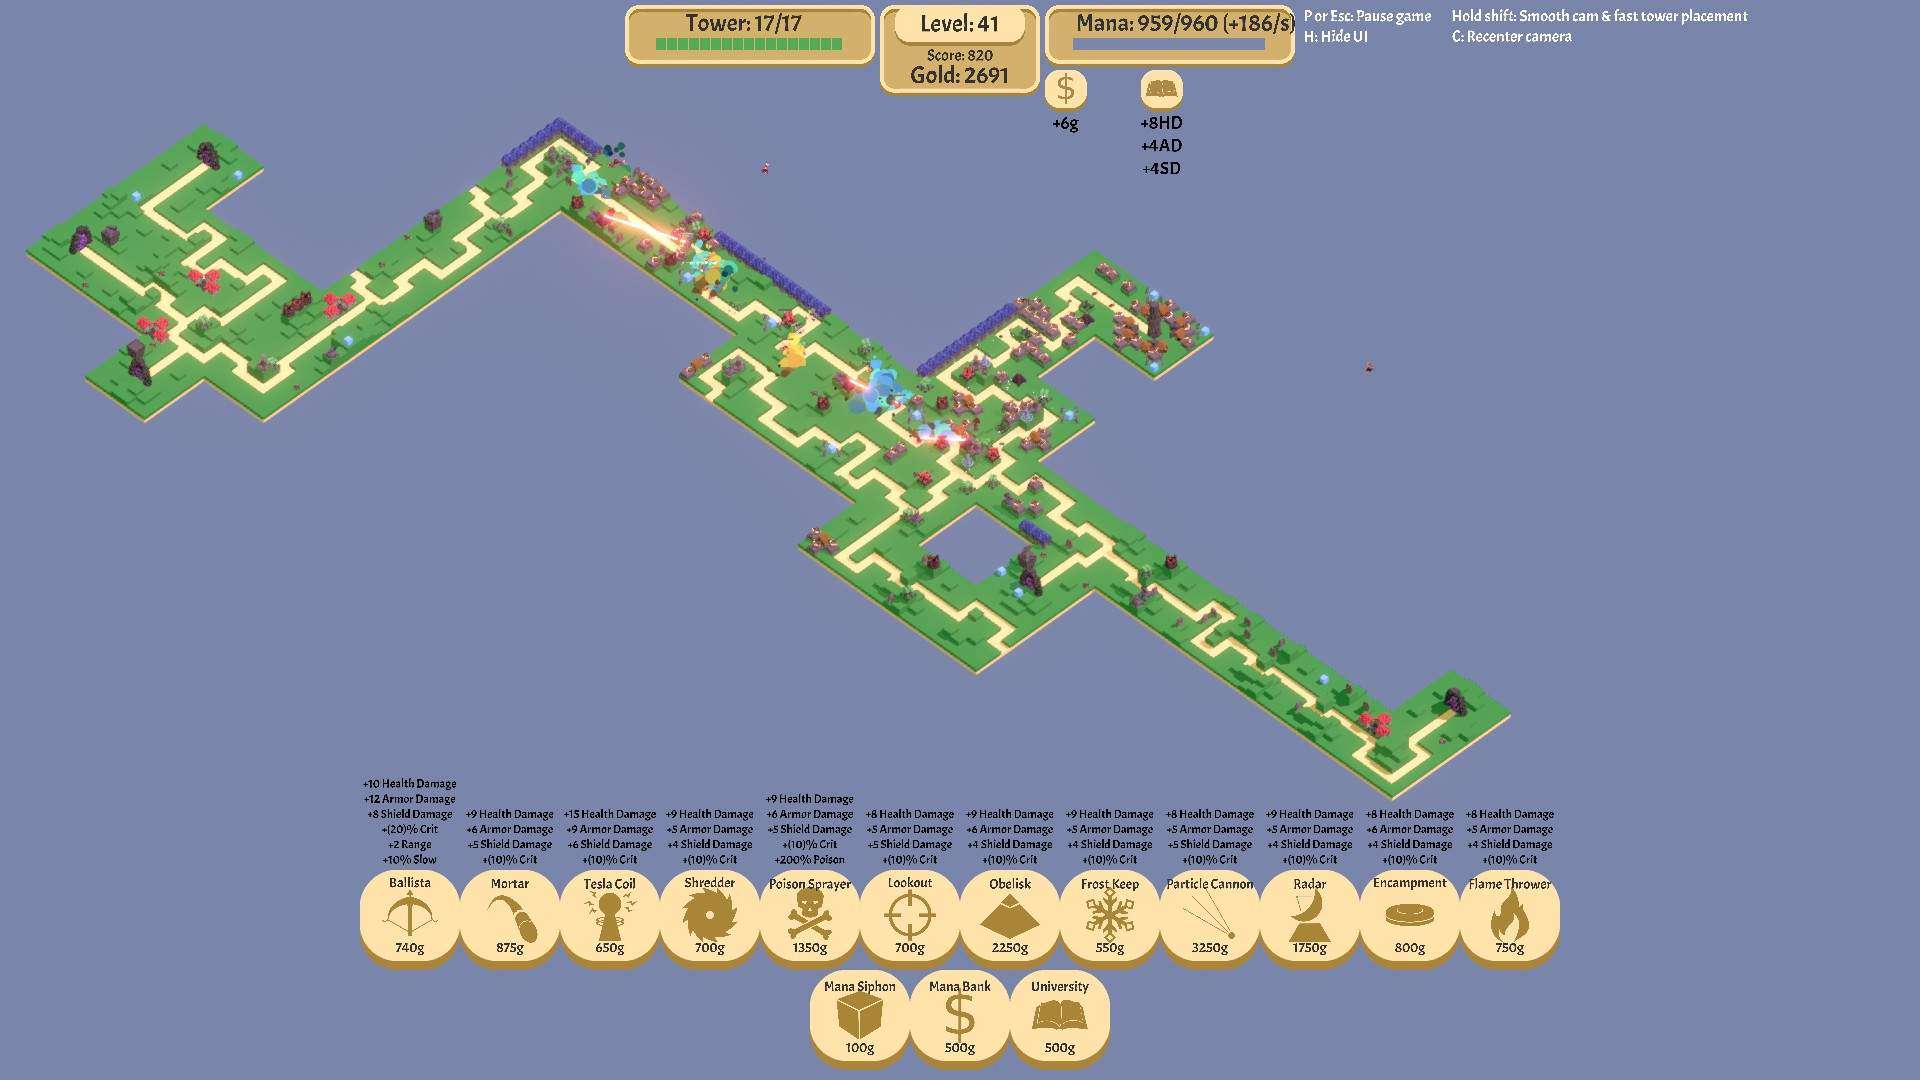
This is the map I lost on. Arrghhh!

Great guide with lots of useful information. Really appreciate all the effort that went into this.
Great guide. Just won my first Double-Defense using these strats. Thanks.