
Struggling to succeed in Shotgun King? Feeling overwhelmed by your options and overran by hordes of cascading white pieces? Look no further! This guide will give you the keys to the black kingdom and explore the ins and outs of the chess board. With these tips, and the luck of the draw, you’ll be tackling Very Hard and beyond in no time! So pump your trusty shotgun, brush up on your theory, and rip and tear through the White position!
The Basics
How to Play
Shotgun King doesn’t start with a tutorial, so it can be pretty daunting to be thrust straight into the action, especially without any knowledge of how chess works. This guide will start with the basics, as any good guide ought to do.
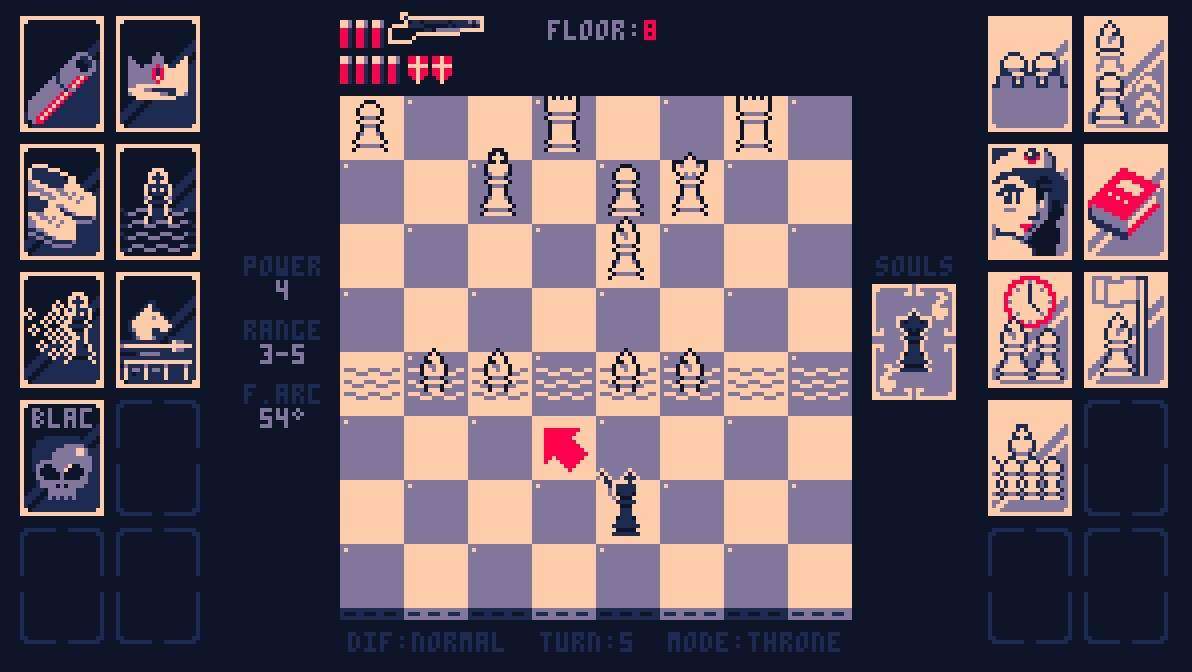
Upon selecting a difficulty, your screen will look something like this:
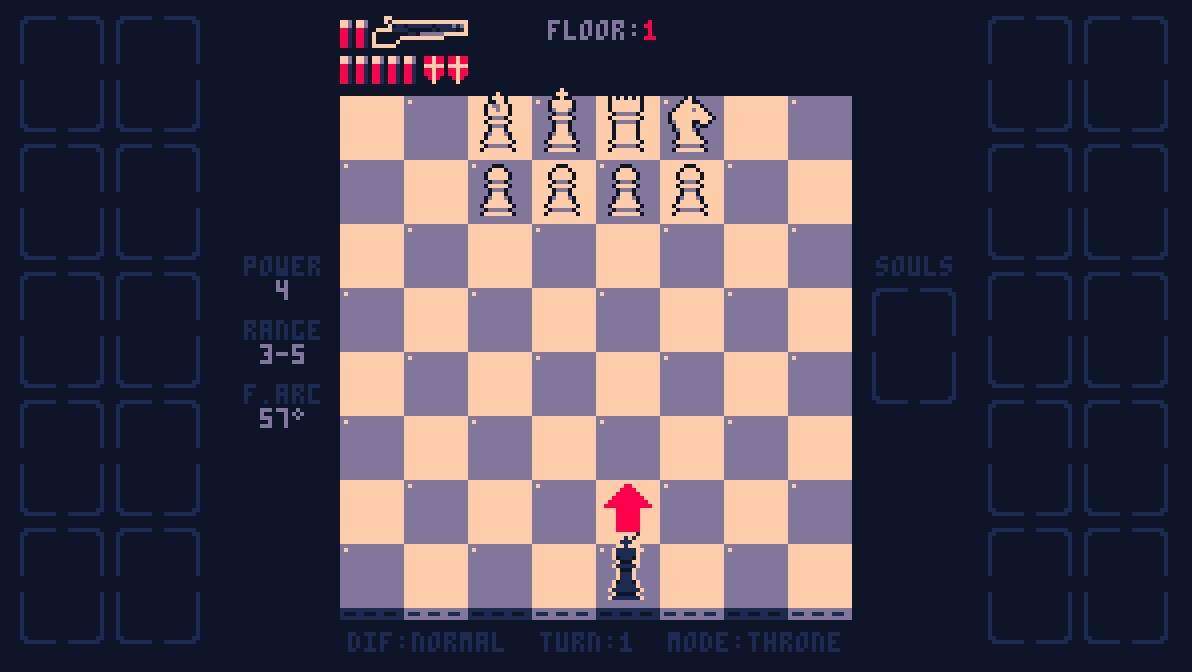
You play as the black King, and you can move one square in eight directions, both orthogonal and diagonal, to fight the enemy, avoid capture, and destroy the white King. Once the enemy King is eliminated, all pieces on the board are destroyed, and you move to the next floor. The game is controlled almost exclusively with mouse inputs. In order to move your King, click any of the tiles around you. The red arrow shows which tile you’ll move to, and one turn will pass. I’ll talk more about what happens when you take a turn later.
User Interface
Let’s get into the intricacies of this UI. You’ll notice twenty open slots for something on the sides of the screen – ten on the left, ten on the right. These will be filled in over the course of the game, but they don’t mean anything on floor 1. The bottom of the screen shows your difficulty, the turn count, and what mode you’re in, Throne or Endless. At the top, you’ll see your gun, which currently has two bullets in the chamber and a reserve ammo count of 5. There’s also two Folly Shields just below the gun, which protect you from directly putting yourself in harms way each turn. If you find yourself frequently blundering into danger, you can raise the amount of Folly Shields up to three; or for more of a challenge, you can reduce them to zero. There’s one more slot on the right that holds ‘Souls’, according to its label, but for now it’s empty. Finally, directly left of the board are your King’s three basic stats, which always start the same no matter what difficulty – Firepower, Range, and Firing Arc. To explain what these do, I’ll have to go into a little more detail about how shooting works. Let’s move closer to the enemy, and then try firing upon them.
The Enemy Pieces

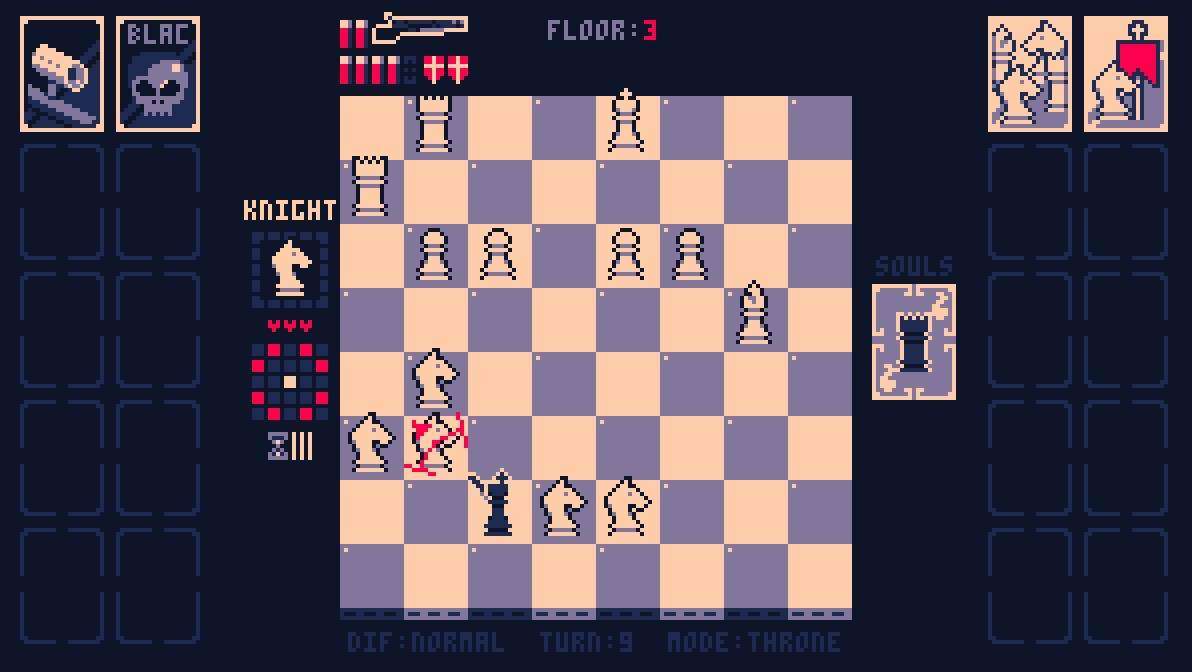
When you aim at the faraway pawn, your cursor changes from an arrow to a wide firing arc, and the stats on the left hand side change to a breakdown of the enemy piece you’re aiming at. It says the name of this piece, which is, of course, a ‘Pawn’, how much HP it has (currently 3), and a small demonstration of how the piece moves. This pawn is allowed to move one square forward, and attack diagonally in front of it to the left and right. You probably knew this anyway if you have a passing familiarity with chess, but don’t get complacent – who’s to say these rules aren’t subject to change?
There’s also an hourglass directly below this diagram with five bars, four empty and one flashing red. This is the piece’s Speed, or Tempo as the game’s files refer to it internally. Every piece starts the game with a random amount of Speed bars filled up, and when you take a turn, it drops by one. When it reaches zero, the piece moves, unless it has no legal moves or it decides that it’s doing a good enough job attacking you right where it is. The Speed bars then fill right back up again, and the process begins anew. You can tell which pieces are going to move next turn depending on which ones are shaking.
Tip: Even if a piece isn’t shaking, it can still capture you if the opportunity presents itself, so don’t go stepping in front of a seemingly dormant rook!
Shooting Your Gun
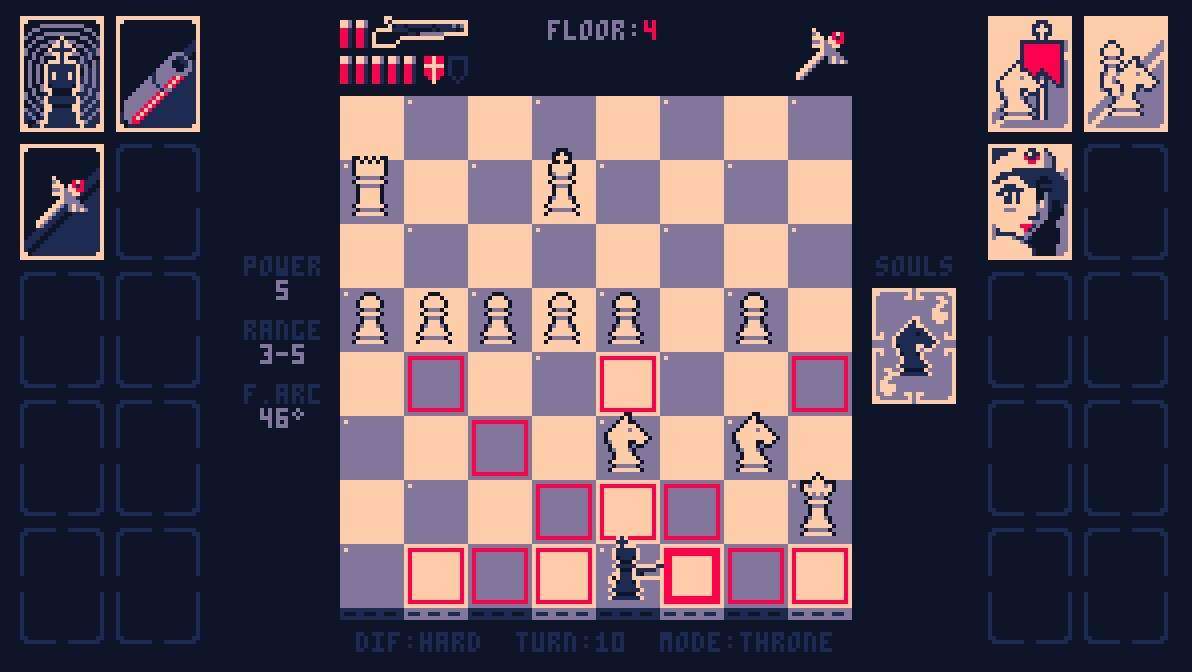
Back to the matter at hand – shooting your gun. At this distance, your cursor should be blinking red rather than a full color. That means you’re at the tail end of your Range, and it’s unlikely that all of your shots will land. Each pellet from the shotgun does one damage, and travels in a random direction within the current Firing Arc, making accuracy at long distances very RNG dependent. The Firepower stat at the start of the game is 4, which means that each time you shoot, four pellets will be fired doing one damage each, for a total of 4 damage. Pretty simple, but it does mean that if you want to be able to hit the broad side of a barn, you’re probably going to need to get closer.
Let’s shoot anyway.

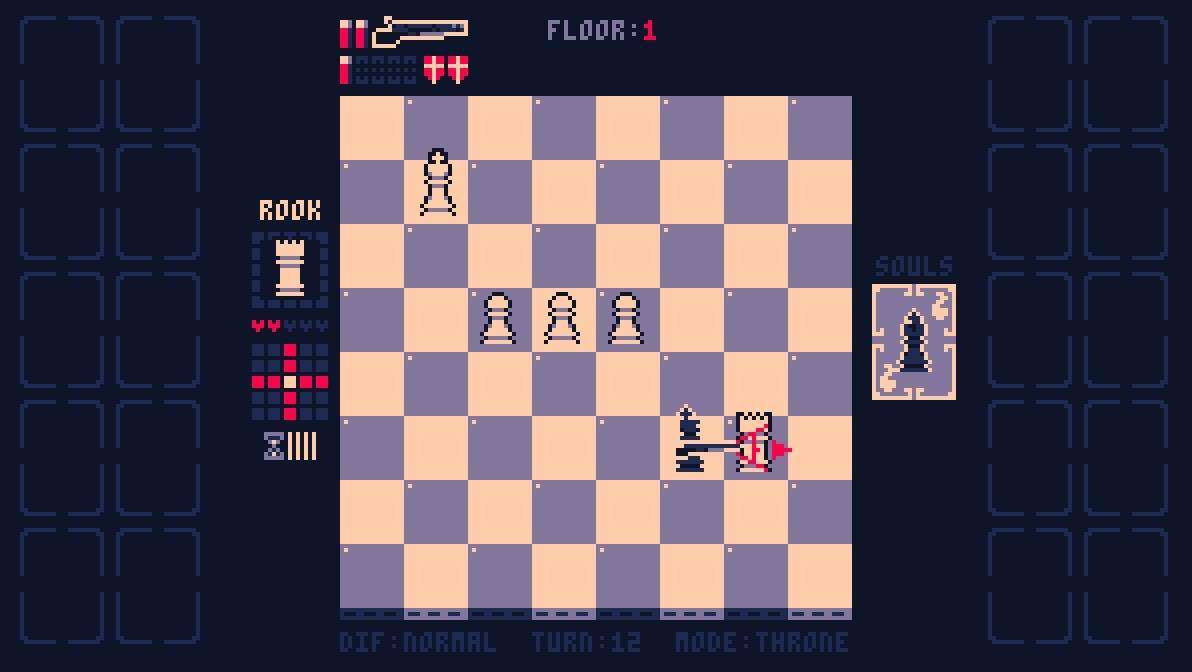
It could have gone better… The pawn I was aiming at took only one damage, and a completely different pawn took a stray pellet, too. The enemy pieces have moved as well, and judging from the diagram, that bishop is primed to attack me next turn if I don’t do something about it. It’s clear that without more Range and a smaller Firing Arc, fighting from such a distance is a fool’s errand. We’ll need to close the distance. The bishop is too far away to shoot, so our only option to get out of check is to simply move out of the way.
You’ll notice that your chamber reloads after moving one more tile. All bullets in the chamber are refilled upon moving or manually reloading, unless there isn’t enough reserve ammo to fill it. If the chamber is already full when you move, you’ll get more ammo in your reserves, up to your max ammo count. So running out of ammo doesn’t make you completely helpless; you’ll get it back after a few turns of dodging! Now that you’re a little closer to that knight, let’s see what happens when we try and shoot it from only three tiles away.
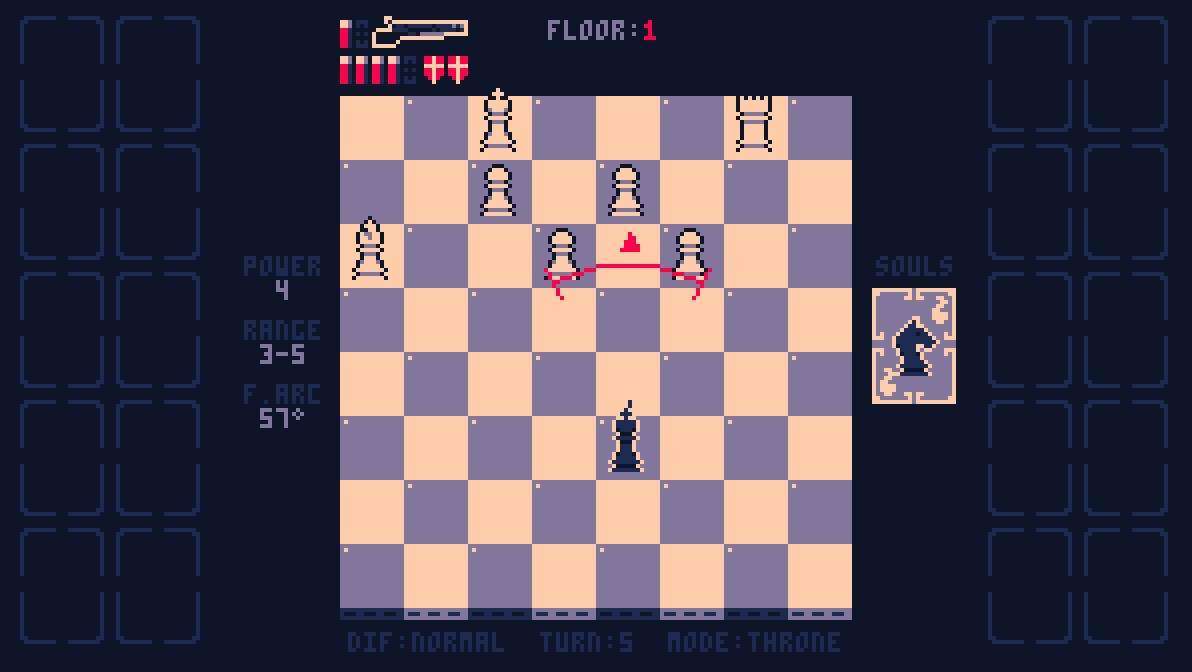
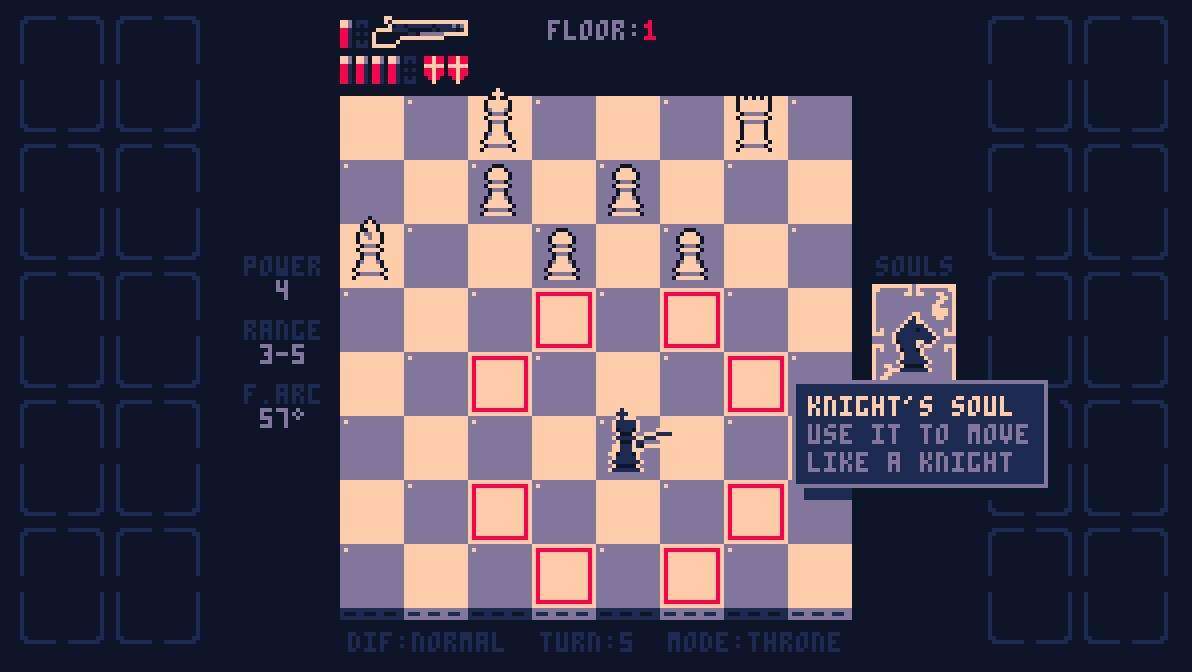
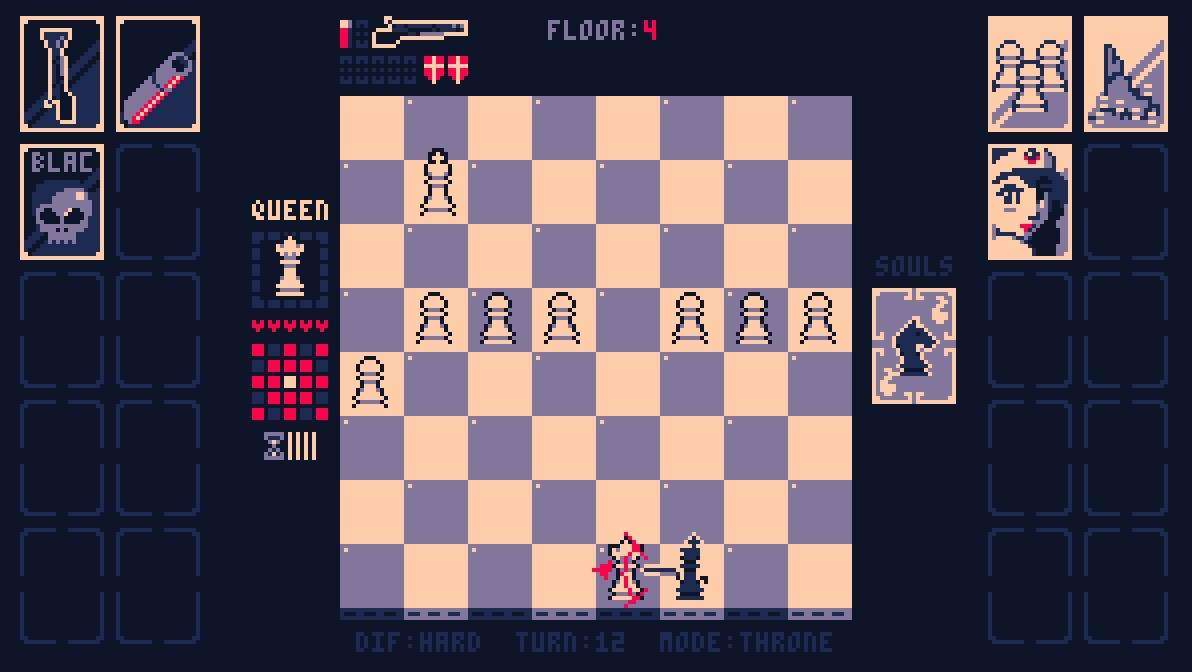
Success! Three pellets hit the knight, which is enough to destroy it in one shot. Now it appears that we’ve filled up our Soul Slot with a Knight Soul. Every time you kill a piece, except pawns and kings, you gain its Soul, but you can only have one at a time without upgrades. This Soul will allow you to move like the piece you killed for one turn, and then it is used up. It’s good for getting you out of sticky situations, or maybe just to get closer to the action! I use the Knight Soul to move up to that pawn on the left, and then sidestep the Bishop again when it moves to attack me, cleanly killing it on one hit.
Tip: When you shoot an enemy piece from directly next to it, you’re guaranteed to land every pellet. But be careful if the piece is diagonal to you; especially if something else is crowding around you that could soak up your pellets!
The Endgame
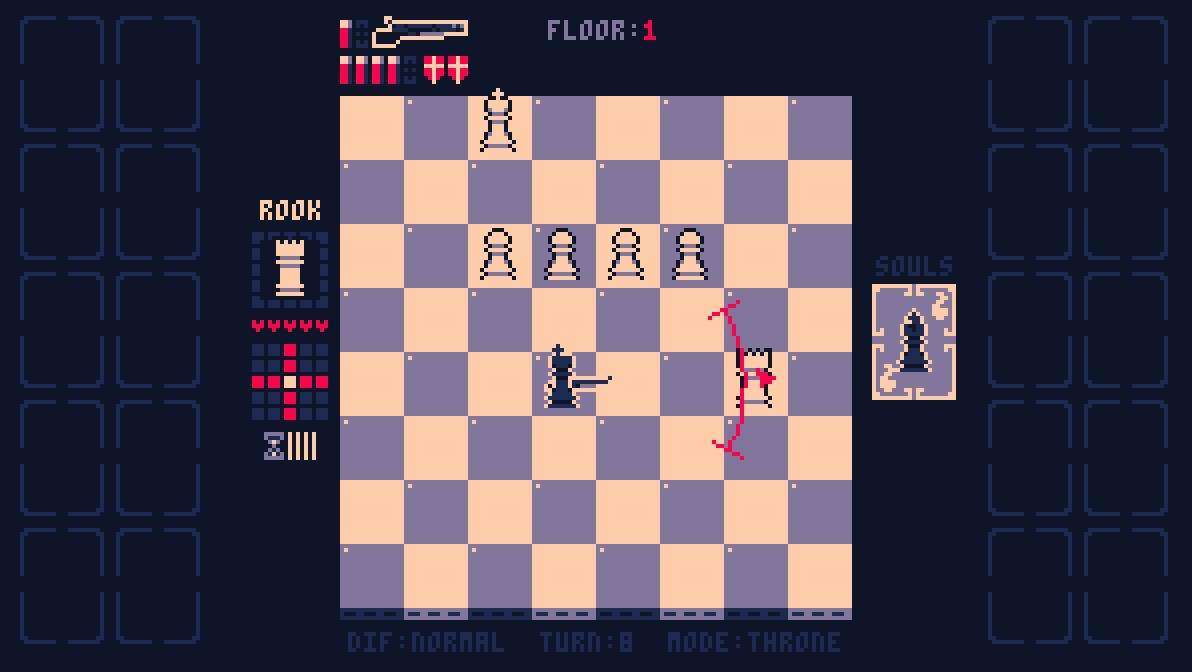
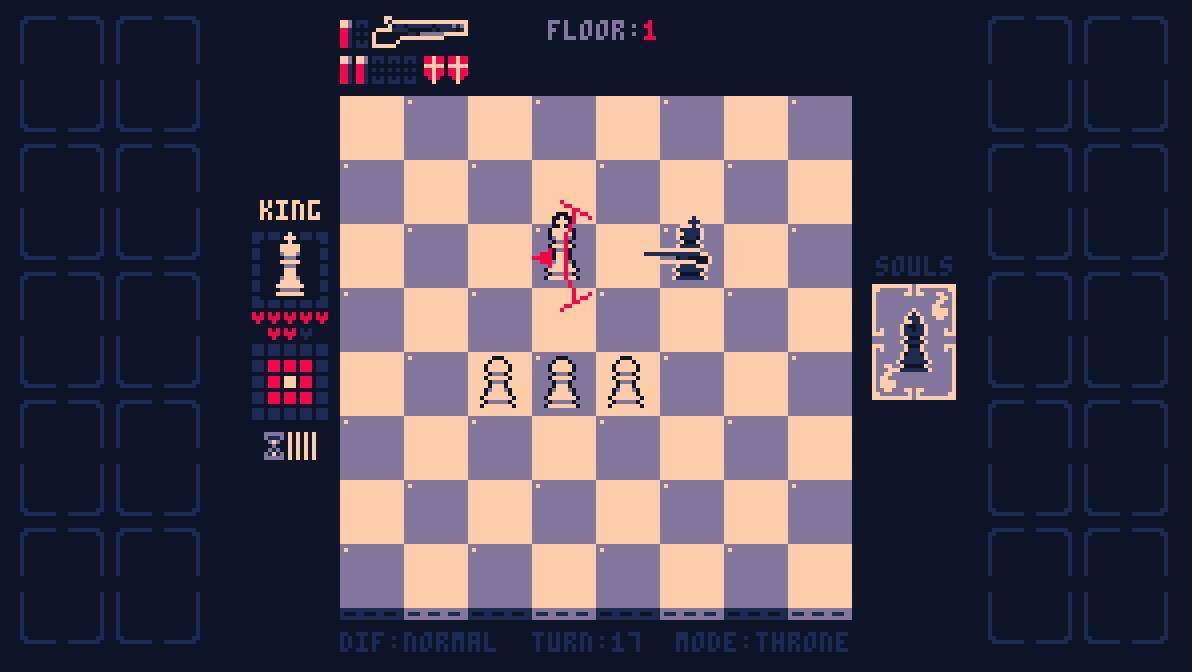
The rook slides into the game, putting me in check once more. It has five health, which means that even in the unlikely scenario where every pellet connects, I can’t dispatch it in one shot. Let’s move downwards and fire on it safely from a distance.
Now that the rook has taken a couple potshots, its health is much lower, enough for me to kill it in one shot. Even though it’s currently got me in check, I can still shoot it. Dead men tell no tales, and dead pieces make no captures. There may come a time where your Folly Shields will bravely try to defend you from making an attack that the game thinks could be risky. If you’re absolutely certain (or just praying) that whatever you’re shooting will be gone after you pull the trigger, then feel free to do so.
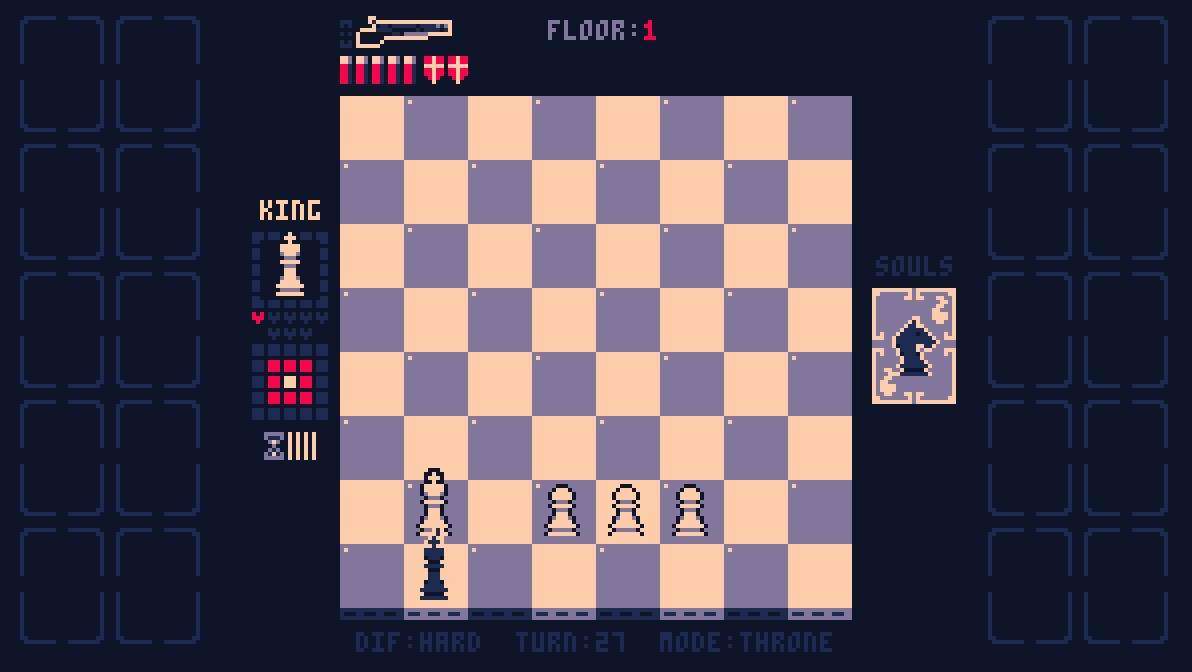
All of the major pieces have been removed from the board, so it’s safe to go after the king:
The white king has 8 HP by default, so it should take two clean, perfect shots to eliminate it. More often than not, you’ll be able to land such a hit from a distance like this – any further and you’re leaving things up to chance. I empty both chambers and pump the king full of lead, but it’s still holding on. Not to be deterred, I reload and try again. When the king dies, all of the remaining pieces are smitted from above by godly lightning, the board clears, and I proceed to the next floor!

Tip: You don’t have to move in order to reload. By clicking on the shotgun on the top of the screen, you can fill your chamber without leaving a comfortable position.
The Heart of the Cards

Here is where Shotgun King’s unique roguelike elements get thrown into the mix. Every time you finish a floor, you are allowed to pick from two sets of Cards, containing one for black and one for white. The black Cards give you some bonuses to help you succeed, while the white ones strengthen your enemy and aid in your demise. Which Cards to take depends on your judgement, but let’s take Kingly Alms and Revolution for now.

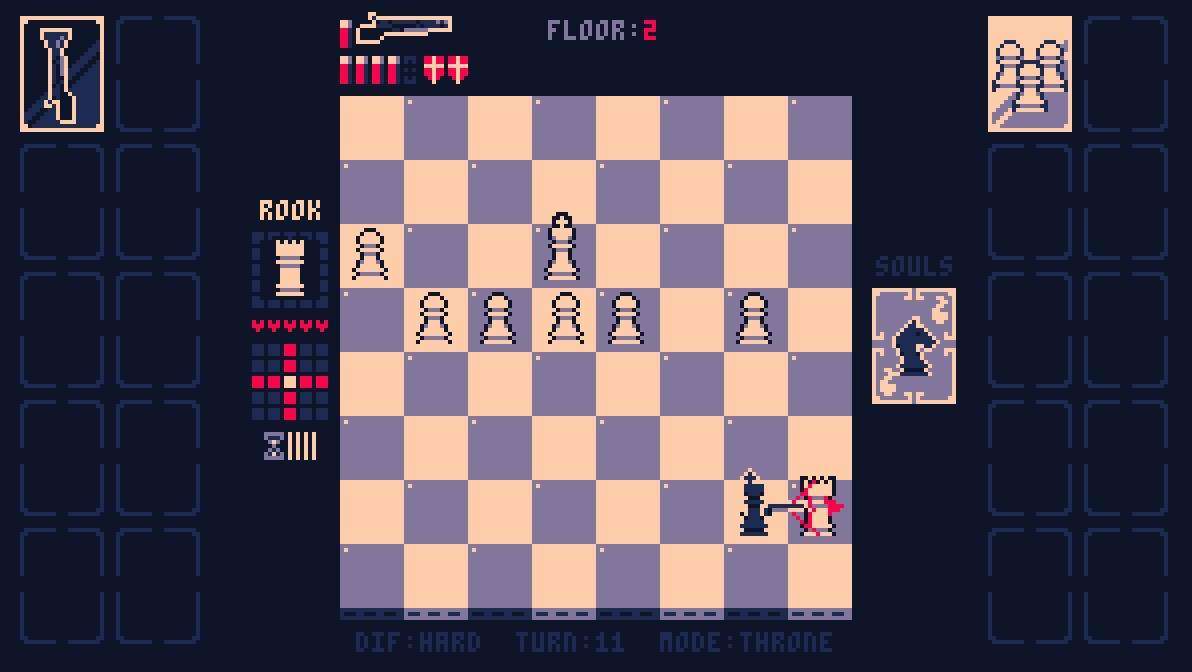
Sure enough, the board has been remade, with white down one bishop and up six pawns. The goal of the floor is still the same, however; blast through white’s defenses, and take down the king!
Your Path to Victory
What’s It All Really About?
Now that you know the basics, it’s time to talk strategy. It’s obvious that your mission is to get to the white king and destroy it, but how exactly should you go about doing that? Is it better to leap in guns blazing, or methodically eliminate threatening pieces until the king is defenseless and ripe for the picking? Well, the answer depends on your playstyle, and the cards you’re dealt – literally!
Let’s break this game down to its bare essentials. Every decision you make in this game has to do one of two things, and preferably both at the same time: bring you closer to winning, or stave off losing. The only way to win is to kill the king (or the final boss, or the bishops if you took Theocracy), and the only way to lose is to get captured. It doesn’t matter if there’s a dozen queens on the board as long as you kill the king! But the reverse is true – you might just clear the board entirely, but one small mistake could doom your run!
The king on 1 HP, all pieces gone except a couple of pawns… except I’ve lost! There’s no way out, and no bullets in my gun!
Keeping Your Options Open
When you’re in check, you have two options: either escape the check by moving to a safe tile on the board, or make your own tile safe by eliminating the piece that’s putting you in check. When this becomes impossible, the game ends in defeat. Therefore, you should measure your abilities according to how well they allow you to avoid or escape check. This includes your shotgun, too – the best defense is, after all, a great offense!
Thanks to my ‘Blunderbuss’ card, my shotgun has six Firepower, which is enough to kill rooks and queens in one shot. Having five Firepower is a very important threshold to meet, and you should make it a priority!
It’s easy to blunder your way into checkmate if you aren’t careful, so maybe it’s a good idea to consider defensive options, too. ‘Black Mist’ is one of the most powerful cards in the game for that very reason. It allows you to cheat death once per floor, so even if you make a mistake that there’s no coming back from, you get a second chance.
Cards that provide extra turns can be very useful as well. ‘Sacred Crown’, which lets you play an extra turn after using a Soul Card, can vastly widen your escape options from a tricky situation. A special shoutout should be given to the Wands; if you’re lucky enough to get the Wands of Wrath, Frenzy, or Wings, consider yourself lucky, as they can be a big help in a pinch!
Wands
Tip: The Wand of Wings allows you to move three squares in every direction, even if there are obstacles in the way. It even reloads your gun for you – how helpful!
Wands deserve a bit more elaboration, as they work a bit differently from most other Cards. I didn’t get to them in the intro, as you won’t even get a Wand unless you pick up a Card for it. There are five Wands in the game, each with unique one-time use bonuses that serve to help you get out of a pinch. When you get a Wand, you’ll see it appear on the top of the screen, to the left of white’s Cards. Click on that, and you’ll be able to use it. Very importantly, using a Wand does not take your turn! If you find yourself in a sticky situation, using a Wand is a great way to ease your burden and shift the tides in your favor.
Dead Pieces Can’t Capture
On the other hand, sometimes escaping check just leads you straight into another check! This can happen when there’s a lot of pieces on the board with high Tempo, constantly assailing you and boxing you right into the corner until nothing in your bag of tricks can get you out. Given the choice to escape from a check or take out the threatening piece, it’s usually best to shoot your way out. One less piece on the board means one less way to get put in check in the future, after all! High Firepower and low Firing Arc can help give you some strong options to eliminate threats – heck, maybe you can even one-shot the king!
As you can see in this screenshot, I’m in a bit of a pickle:
…so why don’t I just use ‘Sacred Crown’ to jump over here, and…
…zoom straight over to the king, and kill him in one shot?
I got out of what looked like checkmate, and beat the floor in one fell swoop. Always use your tools to their fullest extent!
Piece by Piece
In this next section, I’d like to go into detail about all the pieces on the board individually and how to avoid danger from them. It may seem like a simple thing to discuss, but with all the possibilities and Cards that can shift the balance of power, it can be a lot more important to keep in mind than you think!
Pawns
Chuckles I’m in danger…
Ah, the humble pawn. It may appear to be the weakest piece on the board, but be warned! With improper card synergy and strength in numbers, a cascading Zerg rush of pawns can be an easy way to lose the game!
Pawns seem very simple at the onset – they meander forward once every 5 turns, making them the slowest piece in the game. They can only attack from the forward diagonals, so they’re rarely a threat individually, but a large wall of pawns can box you in and make the chessboard very claustrophobic!
When a pawn reaches your side of the board, it promotes into a stronger piece. In my experience, it’s completely random whether it decides to become a knight, bishop, rook, or queen, but there could be some criteria the game uses to choose which piece to upgrade into. In a drawn out fight, this can give the white pieces a second wind, so make sure to either destroy the pawns when they get too close or take out the king before they can reach the end of the board!
While pawns may start weak, there are more white Cards that buff pawns than any other piece, and some of these can be a real threat! A fully buffed giga-pawn will move twice on its first move thanks to ‘Assault’, move and attack in any direction due to ‘Militia’, lock down two tiles in front of them as ‘Pikemen’, gain up to 4 HP from ‘Pillage’, be able to replace the king due to ‘The Secret Heir’, and improve their speed from 5 to 3 thanks to ‘Scouting’ and ‘Zealots’. That’s a lot of bonuses! Not to mention how many there can be – adding it all up, you might be facing a whopping 27 pawns on the board – with reinforcements every four turns from ‘Conscription’! And that’s assuming you only get the ‘Backups’ card once…
Having lots of pawns isn’t all bad, though. Assuming they don’t have all the bonuses that make them huge threats, a wall of pawns can actually get in the way of white’s more powerful pieces. Rooks and queens will have a harder time getting line of sight with you from behind them, so it might be safer to just blast a small hole in white’s flank and snipe the king from there. If there’s a lot of pawns in your way, consider the Card ‘Kingly Alms’, which allows you to throw a grenade. It’s imprecise due to how much it bounces and it can kill you if you stand too close, but it does 3 damage to every piece in its blast damage, enough to one-shot a pawn unless you have the ‘Pillage’ Card.
Tip: Be careful shooting pawns willy-nilly! If there’s a piece behind it that it’s obstructing, it might be able to attack you through a discovered check, and your Folly Shields won’t warn you about this!
Conversely, getting rid of all your pawns can be a fool’s errand, especially on a board full of queens and rooks. It’s no fun to start the game already in check! Make sure to keep a careful balance so you don’t get overwhelmed either way, and pretty soon it’ll feel like the pawns are on your side.
Luckily I have this Moat here, or else I’d already be in check! I think I’d rather have two rows of Pikeman pawns than this…
Knights
How obnoxious… it’s like I’m in check every single move!
Knights are another example of ‘strength in numbers’ in action. With only 3 HP, the same as a pawn, they can typically be dispatched easily, but their unique manner of movement and a speed of 2, the fastest in the game, can make their constant barrage of checks difficult to avoid. Every other turn, every knight on the board will be trying to capture you, which can leave you with almost no opportunity to counterattack! That can get really annoying in a large group, especially with multiple knights, so let’s talk counterplay.
It’s always important to keep in mind where a knight’s next move is going to be and how it will threaten you. For instance, if you are directly next to a knight (not diagonal), there isn’t a single square on the board it can move to to put you in check next turn. That can give you a chance to retaliate and kill a white piece or two, giving you some much-needed breathing room.
Tip: Knight souls are really useful. Knights can get you to places that are physically impossible to reach in one turn for any other piece, which can give you some much-needed escape routes when checkmate seems inevitable.
Again, watch out for the Cards that buff knights, as they can be a doozy! ‘Bodyguard’ can really screw you over, especially if a pawn squeaks through and promotes into a knight, protecting the king from capture until you destroy it. ‘Kite Shield’ will block all incoming damage for one hit, patching up their inherently low HP. One or the other is probably okay, but it’s best not to combine the two.
Bishops
C’mon, Bishop #5, don’t you want to go for a swim?
Depending on the cards you’re dealt, bishops can either be a simple obstacle or your worst enemy. They start with 3 speed and 4 HP, just enough to one-shot point blank, and are limited to diagonal movement. Crucially, that means a bishop is limited to move on tiles that are the same color as the one it spawned on. Without upgrades, a bishop on a light square will never be able to hurt you if you move to a dark square.
But all this goes out a window when your bishops pick up ‘The Red Book’! Orthogonal movement makes them almost as effective as queens, while being faster and more numerous. Add ‘Ascension’ into the mix, and now you’ve got flying bishops gallivanting all over the board to hunt you down!
The most interesting white Card that buffs bishops is, of course, ‘Theocracy’. This card removes the king from play and elevates bishops to the status of white leader, meaning you’ve got to clear the board of them in order to win. This usually ends up being much tougher, since bishops are more mobile and more aggressive than your typical king, not to mention the fact that pawns can actually promote into these king-bishops and absolutely ruin your day. Interestingly, king-bishops seem to attack when in large numbers and flee when they’re the only leader piece left on the board, unlike normal kings, which run away until you clear enough pieces from the board.
Tip: Winning the game with ‘Theocracy’ and ‘The Red Book’ active at the same time may lead to a surprise… just make sure to leave one last bishop standing before killing the final boss!
Rooks
Is this what they call a ‘ladder mate’?
You might know that there’s a ‘point’ system in chess that is meant to quantify how much each piece is worth. Typically pawns are worth 1, knights and bishops worth 3 apiece, rooks 5, and queens 9. But why, pray tell, is a rook worth more than a bishop? They both move the same amount of squares, just one’s diagonal and the other orthogonal. Well, it has to do with how powerful a rook can be staring down an ‘open file’ in the endgame, with no pieces in the way to obstruct its vision!
And in Shotgun King, you’re already in the endgame…
Rooks are going to be a massive thorn in your side pretty much no matter what. They have 5 HP and 4 Speed, the same as queens, making them fairly slow but crucially too bulky to one-shot without an upgrade to Firepower. If you’re unlucky, a rook can put you in check that you simply cannot shoot your way out of! This is why prioritizing Firepower is important – having the freedom to kill rooks and queens easily can get you out of just as many sticky situations as high mobility can.
Luckily, rooks are already as powerful as they’re ever going to get. There’s not a single Card in the game that buffs a rook, while one of the Cards that nerfs them is so potent that it’s basically a net upgrade for you. If you have the opportunity, taking the Card ‘Ruins’ is better than almost every other white Card, because it puts rooks into one shot kill range, even from a distance! Sure, it throws another rook into the mix, but I’m confident you can handle it.
Queens

Anything rooks can do, queens can do better, queens can do anything better than rooks
Roll a rook and bishop into one and you get a queen, even deadlier than its constituent parts. Like rooks, queens have enough HP to shrug off one blast of your shotgun without upgrades, so be warned – one lonely queen can and will put you in checkmate if it boxes you in, even with a fully loaded chamber! Try to avoid cornering yourself like I did in the screenshot above, and get some potshots in from a safe distance. The closest you can get to a queen without being in danger of capture is one knight’s move away.
Not only that, some of the Cards that boost the power of queens can be quite debilitating. ‘Iron Maiden’ with its queenly invulnerability means you’d better have a run capable of destroying the king quickly lest you get absolutely overwhelmed. And while ‘King’s Mistress’ may seem nice, limiting a queen’s movement to only three squares, one look at the chessboard will show you that a queen in the middle of the board is barely even hampered by this restriction. Sure, it means a queen will have to spend a little more time traversing towards you, but once it gets there, you’re in for double trouble!
Kings
There’s not much to say about kings that you don’t already know. Killing the king is the goal of the game, and it’s best to do it as soon as you feasibly can. Typically the king isn’t the piece that’s going to be capturing you, but if it is, you might have to watch out for its large health pool – even with Firepower bonuses, it’s unlikely you’ll be able to kill a king in one shot, so it can easily lock down all the squares around it like a sort-of force field of doom.
One Card you should definitely look out for is ‘Castle.’ Enemy rooks will jump in the line of fire for the king, and if you’re standing in the line of fire when they arrive and you haven’t dealt enough damage to destroy the rook, it’ll target and kill you instantly. There’s no visual indicator for this once you’ve taken the Card, so be vigilant!
Interestingly, you can get a king’s health to as low as 3 with a combination of ‘Ritual Dagger’, ‘Subtle Poison’, and ‘Taunting Hop’. That means a simple potshot from afar or grenade lobbed across the board might be able to take out a king. If you like moving fast, consider trying to reduce the king’s HP and winning floors before the enemy pieces can even start to seriously threaten you!
The Final Boss
The end of your journey is close at hand. What could possibly challenge you now?…

…He’s basically just a bigger king.
The boss of floor 12 has a large hitbox and even bigger health bar, but he doesn’t put up that much more of a fight. First of all, the bigger they are, the harder they fall – or more accurately, the more pellets from your shotgun will connect. You can easily weather the big fella’s HP from a safe distance and pump him full of head. He attacks the eight squares surrounding his giant body (not the corners, interestingly enough), meaning if you let him stomp his way across the board, he might just end you.
Tip: The Cards ‘Theocracy’ and ‘The Secret Heir’ are deactivated during this fight, but ‘Bodyguard’ remains active!
In Summary
- Carefully weigh your options depending on how they help you either kill the king or avoid capture yourself.
- The 5 Firepower threshold to one-shot queens and rooks is pivotal for avoiding checkmate and eliminating threatening pieces from the board.
- Don’t put all your eggs in one basket – avoid giving your opponent synergy by taking multiple Cards that buff the same piece.
- The best way to avoid dying is to come back from the dead. ‘Black Mist’ is, in most circumstances, your best Card to give you a fighting chance.
That’s all the wisdom I have to impart. This guide might be edited in the future if I find that there’s something that I missed or some cool strategy I discover but until then, good luck, and never go gently into that Final Checkmate!
Be the first to comment