
I’ll explain how to finish the Cursed Land of Lavernock map quest on your own in this guide! I hope this helps some others, as I noticed there were no tutorials available when I was finishing the mission myself!
Guide to Cursed Lands of Lavernock
Step 1 – Complete the Guided Quest
Complete the main GUIDED quest on the map
The first step is to simply run through the entire main quest. There will be hints on how to complete it on the top left of your screen. I will also be making a separate guide for how to complete this in the future! (However I highly recommend trying to figure it out for yourself in game as it is a great time)
Once you complete the first boss fight you will be given a choice to stay on the map or not. To start the unguided quest you DO NOT want to leave the level!
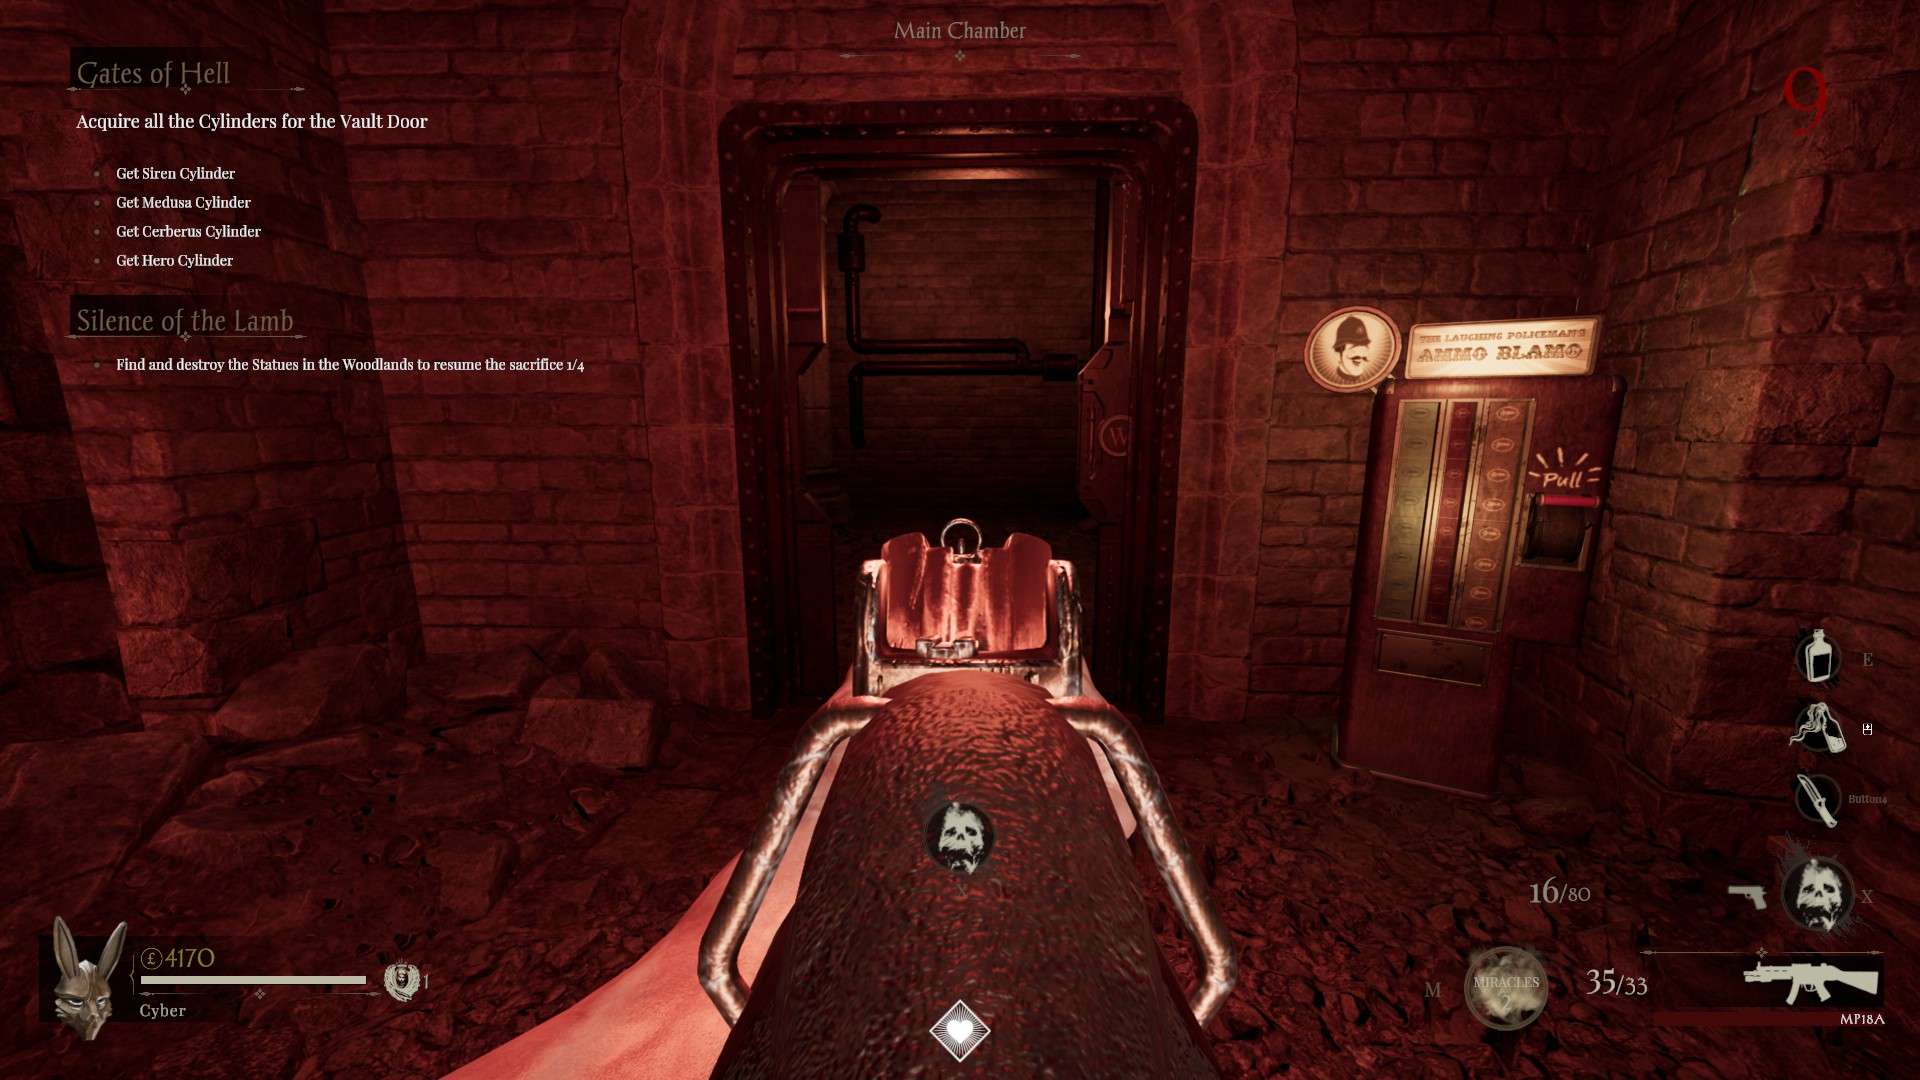
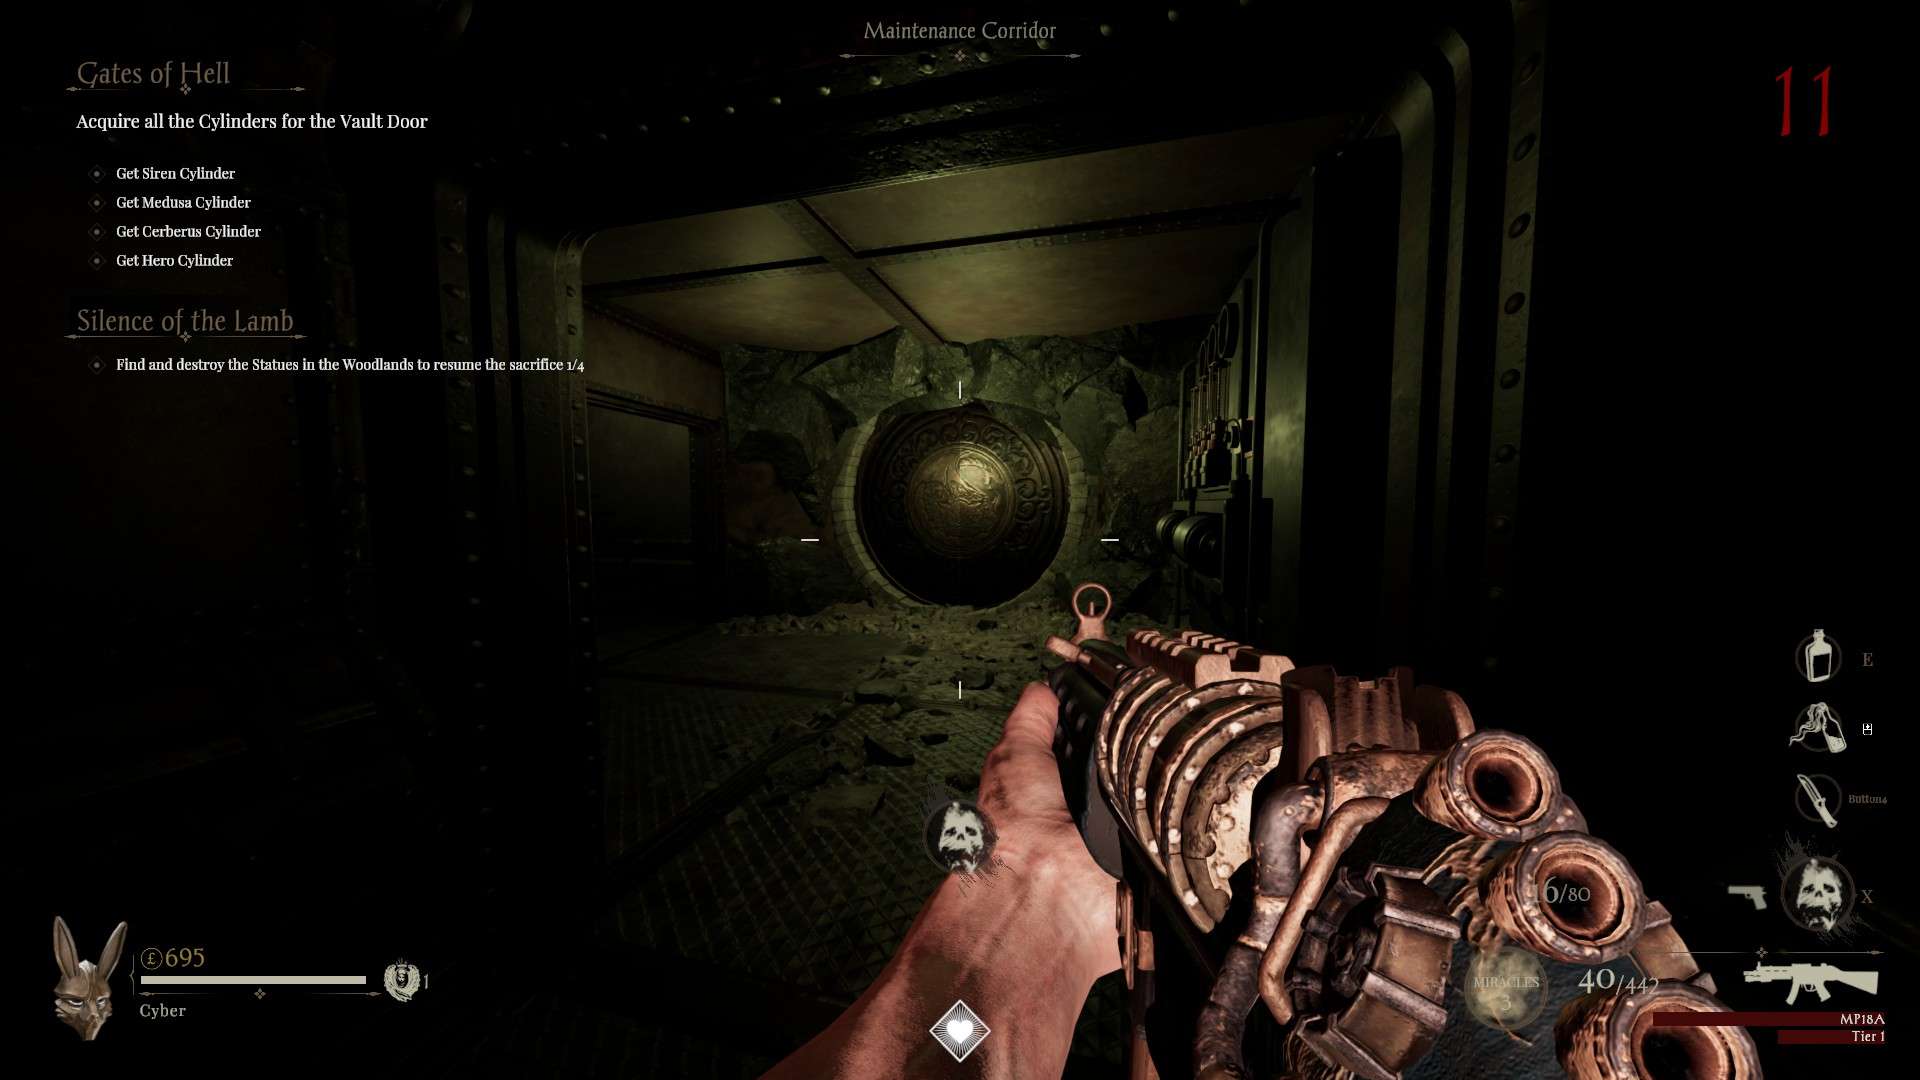
Step 2 – Shoot the Stranger
After completing the boss fight, A purple machine will appear next to the exit. Interact with the machine to make the stranger appear next to it.
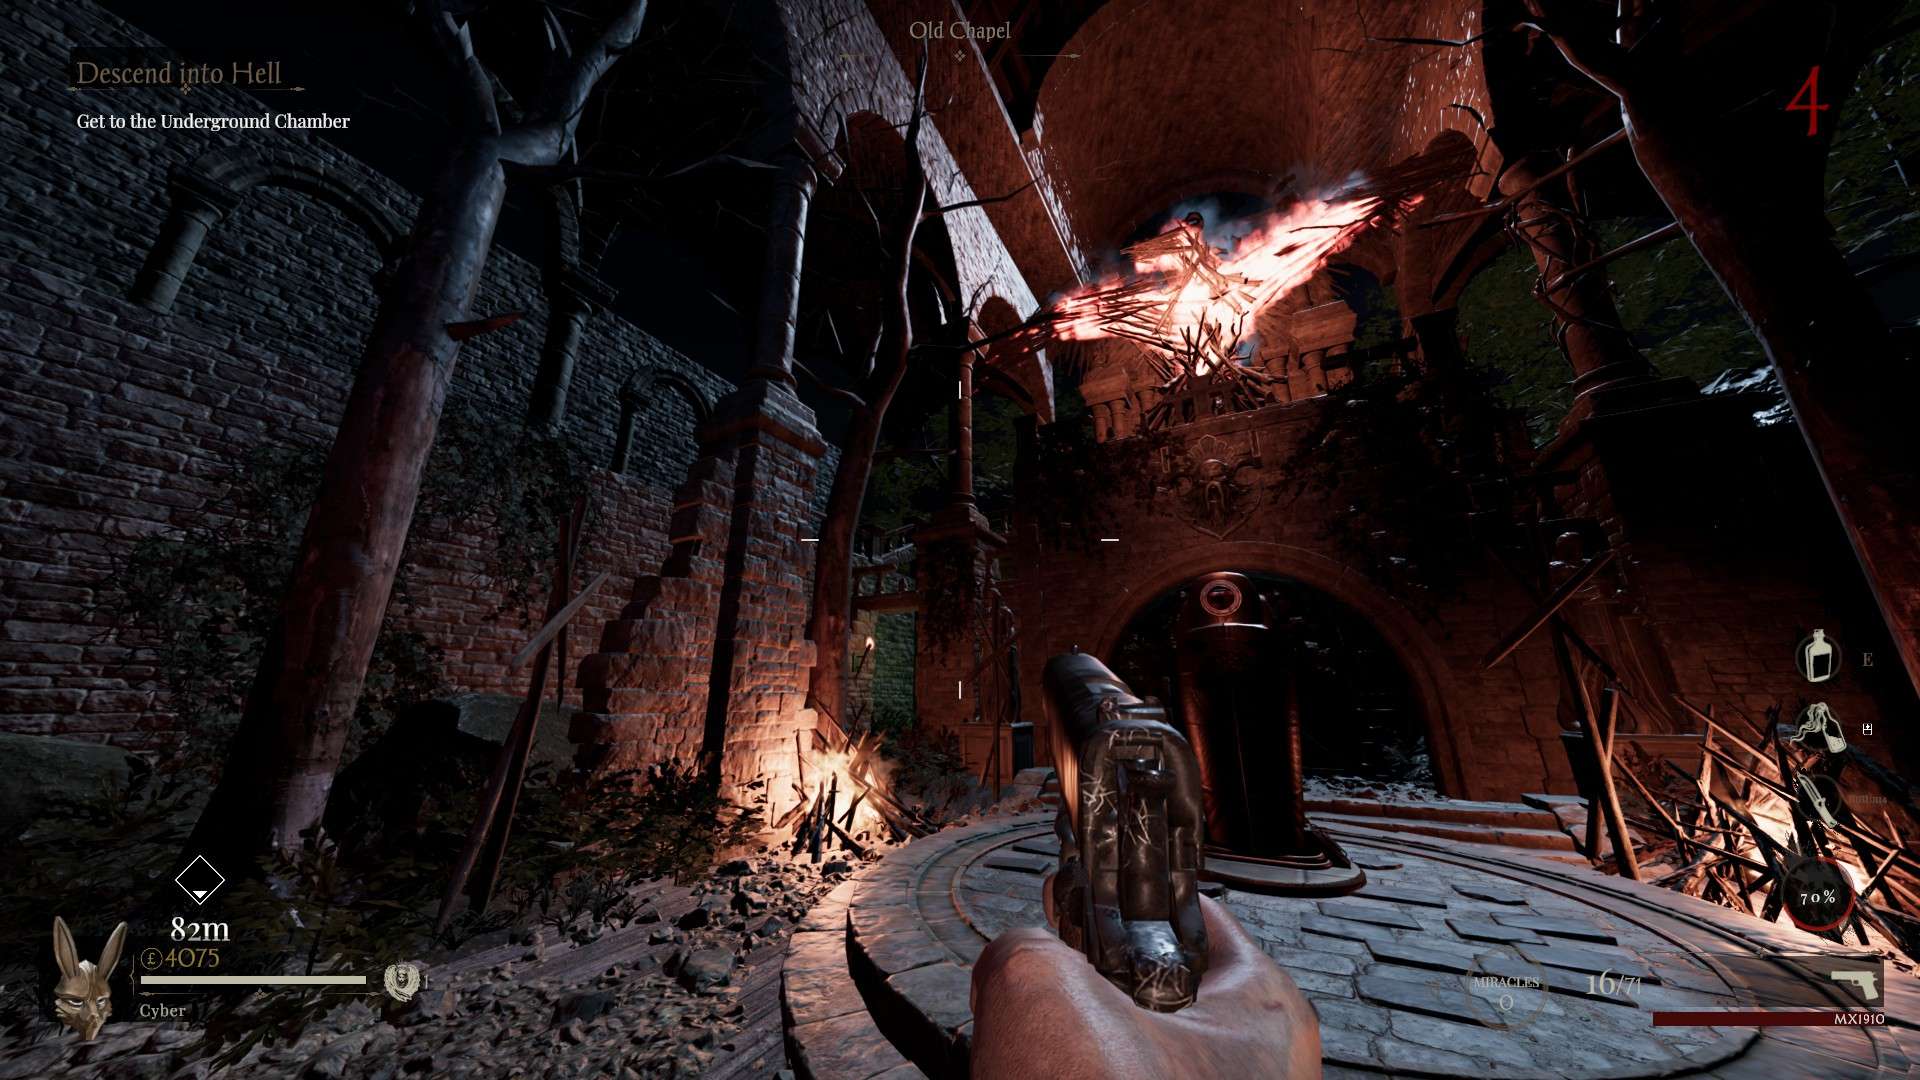
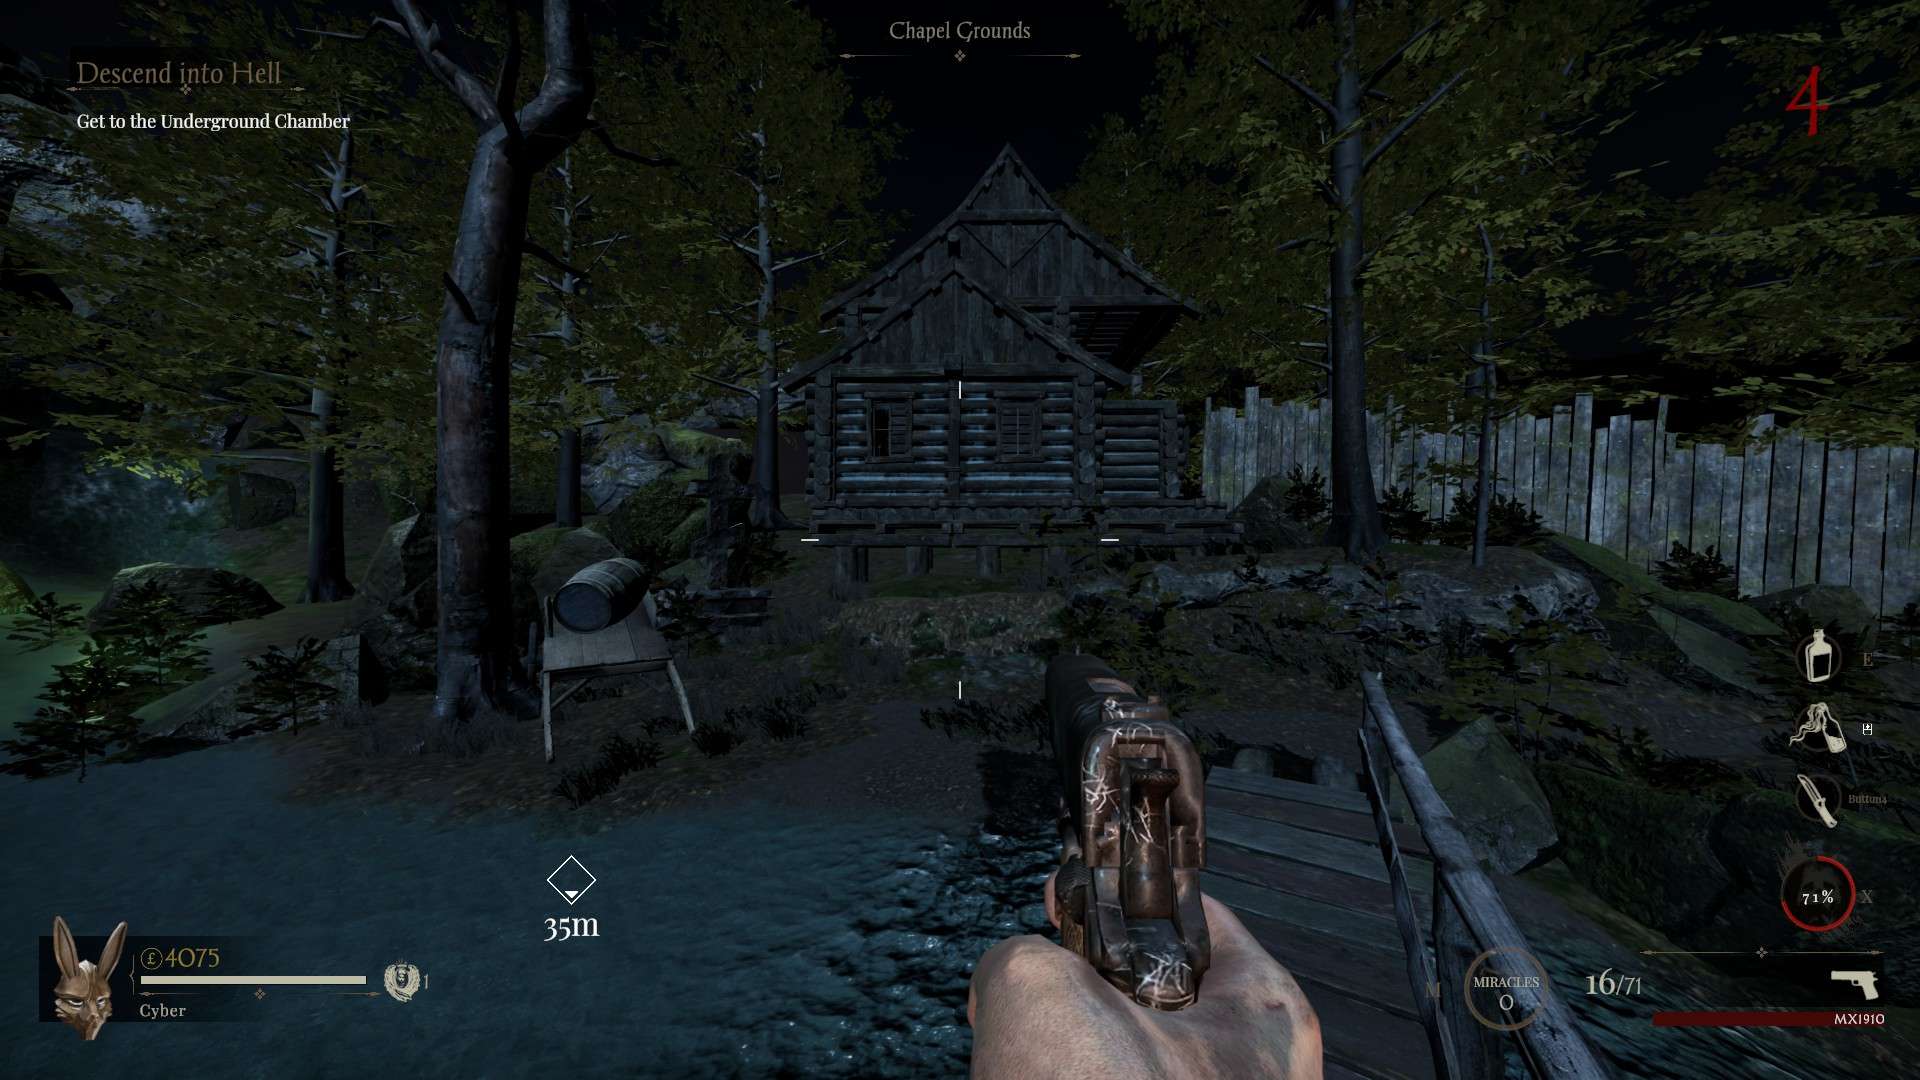
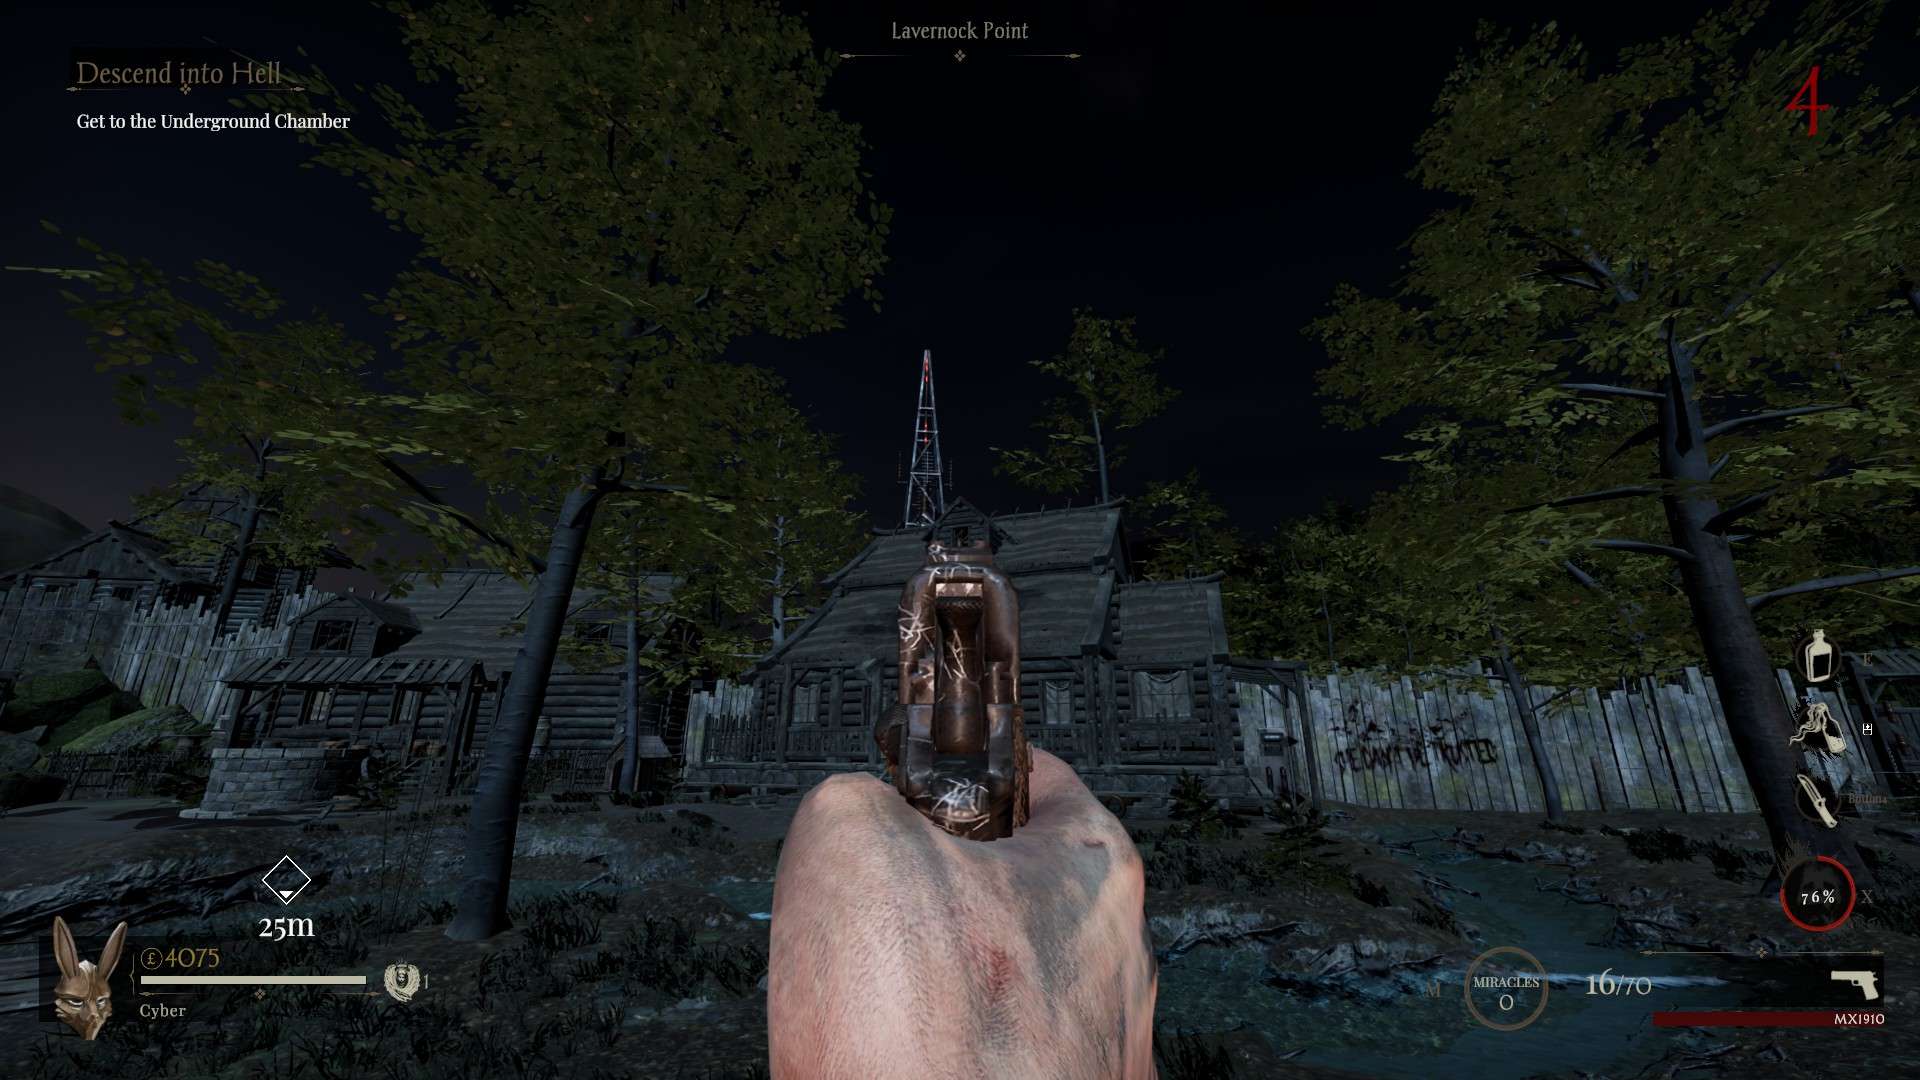
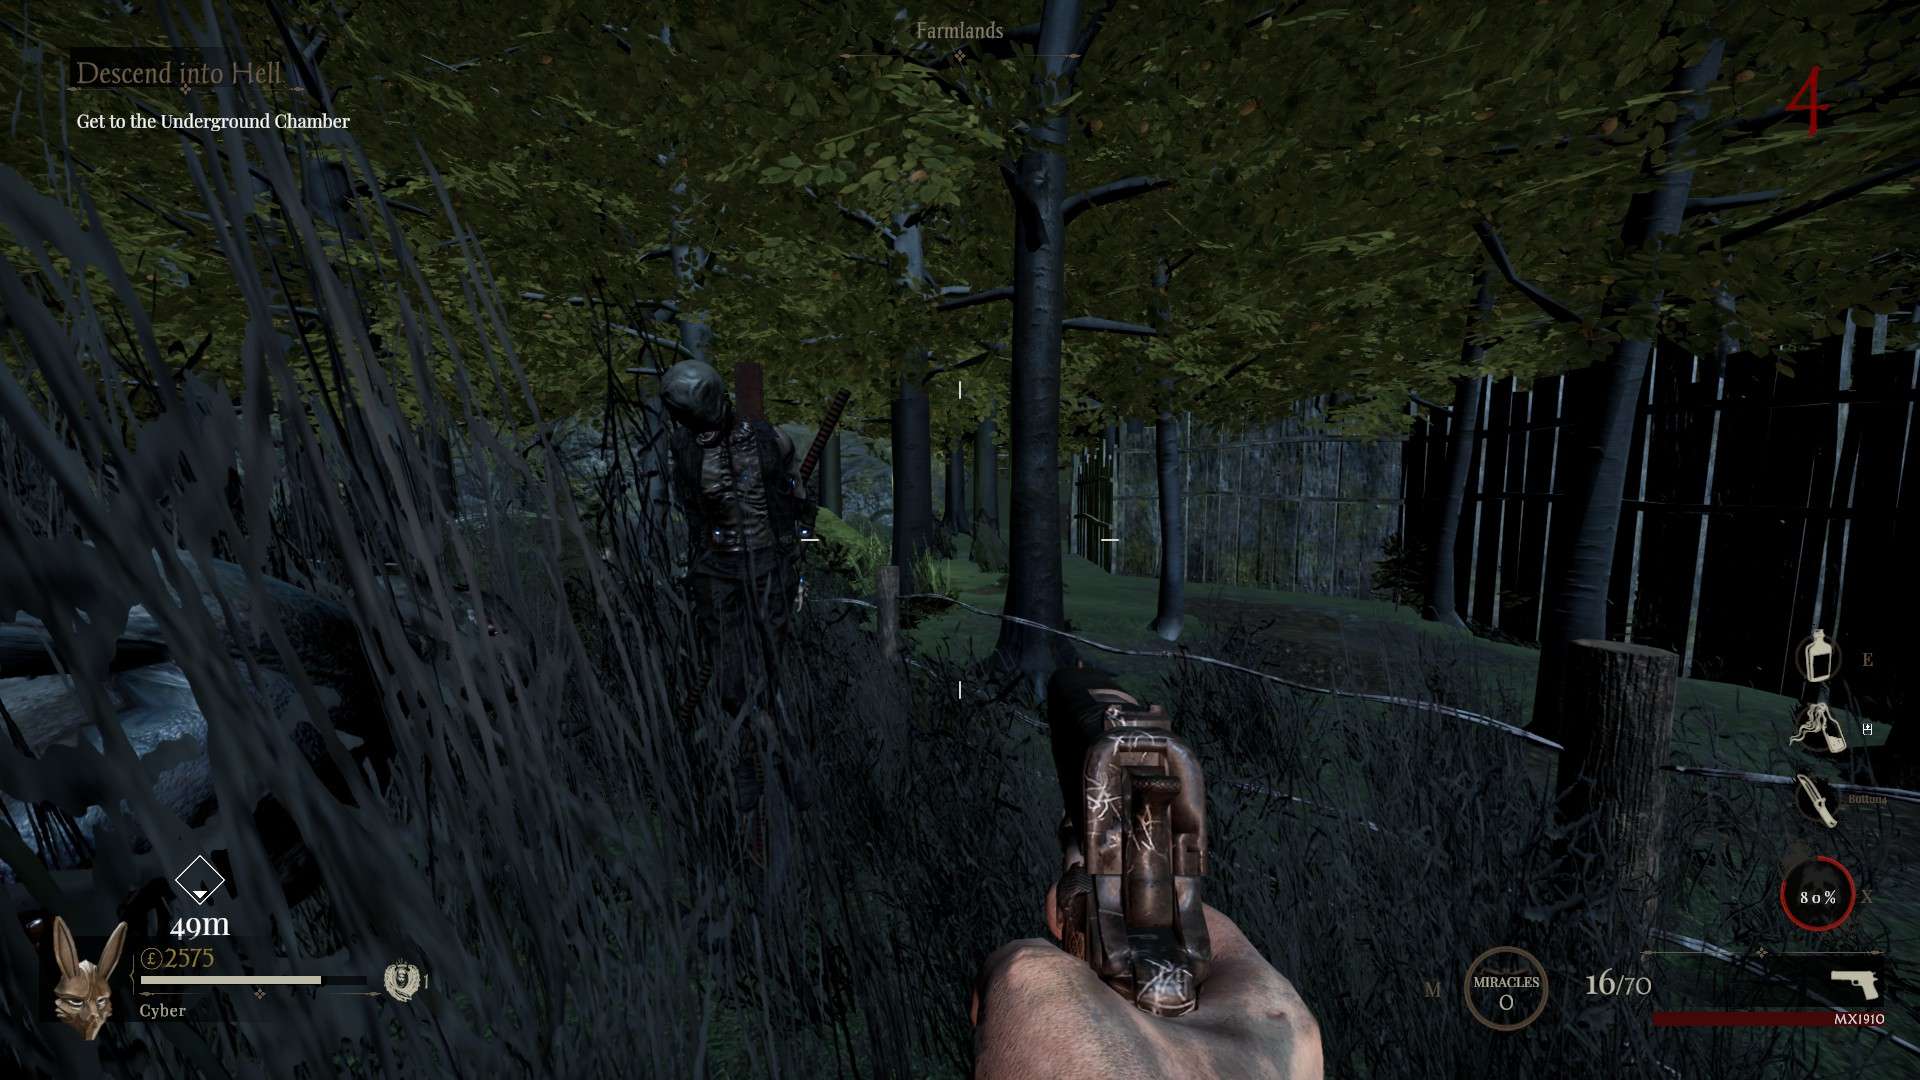
Now that the Stranger has been spawned in, you want to shoot him. This should make him disappear. Now we need to shoot him 3 more times (For a total of 4 strangers shot). His spawn locations will be different each game but below I have listed different locations that have been found. He generally spawns in out of bounds areas of the map.
Stranger Locations
Old Chapel
Chapel Grounds
Lavernock Point
Farm Lands
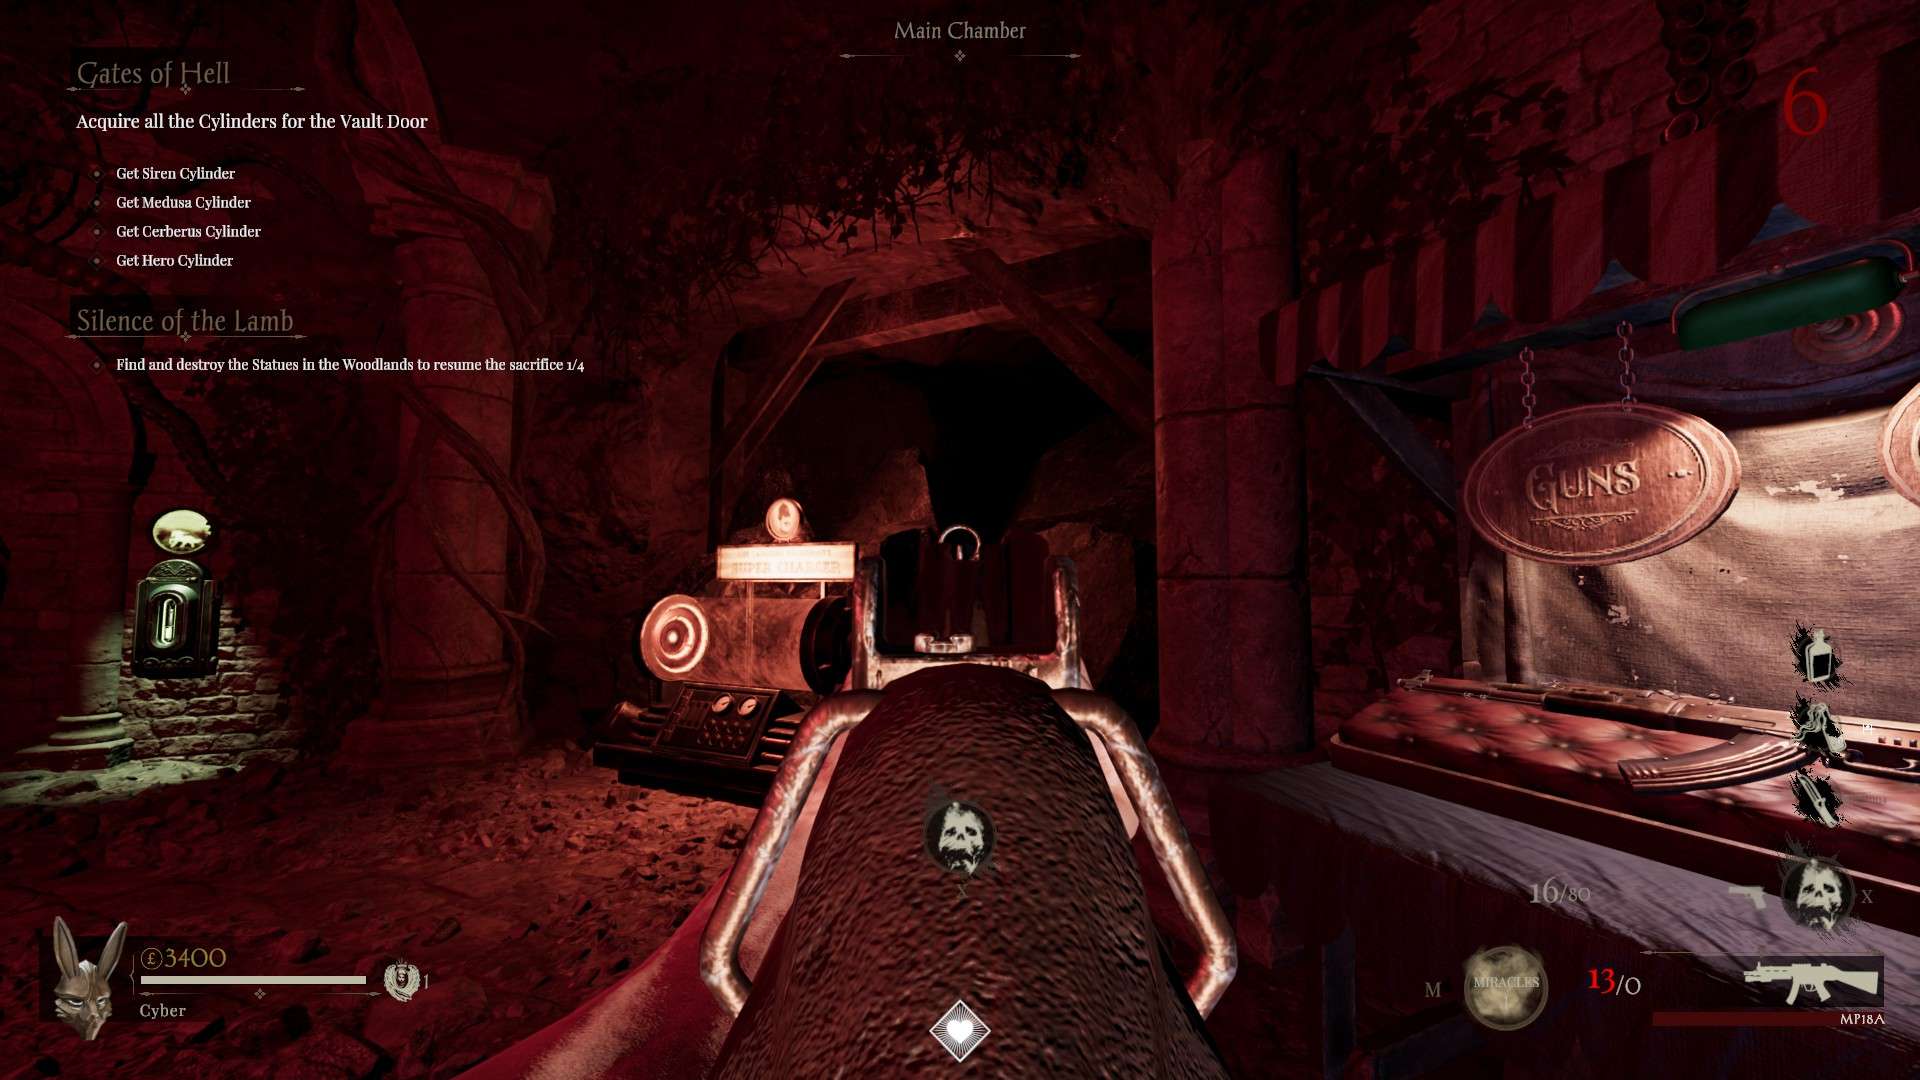
Main Chamber
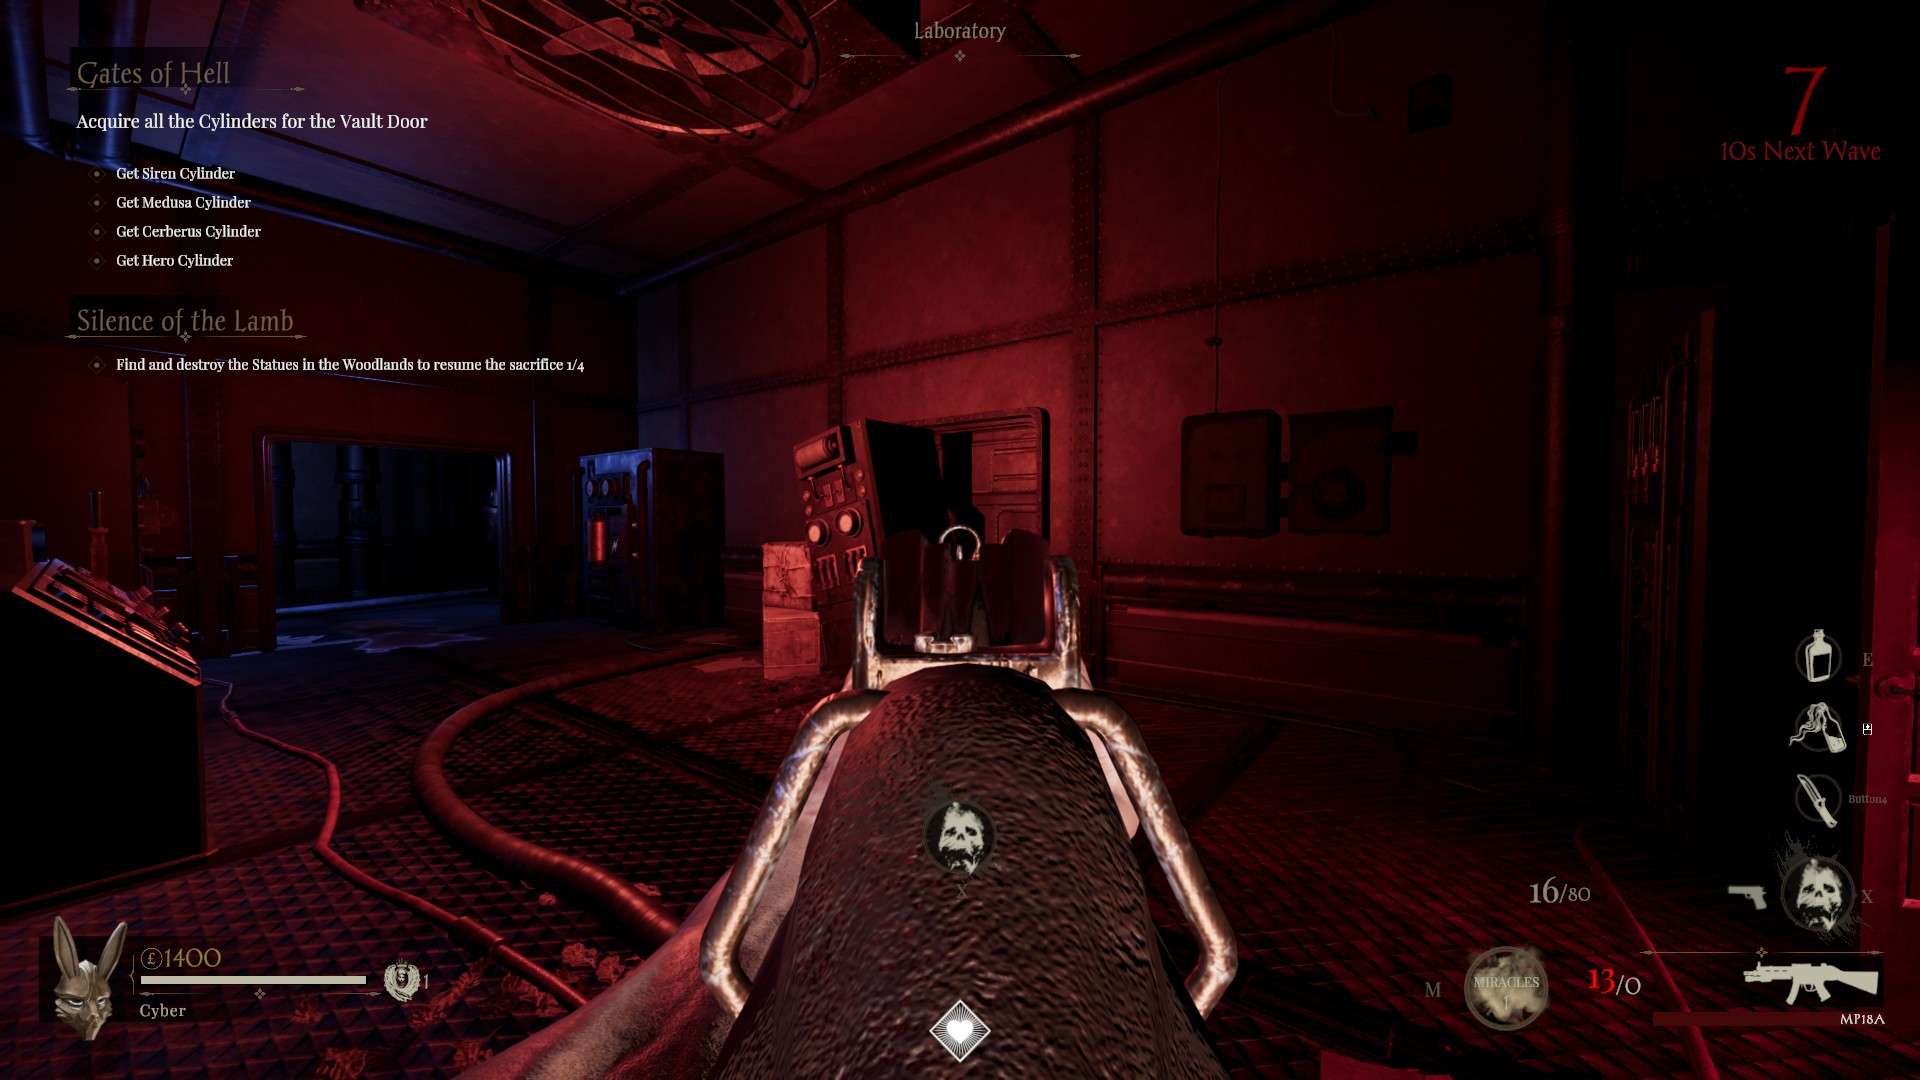
Laboratory
Step 3 – Statue Head
Once you have shot all 4 of the strangers, make your way to the Old Library.
Here you will have to interact with the statue head.
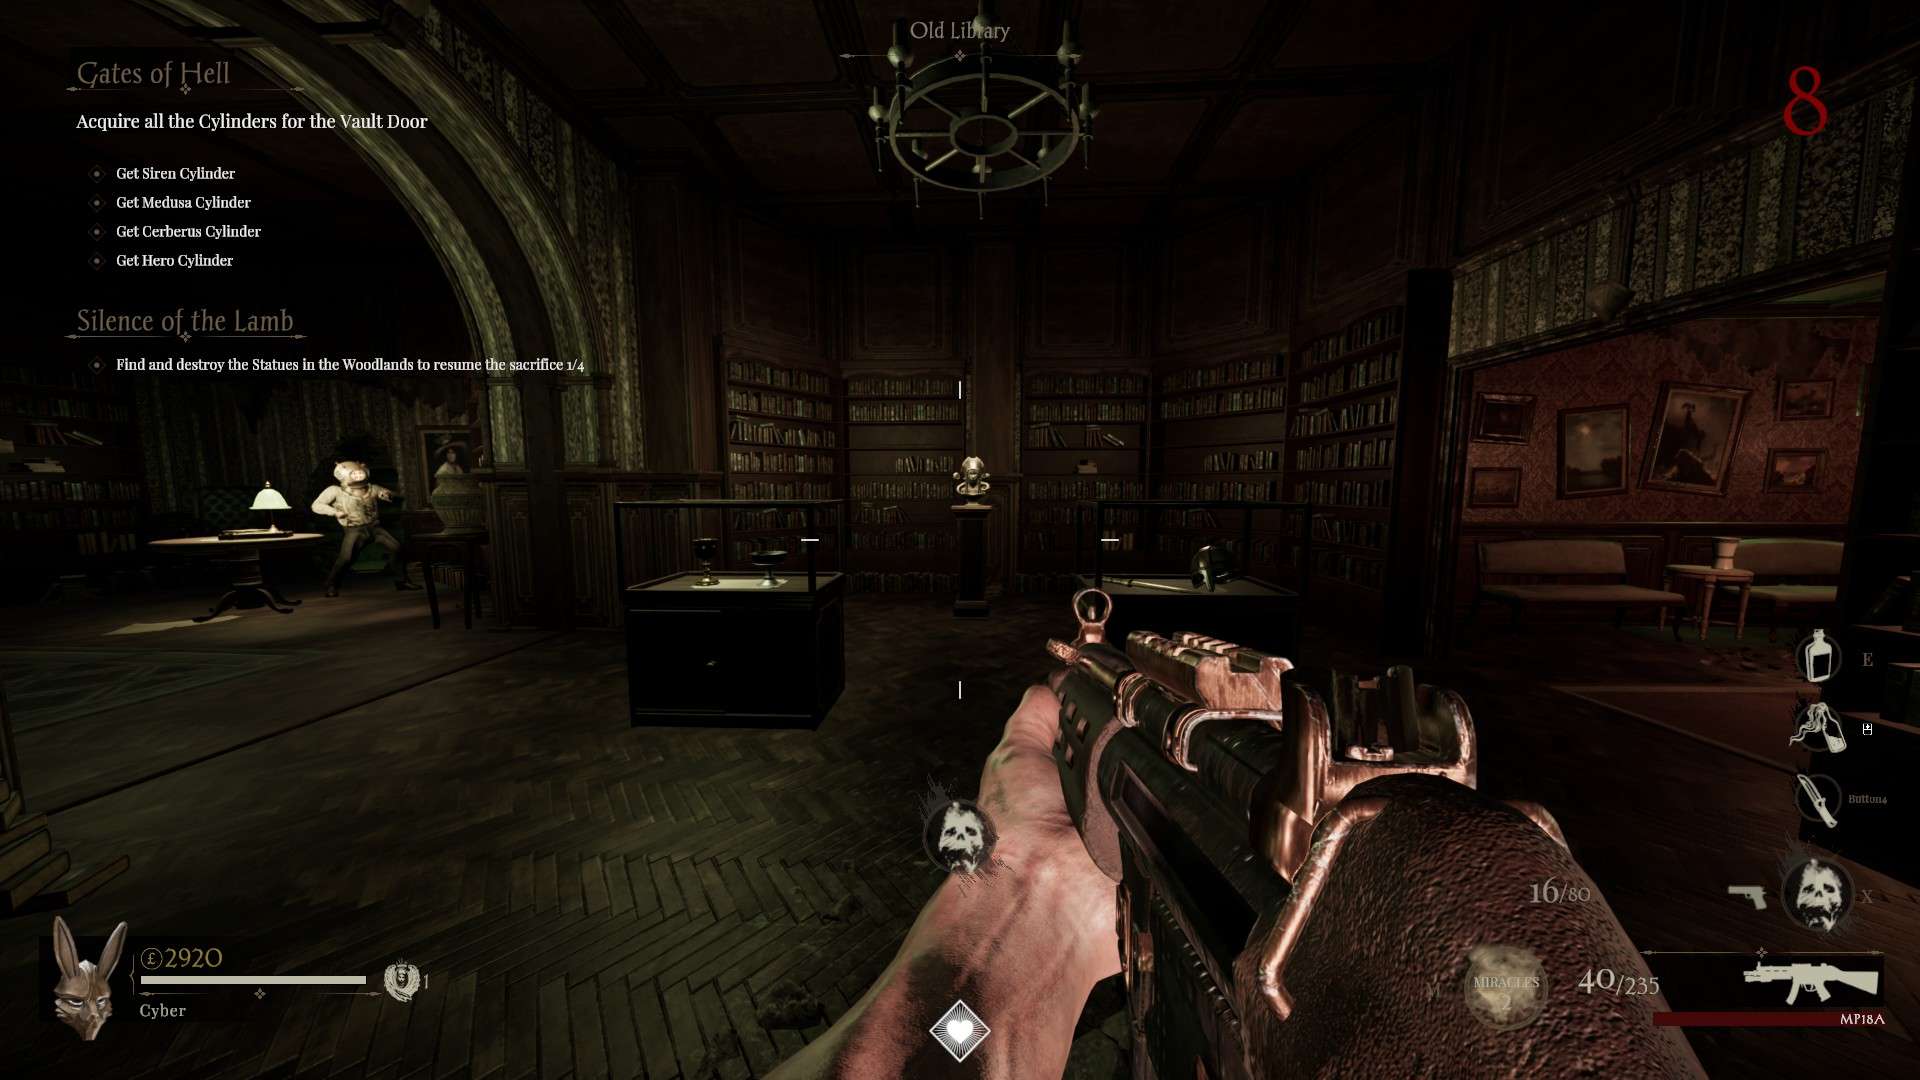
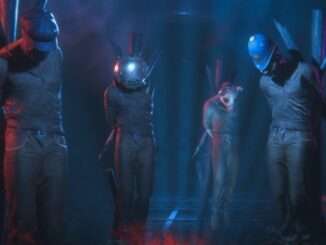
This will spawn a wave of enemies you need to take out.
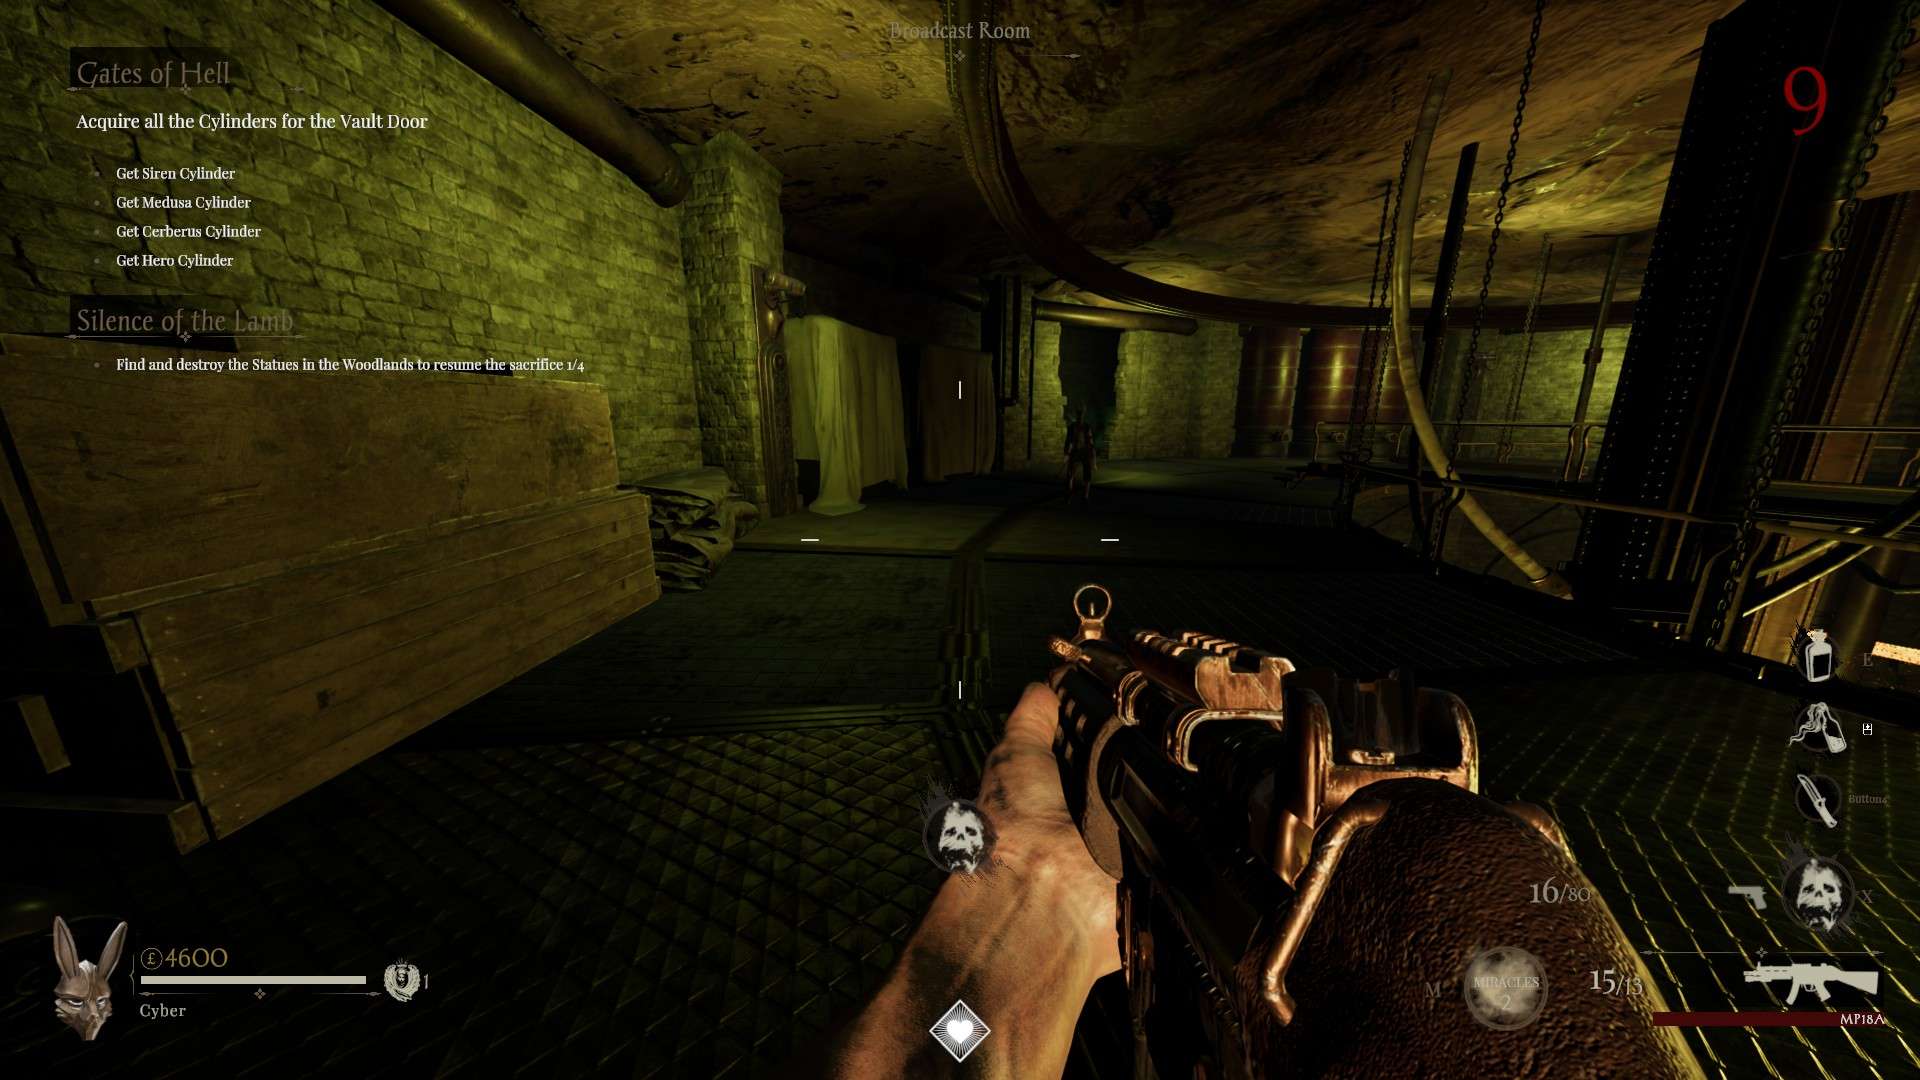
Step 4 – Retrieve Code from Rats
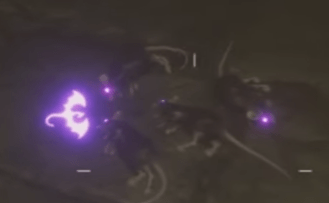
This next step our goal is to retrieve a code. Around the map there will be a purple illuminated symbol surrounded by a number of rats. We want to remember the number of rats with each symbol.
- For example: If we find 4 rats with the dragon symbol, as we see below, we want to note: DRAGON 4
Below are some locations that I know of:
Tip: Once you find 3 symbols, you can guess and check the final one!
Note some of these images may be a bit off, but it is a good general area to look. I believe these symbols also let out a sound you can listen for if you are close.
Unpictured Locations
- Morgue wooden hallways
- Chapel Grounds
- Caverns (I believe)
- Broadcast Room (Bottom Level)
Laboratory

Main Chamber
Farmlands

Broadcast Room (Top Floor)
Step 5 – Order the Statues
So now, you should have a list of numbers and symbols in a similar format to this:
- Cat 4
- Dragon 2
- etc
We will use this to decide which symbol goes on which statue in the Chapel Catacombs.
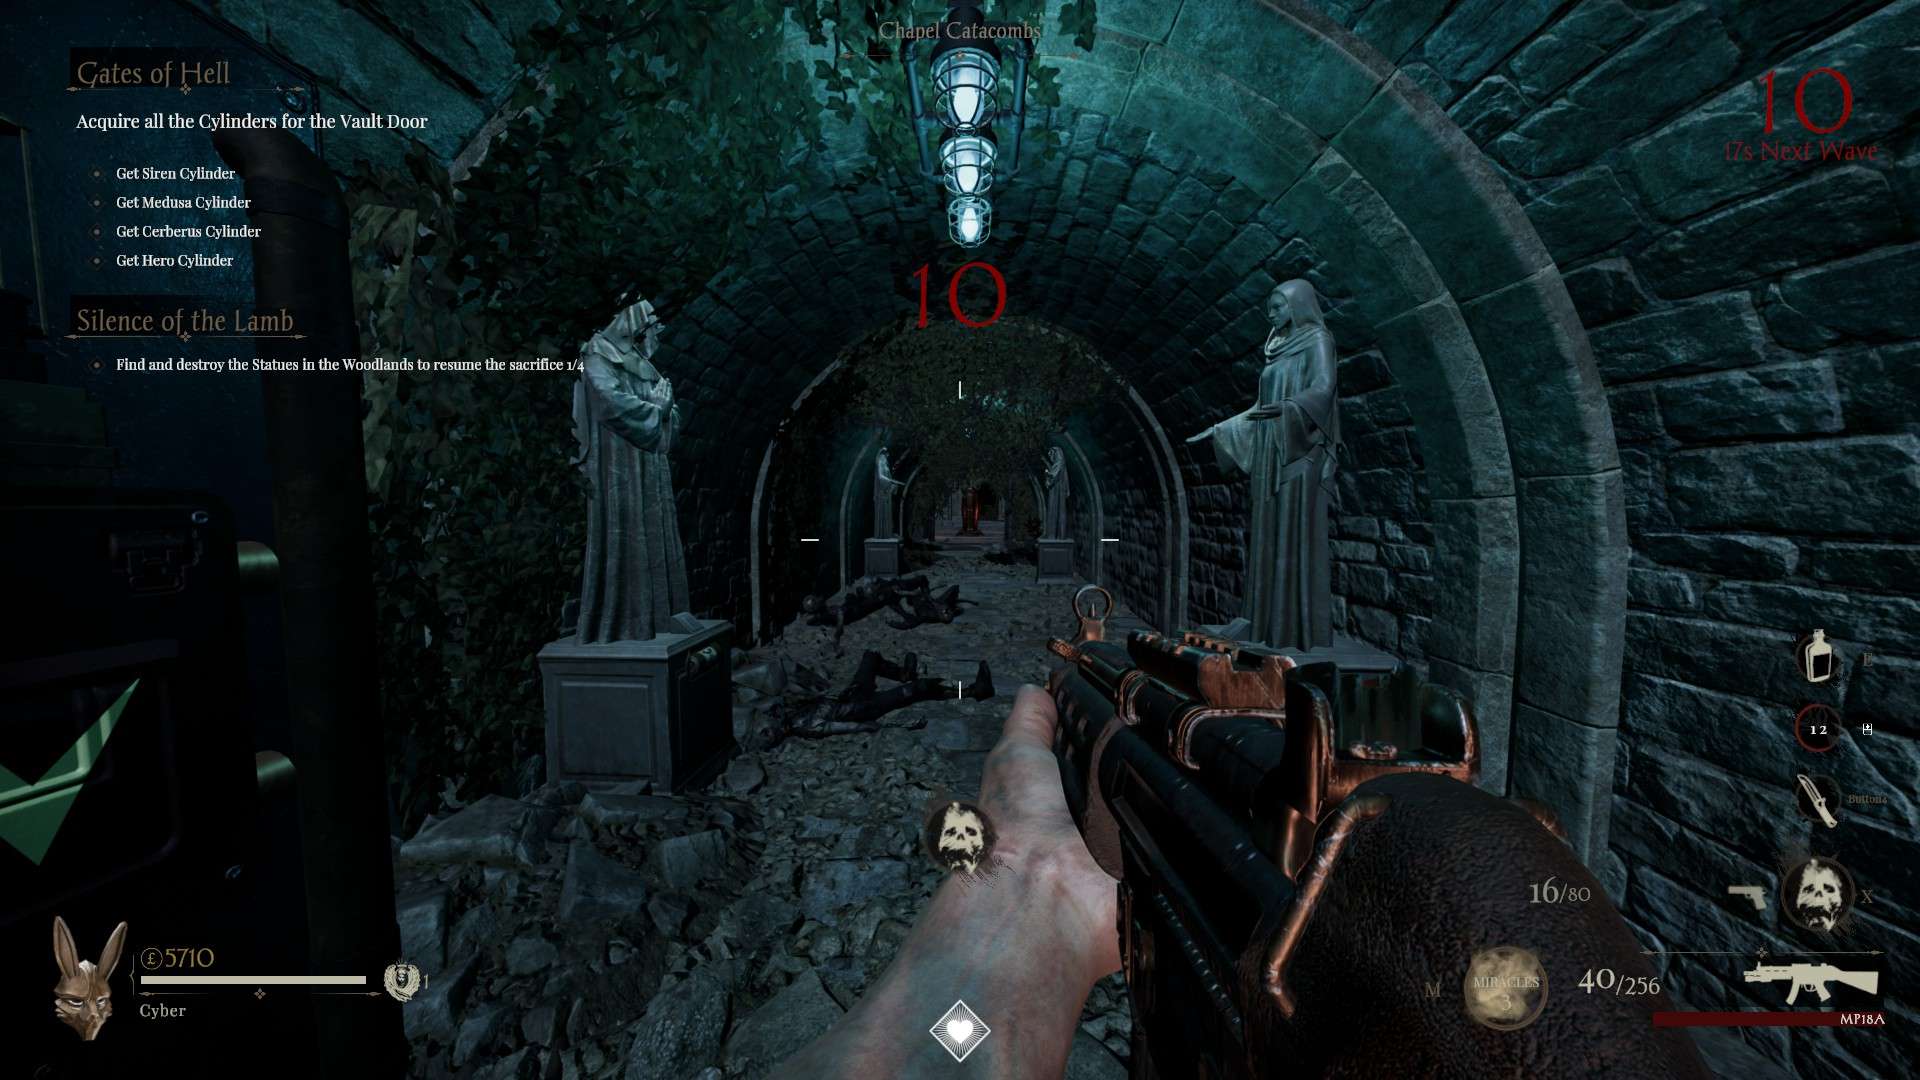
Go to the Chapel Catacombs and you will notice 4 statues with a roman numeral on each: I, II, III, IV.
You can interact with the symbol wheel on each statue, do this and align the symbols on the correct statue.
For example, using the above list, the statue with IV on it should be turned to a CAT symbol.
You will know you completed it correctly when you hear a sound cue play and get a quote.
Step 6 – Power on the Generators
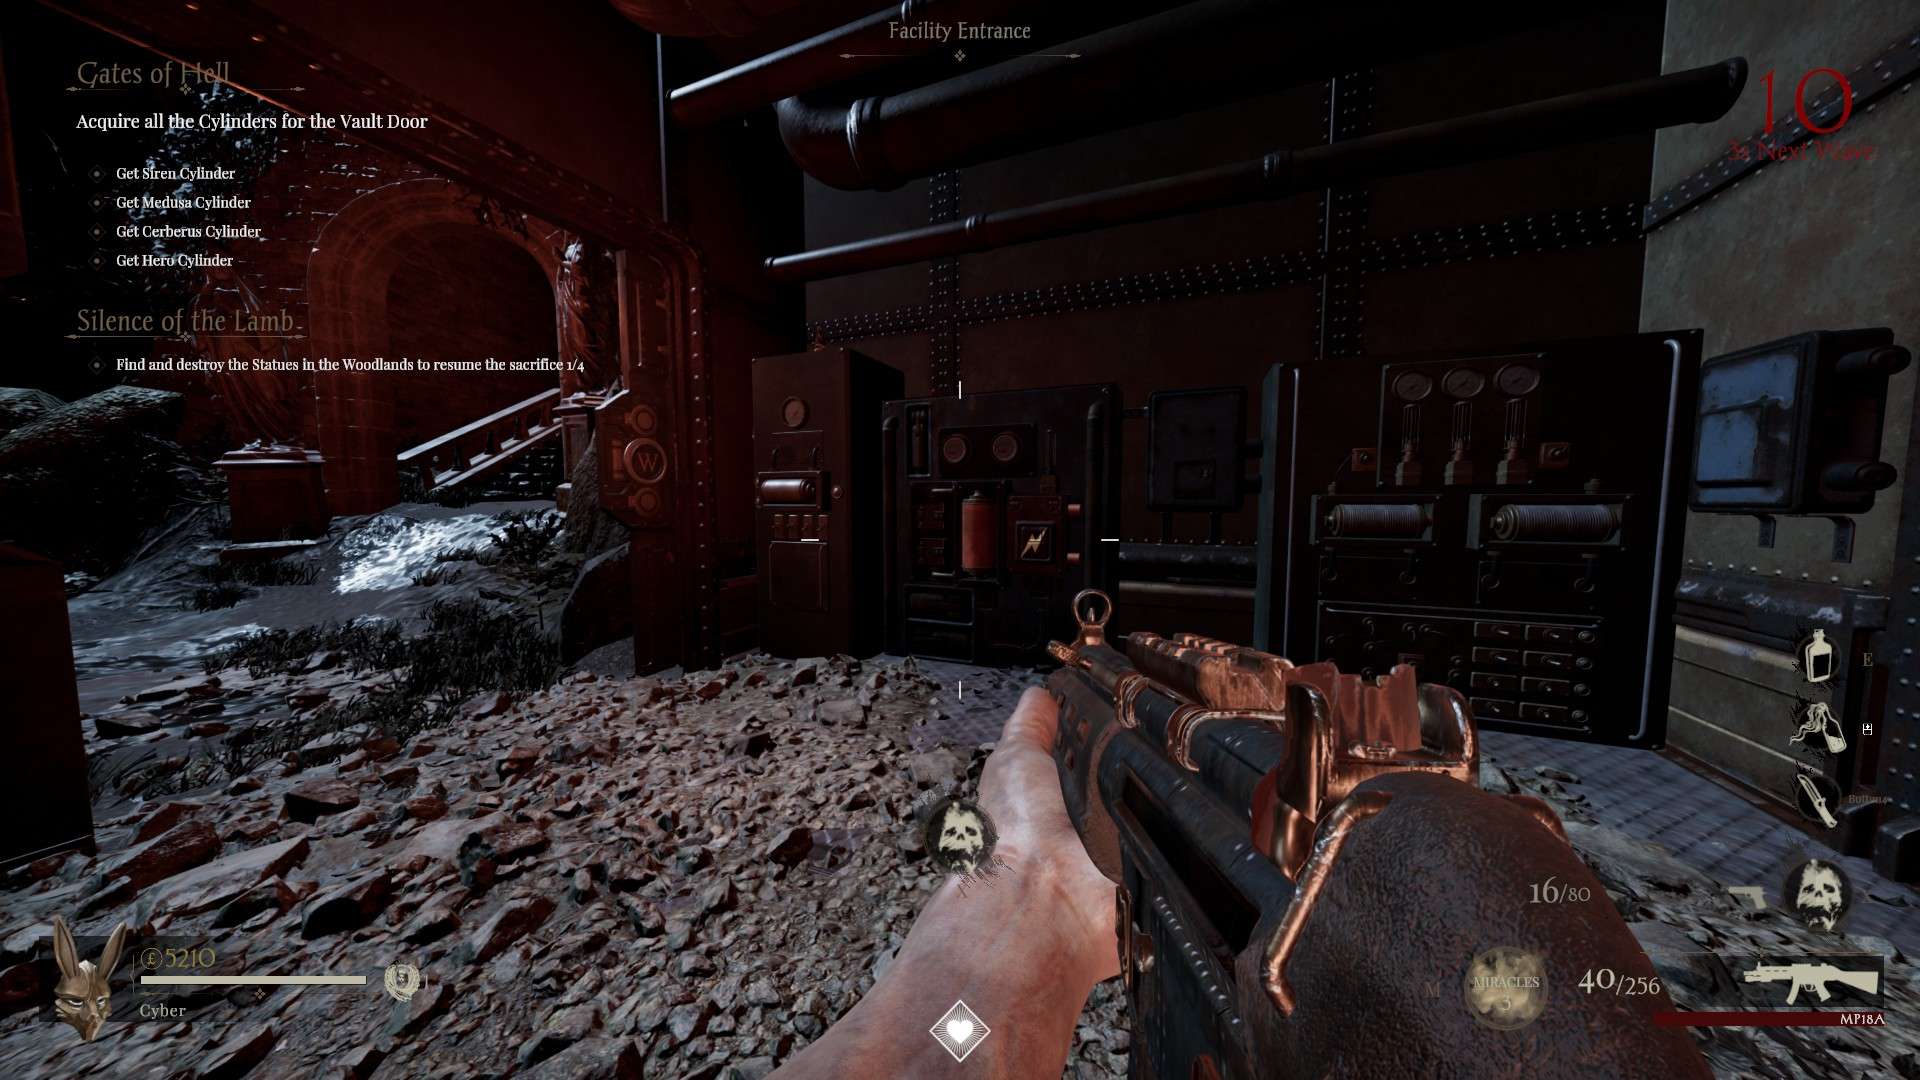
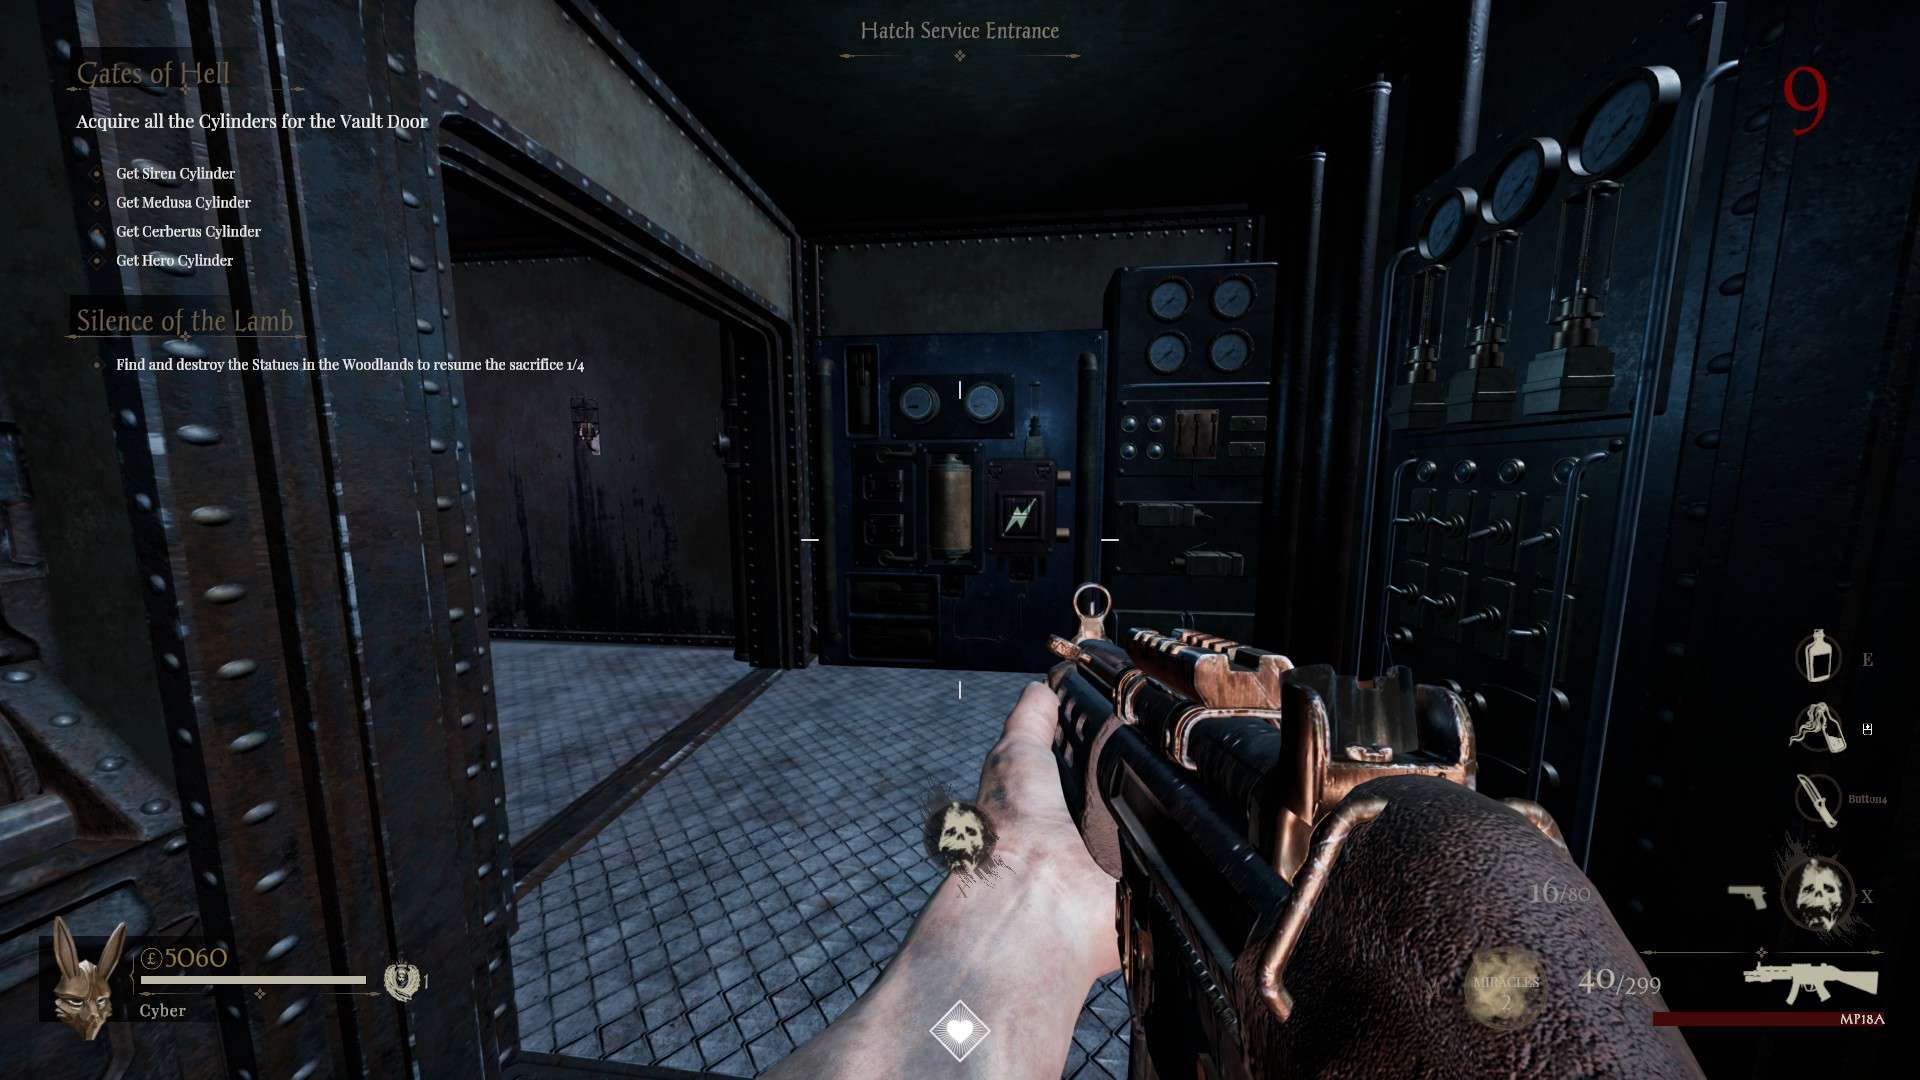
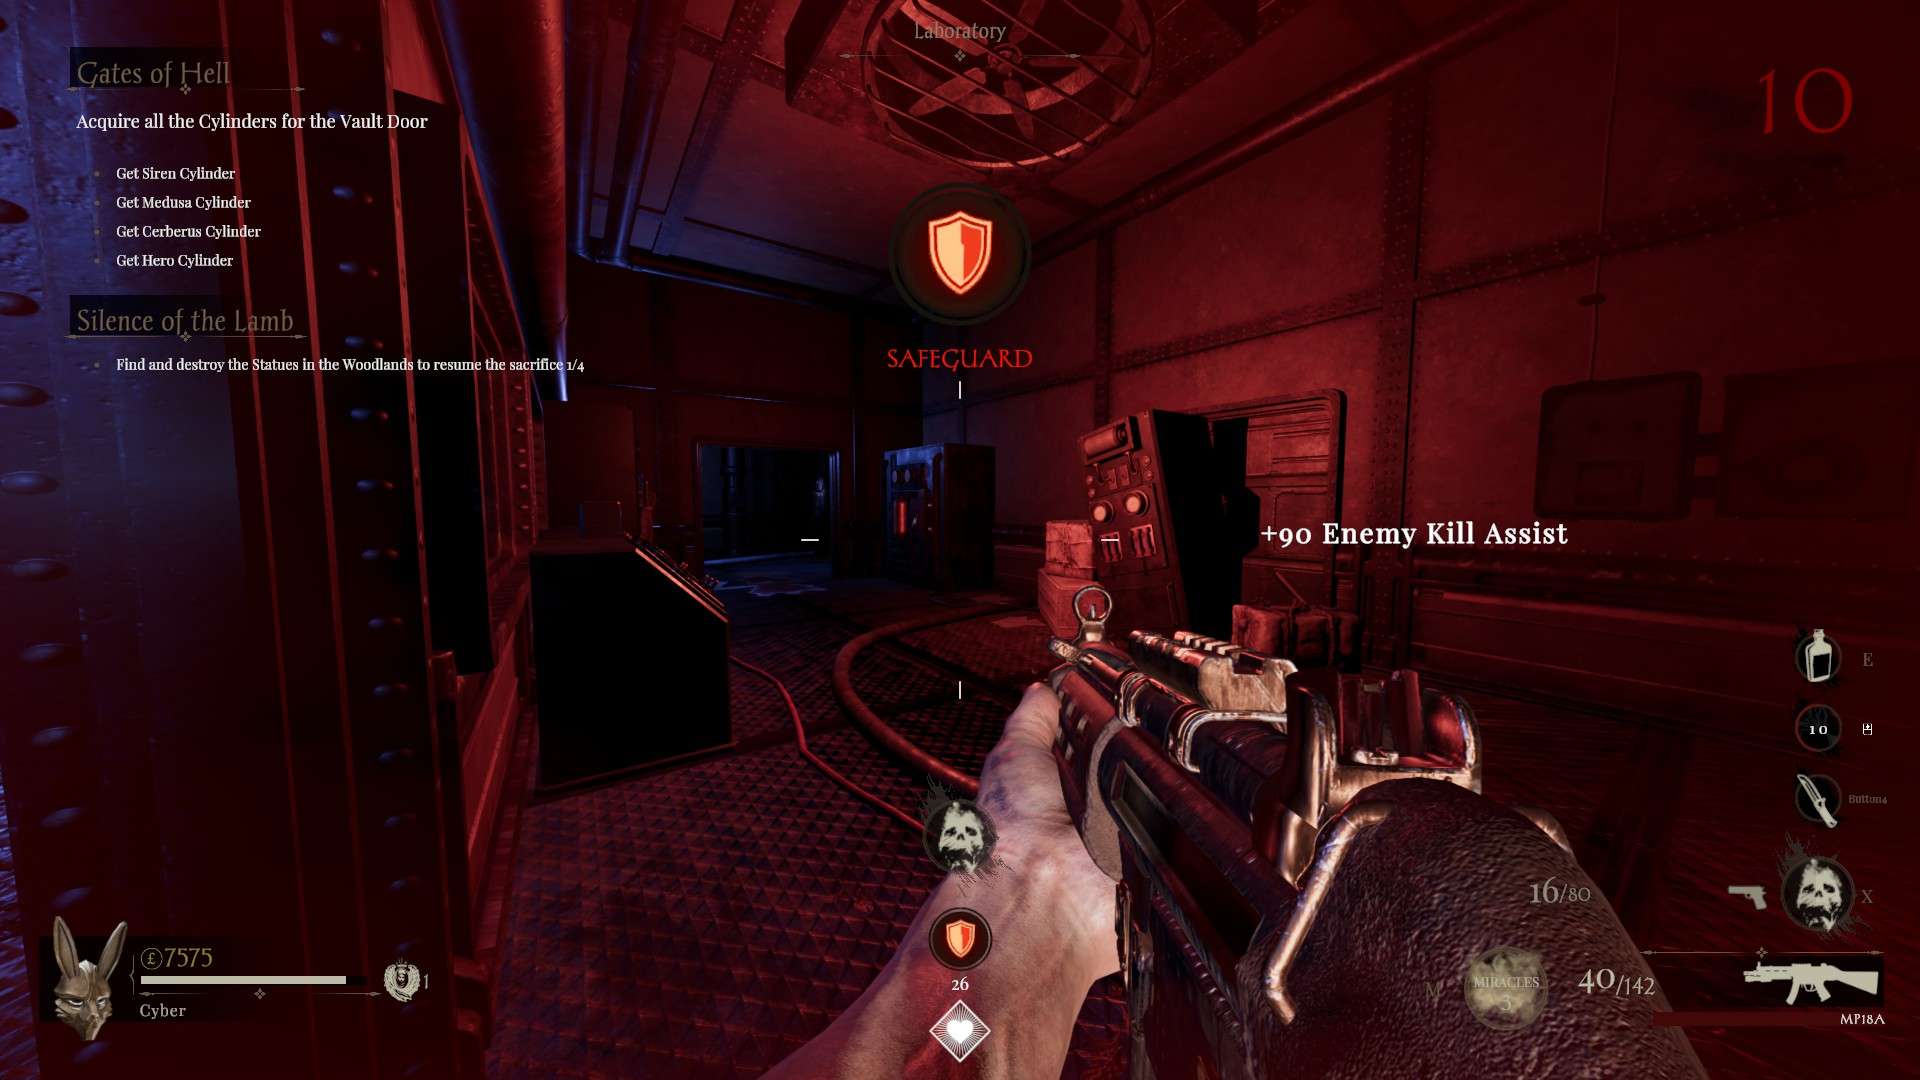
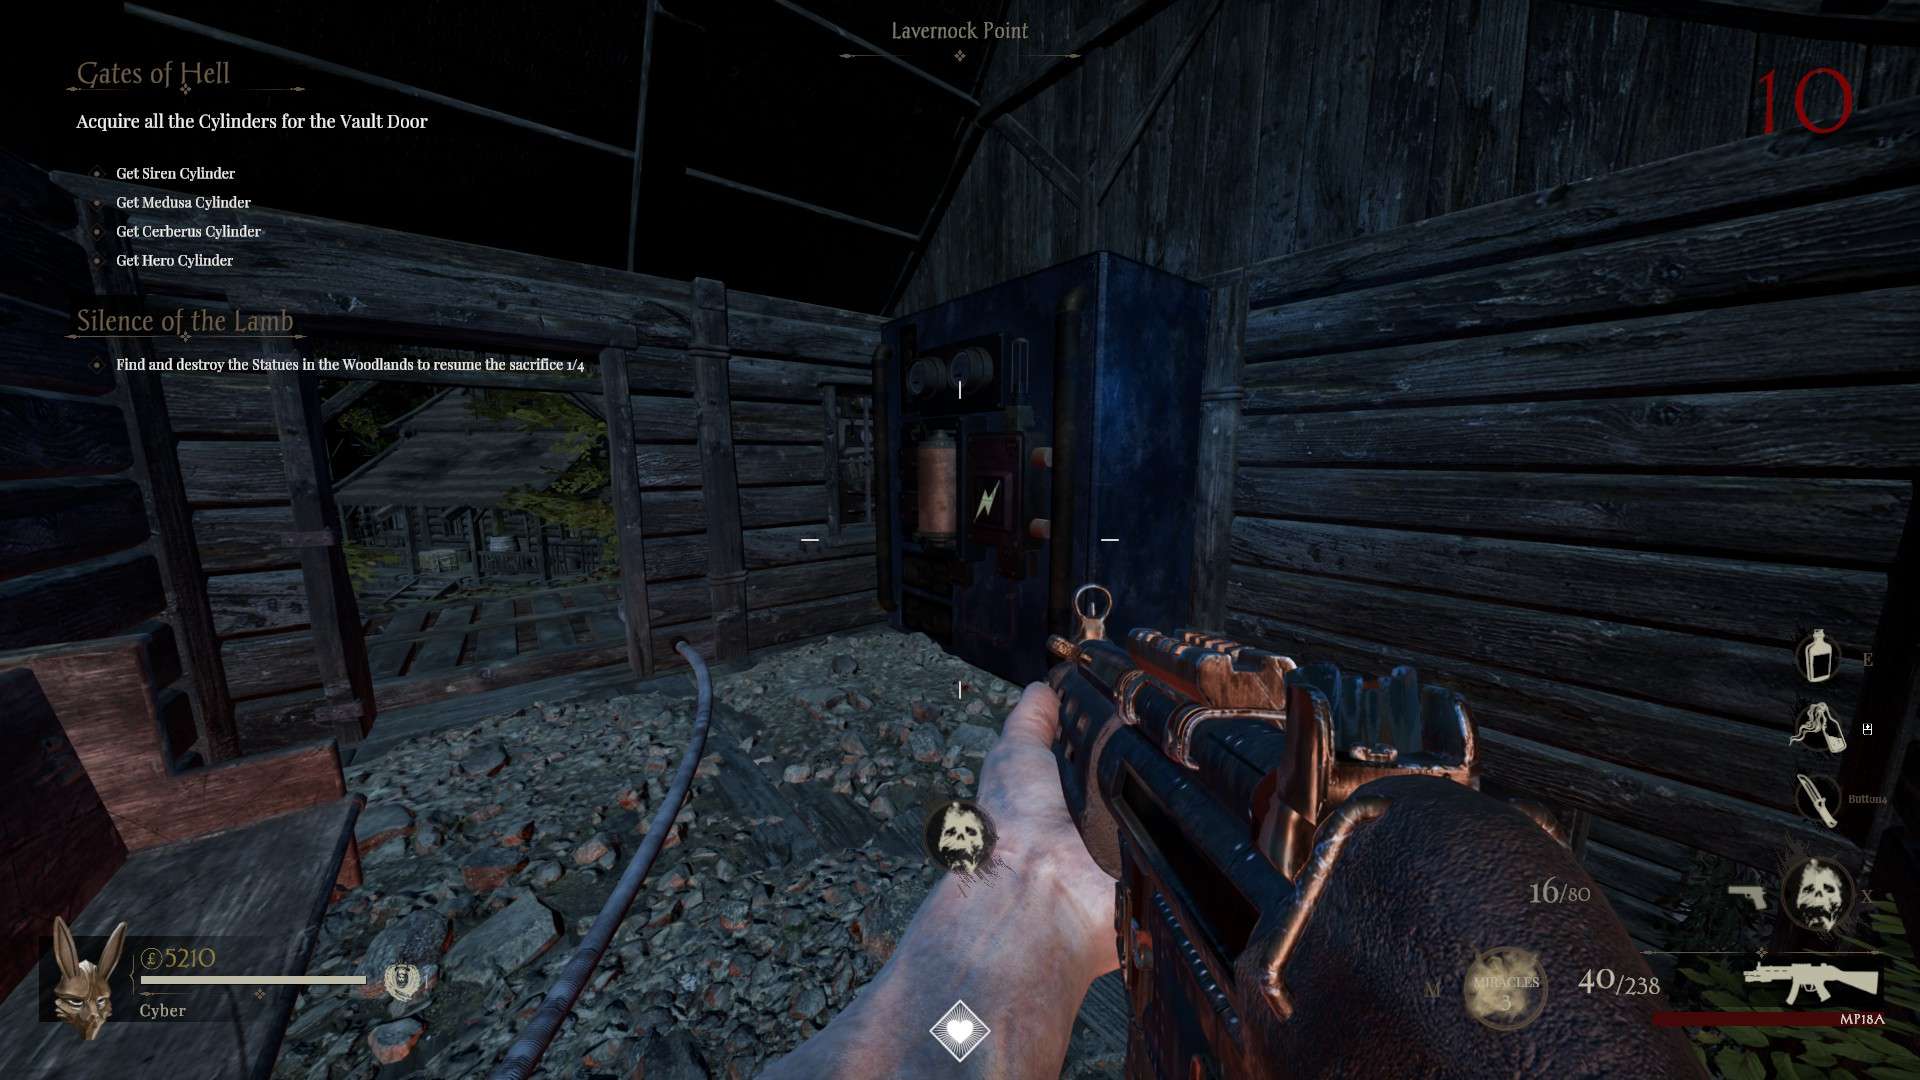
Now there will be 5 generators we need to power up around the map. To power them on we need to use the Thunderbolt weapon and shoot them. The 5 locations are the same in every game.
Note: This is timed in some fashion. I’m not sure how quick you have to be, but they will reset and you will have to re-shoot the generators if you wait too long between them. However, once all 5 are shot, they should not turn off.
Here are the 5 locations:
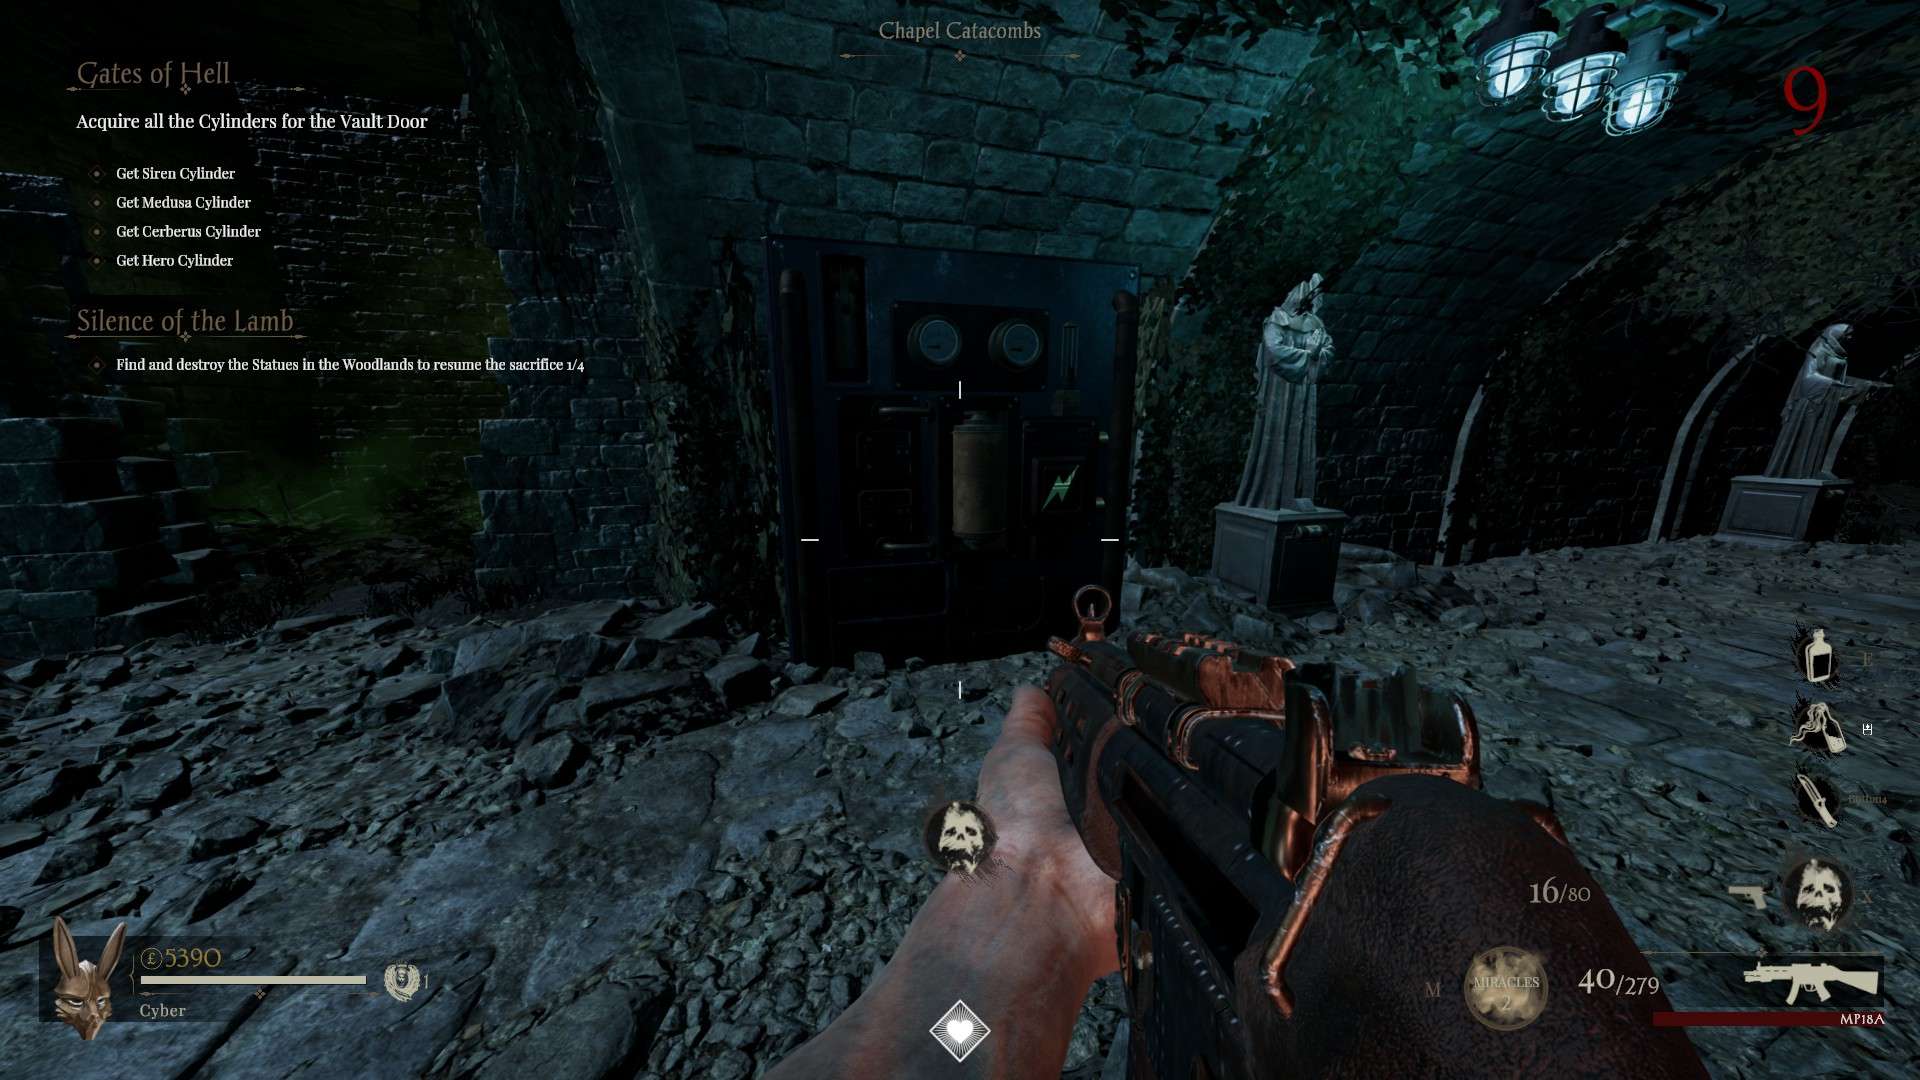
Chapel Catacombs
Facility Entrance
Hatch Service Entrance
Laboratory
Lavernock Point
Step 7 – Escort the Lamb
Next, we need to escort the lamb as we did earlier. This time, however, we will be going from one side of the map to another. The start location is in the Chapel Catacombs behind the bars pictured below:

You will need to stand near the lamb, and escort it until you reach this area, and the door opens.
Step 8 – Retrieve Item from Secret Room
The next step is fairly straight forward. We will need to enter the door that just opened from the lamb and walk to the back of the room. On the pedestal towards the back, you should be able to pick up an item.
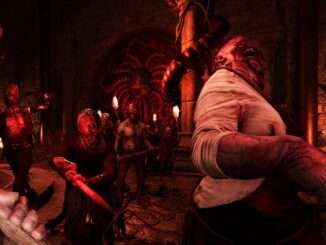
This will once again spawn a wave of enemies. Carefully eliminate all of the enemies in the area and exit the area.
Step 9 – Final Boss!
Finally, you have made it to the end! Once you complete the previous step, you can go back down to where the guided quest’s boss fight was fought. Go back to the machine that spawned once we completed the first boss fight. Interact with the top circle of the machine to start the final boss!
About the boss
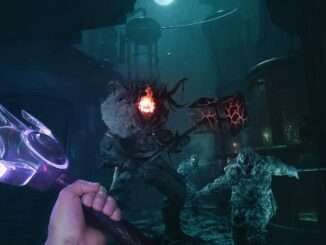
This boss fight is almost identical to the first one, however it is definitely much harder. Not only are we naturally going to be on a higher round, many more enemies will be spawning in to the area. You will have every type of enemy spawning, including abominations.
I noticed there is a set number of enemies that will spawn into the room at once, so if you train them around and don’t kill them, no more should spawn.
Shoot Abraham until you kill him and congrats, you completed the unguided quest! You can now continue playing or leave in the pod in the boss room.
how do i get tier 4 perks? got to tier wave 50 yesterday didnt get any option for a tier 4 perks only up to tier 3
3 Miracles from each of the two Gods that share that Miracle