
This guide contains detailed information about all the possible collectibles that can be found in The Callisto Protocol.
Contents
Guide to Obtain Grim Reaper Achievement / Trophy (All Collectibles)
All credit goes to Xealeen!
Introduction
For your convenience, I have divided all the items into chapters with text descriptions and screenshots, as well as a video if this is not enough. The Callisto Protocol has 43 Collectible Locations (23 Implant Bios, 20 Data-Bios Audio Logs). Finding all of the Bios Collectibles unlocks the Grim Reaper Achievement.
Collectibles Info
Grim Reaper achievement description is misleading. It states to “harvest and read all implant bios”. However, you also need the regular Audio Logs, not just the harvested implant bios. They all count as “Data-Bios” in the game. They are all included here in the guide — 43 Collectible Locations (23 Implant Bios, 20 Data-Bios Audio Logs).
There is no Chapter Select and no New Game Plus. You must find all Collectibles in one playthrough. The game keeps multiple autosaves going back a few checkpoints, if you missed one and notice right away you can reload the closest autosave and replay from there. You can also keep Manual Saves, which is highly recommended. Keep at least one Manual Save from the start of each Chapter. The chosen difficulty setting doesn’t matter for Collectibles. There are no Side Quests or hidden requirements, they can all be found on the first playthrough.
Implant Bios are harvested from corpses whereas Audio Logs are found as collectible pickups in the environment. Both types are mandatory for the Grim Reaper trophy, so be sure to get all of them and not just the Implants. The Grim Reaper achievement pops after the 42nd Data-Bio Collectible, which is a regular Audio Log and not a harvested Implant Bio. It actually pops one collectible early, the 43rd collectible isn’t needed for some reason.
You can keep track which ones you found in Data-Bios Menu. In this menu there’s a sidebar on the left that lists them by Chapter. There you can see all available ones per Chapter. Each Audio Log & Harvested Implant is listed under the person they belong to. Some of the persons have multiple Bios across different Chapters, but the Data-Bios Menu shows the total amount across the entire game. For example, Dr. Caitlyn Mahler would show “1/4” collected after Chapter 2, this is normal because the remaining 3 Bios of this person are found in later Chapters.
Potential Bug Warning: Sometimes a Collectible might not register correctly in the Data-Bios Menu, then it remains blacked out in the menu. If this happens reload the last Autosave and collect it again! If one remains blacked out in the Data-Bios Menu, the achievement won’t unlock! It’s recommended to check at the start of every Chapter that all entries from the previous chapter are filled in (none are blacked out). If something didn’t register, reload the nearest save and recollect everything from that point onward. That’s also why you should keep plenty of Manual Saves.
Dying resets your progress to what you had at the last Checkpoint. If you die, you must recollect anything since the last checkpoint!
Chapter 1: Cargo
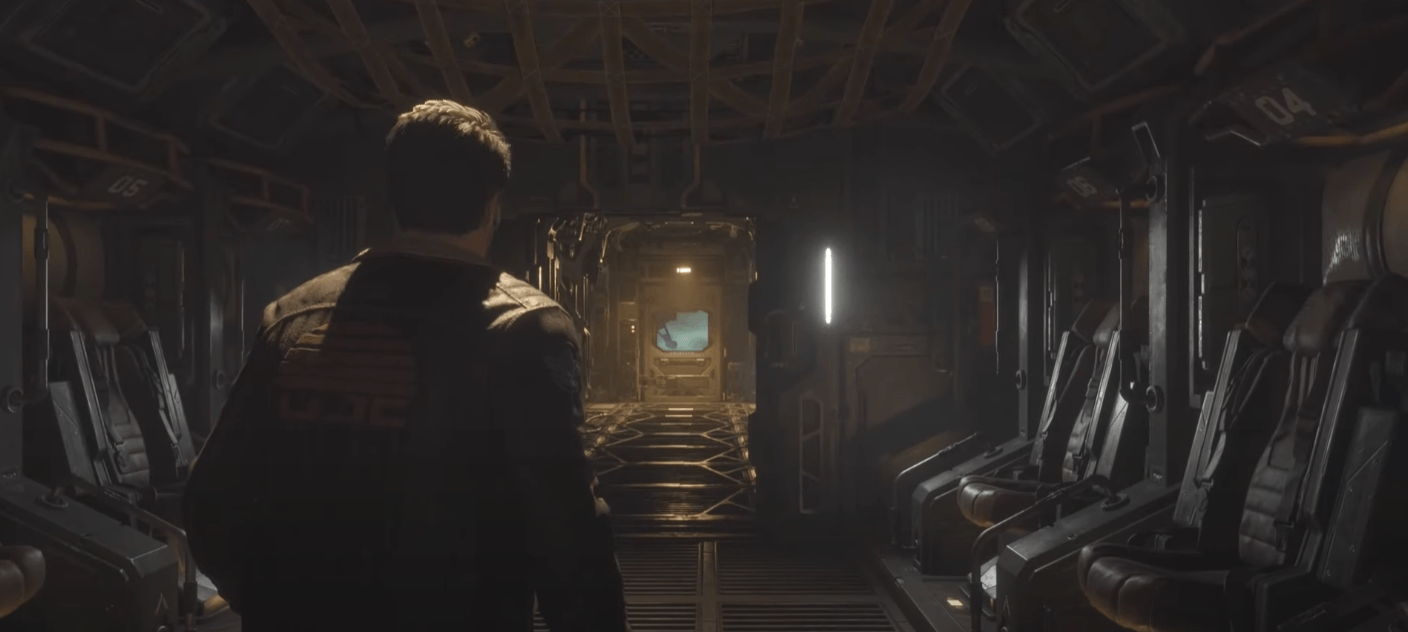
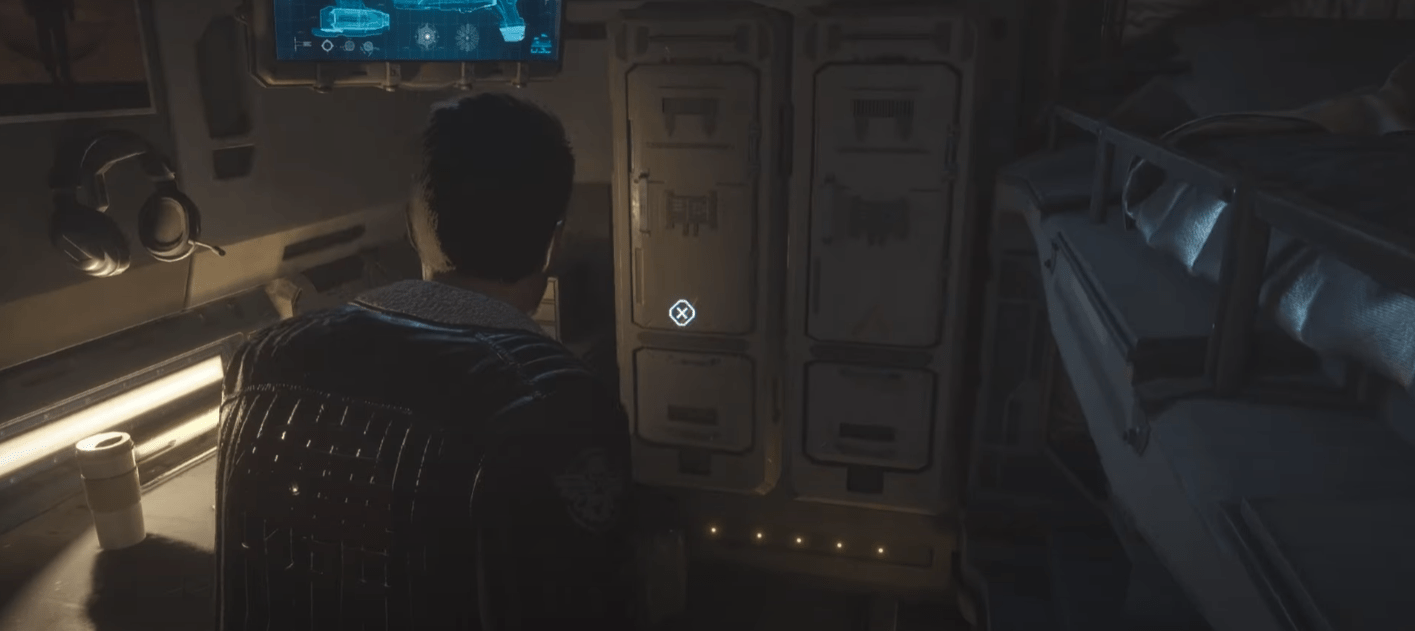
Data-Bios #1 – Jacob Lee: Jacob’s Job
- Objective: Check on Special Cargo
At the very start of the game, when you can walk for the first time, enter the first room on the left that shows green text “Unlocked” on the door, it’s in that room on the shelf.
Chapter I: Videoguide
Chapter 2: Outbreak
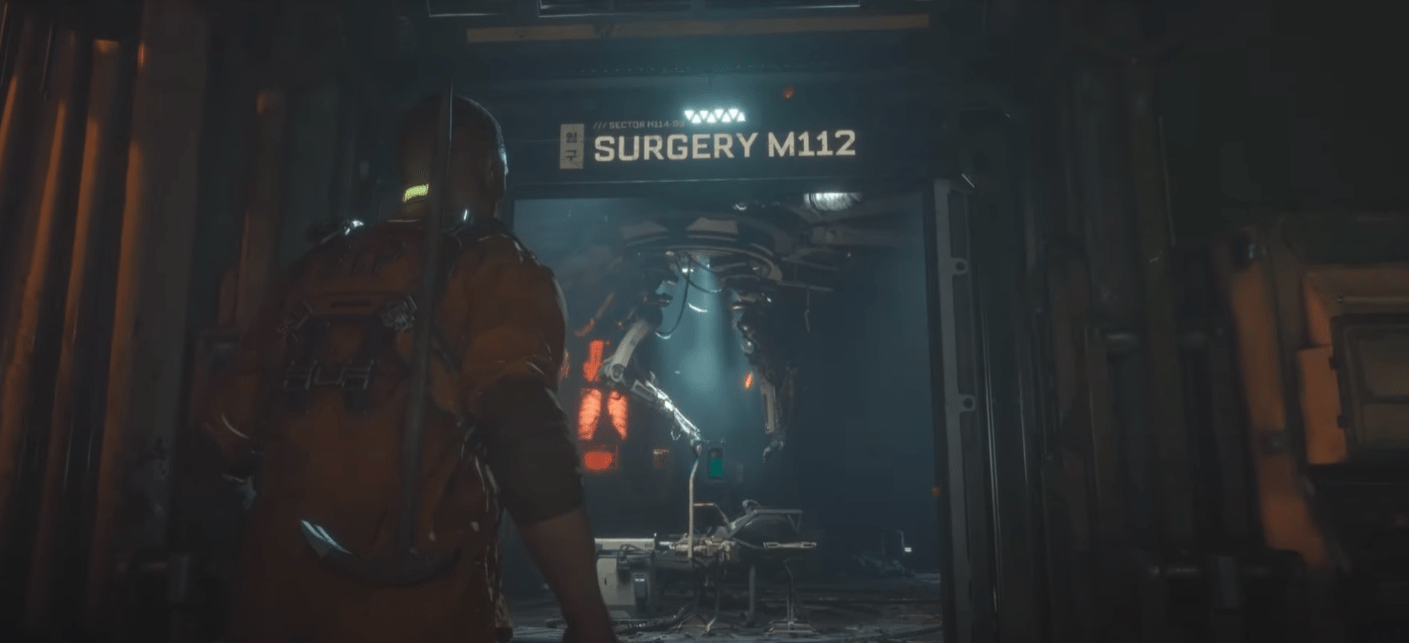
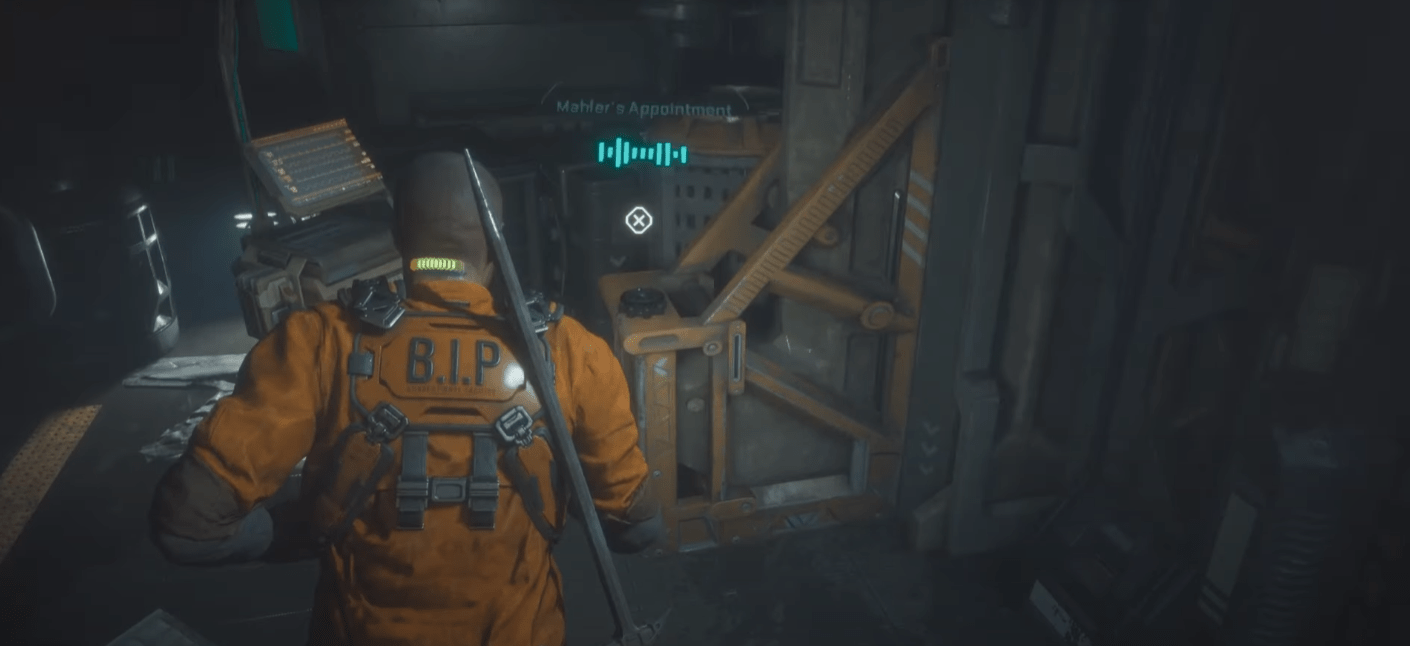
Data-Bios #2 – Dr. Caitlyn Mahler: Mahler’s Appointment
- Objective: Find the Weapons Lockup
Inside Surgery M112 after avoiding the robot, where you grab the fuse, sitting in the corner.
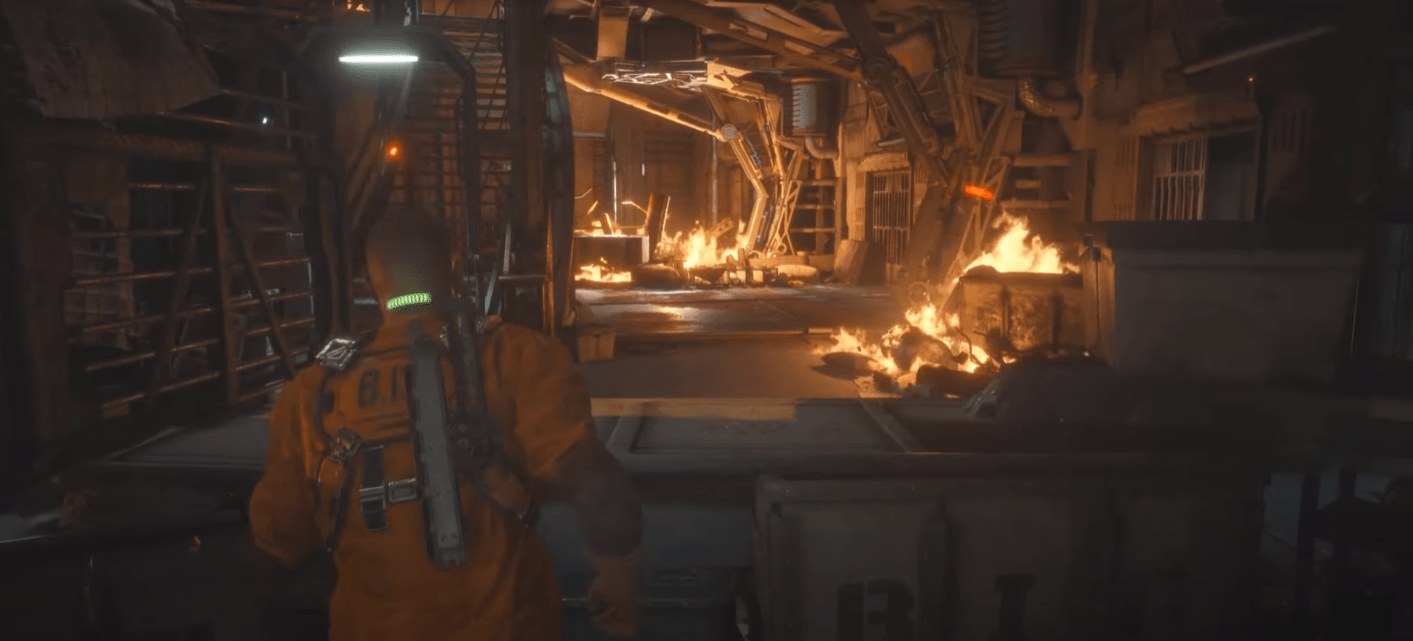
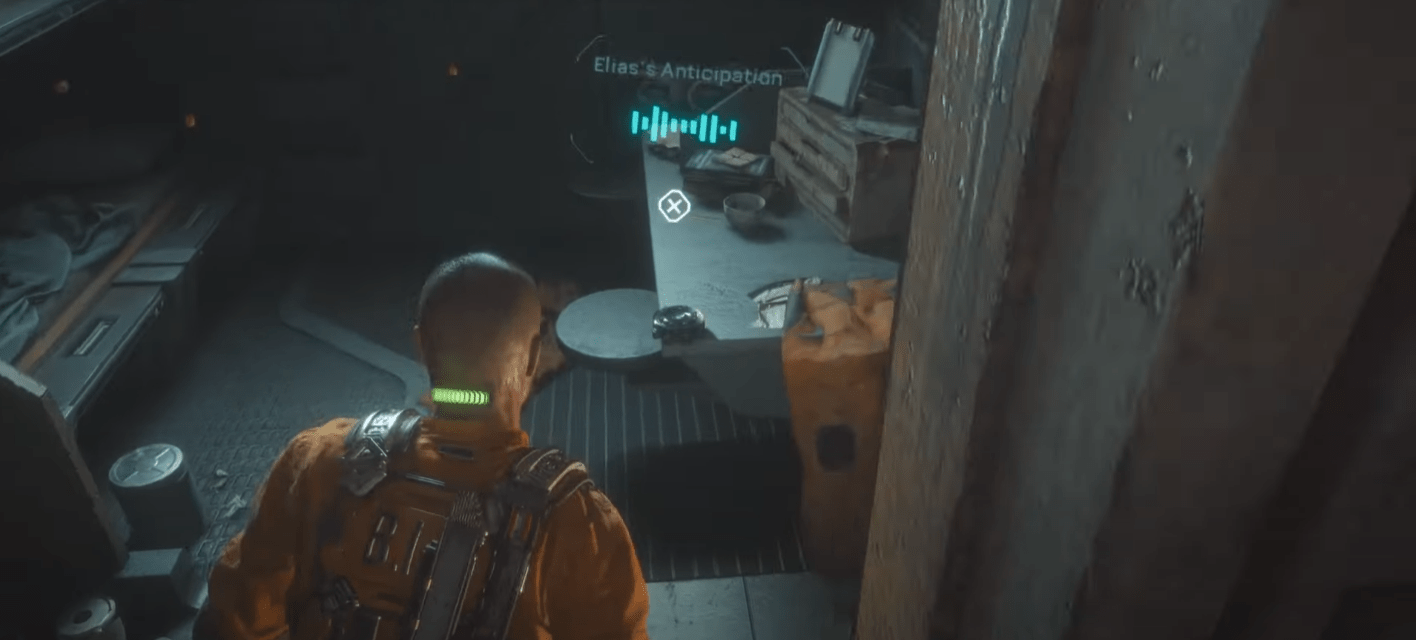
Data-Bios #3 – Elias Porter: Elias’s Anticipation
- Objective: Return to the Watchtower
After returning to the prison cells where you fight four enemies, enter Elias’s cell to find this.
Data-Bios #4 – Cpt. Leon Ferris: Ferris’s Lament
- Objective: Find Exit
After the cutscene with Cpt Ferris, sitting on the table.
Chapter II: Videoguide
Chapter 3: Aftermath
Chapter III: Videoguide
Chapter 4: Habitat
Chapter IV: Videoguide
Chapter 5: Lost
Chapter V: Videoguide
Chapter 6: Below
Chapter VI: Videoguide
Chapter 7: Colony
Chapter VII: Videoguide
Chapter 8: Tower
Chapter VIII: Videoguide
W.I.P.


Great guide, I always prefer screenshots over videos.
For the maximum security achievement, after you beat the game you can hit continue and it will load you right before the run towards the drop pod. All you have to do is pause and change the difficulty to maximum and just finish out the rest and you will get the achievement lol. I don’t know if this will get patched or if it still works, just saw a video about it and thought I would share just in case someone wants the achievement for free 🙂
Can anyone confirm or deny if you can redo the chapters for collectibles only? Or do you have to play all over again?
No sir-ee. You have to do it all in one go, or not at all.
I’ve just finished the game, missing two Mahler logs (Corruptors and Combustors) and I still got Grim Reaper. That would mean only implants matter, not audio logs.