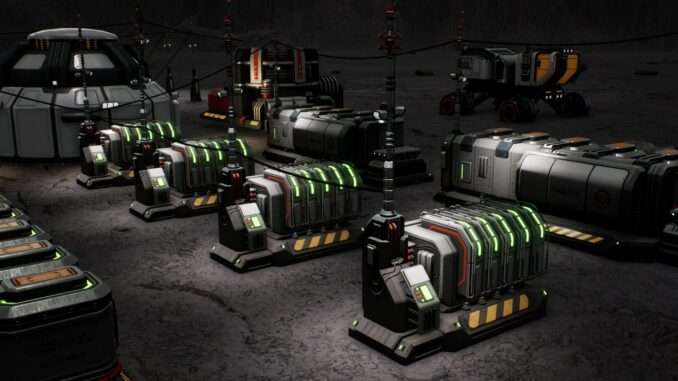
Getting Started Guide
Construction:
- Build 4 Solar Panels and 4 Batteries.
- Construct 1 Charging Station.
- Set up 1 Drone Configuration.
- Install 1 Scanner.
- You can build 1 to 4 Smelters. (Start with Steel and Silicon).
Buy a “Rover Scout” For early game science.
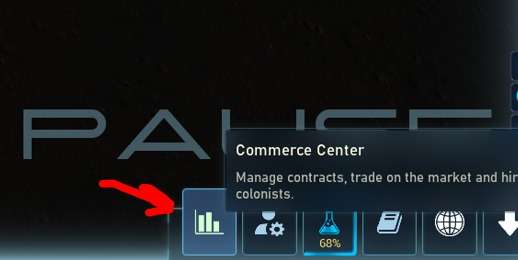
- Go to “Commerce Center”
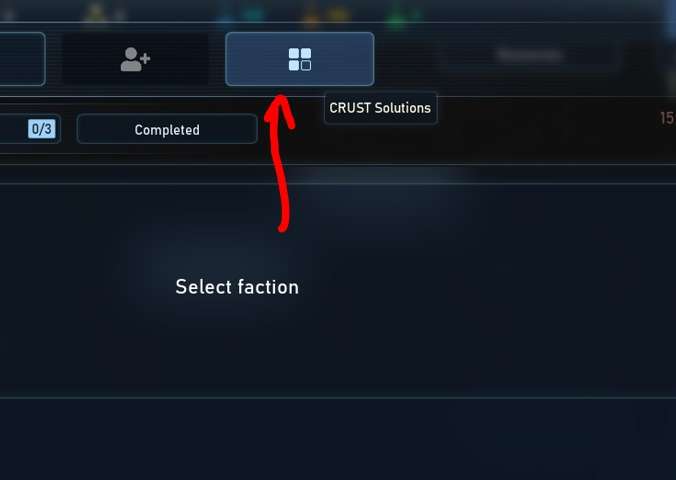
- Go to “Crust Solutions
- Buy “Rover Scout” (Make sure to send it off the map when it lands)
Resource Acquisition:
Your primary goal is to find a deposit. Ideally, look for an Iron (Fe) deposit, but any deposit will work. Once you locate a deposit, scan it using your Scanner.
Mining Pure Oxide:
Send your drones to mine the deposit. They will extract pure oxide from it. By mining pure oxide directly, you can skip the regolith processing step.
How to get the drones to mine the deposit?
When in the screen to select where to have mined out (AKA Mining Mode), if you hover over a ore deposit that you have scanned and identified, you should see a plus and minus, this will directly assign a drone to that deposit.
Straight to Smelting:
With the pure oxide in hand, you can now proceed directly to smelting. Use your Smelters to convert the pure oxide into usable resources.
General Tips
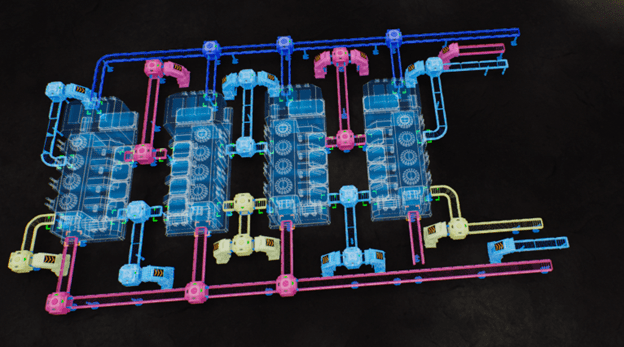
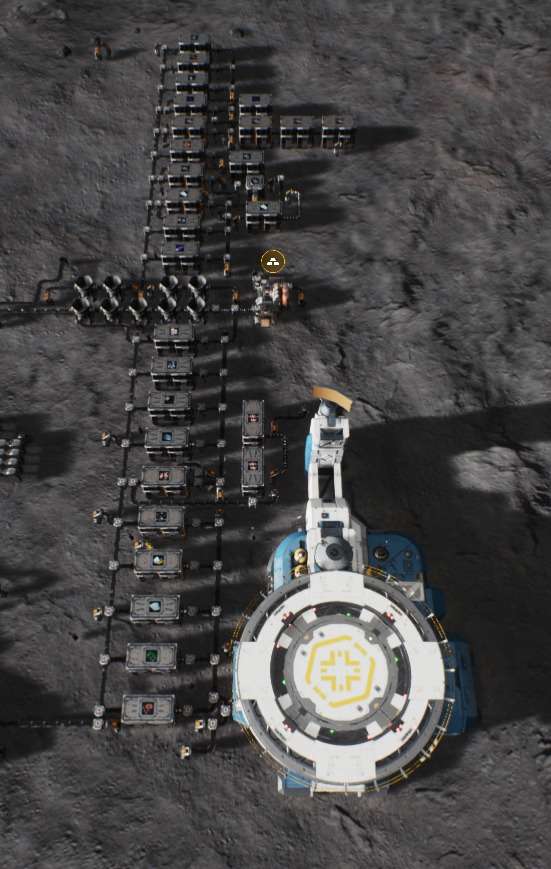
Multi-regolith setup with only two sets of undergrounds for each addition
Used different speed conveyors just to keep things separate in the diagram. The setup requires three rows on each side but only a single space between them. Flip them each time so the outputs match.
About Controlling Output of Elevators:
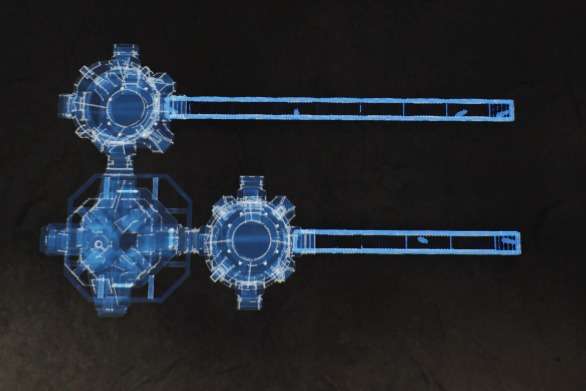
Set up 2 bulk storage at the bottom of your elevator one set for regolith and the other for RE and they will act as sorters. They have to be very close to the elevator to work right though.
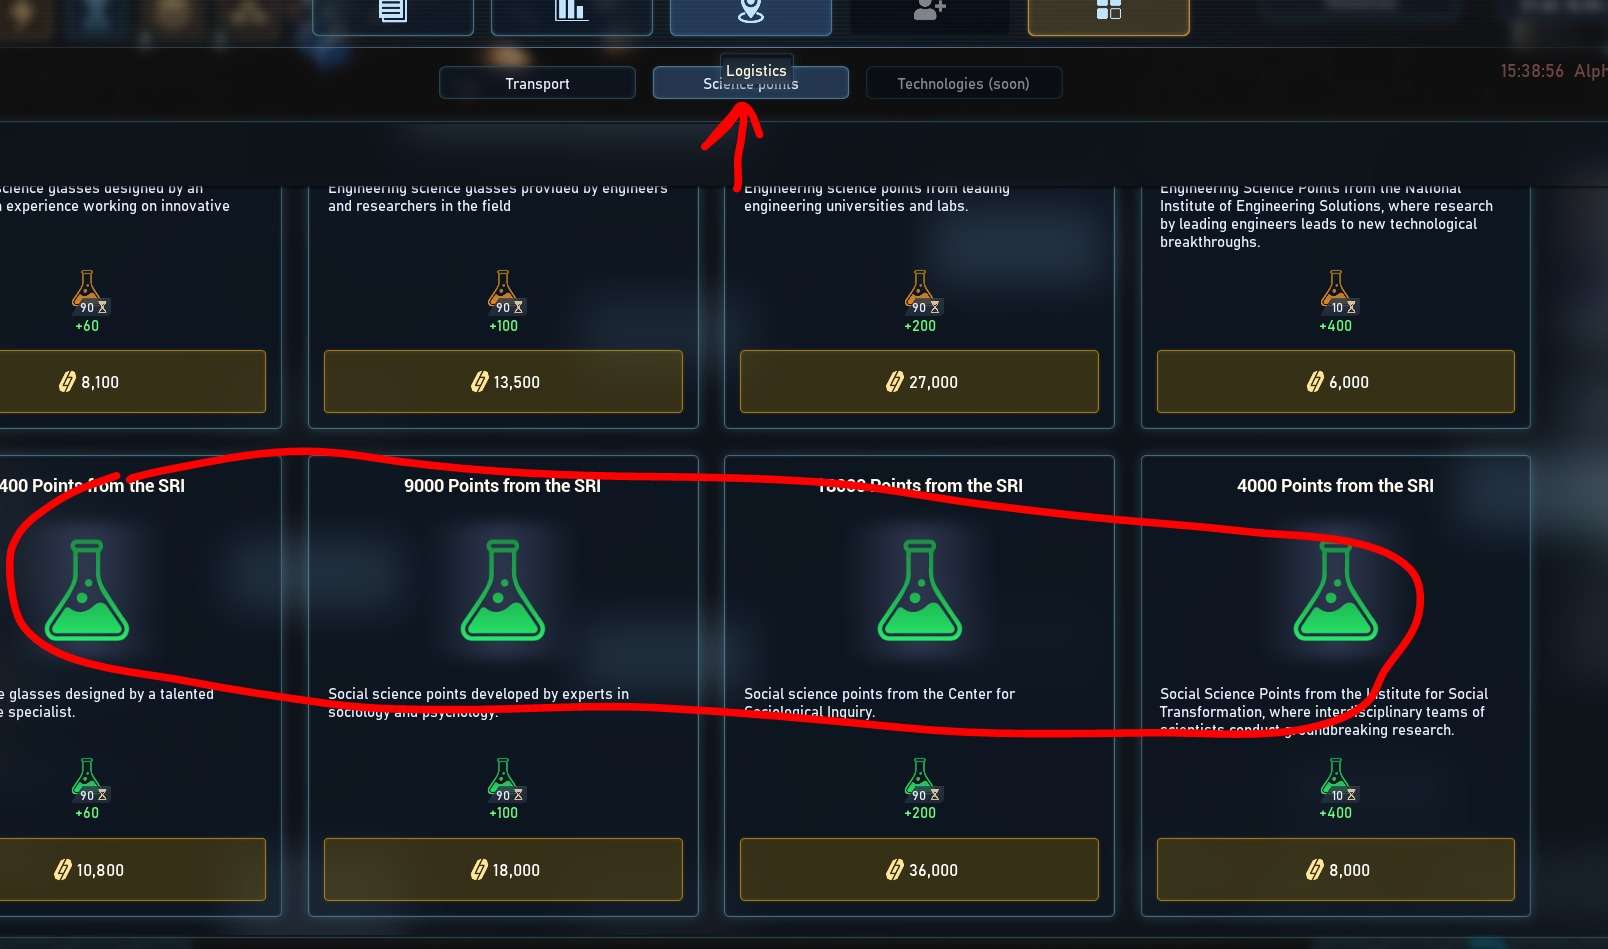
How to Purchase Science Points:
Autoloading the FCC
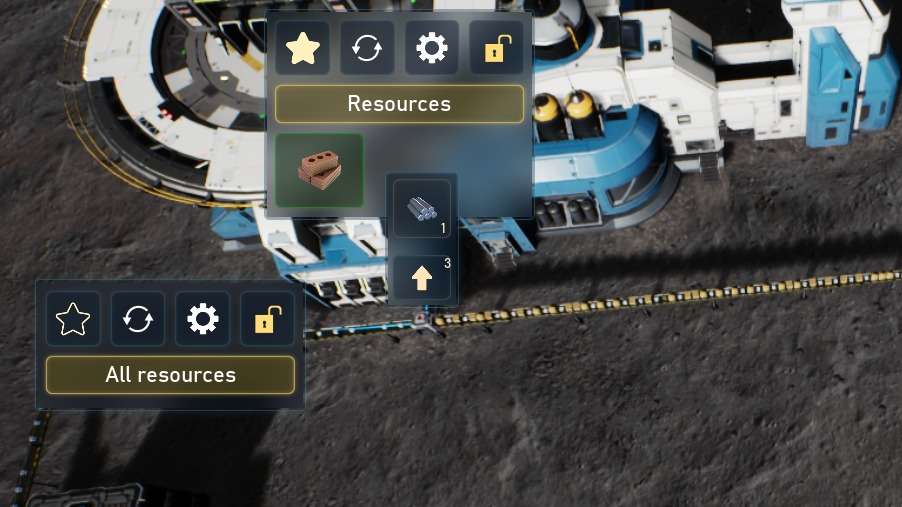
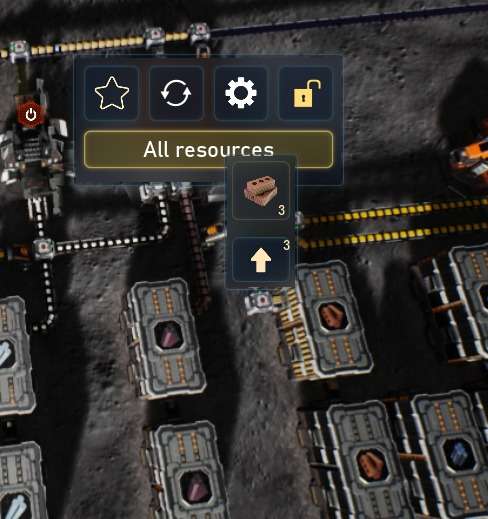
Someone asked how I handle automatic resources to the FCC. (The ECC I let drones handle) I set the input to the FCC to a single material with the priority star. I start filling the conveyor loop with the material requested. There is a distributor I use as an on/off switch at its source. When filled I turn off both. Let the material in the conveyor roundabout return to storage and dump what remains near the FCC which drones can pick up and bring back to storage.
About Mining Drone Behavior:
Drone miners have two basic inputs to decide their priorities:
- Color Red to green (highest to lowest) paint areas
- Distance from the elevator.
If you paint a single priority in a circle equidistant from the elevator they will dig one spot and then randomly move to another spot at the same distance even on the opposite side despite a spot available right next to them.
If you want to, you can paint your areas radially to mitigate that behavior.
Ice Harvester Deliveries:
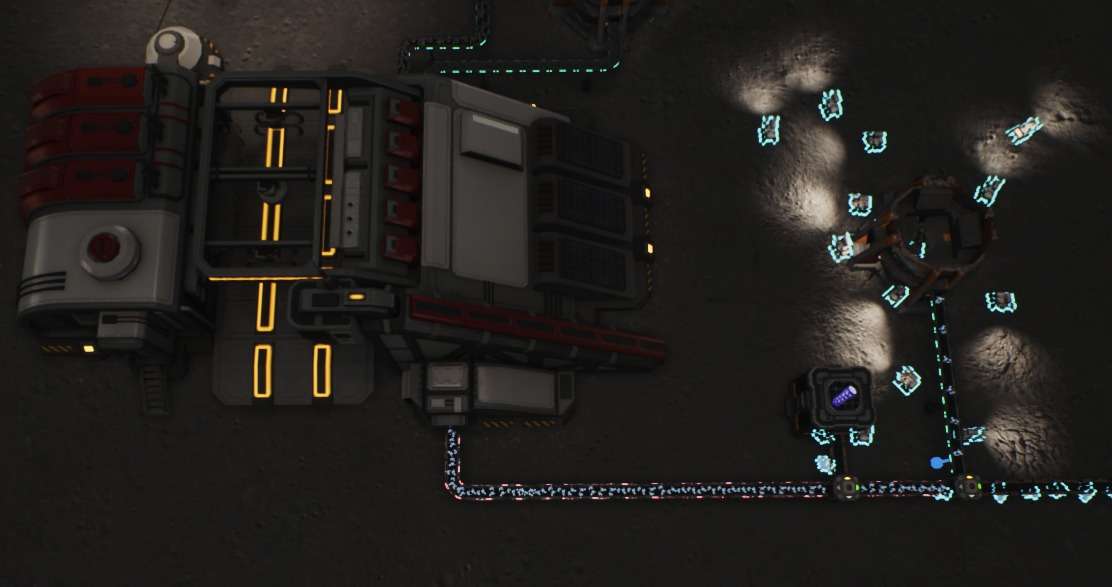
When you get the Ice Harvester, the cargo trucks will deliver it to the Cargo Dock. It will come out of the single port on the dock.
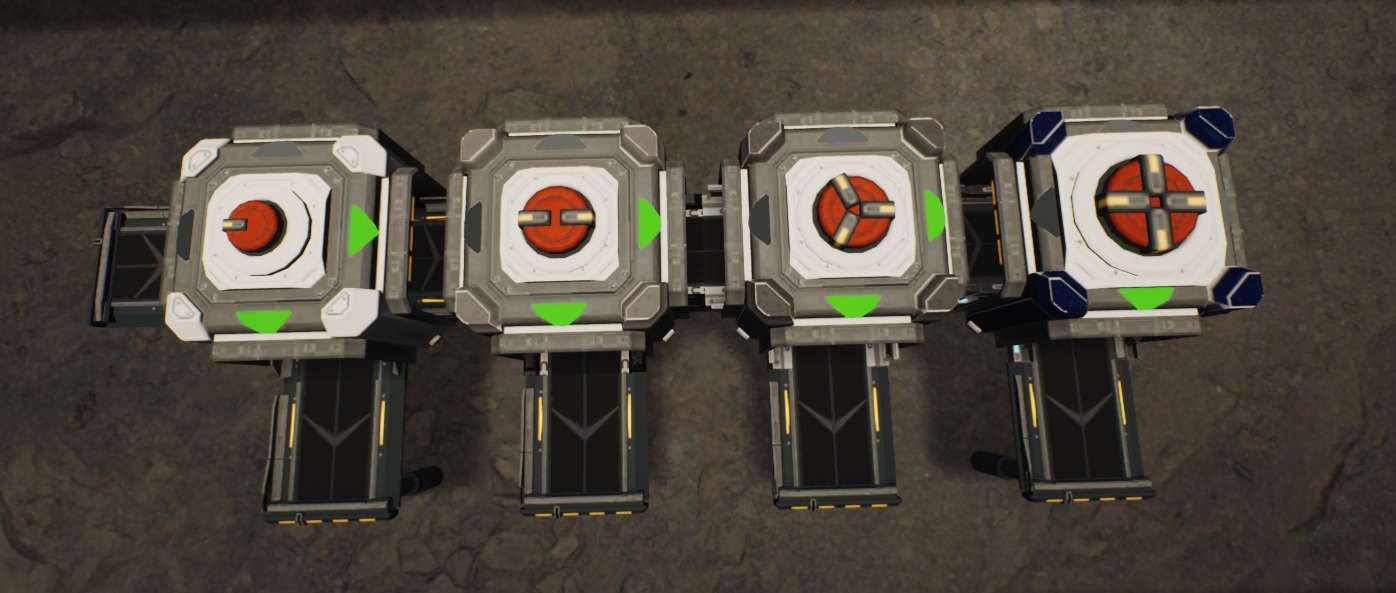
Visual Indicators for Splitter Tier Settings:
Most of you probably know this already, but if you don’t have a clue what tier your splitters are, they have a visual indicator. Left to right 1.2.3.4
Recipes for Both Assemblers and Hi-Tech Factories
Assembler Recipes:
- 4 Silicon + 1 Carbon Fiber = 1 Nanotube/Min
- 4 Aluminum + 1 Rare Earth Element = 1 Duraluminum Plate/Min
- 1 Microcircuit + 4 Silicon = 1 Microprocessor Unit/Min
- 3 Titanium Plates + 10 Concrete = 1 Modular Frame/Min
Hi-Tech Factory Recipes:
- 1 Duraluminum Plate + 2 Titanium Plates + 2 Nanotubes = 1 Composites/Min
- 12 Aluminum + 4 Helium-3 + 8 Nanotubes = 1 Energy Cell
- 2 Duraluminum Plates + 1 Microprocessor Unit + 1 Modular Terminal = 1 Control Unit/Min
- 10 Silicon + 12 Steel + 14 Concrete = 1 Modular Frame/Min
- 1 Steel + 1 Carbon Fiber + 1 Silicon = 1 Component/Min
- 18 Iron Oxide + 18 Silicon Oxide + 18 Aluminum Oxide = 1 Duraluminum Plate
- 6 Silicon + 1 Carbon Fiber + 2 Aluminum = 1 Microcircuit/Min
- 1 Nanotube + 4 Titanium + 6 Silicon = 1 Microprocessor/Min
Belt Fed Flight Control Center (BFFCC)
Steps to use belt feeder:
- Pause Game.
- Lock and unlock distributor directly adjacent to FCC.
- Order Contract (ideally 1 material per container).
- Unlock left distributor by storage chest of relevant material.
- Unpause and wait for container(s) of given material to fill.
- If contract of only one material, skip to step 9.
- Lock distributor by storage chest of material.
- Unlock distrib by next material.
- Lock distrib by used material.
- Enjoy your money!
Day-Night Cycle
Here’s a list of the 14 day day-night cycle for the first year. The current UI does not make this clear, but using this information, you can quickly determine how long until the next sunset-daybreak.
- 1-Jan
- 15-Jan
- 29-Jan
- 12-Feb
- 26-Feb
- 12-Mar
- 26-Mar
- 9-Apr
- 23-Apr
- 7-May
- 21-May
- 4-Jun
- 18-Jun
- 2-Jul
- 16-Jul
- 30-Jul
- 13-Aug
- 27-Aug
- 10-Sep
- 24-Sep
- 8-Oct
- 22-Oct
- 5-Nov
- 19-Nov
- 3-Dec
- 17-Dec
- 31-Dec
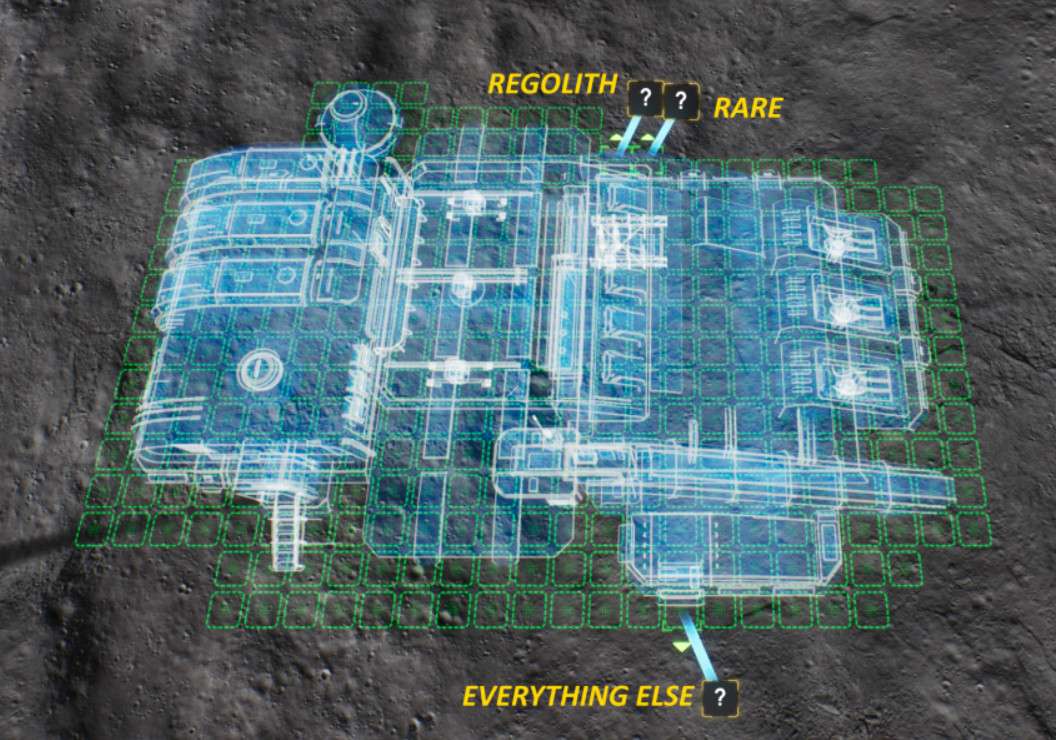
Cargo Dock ports explained
People keep asking, and we keep forgetting where this image is, so here it is…
Did You Know?
- Camera would move faster while left [Shift] is pressed. And there is camera speed option in gameplay settings too!
- There is free camera mode activated with [Ctrl+F / Alt+F]. Have fun messing aroung!
- You can copy module settings with [Ctrl+LMB] and paste it with [Shift+LMB].
- Also don’t start a contract until you have at least 10-20 drones, unless the contract is only a small bundle of resources (under 200 items) because there is no way that your dinky 1 item inventory drones can carry that much stuff in the timeframe provided… Do not accept a contract unless you have the needed amount of resources!
Hot Keys / Controls
- Q,E – Rotate camera.
- TAB – Underground level.
- X – Global map.
- R – Turn modules during construction, as well as change the angle of rotation of conveyors.
- M (In Conveyor Mode) – Dump resources from conveyor belt and distributor.
- V – Change conveyor direction.
- I – Upgrade conveyor speed.
- L – Toggle automatic conveyor path search.
- CTRL+M – Switch music track.
- MMB – Adjust camera angle.
- CTRL+F – Free camera.
- Mouse 5 – Module copying tool.
Copying module settings
- Ctrl+Lmb – Copy.
- Shift+Lmb – Paste.
- Hold Shift+Lmb and drag the mouse – Build few modules in a row.
- Hold Shift+Lmb and pull the mouse – Continuous wiring.
Free camera controls
- Ctrl+F – Spawn free camera in current position.
- Alt+F – Return to last free camera position.
- Mouse wheel – Adjust movement speed.
- Q/E – Move up/Down.
- Insert – Remember current position and rotation.
- Ctrl+G – Show/Hide UI.
- I – Fix position.
When fixed:
- Delete – remove current position from memory
- Q/E – cycle between remembered points


Be the first to comment