
Essential tips for volunteers venturing out beyond the relative safety of The End to scavenge, explore.
Useful Tips for Survivals
The Game
The Last Stand: Aftermath is a rogue-lite set fifteen years after the zombie apocalypse ravaged the world. You play as “volunteers” who, having recently been infected, have been tasked with securing supplies and knowledge in the dangerous world outside of the walls of the colony, called The End.
To borrow a phrase from another title, this is a story of how you died — each volunteer is living on borrowed time, and even if they do nothing they will die of their infection. The goal is to accomplish as much as possible, laying the groundwork for further success by later volunteers.
Played as a top down twin-stick inspired survival game, you will explore, scavenge and craft while facing the hordes of the undead, some mundane and some (of course) special infected. Many elements are randomized, so each run is different from the last.
That is not to say this is just a random zombie splatfest! There is a story with objectives to hit as you progress, providing context for your actions and background on the game world.

Playing with a gamepad is highly recommended, as rumble cues will tell you when you are near certain items and when zombies notice you, among other things.
It is a tremendous game and I truly hope you enjoy playing it as much as I am.
Knowledge, Supply and Batteries
Survivors come and go, and with them their weapons, items and gear.
The most essential components to your long term strategy are Knowledge, Supply and Batteries, so any decision that allows you to collect more of these is paramount, and form the basis of much of this advice.
Knowledge is gained through finding documents and items detailing the Old World – books, journals, notes, tape recordings and so on. You can find these anywhere, from gas station bathrooms to storm cellars — even among the possessions of the recently re-deceased.
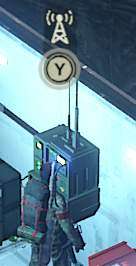
These are spent at Radios – which may be found randomly in buildings, or sometimes in H.E.R.C stations.
Supply is gathered through finding special Rucksacks that you store in your car’s trunk, or through Supply Caches — which require batteries. Supply has no benefit during a mission and can only be spent prior to leaving The End on a new run.
Batteries are likewise scavenged and found randomly. You can also craft them with Scrap + Electronics. Batteries are invaluable as they can be used during missions to power devices that dispense Vaccine, to boot up Supply Caches, unlock special chests and more.
Batteries are rare enough and spent frequently enough that anything you can do to acquire more is a Good Thing.
While Batteries are lost if you die on a run, Supplies and Knowledge are not!
Supply

Supply can only be spent at the start of the run.
Supply purchases can offer permanent starter items, temporary starter items, random drop unlocks, new volunteer loadouts, and even just regular items for your current volunteer. These items are spread across the categories of Insurance, Knowledge, Unlocks and Equipment.
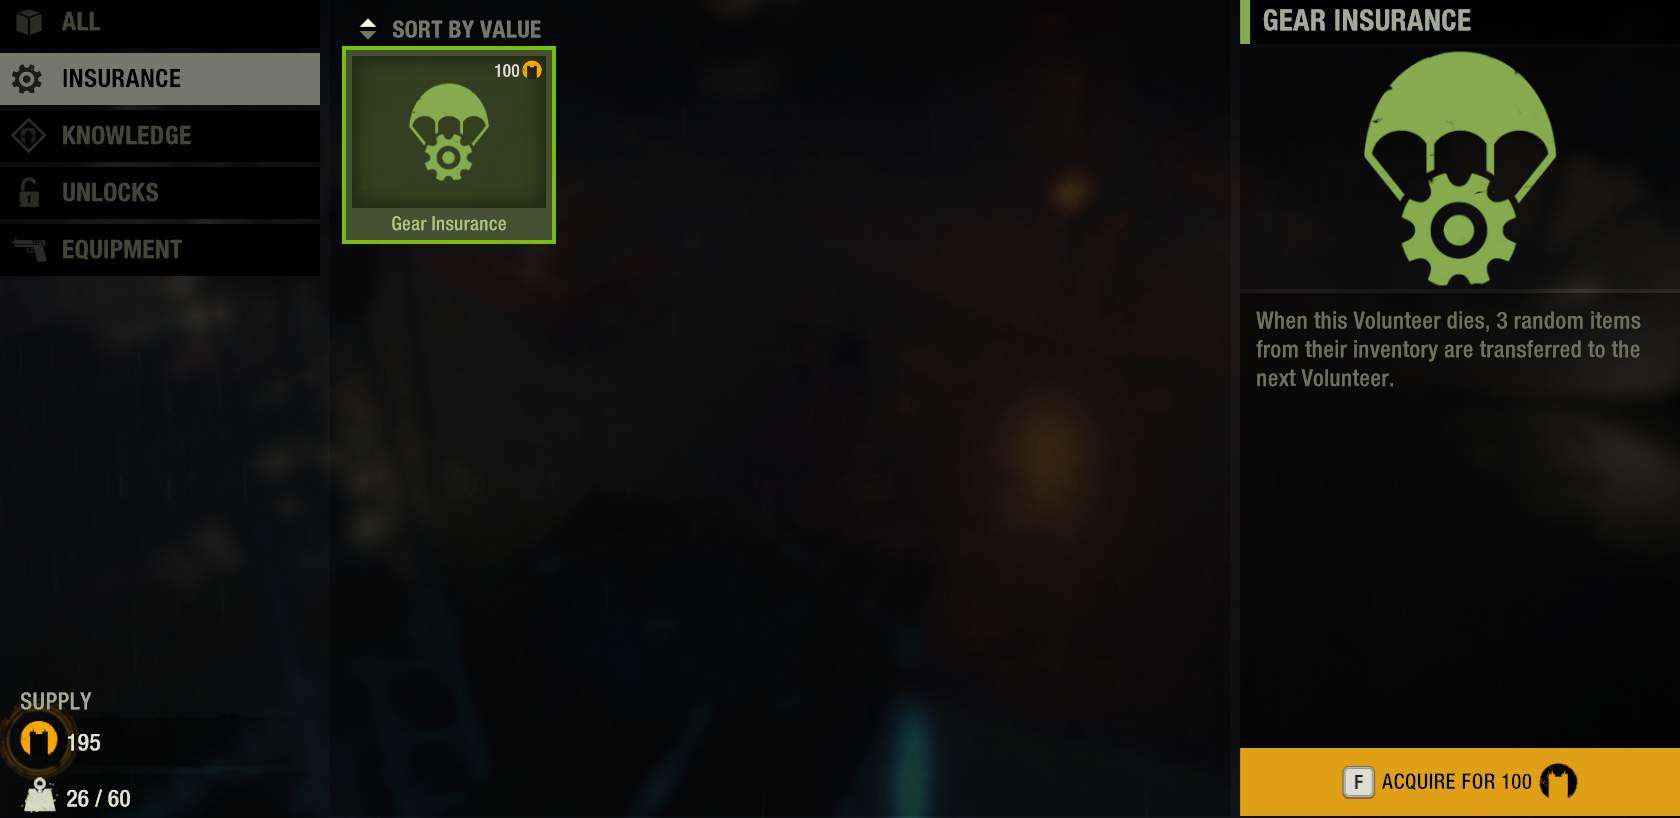
Gear Insurance selects three random items from this character, to carry on to the next. You will possibly have hundreds of items by the time you die — not worth it.
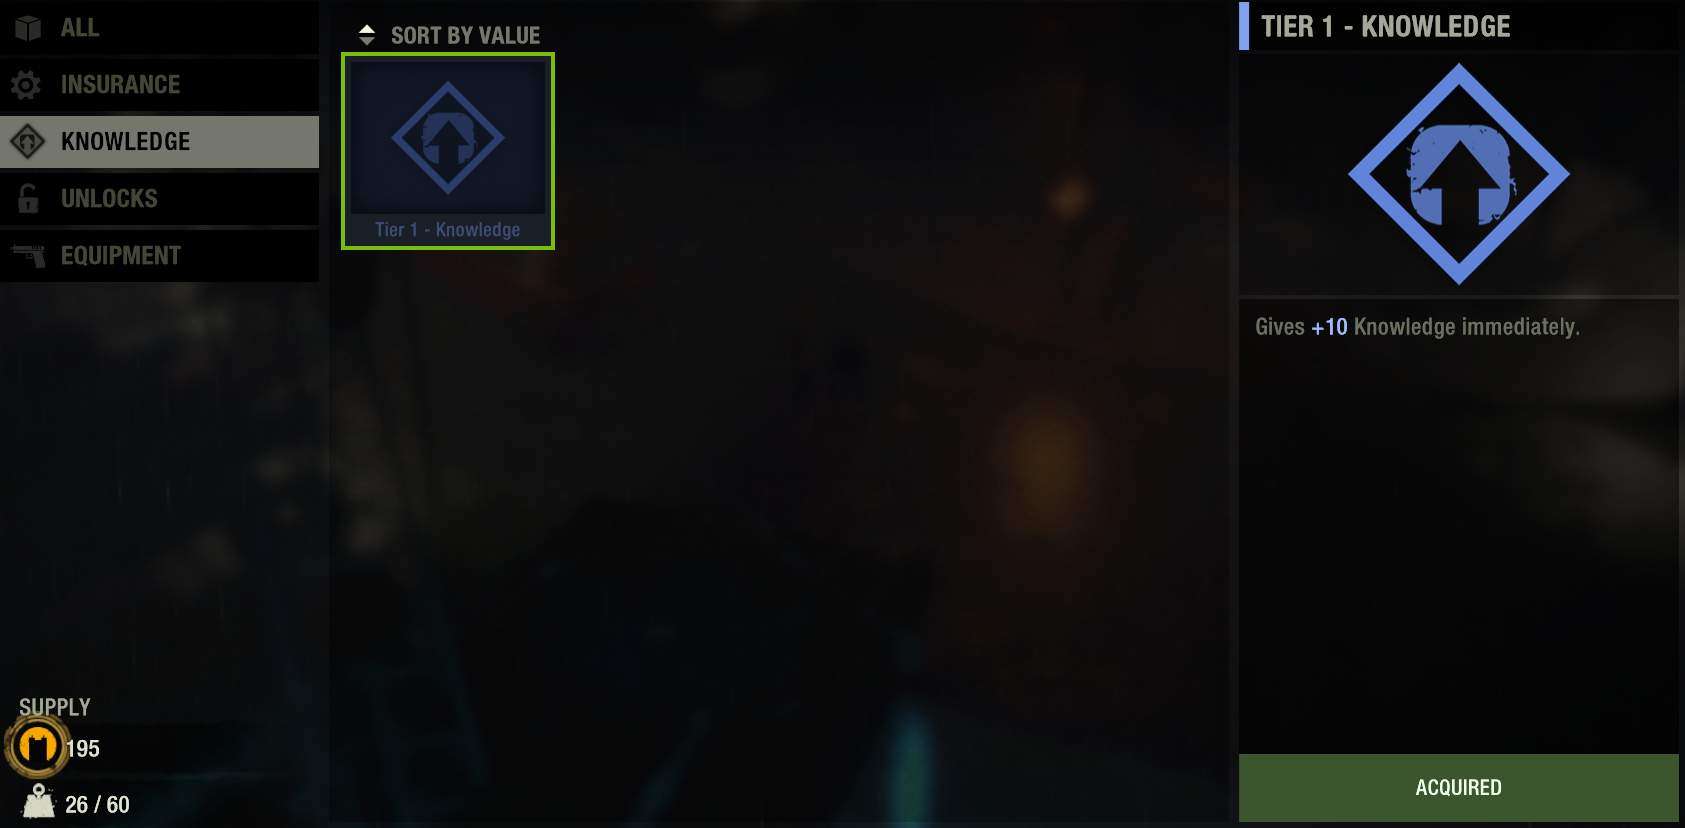
Given my rate of progress, I am running out of good Knowledge items while still having many Supply items to buy. So it may depend on you, but I say — not worth it.

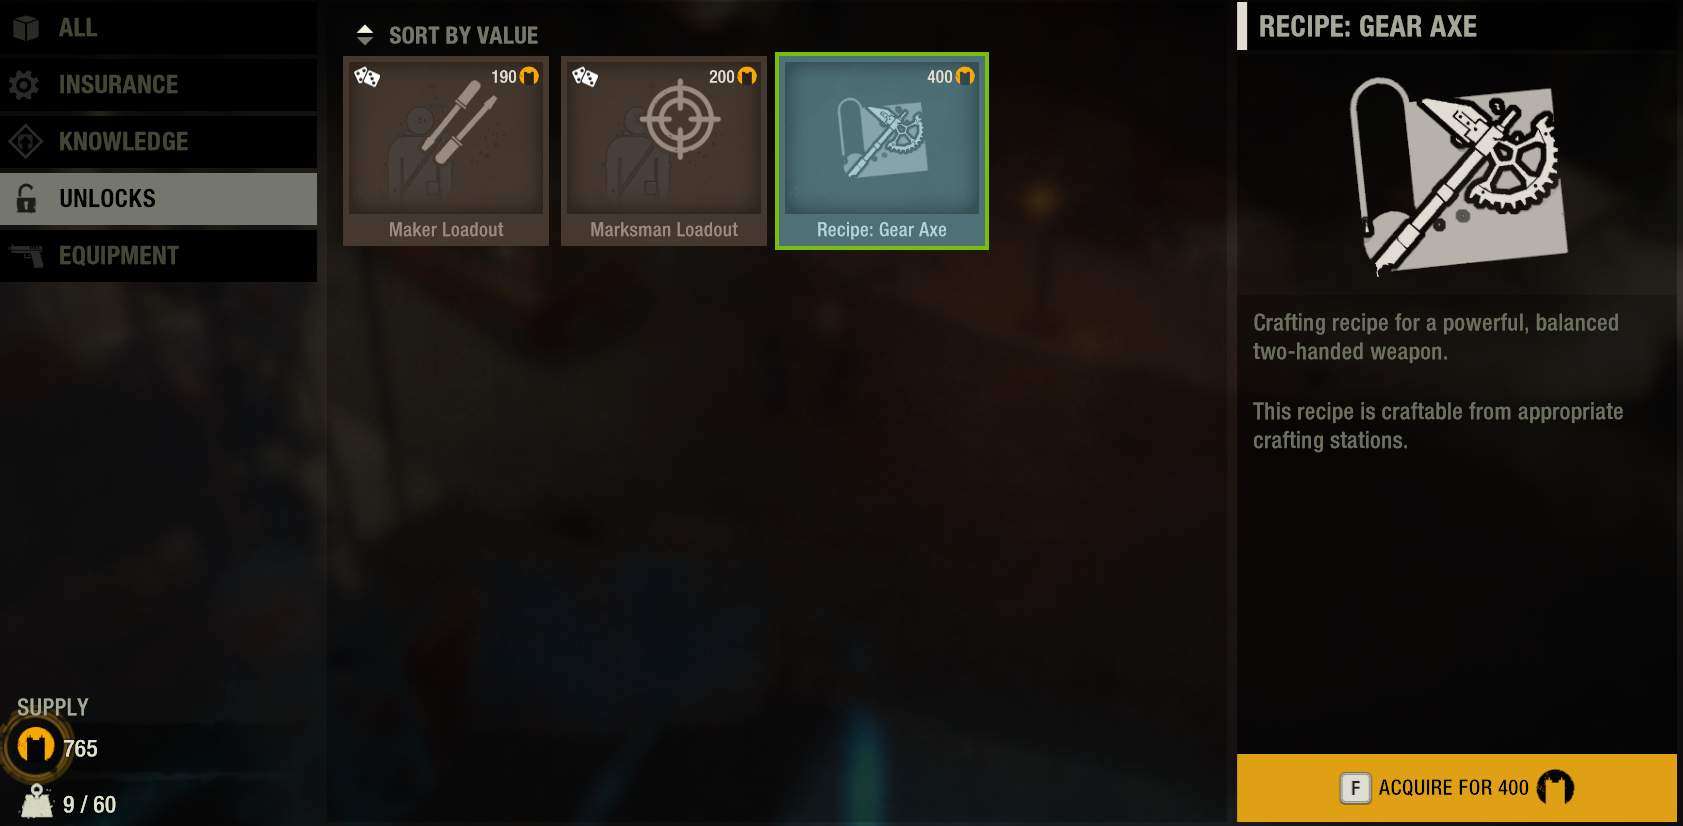
Unlocks covers new volunteer loadouts as well as new crafting recipes. Recipes learning from Supply cannot be learned elsewhere — for example, you can’t craft a Bloodluster even if you have the ingredients, having read the recipe online.
Each new run has three random volunteers from among your available loadouts. I have yet to see a volunteer’s beginning loadout be so valuable that I didn’t replace it within a map or two. I would say not worth it, but I like unlocking these.

Equipment is the most varied.
White items are just items given directly to your current character.
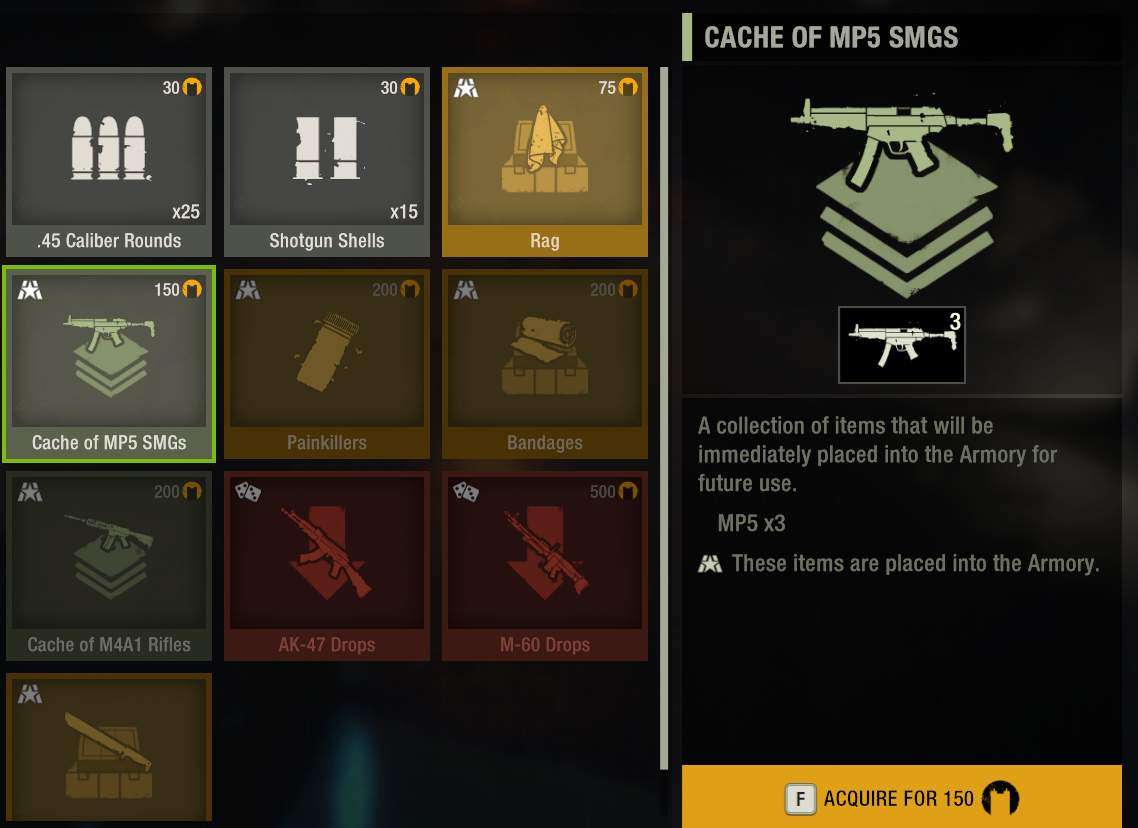
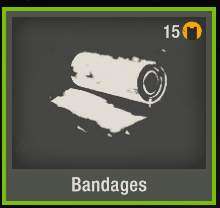
Green items place a finite amount of the item in the armory, with the quantity specified in the detail pane.
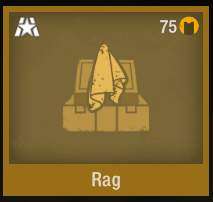
Yellow items are permanent unlocks, available in the armory immediately and for all subsequent runs. While this is useful, not all of these are created equal — items like rags are so abundant in the game that it makes no sense to take it here.
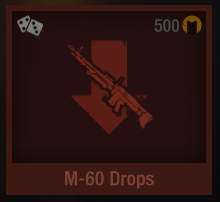
Red items unlock new random drops in the game. I would prioritize these just because it adds to the fun and randomization of each run.

Yellow and Green items appear in the armory, located to the right of the Supply vendor itself.
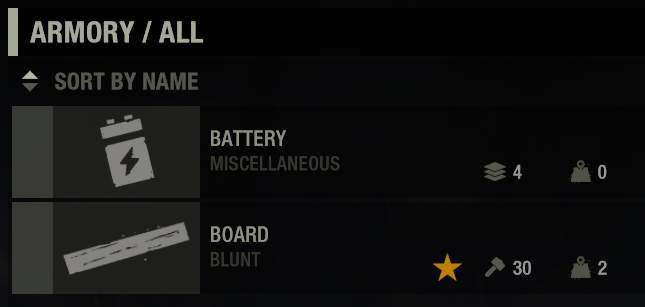
Permanent (yellow) items are denoted by a star; green items have a quantity listed on them.
Knowledge – Essential Upgrades

If you take nothing else from this guide, know that Knowledge Retention should be your very first skill to unlock and what you should exclusively put points into before moving onto anything else. It will drastically accelerate your progression through the Knowledge tree.

Infection Resistance is essential but you shouldn’t invest in it until you begin finding it to be the limiting factor in your runs.
Knowledge – Highly Recommend
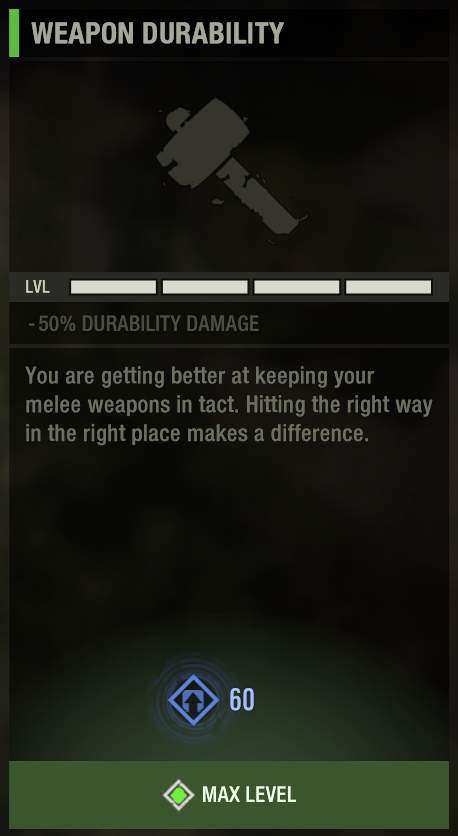
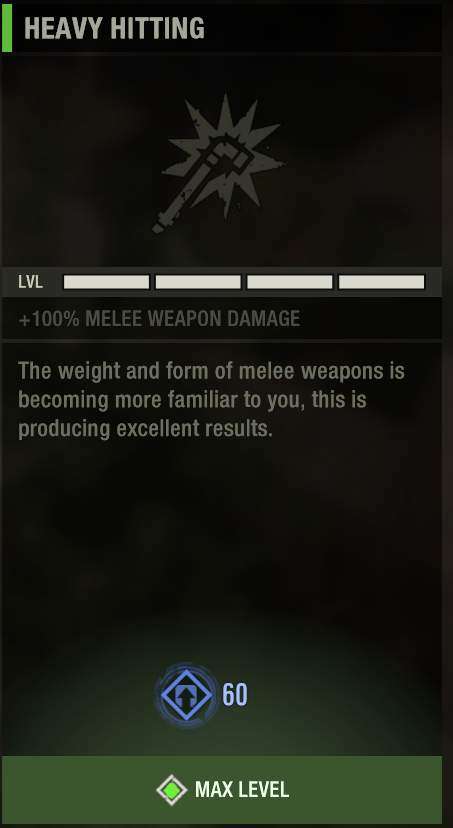
Heavy Hitting and Weapon Durability allows melee to carry you through many tough encounters. Both of these effectively increase the lifespan of your melee weapons, allowing you to be more selective with what you pick up – no more boards or pocket knives for you, my friend.
Between these two, focus on Heavy Hitting first – killing zombies faster means less damage taken.
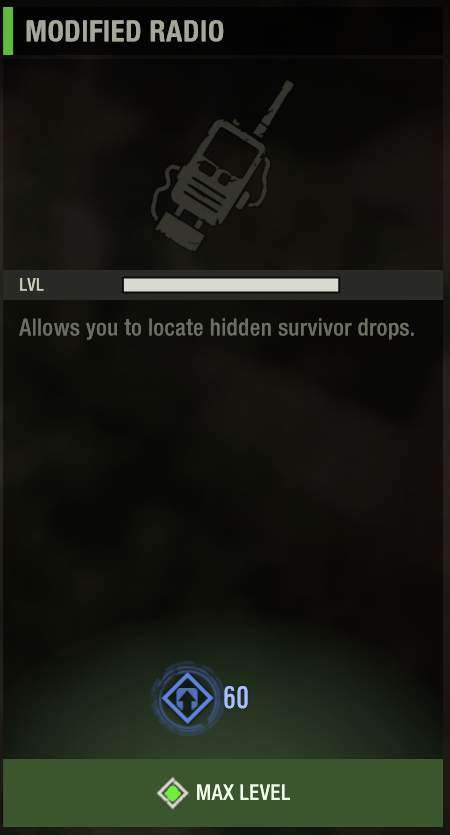
Modified Radio allows you to detect, via audio cue and gamepad rumble, survivor caches. These will have multiple useful items such as good weapons, meds, ammo and batteries. There are usually multiple caches on each map, making this a tremendous investment.
Radio Jack disables the Battery requirement on upgrade stations. Batteries are way too important to waste on level-ups, and this also allows you to spend Knowledge Points more freely in a run, essentially removing the decision and just allowing you to do it.
While health items are not hard to come by with good scavenging and crafting, getting more health back per item means you don’t need to expend additional resources crafting better healing items. As your Mutation Bar progresses, medkits will overheal you anyway, so they become less needed as time goes on.
Knowledge – Skills to Avoid
Brawling has its uses early on, but with the upgrades to melee weapon damage and durability you’ll never find yourself needing it. You do need at least one level of it to move onto Heavy Hitting.
This allows you to access certain fenced-off areas.
These rarely spawn and aren’t guaranteed to have good loot – or any loot! I have opened these and found nothing on a few occasions.
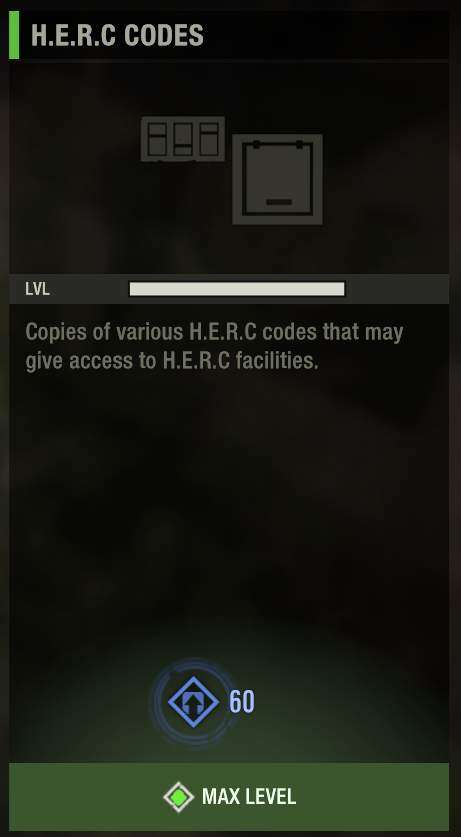
I have never noticed using any codes at HERC stations. So I am unsure what this skill even does.
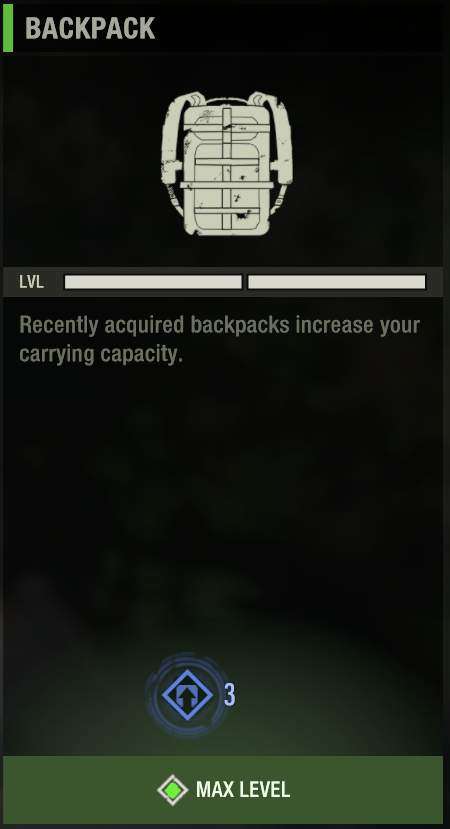
Each of the two upgrades in this node increase carry capacity by 10, for a total of 60 carry weight (40 base + 10 + 10). Absolutely not worth it.
So, You’re Encumbered
With the base carry weight of 40 (60 with Knowledge upgrades), which can go a little higher with a specific mutation, you will likely always be encumbered after a few maps of looting.
Who cares?
Encumbrance, once you reach the threshold, increases stamina usage across all categories (running, kicking doors, melee attacks).
There are so many useful items that it is much better to merely be more cautious with your increased stamina drain, than it is to try to discard items down to the limit.
Scavenging Tips
The most important thing to know is that there’s much more to scavenge than just what is shown to you in Focus Mode.
Focus Mode shows you things like Fuel, Crafting Stations, Basements, Antivirals, H.E.R.C. stations and so on – major points of interest. Exploring the map fully will always yield much more than these destinations.
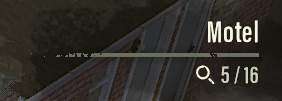
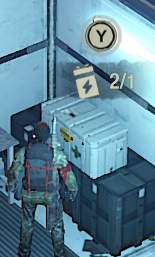
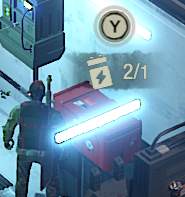
Likewise, there is more to scavenge beyond what is indicated in the counter at the top of the screen in certain locations. These do not count items immediately outside the house, nor do are there counters for items around the map, such as those in cars, campsites, trash bins and elsewhere.
Often, the last item in these areas may elude you, and it’s best to move on rather than spending valuable minutes hunting down the last scavengeable item in a location.
Ground Items
There are some items that are not in a scavengeable container — boards, bottles, bricks and herbs.


Boards are basic melee weapons that can also be used to craft a specific melee weapon once you acquire the recipe; do not pick up every board you see.
Bottles and Bricks can be thrown to distract enemies. Regrettably, these items do not damage zombies at all even when you score a direct hit. While bricks are used in crafting a certain weapon, bottles are not. Don’t bother picking these up.
Herbs can be crafted into healing items that cure poison, restore health and restore stamina respectively. They are insanely useful and you should collect all of the herbs you find.
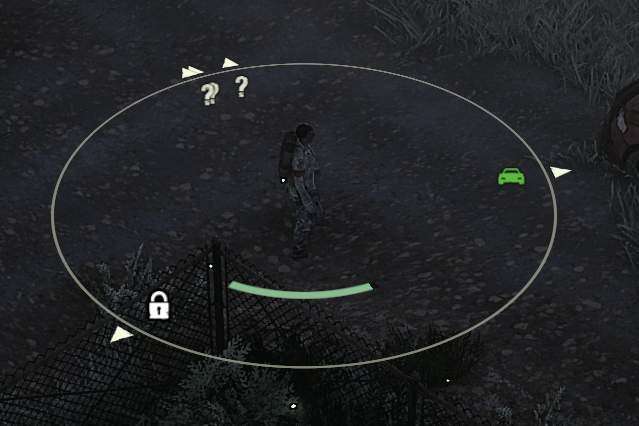
H.E.R.C. Stations
H.E.R.C. Stations contain Antivirals, and may contain supplies and a radio as well.

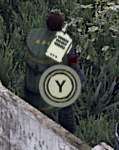
They can be seen in Focus Mode with this icon.
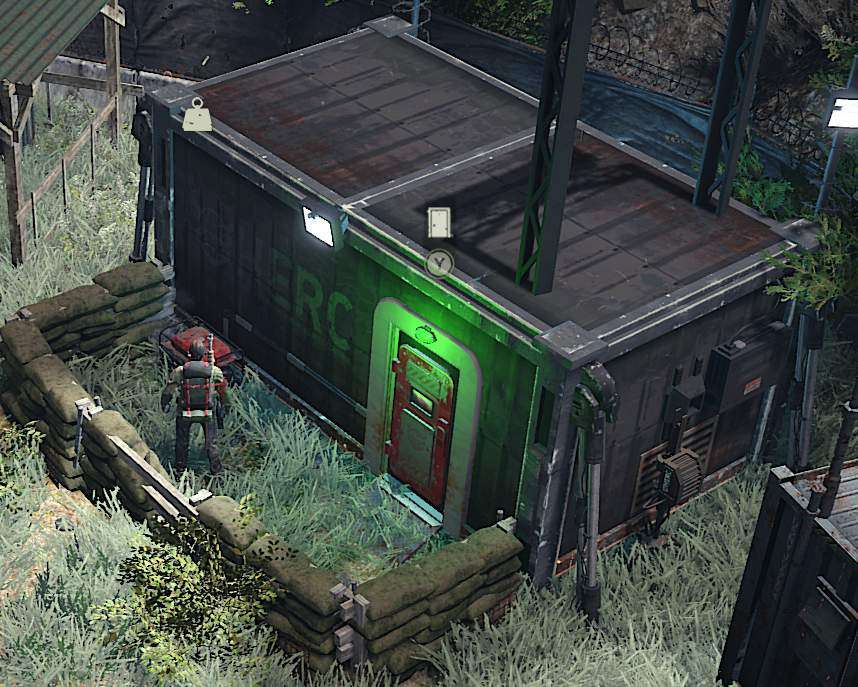
Initially locked, you must kick-start the generator to open the door. This does call a horde!
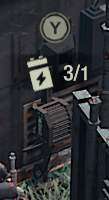
Even without unlocking the door, the H.E.R.C. Station may have an Antiviral dispenser on the right side, which requires a battery to access.
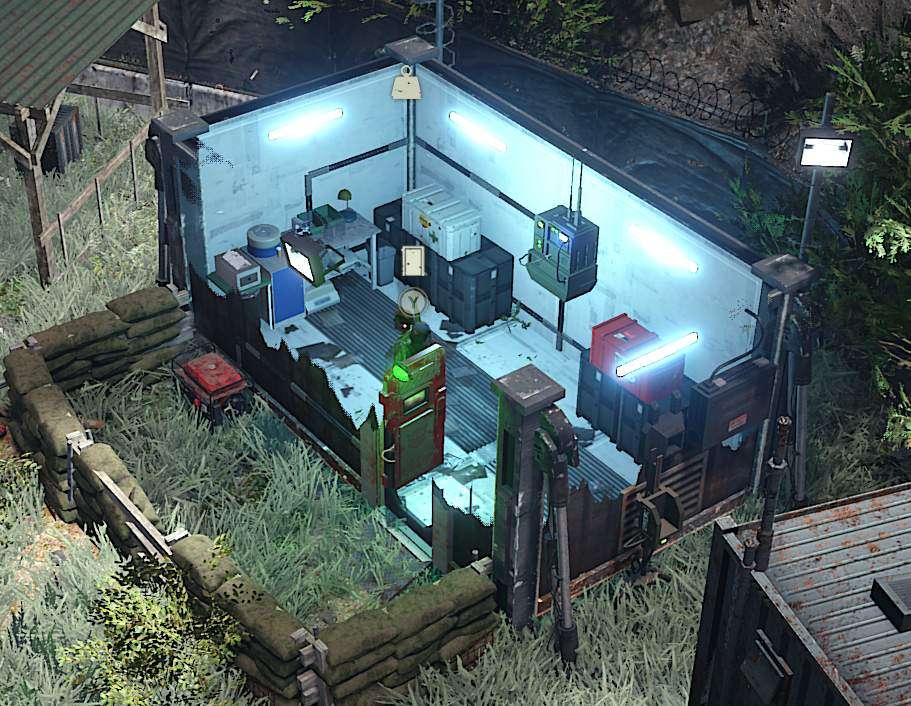
Once opened, you will see a few different items to interact with. Not all of these are in each H.E.R.C. Station!
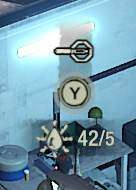
On the left is another Antiviral dispenser, which rather than requiring batteries instead needs a certain amount of infected blood. You can scavenge these from dead zombies.
You can only buy one Antiviral from this dispenser, no matter how many blood samples you have.
There is also a radio, which is sometimes powered and sometimes requires a battery.
There are also two chests, one white and one red. The color does not affect the contents, which are randomized.
These chests are not worth it. I have spent a whole battery to get a single bandage in some cases!

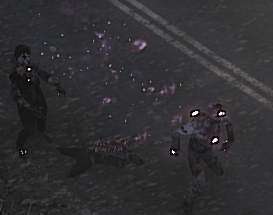
Antivirals pause the progress on your infection. As your infection progresses, your maximum health lowers and you gain Mutations. Your infection progresses faster if you are attacked by infectious zombies — identifiable with purple gas flowing around them — or if you are poisoned.

The short answer is: use them immediately. Their duration is not impacted by traveling with the car or any other action, so there is no reason not to use them immediately. This means you benefit from higher max health for longer, and should you accidentally get hit by an infectious zombie or trip over your feet into a poison cloud, then you’re not really punished for it.
If you do happen to be holding onto one when you are poisoned, use it immediately to stop the rapid progression of your infection.
Antivirals also heal you, so keep that in mind.
It is absolutely worth it to spend Batteries on Antivirals over Supply Caches!
Random Tips
- Consuming canned food or bottled water will produce an empty can or bottle for crafting. Crafting with bottled water (to make bandages) does not produce an empty bottle.
- You cannot manually drop Fuel. However, you will drop it if you enter your car.
- Wooden chairs can be destroyed with melee attacks. This does not count against your weapon’s durability. Radios in houses at kitchen tables are often inaccessible unless you break the chairs.
- The game saves when you enter a new map. If you get stuck (it happens), quit to main menu and reload.
- You can choose to travel to a location even if you do not have sufficient Fuel. You will stop in a random small map, often between large groups of zombies. This map will always have Fuel, which allows you to get to your chosen destination.
- You have three crafting stations: fire barrels, work benches and your backpack (default down on the d-pad). Some items can only be made at one and not another.
- Zombies can’t break fences.
- Zombies do not communicate. If one notices you, it does not draw others even if it is standing in a group.
- Damaged guns simply do less damage. Damaged melee weapons have less durability. You can repair each of these with scrap at a bench. Repairing a damaged melee weapon restores its durability to the “normal” value.
- Additional Mutations are unlocked over the course of the game.
- If you are having trouble determining where your shots are going to land, you can enable Enemy Outlines for aimed enemies under Options > Gameplay > Enemy Outlines. This defaults to “Focus Mode” but can be changed to “Aiming”, which highlights any enemy you are aiming at — very useful as most firearms’ range exceeds the on-screen reticule.


Do herbal antidotes heal poison instantly? I find I pop the antidote but I’m still poisoned.
thanks for the guide, does anyone know how to remove the growth from the device in the hideouts? ive tried attacking with everything i have but nothing works
you probably figured it out by now, but you just gotta keep attacking it, even though it doesn’t really give you the feel for making progress.
I was stuck there, too. Eventually I just kept attacking it out of frustration and it worked.
The Herc codes give access to bunkers with usually about 12 things to find and a radio – expect a decent fight though. They’re in bases and have 3 stripes (a bit like 3 tumblers from an elder scrolls lockpick minigame!).
Good guide, I certainly learned a few of these things the hard way. Even if it looks like you can hit an enemy, it’s somehow not working right. This is especially the case when you or the zombie is on a different elevation.
I’d say that this entire guide could have an extra chapter for guns and how to make the most of them. You could start this off with a reminder to check if the gun is loaded after changing something in the equipments. I don’t know if it’s supposed to do that, but whenever I switch something about the guns, they end up empty.
Always check if your gun’s empty if you just equipped it or picked it up off the ground. I’ve died thinking my backup gun was loaded when it definitely wasn’t.
Lurkers can be gunned down easily by crouch aiming. Also the tip where weapon chest(red chest) in HERC Stations is worthless, it ain’t on higher levels. One gave me my M249 and two mags worth ammo for it.
That’s right. The white crates have medical items and the red have weapons. Lots of supplies in both.
I also think the character you choose affects what items are spawned for your run. Well worth unlocking different ones to spice up the runs.