
When you go to a library, you’d expect to see a large variety of books there to read. Amazingly though, TS4 libraries are cursed to have the same 10 or so books in every single bookcase. Fortunately, there’s a way to add any selection of books to any library/ venue that does not require cheats or commands.
Guide to Add Books to Libraries
Intro
When I first started playing TS4, I was pretty underwhelmed by the library venues. Exactly what was the point of traveling there if you can just buy a bookcase at home with the same few books? If you wanted to read skill books, you’d have to pay hundreds of simoleans for a book order that would magically and instantaneously appear in your home shelves. Where’s the realism in that? And if your sim is an author, I’m sure you’re disappointed each time as you watch your carefully written works disappear into the void, forever, after each publishing. Where’s the glory if you can’t see your written books on public shelves, being read by your local NPC booklover?
I’m sure others have used the same method that I’ve been doing to solve this annoying feature. And yet, I was surprised to see that there weren’t any guides out there that covered this (at least from what I could find). So, I figure I’d write my own.
Here’s a list of steps on how to customize the contents of your libraries:
Step 1: Obtain Those Books
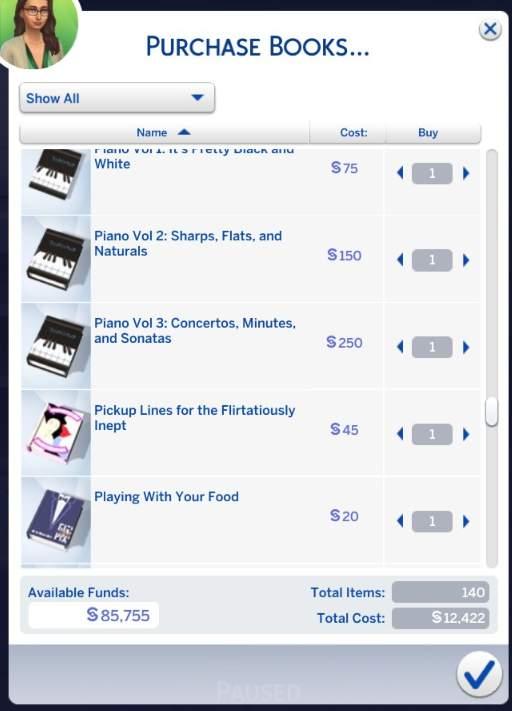
- Go into Live Mode and purchase whatever books you want to fill your libraries with. I like to buy the entire list so I can pick and choose which ones I want to implement later.
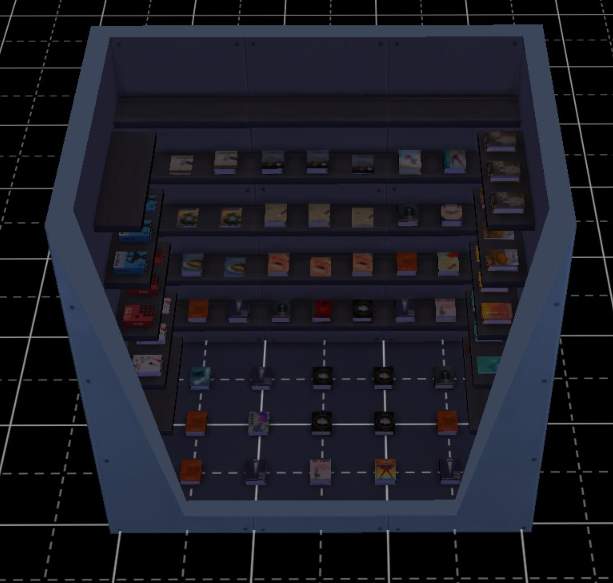
- Make a small room somewhere out of the way (basement is good) and add a bunch of wall shelves. The room should have enough surface space for all the books you want to add.
- Move the books you bought from the bookshelf into the room.
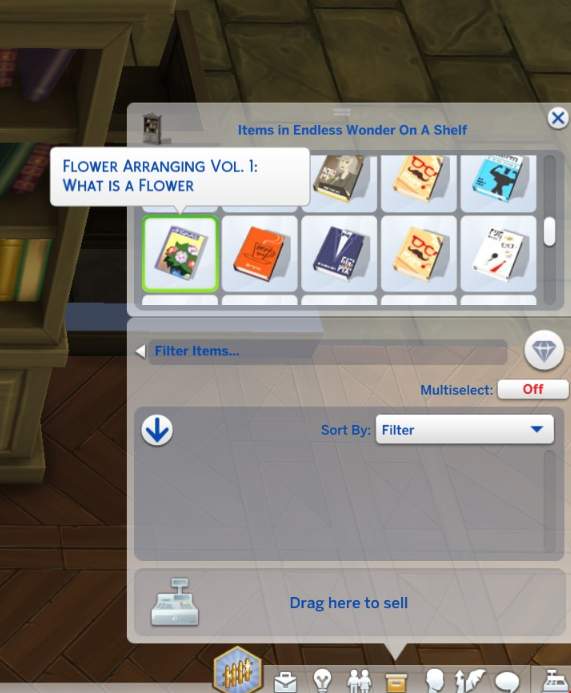
- In Buy Mode, click on the room and push the “Save Room” button, and “Save Room to My Library”. Feel free to delete the room after this, since now you can load in the room anywhere you want with all objects within it saved.
Note: You can place your written books in the room and they’ll be saved as well. Just make sure to do it before you publish (or at least make a copy), since publishing makes the original disappear forever.
I personally like to use scumbumbomod’s “Keep Books After Publishing” mod, which will save you a copy of the original book after you publish it. This is not required!
Other Note: I like to make a separate room just for written books, and I add each new book as my sims make them. I just do this for organization.
Step 2: Add Those Books
- Go to the library venue you’re interested in (either through Live mode or Manage World works).
- In Build Mode, open the Gallery and place the room you saved in the lot. Now all the contents in the room officially “belong” to the venue.
- Move the books to somewhere the librarian can access (just anywhere on the ground). It’s their job to put books away, and that’s exactly what they’ll do!
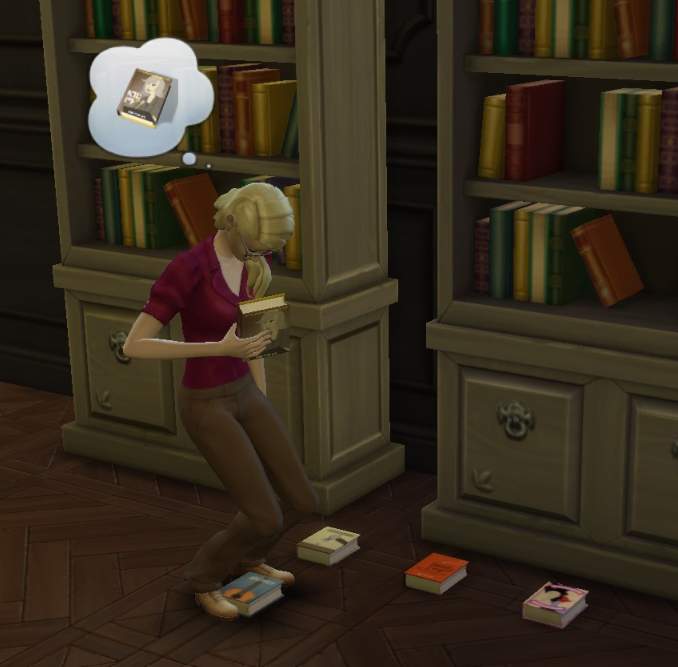
The cleaning up process might take awhile, depending on how many books you added. If you want you can help out the poor underpaid fellow by having your sim “Clean Up Books” from the bookshelf pie menu.
If you leave and come back to the venue, the books will still be there! Watch with amazement as NPCs from all over gather to read something that isn’t Reel Her In for the thousandth time!
Conclusion
It’s annoying that this kind of effort is needed to add variety to your library venues in the first place. But hey, now you know how to customize your library contents any way you want.
Be the first to comment