
The Complete Beginners Guide
What Is Wardogs?
Wardogs is a large-scale, three-team warfare game. Up to 100 players are divided between three teams, with everyone fighting over a Hot Zone.
The team with the strongest presence in the zone earns points, and the first team to reach the required score wins. However, getting into the Hot Zone is not the only way to contribute. Wardogs includes:
- Guns
- Custom loadouts
- Vehicles
- Cash
- Building
- Destruction
- Logistics
- Support equipment
- Voice communication
- A large battlefield
Almost everything you do can contribute to your team. You do not have to be the person getting all the kills to be useful.
Focus on the Objective
The objective is more important than your K/D.
You can finish a match with a high kill count and still contribute very little if you spend the entire game fighting somewhere that does not matter.
Pay attention to the Control Zone. If your team needs help there, go help. If your team already has plenty of people there, look for another way to contribute:
- Transport players
- Revive teammates
- Supply players
- Scout
- Attack an enemy position
- Deal with vehicles
- Build a useful position
- Flank the enemy
- Defend an approach
There is nearly always something useful you can do.
Understanding the Control Zone and Hot Zone
The Control Zone is where the main battle happens, but it should not be confused with the Hot Zone.
The Hot Zone can appear in different areas of the map and gradually move around the entire Control Zone. As a result, you should not expect every match to play out the same way.
The important thing is not simply getting inside the zone, but maintaining your team’s presence there and planning ahead for where the Hot Zone is moving. This helps prevent you and your squad from being caught in a bad position.
After capturing an area, avoid immediately leaving to chase kills or the moving Hot Zone. This can create an opportunity for the enemy to walk straight back in.
Information about what is happening across the battlefield can be extremely valuable. Useful information can help your team identify:
- A flank
- An enemy vehicle
- A different approach
- Supplies
- A forward position
- Enemy positions being spotted
- An attack from behind
Using this information to maneuver around the battlefield can genuinely turn the tide for your squad and team.
Remember That There Are Three Teams
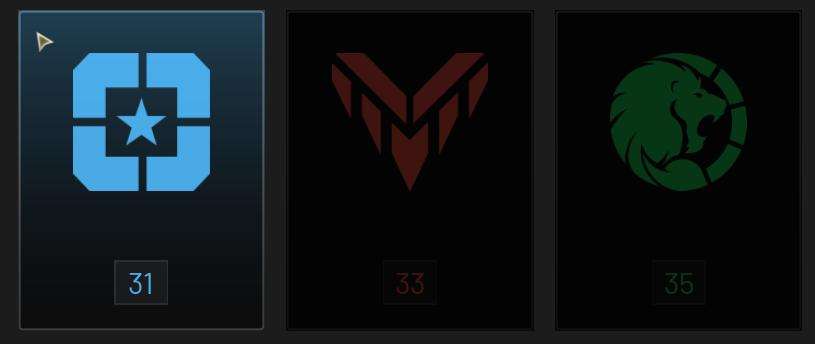
Wardogs is not a normal two-team shooter. There are three teams:
- Lonestar (Blue Team): Western paramilitary and private contractors
- Valkyra (Red Team): Soviet People’s Republic restorationist militia
- Manticore (Green Team): Persian shadow army
This creates situations where one team can be fighting another while the third team watches both sides before attacking.
Always pay attention to where all three teams are. If you are fighting one team, do not forget that the third team exists.
Sometimes it is better not to take a fight immediately. You can let two enemy teams fight each other and then take advantage of the situation.
Cash
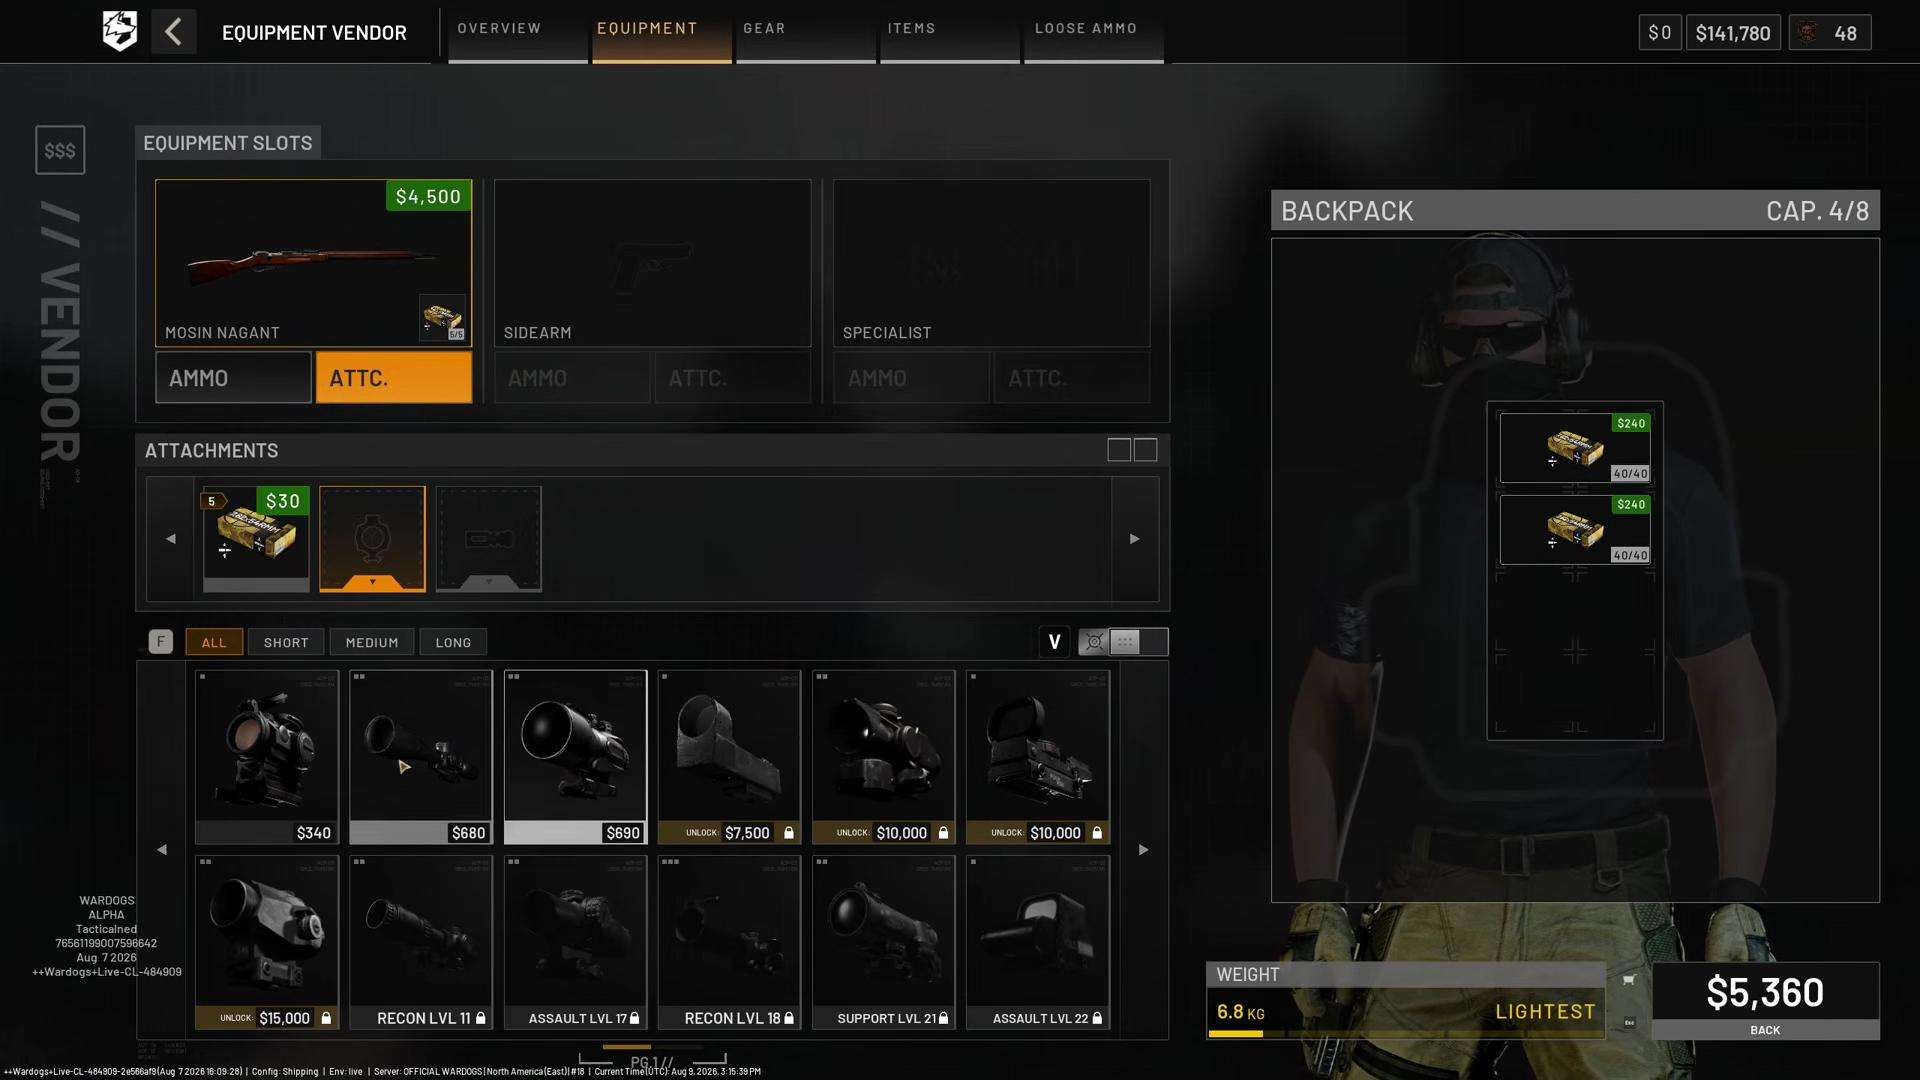
Cash is probably the most important system after the objective.
You start with money and can spend it on equipment and vehicles. Cash carries between matches, so your spending decisions can affect what you can afford later.
Teamplay actions such as reviving players, transporting players, and controlling the objective can reward you with cash.
Do Not Spend All Your Money
One of the easiest mistakes is spending heavily on an expensive loadout and then dying shortly afterward.
You do not need an expensive loadout every life. A cheap, reliable loadout that gets the job done is often much better.
If you are really short on cash, you can follow a squad and support them instead of spending heavily on equipment, which can save you a fortune.
Save your money for situations where it can make a real difference, such as:
- Your team desperately needs anti-vehicle equipment
- You need a vehicle to move players
- You need better equipment for a specific situation
- You are preparing a push on the objective
- Your team needs logistics
Spend money when it can actually make a difference.
Building Your Loadout
Do not worry about creating the perfect loadout immediately. There is no single perfect loadout. Instead, build your loadout around what you are trying to do.
Assault
If you are fighting around the objective, use something you are comfortable shooting and avoid overcomplicating your equipment.
You want:
- A reliable primary
- Enough ammunition
- Basic utility
- Something to keep yourself alive
- Anything else you actually expect to use
Your job is to get into the fight and stay useful.
Medic
Support players are incredibly useful. If teammates are constantly going down, consider bringing equipment that helps keep them alive.
A support player does not need 30 kills. Keeping your team alive and helping them stay on the objective is doing your job.
Recon
Recon can be a lot of fun, but Wardogs is still an objective game.
Sitting on a hill for 30 minutes and shooting people who are nowhere near the objective is not necessarily helping your team.
Use your position to:
- Spot enemies
- Watch approaches
- Give information
- Take important targets out
- Support your team
Information is often just as valuable as kills.
Anti-Vehicle
If enemy vehicles are causing problems, someone needs to deal with them.
If your team has no way to stop enemy armor, it does not matter how good everyone’s rifles are.
However, do not automatically carry anti-vehicle equipment every life. Bring it when the situation calls for it.
Logistics
Logistics is one of the most underrated roles for new players.
Everyone wants to shoot, but someone has to get everyone where they need to go.
Logistics players can:
- Transport people
- Move supplies
- Build useful FOBs
- Help their team establish a foothold
It might not be the most glamorous job, but it can have a massive impact and is the easiest way to rack up some cash.
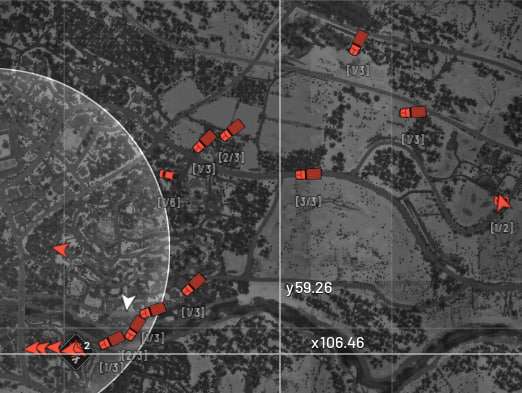
Vehicles
Vehicles are not just toys. They are another part of your team’s toolbox.
You have transport vehicles, combat vehicles, and other ways of moving around the battlefield.
Transport Players
One of the easiest ways to help your team and make money is simply getting people to the fight.
If players are spawning a long way from the objective, transport can save huge amounts of time.
A good transport driver can keep an attack alive. A bad transport driver can drive 10 people directly into the enemy and turn a useful vehicle into a very expensive coffin.
Do Not Throw Away Vehicles
Vehicles are valuable.
If you are driving toward the enemy and discover that heavy weapons are waiting for you, you do not have to continue simply because you started moving in that direction.
Turn around when necessary. There is no shame in retreating.
A living vehicle can come back later. A destroyed vehicle cannot.
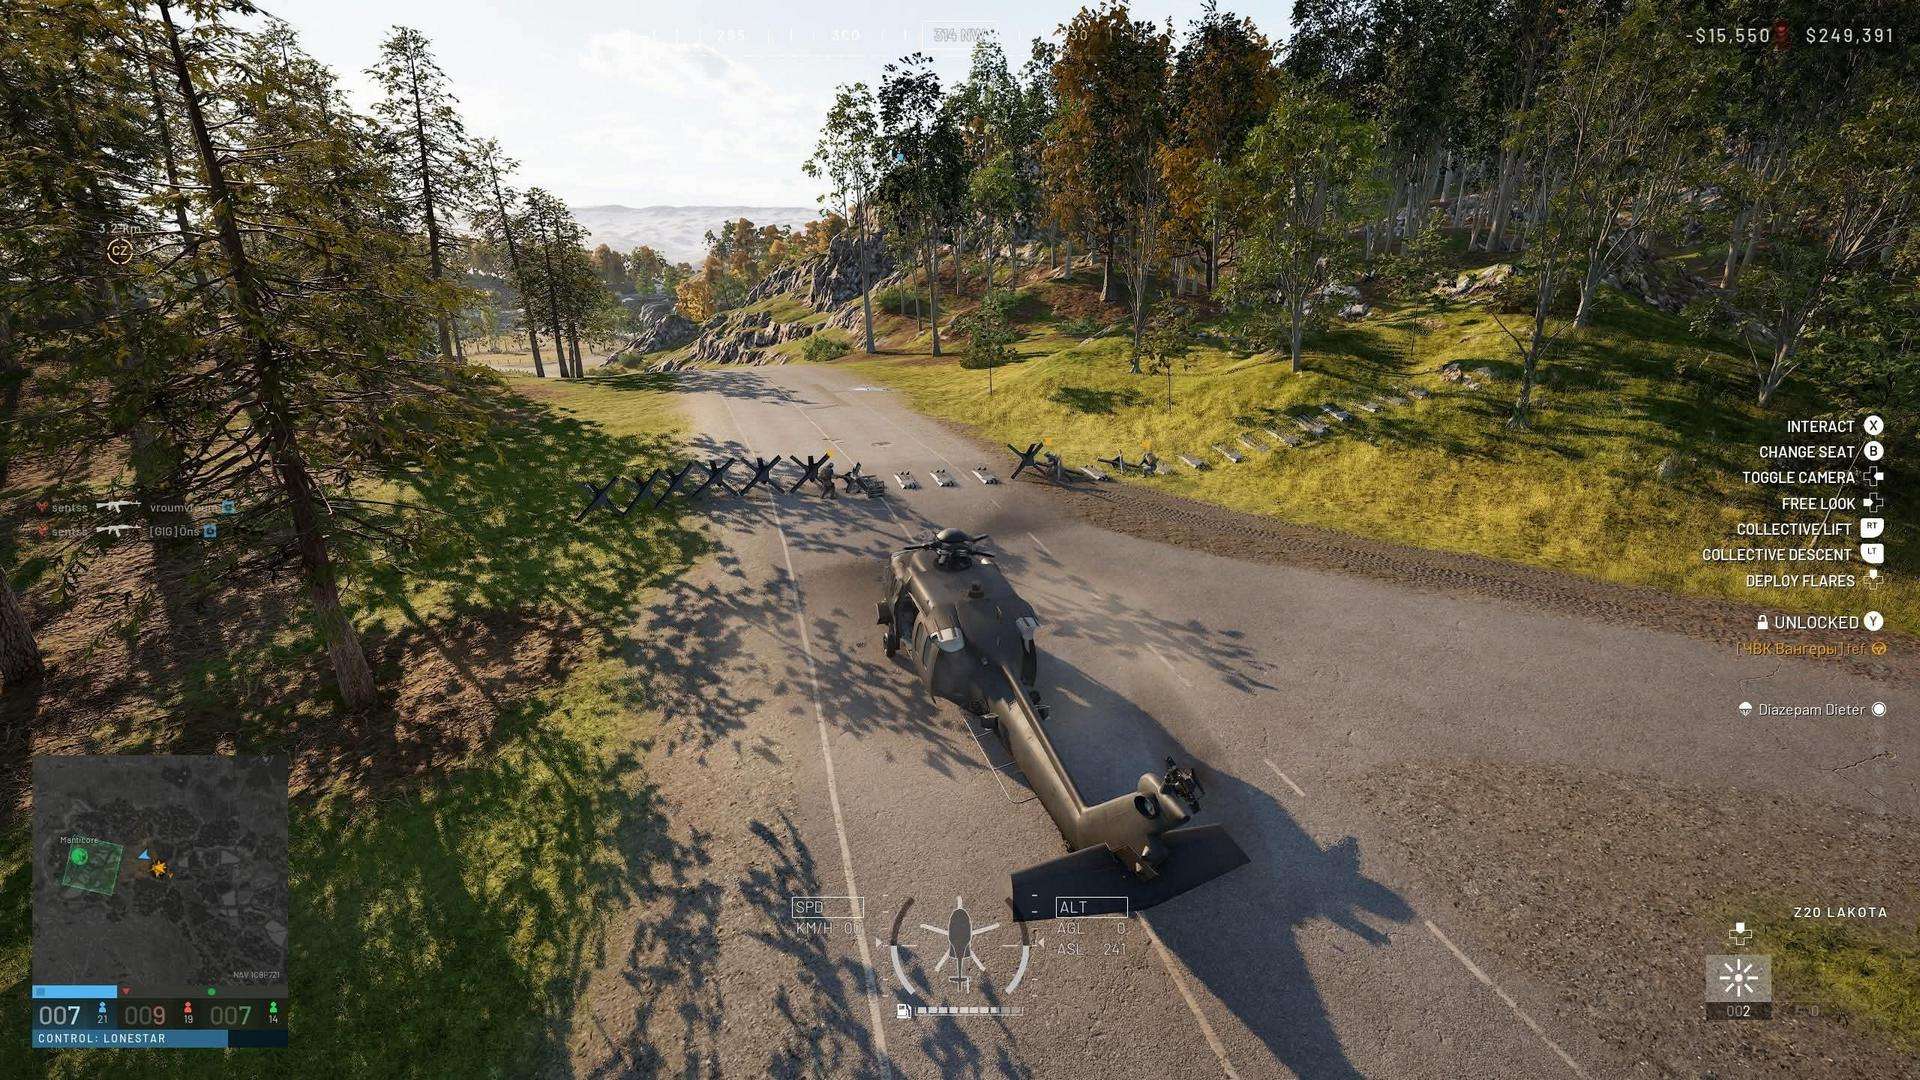
Building, Hammers, and FOB Structures
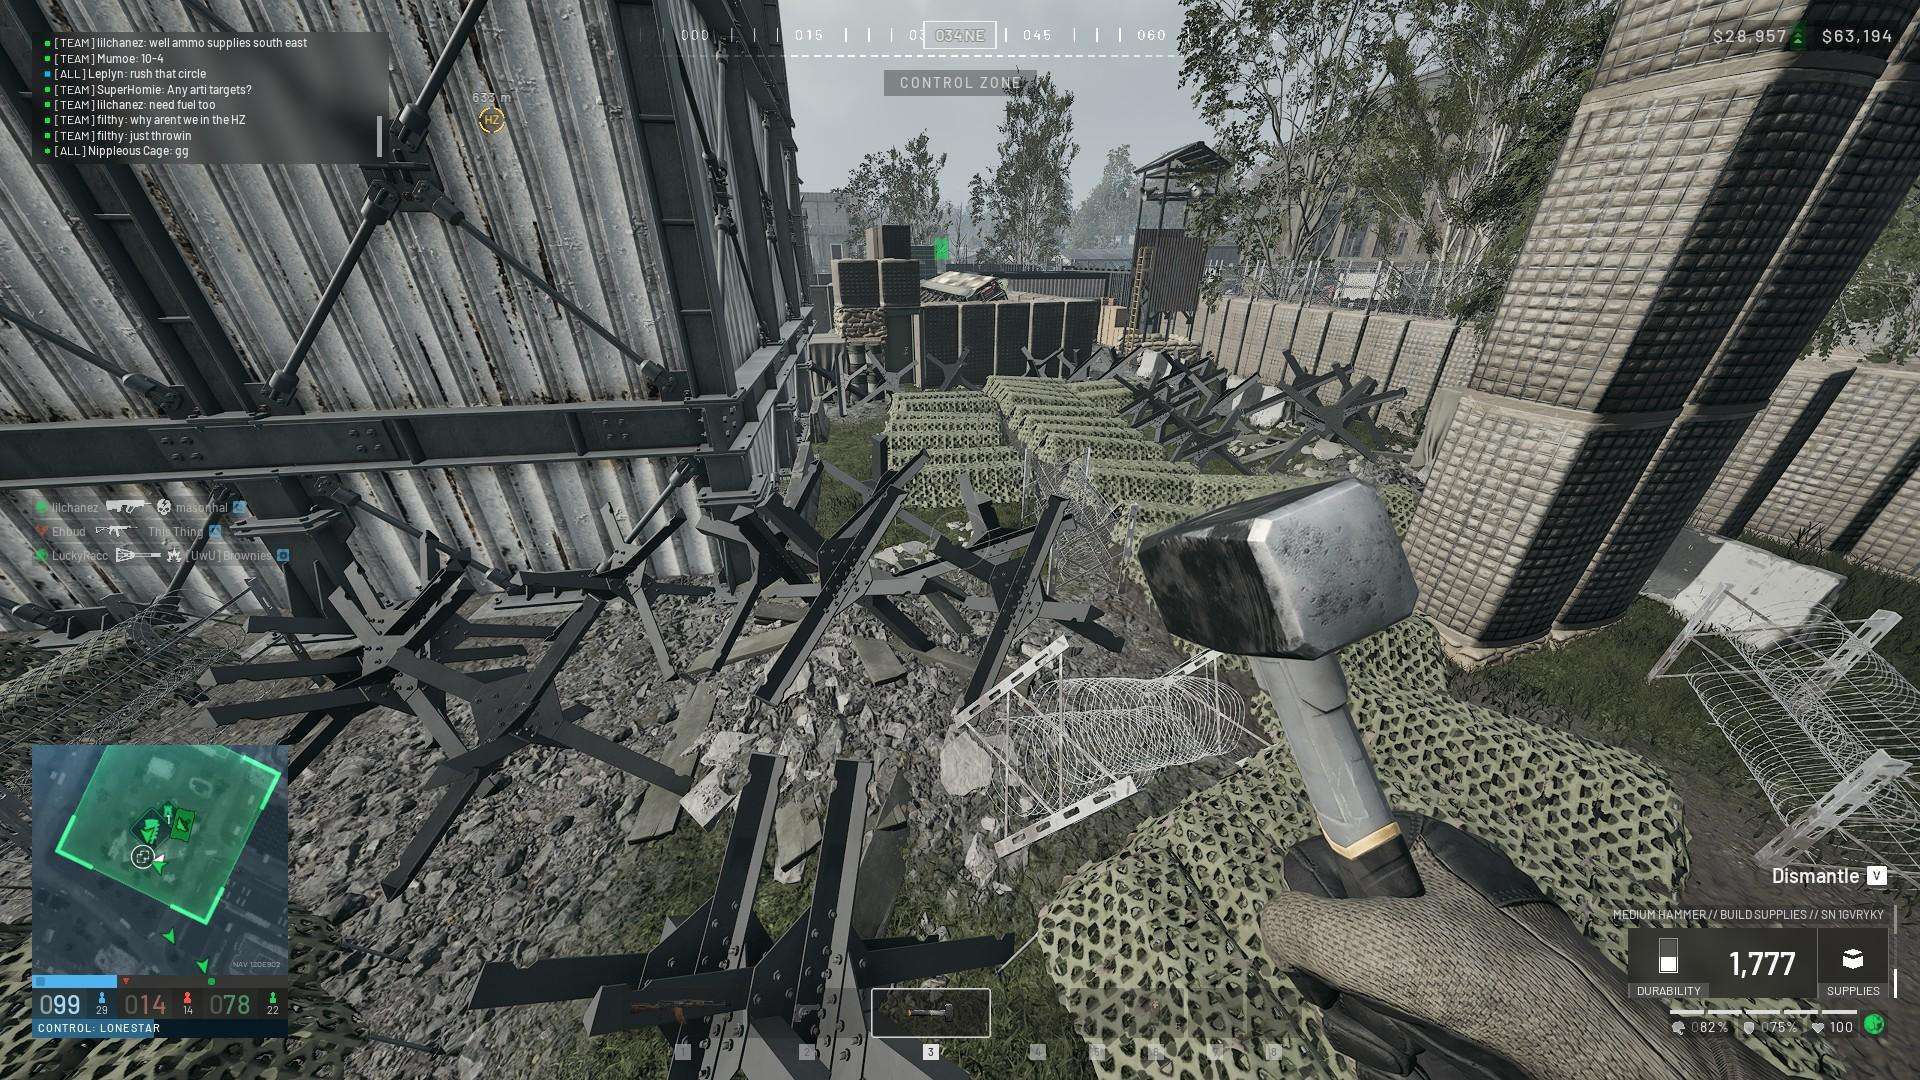
The building system is one of the most important parts of the game, but the game does not do a particularly good job of explaining what everything does.
There are different hammer levels, structures, supplies, and reasons to build them. Understanding the progression helps prevent you from wasting money on a FOB, building walls everywhere, and then wondering what you should actually be building.
The Three Hammers
There are three hammer tiers.
Each one gives you access to more advanced construction options. The higher-tier hammers also build faster.
Small Hammer
The Small Hammer is your introduction to building and is mainly about creating basic infantry protection.
You can use it for things such as:
- Sandbag walls
- Barbed wire
- Basic barriers
- Small HESCO-style blocks
- Simple defensive positions
- Recon and observation structures
Medium Hammer
The Medium Hammer gives you the basic structures from the Small Hammer and adds more substantial fortifications.
Depending on the current build, this includes things such as:
- Doors
- Gates
- Larger HESCO walls
- Loudspeakers
- More substantial defensive structures
- Better ways of creating a proper perimeter
Large Hammer
The Large Hammer gives you access to heavier construction and offensive systems such as:
- Bunkers
- Recon towers
- Heavy walls
- Bremer-style walls
- Indirect-fire shelters
- Mortars
- Anti-air systems
- SAM systems
- CIWS
- Repair stations
- Refuel stations
- Drill Rigs
The Drill Rig
The Drill Rig is one of the more advanced FOB structures and requires the Large Hammer.
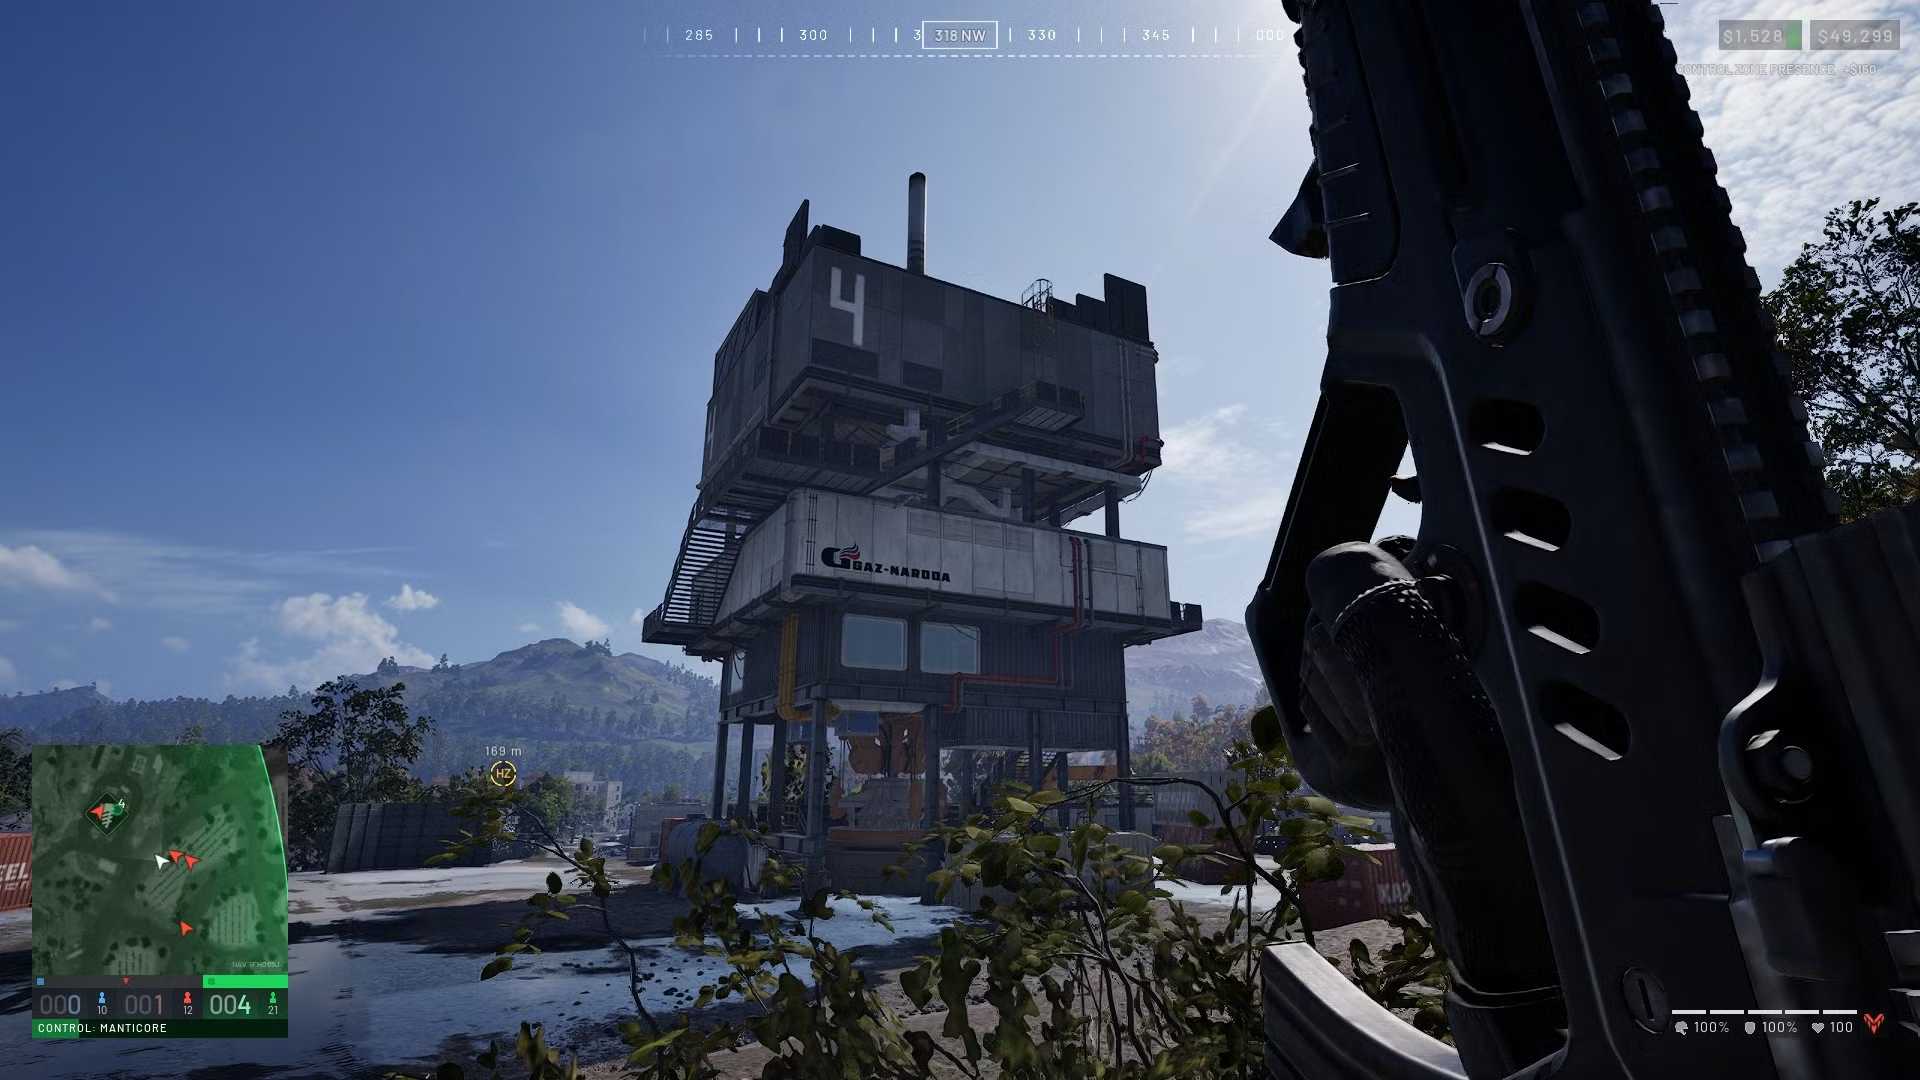
The Drill Rig is not simply another defensive structure. It interacts with the Hot Zone, meaning that building it can directly affect the wider match.
The basic idea is that your FOB can become a strategic location for controlling where the Hot Zone is pulled toward.
This means your FOB is not just about defending yourself. You can potentially use it to influence where the most valuable fighting happens.
Why the Drill Rig Matters
The Hot Zone is extremely valuable because players fighting within it can earn increased rewards.
If your team can establish a FOB and use Drill Rigs effectively, you are not simply building a defensive base. You are creating a strategic economic and combat position.
New builders should eventually learn the Drill Rig rather than spending the entire game building walls.
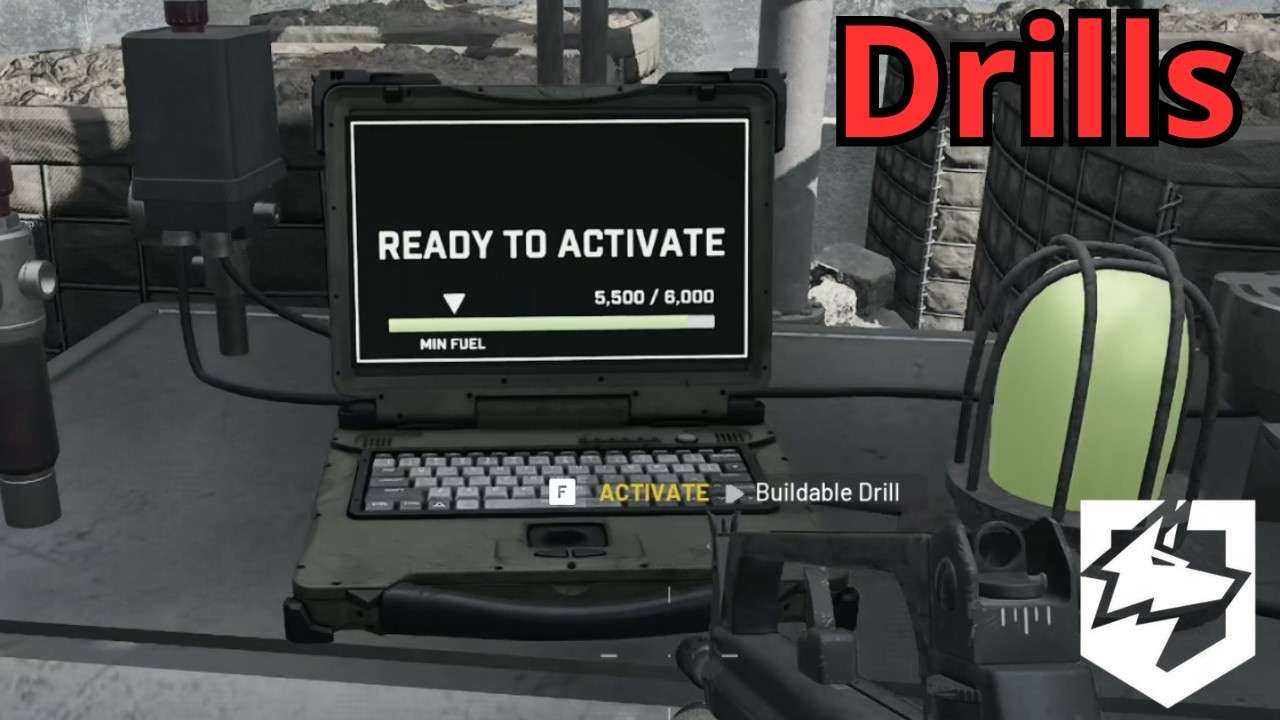
Drill Rigs Need Fuel
Building the Drill Rig is only the beginning. You need to keep the FOB supplied.
The building system uses different types of supplies for different functions, and Fuel is particularly important for the Drill Rig.
If you build a Drill Rig, make sure you bring fuel for it.
Build for the Fight You Are Having
Build according to the problem your team is facing.
- Enemy helicopters everywhere: Anti-air.
- Enemy armor constantly attacking: Defensive positions and anti-vehicle planning.
- Your team is pushing an enemy position: Mortar support.
- Your vehicles are constantly running out of fuel: Refuel station.
- Your vehicles are getting damaged: Repair station.
- The Hot Zone is far away and your team wants to pull it toward the FOB: Drill Rig.
- Enemy infantry are constantly pushing the same entrance: Walls, barriers, and defensive positions.
Build according to the problem.
Protect Your Heavy Equipment
Your most valuable structures should not necessarily be sitting in the most exposed part of your FOB.
If you have spent money and supplies building a Drill Rig or anti-air system, protect it.
Use:
- Walls
- Cover
- Terrain
- Distance
- Defensive positions
Do not put valuable equipment where the enemy can immediately walk up and destroy it.
Communication
Wardogs uses proximity and squad voice chat, so communication is a big part of the experience.
You do not have to become a military radio operator. Just communicate useful information, such as:
- “Three guys behind the warehouse.”
- “Tank coming up the road.”
- “We’re getting pushed from the west.”
- “I’m going to flank.”
- “Need a medic.”
Listen as Well as You Talk
Listening is just as important as talking.
You can often hear things before you see them, including:
- Gunfire
- Vehicles
- Explosions
- Movement
If you are approaching a building and hear people inside, slow down. You do not need to sprint through the door and hope for the best.
Revive Your Teammates
If someone is down and you can safely revive them, revive them.
A teammate who gets revived can immediately start contributing again.
However, do not blindly run into five enemies to revive someone. You are not helping anyone if you become another body on the floor.
Check the situation first.
Stay With Your Team
You do not have to move around as one giant group, but completely wandering off alone usually is not a great idea.
If you are new, find friendly players and stick with them.
You will learn much faster by watching what experienced players do. You will also have:
- More firepower
- More people to revive you
- More information
- More support
- More opportunities to push
Learn the Maps
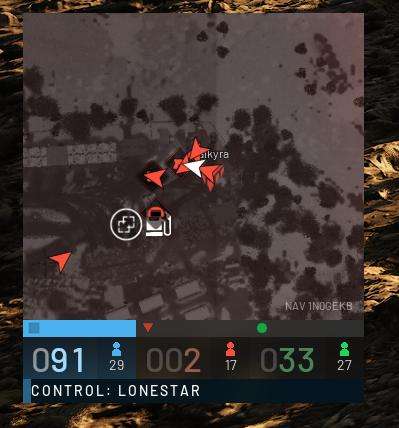
You do not need to memorize every building. Start with the important things:
- Main roads
- Bridges
- Chokepoints
- High ground
- Major buildings
- Common routes
- Vehicle routes
- Control Zone approaches
- Good defensive positions
After a while, you will start recognizing locations automatically.
Playing Solo
You do not need a premade squad.
If you are playing alone, look for other friendly players and follow the flow of your team.
If you see someone doing something useful, help them. You can effectively create your own little squad just by sticking with people.
Do not be afraid to use voice chat.
What to Do If You Do Not Know What to Do
When you are standing around wondering what to do next, run through this list:
- Is the Control Zone being attacked? Go there.
- Is my team struggling to reach the zone? Transport them.
- Are teammates dying? Revive them.
- Is the enemy using vehicles? Help deal with them.
- Is my team attacking a fortified position? Look for a flank or a way to destroy it.
- Is nobody scouting? Scout.
- Is my team lacking supplies? Help with logistics.
- Is the objective secure? Defend it.
- Is the enemy completely distracted? Flank them.
- Am I completely lost? Follow your teammates.
There is nearly always something useful you can do.
L81 Mortar and Artillery Tank Guide
How to Calculate Exact Range From Map Coordinates
You can calculate the range to a target from map coordinates instead of firing test shells and adjusting your aim. The method works for both the L81 mortar and the artillery tank.
The basic process is:
- Mark the coordinates of your gun and copy them.
- Mark the coordinates of the target and copy them.
- Calculate the distance using the coordinate differences.
- Multiply the result by 100 to get the range in metres.
- Set the calculated range on the RNG slider and fire.
Once you have done the calculation twice, it takes about fifteen seconds.
Getting Coordinates
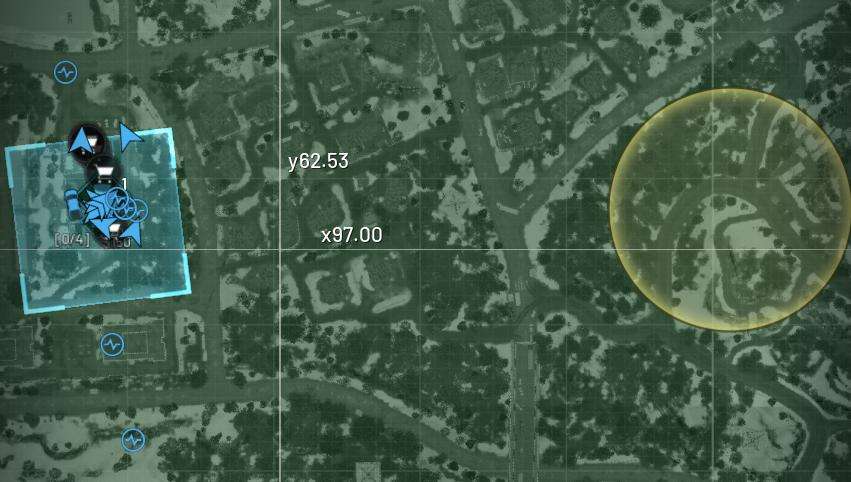
Open the map and zoom all the way in on your gun. This matters because zooming out reduces decimal precision and can make the calculated range inaccurate.
To get your gun’s coordinates:
- Right-click your gun position.
- Select Mark Coordinates.
- When the coordinates appear in chat, press Ctrl+A, then Ctrl+C to copy them.
- Repeat the process on the target.
You will have two pairs of coordinates, for example:
98.43, 110.38
94.53, 109.03
The first number is the X coordinate, and the second is the Y coordinate.
Calculating the Range
The calculation uses the Pythagorean theorem:
- a = difference in X
- b = difference in Y
- c = √(a² + b²)
- Range in metres = c × 100
Using the example coordinates:
- a = 98.43 − 94.53 = 3.90
- b = 110.38 − 109.03 = 1.35
- a² + b² = 15.21 + 1.82 = 17.03
- √17.03 = 4.127
- 4.127 × 100 = 413 m
Ignore the minus signs because squaring removes them, so it does not matter which coordinate you subtract from which.
Why Multiply by 100?
You may have seen the rule “take the first three numbers of the square root.” That gives the same answer under 999 m, but it breaks above that.
Multiplying by 100 keeps working at every range, which matters when using the artillery tank.
Rounding the Result
Getting 412 m where someone else says 413 m is fine. Rounding 1.35 × 1.35 down to 1.82 trims a little off the calculation. The exact answer is 412.7 m.
A difference of one metre makes no difference to where the shell lands because the RNG dial is far coarser than that.
Firing at the Target
Once you have calculated the range:
- Middle-click the target on the map to place the white diamond marker.
- Swing the gun until the diamond is centred in your view.
- Set the RNG slider on the left to the calculated range.
- If the required value falls between two notches, split the difference.
- Fire.
L81 Mortar
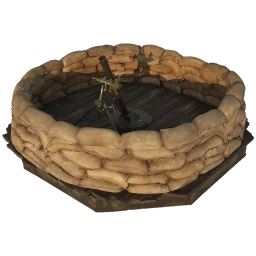
| Property | Details |
|---|---|
| Range | Up to about 700 m |
| Shells loaded | Up to 3 |
| Loading | Press R to load each shell |
| Unlock | Available in your first hour |
| Build cost | 91 building supplies, plus more per hammer swing |
| Ammo | 30 ammo supplies per shell |
| Full 3-shell barrage | 90 ammo supplies |
Artillery Tank
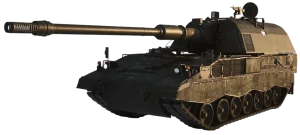
| Property | Details |
|---|---|
| Minimum range | 750 m |
| Maximum range | About 2,630 m |
| Reload | Quick-time event |
| Blast | Much larger than the mortar |
The artillery minimum range is 750 m. If your target is closer than 750 m, the artillery cannot reach it. That is what the mortar is for.
Bombarding an Area
To bombard an area:
- Load three shells with R before you start.
- Press C to skip the killcam so you can fire again immediately.
- Nudge your aim slightly between each shell to spread the damage.
- Reload during the killcam.
You can keep a base under continuous fire for as long as the ammo holds.
Three shells cost 90 ammo supplies, so your FOB has to have enough ammo supplies.
Terrain and Obstacles
The range can be perfect and the shell can still hit a tower, a tree, or a ridge on the way down.
If a shot lands short against an obstacle, the maths is not wrong. Move your firing position or adjust your aim to avoid the obstruction.
Changing your firing position changes the distance to the target, so run the calculation again after moving.
Estimating Range From the Map
Each small square is 10 m. You can also zoom out until the 100 m lines appear if you would rather estimate the distance visually.
This method works, but expect to burn two or three shells finding the range. The first shell also tells the enemy you are there.
Using the coordinate calculation avoids the need for those test shots.
How to Make Money
Method 1: Spotting, the Human UAV Simulator
Spotting is the most commonly used money-making method.
You earn Recon XP and cash for every enemy, vehicle, or FOB you mark. Re-marking the same target pays less each time, and the reward falls off very quickly.
The strategy is to sit on high ground, far away from any actual fighting, and look at other players through a scope. Staying in a bush without a weapon turns you into a human UAV.
Method 2: Logi Runs
Logi runs are good for the team but less effective for making money.
You earn 2,500 cash per pallet dropped.
Once the Ural is unlocked, it can carry 2 pallets, giving you 5,000 cash for dropping them at a FOB.
After dropping the pallets, you can jump out of the Ural and unload the pallets yourself to earn Support XP. Do not give teammates the money, as you need it yourself.
The source recommends using two monitors so you can watch a movie or YouTube while repeatedly traveling from the base to the FOB for an hour.
You can also double the experience while watching another player do the same thing.
Method 3: Fighting Other Players
Avoid fighting other players if your goal is to make money.
Losing a fight risks the money you have already earned.
Method 4: Building a Base
Do not build a normal base.
Instead:
- Buy a FOB as close to the edge of the map as possible.
- Put up a perimeter.
- Spam random buildings, with TALONS recommended.
- You do not need to use the buildings.
- Spam chat for supplies the entire time.
Method 5: Spawn Vehicle AFK Strategy
When a team is at approximately 15 points, sit at the base next to the Spawn Vehicle spawn point and go AFK until the vehicle becomes available.
The source recommends parking the vehicle in an inconvenient location far away from the fighting. This keeps the vehicle safe while avoiding the need to take it into combat.
Method 6: Sniping
Sniping is another method described by the source.
If sitting in a bush for an entire match already sounds appealing, this strategy requires little adjustment.
The Scavenger
If you feel the need to go near the action, do not buy weapons or gear. Take the free loadout instead.
Wait for a teammate to die, then loot everything they have on them. According to the source, if they kill you afterward, they will not be able to take their items back and will lose money.
Tips and Tricks
- Buy only the bare minimum. The free recruit weapon and free backpack are all you need.
- Do not unlock anything. The source considers the return on investment too low.
- Do not experiment. Use only the strategies in this guide or other proven, zero-risk methods.
Be smart. Be greedy. Don’t have fun.
Foundational Tips for Beginning Builders
Close the Doors
One of the most important habits for Wardogs builders is to close the doors behind you.
Doors close automatically after about a minute, but that is more than enough time for someone to sneak into the base. No base is completely impenetrable, since Halligan bars can pry open doors and C4 is not particularly expensive, but closed doors at least make attackers work for their way inside.
When closing a door, make sure it fully shuts. If you or another player is standing too close, the door can be left ajar. A common cause of open base doors is players closing them while passing through without realizing that they did not fully close.
Placing the Forward Operating Base
FOB Kits
The FOB kit is the core item used to establish a base. It enables construction of most buildables and serves both as the center that determines the building radius and as a stockpile for the materials used to build the base.
Protect the FOB kit as soon as possible. If an enemy reaches it, they can hack it and take over the base, making it the highest-priority item to secure.
Items delivered in crates must be purchased from the crate and manually delivered to the FOB’s storage. Because of this, the FOB’s storage is usually best kept accessible. Large supply pallets work differently: they can be unpacked anywhere within the FOB radius and automatically deposit their resources remotely. This makes it possible to create a heavily secured FOB core if the team relies on supply pallets.
You will usually not need to purchase an FOB kit yourself because another player on the team will likely establish one. Communicate in team chat to make sure someone is getting one, otherwise multiple builders may be left with nothing to build. Having extra kits is not a major problem, since they can be used to establish additional bases.
Once established, the FOB starts with a small amount of basic supplies, including a medium hammer. If you have a low support level and are trying to save money, you can use the hammer from the FOB storage instead of purchasing one.
Selecting a Location
FOBs are most commonly built around towers. These large structures are major landmarks in Wardogs, and securing them is an important part of the game. Once your team captures enough towers, it can input a code that forces the hot zone to move to a claimed tower. This allows the team to score a large number of points while fighting from a fortified position.
If there are no empty towers available, there are situations where building a FOB away from a tower can make sense. However, FOBs should generally be built inside the combat zone.
Time spent inside the combat zone benefits both your team and your wallet. A builder who spends the match constructing a base can be more valuable to the team than a player who constantly chases the hot zone but repeatedly dies before reaching it. A player building outside the combat zone is also one fewer body contributing to zone control.
There are situations where building outside the zone can still be worthwhile, but these are more specialized cases.
Securing the Perimeter
Outer Walls
Leave plenty of floor space when planning your walls. Trucks need enough room to drive into the base and turn around. Although not strictly necessary, having enough space for helicopters to land inside the FOB is also useful. Teammates may want to add more structures later, so make the walls larger than you initially think you will need.
Do not use small Hesco blocks for external walls. A small block takes only 2 C4 charges to destroy. Since C4 stacks in threes, an attacker can easily create a hole in a wall made from small blocks while still having explosives left to use inside the base.
Large Hesco blocks require 4 C4 charges to destroy and are therefore significantly harder to breach. If you are a new player who only has the small hammer and cannot build large blocks, help other builders or ask someone to obtain a hammer for you.
Once unlocked, Bremer walls are the preferred option for perimeter walls. A Bremer wall takes 7 C4 charges to destroy, making it the strongest wall type for resisting explosive attacks. Their shape can make corners awkward, but the gaps can be addressed in several ways.
As you build the perimeter, check whether nearby objects can be used to vault onto the wall from outside. More scenery is climbable in Wardogs than might be immediately apparent.
Barbed wire is not a reliable solution to this problem. It is easy to destroy and can be more of an annoyance to your own team than to attackers. Instead, modify the walls so they cannot be climbed, either by making them taller or by building around nearby climbable objects.
This is particularly important around landmarks such as the church. Building Hesco walls inside existing fences and stone walls can allow attackers to climb over the entire perimeter. Build the walls outside the fences or far enough away that the existing structures cannot be used to enter the base.
Airlocks
An airlock consists of two doors placed along the same path. This prevents an enemy hiding outside from immediately rushing into the base and opening fire when one door is opened.
Ideally, a player should enter the airlock, close the first door behind them, and then open the second door to enter or exit. Doors are weak points because they can be destroyed with explosives or pried open, so forcing attackers through multiple doors adds another layer of resistance.
Use double doors for internal areas as well as external entrances. Enemies can sometimes parachute into the base past the external walls, so internal doors help restrict their movement and make intruders easier to contain and eliminate.
Vehicle gate airlocks must be long enough to fit a vehicle inside. If an airlock is too short, both gates have to be open simultaneously while the vehicle passes through. This gives an enemy an opportunity to shoot people inside the base while the vehicle is entering.
Shooting Platforms
Small Hesco blocks are poor choices for external walls but are useful for constructing stairs that allow defenders to climb onto the walls.
Once the walls and doors are secure, one of the first additions should be positions that allow defenders to peek over the walls and fire at attackers.
These positions are particularly important around airlocks. If an enemy enters the airlock and the defender must open the inner door to shoot them, the airlock has effectively lost its purpose. A position that allows defenders to look into the airlock lets them eliminate intruders without opening the inner door. If the defender is killed, a teammate can revive them behind cover without exposing themselves.
Recon towers and bunker prefabs can also provide protected firing positions. They can be incorporated into the wall during construction, or added later by dismantling part of an existing wall and placing the structure in the opening. Make sure the area is safe before making such modifications, and have teammates provide cover while you work.
The lower level of the recon tower can be modified by building or removing blocks. It can be fitted with doors to create another access point, completely walled up to make that section of the perimeter thicker, or hollowed out to serve as a bomb shelter during artillery attacks.
Do not leave an overhang outside the perimeter. It can provide enemies with a safe position to take cover, heal, and repack magazines while attacking the base.
Securing the Tower
If your FOB is not built around a drill tower, you can skip this section.
Once the outer wall is complete, secure the tower itself. Tower FOBs often have multiple builders working on them early in a match, so if other players are already handling the perimeter, you can focus on the tower immediately.
The main priority is placing doors inside the FOB so enemies who parachute onto the tower cannot simply walk down into the base.
The tower has three obvious door-sized openings that should always be secured. Additional doors can be added as needed. More doors reduce the chance that an enemy can pry or blow through every entrance and make it less likely that a single open door will compromise the entire base.
However, too many doors can make the base difficult for teammates to navigate, so avoid excessive placement.
After securing the doors, protect the ladders leading to the roof. Players are particularly exposed to enemy snipers while climbing these ladders. Two large Hesco blocks with Bremer walls on top can be used to provide protection around the ladder while still leaving enough room to climb.
Tower Windows and Railings
Sandbags can be placed in the tower’s windows. The windows are tall and exposed by default, while sandbags in the frames provide safer movement past them and create additional positions from which friendly snipers can fire.
Break the windows before placing the sandbags to make placement easier.
Sandbags can also be placed along the railings. This provides additional protection from enemy snipers, but it takes time to build. Its usefulness depends on how many teammates are using the tower. If few players are there to benefit from the protection, this can be skipped.
The completely open tower floor can also be fortified, although its usefulness similarly depends on the number of allied snipers and the amount of time available for construction. It is common to fortify the roof instead and leave this floor open because there is little reason to remain there.
Before spending a large amount of time fortifying every part of the tower, consider building weapons. Doors are useful for emergencies, but ideally enemy helicopters should be destroyed before they can reach the base.
Equipment and Weapons
Refuel and Repair Stations
Once the FOB is secure enough to start adding useful equipment, vehicle maintenance stations should be built relatively early. They are inexpensive and provide additional utility to the team.
Logistics vehicles normally repair and refuel when they return to spawn for more materials. Maintenance stations are particularly useful for combat vehicles such as tanks and minigun Humvees, which need a safe location to return to after taking damage.
The stations can be placed anywhere. Any vehicle within the FOB radius automatically receives their benefits.
In a tower FOB, the small empty rooms can be a convenient location for these stations. These rooms otherwise have little purpose, allowing the stations to be kept out of the way without using valuable ground-level floor space.
Talon 9-K SAM
The SAM site should usually be the first weapon built at a FOB. It is important for defending against enemy helicopters that can otherwise drop infantry directly onto the base.
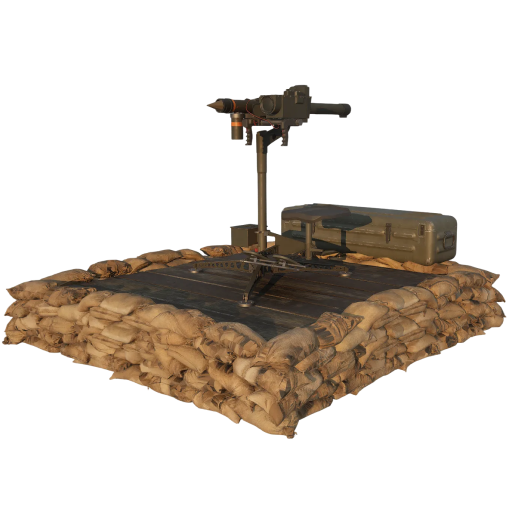
An elevated position surrounded by small Hesco blocks can provide some protection. Since the SAM is primarily aimed at the sky, visibility below the horizon is not necessary, while additional cover makes it more difficult for a sniper to kill the operator.
Avoid overusing the SAM early in the game. Firing at every enemy helicopter can draw attention before your team is ready to fight. Focus on helicopters that are actually approaching your position unless you have enough teammates to support the defense.
L81 Mortar
The mortar is normally the second weapon to build, or the first if helicopter defense is not a priority.
Do not place large Hesco walls immediately next to the mortar. They can prevent angled shots from clearing the wall. Leave enough open space around the weapon for it to operate properly.
Visibility around the mortar is not necessary. Mortar fire is controlled by placing map pings to determine direction and distance, then using the shell camera to check accuracy.
An elevated position nearby can still be useful for checking distances with a rangefinder.
Stingray FPV Drone Launcher
Unlike the mortar, which can fire at low angles for long-distance shots, the Stingray always fires straight upward. This means it can be surrounded relatively tightly by walls without preventing it from operating.
The Stingray can be very effective in the right hands but is expensive to use, so it is generally a low priority unless there is significant enemy armor on the field.
A single anti-armor drone costs $5,000, and a hit is not guaranteed. The mechanical components required to produce the drones are an additional major cost. One full pallet of mechanical supplies produces only two drones.
If you plan to use the Stingray, inform logistics players that you will need a continuous supply of mechanical components.
The FPV drone is cumbersome and difficult to use against moving targets, but practice can make it capable of dealing significant damage. It is not as powerful as some tank-focused players claim.
Vanguard CIWS
The Vanguard CIWS is manually operated in Wardogs rather than automatically tracking and firing at targets.
It functions essentially as a manned rotary cannon designed primarily for shooting down helicopters. It is more difficult to use than the SAM because the operator must aim and lead targets manually.
Its major advantage is that helicopters cannot simply use flares to eliminate its incoming fire in the way they can against missiles. This makes it useful against attack helicopters that repeatedly defeat SAM missile locks with flares.
A CIWS can also deal substantial damage to ground targets with enough ammunition and can eventually disable and destroy tanks.
However, the CIWS has no gun depression, meaning it cannot aim downward. This makes it difficult to use against ground targets unless the FOB is positioned at the bottom of a valley.
Loudspeaker Tower
The loudspeaker tower has a small footprint and can provide additional height, making it useful as a spotter position near a mortar.
It does not provide much hard cover, so it is a poor sniper position because the operator can be easily counter-sniped. Its primary purpose is more of a utility or novelty structure.
Drill Rig
The drill rig can pull the hot zone to itself once it has been built and supplied with fuel. Like a tower after the required code has been entered, it can bring the hot zone to its location without requiring the team to capture all the towers first.
The drill rig requires fuel to remain operational, so coordinate with logistics players before constructing it.
Coordinate with the rest of the team as well. Moving the hot zone directly to the FOB will attract significant attention from the opposing teams, so the drill rig must be well defended.
Spawn APC
Spawn APCs become available as the FOB develops. They are not built by the player, but the FOB should have a suitable place for one.
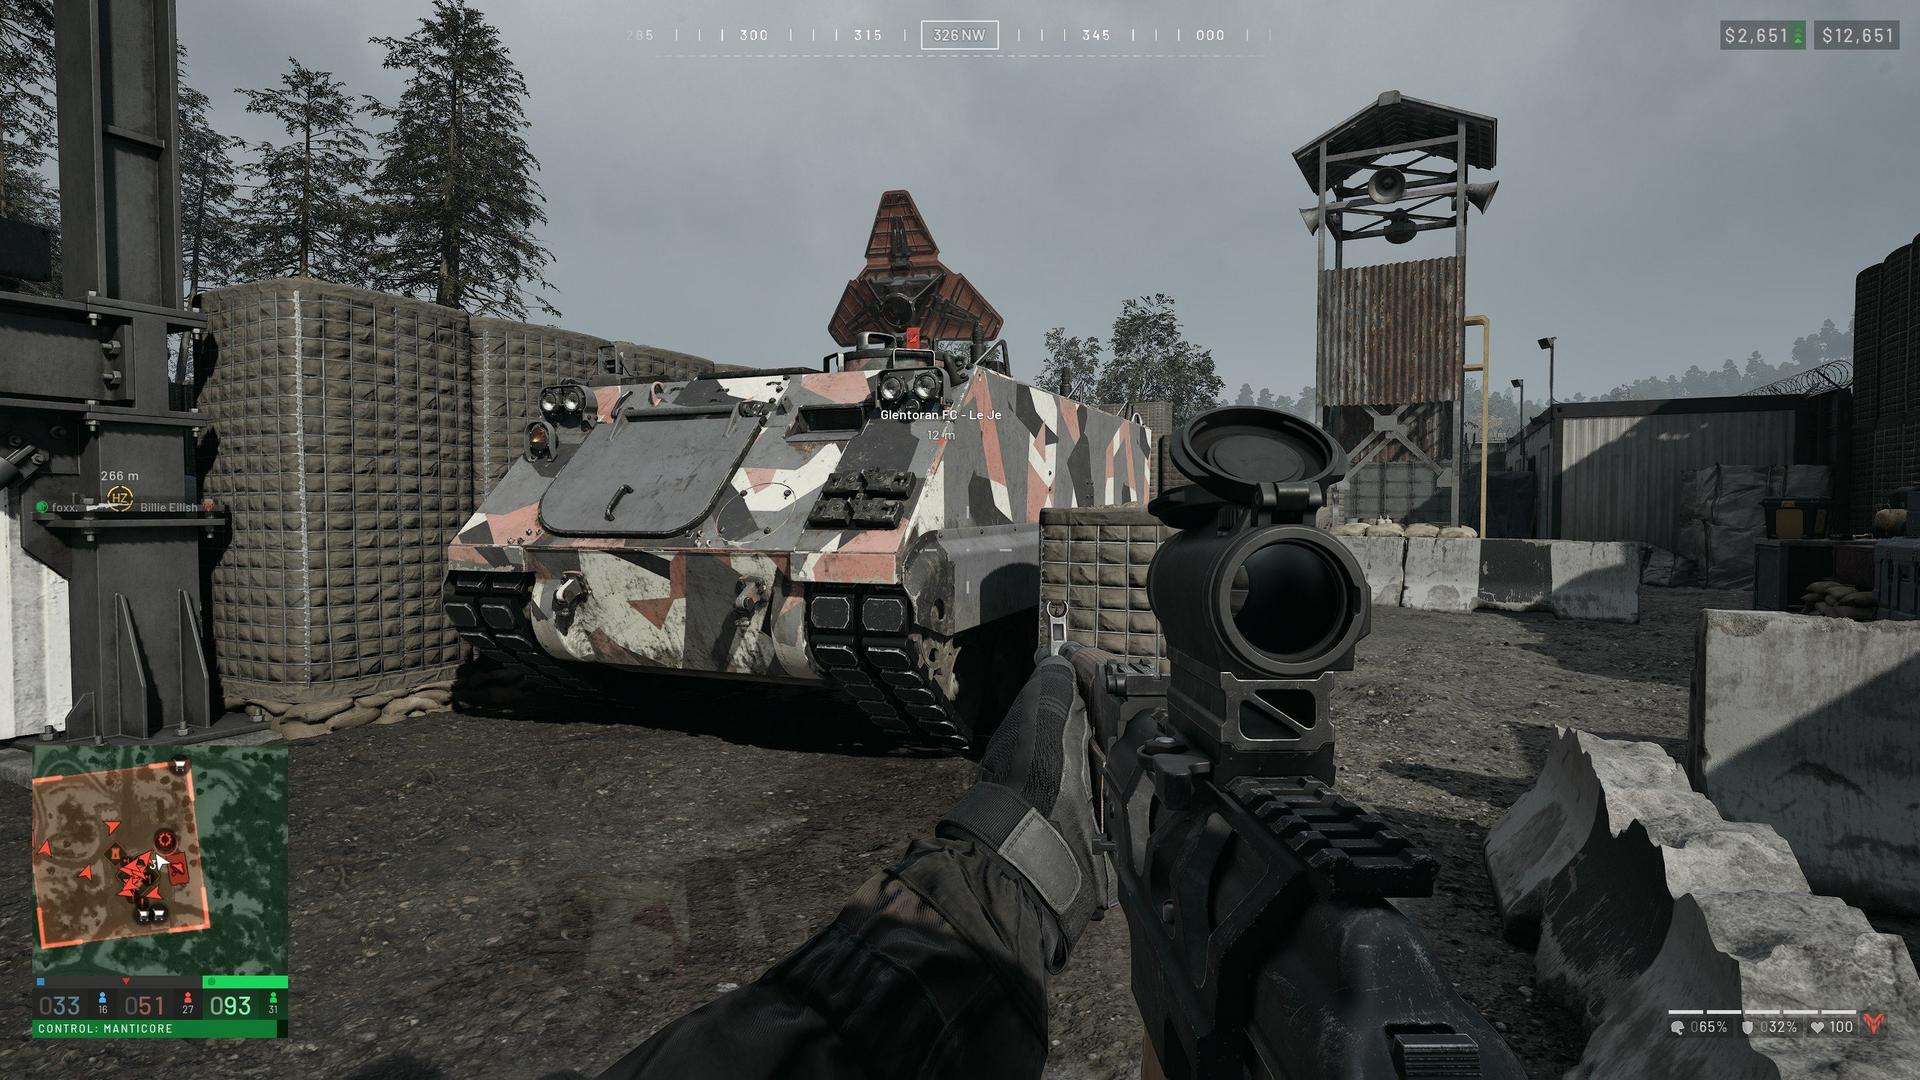
A spawn APC allows teammates to spawn directly in the combat zone without waiting through a helicopter flight. In most situations, it should be secured at the primary FOB.
Driving the spawn APC directly up to the hot zone is sometimes advocated, but unless your team is dominating the match, this can be a poor tradeoff. A player who spawns at the FOB and runs toward the hot zone contributes to zone control during that entire journey. A player who spawns immediately outside the hot zone and dies quickly contributes much less.
A destroyed spawn APC is also a major setback because the replacement takes time to respawn and must then be driven back to the position.
There are advantages and disadvantages to placing the APC inside its own airlock.
A tall wall makes it harder for enemies to break into the base and destroy the APC directly, but it also fixes the APC in one location, making it more vulnerable to mortars and FPV drones.
Leaving the APC inside the main base without separate walls makes it more vulnerable to enemies who infiltrate the FOB, but allows the APC to be moved more easily if the base comes under sustained artillery or mortar fire.
Extra Add-ons
Once the basic defenses and weapons are established, there are many ways to continue improving a FOB. However, avoid filling the base with unnecessary barbed wire.
Barbed Wire
Spamming barbed wire throughout a FOB can be detrimental to the team because it can be as inconvenient for teammates as it is for attackers.
If barbed wire is the only thing protecting an easy entrance into the base, it is too easy for attackers to destroy and should be replaced with proper walls.
If barbed wire is placed in front of an already secure wall, it usually does little. An attacker who uses C4 to destroy the wall will also destroy the wire at no additional cost.
Barbed wire can still be useful on top of shelters and walls, where it may kill paratroopers who land in the wrong place.
Higher and Thicker Walls
Basic walls should at least be high enough that enemies cannot vault over them on foot.
Vehicles can also be used to climb into a FOB. An attacker can park a vehicle next to a wall and climb onto the vehicle to get over it. This is not a common strategy, but making walls extra high can help prevent it.
Walls can also be made thicker to make explosive breaches more difficult. However, this is less useful because doors and gates remain the weakest points of the base.
Shelters
Indirect fire shelters are useful in areas with heavy foot traffic that may be exposed to mortar attacks.
Vehicles cannot drive underneath an indirect fire shelter, so do not place so many shelters that they obstruct supply vehicles.
As with the recon tower and bunker, some of the Hesco blocks making up a shelter can be dismantled to create more space underneath. This can be useful for creating elevated weapon platforms while allowing players to walk beneath them.
External Weapons and Bunkers
Additional weapons can be built within the FOB’s building radius but outside the main walls.
Spreading assets across multiple positions makes it harder for enemies to attack the entire defensive network. Attackers must choose between infiltrating the main base and spending resources to eliminate a separate external bunker.
External firing platforms can also provide additional angles for defending the main base.
This approach can also be useful if teammates repeatedly occupy the weapons you built. An external position can provide a separate weapon emplacement for your own use.
There are many possible ways to make a FOB harder to attack. Experiment with different defensive arrangements as long as the base is not left exposed while you build.
Building More FOBs
Additional FOB kits can be used to establish secondary bases for several reasons, including securing new positions, increasing control over the zone, or simply expanding the team’s defensive network.
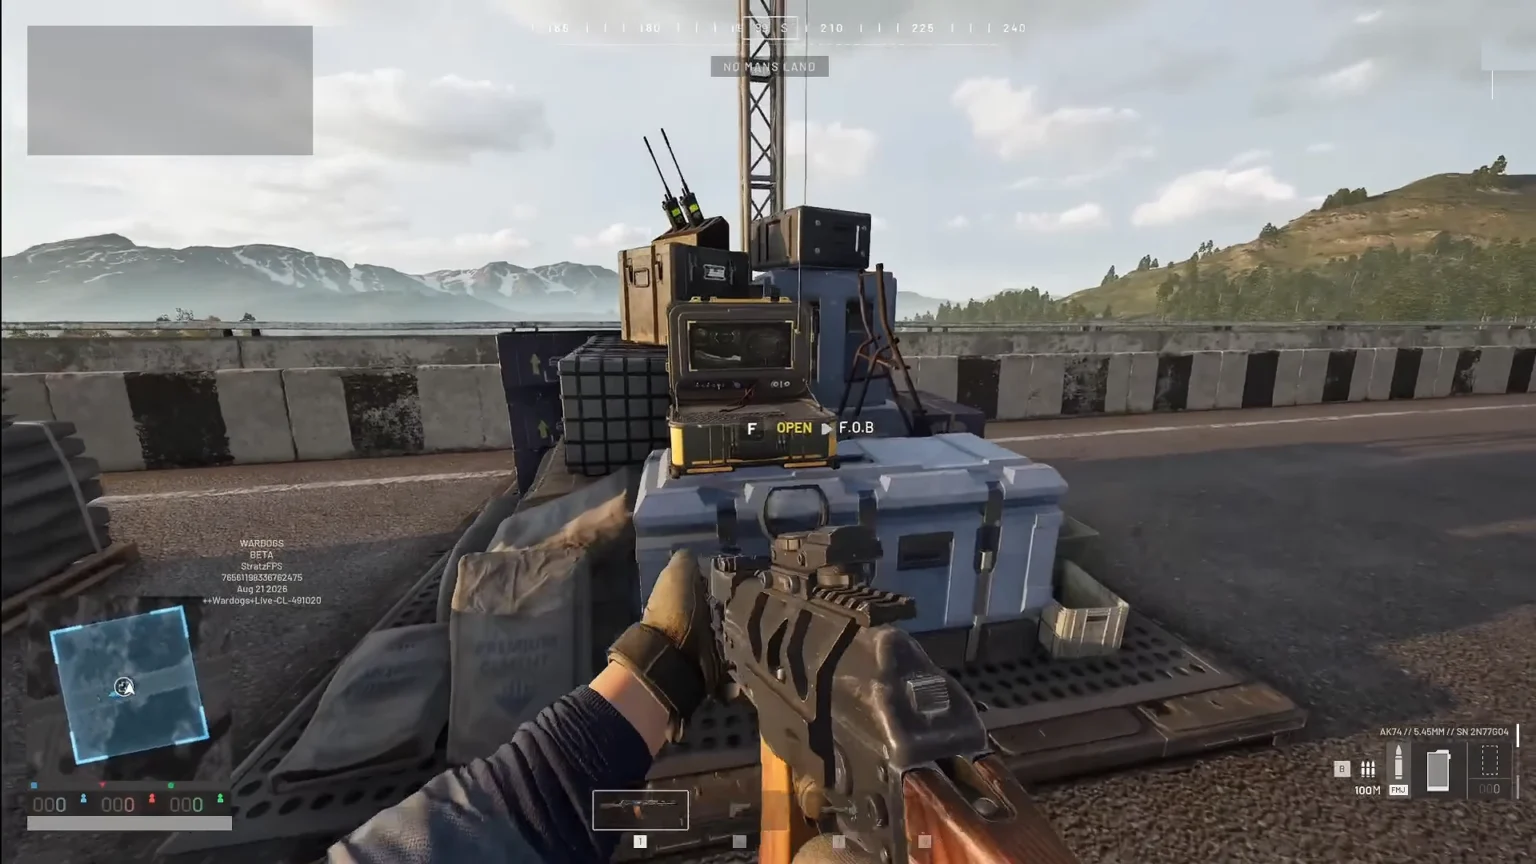
Secondary FOB Near a Controlled Tower
One straightforward option is to build another FOB near a tower your team already controls.
A secondary base can house additional mortars and SAM sites, spreading the team’s assets across a wider area and making it harder for a single successful infiltration to destroy everything.
Snipers in the tower can help defend the secondary FOB against ground attackers. The secondary base can also draw mortar counterfire away from the main FOB while providing additional anti-air coverage.
A secondary FOB near a controlled tower is also a useful location for a drill rig. If enemies attack the secondary position rather than the main base, your team can provide cover more easily. If attackers breach the secondary FOB and destroy the drill rig, the main base remains intact.
Remote Central FOB
Another option is a more remote FOB near the center of the map.
A central base has a higher chance of overlapping with the roaming hot zone and provides even better SAM coverage. These bases are generally easier targets and require more effort to defend, but a central FOB can be powerful if enough of the team commits to supporting it.
There are no hard rules requiring a FOB to follow a particular layout or location. Secondary bases generally fall into either a position near the team’s primary base or a position in the middle of the control zone.
The Evil FOB from Hell
An aggressive FOB can be used as a last-resort strategy when one enemy team is clearly about to win and your team needs to create an opportunity elsewhere.
This strategy requires a group of players rather than a solo builder. Bring one or two transport helicopters, with a hammer for everyone and at least one MAAWS with a good supply of shells.
Bring plenty of building supplies and ammunition supplies, but no fuel or mechanical supplies. Bring the best armor and guns you can afford, plenty of medical items, and one FOB kit.
Fly to a position somewhere between the enemy spawn and the control zone. The location should be far enough from the control zone that anyone fighting you would be outside it, while still being far enough from the enemy spawn that they cannot easily use artillery against you from within their safe zone.
Establish the FOB and begin building immediately. The goal is to make the base as impenetrable as possible as quickly as possible and get a SAM site operational as soon as possible.
Build shooting platforms with line of sight toward the nearest road. Once the base is established, attack enemy players, helicopters, and supply vehicles passing through the area. Shoot down enemy helicopters and use the MAAWS against passing Urals.
If your team can destroy the enemy spawn APC while the FOB is being constructed, every enemy who respawns will have to pass your outpost on the way back to the fight.
The purpose of this strategy is not to hold the position indefinitely. The aggressive base is deliberately built outside the control zone so that it can provoke a disproportionate response.
A small group of players can force a large portion of the enemy team to leave the main fight and attack the FOB. While those players are occupied, the rest of your team can attempt to retake control of the zone.
The FOB will probably not survive once the enemy team commits its full force to destroying it. The objective is to resist long enough to attract as many enemies as possible.
Limitations
This strategy has several significant drawbacks:
- It takes time to build the FOB and more time to destroy enough vehicles and attract significant enemy attention.
- It requires enough time before the match ends for the strategy to have an effect.
- It is primarily useful against a single team that is clearly about to win. Using it during a close match can remove your players from the main fight and give the uninvolved third team an advantage.
- It cannot be executed effectively by a solo player. Friends or highly cooperative teammates are required.
- It is expensive, so failure can result in a substantial waste of resources.
- Its effectiveness is uncertain. The strategy was only tested a few times during playtests with mixed results.
Despite these limitations, it can be worth attempting when your team is likely to lose anyway.
Going Forth and Fighting
You do not have to stop building simply because you are ready to fight.
Sandbags and barbed wire do not need to be within an FOB’s building radius and can be constructed anywhere.
LMGs can be difficult to use because they are cumbersome and require a safe position where the bipod can be mounted for accurate fire. Carrying a hammer and supplies allows you to construct your own firing position wherever you go. A small hammer is sufficient and can help reduce weight.
Fortifying Buildings Outside FOBs
Barbed wire is weak as a primary FOB defense because large walls can be built there, but it is much more useful outside FOBs where large walls are not an option.
A few minutes of construction can turn a random house near the hot zone into a fortified shelter. Sandbags and barbed wire can provide a quick, though fragile, defensive position from which you and a few teammates can engage enemies.


Be the first to comment