
This guide will show you how to complete all Necromancer challenges solo and without Deeds
Souleater Staff

- Map: Into the Nest
- Difficulty: Legend
You must bring up enough attack speed and stagger power in order to stagger 8 elites in the same time.
The map Into the Nest is well suited for this because it has only Stormvermin patrols which has more elites at close proximity than the Chaos patrol which is needed that the projectile of the Souleater Staff can jump onto other enemies.
For attack speed you should take the Level 10 Talent Vanhel´s Danse Macabre and a charm with attack speed.
Take a Ranger Veteran with you for his Drunken Brawler talent because his ale grants you 3% (9% at max) attack speed and if you´re lucky he will also stealth which brings you additional 8% with Exhilararting Vapours.
For more stagger power you can equipt a charm which has power vs Skaven or armoured in addition to attack speed.
The staff can also have power vs Skaven and armoured but too much damage can kill a Stormvermin before 8 all are staggerd so don´t take more than a total of 20% if you want to use a potion of strength.
The Warrior Priest can increase your stagger power by 25% without increasing your damage and the Grail Knight can provide more power and up to 7% more attack speed with the Virtue of Purity talent.
The concoction trait for the charm is the best choice for this challenge because you will have the effect of the potion of speed and the potion of strength at the same time while the duration is sufficient.
Make sure to kill at least the Grail Knight because with his career skill he will likely kill a few of the enemies you need and give your other bots weapons with low armour piercing damage.
The only thing you have to pay attention to while attacking the patrol is that you must hit so many different Stormvermin as possible, preferably both ends of the patrol because the projectile will only jump to nearby enemies.
If you attack the patrol from the side, you can shoot more enemies at the same time as when you attack them from the front.

- Map: Almost any map
- Difficulty: Any difficulty
Can be done in any time in between.
To prevent your bots from stealing your kill you can change the properties of your gear to power vs Chaos / armoured and you can give your bots weapons with low armour piercing damage and choose careers for your bots with a career skill that is not able to easily killing elites, but that is not necessary.
The secondary attack of the Souleater Staff can generate overcharge very quick so make sure that you vent your overcharge by releasing your skeletons every third spell (or the fourth with Thermal Equalizer).
Ensorcelled Reaper

- Map: Any map
- Difficulty: Any difficulty
Can be done at any time in between.
There is not much more to say about this except that you can hit the head of enemies better with the first light attack.

- Map: The Pit
- Difficulty: Legend
To maximize your chances of hitting 15 enemies with one swing you must go to a specific location in The Pit.
Just go trough the map until you can see a ladder which leads to the second area.

Instead of climbing the ladder you have to go left and jump over the crates, once there you must let your bots die by enemies or your ranged attacks.
More than enough enemies will gather in front of you at safe distance and you just have to give them a few heavy attacks from your Reaper but beware of the large number of specials around you.
You can easily avoid the attacks of Ratling Gunners, Warpfire Throwers and Packmasters from behind that crates but a Globadier can throw over it and Gutter Runner can jump from the top of the building at the other side of the street and have to be killed immediately.
A Globadier can also throw gas globes through the gap between the two houses behind you.
After you competed the challenge, you have to climb the ladder and head to the next area in which your bots waiting to be rescued.
Only Slaverats will appear in the hordes and you can cleave them without the need of the Reaping talent.
Skeletons

- Map: Any map
- Difficulty: Any difficulty
Can be done at any time in between.
Just order your skeletons to attack an elite with your Icon of Death.

- Map: Tower of Treachery
- Difficulty: Legend
After Sofia´s monologue, no random hordes or specials can appear except those that spawn by destroying the wards and you can craft more than enough potions of concentration at the alchemy table, because of that is the Tower of Treachery the best mission of this challenge.
You need the level 30 talent Army Of The Dead, a charm with decanter and you´ll make use of one of the Chaos patrols in the tower for this.
Take one bot that can quickly take out armoured enemies or a bot that can tank a lot of damage like the Ironbreaker with you, the choice of the two other bots is up to you.
Kill the other two bots in a safe distance from the patrol but let the first one unharmed so he doesn´t get revived to early.
After the two bots died you must shot the last one but only to a point that he is downed and not dead.
Drink the potion of concentration and summon as many skeletons as you can and move quickly to the patrol.
Order your skeletons to defend near the patrol and watch them soaking up all of the damage from the Chaos Warriors.
If you done it right you should get the achievement on the first try.
Keep in mind that your skeletons leave their position after you go to far away and the enemy will attack you instead if you stay to close.
After you completed the challenge revive your last bot before he bleeds out and take out the patrol together.
If one of the other bots dropped a potion of concentration on his death then you could use it to create another wall of bones to help you with the rest of the Chaos patrol.

- Map: Any map
- Difficulty: Any difficulty
Can be done alongside Wall of Bone.
Drink a potion of concentration with the decanter trait on a charm and keep summoning (the level 30 talent Army Of The Dead is required for this).

- Map: Any map
- Difficulty: Recruit
Your skeletons must only be 95% of the time you spend on your run active, so it´s possible to let the number of skeletons below 4 for a short time without the need to start over again, but you still have to summon more quickly afterwards.
The Level 30 talent Dread Seneschal will give them 50% more health and the Level 25 talent Spirit Leech restores 15% of your cooldown bar so you can resummon the skeletons more quickly.
10% cooldown reduction on your trinket is also adviced.
Summon your skeleton right away and bring a staff with which you can take out specials more easily because a Warpfire Thrower and a Blightstormer can take out most of your skeletons at once.

- Map: Into the Nest
- Difficulty: Legend
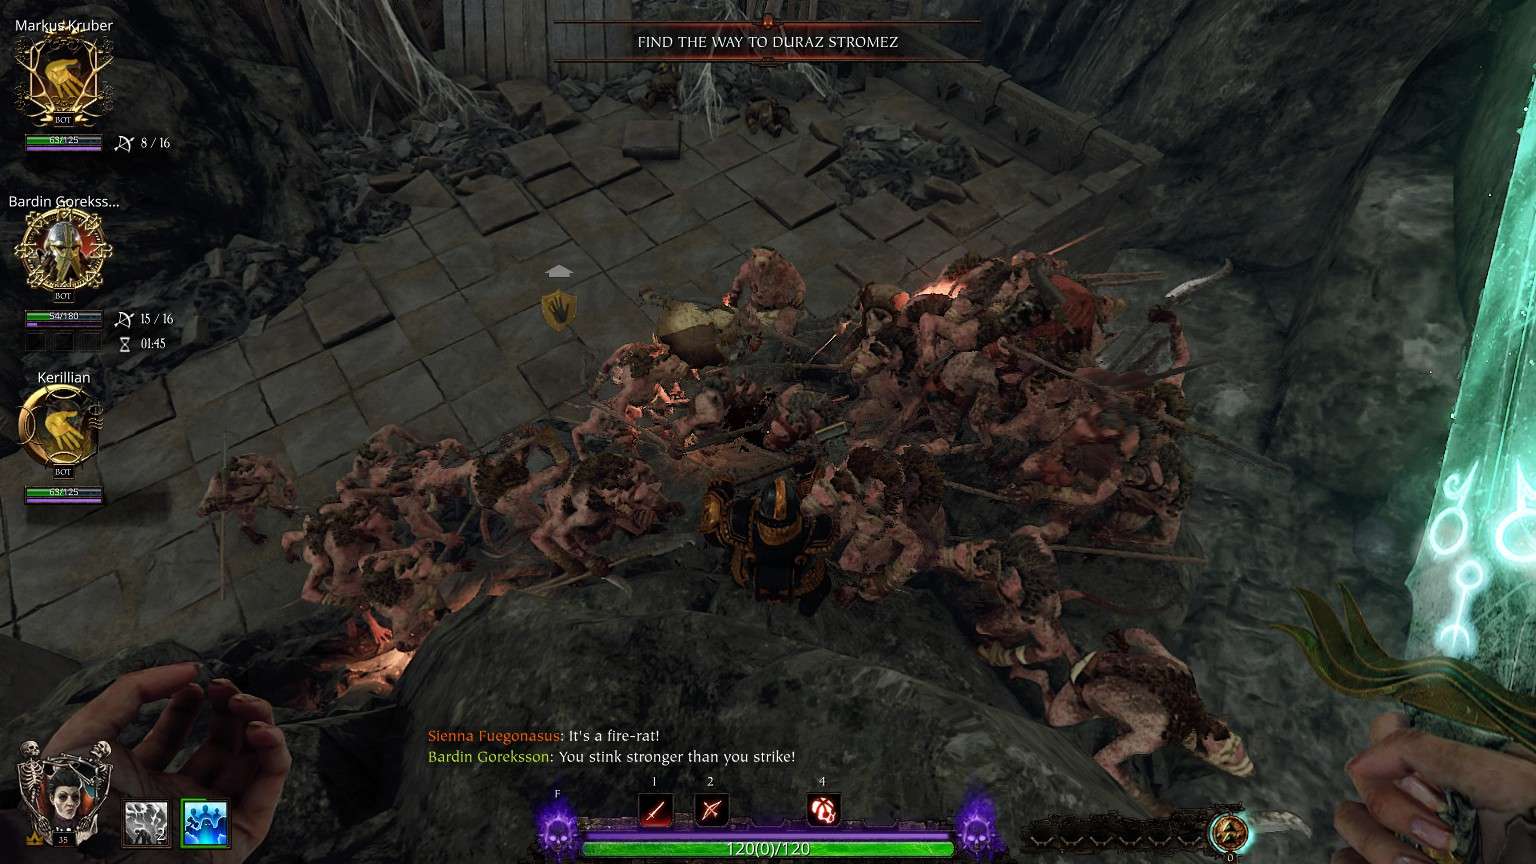
In order for your skeletons to hit 60 enemies in 2 seconds you need to gather as many enemies as possible at a tight space.
You will need the Dread Seneschal talent again because if you order them to attack, the 3 skeletons will charge into the horde and hit way more enemies at the same time than a mass of normal skeletons will do.
The mission Into the Nest is best suited for gathering an entire horde at one place.
Only the equipment and the career of the bot is important for this challenge.
Take an Ironbreaker with block cost reduction and stamina on the weapon, block cost reduction and health on the necklace and stamina recovery on the trinket with you and kill the other two bots right at the start.
After you go down the stairs and before the first dropdown turn around and you can see a cliff which you have to climb.
Stand at the right side of the cliff and wait for a horde to arrive and your Ironbreaker will act as a decoy.
You have to go to the left side near the wall so that the Skaven lurking behind also come in but only after the first enemies attack him so the bot stays at the edge on the far right.
After enough enemies gathered together summon your skeletons, give them a few seconds to emerge from the ground and order them to charge into the pile of ratmen.
Malediction Of Nagash

- Map: Any map
- Difficulty: Any difficulty
Can be done at any time in between.
With the Level 30 talent Barrow Blades are your skeletons able to ignite enemies, so you don´t even have to apply the malediction effect yourself on the enemy.
You just have to let your skeletons hit the enemies and do the work.

- Map: Any map
- Difficulty: Any difficulty
Can be done at any time in between.
Only the light attack can ignite enemies.
To speed up the challenge use your staff against hordes and the projectile will jump onto other enemies.

- Map: Any map
- Difficulty: Any difficulty
Can be done at any time in between.
To kill a lot of burning enemies with melee attacks you will need a weapon which can ignite enemies easily but also has good crowd control like the Flame Sword.
Use the heavy attack over and over against hordes and you should complete this challenge in no time.
Missions

- Map: All Helmgart
- Difficulty: Any difficulty
This will not require any specific difficulty.
If you want to do this challenge first than skip the mission Into the Nest because you will need this map for other challenges.
You will get the frame even if you haven´t purchased the cosmetic upgrade.

- Map: Any map
- Difficulty: Any difficulty
It is adviced to do this as the last challenge because it has no special requirements other than competing the missions as Necromancer.
Other Challenges

- Map: Tower of Treachery
- Difficulty: Any difficulty
You have to bring up as much attack speed as possible in order to generate massive overcharge in short time.
For this challenge you will need a charm with attack speed and decanter as trait, the Level 10 talent Vanhel´s Danse Macabre, a Coruscation or Beam Staff without Thermal Equalizer, a Ranger Veteran with the Drunken Bawler talent and optional a Grail Knight with the Virtue of Purity talent for additional 7% attack speed.
On the alchemy table you can make an endless supply of speed potions while you kill specials for the quest of the Grail Knight and the change to get an ale from the Ranger Veteran.
Summon your skeletons, drink the potion of speed and spam primary attacks with your Coruscation Staff or secondary attacks with your Beam Staff as fast as you can.
Don´t forget to vent your overcharge by releasing your skeletons when you reach 80-90% of your overcharge bar because the further it increases the more is your attack speed reduced.
You don´t have to drink another potion because with decanter the duration of a single potion is enough and you also don´t need to to target any skeletons to release them, just attack, switch to your Icon of Death, press R and switch back.
Ale, potions and skeletons are infinite so you can try as often you need.

- Map: Any map
- Difficulty: Any difficulty
This challenge can be done alongside Overcharged because you´re already at creating and venting overcharge.
Congratulations

You managed to overcome all Necromancer challenges and you got a cool frame as a reward, even if you didn´t bought the cosmetic upgrade and I hope this guide made the challenges a bit easier for you.
Be the first to comment