
Intro
By Houseplant.
The guide aims to cover account progression tips and strategies for new players, including guides on understanding character building and various game modes.
Glossary
Wuthering Waves Terms
| Union Level (UL) | Account Level |
| SOL 3 Phase (Sol) | World Level |
| Waveplates | Equivalent to Stamina, Energy, Resin, etc |
| Resonator | Character |
| Resonance Chain / Sequence Node (S1, S2, S3) | Duplicate copies of a Character |
| Rank / Syntony Level (R1, R2, R3) | Merged copies of a Weapon |
| Echo | Character Equipment |
| Tuning (Echo Tuning) | Unlocking substats of an Echo |
| Tacet Discоrd / TD | Monsters |
| Tacet Field / Tacet Farm (TF) | Stage to farm Echoes using waveplates |
| Forte | Character skills, ultimates, passive abilities and stat boosts |
| Astrite | Premium currency |
| Tides | Radiant Tides = premium pullsLustrous Tides = standard pulls |
| Pioneer Podcast | Battle pass |
Team Roles
| DPS | A character that is a damage dealer |
| Main DPS, MDPS | A DPS character that needs long on-field time. |
| Sub DPS, SDPS | A DPS character that needs only brief on-field time. |
| Support | Character that keeps the team alive and provides buffs or defenses. |
Battling and Stats
| Forte Bar | The bar above your character’s HP bar. Refers to the special unique ability of each character. Read your character’s Forte kit to figure out what it does. |
| Crate, CR | Crit Rate |
| Cdmg, CD | Crit Damage |
| Animation Cancel | Canceling an in-progress animation by dodging, interrupting, or ending the animation early |
| Swap Cancel / Switcheroo | Canceling an in-progress animation by switching to another character |
| Quick Swap | Swapping between characters regardless of whether they finish their ideal attack rotation or have Outro ready. |
| BA | Basic Attack |
| E | Skill (Resonance Skill) |
| R | Ultimate (Resonance Liberation) |
Pulling Basics
Rerolling
Rerolling is a strategy where you make multiple game accounts and pull characters on each account to get the best start. Rerolling is generally not needed.
Wuthering Waves (WW) already gives you a free 5* Standard Character Selector to help you get the account start you’re aiming for and a free 5* Standard Weapon selector box.
Standard Banner Units Comparison
Support
- Verina
- Jianxin
Verina is the “technically meta” target. She is a strong healer and support unit. The reason she is preferred is because 4* and 5* DPS are abundant, whereas the support role has fewer choices.
Jianxin’s kit has some shielding capability and minor healing, so can be built around that, however her shield does not have anti-interruption. Support is still her preferred role.
DPS
- Calcharo
- Encore
- Lingyang
- Jianxin
Encore and Calcharo are solid DPS.
Calcharo is the more popular general pick, but Encore’s damage output has a higher ceiling than Calcharo if you can play her rotations well. It’s completely your preference.
Lingyang is average but doesn’t particularly excel compared to the other choices. He is fine if you like him.
Jianxin does have some DPS capability, but as a jack-of-all-trades she may not perform as well as other DPS with a dedicated DPS kit.
Flex
- Jianxin
Jianxin is a jack-of-all-trades type with main DPS, sub DPS, and shielding capability and is about average at all of those roles. Often, people use her as support since other characters do the mDPS/subDPS role better, but she won’t offer the same 5* support capability as Verina.
She does have a nice gathering ability, which can be useful for endgame content (Tower of Adversity) where grouping is very strong.
You can use her to fill in for a missing role in your teams.
Tier Lists
Tier lists for WW (or any game for that matter) are naturally biased, somewhat inaccurate, and tend to be one-dimensional. For example, some characters’ performance can change a lot depending on their teammates. As WW releases new characters that synergize with old characters, rankings will always end up changing so it will be impossible to find the perfect, nuanced tier list.
TL;DR
Pulling the best character ever is not going to fix your horrible dodging and parrying skills.
Banners and Pity
Banner Types
- Novice Convene: This is the newbie banner. Pulls are discounted and you’re guaranteed one 5* character within 50 pulls. It’s possible to get your 5* early.
- Character Event Convene: This is a rotating, featured limited 5* character banner. With a high chance of getting one of the three featured 4* characters.
- Weapon Event Convene: This is a rotating, featured limited 5* weapon banner. With a high chance of getting one of the three featured 4* weapons.
- Character Permanent Convene: This is the permanent, standard pool character banner.
- Weapon Permanent Convene: This is the permanent, standard pool weapon banner.
Banner Currency
- Radiant Tide: These are the golden orbs that can be used for featured Event banners.
- Forging Tide: These are the golden swords that can be used for featured Event Weapon banners.
- Lustrous Tide: These are the blue orbs that can be used for Standard or Novice banners. There is no “Forging Tides” equivalent for standard weapon banner.
- 160 Astrite can be converted into 1 Radiant, Forging, or Lustrous Tide.
Pity System
Pity is how many pulls you have done without pulling a 5*. When you hit pity, you are guaranteed a 5* if you have not received one yet. Once you get a 5*, pity resets back to 0.
- Character banners have a hard pity of 80
- Weapon banners have a hard pity of 80
- The beginner banner has a hard pity of 50. Note that getting a 5* early on this banner does not guarantee another one at 50 pulls.
Soft Pity: Soft pity is speculated to be at 68, however, we currently do not have hard confirmation.
Character Event Banner: there is a 50/50 chance of receiving the featured 5* character. If you lose the 50/50 you will receive a standard character pool 5* instead. If you lost the 50/50, your next 5* on a featured banner is guaranteed to be the featured character.
Weapon Event Banner: there is a 100% chance of receiving the featured 5* weapon.
On Permanent Character Banner: You will receive one of the 5 standard characters.
On Permanent Weapon Banner: You will receive a chosen standard weapon (you can change it).
Pity Carry-over: Pity carries over to the next banner of the same type, either character or weapon. Event character banner pity carries over to the next Event character banner and the same applies to the weapon banner.
4* Guarantee: You are guaranteed at least one 4* every 10 pulls, regardless of whether you did 10x single pulls or a 1x pull. It’s a 50% chance to get one of the three rate-up 4* characters, with an equal chance between each.
How can I tell if a pull is going to be a 5*?
The shooting missile animation flying in the sky will have a lens flare effect and a golden color for 5* and a light purple color for 4*.
Pulling Advice
Should I pull on the beginner banner (Novice Convene)?
Yes! The pulls on this banner are discounted and you are guaranteed one 5* standard character within 50 pulls.
What do I spend Astrite (the premium currency) on?
DO NOT spend Astrite to get standard Lustrous Tides for the standard or novice banners. Use Astrites to get Radiant Tides for the Event banners.
Is getting the featured weapon worth it?
At the moment, it appears that signature weapons are not necessary to perform and 4* rarity weapons are suitable, especially when Tuned (merging duplicate weapons). However, the signature 5* weapons are fairly good and can be worthwhile to pick up. Standard 5* weapons are generally good (especially the Sword and Gun because of Crit Rate mainstats) or can be used as a statstick.
How important are dupes (Sequences/Resonance Chains)?
- 5* characters appear to function perfectly fine at S0 (Sequence 0).
- 4* character dupes can vary in importance. You may need to look up specifically if that 4* character needs a certain Sequence amount before they are viable. You will gradually get plenty of 4* dupes as you play.
If you are early game, S0 4* characters are fine to use.
I don’t like and don’t want the 5* Event character but I like one of the 4* character rate-ups on that banner:
It is generally not recommended to pull on a banner to just try to get a specific 4* character/weapon. If you accidentally get the Event character/weapon, your pity will reset back to 0 and make it more difficult for you to get the next featured 5* you want.
Secondly, just because a specific 4* is rated up, does not mean your chances of getting them are good.
- There are always three 4* characters rate-up.
- When you pull a 4*, you will hit a 50/50 chance of getting a rate-up 4*.
- Then, if you win the 50/50, you now have a ⅓ chance of getting the specific 4* you want.
- If you fail the 50/50 the next 4* is guaranteed to be a rate-up 4* but it is still a ⅓ chance of getting the specific 4* you want.
Should I “build pity”?
It is never recommended to build pity on a banner you do not want as failed pity-building (accidentally pulling an unwanted 5*) resets pity back to 0 and wastes whatever pity count you had built up as well as all the Astrite you spent trying to build up the pity. Although you may do so at your own risk.
Astrite Income
Planning your Pulls
- It takes 160 pulls to guarantee a desired 5* limited character in the worst-case scenario (losing 50/50 and hitting hard pity both times). 1 pull = 160 astrite.
- Don’t “pity build” if you don’t have 160 pulls saved for the next 5* characters you want, unless you are okay with failing to guarantee your wanted character.
Main Sources
- Events: Major source of each patch. High priority.
- Exploration:
- Treasure chests: 5-20 astrite
- Challenge rewards: ~20 astrite
- Unlocking teleporters: 5 astrite
- Trophies: 5-20 astrite. Otherwise known as Achievements.
- Main Story and Sidequests: 40-1000 astrite. Astrite amount depends on quest length.
- Union Level Ups
- Data Bank Level Ups
One-Time Sources
- [Events Tab] Echo Hunters Event: 100 astrite
- [Events Tab] Awakening Journey (Level milestones): 1600 astrite (plus several Standard pulls)
- [Guidebook Tab – Path of Growth] Character Tutorial stages: 10 astrite. Must own the character.
- [Tutorials Tab]: 1 astrite per entry
- [Illusive Realm] 40-50 astrite for first time clears on each difficulty.
- [Pioneer Association] Various amounts for exploration progress milestones
- [Sonance Casket Delivery] Collect sonance caskets to obtain astrite
Repeatable Sources
- [DAILY] Activity: 60 astrite
- [PER BANNER] Event Character Trial: 20 astrite
- [PER PHASE] Illusive Realm: 300 astrite
- [BIWEEKLY] Tower of Adversity: varies depending on your progress
What to Do at Your Union Level
A brief chart of goals and milestones to focus on at each set of Union Levels. Of course, you are welcome to exceed and go beyond what is suggested here. It is meant to give baseline guidance to players who feel lost on what to do.
UL 1-10
Building a Team
- The team you use doesn’t matter this early
- Can just use Spectro Rover / Yangyang / Chixia
- Baizhi (support/healer) can be swapped in to help
Leveling Goals
- Main team characters to level max
- Level main DPS’s weapon to max level
- Other characters can stay with underleveled weapon, but it’s recommended to level theirs’ too
Echo Goals
- Not a priority
- If you have any Echoes, you can equip them onto your DPS (priority) but don’t level them or do anything else to them
- At UL 8, you get access to purple echoes. At this level you don’t really need to level them so it’s fine to keep at +0
Progression Goals
- Focus on Main Story up to the end of Act III for UL EXP
- Use your Lustrous Tides (from mail, login gifts, etc) to pull on the Novice Banner
- You should be able to hit UL 10 fairly quickly
- With Waveplates, farm Character EXP, Weapon EXP, or Shell Credits
UL 10-20
Leveling Goals
- Ascend main team
- Level up main team to max
- Level up main team’s weapons to max
Echo Goals
- If you have any Echoes, you can equip them onto your main DPS (priority), then onto your sub DPS and supports
- Good Purple echoes (right mainstat and right set) can be leveled up to +10 or +15 if you want. Some people opt to keep at +0 so that you can conserve echo EXP for gold echoes
- If you’re going to level a Purple Echo, 4 and 3 costs are the most worth it. It’s not that worth it to level the 1 costs at this stage of the game
Progression Goals (in this order)
- Complete Exploration Quest: We Promise, We Deliver, a major prerequisite to unlock future quests and regions (requires UL 10)
- Reach UL 14
- Complete Act IV of the main quest (requires UL 14)
- Complete Exploration Quest: Hidden Dangers in Peaceful Life (requires UL 15 and the prior exploration quest finished)
- Complete Exploration Quest: Shadows of the Past (requires Hidden Dangers in Peaceful life, plus waiting 24 real world hours NOT in-game hours. You literally need to come back the next day.)
- Your main goal is to use your daily Waveplates for materials and get UL EXP to level up and hit the UL 15 milestone for free tide pulls.
UL 20-30
Leveling Goals
- Ascend main team
- Level up main team to max
- Level up main team’s weapons to max
- Level Forte page for main team (your battle abilities)
Echo Goals
- Start more focused echo hunting and exploration to build up Database EXP for every new variant/rarities captured
- You should aim to reach minimum DB level 12
Progression Goals (in this order)
- Complete Exploration Quest: When the Forest is No Longer Dim, (requires UL 20)
- Reach UL 21
- Complete Act V of the main quest (requires UL 21)
- Reach UL 25
- Complete Exploration Quest: Stygian Lacrimosa (requires UL 25)
UL 30-40
Main Team Goals
- Ascend main team
- Level up main team to max
- Level up main team’s weapons to max
- Level Forte page for main team
2nd Team Goals
- You CAN start your 2nd team if you want to tackle Tower of Adversity (TOA) early, but it is not a priority. TOA becomes significantly easier with UL 40’s ascension and proper Echo builds.
Echo Goals
- Rush to Database level 15 and then 17.
- After DB 17, you will be stalled at 17 until UL 40. Begin stockpiling DB EXP by hunting gold echoes so that you can instantly max out your DB levels to DB 19/20 upon reaching UL 40.
- In your free time, you can Echo farm if you want because 50% chance of Gold echo at DB 17 is pretty decent.
Progression Goals
- Finish Act VI of the main story if you haven’t already.
- Spend waveplates on your main team. If finished, prepare materials for UL 40 ascension, including ascension items from Overlords and Forgery materials. Ascensions and upgrading characters from lvl 60-70 is very expensive, so it’s best to prepare ahead of time.
- Your main goal is to simply prepare for late game. Feel free to explore, farm, and do side quests as you work your way to UL 40.
UL 40-50
Main team Goals
- Ascend main team
- Level and weapons for main team to 70
- Support’s character level and weapon level can be kept lower, but they will still want to be ascended and have Fortes upgraded
- Important Forte ability levels to level 6 (max for this ascension)
2nd / 3rd team Goals
- Mainly focus on 2nd team and get them geared up and leveled.
- Don’t start your 3rd team unless your 2nd team is reasonably built. TOA can be challenged with just two teams, especially if you are conservative with your Vigor on the early floors. It is better to have 2 stronger performing teams than to spread resources thin and have 3 average performing teams.
Echo Goals
- You should be DB 19 or 20
- In your free time, farm 4 cost and 3 cost echoes and begin carefully substat farming.
Progression Goals
- Focus on character building and echo farming.
- At this point in the game, many players will start feeling a shortage of:
- Shell Credit
- Echo EXP
- Premium Echo Tuners.
You may need to farm supply stages or tacet fields to restock.
- Reach UL 45 to unlock the free Standard 5* Weapon selector.
Echo Pity and Special Echoes
Did you know? Echoes have a pity system! Use this information to plan out your farming and trigger the pity on your target echo variant. Note that Overlord and Calamity classes do not share the same pity pool.
| Class | Pity |
| 1 Cost | 8 |
| 3 Cost | 4 |
| 4 Cost (Overlord) | 2 |
| 4 Cost (Calamity) | 2 |
Yellow Aura Echoes
Sometimes in the overworld, you will see echoes with a golden yellow aura on them. Killing these will guarantee an echo drop, regardless of your echo pity.
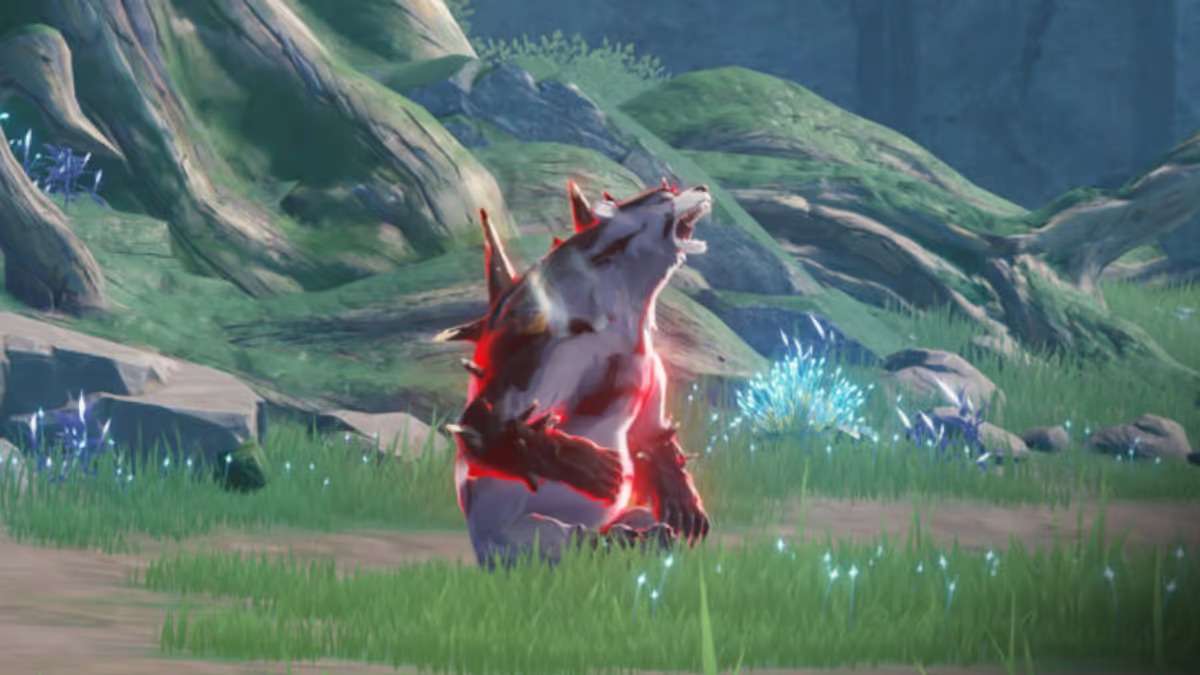
Red Aura Echoes
Red Auras are special, fixed-level enemies that respawn daily. Killing one will guarantee an echo drop and also award an achievement.
The main benefit of hunting Red Auras is to quickly gain DB EXP by securing the purple or gold echo early for your stage in the game.
Important Notes:
- Red Auras below Lvl 60 will drop Purple echoes on First Kill
- Red Auras Lvl 60 or above drop Gold echoes on First Kill
- Additional kills afterwards will drop an echo based on your Database Level’s drop rates for Purple/Gold
- Red Auras in a group (such as the Big Roseshroom and the two Baby Roseshrooms) will only guarantee 1 echo drop for killing the group of them
Tips for Killing Red Auras above your level:
- Abuse high terrain and ranged attacks to slowly chip it death
- If you do very little damage, abuse Intros because they do fixed damage against Red Aura enemies.
- Because there is no time limit, take your time to kite and dodge carefully. If you’re low level, many of the higher level Red Auras will 1 hit KO your characters
- If you’re fighting a group of Red Auras, kill them one at a time. Even if your whole team dies after killing 1, the group will not reset. You can revive and teleport back to the group and continue killing the rest one by one.
- Get friends to help you kill them together. Spam each others’ Intros and Outros.
- Learn how to dodge
There are more Red enemies than what’s listed below. Listed are the easy-to-kill ones, for players still working towards late game or need them specifically for Database EXP.
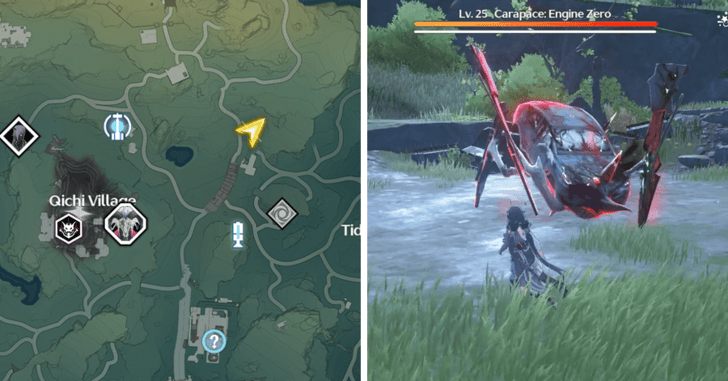
Level 25 / Carapace: Engine Zero
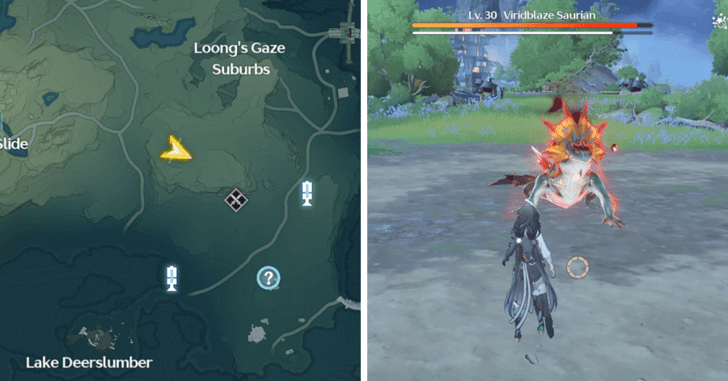
Level 30 / Viridblaze Saurian
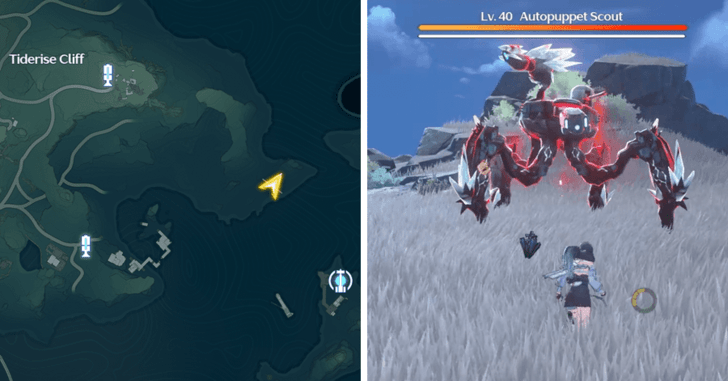
Level 40 / Autopuppet Scout
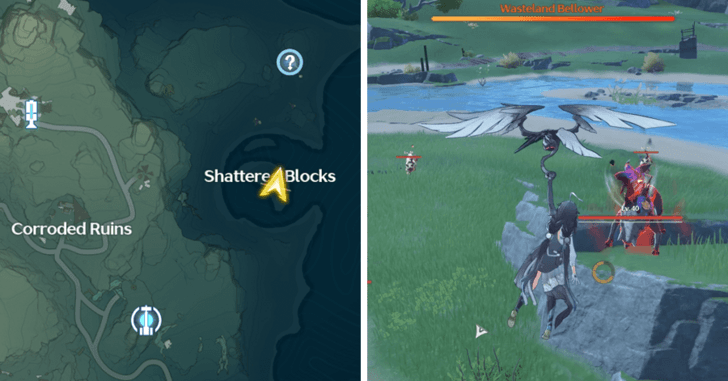
Level 40 / Wasteland Bellower
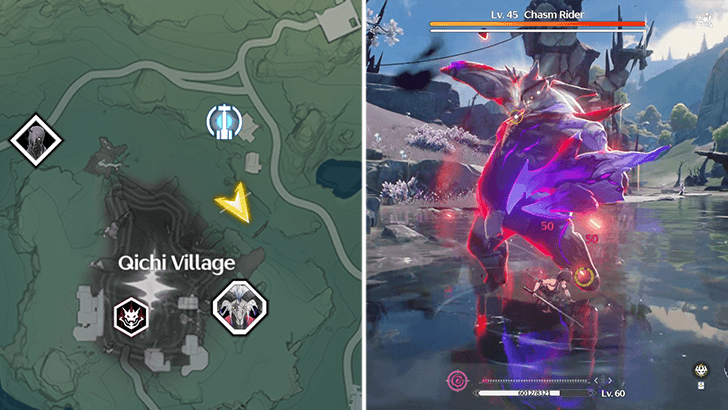
Level 45 / Chasm Rider
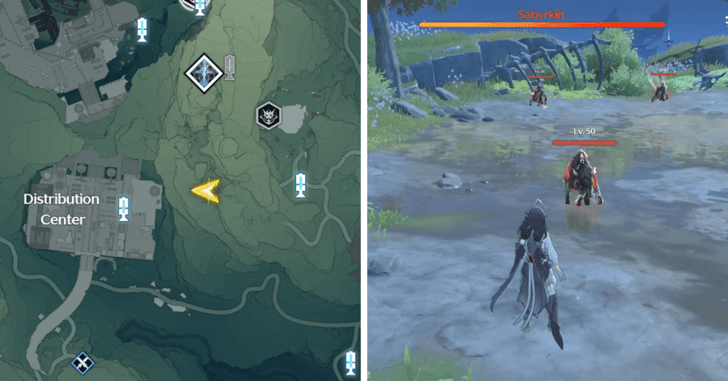
Level 50 / Sabyrkin
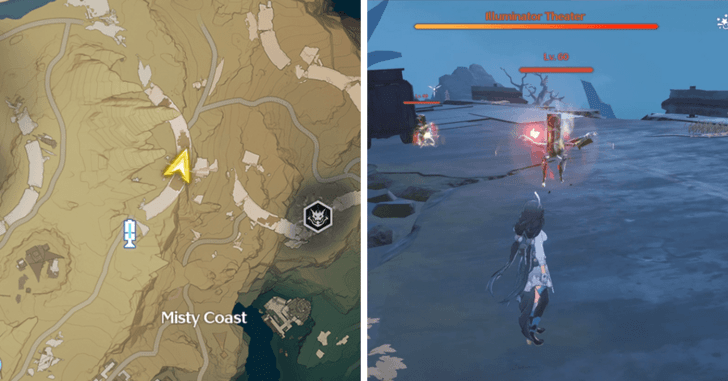
Level 60 / Illuminator Theater
What to Buy in Stores
Includes Premium Currency Shops and some in-game Shops.
Monthly Pass and Battle Pass
- Currency: Real money / Credit Card.
Lunite Subscription (Monthly Pass)
- Very high value.
- Generally if you are going to spend, this is the highest-value premium item.
- Gives 18.75 pulls in total.
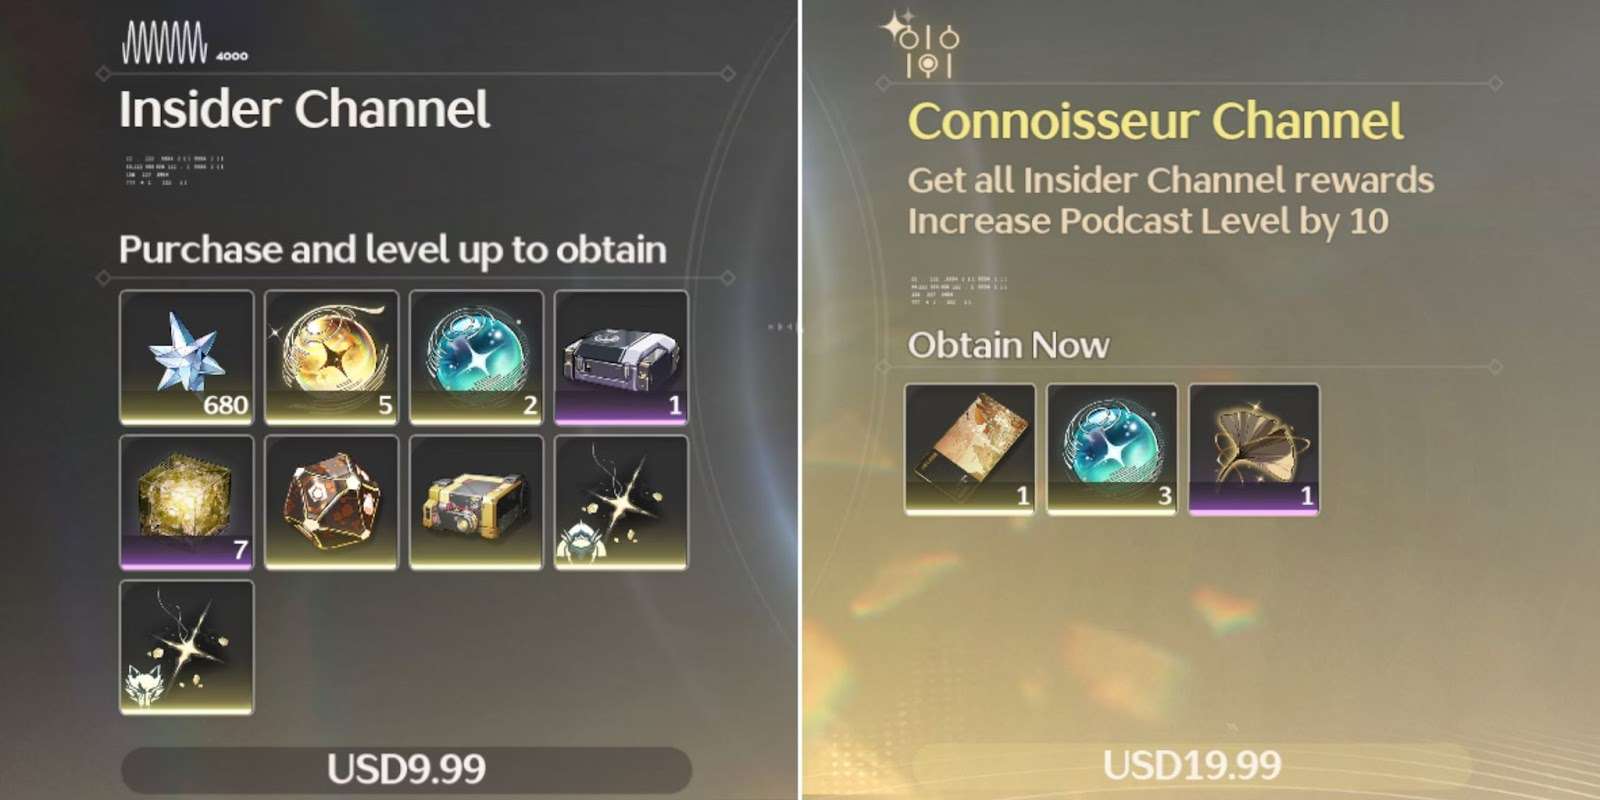
Pioneer Podcast (Battle Pass)
- Public Channel (Free Tier)
- Insider Channel (Paid Tier)
- Connoisseur Channel (Bonus Paid Tier)
Free for everyone. Worth it for loads of EXP and character materials, Crystal Solvents (Waveplate refills), premium pulls, and other useful things. Gives a limited edition name card for your profile, 3 extra standard pulls, and 1 rank upgrader that can be used on the paid weapons from the Insider Channel. Generally, this is not worth it, get it if you want to collect the profile name cards.
Tide / Coral Exchange
- Currency: Afterglow and Oscillated Corals, Astrite.
How to Get:
- Afterglow Coral | Received when pulling a 4* or 5* character or weapon.
- Oscillated Coral | Received when pulling anything.
- Astrite | Premium currency.
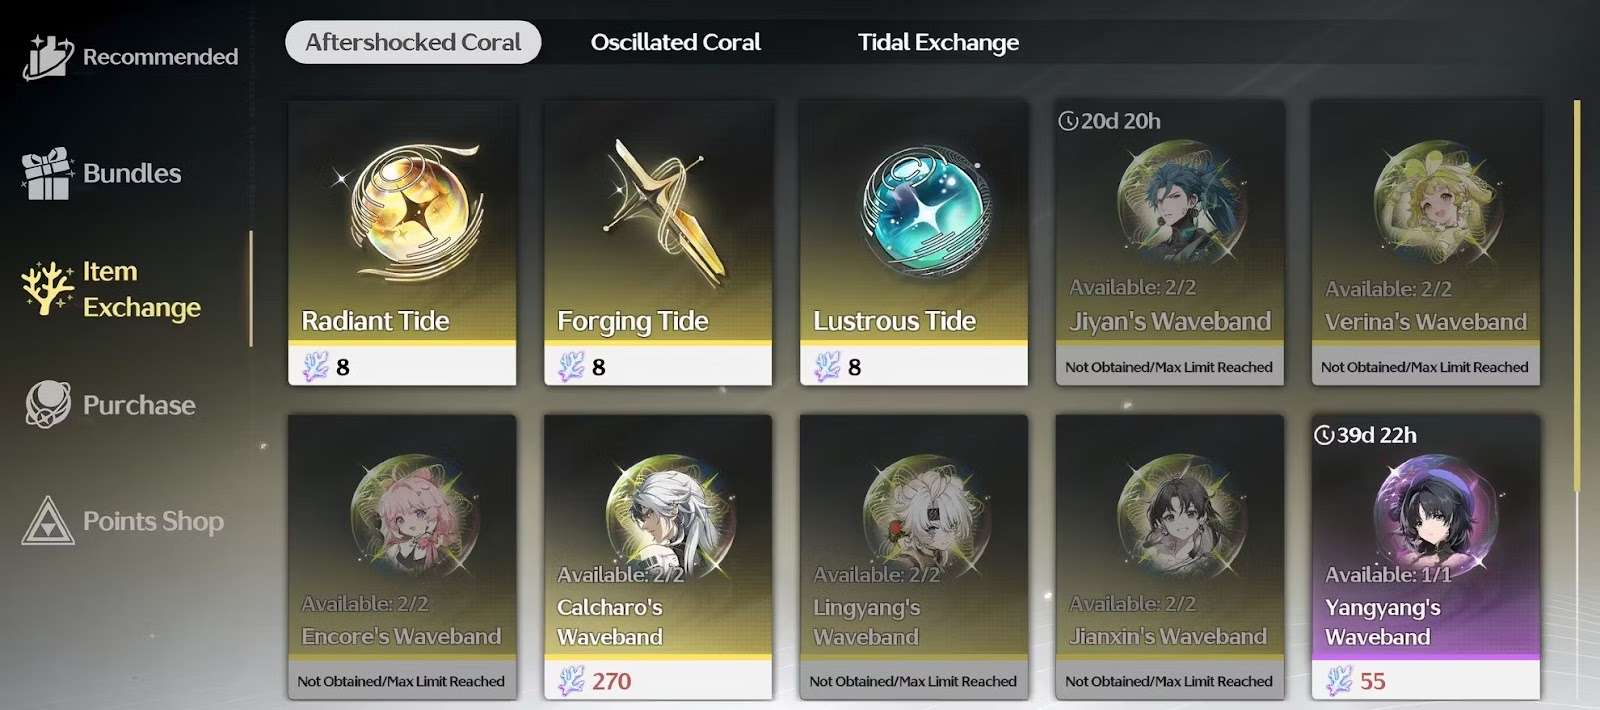
Radiant Tide
- Generally the best value
Forging Tide
- Lower priority than Radiant Tide.
- Generally, being able to secure a new 5* character is more important than securing a 5* signature weapon
- Ensure that the 5* signature weapon that you are pulling is worth the cost, before buying pulls for it
Lustrous Tide
Generally not recommended.
Don’t mix this up with Radiant Tides:
- Radiant = Premium pull
- Lustrous = Standard pull
Lustrous Tides are admittedly hard to get in WW, but generally, we expect that limited 5* characters and weapons will have a higher impact than standard 5* characters and weapons. You can get it if you want to, we can’t stop you.
5* Wavebands
- The Standard wavebands are equal to 33.75 pulls.
- The Limited wavebands are equal to 45 pulls.
- Generally getting a new character is more worth it than purchasing a Waveband.
If F2P: Do Your Research
- Make sure that the waveband is worth it for your character.
- Some wavebands are very low impact, even if they sound very strong. Ask for advice first.
- Sometimes using the coral for Forging Tides to get a signature weapon instead of a waveband will have superior value.
4* Wavebands
- This is equal to ~7 pulls.
- F2P players should ensure that they have enough pulls to guarantee their next wanted character first, before buying duplicates of their 4* characters.
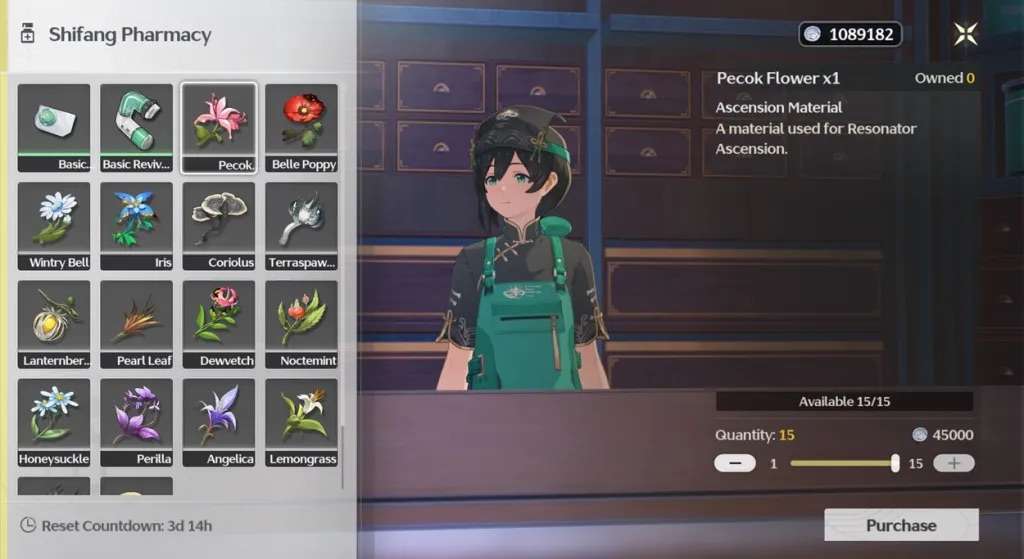
Shifang Pharmacy
- Currency: Shell Credits.
Healing/Revive items
- Teleporting to a Resonance Nexus is free.
Common Flowers
- Mostly used for cooking/synthesis.
- Not worth it, but we can’t stop you.
Rare Flowers (used for ascensions)
- Expensive; manually farm if you can. Shell credits become scarce very quickly in late game.
- Can buy as needed, will refresh every week.
I hope you found this useful!


Be the first to comment