
Contents
Exploration
By Houseplant.
Sonance Caskets
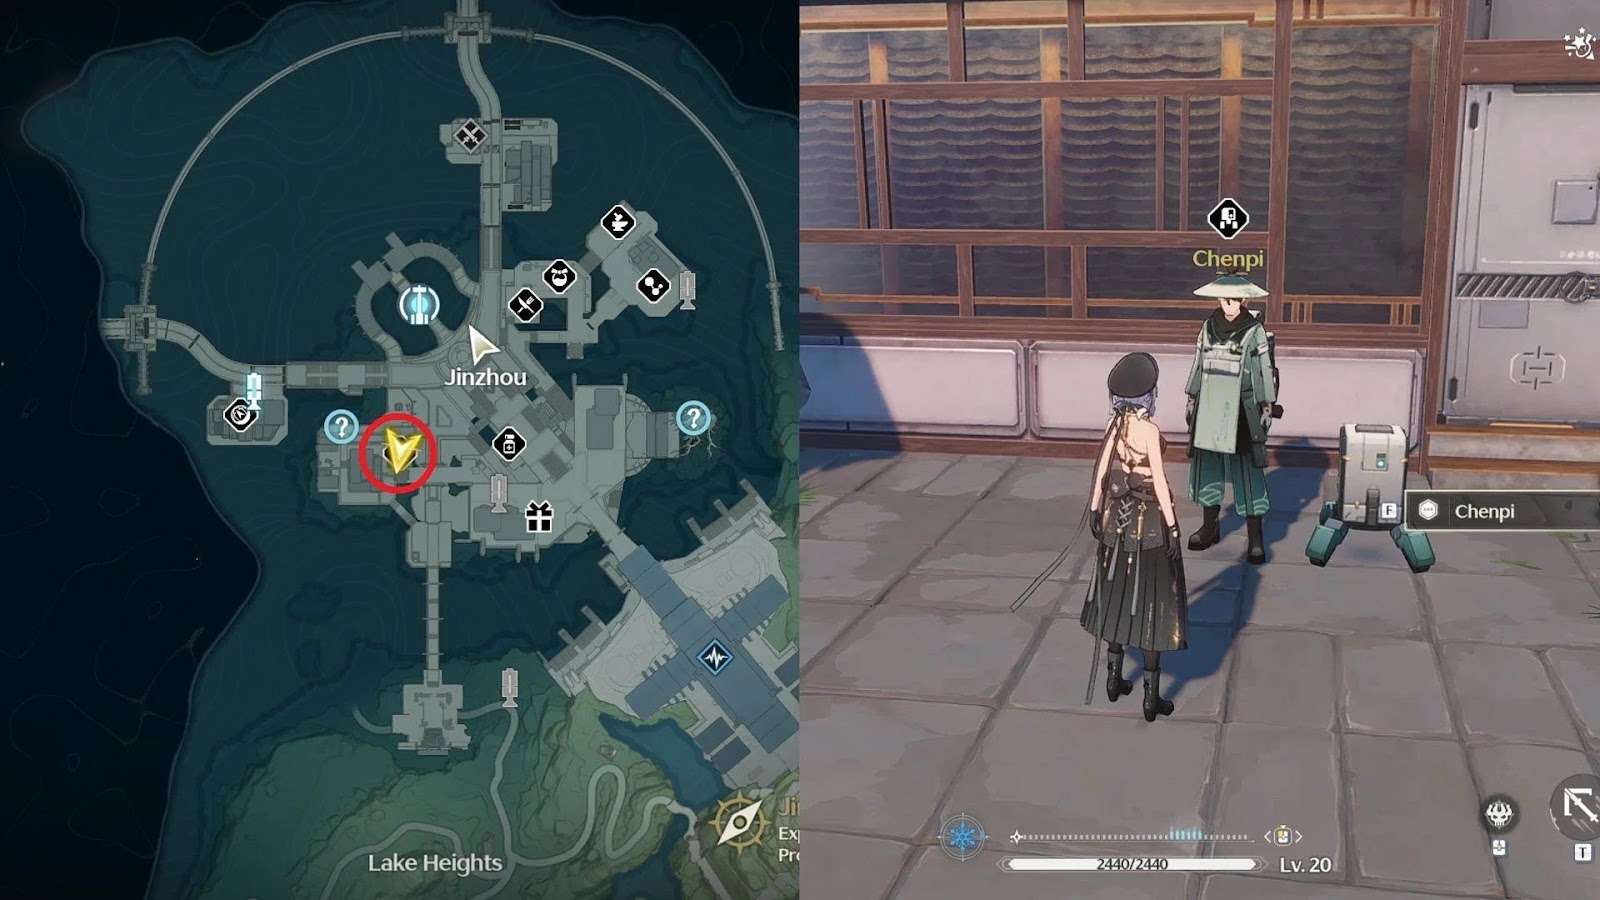
Rare cubes used to get good rewards and Rover wavebands (character duplicates). You can turn them in to Chenpi in Jinzhou city.
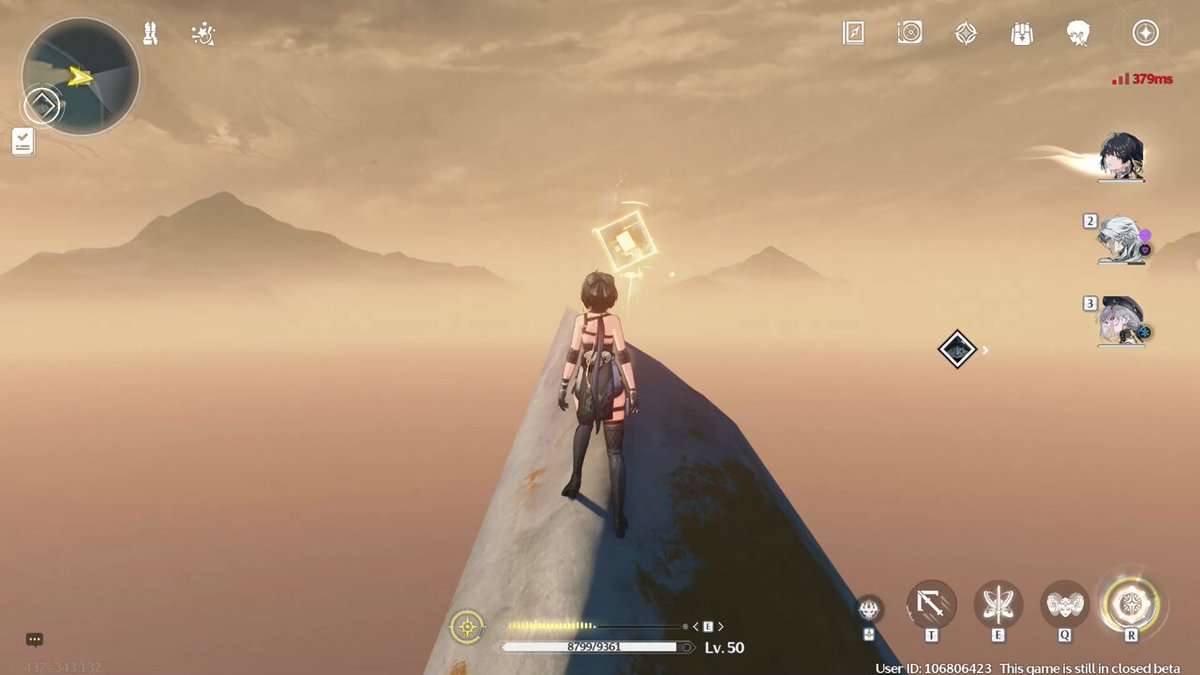
Sonance Caskets found at:
- High points on cliffs, buildings, poles and hard to reach areas
- Inside structures like houses in rooms or corners
- Tree trunks, ravines, random places
Chenpi’s Location:
Chests and Tidal Heritage
Most chests and all Tidal Heritages require beating a monster battle, puzzle, or Mutterfly discovery to unlock.
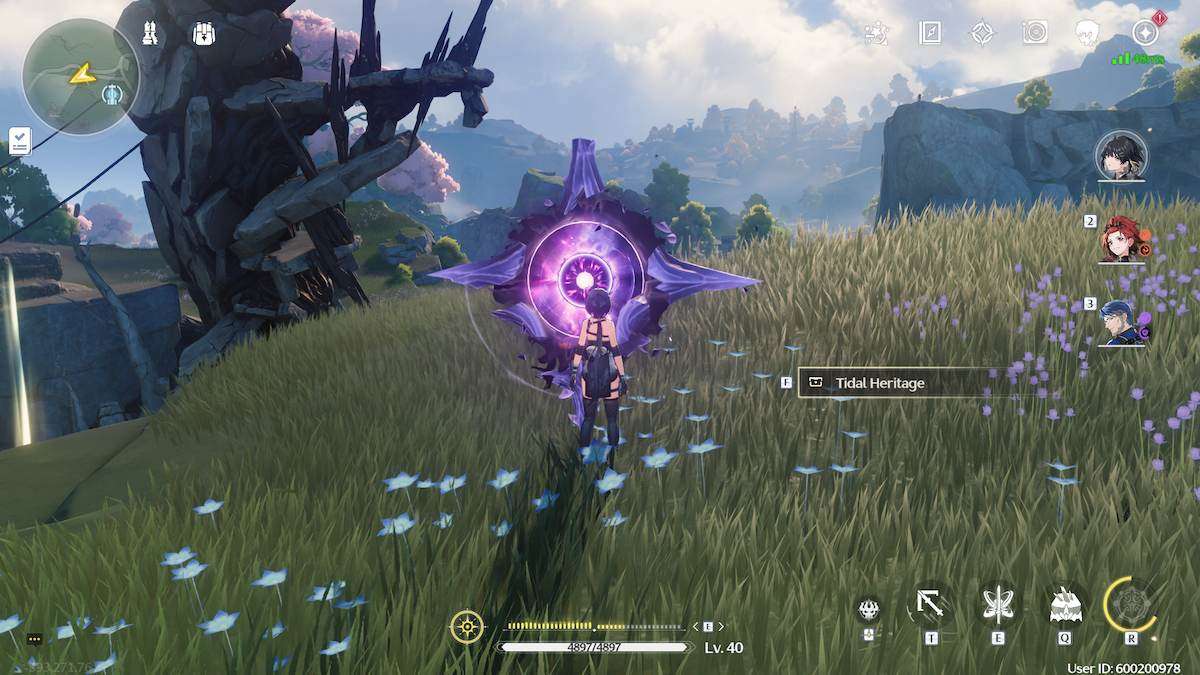
They are one-time rewards and do not respawn, but they contribute to exploration progress. Co-op friends can help you in Tidal Heritages that involve battling, but they can’t claim the rewards for you.
Hidden chests:
- Found in bushes, corners, buildings, hard-to-reach places, high places, or overlooked places.
- Invisible hidden chests will sometimes spawn when you complete a hidden challenge, such as picking all of the flowers growing in a circle.
You can use interactive maps found online to assist you and find all of the available items.
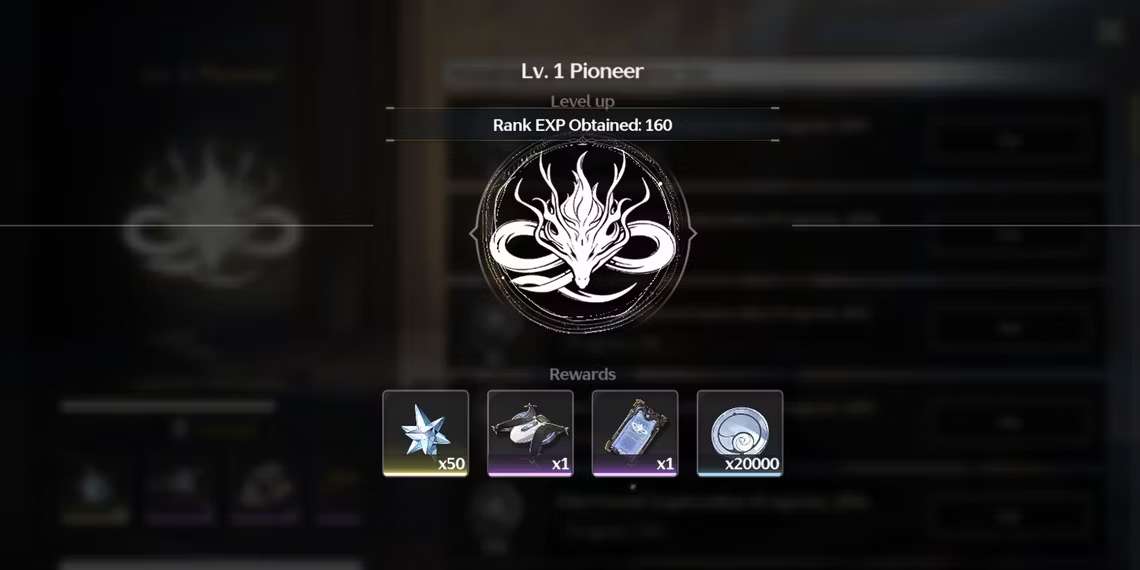
Pioneer Association
Exploring and discovering objects, chests, and tide heritages, and various challenges will fill Exploration Progress for that region.
At different percentage milestones, you can go to the Pioneer Association in Jinzhou city to turn in your progress and get rewards. The most important reward is exploration tools that can only be unlocked through the Pioneer Association. It’s worth it to at least reach the portable Resonance Beacon waypoint tool, so you can optimize map travel.
Plants and Animals
Plants and animals respawn daily. Plants will be categorized into “Rare plants” and “Common plants”. Rare plants are often used for character ascension, making them valuable to stockpile. Common plants and animals are used for synthesis recipes or cooking recipes.
It is possible to buy rare flowers at Shifang Pharmacy (Jinzhou city).
But there is a weekly purchase cap (around 15x) and it costs shell credits. For full-character ascension, it eventually costs 60x total of a rare plant. Late game players have reported that shell credits tend to run low later on, so it can be worth farming them instead of buying them.
Rare Flowers needed for Character Ascensions
| Level 40 | 0 rare flowers |
| Level 50 | 4 rare flowers |
| Level 60 | 8 rare flowers |
| Level 70 | 12 rare flowers |
| Level 80 | 16 rare flowers |
| Level 90 | 20 rare flowers |
| Total | 60 rare flowers |
Combat
Every Character kit contains:
- Basic attacks
- Heavy attack
- Resonance Skill
- Resonance Liberation (Ultimate)
- Intro
- Outro
Learning a new character takes reading(!!!), practice, and experimentation to play them to their full potential. It’s highly recommended that you take a careful read of a character’s kit to understand their unique mechanics and ability interplays.
We will not go over what each attack does because it varies by character, but we’ll go over some unique mechanics like forte bar and forte circuit.
Forte Circuit and Bar
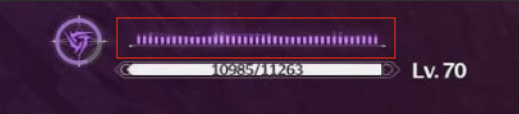
The soundwave bar is called the Forte Bar.
Understanding a character’s Forte Circuit (their unique Forte bar mechanics) will maximize the character’s performance since their playstyle will revolve around it.
Ignoring Forte Circuit mechanics will make the character severely underperform in difficult content.
What the Forte bar is for will wildly vary from character to character. Sometimes the bar is a buff timer, sometimes it will trigger a special attack, other times it works like charges for a special effect, etc. You can read what it does on the Forte Circuit page, in your character’s menu. It’ll be the middle node.
Filling your Forte Bar
- Attacking
- Perfect dodges (in which time slows slightly)
Often, characters want to swap once their Forte Bar is used up and they have their Concerto Energy circle ready.
Concerto Energy / Intros and Outros
The circle is your Concerto Energy. When Concerto Energy’s circle is full, swapping your current character to a teammate will trigger an Outro for the retreating character and an Intro for the incoming character.
Outro and Intro Benefits
- Many characters provide significant buffs in their Intro/Outro, which can greatly improve the DPS output of the next character. This is especially important for Sub DPS and Support characters.
- Other Intros/Outros provide good DPS when your on-field characters’ abilities are all on cooldown or empty, letting you swap to a character with refreshed abilities.
- Some Echo sonata set effects only trigger when characters are swapped in and out.
Quick Swap
Swapping characters without a full Concerto Energy circle is called a “Quick Swap” and does not trigger anything. Quick Swaps can be a valuable strategy for some team compositions, where you rapidly swap between characters regardless of their Concerto Energy state.
Character Building
Creating a Team
You will adjust your early game team depending on what characters you pull from the beginner banners, from the 4* and 5* characters. In mid-game to late-game, you’ll ideally still follow this format but you’ll have different characters to swap in for different roles.
Make your Early Game Team Comp:
Below are listed all of the free characters and Standard Banner characters. If you pull any gacha-only characters, feel free to use them. We will assume that all characters only have 1 base copy and no sequences.
Main DPS
- DPS that needs heavy on-field time
Spectro Rover is a fine early choice. As a bonus, you will likely use Rover until endgame, so any level or weapon investment into Rover will carry over into their different forms.
Havoc Rover is a very strong choice that excels at burst damage. This form can rival other 5* DPS.
Yangyang is an average choice for early game but will likely be replaced down the line.
Chixia at base is about average and gets better with sequences.
Standard Banner 5*:
- Calcharo is a solid DPS.
- Encore has higher damage potential than Calcharo, but will need good attack rotations for her full potential.
- Lingyang is okay but can be overshadowed by the former two 5* because of his weaker damage output.
- Jianxin is a mixed generalist unit that can Main DPS if given a lot of on-field time. As a generalist, she will not perform as well as a Main DPS specialist.
Sub DPS
- DPS that needs little on-field time
Sanhua (given for free after your first 5 login days) is a good Sub DPS.
Any DPS character of your choice can fill in because Sub DPS options are limited in early game.
Standard Banner 5*:
- Jianxin is a mixed generalist unit that can Sub DPS though she doesn’t necessarily excel at it.
Support
- Healer or Buffer
Baizhi is a solid early-game healer given for free if you progress the early story a little bit.
Standard Banner 5*:
- Verina is an excellent Healer Support unit with teamwide ATK% buffing capabilities and decent personal damage output.
- Jianxin is a mixed generalist unit that has Shielding and minor healing support abilities on the side. She might not be able to fully replace a Healer support for long battles but her shields can be helpful.
Weapons
Overview:
- Each character is locked to one of the five Weapon Types
- Higher Rarity weapons (5* and 4*) have better passives and base stats.
- Ranking up a weapon (merging duplicates) will marginally improve the weapon’s passive effects up to Rank 5. It will not affect the weapon’s base stats.
Should I Rank up my duplicate weapons?
- 2* and 3* weapons: go for it. They’re very easy to get more of.
- 4* weapons: in the early game, do not Rank (merge) your duplicate 4* weapons together unless you have at least 2 separate copies.
- 5* weapons should not be ranked at all, unless you are a whale or don’t care about optimal resource management
Why is my damage low?
- You didn’t level your weapon or ascend it as high as you can
- Wrong Main Stat: For example, make sure you didn’t give an ATK-based character a DEF% based weapon. Yes, DEF weapons exist.
- The weapon’s passive doesn’t synergize with your specific character
- You are not properly triggering the weapon’s passive in combat
Echo System
Overview:
- Echoes = Character Equipment.
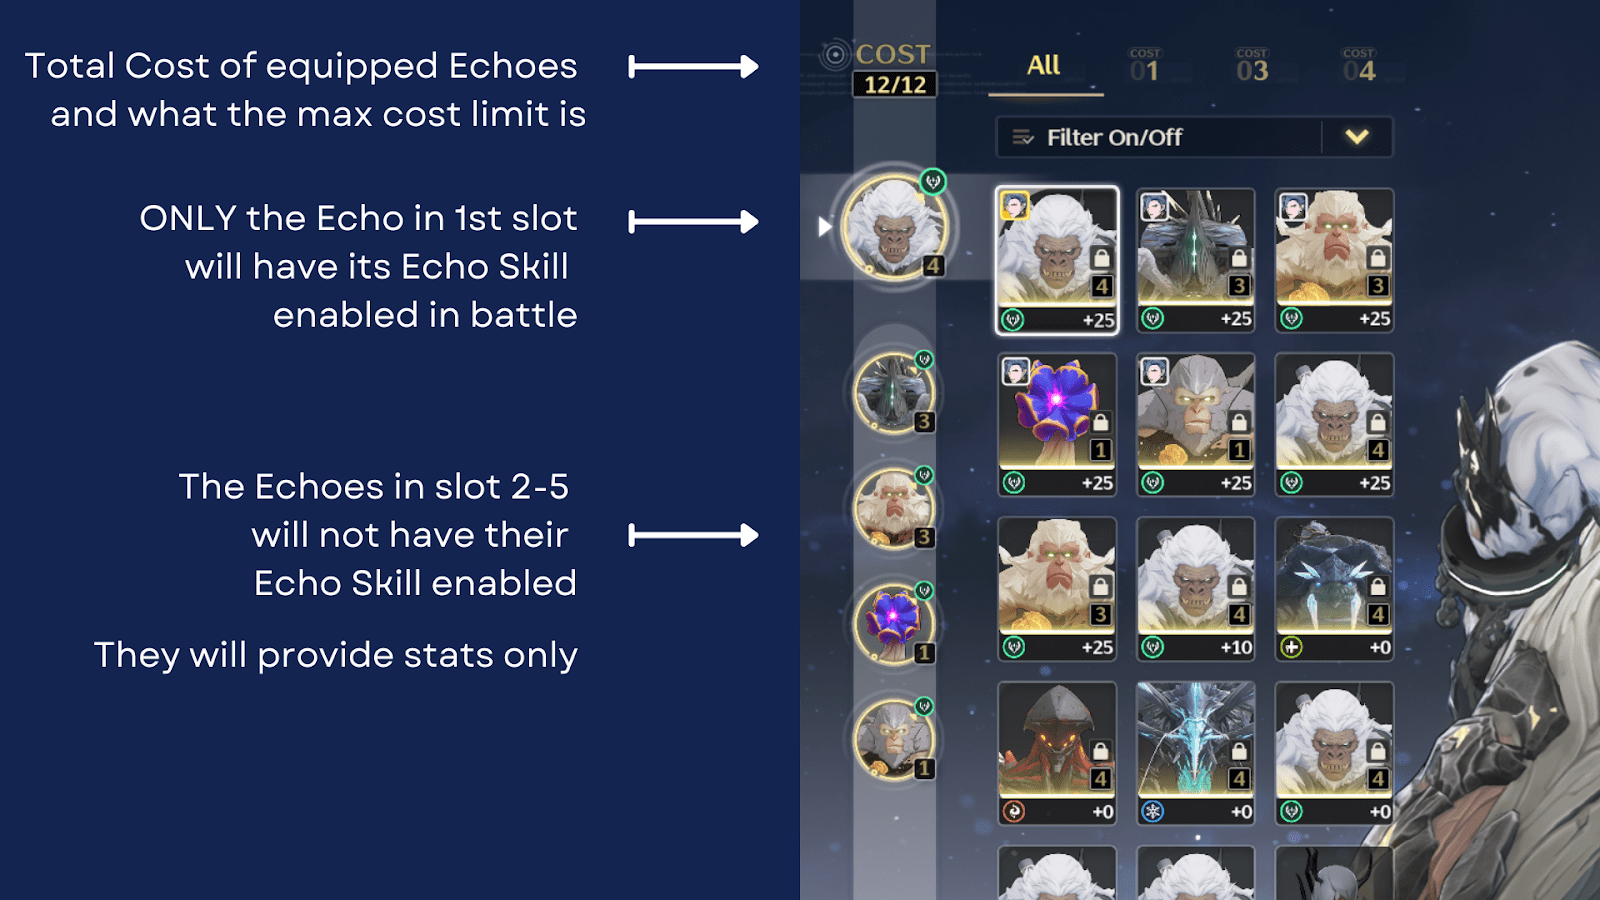
- Each character has 5 Echo slots.
- Different Echoes have different costs from 1 to 4 cost each.
- You will eventually have a max Cost limit of 12 and can mix and match different cost Echoes.
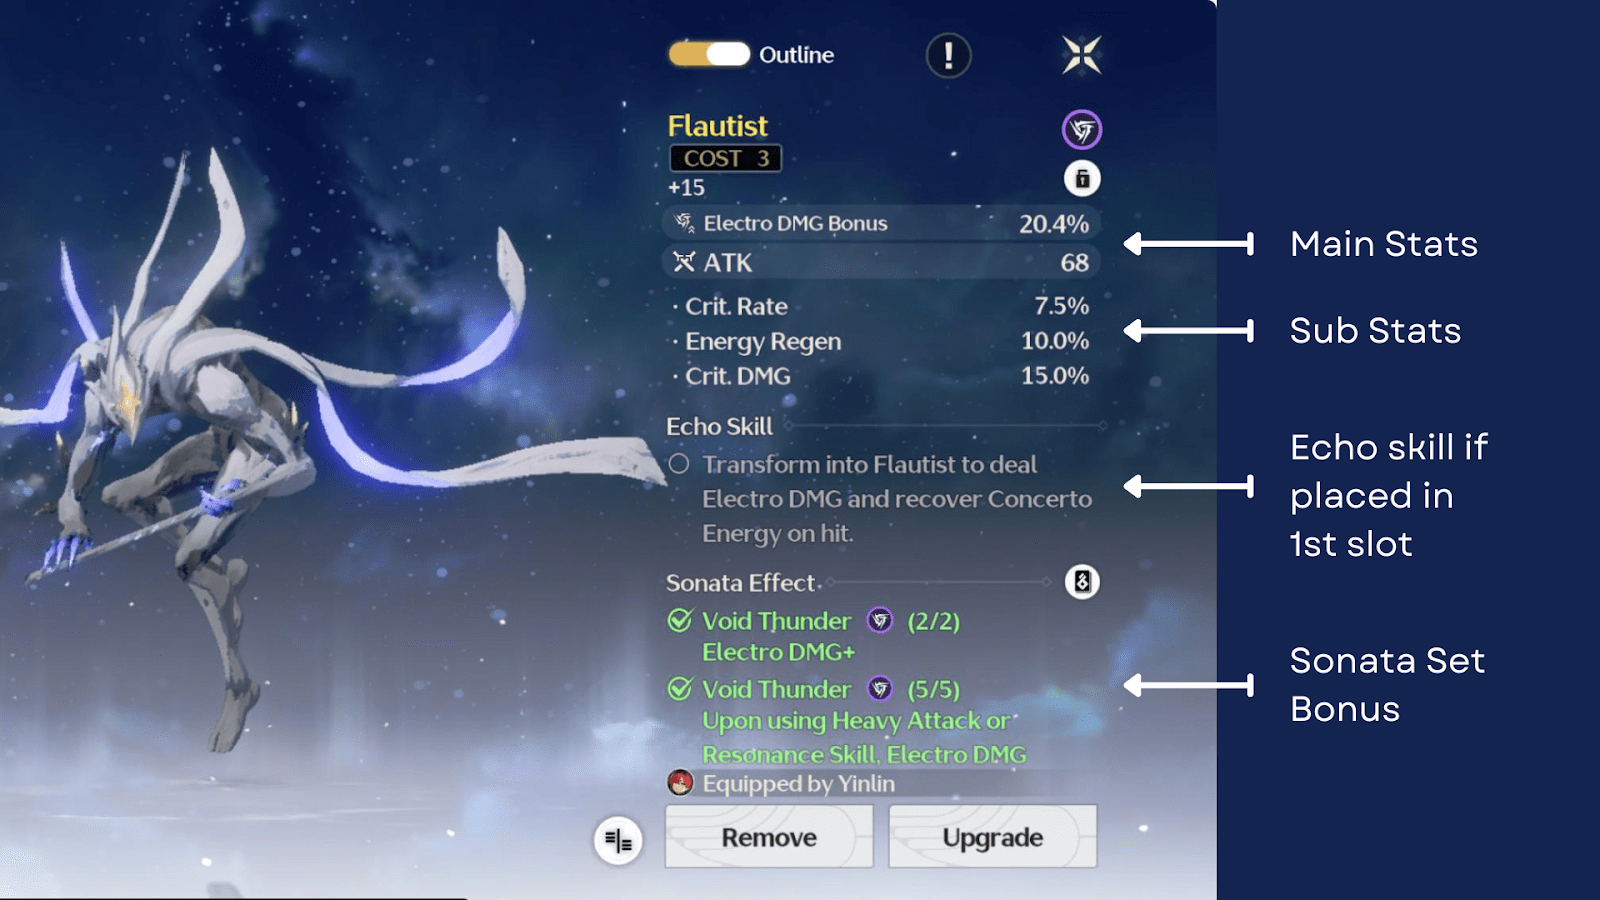
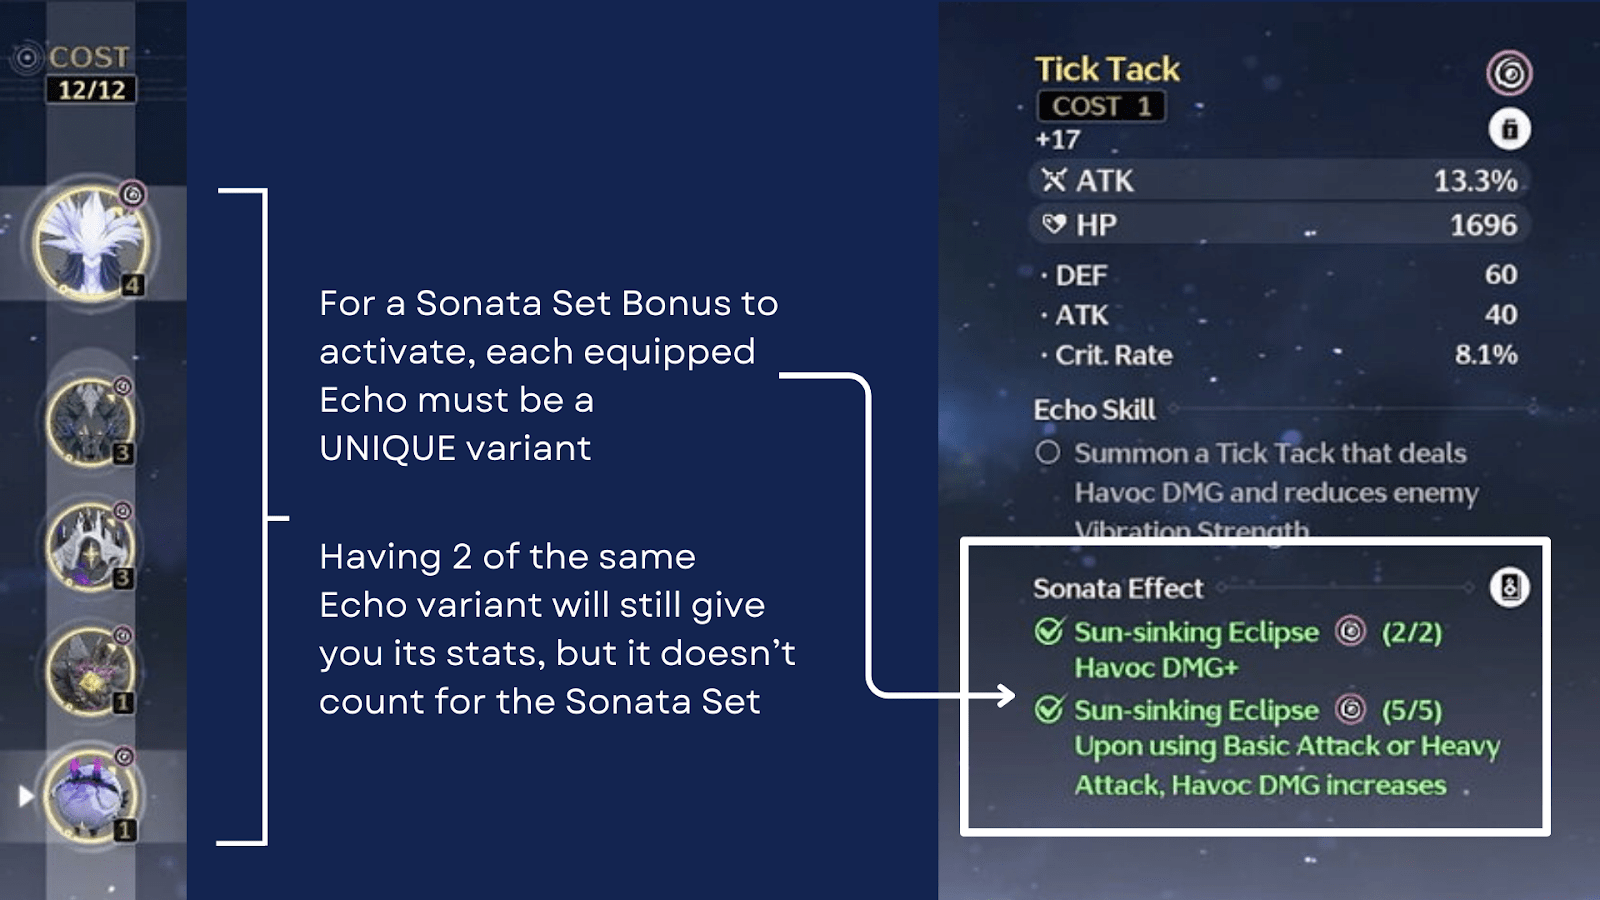
Each Echo variant has:
- A fixed Cost in order to equip it.
- A unique special ability called an Echo Skill.
- A Sonata Set group that it belongs to.
- Sonata Sets give bonus effects if you equip 2 or 5 of the same set.
- Each Echo variant can only have certain Sonata Sets.
Here is how to read the Echo’s detailed information. There are two Main Stats, which will scale with Echo level. Below that is Sub Stats, which can be unlocked every +5 Echo levels. Substats are fixed and do not change with Echo levels.
Which Echo is placed first will matter:
Activating Sonata Sets is very important in late game. Early game, you can ignore Sonata Set bonuses, but it is nice to have if you can equip matching pieces.
Echo Stats
- An Echo’s Cost determines what kinds of Main Stat they can randomly generate.
- For example, only 4 cost Echoes can have Crit Rate% or Crit Damage% main stats.
- An Echo can repeat the same stat as their Main Stat and Sub Stat.
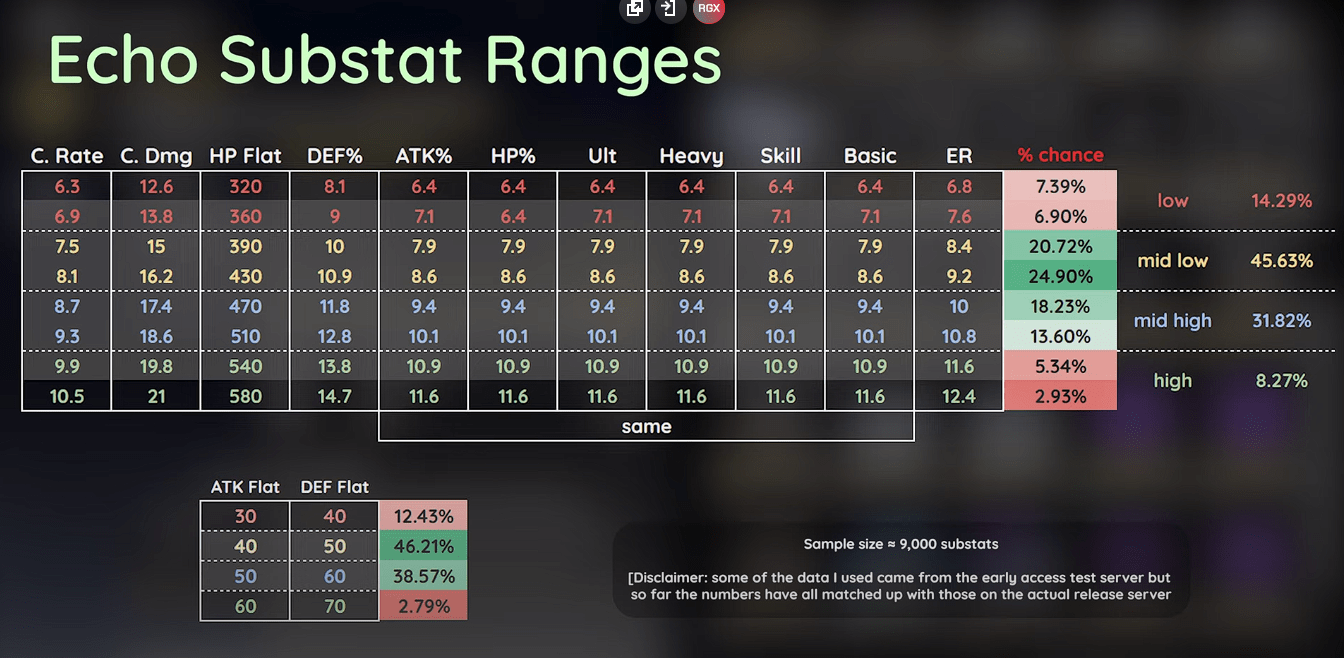
- Echo substats are completely randomized. You can unlock a substat every +5 echo levels.
- Each substat has a range it can fall into. See next section.
Echo Substats Range & Probability
Click to enlarge…
Explanation of some important stats:
Energy Regen
- Increases rate of energy gain for your Resonance Liberation (ultimate).
- Does not affect Skill, Intro, Outro, or Echo energy regain or cooldowns.
Crit Rate / Crit Damage
- Note for Crit Damage stat:
- WW writes Crit Damage as 100% + [bonus crit damage]
- A lot of other games only list the bonus crit damage
- So, 150% crit damage means you only have 50% bonus damage
Elemental Damage %
- Generally, Elemental Damage% will outperform ATK% on characters
Resonance Skill, Resonance Liberation, or Basic Attack %
- Increases damage dealt by that attack type.
- Note that some characters have special mechanics that change their attack types. For example, Calcharo’s Liberation ultimate will enhance his basic attacks, and the resulting attacks are considered Basic Attack Damage, not Liberation Damage.
Quick Early Echo Guidance
Early Game Echo Management
- Equip random echoes for the free stats
- It is not worth leveling Green or Blue rarity echoes
- You can create 2pc or 5pc sets for free stat boosts
- Higher Cost echoes have better in-combat abilities. Test out and choose a high-cost echo that you like, and put it at the top slot for each character
Midgame Echo Management
- Ideal Echo lineup: 4 cost / 3 cost / 3 cost / 1 cost / 1 cost.
- Shortened to: 43311. 44111 can be used temporarily until late game.
- On Main DPS: Focus on ATK stats or elemental damage% instead of Crit stats; save Crit stat farming for late game.
- On Sub DPS: ATK, elemental damage%, or Energy stats
- On Supports: Energy or Healing stats
- You may level Purple 4 or 3 cost echo to +5 or +10 if you want. Leveling to +15 or +20 costs a lot of Echo EXP and you need to save it if you can.
- As usual, ignore leveling any echo that’s not purple rarity.
I hope you found this useful. Wishing you luck!
Be the first to comment