
In this, you’ll learn the basics of playing Foxhole. From basic movement, navigating the ingame world, weapon handling, and spawning into your first battle. This covers the basics you’ll want to know before jumping into your first war!
Guide for Quick Start
Once you have started the game and pressed the Play button, you’ll be faced with a faction select screen. As the text at the top says, you cannot change sides once you’ve chosen. Don’t worry too much, on the surface, both factions play approximately the same. For the purposes of a quick-start, their differences won’t matter a whole lot. For now, just choose who you like the look of better, click the Deploy button, and let’s move on!

Note: The red showing “Faction at Capacity” shouldn’t impact your decision too much, this simply means that one side has more population than the other at the moment, but this fluctuates regularly for the duration of the war.
Deployment to the Home Region
Now that you’re ingame, let’s get acquainted with the basic controls of Foxhole.
- W A S D to move your soldier.
- Left Shift to run.
- C to crouch.
- X to prone.
- Middle mouse button, or < and > to rotate your camera.
- Moving your mouse around will also adjust your camera position relative to your cursor.
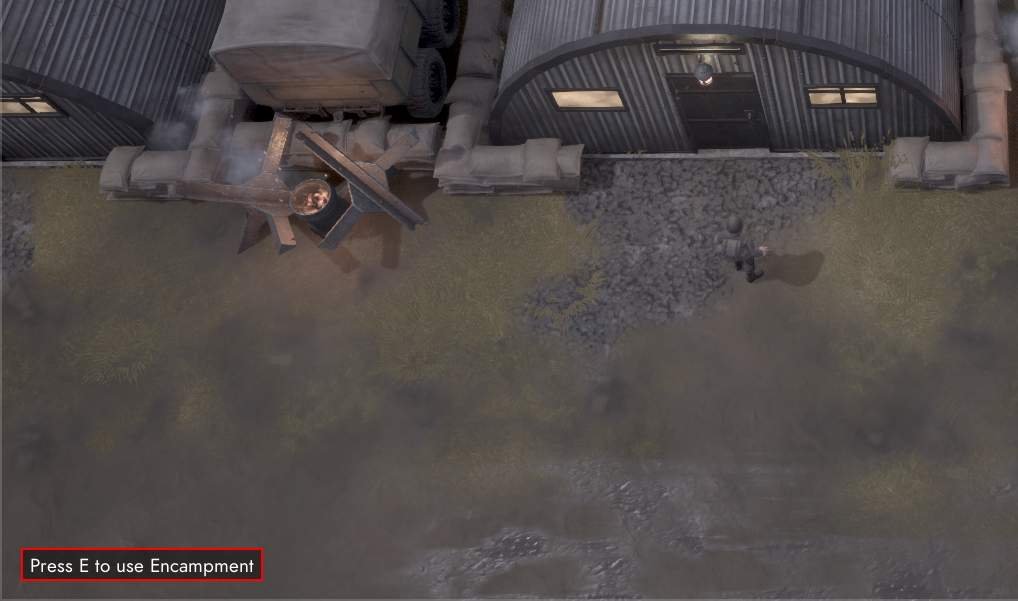
Take a moment to get used to the movement. If you wish to change the appearance of your soldier, you can access one of the metal barracks structures you spawned near by going up to it and pressing E. Note the use prompt showing in the lower left corner. This will pop up any time you can interact with an object ingame.
HUD Basics
Let’s take a moment to look over your HUD. There are two main gameplay elements to the HUD, to the top left and top right respectively:
Held item and Stamina/Fuel bar
This displays whatever you have currently held in your hands, and how much ammunition a weapon you’re holding has.
The bar underneath is your stamina bar while on foot. This bar also doubles as a Fuel indicator when driving a vehicle.
The Compass
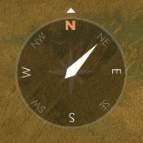
This displays both the direction your camera is facing, as well as what direction your soldier is facing. The compass itself will rotate as you pan the camera around, while the needle in the center will point in whichever direction your soldier is.
The Map
Press M to bring up your Map screen. From this screen, you can initially only see the Home Region’s map, if you’re still there. On the left, you’ll see a legend for all the different types of markers. These are only visible if there is intelligence in the area, shown by the pale outlines of circles. Intelligence is updated on your map by either accessing a base’s inventory, or by having a radio equipped to your soldier.

If you want to see the World Map from the Home Island, you can find one of these special tents in the spawning area. Once the use prompt appears, access it and it will open up the world map for you to see.

Inventory Screen
Press TAB to access your Inventory. This displays both your Equipment and Backpack, Equipment displays whatever is equipped to your soldier, while Backpack is your open inventory space for carrying a variety of items. Encumbrance is shown in the upper right; higher encumbrance will slow you down, and over 100% will force you to walk slowly until you drop enough items.

On the left side of the Equipment section, note your basic equipment you’ve spawned with: a hammer and a pistol. Any items equipped into the left three slots can be equipped into your hands by pressing the equivalent number row keys from top to bottom, 1, 2, and 3.
Hover your cursor over the ? for a list of hotkeys for inventory management.
You also spawn with two clips of ammunition for your starting pistol. Your backpack can carry almost any item in the game; though some items are much heavier than others, and must be carried over-the-shoulder as part of your Equipment.
You can equip and unequip items like your hammer and pistol in your Inventory by left clicking on them, this moves them to and from the Equipment tab and Backpack tab. Right clicking on any item opens up a context menu for Use, Drop Item, and Split Stack.
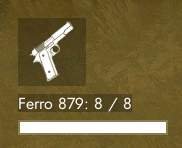
Shooting your First Weapon
Now, let’s take a look at that pistol. Make sure you have it equipped, and press the 2 key to bring it out. The pistol is equipped to your second Equipment slot because it is a sidearm. Larger weapons like rifles and machine guns will be equipped to your first slot as primary weapons. You’ll notice your upper left HUD has changed to show the icon and ammo count of your weapon, in this case, the Ferro 879.

Press R to load/reload your weapon.
This weapon is now fully loaded. Note that if you reload on a partial clip, the remaining ammunition does not get saved. Different weapons will have different amounts of ammunition a clip will reload into.
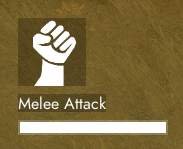
Now that you have a loaded weapon, move your cursor to a direction you’d like to aim in. Press and hold right click to aim down the sights, and left click to shoot. Aiming is the only way you can shoot a weapon, and it gives you a movement penalty as long as you’re aiming.

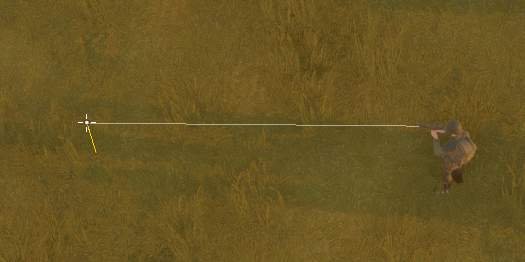
The white line represents both your weapon’s path to its target, and its effective range. Once the white line starts to fade out, you’ve reached the limit of its effective range, and any shots it lands past that will do negligible damage. The reticle represents your weapon’s bloom, the wider it is, the more your shots will land in a random pattern as wide as the reticle is. Taking cover, crouching, and going prone will help your accuracy.
Deployment to the Front Lines
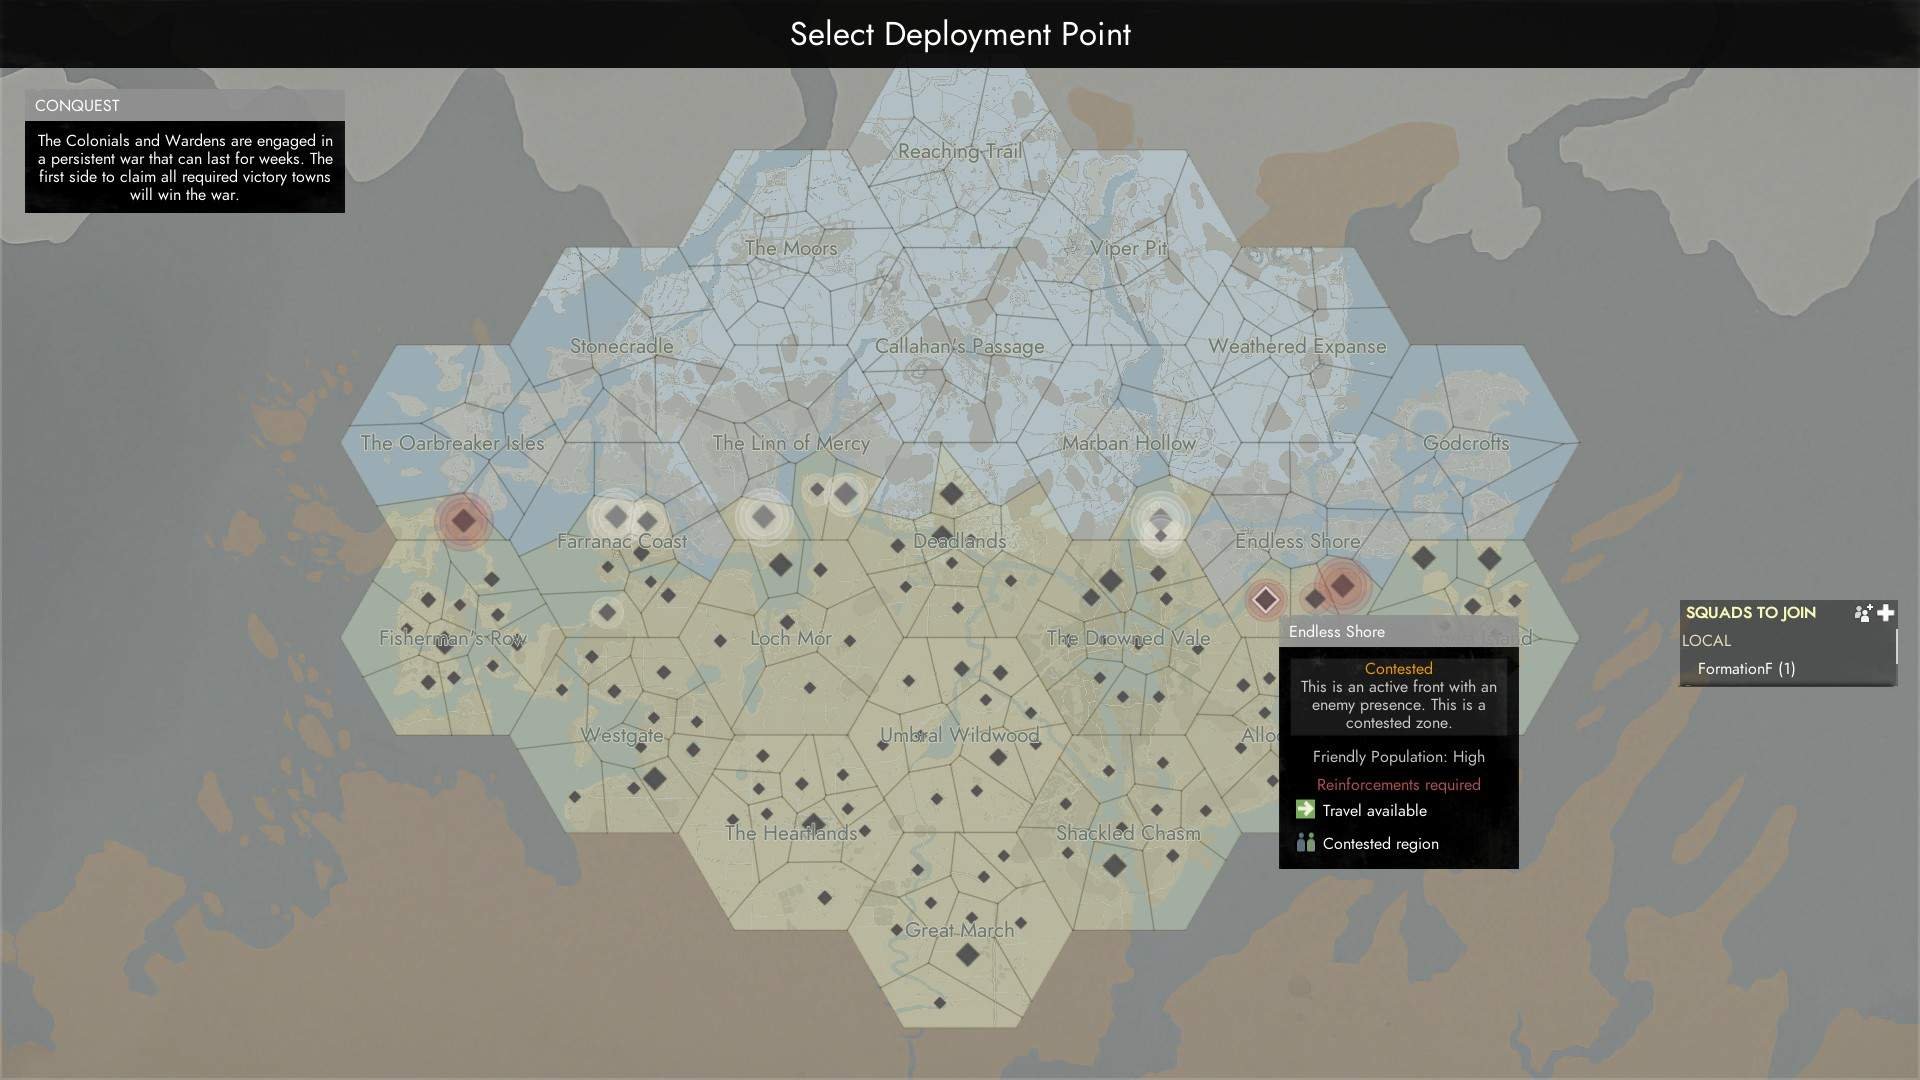
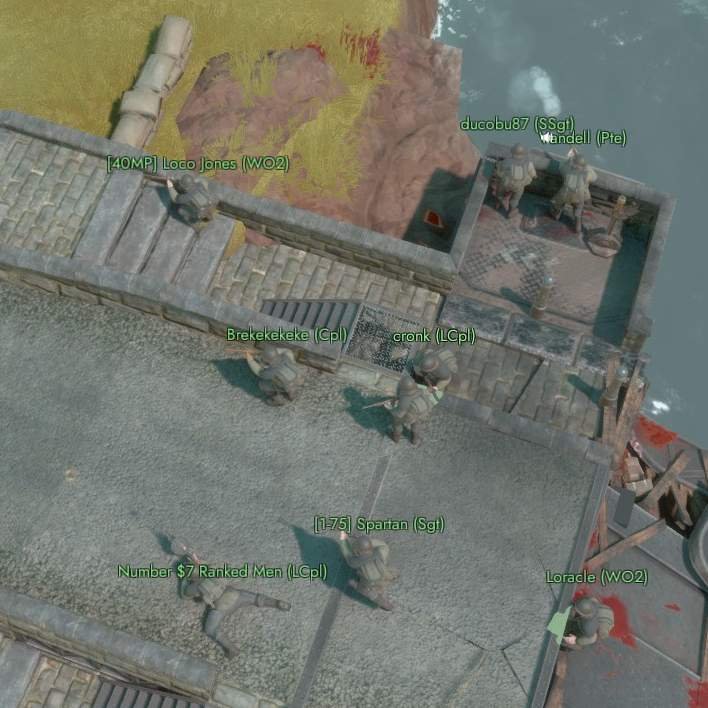
Now for your first taste of combat. You’ll want to head over to the Deployment points marked out by the white chalked lettering near the spawn areas.

Either the port or aircraft hangars will do, to the west and east sides of the island respectively. A use prompt will appear when you get to the designated areas. Use the Deployment map and find somewhere to deploy to.
Hover your cursor over any of the black diamonds to get info about what’s going on at that particular base. Flashing diamonds indicate a high activity at that base, while red flashes indicate a need for reinforcements. Choose any you like, however if you want to get into a fight, choosing a high activity Deployment point will be your best option.
Once you’ve spawned into the war, you’ll want to access the Base Stockpile to equip yourself. Use the Base you’ve spawned at and take a look at the stockpile inside, making sure to press the “Assign Spawn Point” button, just in case. This will allow you to respawn at any Base you’ve set your spawn at, so long as it has enough Soldier Supplies. One Soldier Supply is equal to one respawn.
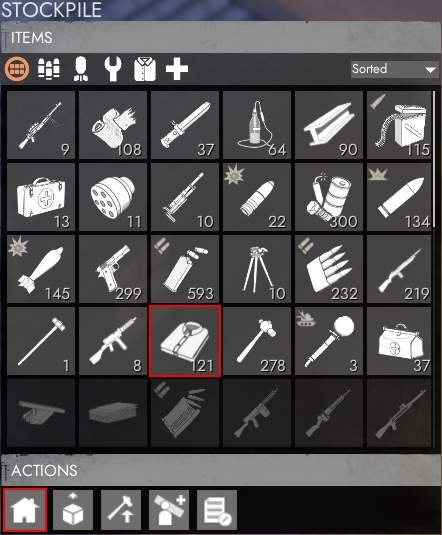
Note: You do not need to take any Soldier Supplies with you to respawn, they only serve as respawn supplies inside stockpiles.
Open up your map to see where the closest battle is, wherever the two factions meet, there will usually be combat. Once you’ve found a fight you want to take part in, grab yourself some kit. One basic rifle and two clips of ammunition should be plenty for your first time in combat. You can always scavenge ammunition from dead bodies, or head back to the nearest base to resupply. Make sure your weapon is equipped and loaded, and head to the front!
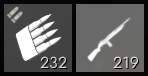
Depending on the faction, the rifle will be either the Argenti r.II Rifle, or the No.2 Loughcaster. Both take 7.62mm rifle ammunition.
Congratulations! You’re now a proud soldier fighting bravely for your faction’s honor on the bloody frontlines of Foxhole! Get out there and kill as many Greencoats or Bluecoats as you can!

Be the first to comment