Transferring Guide
Introduction
Whether you want to see your PSO2 character in NGS or maybe you just switched computers and want to keep any character appearance data you may have saved or just want to move them to a different version of PSO2 (whether a different client or region), this essentially explains where the files go and where you need to move them!
Keep in mind this is just for appearance data of a character. If you want to fully transfer your character’s play data, that’s the whole account linking progress and you can not link your Global account to Japan unfortunately.
Saving the Character Data
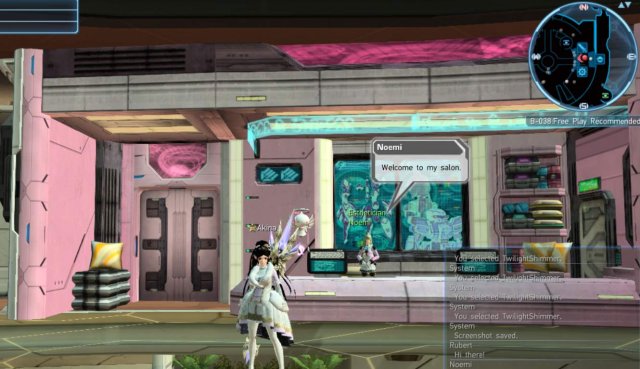
Before anything else, if you haven’t done this before, you want to log into the character whose data you want to transfer over and head to the Salon. If you’ve never been there before, you can find it on the second floor of the Shopping Plaza to the left when getting off the Elevators from the Gate Area or on the East Side of the map.
Once in the Salon, you want to scroll down to Character Data in the left-hand menu:

Click Save Character Data and then name the file whatever you’d like. I usually either just use the character’s name or a name explaining what it might be for.
Repeat this as many times as you want for different characters. If you haven’t made a Character yet or want to make a new character to transfer, you would follow these same steps from the Character Creation screen.
With that done, we can move to Step 2!
If you just wanted to transfer the character appearances to a different version o PSO2 (Such as Steam to Windows 10 or even the Japanese version to Global and vice versa), these same steps are what you would follow to load them in after finishing Step 2– just click “Load Data” and pick the name you had saved to load them back in.
Folder Location
Now that you have the Character Appearance Data saved, you need to actually open the folder they went to. You can find the folder in the SEGA folder in your My Documents (or even just Documents) folder.
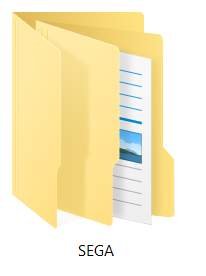
If you do not have a SEGA folder for whatever reason, you can try searching for it, but it’s usually made automatically by the game and placed in Documents/My Documents unless you moved it yourself (and then… it usually will remake it unless you change some settings). If it helps, this is the same place where you can find your screenshots.
In that sega folder will be a folder for every PC version of PSO2 you may have played. As I’ve brought the game up on Steam, Windows 10, and Epic, I have those in addition to the NGS Closed Beta and Character Creator Benchmark.
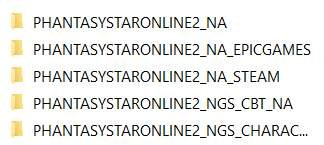
Open up whichever version you were playing and essentially, you want to find the “.fnp” files:

There will be one for every data you saved with whatever Name you used for each.
Simply Copy each one into the “PHANTASYSTARONLINE2_NGS_CHARACTERCREATOR_NA” folder that is in the SEGA folder.
With that, it’s time to launch the NGS Character Creator Benchmark program! Or you know, another version of PSO2 maybe even on another computer. Whatever you want to do. If the latter though, as mentioned in the previous step, you will just need to go to the Salon and Load Character data instead.
Bringing the Appearance Data into the NGS Benchmark Character Creator
We are officially at the final step! Go ahead and load up the Benchmark program and pick “Character Creation”. Go through whatever options would be closest (this may not even be required, but I like to anyway so for example, if you saved a Cast, pick the Cast information or if you saved a Newman, pick the Newman options! Etc.) and then you will get to the screen where you can actually go into full editing mode to customize further beyond the initial options.
You want to pick the option that says Creation Data Management:

This will then come up and you want to pick to “Load Creation Data”.
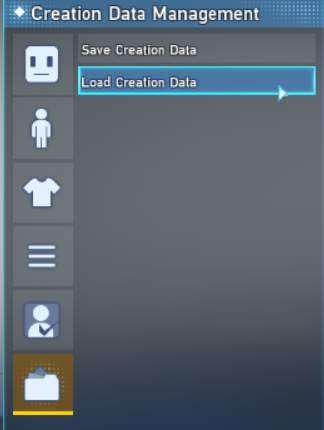
It should then show you all FNP files you may have there to pick from to load:
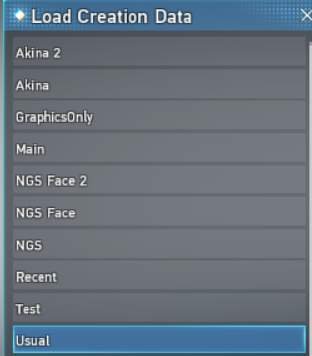
Upon loading one in, there is a very likely change that the Game will tell you that some items are currently unavailable to load in (as this is… literally just the character creator) and thus, those items will stay the same as whatever you initially picked, but all Physical Appearance Data, minus likely the hair, irises, and/or eyebrows will be applied:

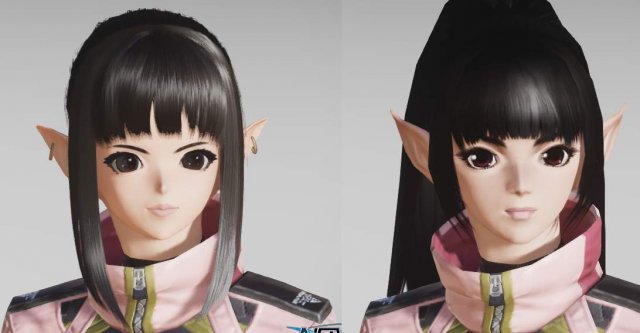
From here, you can do any adjustments you want or even see how your character may look with the new NGS face with the same settings as your original:
(Left = NGS Head/Face version after importing, Right = Original straight from PSO2)
You can then save this data for use when NGS releases following the same steps (just pick save)! Just make sure you copy the FNP files from the Character Creator folder to whichever version you play and then you would load it up from the Salon or when making a brand new character.
Keep in mind: You can not load the data yet as NGS isn’t implemented, but you should be able to fine once it releases!


Be the first to comment