A quick summary of ways to farm challenges quickly, and efficiently.
Environment Kills
Watch for environmental hazards that your binoculars mark in red. These include barrels, ammo boxes, people standing by trucks, or under cranes.
The best location is on the second level. You’ll find two or three guards standing near fuel containers or barrels. This spot is easy to reach whenever you want to collect double kills or environmental kills.
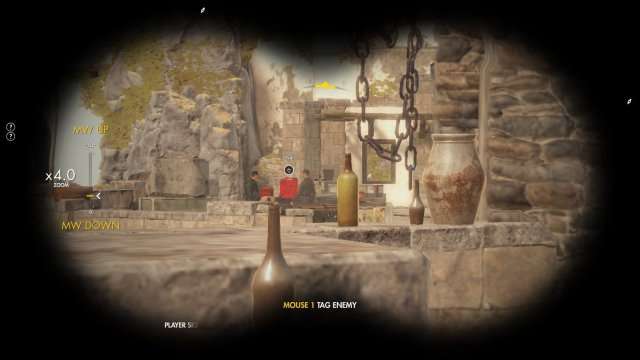
You can setup where ever you feel like, but I believe this spot by the wall is the best place to save, and reload after each explosion.
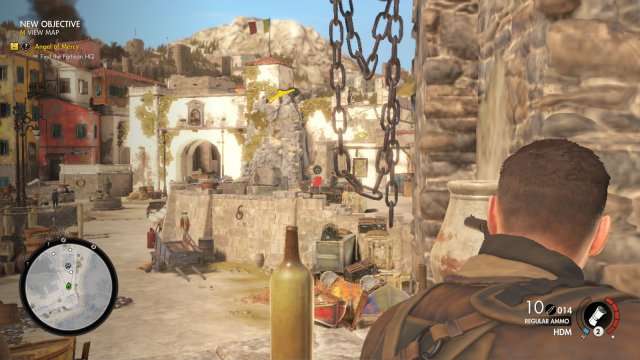
Grenade in Belt Kills
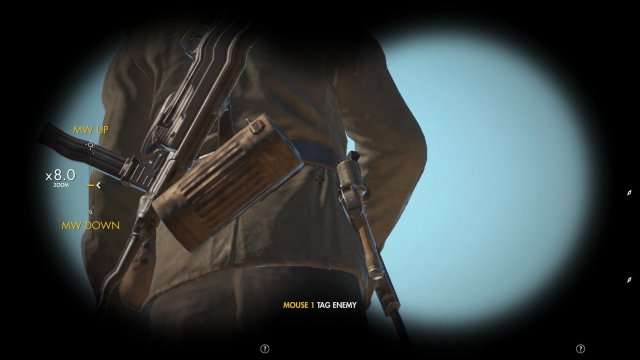
Most infantry have grenades on their belts. You can see it clearly if you’re standing behind them it will be located directly on the right side of their belt can’t miss the giant looking M24 Frag sleeve.
The most easiest location I’v found to farm this quickly, and efficiently is on the second level. Start up on w/e setting you feel like it doesn’t quite matter. Run directly to the dock to start the mission. Upon reaching the beach head to your left where the two guards are on the stone deck. The first one that is facing the dock is your prime target for belts kills.
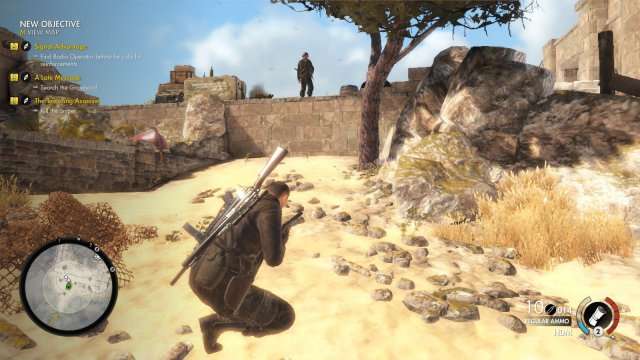
You can literally sneak up to him within 5m and shoot precisely his m24 grenade over and over again. I recommend saving just before farming, and make sure to let the points cycle so you get credit, then reload the save.
Ricochet Kills
Bullets ricochet off hard surfaces into enemies.. seems difficult when you first hear about it, but in reality its really really easy.
I also recommend any map that has a hard surface on the ground to this do real quick. I personally use the 2nd mission map for most of my challenge farming because the first 150m has just about everything you need for challenges.
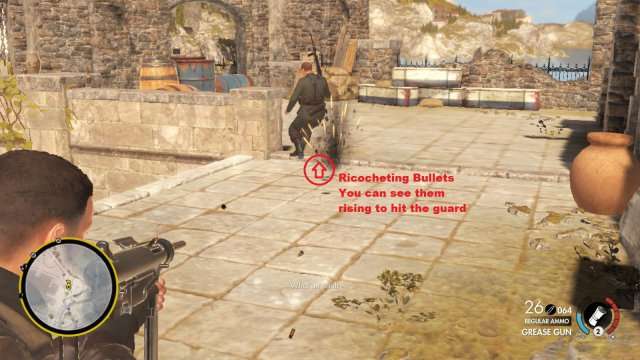
Same as before move up jump onto the stone deck with two guards and start shooting the ground beneath them at an angle where a bullet would ricochet up into their bodies.
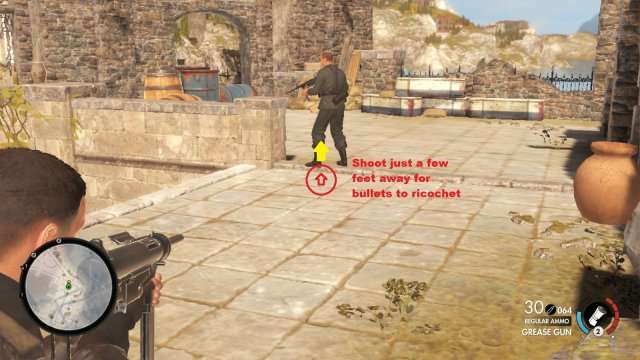
This can be easily done with anything automatic like a submachine gun, but it might take some practice with say a bolt action. You can easily kill the first 6 guards at the dock, and reload (use a save point when you’re close to the first 2 guards).
Penetration Kills
To get penetration kill bonuses, you need to shoot through objects with enemies on the other side. The shots must pass through the barrier and kill the enemy.
Any map with plenty of wooden surfaces works well for this. My recommended spot is on the second campaign map at the beach. Look for the small walkway that leads up to the stone deck where two guards are positioned.
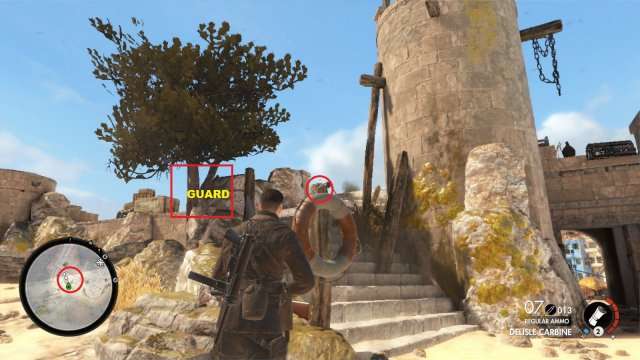
Make sure to save just before alerting them with your movement to cause one of them to investigate. You’ll quickly notice there is a small walk way leading up to stone deck that has wooden pole/fence you just have to line up your shot to shoot through as they line up with the object.

Once you kill the first guard move up onto the stone deck and the second guard will most likely be hiding behind a wooden barrel. Make sure to shoot through only one barrel between you and your intended victim to receive the penetration bonus. For light challenges that require few penetration kills this is the easiest way to farm it.
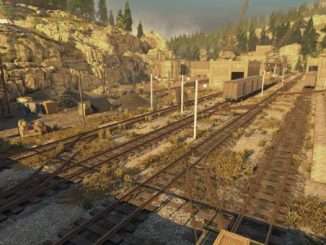
On challenges that require a lot of penetration kills I recommend doing the overwatch mission titled rail yard it has TONS of wooden fences, wooden poles to line up shots to get penetration kill bonuses.. I literally can’t stress it enough just how easy it is to farm those kills on that map.
Trap Kills
This one was a bit confusing at first to figure out at least for me.
The easiest way to farm these trap kills is to equip the Teller Mine, and set it to be delayed.
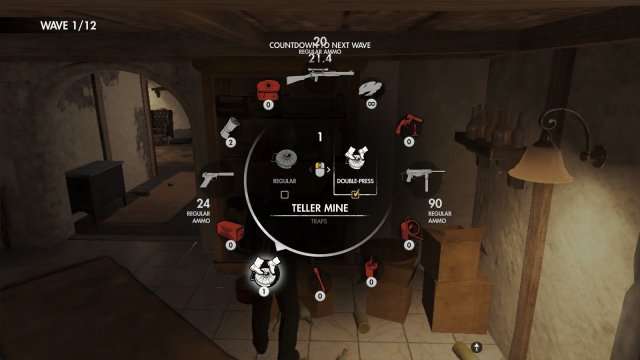
Find a corner that has heavy movement and place it there. Ideally you want to farm this challenge on survival mode because of how often you get into combat, and a map like “marina” is perfect for ambushing AI with the delayed teller mines.
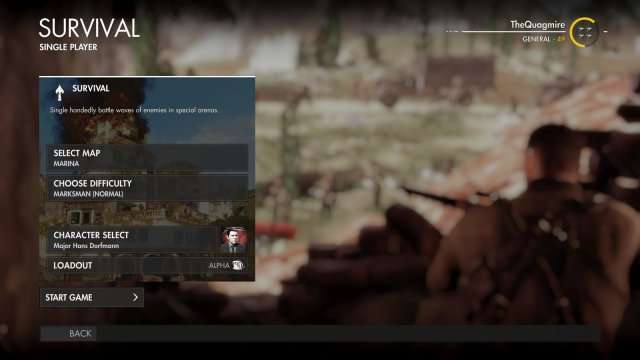
In the Marina map there is a spot where the enemies spawn and run through two doorways into a kitchen/dining room. Placing a delayed teller mine here is perfect for getting your trap kills done real fast.
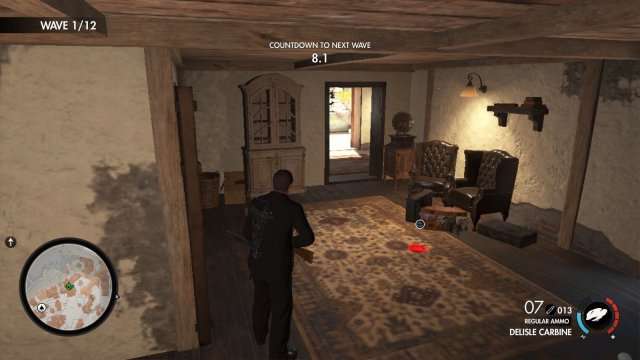
Ideally all you have to do is place a Teller Mine down that’s delayed you don’t want them to explode on contact. Once you have 1-2 soldiers near the mine just shoot it with the weapon that has the challenge. While you’re doing this you can do other challenges on survival as well.
Adjusted Sight Kills
Another quite easy one to do all it requires you to do is set the drop of the sight to 100 meters plus on your scope while you get kills with it sighted.
First of all this Challenge will not work on Cadet difficulty.
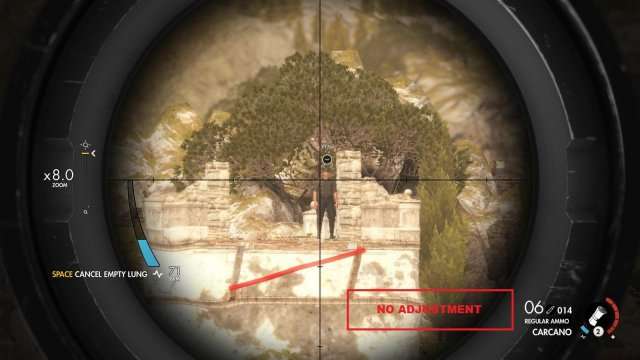
You have to do it on Marksmen difficulty and above for the adjusted sight to be shown
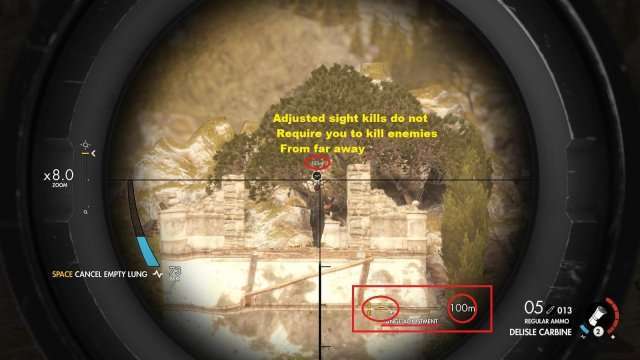
You do not have to actually kill enemies from long ranges with the adjusted sight you just have to have it sighted to any range. That means you can kill enemies at point blank, 10 meters away, 50 meters away it doesn’t matter as long as you’re aiming through the scope with the sight adjusted and receive the killing blow it will count as an adjusted sight kill.
I personally suggest a good short corridor map like Marina on Survival to complete this challenge quickly.
For speed I would recommend doing solo survival on Marina on Marksmen or above difficulty.
Ideally set the scope to 100m, lowest zoom for close range kills, and aim slightly below what you’re shooting at so the shot hits their chest at close range. Most of the time you will get either a lung/heart or a head shot just make sure to adjust your aim since the bullet will travel UP rather than DOWN because of the adjustment, and because how close you’re to the target.


Be the first to comment