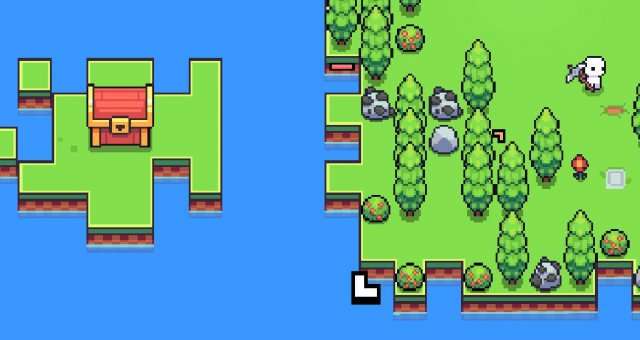
This guide will explain some really neat mid and endgame tips and tricks that you can use to generate Massive rewards!
Infinite EXP, Skulls, and Bones
What You’ll Need:
- Necro Rod (Found in Skull Maze)
- Any Ranged Weapon (Ballista, Fire Rod, Bow, etc.)
- Any 3×3 Area of Water
- Optional – Combat Obelisk (Found in Fire Biome)
- Optional – Magic Scepter (Complete the Wizard’s Quests)
- Optional – Bone Mask (For Safety)
- Optional – Wisdom Draught
How to Accomplish
First, you need to find a 3×3 area of water with no obstructions. Place a bridge in the center so that your skeleton friends can stand on the water without escaping.

Now, with your Necro Rod, spam skeleton on top of the bridge. It doesn’t matter how many you place, as long as they don’t crash the game.

The next part is simple. Use your ranged weapon to kill all of the skeletons. (My favorite weapon to use is the Fire Rod, as you can kill all of them at once with it) With certain upgrades, you can make the skeletons drop coins upon death, reaping even more rewards.

The Combat Obelisk and Magic Scepter in the Fire Biome are very useful. The obelisk gives you more experience points when you defeat skeletons. The Magic Scepter eliminates the waiting time for the Necro Rod, so you can create unlimited skeletons. Using a Wisdom Draught will help you earn experience points faster over time.

Infinite Royal Steel, Crystals, and Bricks
What You’ll Need
- Lots of Crystals
- Lots of Royal Steel
- Lots of Brick
- Optional – A High-End Pickaxe (Speeds up the Process)
(If you’ve already found the shrine in the Fire Biome, you don’t need the steel, crystals, and bricks).
How to Accomplish
Build a shrine in a wide and open area without any obstructions. This isn’t required, however, it lets you get as much loot as possible when you get the Excavator buff. When you build it, use whichever buff you want.

Once you use the buff, you’ll have to wait 30-45 minutes to use it again. Or do you? By breaking the shrine and placing another one, it resets the cooldown! Now that you have another shrine, repeat the buffing-and-breaking process until you find the Builder buff.
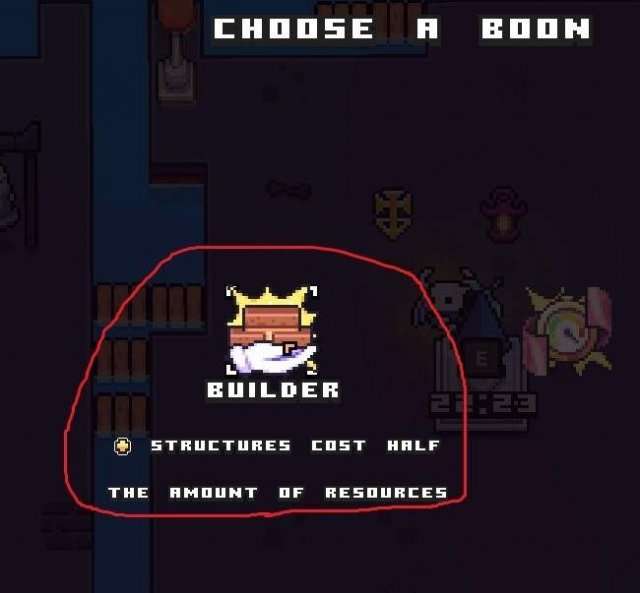
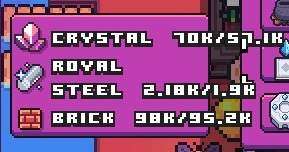
This buff allows you to build structures at half the cost. However, when you break it, you get slightly more resources than it took to build it. The more you repeat it, the more resources you’ll get out of it. Using this method has gotten me about 1,000 royal steel in under 15 minutes. However, the cost of the shrine will increase every time you do it. You’ll still gain steel from it, but if you lose it all, you can’t do it again.




Be the first to comment