Other Remnant: From the Ashes Guides:
- All Traits Guide (How to Unlock Them).
- Weapons Guide and Where to Find Them.
- How to Deal with Adds and Manage Game Difficulty.
- One Shot One Kill Build (High Damage Sniper Build).
- Bosses on Yaesha (How to Defeat).
- Bosses on Corsus (How to Defeat).
- Bosses on Rhom (How to Defeat).
- Bell Puzzles and Monolith Puzzle.
- Dreamer / Nightmare Strategy.
- Leto’s Amulet (Secret Item).
- Traits Guide with Pics.
- How to Beat Dreamer.
- Bicc Boi Crit Build.
- Materials Farming.
World bosses are bosses that you would encounter as you progresses through the story. There are usually a few which would spawn alternatively, hence it is likely you have to re-roll at least a few times to be able to obtain all available drops from them.
Dungeon bosses are bosses that you would encounter in dungeons as you progresses through the map. They are semi-optional as not all dungeon bosses are needed to progress through the story. However, it is recommended one explore the map to hunt these bosses for the unique rewards and experience.
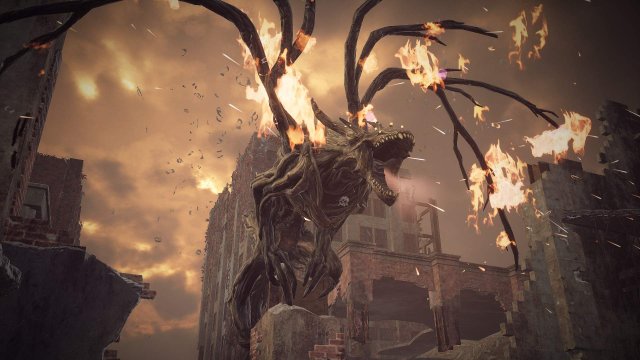
Singe (World Boss)
A root dragon that releases fire-based attacks. Try to aim for his weak spot, his chest.
Strategy:
- Throw Fireball: When at range, it will throw a fireball from its mouth two consecutive times. Counter: You can easily dodge it by walking or running to either side. Try to avoid flames in the ground while doing it
- Fire Breath: It will spread fire forward from its mouth. Counter: Try to jump backwards. If you are too close, try to run behind it
- Charge: It will make a roaring sound and charge to your location Counter: Wait for the charge to start and then dodge either side
- Fire Strike: It will fly upwards and come down sending a fire strike towards your location. Counter: Wait until its diving, then dodge to either side
- Three hit combo: It can perform a three hit combo with its claws. Counter: Try to dodge backwards or run behind it
Drops:
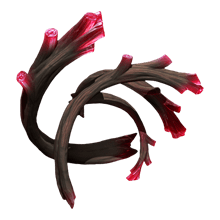
Blazing Heart for crafting Spitfire (A smg-like secondary weapon that uses hand gun ammo).

Or drop: Dragon Links for crafting Smoulder, a melee blade that sears your enemy! (This item requires you to destroy singe’s tail before defeating the boss).
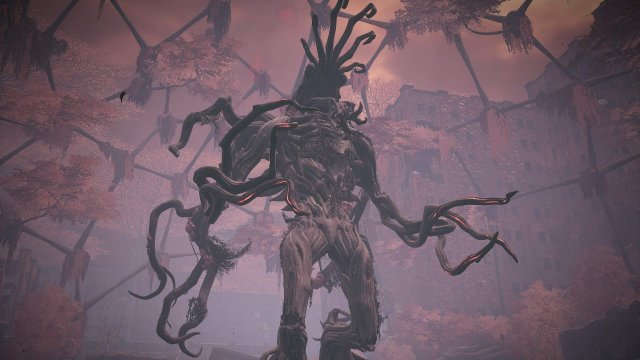
The Ent (World Boss)
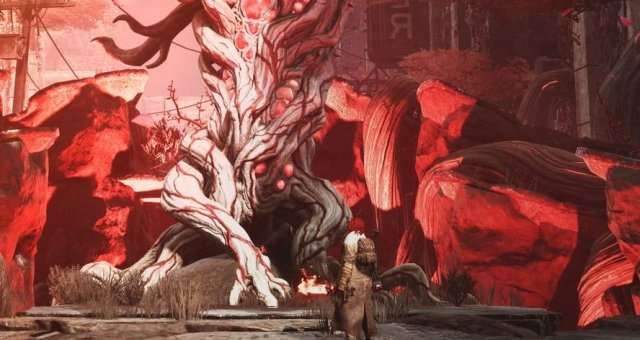
A mighty colussus root. Weak spot on its back.
Strategy:
- Feet Slam: It will slam the earth with its feet causing AOE Damage. Counter: When you see the attack, run on the opposite direction to a safe distance
- Hands Slam: It will slam the earth with its hands sending a shock wave at your location. Counter: Dodge to either side. You can use the opportunity to fire at the weak spot
- Launch explosive bombs: It will lean forward opening the neck area and throwing explosives at your location. Counter: Run to either side until the attack finishes.
- Scream and cast ads: It will scream staggering you and spawning ads. Counter: Try to first deal with the ad s and then focus on the boss
Reward: Spore Gland
Alternate Kill:
Start off by finishing off its legs first for the Twisted Heart. Below are attacks that Ent uses when the legs are gone.
- Launch explosive bombs: It will lean forward opening the neck area and throwing explosives at your location. Counter: Run to either side until the attack finishes.
- Melee Attack: It will crouch to your location and attack with its hands. Counter: Run backwards to dodge the attacks.
Shroud (Dungeon Boss)
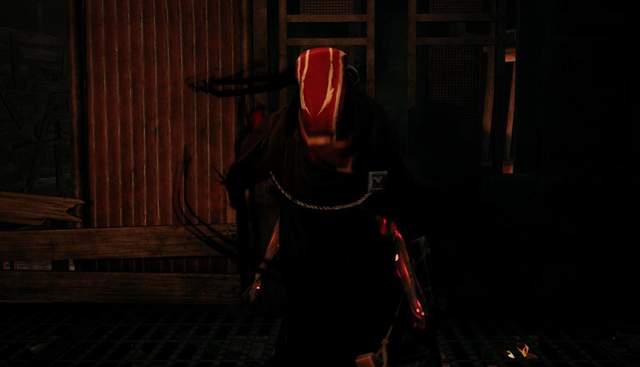
The best strategy is to keep moving and looking out for where Shroud is going to appear.
Reward: Shadewood
Weakspot: Head
Strategy:
- Charged Arrow: It will charge its arrow and fire a three shoot volley. Counter: There is a delay before the arrows are released, try to dodge after they are fired or run in circles.
- Teleport: After he has performed his attack, it will teleport to a new location. Counter: You can see the shadow of where it will appear. If you are close, you can run to that location and shoot when it appears. The sound moves from the old location of the Shroud to the new one. Use that to track it better.
- Bombardment: It will remain still and conjure a bombardment at your location. After a short delay three consecutive explosions will appear on your location. Counter: Try to run next to it as it can’t move or attack when its conjuring the bombardment, then run away until the attack finishes.
Brabus (Dungeon Boss)
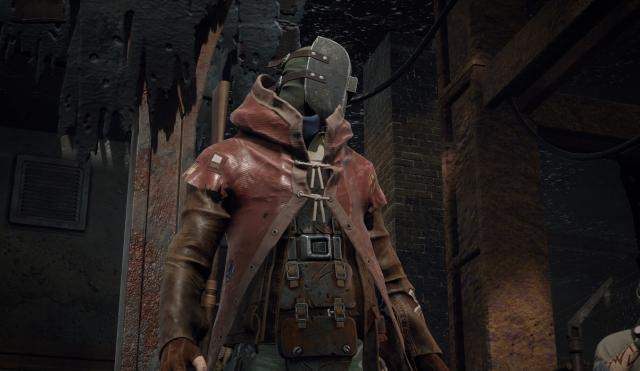
Brabus loves to move around the map taking cover and cheap shots at you whenever. Try to follow him and dodge his attacks best to hit him when he reloads.
Weakspot: Head
Reward: Sharpnel Shard, Bandit Armour Set. If you give him a pocket watch obtained from old mudtooth.
Strategy:
- Fire Shotgun: It will fire its shotgun and move to a new place to take cover. Counter:Try to dodge to either side when he fires. Follow him and flank him
- Spawn Ads: It will spawn ads that will fire at you. Counter:Deal with the ads as soon as they appear
The Mangler (Dungeon Boss)
Reward: Hollow Seed
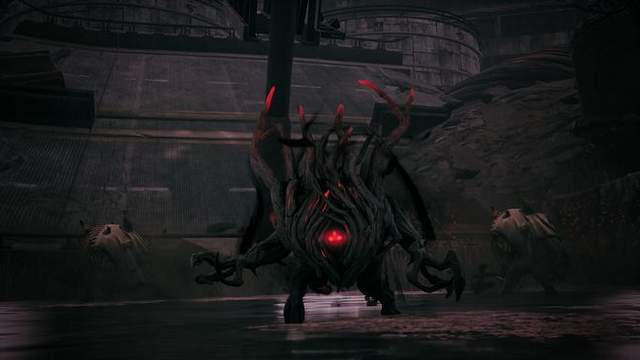
Strategy:
- Hide underground: It will hide underground and spawn ads. Counter: Dodge to either side. You can use the opportunity to fire at the weak spot.
- Roll attack: It will roll on the ground and strike you dealing damage. Counter: Try to dodge to either side.
- Leap and combo: It can leap at you and perform a melee combo. Counter: Try to dodge backwards and use the opportunity to attack him.
The boss starts out small and more passive. The boss can roll to you dealing damage. It will also burrow underground while spawning ads. Try to deal with the ads before the boss comes out. When the boss has 50% health it will transform into a bigger monster. It will become more aggressive and maintain its old abilities. It will also be able to leap at you and perform a melee combo. Try to dodge backwards and attack him.
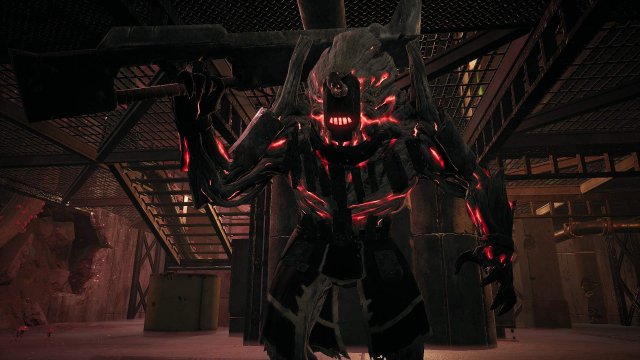
Gorefist (Dungeon Boss)
Take note that spore boomers spawn in waves so be on a look out for them whenever you take a shot on the boss. Have some bandage and oilskin tonic in case you are hit.
Weakspot: Face
Reward: Flesh Barb
Strategy:
- Vertical Swing. Counter: Dodge to either side. You can use the opportunity to fire at the weak spot.
- Horizontal Swing. Counter: Dodge forward.
- Three hit combo: It will glow and perform a three hit combo. Counter: Dodge backwards and stay out of the range of the attack. Use the opportunity to fire at him.
- Charge and Swing: It will charge at you and strike with the sword. Counter: Try to dodge forward. This will pace you behind him giving you the opportunity to attack.




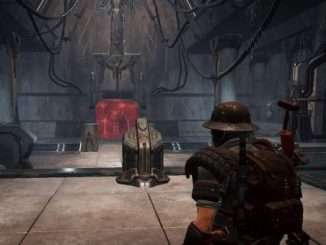
Why do all the sights talking about the mangler fail to know what they’re talking about? What they say is technically correct, it’s not complete. The mangler has more than one attack depending on which version they get. I’ve fought him twice in the last two days and they were completely different fights. I’m not sure which version I got the first time, but it’s the one most talk about. This last time I got the enchanter. He attacks like you people say, but the amount of help he gets is much more. There were at least six to ten scrubs on the screen at all times and explosive poison bombs going all around the fight area for the entire fight and they happened all the time. I beat him solo with the hunters rifle (with fire shot), and the revolver. Pain in the butt, but doable.