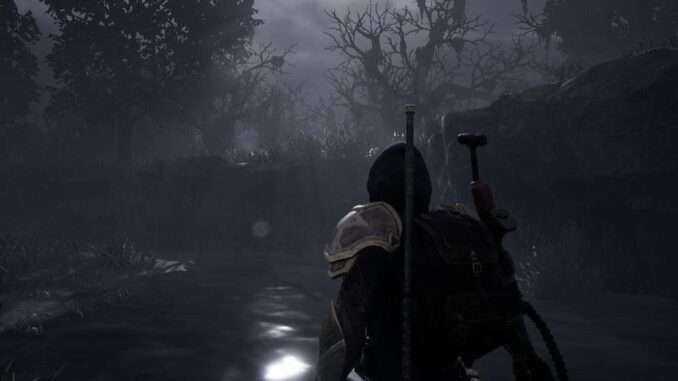
This guide will help you to complete the main campaign of Remnant: from the Ashes in the hardcore mode. There are some great rewards for doing so and it is not extremely hard, but a small mistake can mess you up bad.
100% Complete Walkthrough for Easy Hardcore Mode
Rewards
This will earn you following items: Provisioner Ring, Akari War Band, Ring of supremacy and the Nightmare Spiral. As well as the Band of accord. You will also get the high five emote.
These are account bound items so you will be able to use them on all your characters even if your hardcore character ends up dying later. All of these besides the Nightmare Spiral and Band of accord can also be acquired by playing the adventure mode on hardcore mode. Sadly, this won’t give you any achievements.
What Is Hardcore Mode Exactly
Hardcore Mode requires you to create a new character and set it to Hardcore Mode. Once the character is created you will not be able to re-spawn if you die. This means that if you are killed in either the open world or boss fights your character will be permanently dead.
If you have a Co-Op buddy, he can help you up after getting knocked down. But he won’t be able to revive you at a stone/crystal.
When you are close to dying you can Alt+F4 the game but the game will notice that and won’t give you the Nightmare spiral at the end.
You can also try to save file cheese, but I heard the game will also give you an “invalid exit” that ends up not giving you the final reward. Apparently, there are people who successfully did cheese it though but if you want to do that this is not the right guide.
Recommendations and Tips
I recommend that you completed the campaign before a few times. Having defeated every boss before and knowing the areas is very useful.
And it’s also great to have a Co-Op player to help you out. But it’s also possible alone. In fact, its better to play it alone then with someone that never played the game before.
If you are far into the campaign and have to face a boss you don’t feel comfortable with use a different character and try to find the boss in adventure mode and learn the fight until you feel like there is no way you die.
Watching YouTube videos for fights is also vey useful. It is easy to find a good video for every difficult boss fight.
I always posted a recommended Gear Score to every world boss, so you can go back to Ward 13 before the fight and try to reach that level. I based on the zone levels, but I won’t get deeper into that. If you are not able to get to that level it is not a big deal. Its is more important to level up your.
Build/Weapons
I would go for the Hunter class and later switch out the Hunting Rifle for the Sniper Rifle. You can keep the repeater pistol for the entire run or get yourself the submachine gun in ward 13.
Try leveling up vitality and endurance. It makes a big difference.
For mods buy yourself Hot shot from Ace in ward 13 for your rifle. Use the Dog summon if you have it for your secondary. If you dont have it its not a big deal. Just get something you like for that slot.
With this build you can keep your distance and do a lot of damage especially for weak spots.
Quick word before the walkthrough
I did not want to go into every single detail here since it really isn’t needed. Basically, it’s doing the same as in a normal playthrough. I split it up in all the worlds you need to visit but a strategy for every boss isn’t included.
Earth World 1
First you will find the Sunken Passage with Gorefist as a boss of the Hidden Sanctum with Shroud. Gorefist is a lot harder for most people. There is also a small change you will get LETOS lab and get to face Riphide.
Make sure to pick up the Sniper Rifle in the basement of the church since it is an amazing weapon. Feel free to keep playing with the Hunting Rifle although I don’t think its as good as the Sniper.
Second boss Mangler can easily be skipped if you don’t take the Tangled Pass. Same goes if you run into humans in the cutthrough channel that attack you. Facing Brabus is not needed normally. But there is a small change you can’t avoid him on some maps.
As the world boss you will have to face Singe or The Ent. Both are in my opinion very easy on normal difficulty. The reward for one killing one of them it’s he Provisioner Ring (Gear score 5 recommended).
Rhom World 2
This world sadly is way less predictable than Earth. You will have to face 1-2 dungeon bosses and one world boss. Also, there are quite a few places to fall into the void here which results in instant game over. Be especially careful when entering the Lair of the Eyeless. I had friends dying there in survival mode after they jumped through a window that led into the void.
If you get the Maul (the Doggo) as a boss you can walk passed him without fighting.
Scourge is probably the hardest boss in this world, sometimes he can be skipped by going another way but not always.
The world boss will be The Harrow or Clavinger. Make sure not to doge roll out of the map against Clavinger. Reward= Akari War Band (Gear score 8 recommended).
So now there will be the hardest part of the whole Run, killing the Undying King. Fighting him allows you to skip Corsus. Make sure to have a solid strategy before going into the fight (Gear score 12 recommended).
Its best to watch a YouTube video for before this fight.
Corsus World 3 (Optional)
If you want, you can use it to level up a bit before facing the Undying King by choosing to go along with the King’s deal. But facing Ixilis is not recommended. Its way to easy to fall of the bridge.
You can get the Empowering Loop by killing Ixilis but it’s easier to kill the Unclean one after the campaign in adventure mode.
Yaesha World 4
This world its he most confusing and I don’t have much to say. The map is very differnt every time you play it. But here are some small hints that might help you.
- An area that you should avoid is he the Radiant Tomb. It is hard and does not help you progress.
- The world boss Ravanger can be skipped by solving the Bell puzzle.
- Don’t roll off the edge in the Totem Father fight.
Reward for defeating a world boss here is Ring of supremacy (Gear score 12 for world bosses recommended).
Final Boss
Actually, very easy, just make sure that you know how the fight works exactly. I recommend that you always drink a Bloodward after getting teleportet to the shadow realm and always leave the shadow realm after the big guys start spawning. Use hot shot on him after leaving the shadow realm, it does extra damage to him since he is a root enemy (Gear score 15 recommended).
This should earn you the Nightmare Spiral and the high five emote.
After the Campaign
At the end you can also give you Co-Op buddy a high five with the newly earned emote. That will give you the Band of Accord.


Be the first to comment