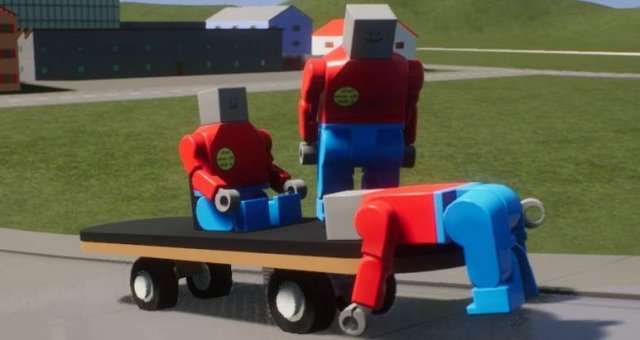
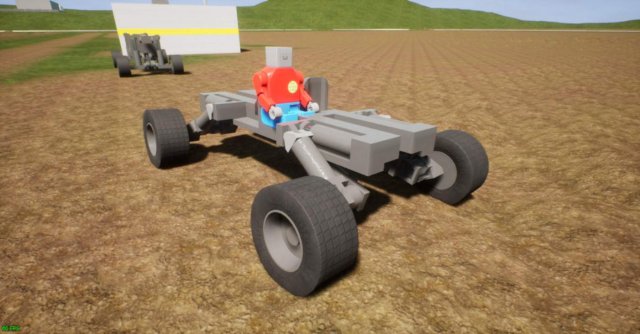
This is two guides combined into one! Two different types of suspension. One you’re probably familiar with, and one you probably aren’t. Both are effective. I have already successfully built both suspensions with only the pictures.
Disclaimer: This guide keeps the building of the suspension as simple as possible. It’s meant to work and provide a base or idea for any future suspension that YOU might make. It is not meant to look good.
Inverse Piston Suspension Guide
This is a type of suspension that is probably extremely rare to see in the workshop.
Every individual suspension on all 4 sides are the exact same. Just copy and paste and/or mirror the suspension to finish building quicker.
Extra Information:
All pistons are set to:
- Spring Stiffness: 0.01
- Actuator Mode: Spring
Every other actuator is set to:
- Actuator Mode: Physics Driven
Axle:
- Suspension Stiffness: 100
- Suspension travel: 0
- Turn Radius: 30
- Making the Base
Making the Base
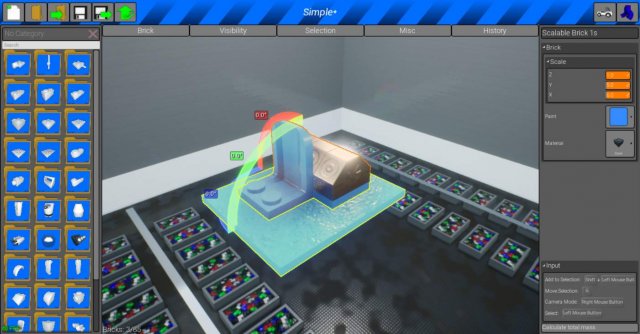
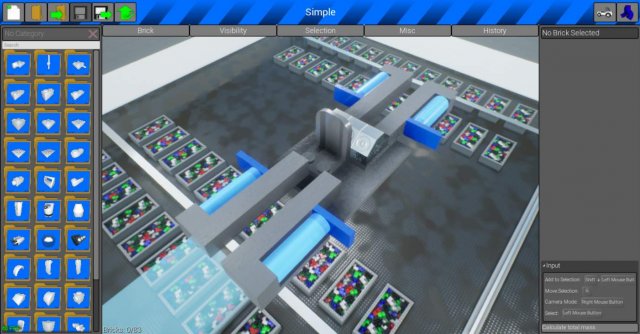
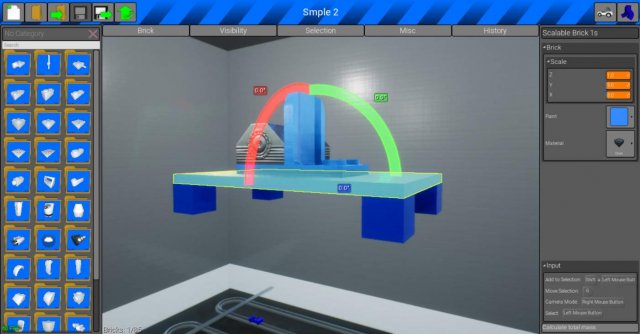
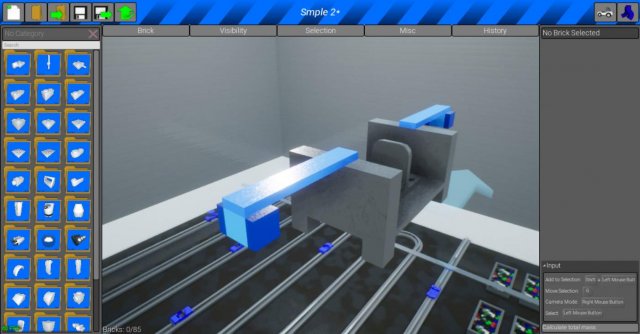
Start with a 5×6 Scalable Brick 1s. Add a driver’s seat and an engine.
Add a 1×6 Scalable Cube and a 1×1 Scalable Cube.
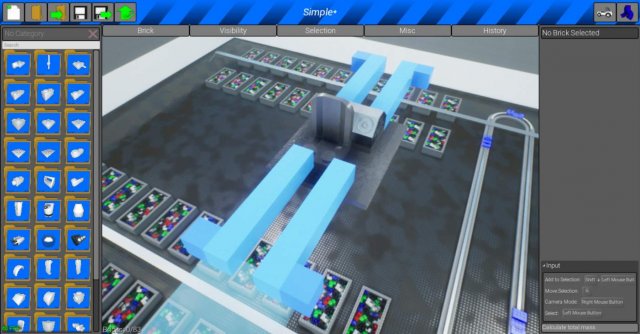
Add a 1×4 Scalable Brick 1s.
Now the Base of the vehicle has been finished.
Making the Suspension
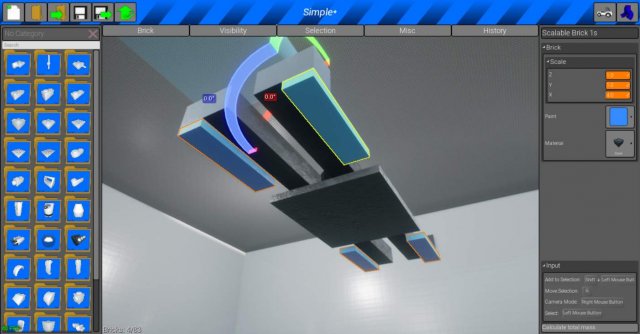
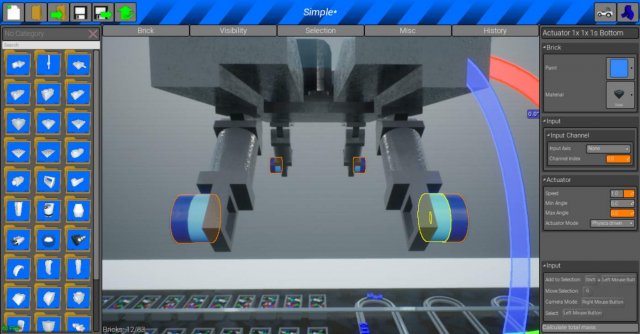
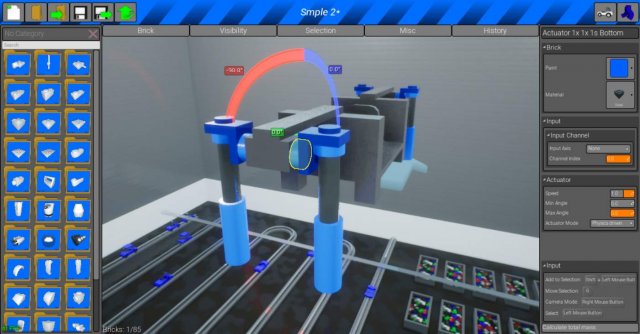
Add pistons. Set them all as “Spring” in Actuator Mode. Set the Spring Stiffness to 0.01. Then add a 2×1 Scalable Brick 1s.
Add Actuator tops.
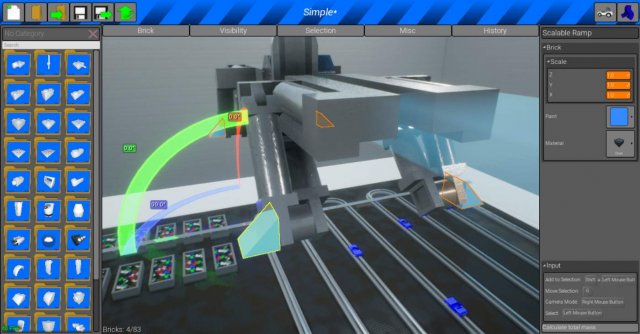
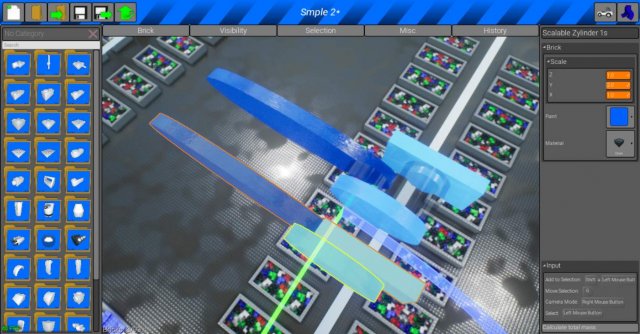
Add actuator bottom. Set the actuator as “Physics Driven”. Then add a 1×4 Scalable Zylinder 1s. Then add a Redirector 4sx 1×1. All are set at a 45 degree angle.
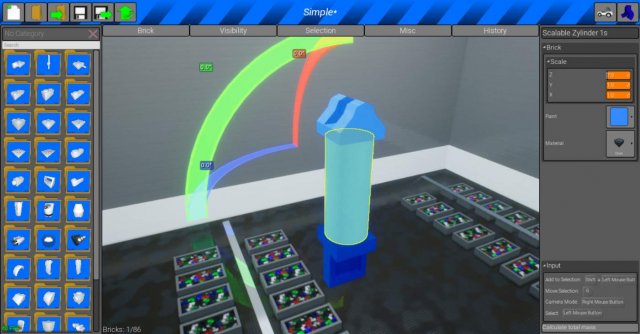
Add a rotating actuator set to “Physics Driven”. Add a scalable zylinder 1s.
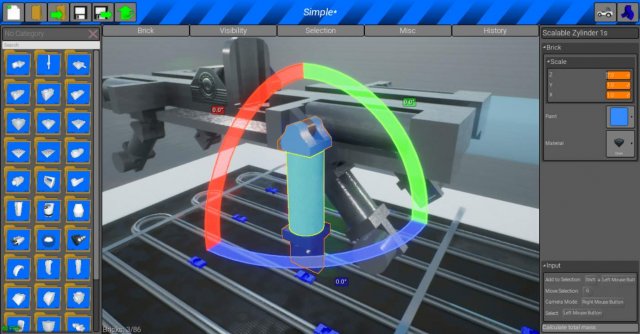
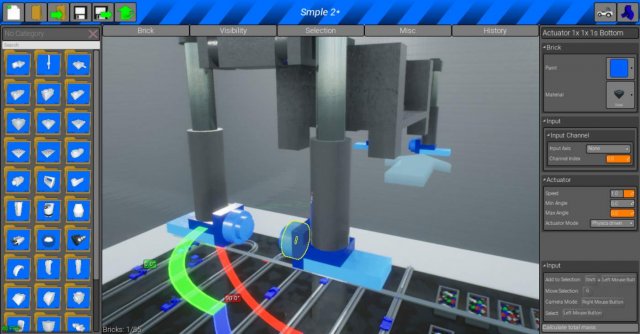
Now off to the side, add an actuator top set to “Physics Driven”. Now add a 1×7 Scalable Zylinder 1s. Then add a redirector 4sx 1×1.
Now connect it to the actuator top.
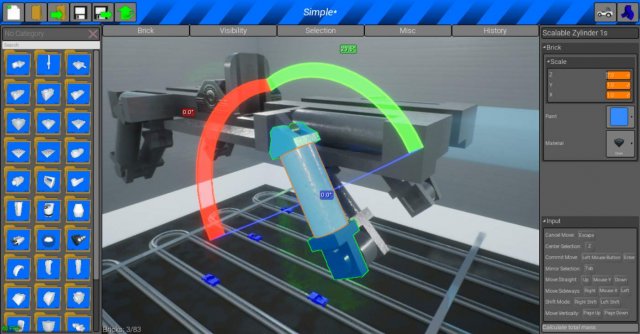
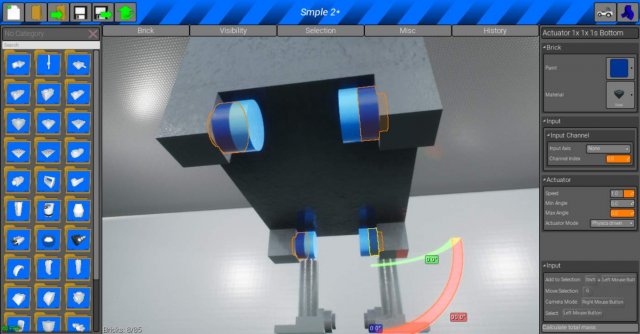
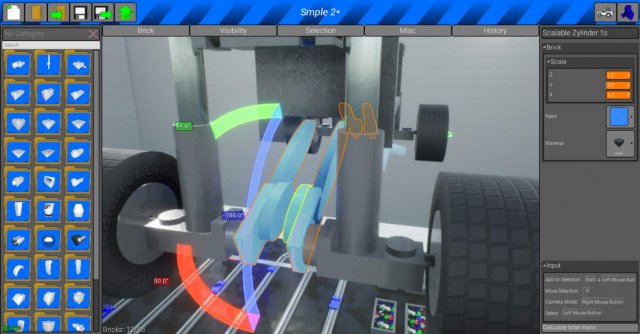
Now use Shift + move to move the 3 bricks into place. Both the redirector and the actuator bottom should turn green when it has connected. The angle of it should be around 30.9.
Adding the Wheels
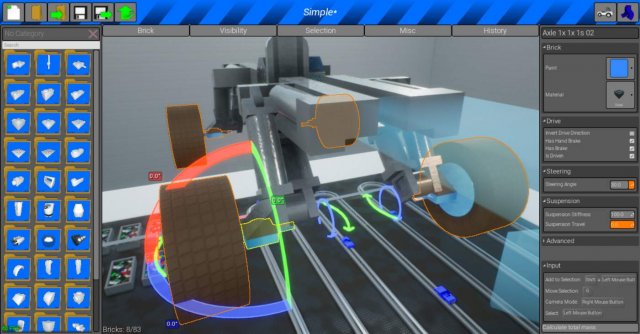
Add a scalable ramp.
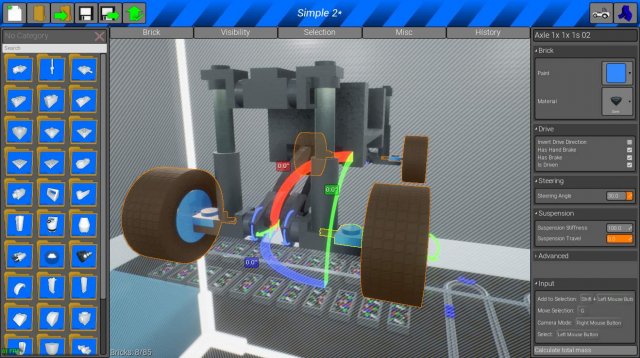
Add axles and wheels. Set the axles to Suspension Stiffness: 100 Suspension travel: 0
Normal Piston Suspension Guide
A somewhat common suspension.
The front and back suspensions are the exact same. And also basically the same on all four corners. Just copy and paste and/or mirror the suspension to finish building quicker.
Extra Information:
All pistons are set to:
- Spring Stiffness: 0.01
- Actuator Mode: Spring
Every other actuator is set to:
- Actuator Mode: Physics Driven
Axle:
- Suspension Stiffness: 100
- Suspension travel: 0
- Turn Radius: 30
- Making the Base
Start with a 5×8 scalable brick 1s. Add a seat and an engine. Then add 4 1×1 scalable cubes on the corners of the scalable brick.
Add a 1×6 scalable brick 1s. Then add a 1×1 scalable cube. Then add two 1×1 scalable brick 1s on both sides of the cube.
Making the Suspension
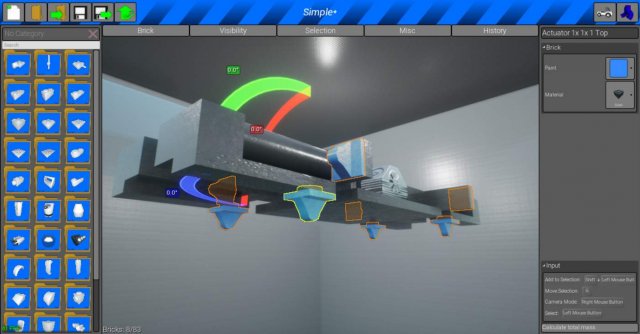
Add a rotating actuator set to “Physics Driven”. Then add a Redirector 4sx 1x4s. Then add the pistons which are set to Actuator Mode: Spring Spring Stiffness: 0.01
Now add a Redirector 4sx 1x4s. Then add a rotating actuator set to “Physics Driven”. Then add a 1×2 scalable brick 1s.
Now add a rotating actuator set to “Physics Driven”. Then add a scalable zylinder 1s.
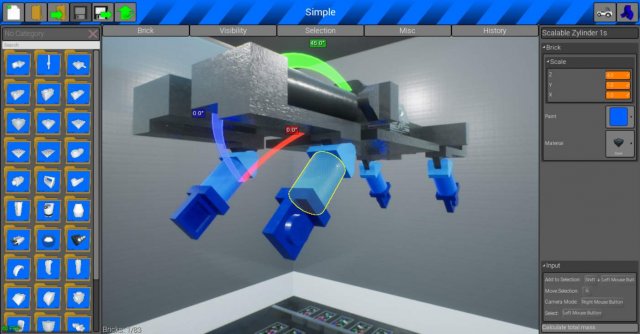
Now make this off to the side. Start with a 1×5 scalable brick 1s or a scalable zylinder 1s. The add a 1×2 scalable brick 1s or a scalable zylinder 1s on the end of the 1×5 scalable. Then add a Redirector 2x 1x 1s on the end of the 1×2 scalable.
Now connect what you created to the scalable zylinder 1s and the rotating actuator. The angle of the 3 parts should be 22.5/67.5
Adding the Wheels
Add axles and wheels. Set the axles to Suspension Stiffness: 100 Suspension travel: 0
Finished!
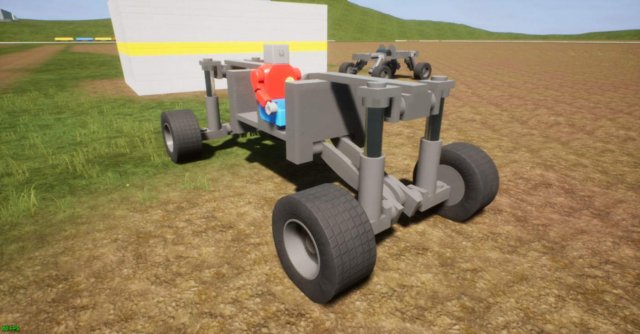
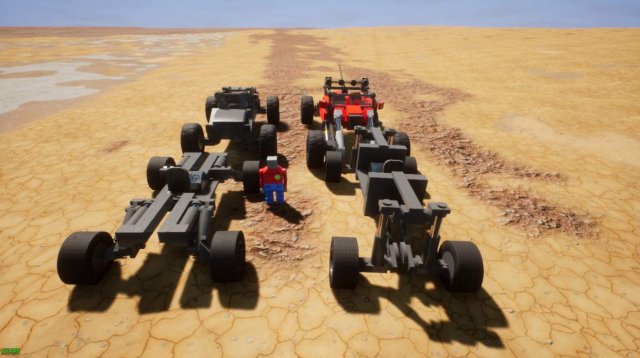
Now you’re finished! Try building a chassis or modify it to your liking.




Be the first to comment